This was originally posted on the defunct Music Radar forum, and then of the excellentThe Fretboardforum which crystalised out of its ashes when the Music Radar forum was closed. Actions by a certain photo hosting site have messed up the original so I’ve decided to re post it here (where I hopefully have better control over my photos).
Neck Blank
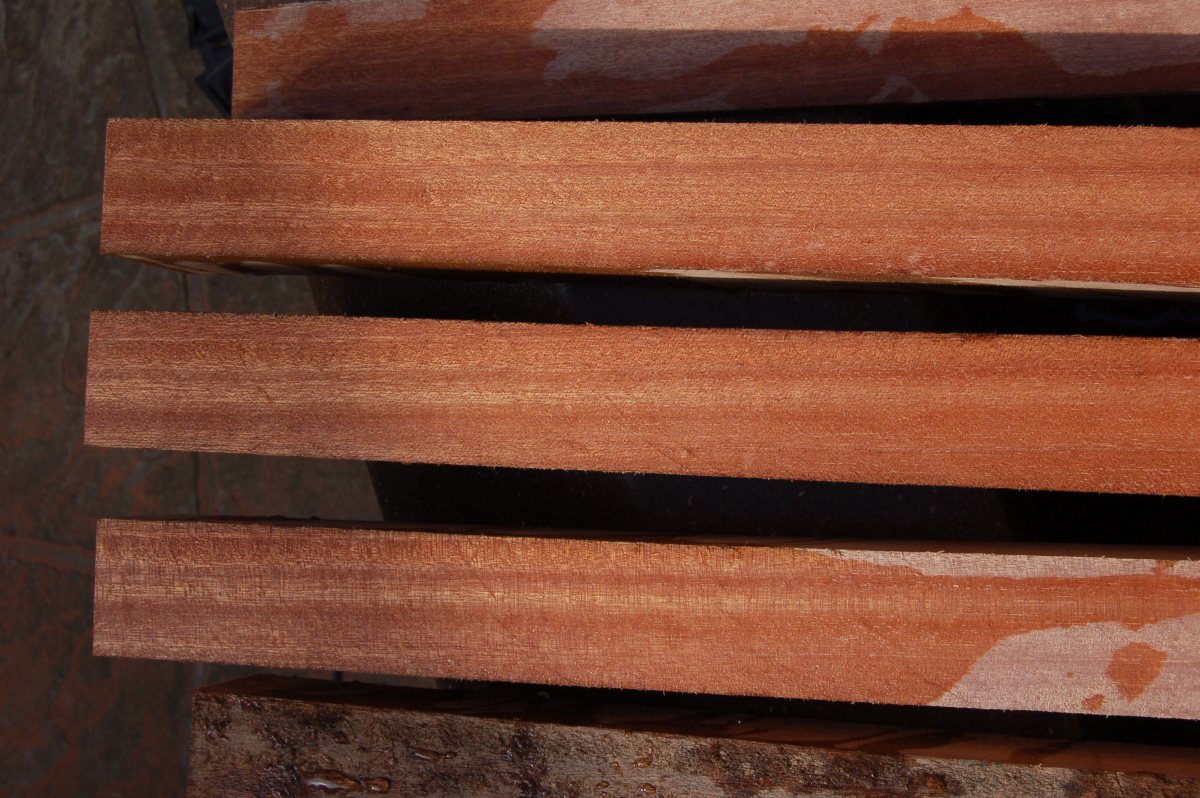
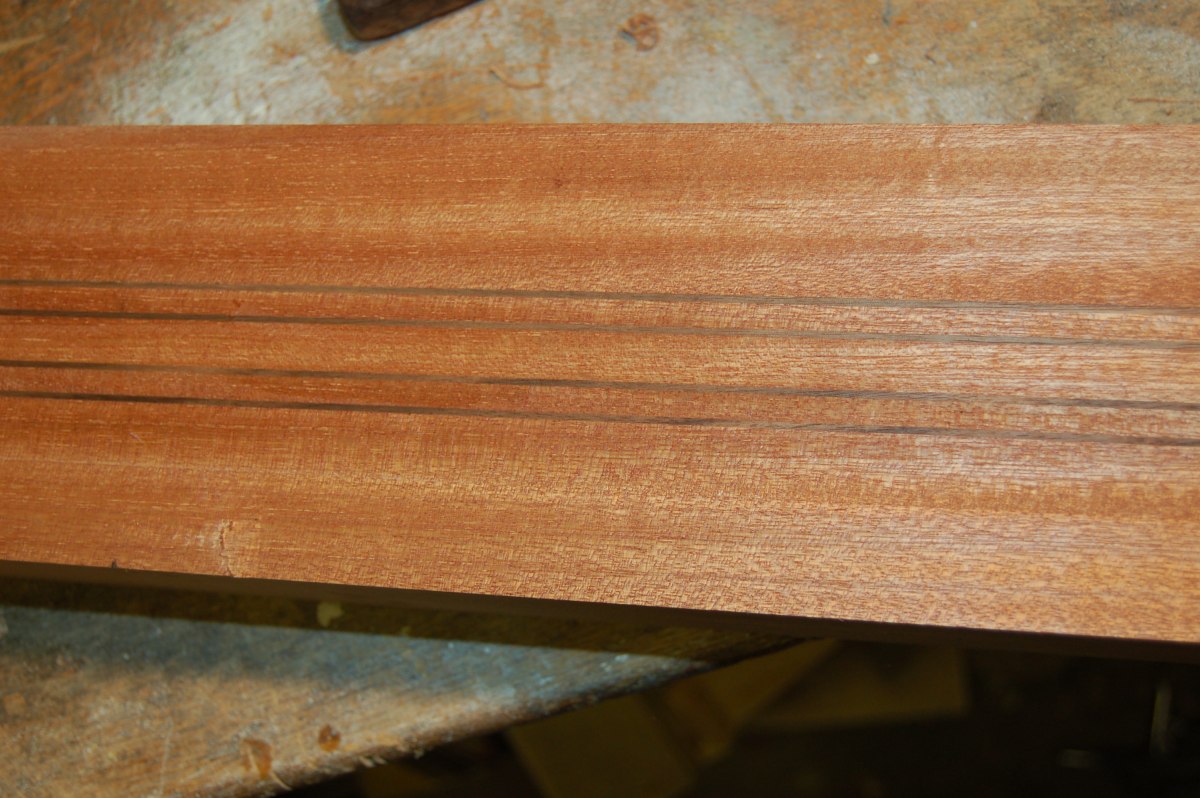
OK, here goes: I bought a large plank of “mahogany” from ebay. it is about 2m long x 300mm wide x 50mm thick. I doubt that it is true mahogany – more like sapele. Initially it didn’t look too promising…
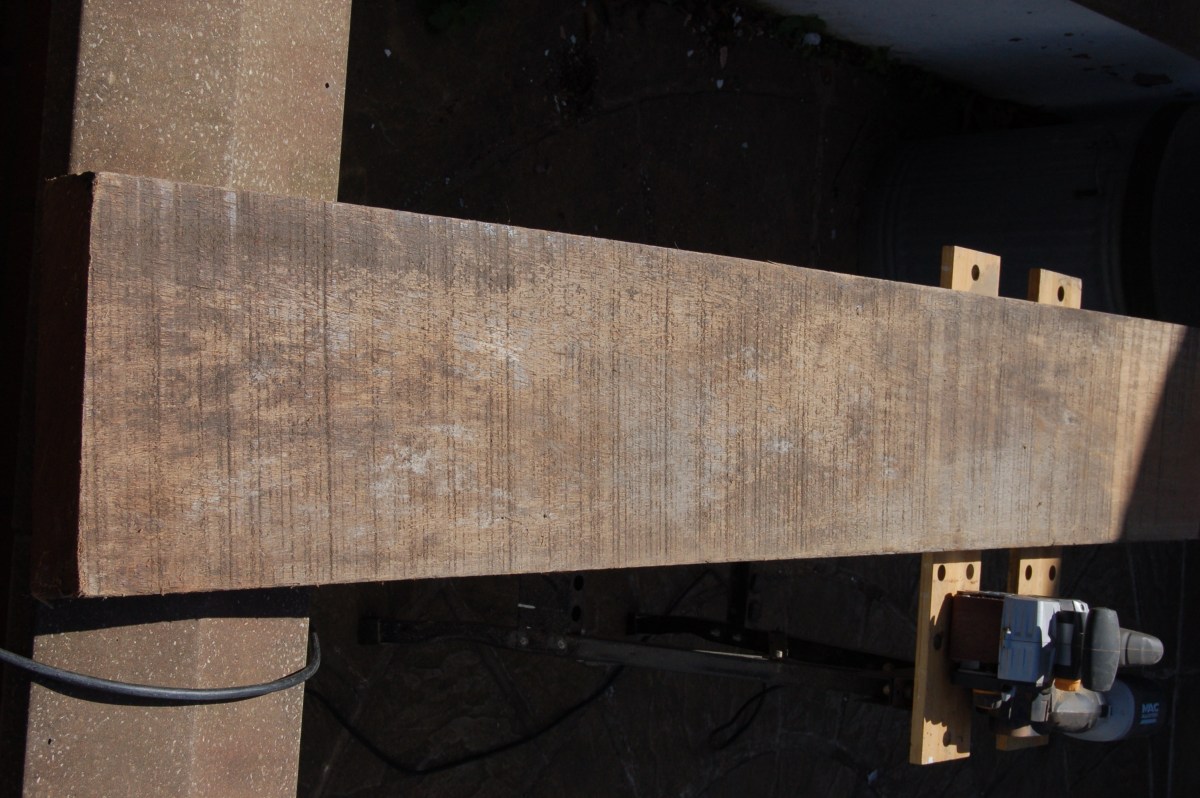
I cleaned it up with a belt sander in case there were embedded nails, grit, etc. which would damage my saw blade
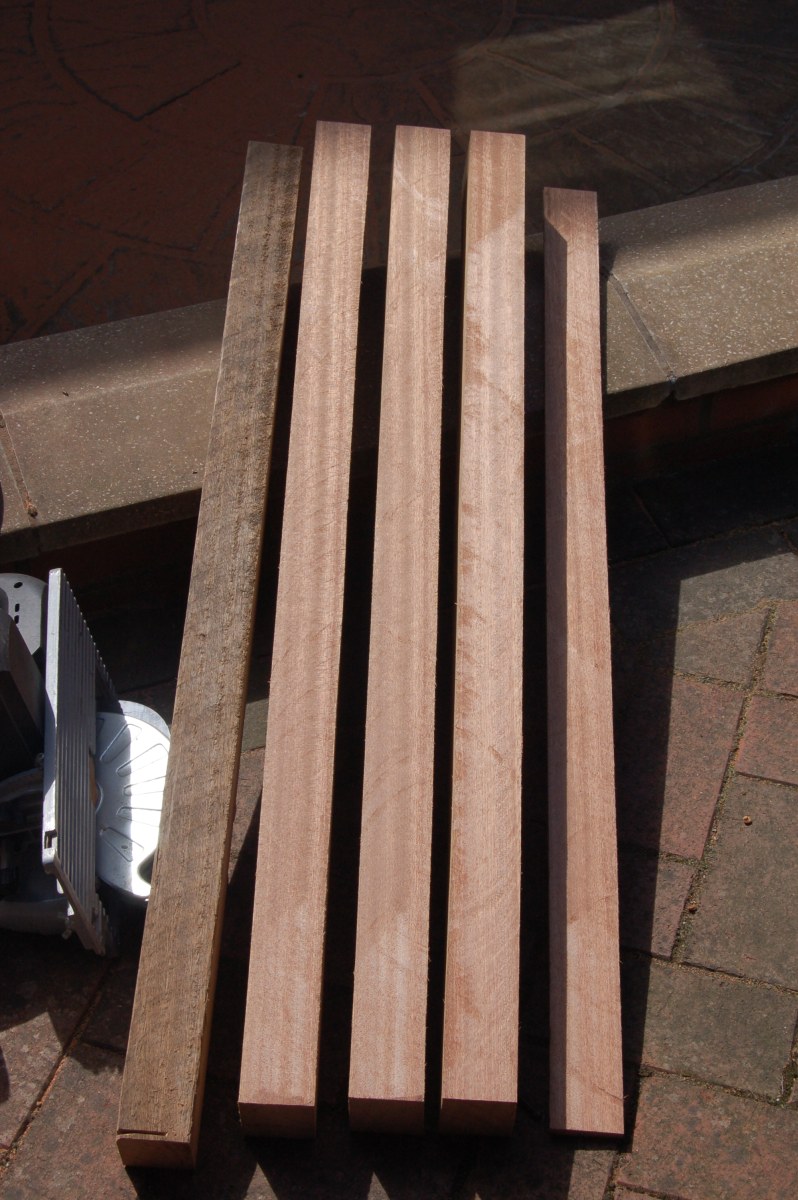
A bit better – I needed a 75mm thick neck blank, so I sawed out 3 x 1 metre lengths at about 75mm wide so I could turn them on edge and laminate them together to make the blank:
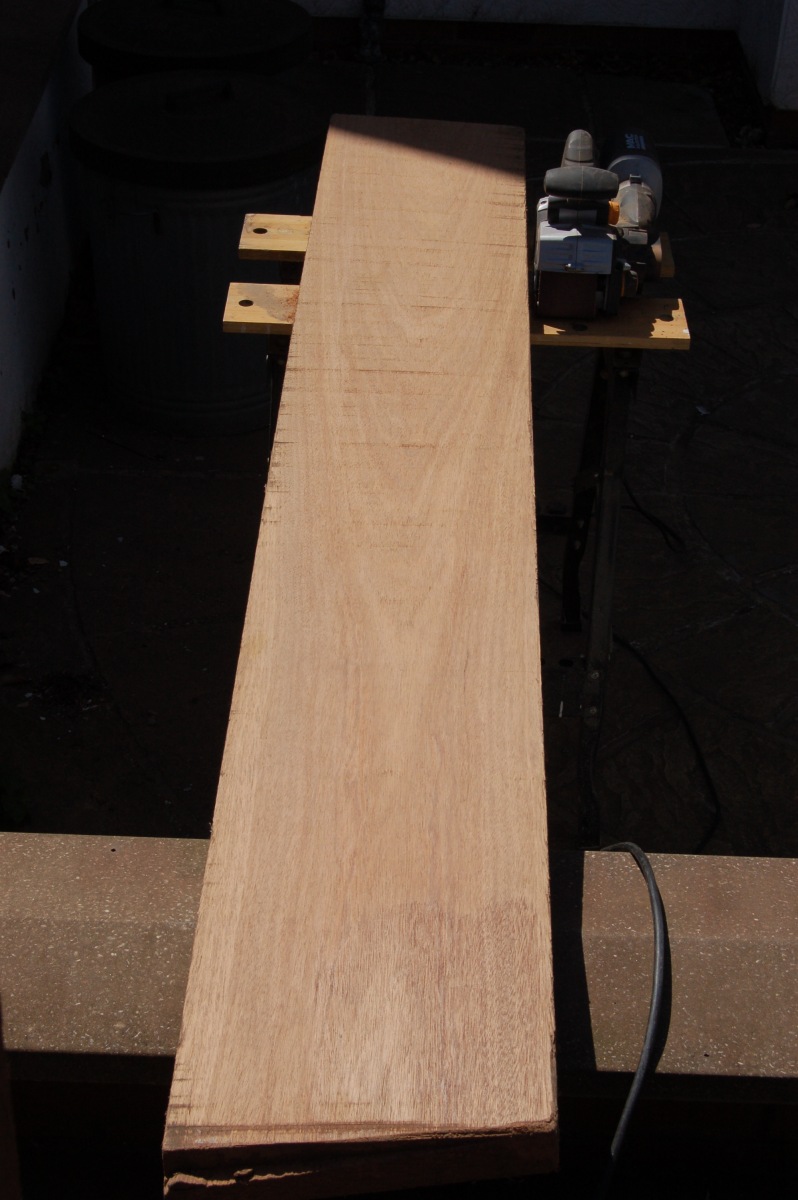
This is showing a bit more of the character of the wood.
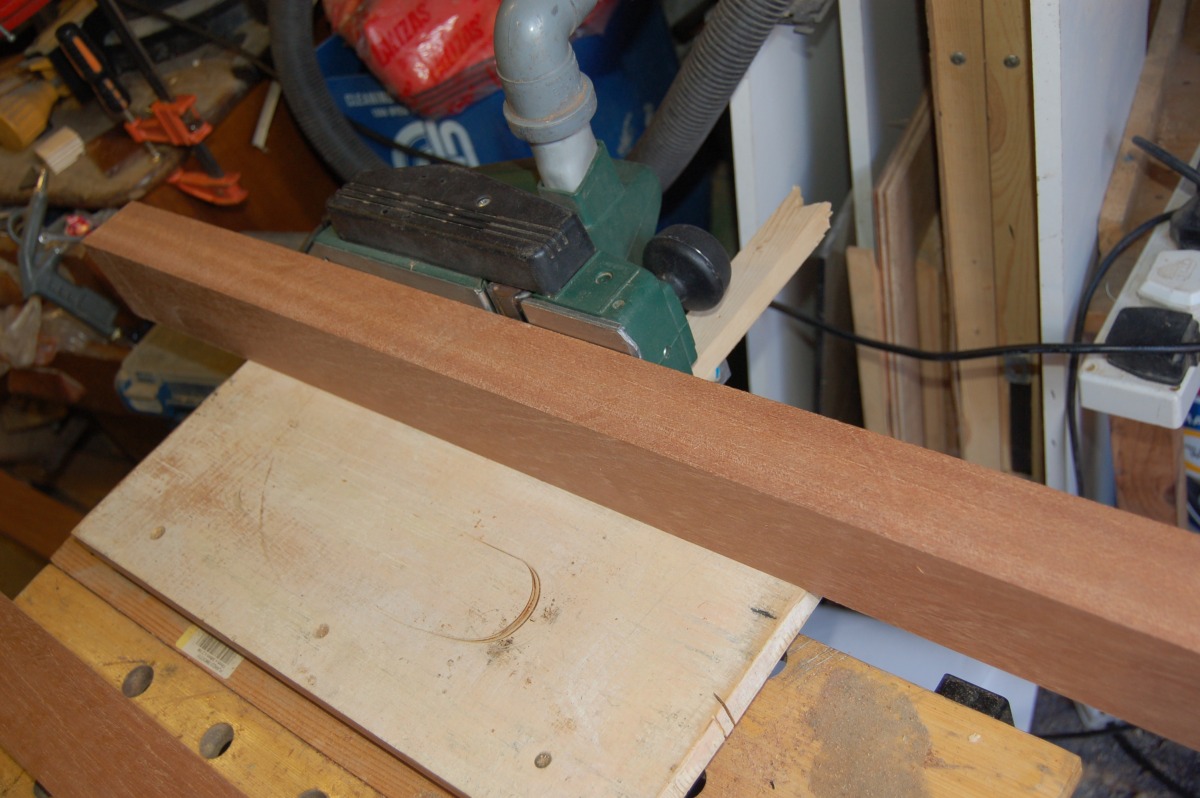
The plank had a really bad twist in it. I had hoped to be able to use a flat board to run the circular saw on to take the twist out of the cuts, but my saw wouldn’t cut deep enough, so the cut pieces also have a twist in them.
In order to get a true edge, I put each cut piece on a flat board and shimmed it with wedges until it stopped rocking. I could then run the board and the cut piece past my electric planer held at a 90 degree angle until one edge was smooth and true.
Once I had one true edge, I could plane the two adjacent faces using the good edge as a reference:
(Bosch used to sell a similar fixture for their hand planers – this is one I made. A proper planer would be safer!).
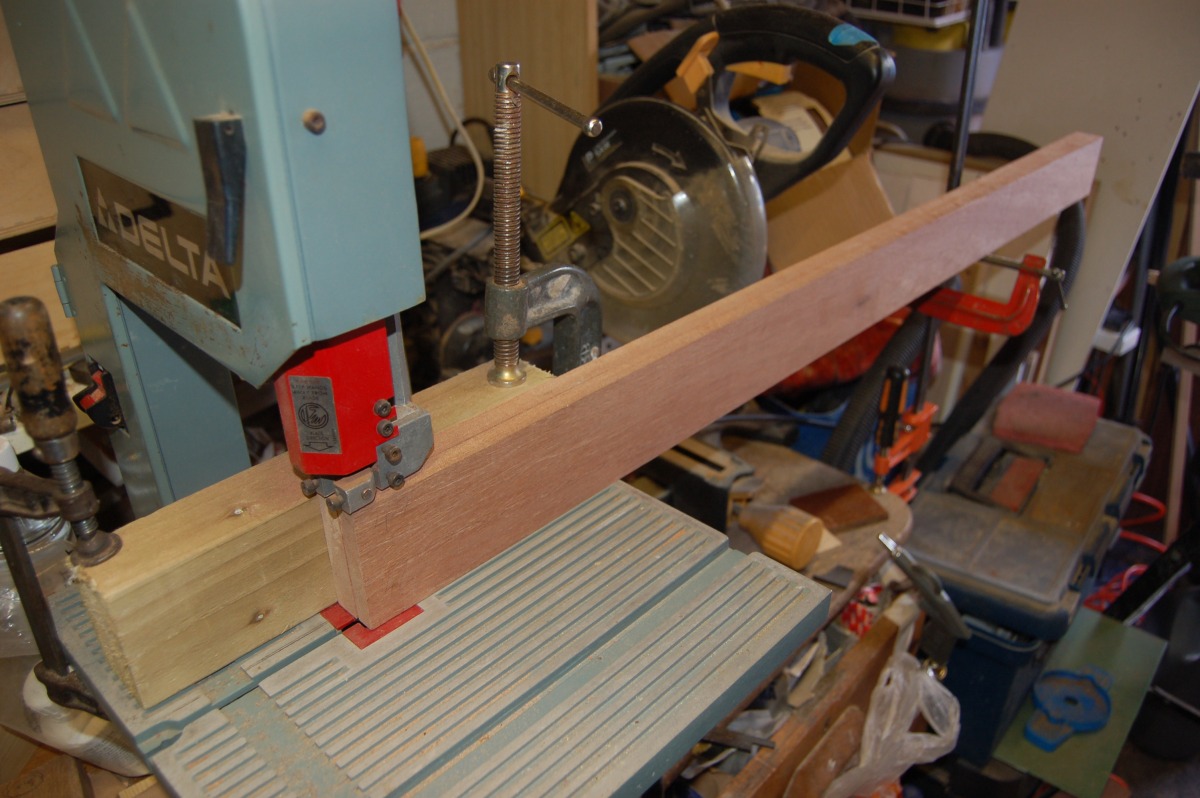
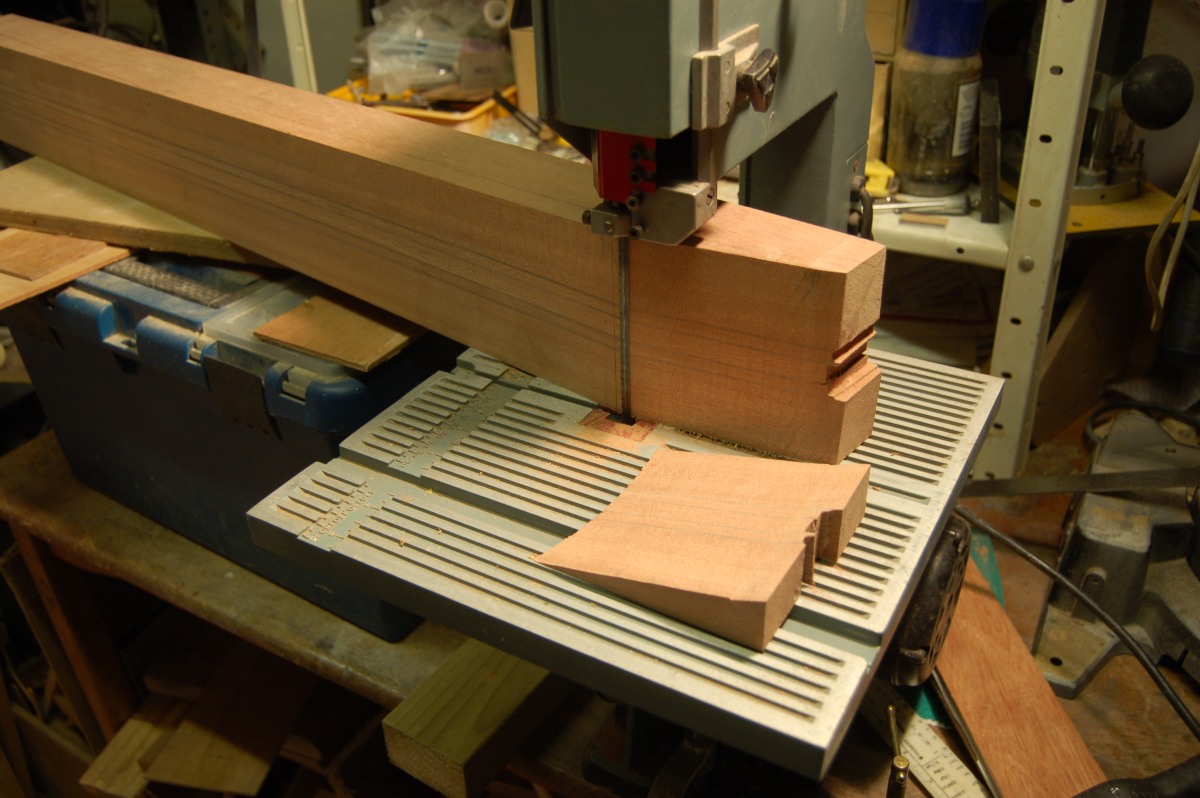
I needed to rip down one of my pieces to make thinner laminations for the middle of the neck blank. I could have done this with a hand saw (yeah, right!) but I saw a used bandsaw on ebay that was a) near my home, b) fairly cheap and c) just coming to an end. the temptation was too much and I ended up buying it. Despite being a lightweight model, it made a fine job of ripping the blanks:
I had a cunning plan for planing these pieces really thin, using a ‘sled’ for my electric planer with runners on at the finished thickness that I wanted.
It took a day to make the sled, and about 10 minutes to realise that it wouldn’t work – It was fine until I got to near the finished thickness, then the plane just started chattering like mad and ripping chunks out of the wood. I tried sticking the wood down with double-sided tape, but just ended up with thinner scrap.
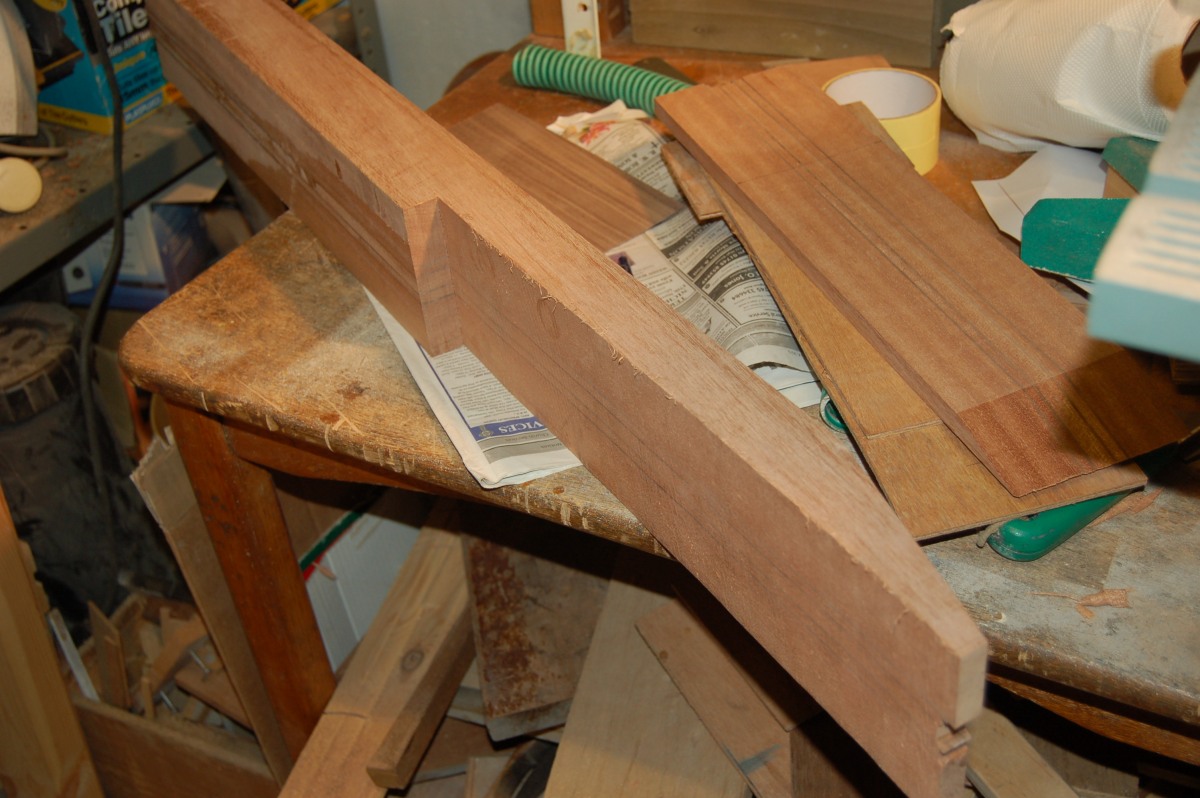
I had just enough thickness left in the original blank to be able to rip another piece out of it which I cleaned up carefully with my little block plane then made one pass over it with the electric planer to get it as level as possible. It took some juggling to get two pieces to uniform thickness and the same thickess as each other simultaneously!
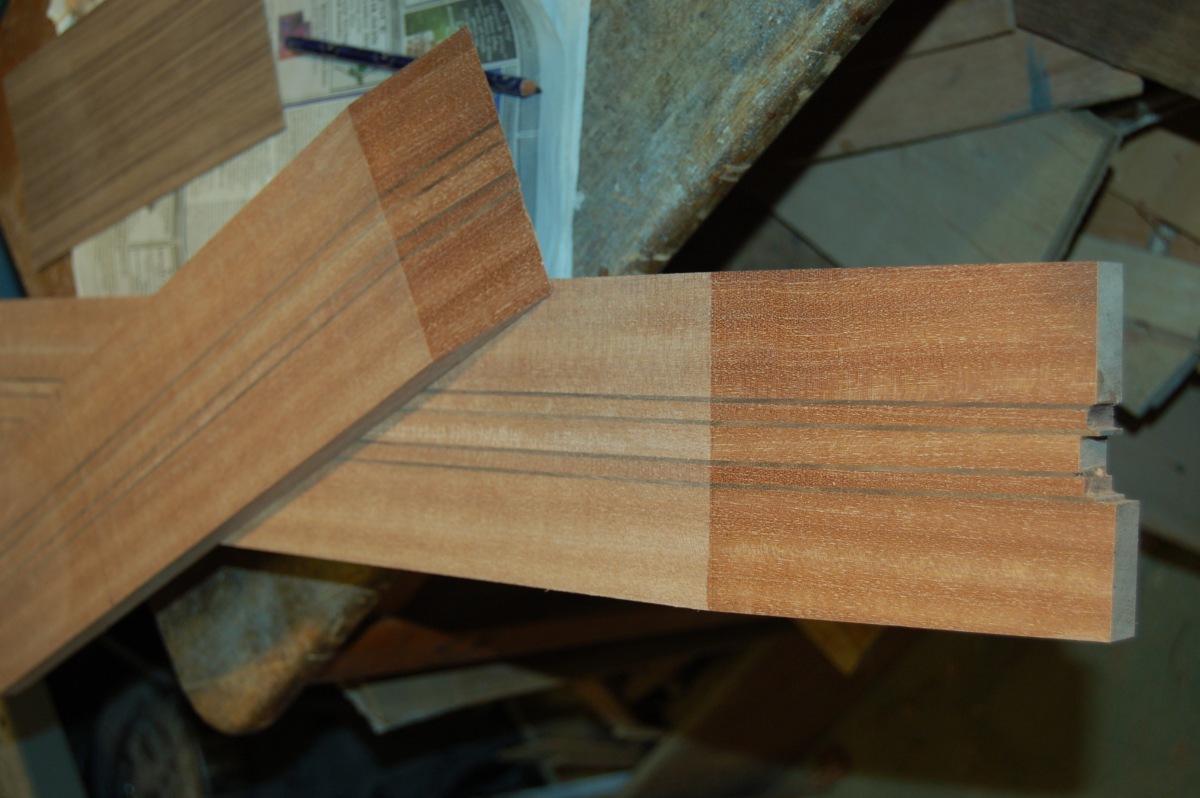
When all the pieces were smooth, parallel and the right thickness, I glued them up with some thick walnut veneer for contrast. (I used too much glue!):
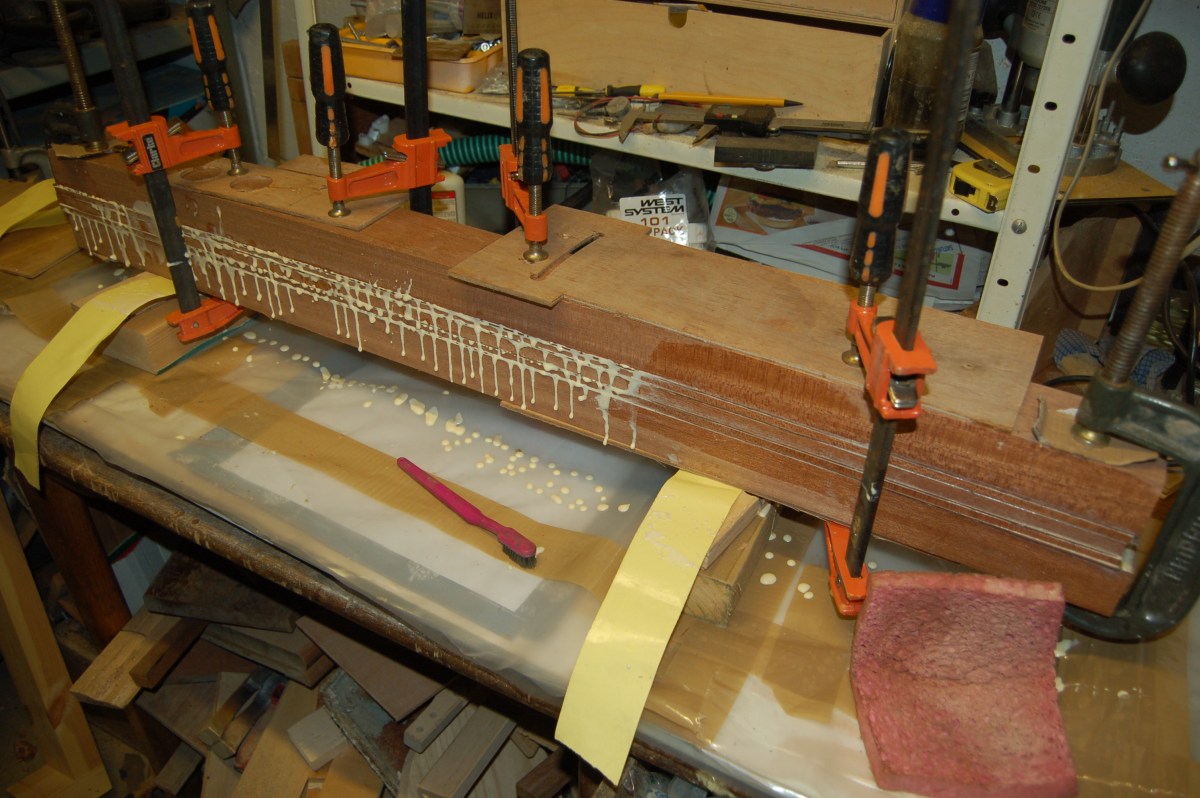
Very pleased with the result:
Neck scarf joint
I had decided that I would scarf joint a separate piece of wood for the headstock – partly because the blank would need to be even thicker than 75mm to cut out a complete one piece neck, and partly to make the headstock stronger. There was enough material to cut the headstock piece out of the back of the neck blank.
With a very dry mouth, I made the first cut:
Then cut a slab out of the back of the neck to make the headstock out of:
After planing it down to a nice, uniform thickness, I could plane the angle of the scarf joint on the neck and headstock:
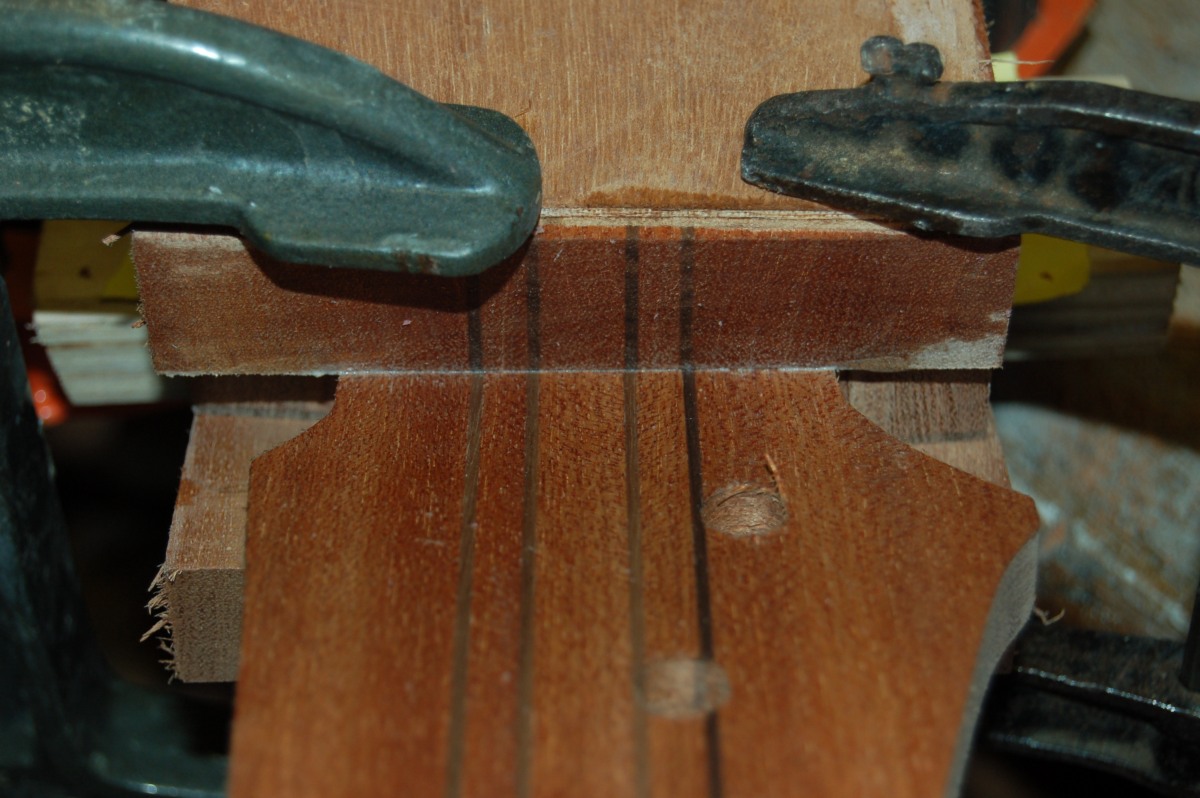
I gave a lot of thought to how the joint between the neck and the headstock would pan out. I didn’t want to try to blend them in smoothly, as it would exaggerate the glue line on the scarf joint. I didn’t want to veneer the back of the headstock to hide the joint, as I would lose the walnut ‘pinstripes’. I liked the idea of a volute to strengthen the headstock joint, so tried to work the neck/headstock joint into this and cut the length of the neck blank to suit.
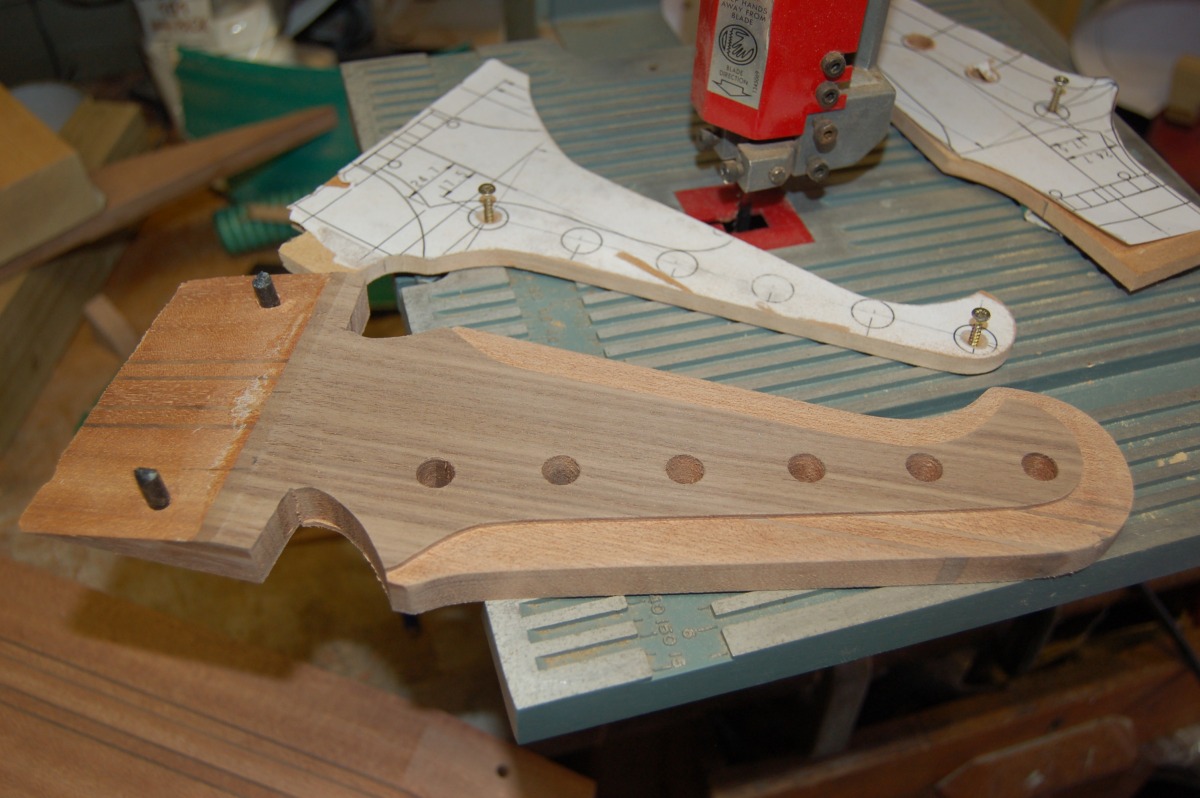
Shaping the headstock
I thought that while I had the headstock as a small, handy piece, I may as well do as much work as I could on it.
I had the bright idea of using some of the left-over walnut veneer to face the headstock, so I laminated it to the blank and routed out the finished shape, together with the raised area on the face of the headstock. While I was at it, I thought that I might as well drill the tuner holes. I didn’t have the tuners, so my fingers were firmly crossed that they would fit OK…
In order to keep the headstock aligned wth the neck and to match the pinstripes as accurately as possible, I clamped everything up dry and drilled for a couple of tight fitting dowels in a scrap area so that I could be confident that the alignment was maintained during gluing.
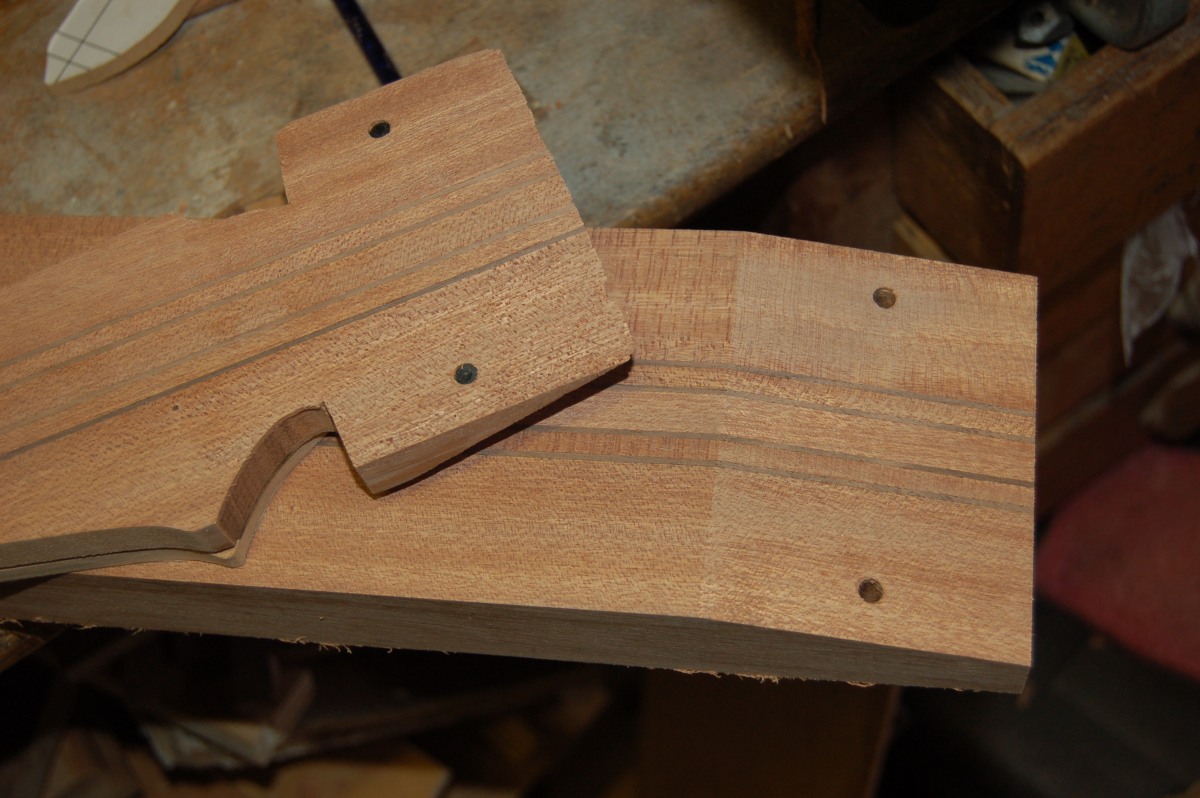

I was very pleased with the way the pinstripes lined up