
Traditional anodising uses sulphuric acid as the electrolyte which has become more difficult to obtain, and is generally not nice stuff to have around. I watched a Youtube video by Mark Presling that showed the use of sodiumbisulphate as an electrolyte instead. (Sodiumbisulphate is readily available as a pH reducer used for swimming pool maintenance.) I have basically copied his process and have been extremely pleased with the results that I have achieved, and how straightforward and consistent it has been.
This is offered very much as a ‘what works for me’, rather than a ‘this is how it should be done’.
This is my setup:
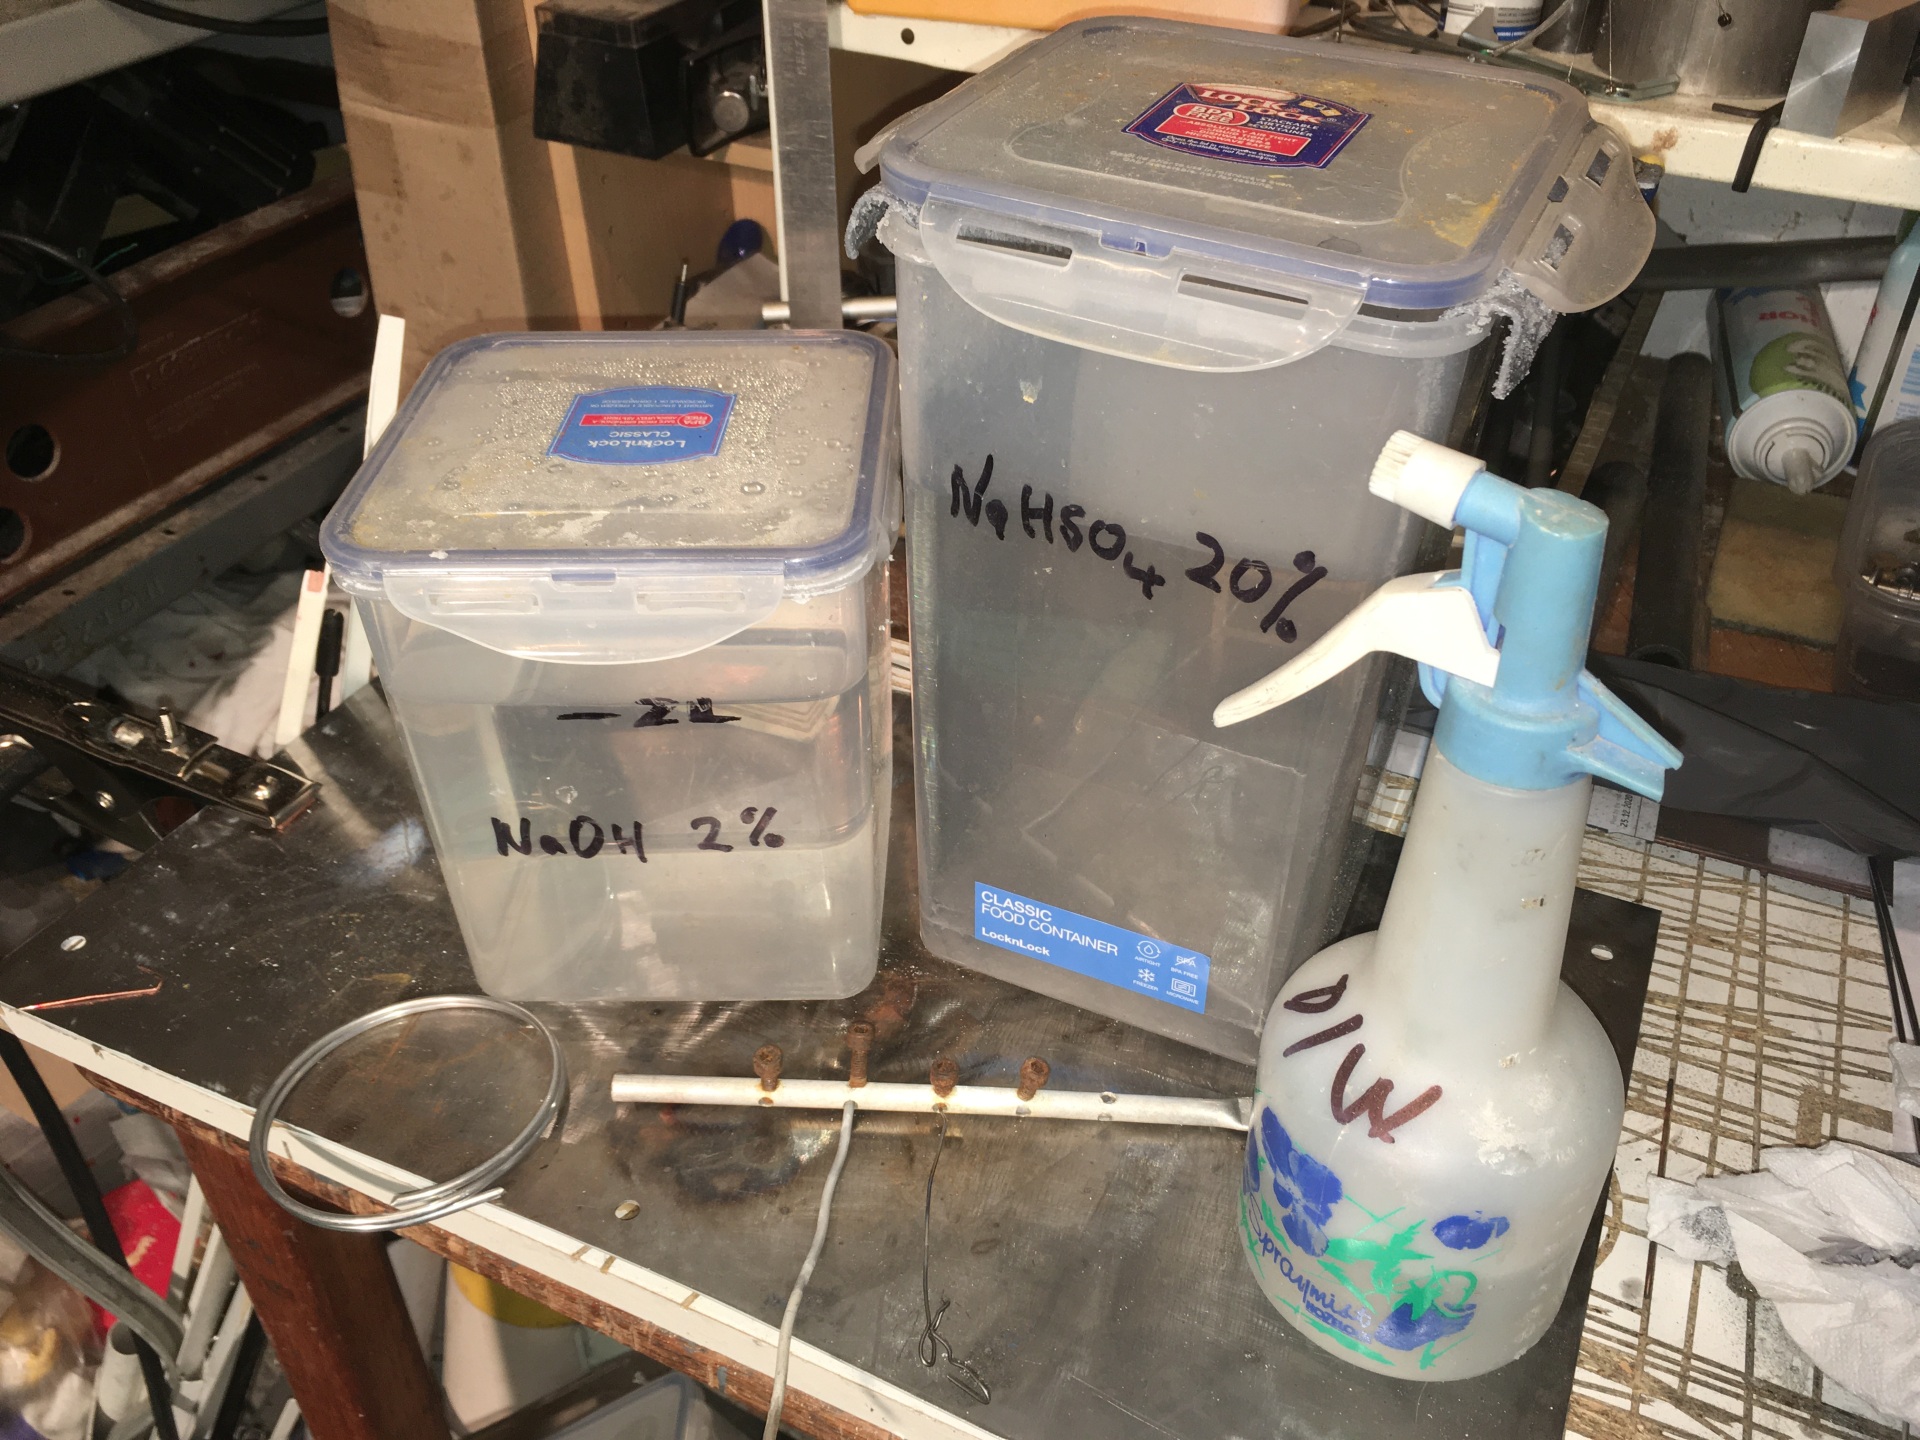
- 2% sodium hydroxide solution (40g of NaOH granules in 1.96 litres of de-ionised water) for the pre-anodising etch.
- The anodising bath with 20% sodium bisulphate solution (750g NaHSO4 in 3 litres of de-ionised water) . Opposite sides of the container lined with lead sheet (electrically linked together).
- Spray bottle of de-ionised water for rinsing.
- Aluminium wire and a busbar for connecting the parts to be anodised. (I have since started using titanium wire instead as it is easier to re-use).
Not shown is an old metal pan that I boil water in for sealing the anodising.
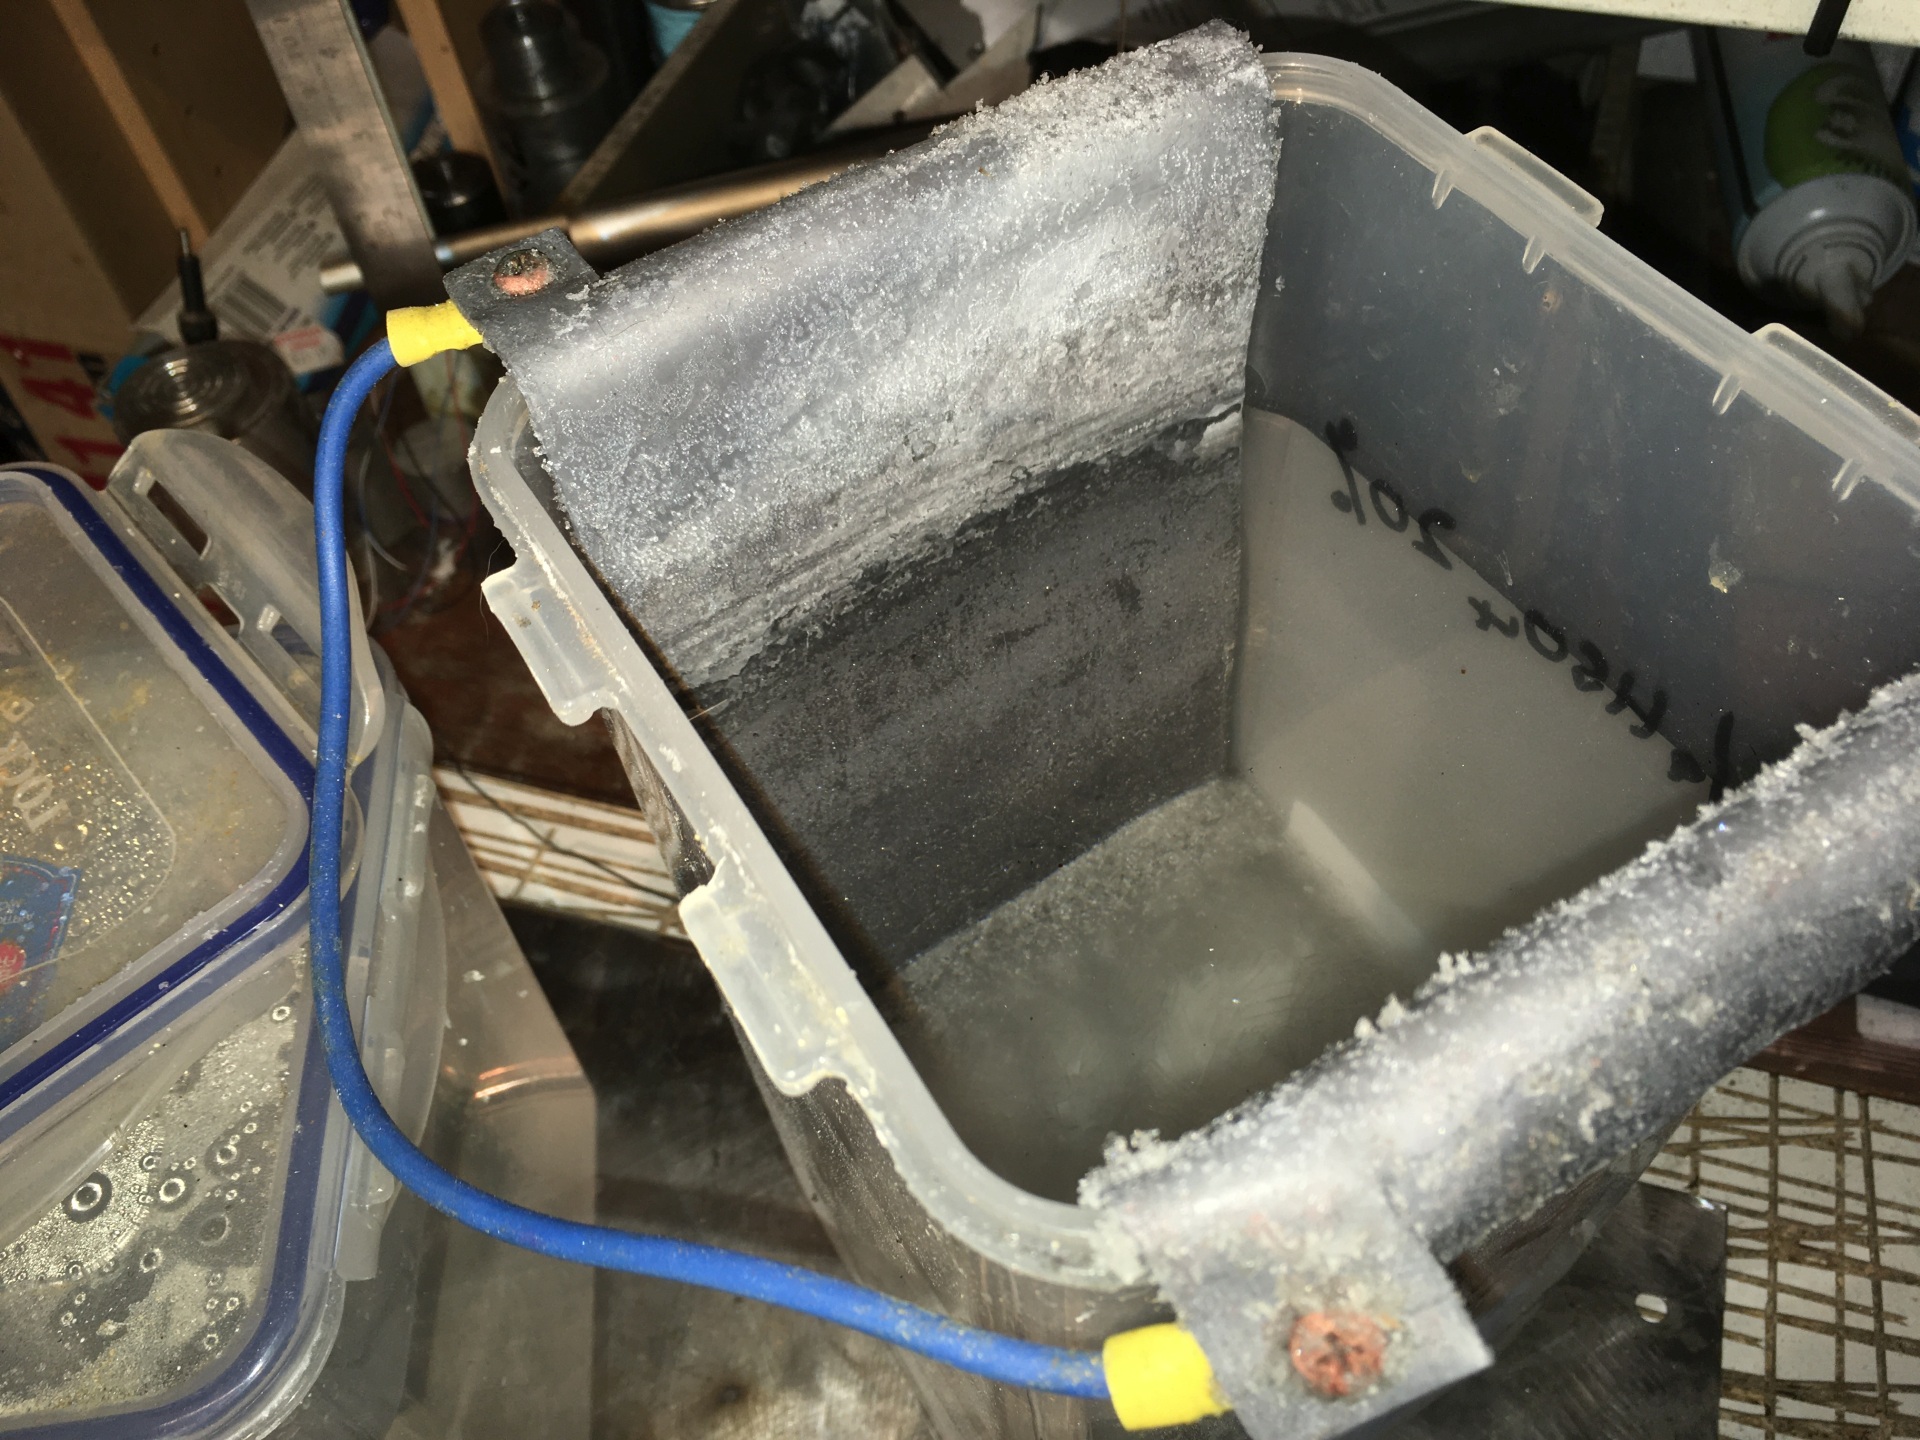
The lead cathodes (made from roofing lead) with their electrical connection:
I use a lab power supply to provide the anodising current:
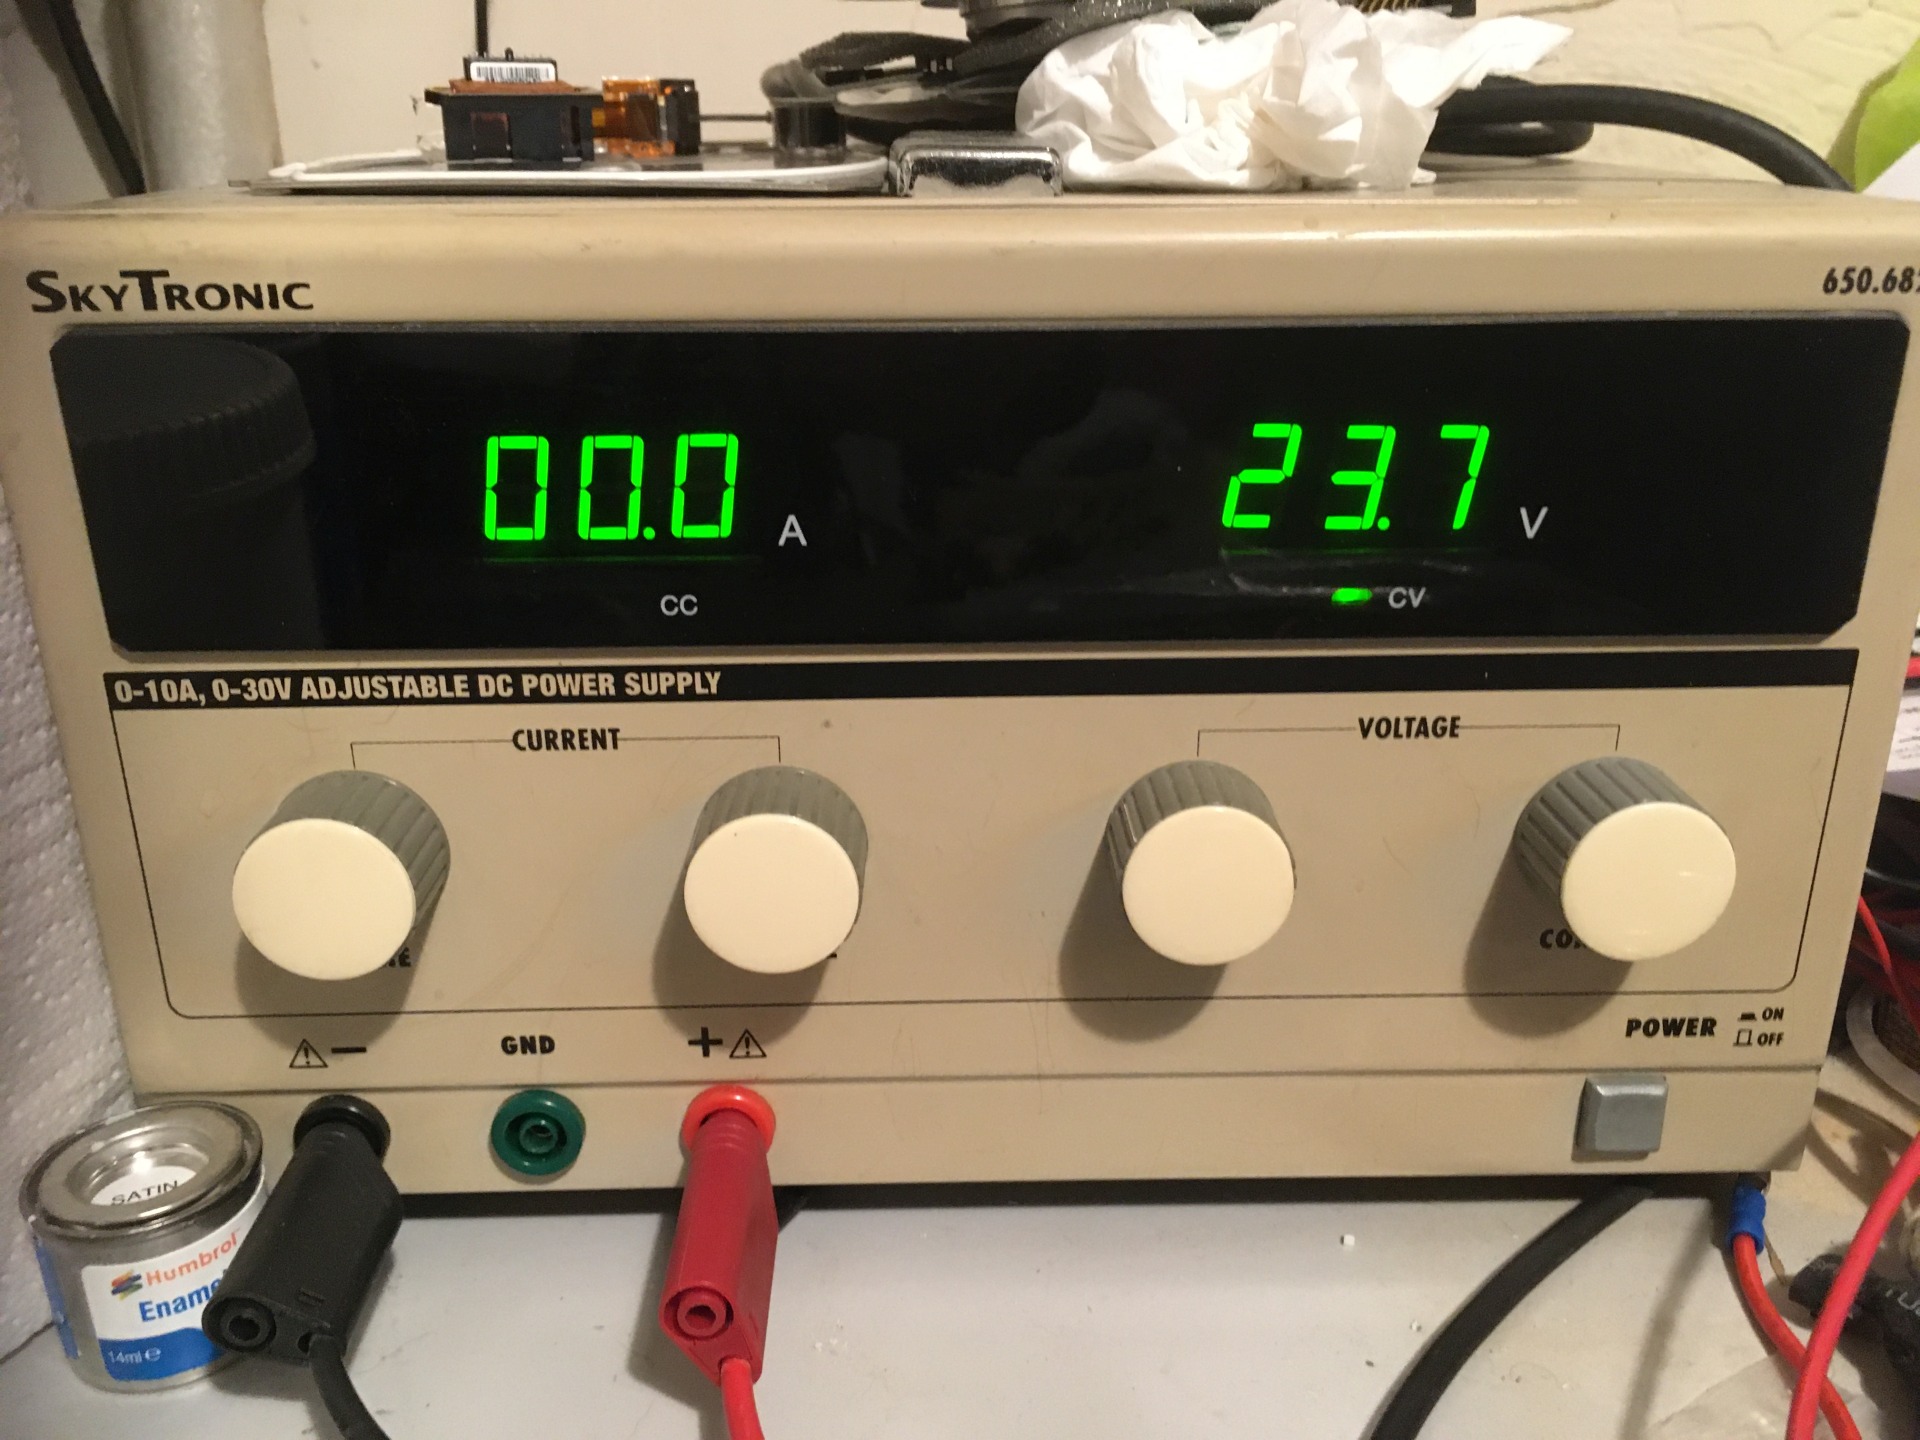
The power supply has an adjustable current limit – anodising is a current driven process, and I aim to try and keep the current constant through the anodising process (which would mean adjusting the voltage manually if the limit could not be set on the PSU).
I use a current equivalent to 6A per square foot (=6mA / cm^2) of immersed area and am quite diligent about working this out beforehand. (I have a spreadsheet that I use to calculate what the actual current should be for a given set of parts). Typical currents for what I’ve done are 0.3 – 1.5A,
I have found that I often need just over 20 volts, towards the end of the process especially. This is a bit higher than the ~16 to 17 volts that Mark Presling uses.
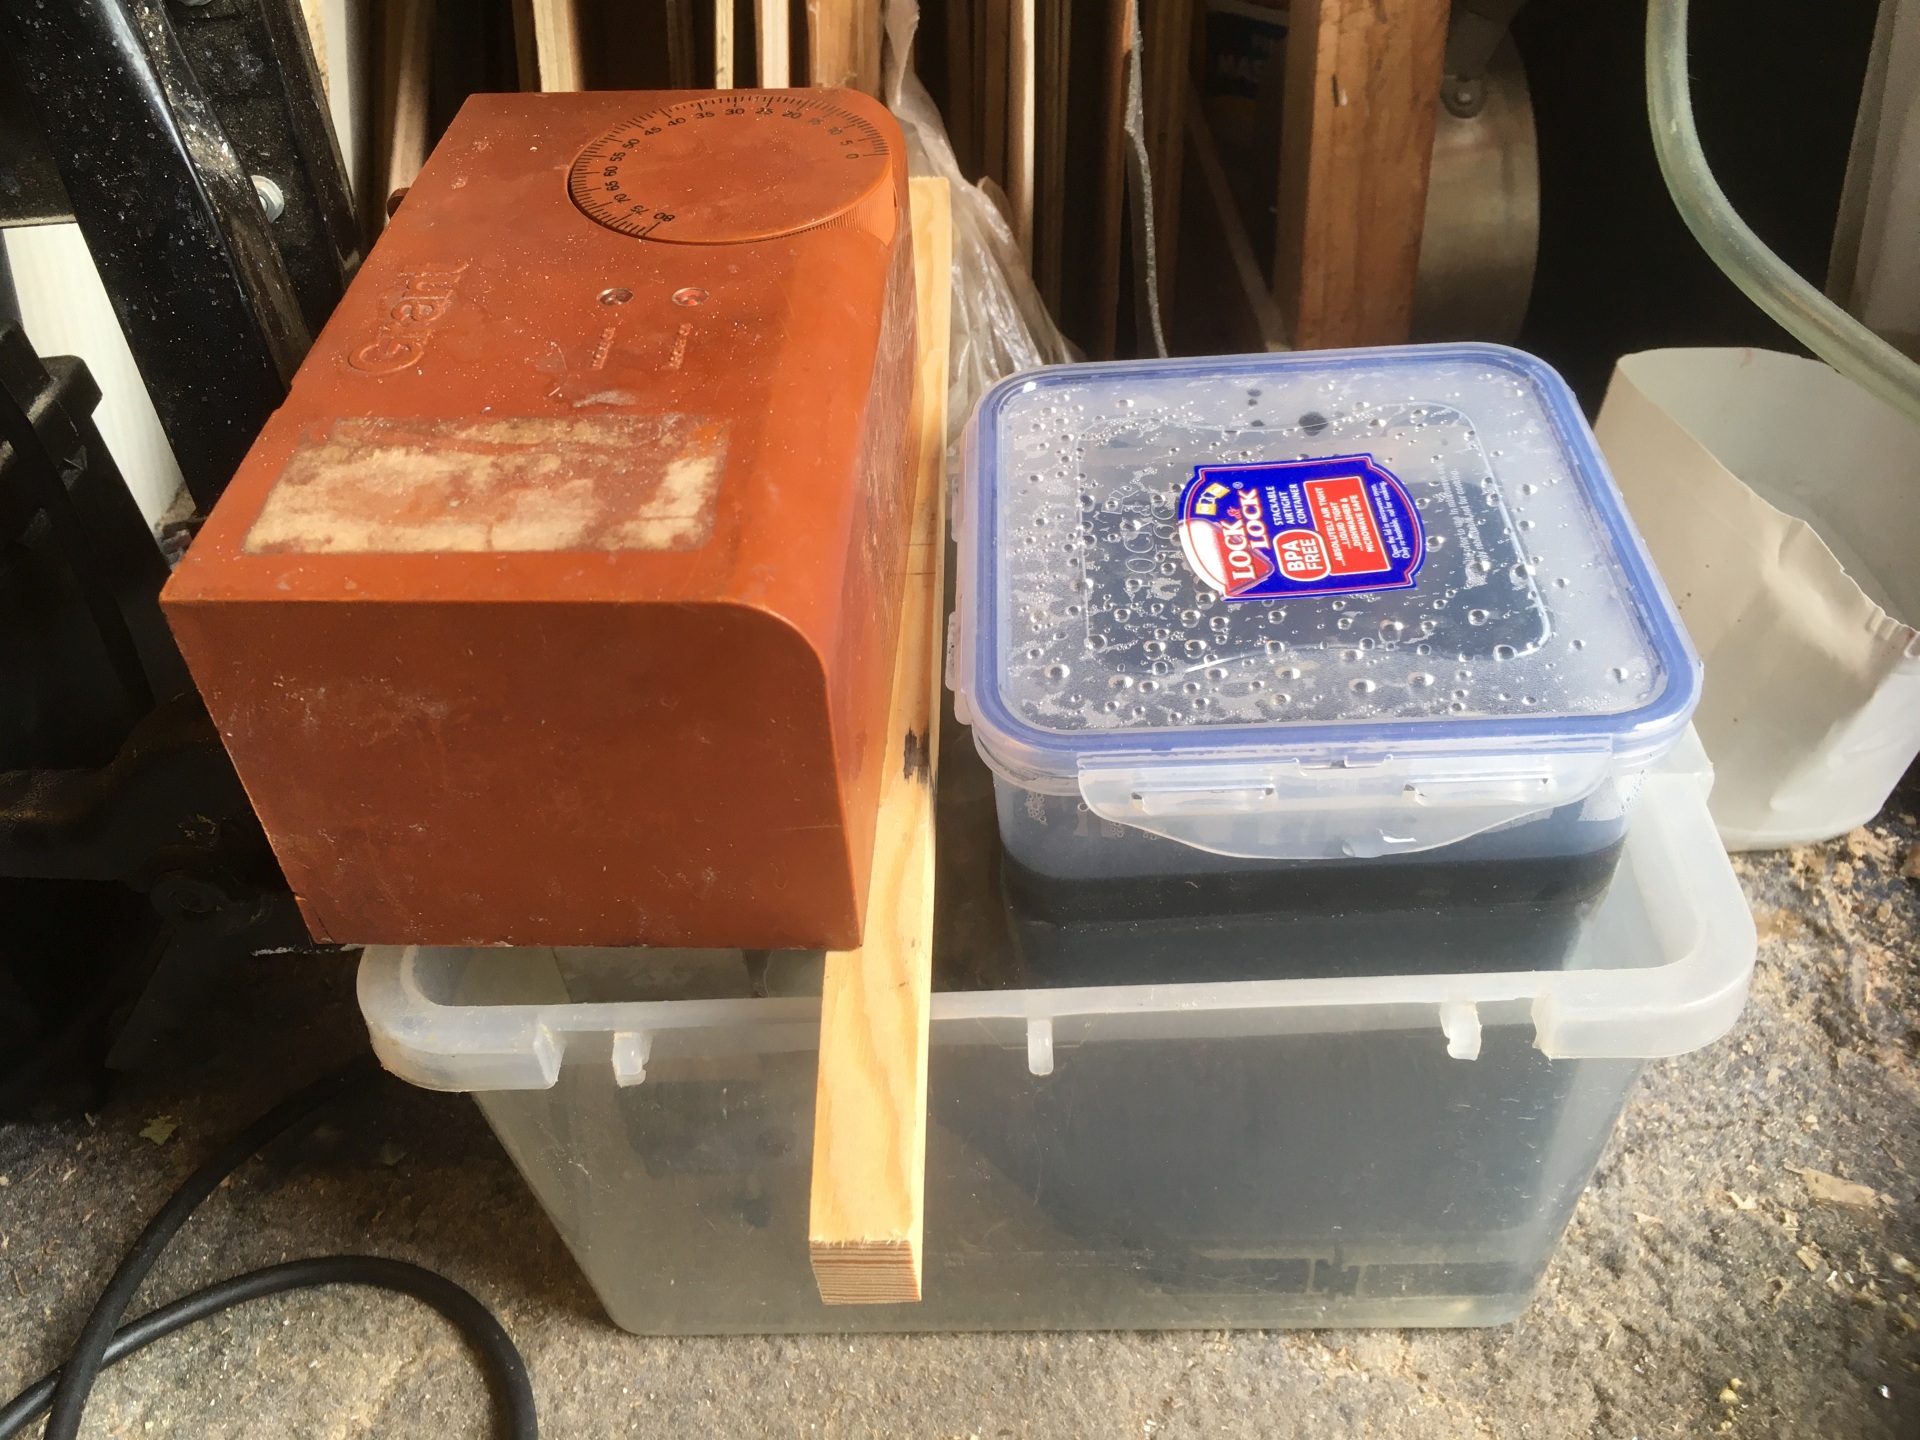
I have only used commercial black dye for colouring anodised parts. The dye solution lives in another sealable container which is immersed in a water bath at 55°C when needed.
The process:
1) Clean and scrub parts under running water. I use fairy liquid and it seems to work OK provided the parts have been rinsed in de-greaser first. I sometimes use Scotchbrite or fine micromesh abrasive to grey the surface. I wear gloves for this to avoid grease on the parts. After cleaning I leave them under (tap) water
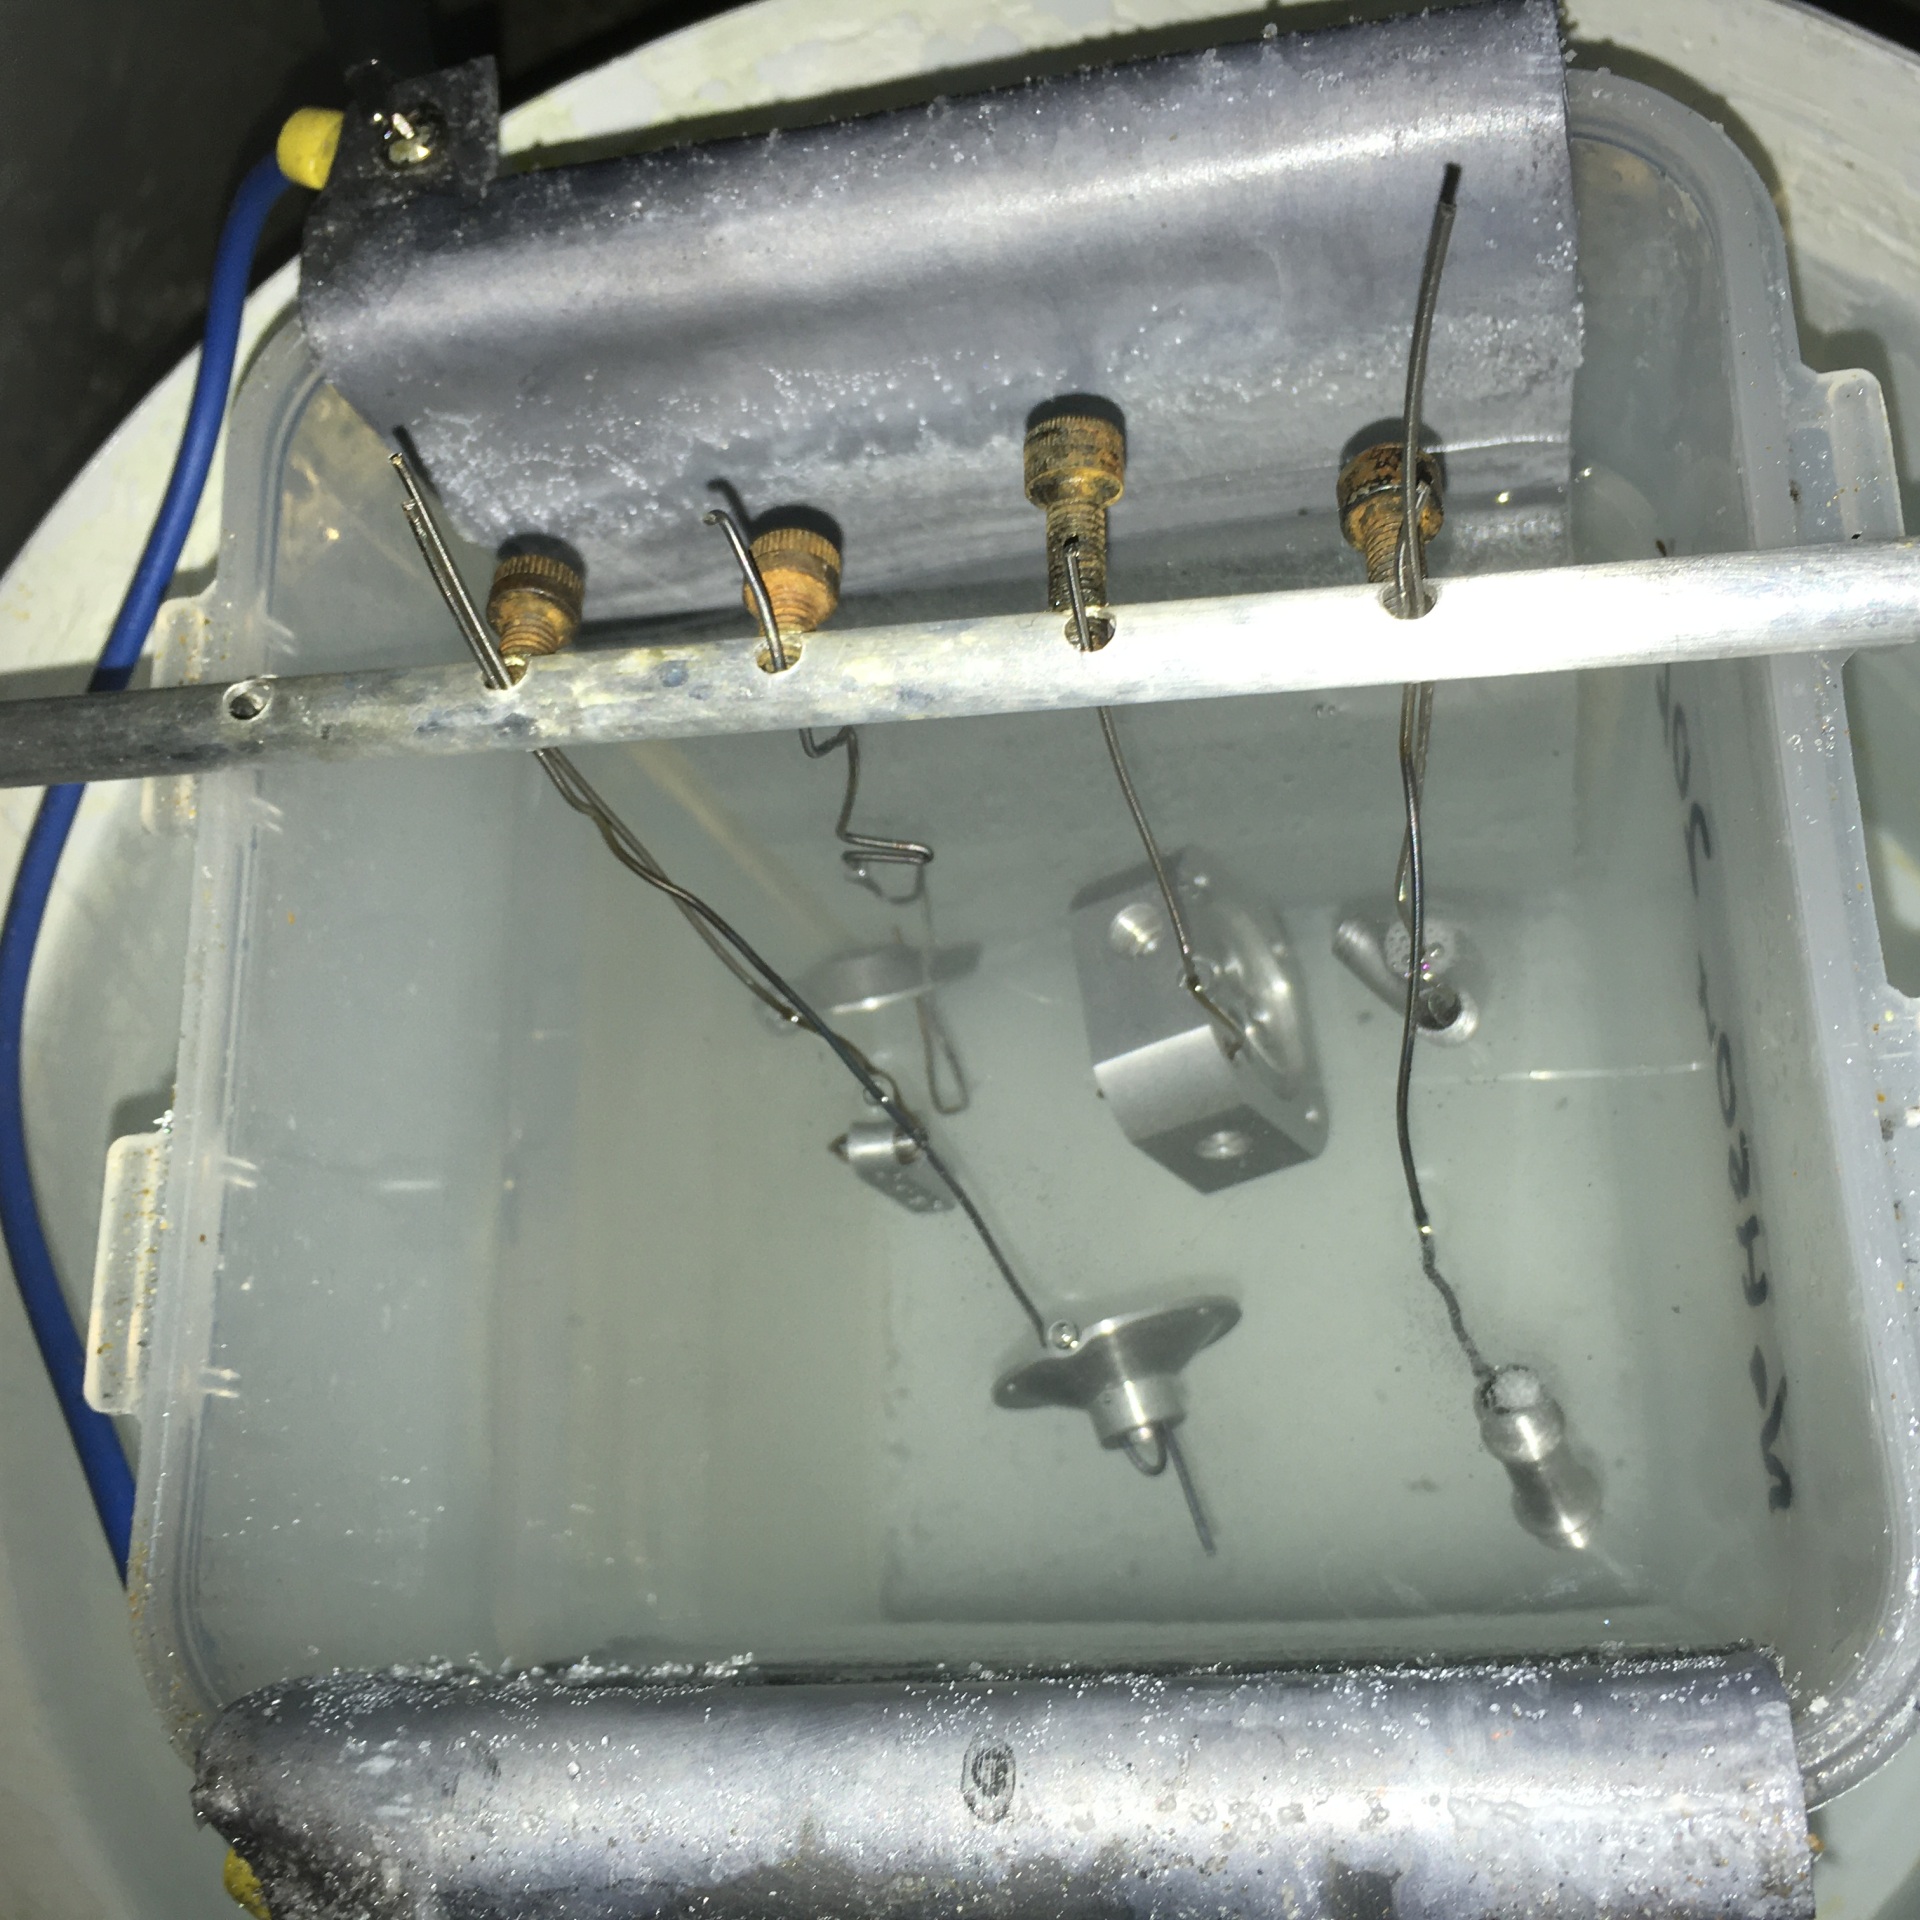
2) The cleaned parts are mounted on aluminium or titanium wires which are connected to the main busbar
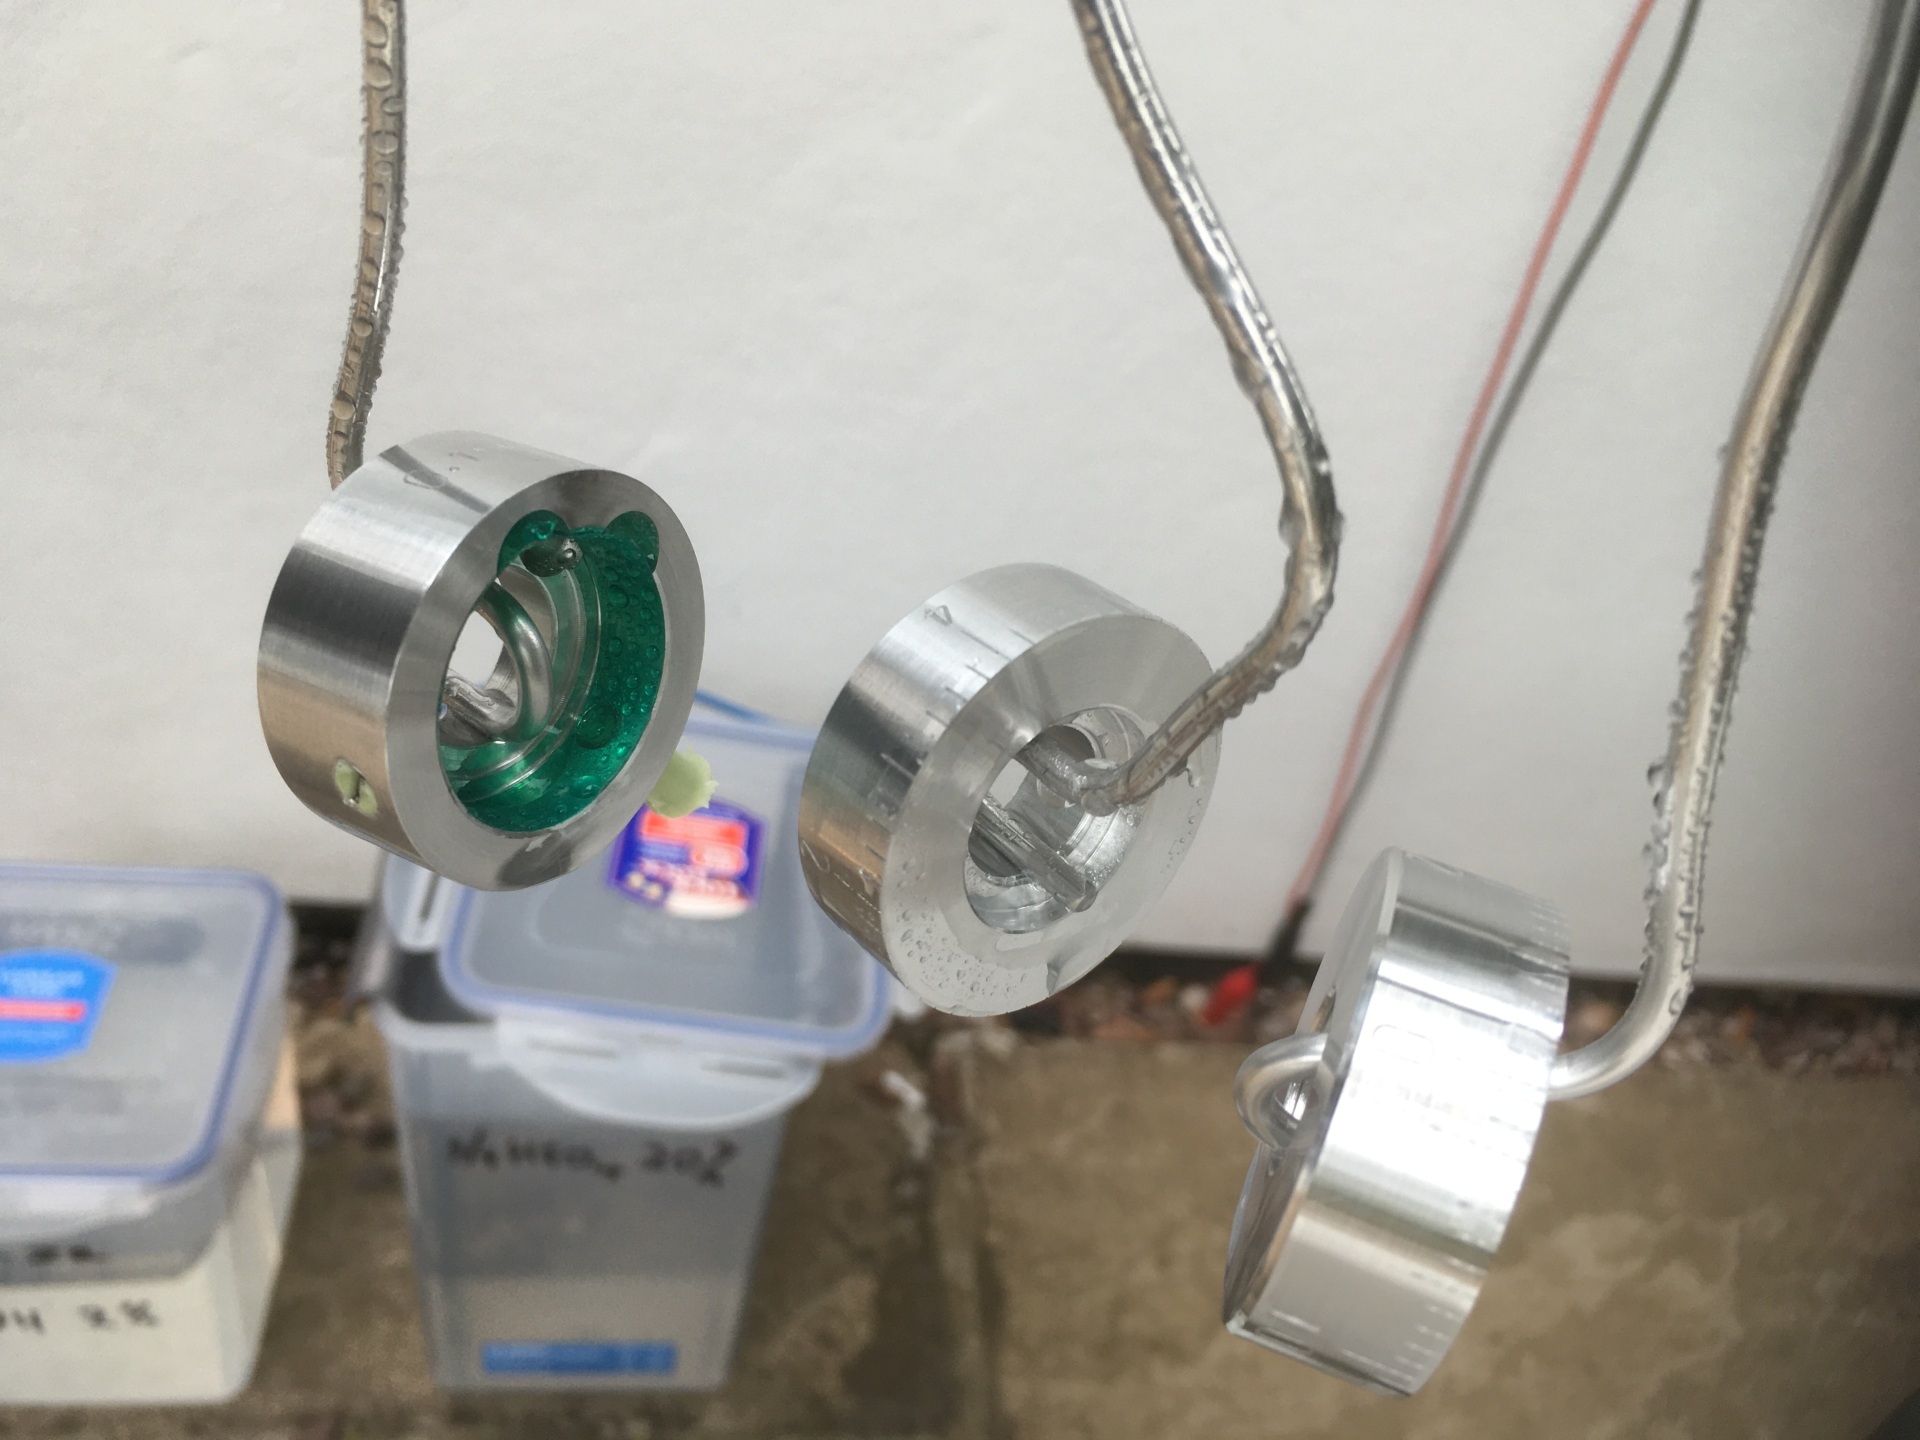
(The green tape was as attempt to mask the inner surface of that part.)
I still handle them with gloves and keep them wet. I set up my etch and anodising baths outside the house and drop the power supply leads through a nearby window
3) Etch for ~2 minutes in the 2% sodium hydroxide. The parts should be fizzing nicely and white with small bubbles by the end. Rinse off with DI water spray at the end of this time and transfer them immediately to the anodising bath.
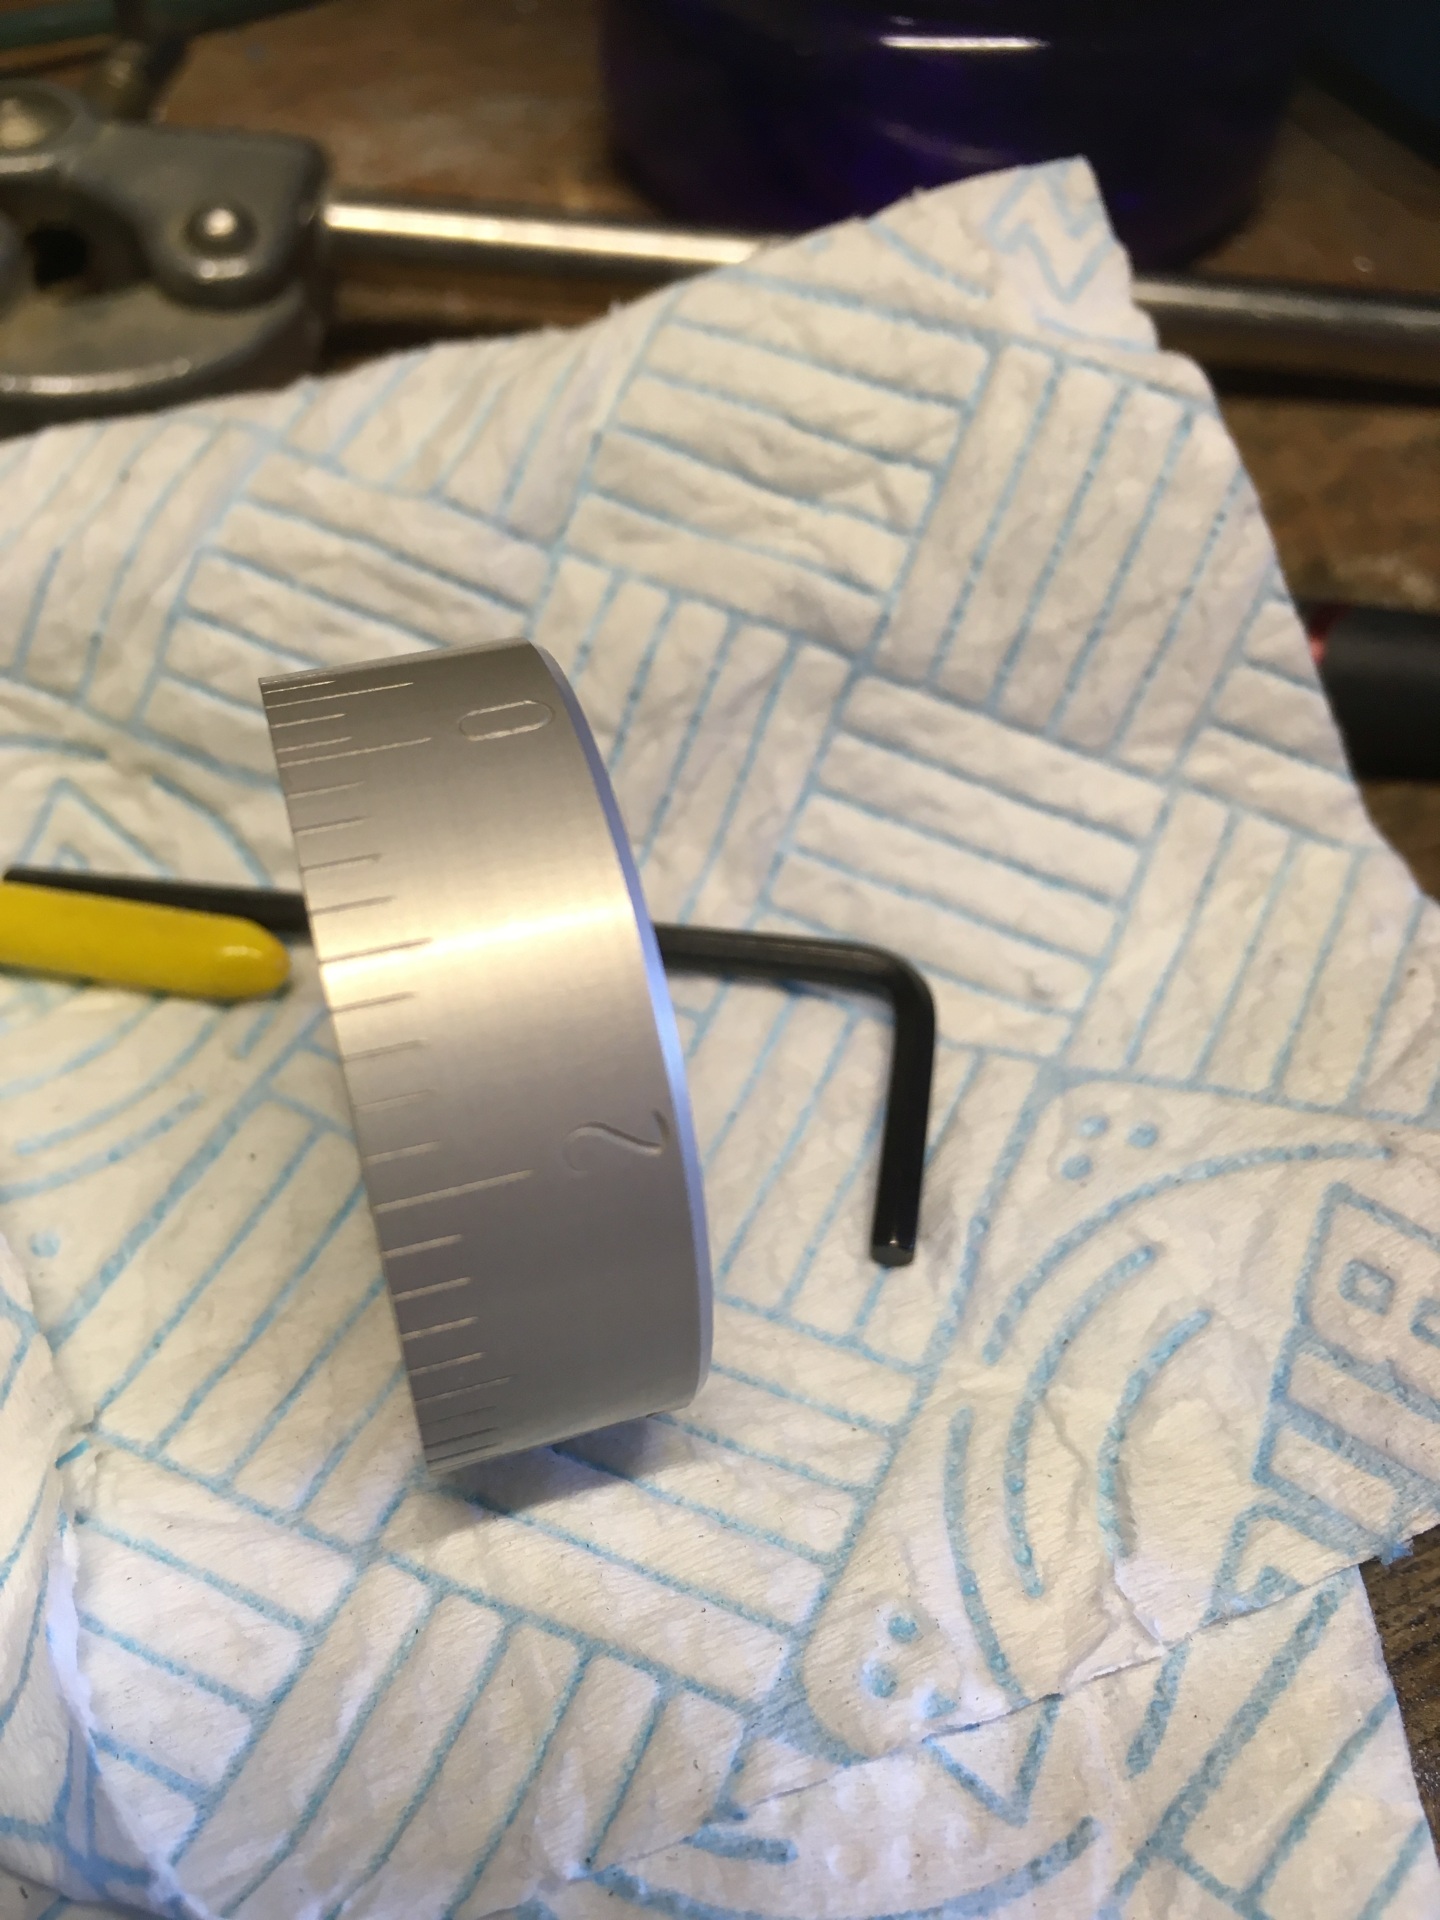
(different parts, I know…)
4) Connect up the power (negative to the lead, positive to the busbar carrying the parts) and adjust the current limit to the calculated value. Check there are fine bubbles coming from the parts. I leave them anodising at the required current for 2 hours. They get an occasional gentle swish around to try and shift any trapped bubbles. Rinse with DI water at the end of the time.
5) Transfer to the dye bath if colour is required (I use 30 mins @55°C for the black) then rinse with DI water and transfer to the sealing bath.
6) Seal in a pan full of tap water on a gentle rolling boil for 20 mins before rinsing with tap water and buff dry with a soft cloth.
You can keep the solutions clean and use them again and again – They just live in their plastic containers in the meantime.
I did eventually change the anodising bath after 18 months. It was still working fine, but there was quite a thick deposit in the bottom so felt it was worthwhile taking the trouble to change it.