
Guitar bindings
The ‘bindings’ on a guitar are the decorative strips around the edges of the top/back of a guitar body. They’re fitted to rebates machined into the edge of the top or back of the guitar after the body is glued together.
For the bindings to look neat, the rebates need to have a uniform depth and be square to the sides of the guitar. Because the top and bottom of a guitar usually have a subtle domed profile, a normal bearing guided bit doesn’t work well because the angle of the edge isn’t 90 degrees, and it varies as you move around the edge of the guitar body.
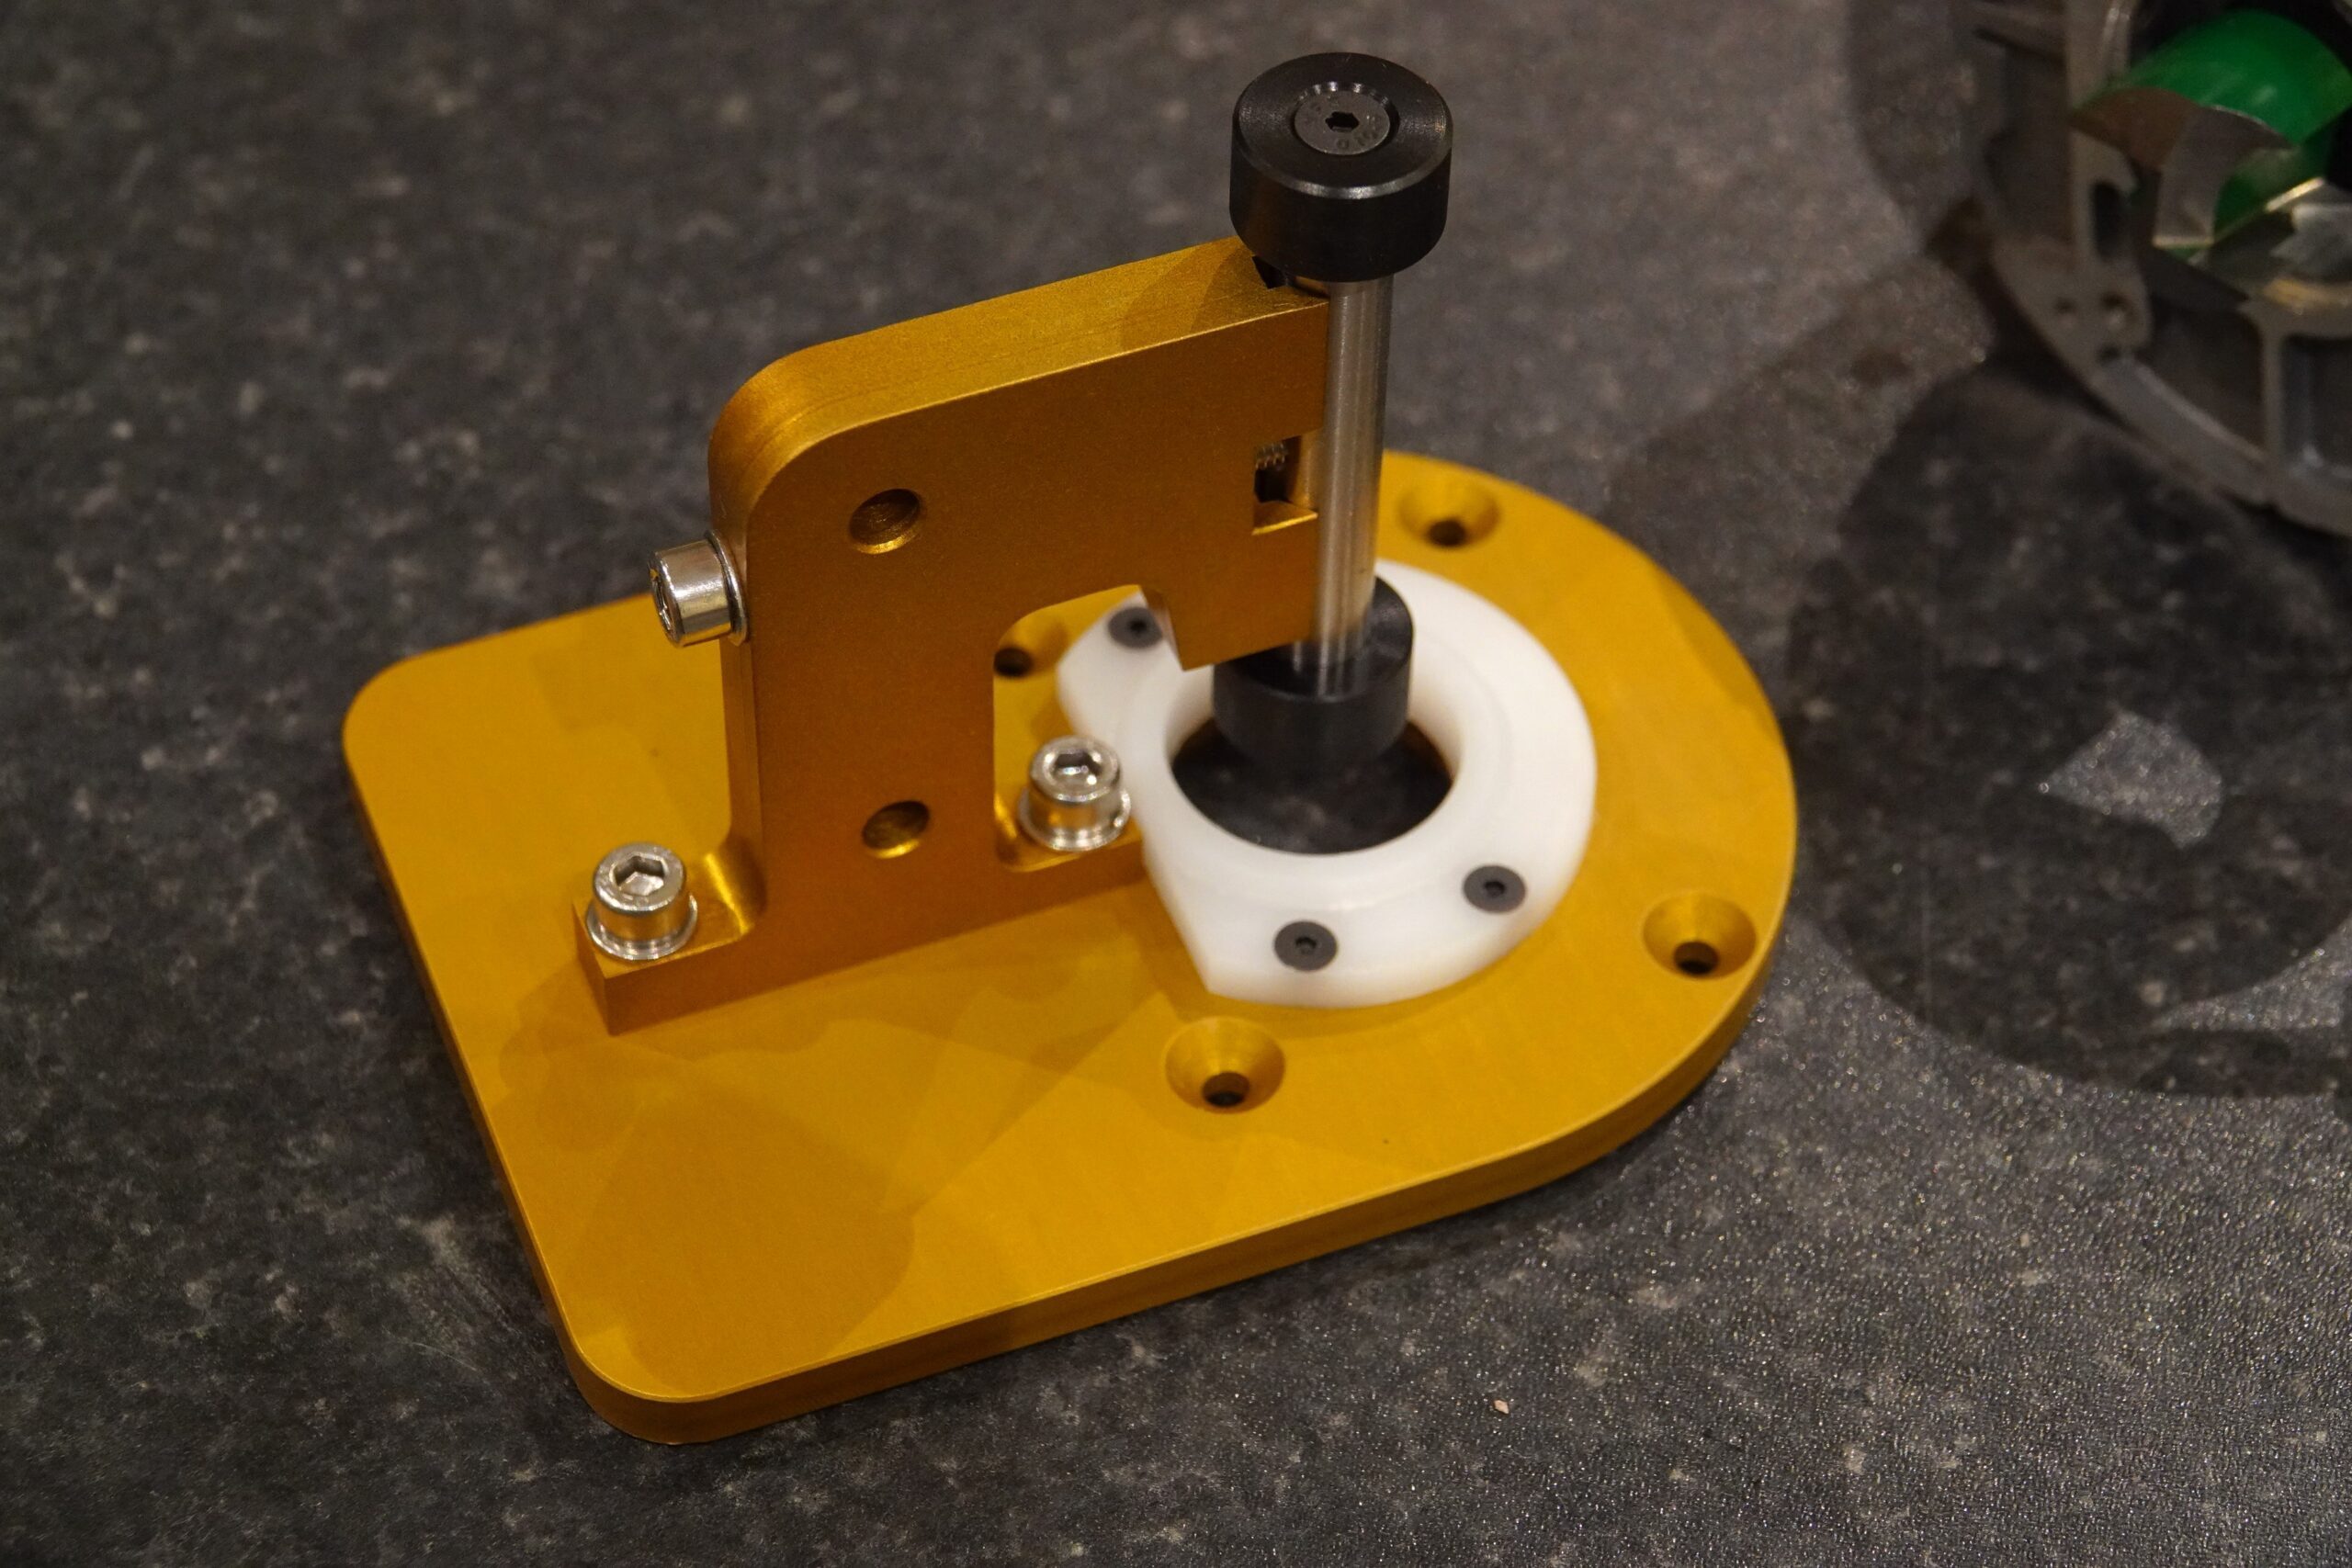
This is ‘inspired by’ (copied from) similar designs on the web. The idea is that a spool shaped guide keeps the router in line with the guitar side, and a collar locates on the very edge of the top/back to control the height of the router. The depth of cut is set by changing the diameter of the guide spool relative to the cutter.
Design
The jig was indended to screw straight onto the base of a Katsu trim router. The design and CAM were done in Fusion360

Manufacture
The body is mostly ~8mm thick aluminium that was cut out in several setups on my homemade CNC. The top of the base plate and the steel shaft were machined on the mini lathe:


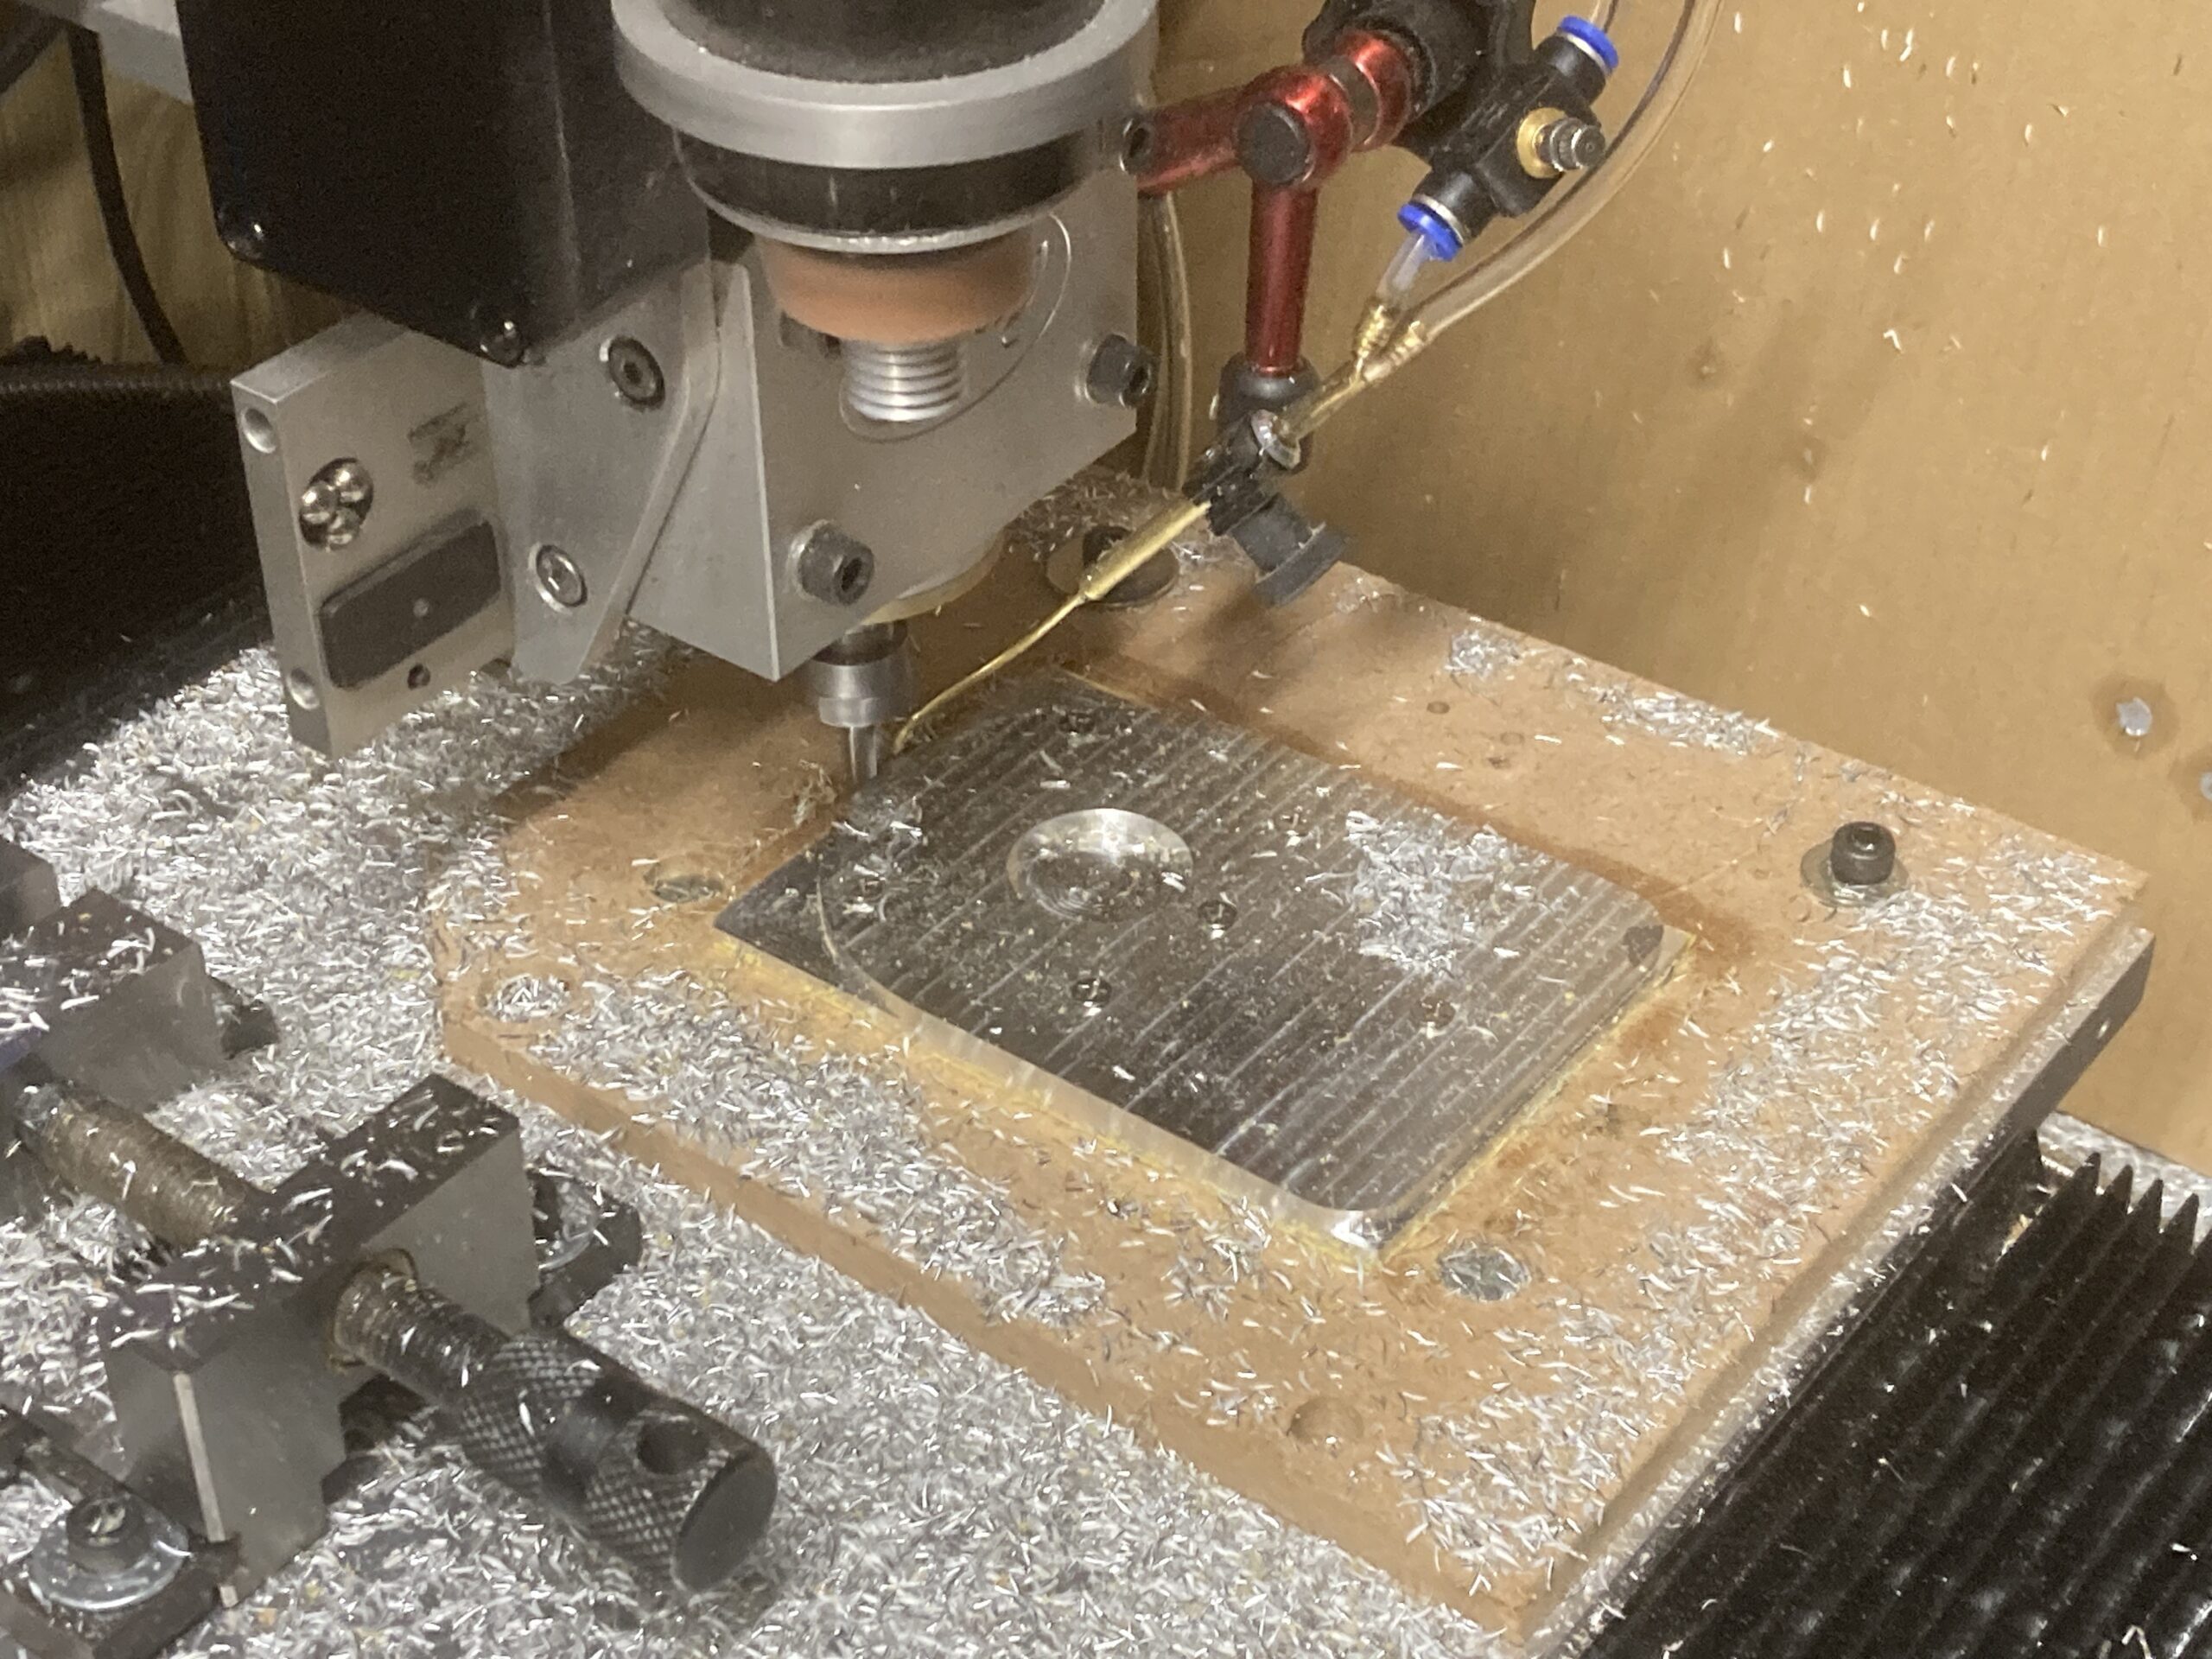
Machining the height collar

All the aluminium parts were anodised, trying out my yellow dye for the first time:

Finished
The assembled jig:
The jig mounted on the router with a cutter in place:

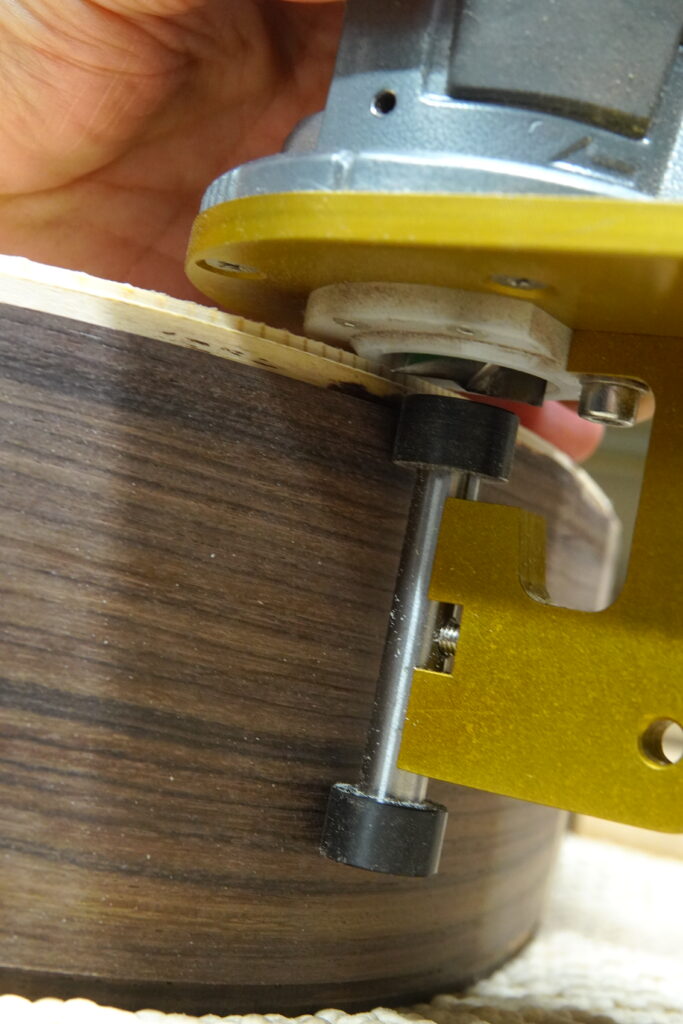
The jig in use on my acoustic guitar build. In practice, it worked very well:
The finished result:
