
I got fed up trying to find affordable shorter cranks for my Farley 5 fat bike, so decided to take matters into my own hands and try and plug the existing 175mm cranks and re-drill them at 165mm (I’ve found I get a sore knee on 175mm cranks, but 165mm suits me fine).
The implements of destruction:
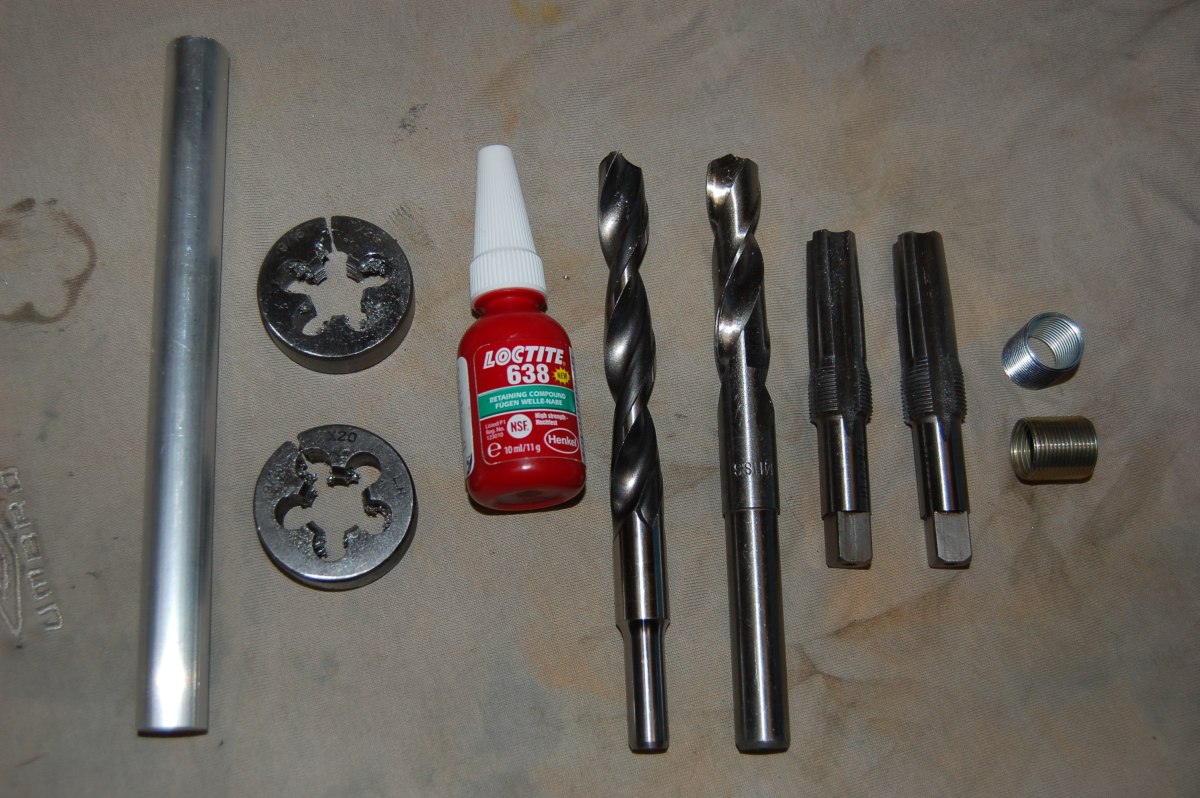
(Mostly from a buying frenzy on ebay). From left to right:
- 15mm 6061 T6 aluminium round bar (note that it needs to be something pretty hard, like T6 temper to avoid deforming under the load from the pedals – plain aluminium would be no good);
- 9/16″ x 20 tpi dies – left and right hand;
- Loctite 638 retaining compound;
- 13mm bullet point drill;
- 14mm drill Pedal thread repair reamer/tap (left and right handed);
- Pedal thread repair inserts (left and right handed).
Plugging the holes
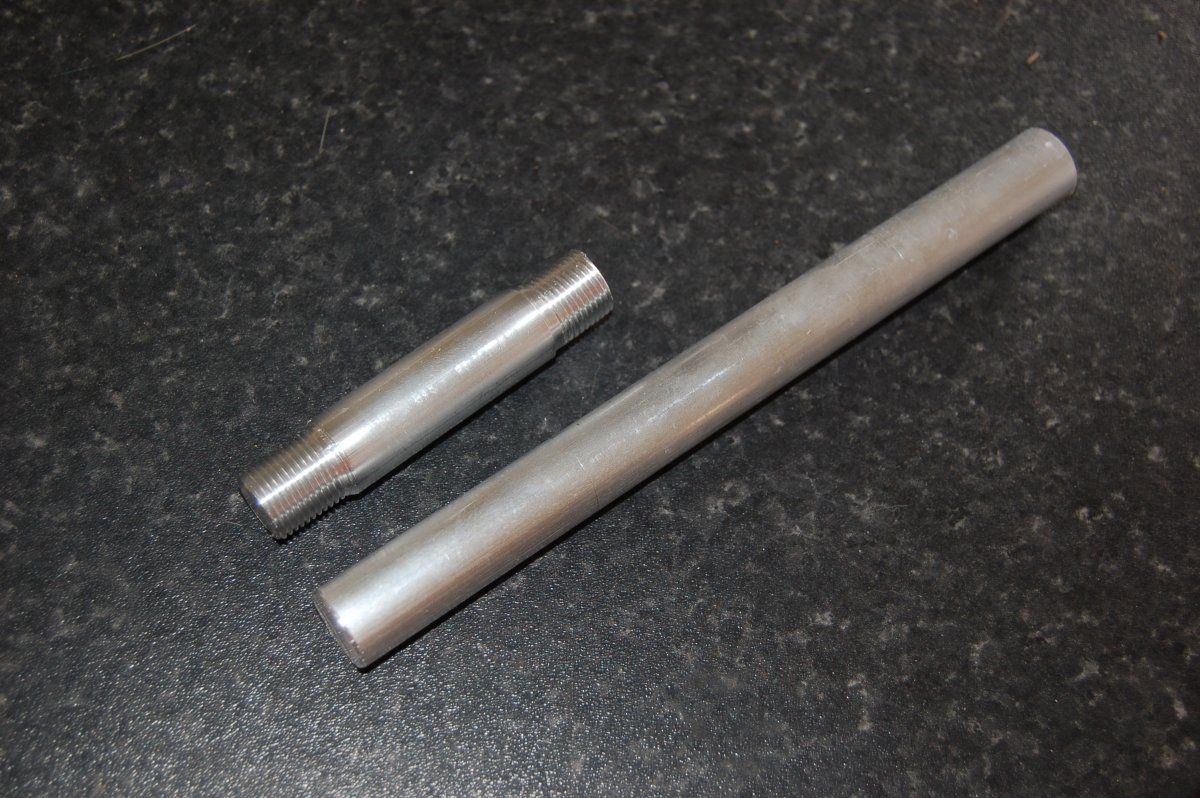
The 15mm diameter bar was too big to tap directly, so I had to ask a favour of someone to cut a piece off and turn the ends down to 14.3mm so that I could tap LH and RH threads on it and split it into two:
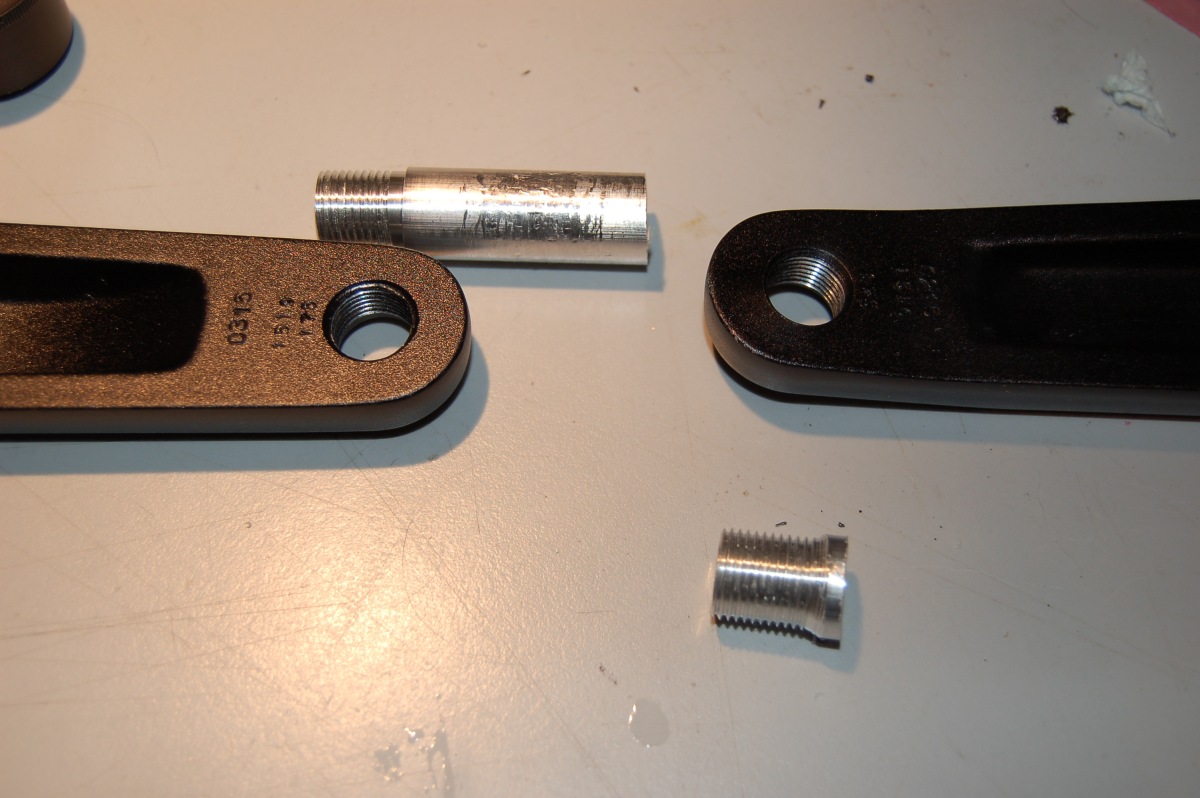
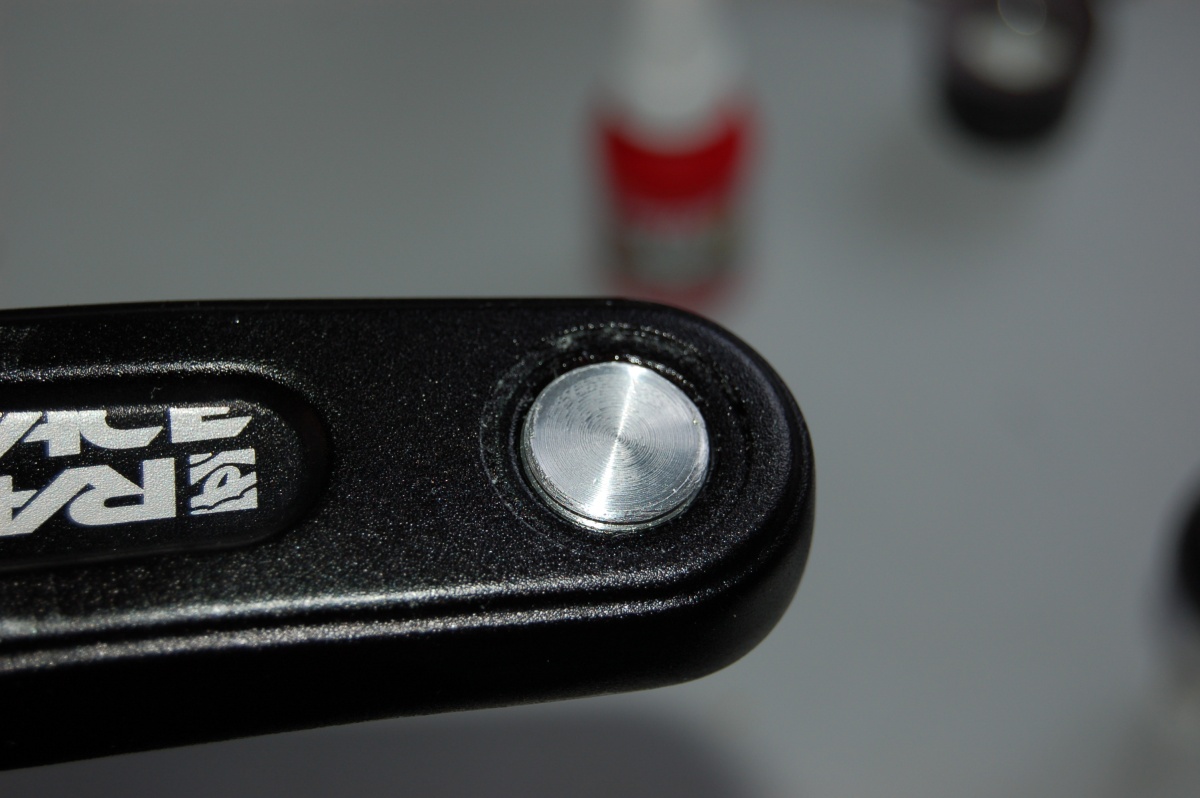
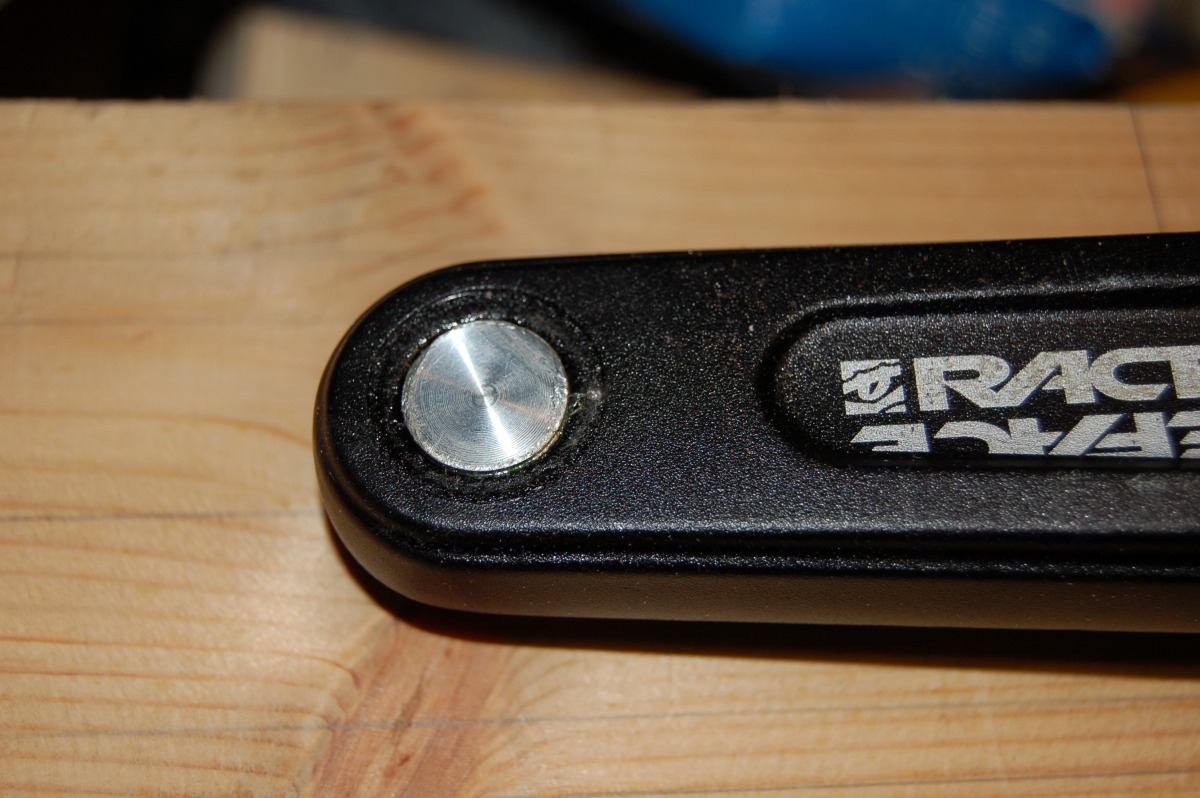
After thoroughly scrubbing and degreasing the aluminium plugs and the crank threads, the plugs were fitted to the cranks with the Loctite 638 (really strong threadlock) and set so that the tidy face was level with the outside of the crank:
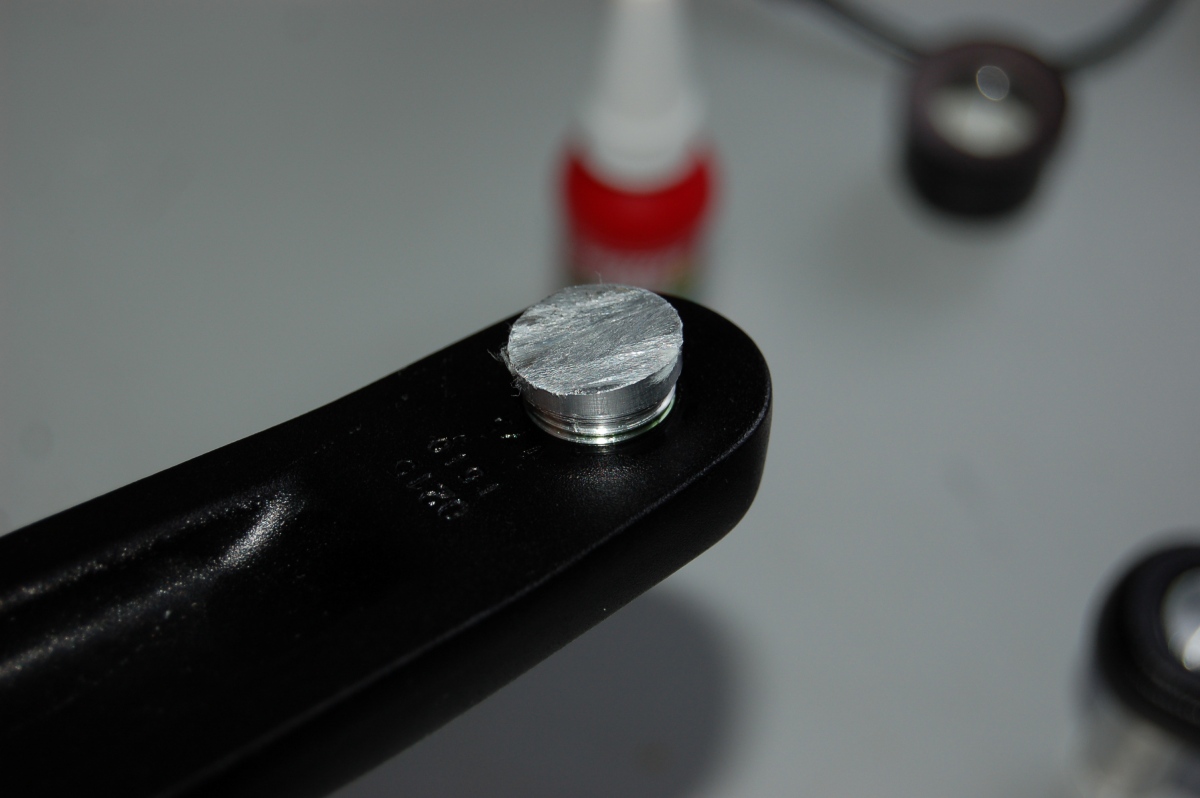
After letting it set overnight, I had a damn good try at unscrewing the plugs to confirm that the Loctite had worked – it had! Then I trimmed the excess off as best I could:
One day I will learn to cut straight… (my metalwork teacher would be spinning in his grave.)
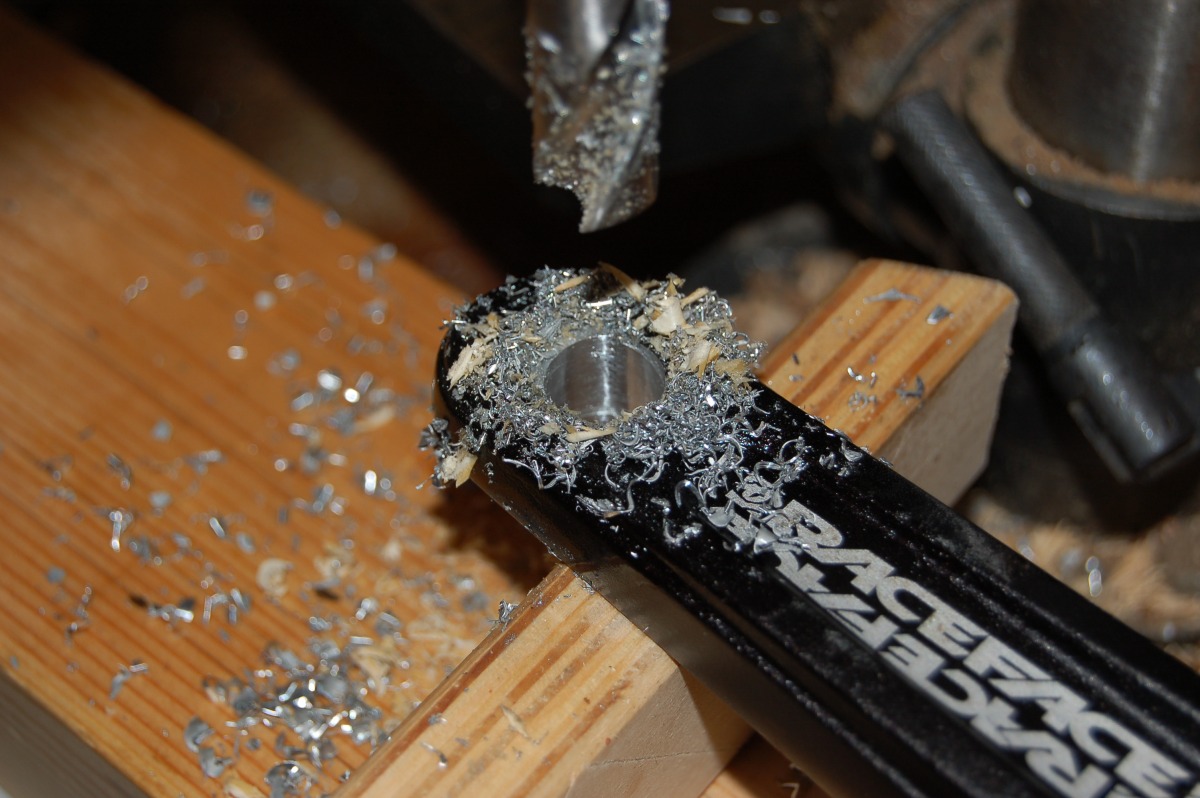
Drilling new holes
To try and make sure that the new holes were parallel to the crank (nobody likes a wonky pedal) I made a wooden jig with a hole through it which was a close fit on the crank spindle (24mm). This took a bit of care to make, as I wanted to get the hole as square as possible, but it had to be drilled in stages as the drill bit wouldn’t reach through the full thickness. The crank itself can be used to check that the finished item is square.
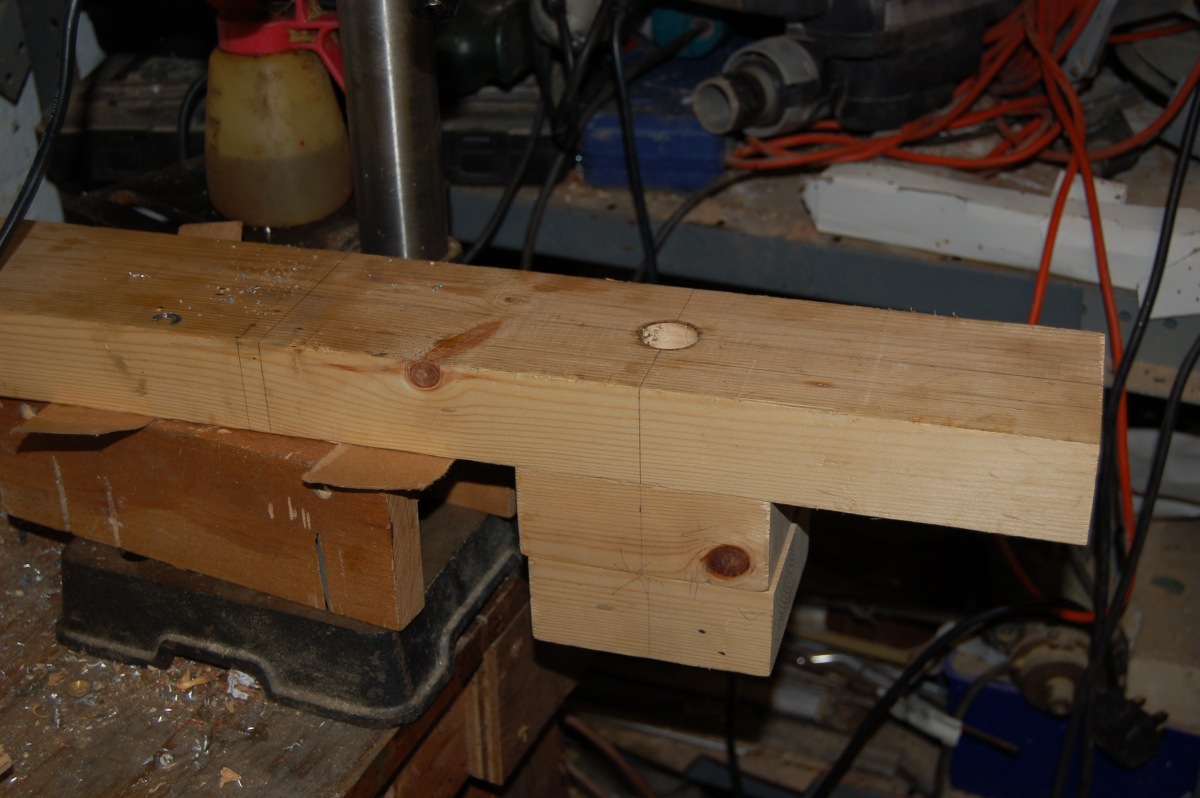
Note that the weight of the cranks is taken on a separate block of wood under the drill spindle – the hole is only for alignment.
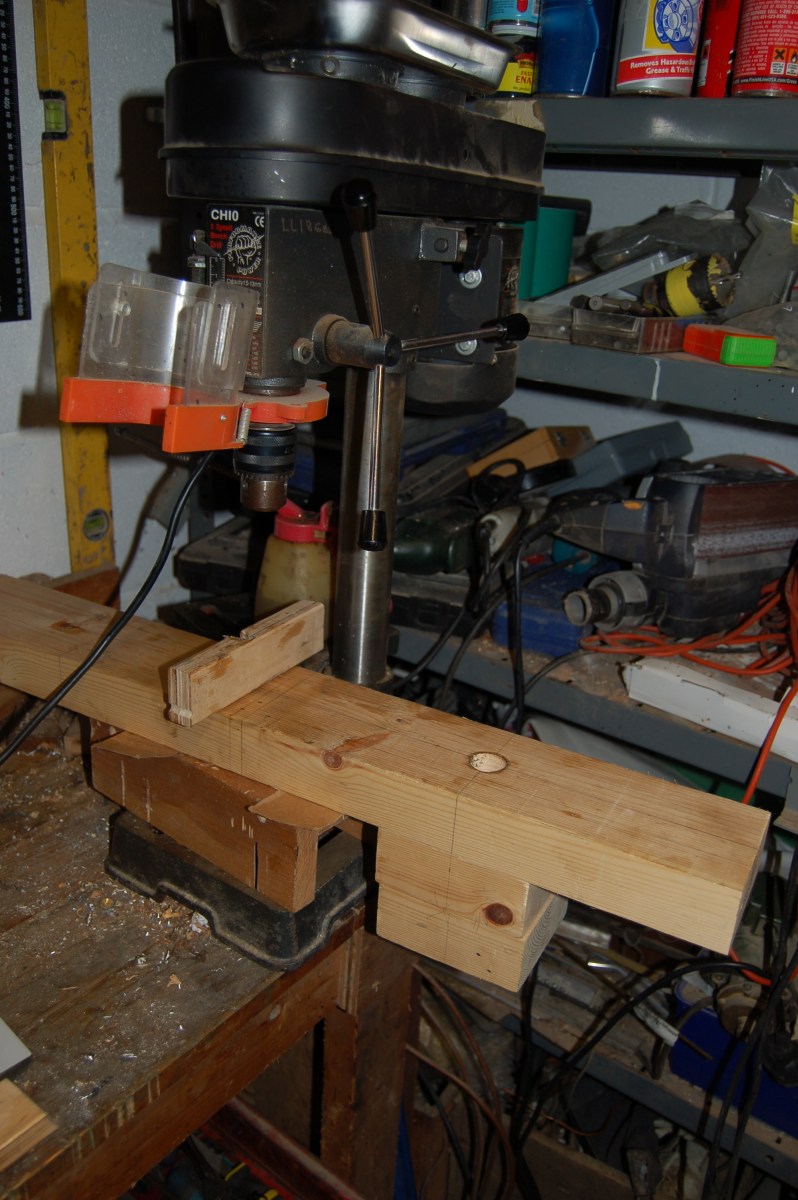
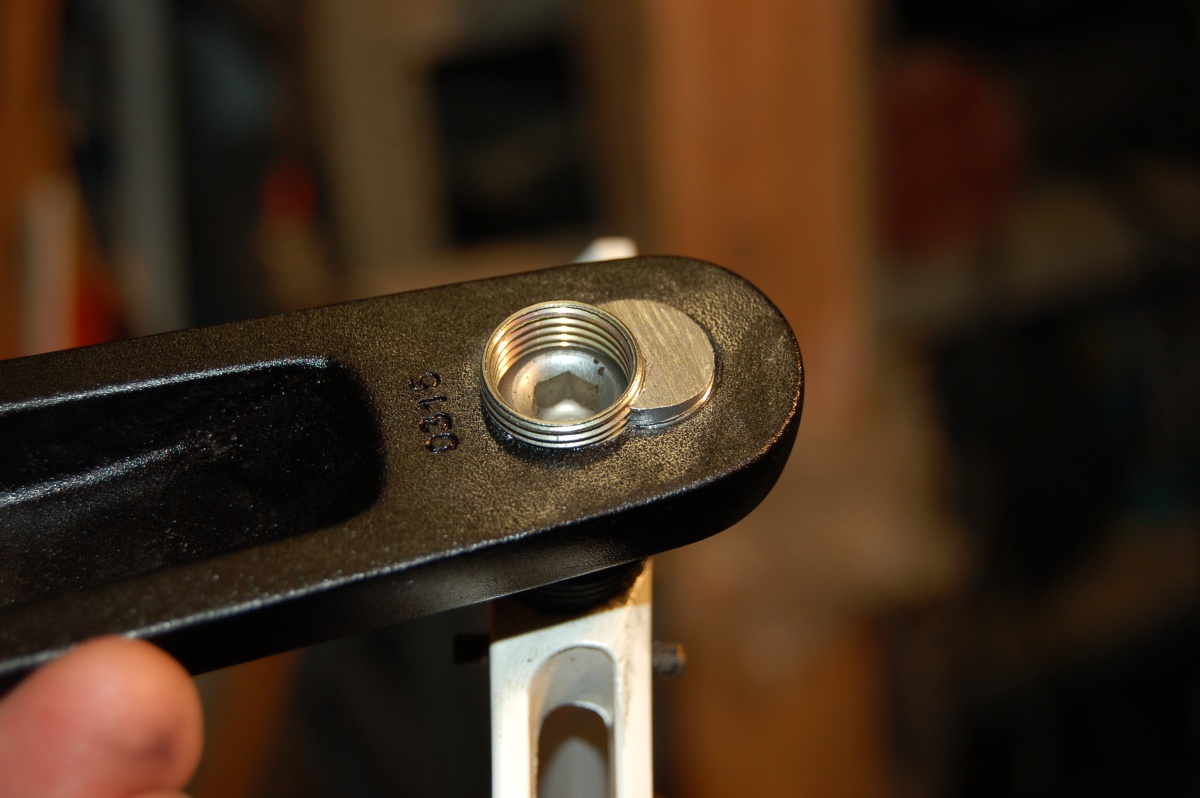
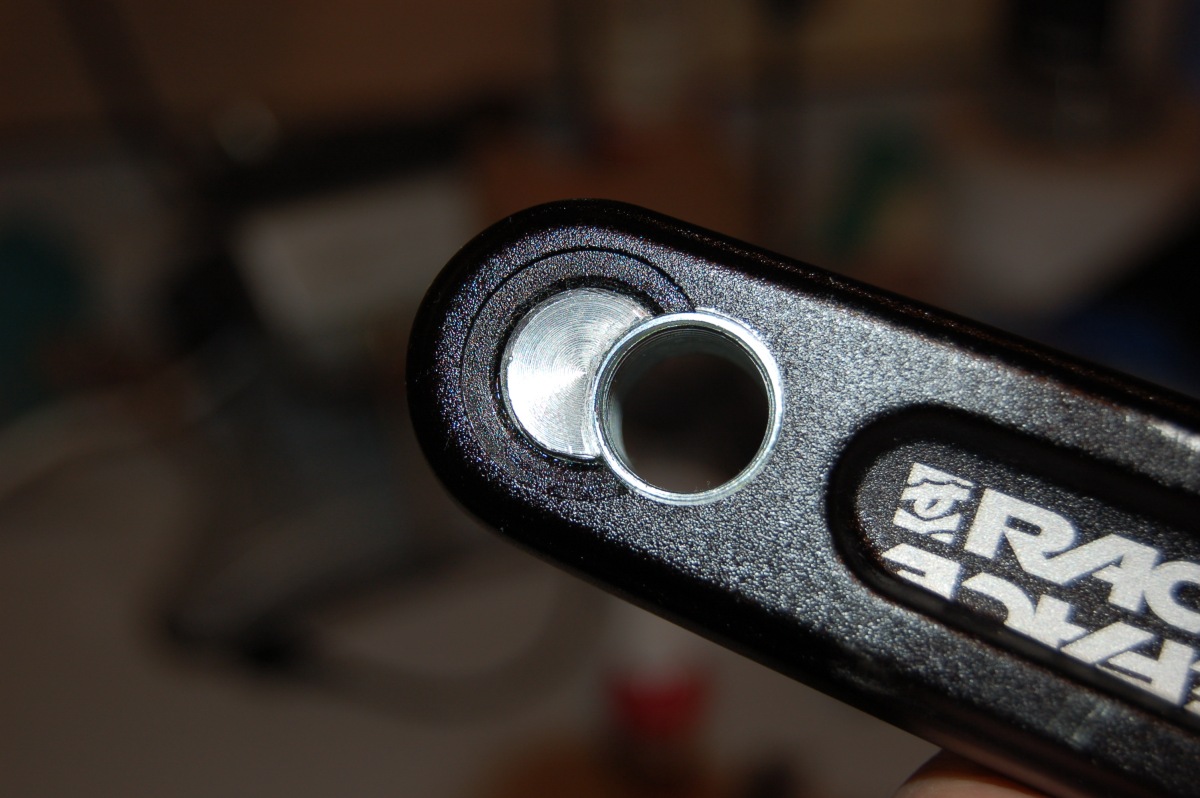
A bit of careful measuring and the location of the new hole was marked and centre-punched. It is quite close to the shoulder of the pedal washer recess.
I used a centre drill to start the hole to try and ensure that the drill bit didn’t get kicked over by the recess, then drilled through with the 13mm bit (it is a “bullet point” bit, and doesn’t need a pilot hole to drill accurately).
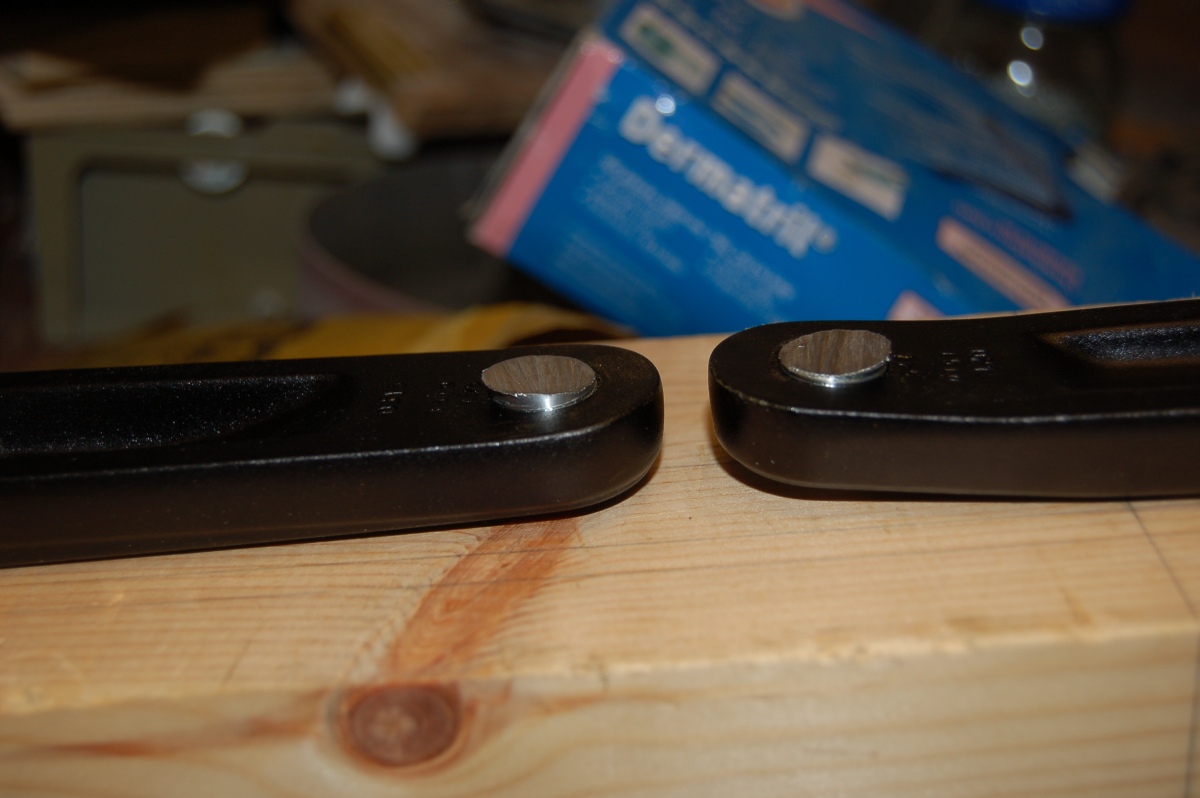
No going back:
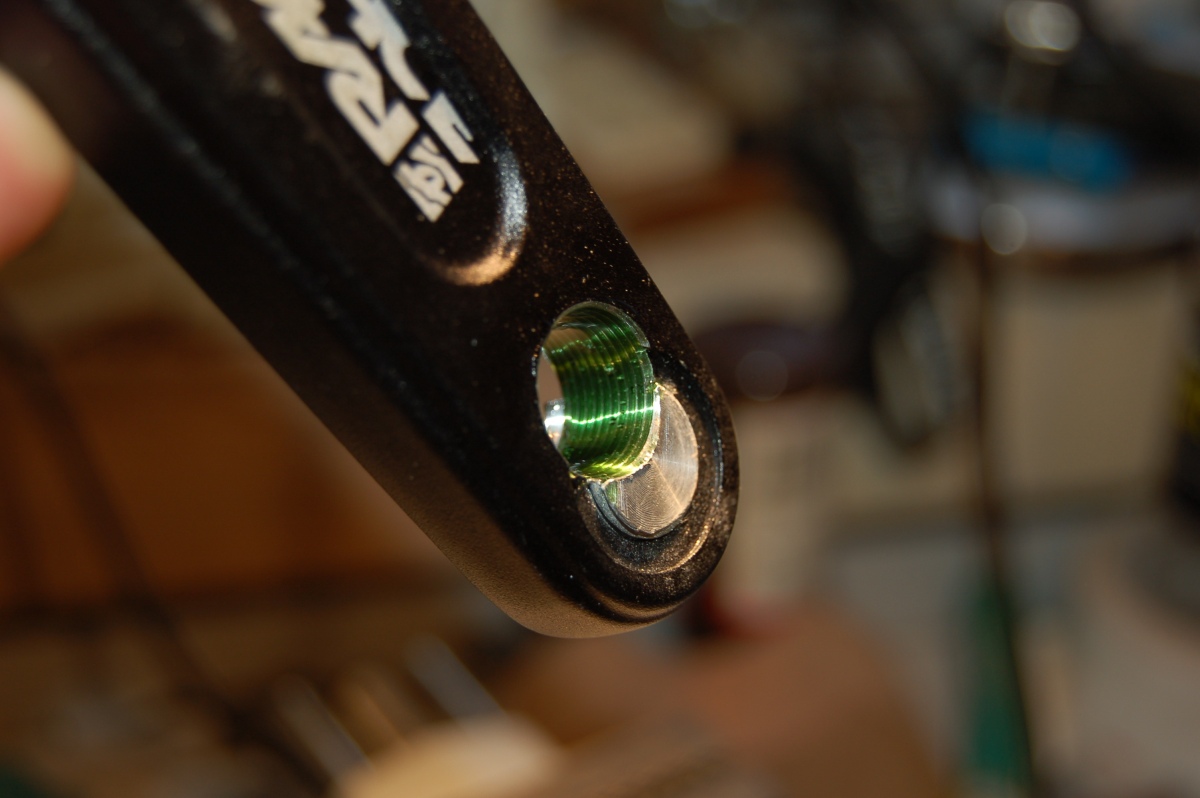
Fitting thread inserts
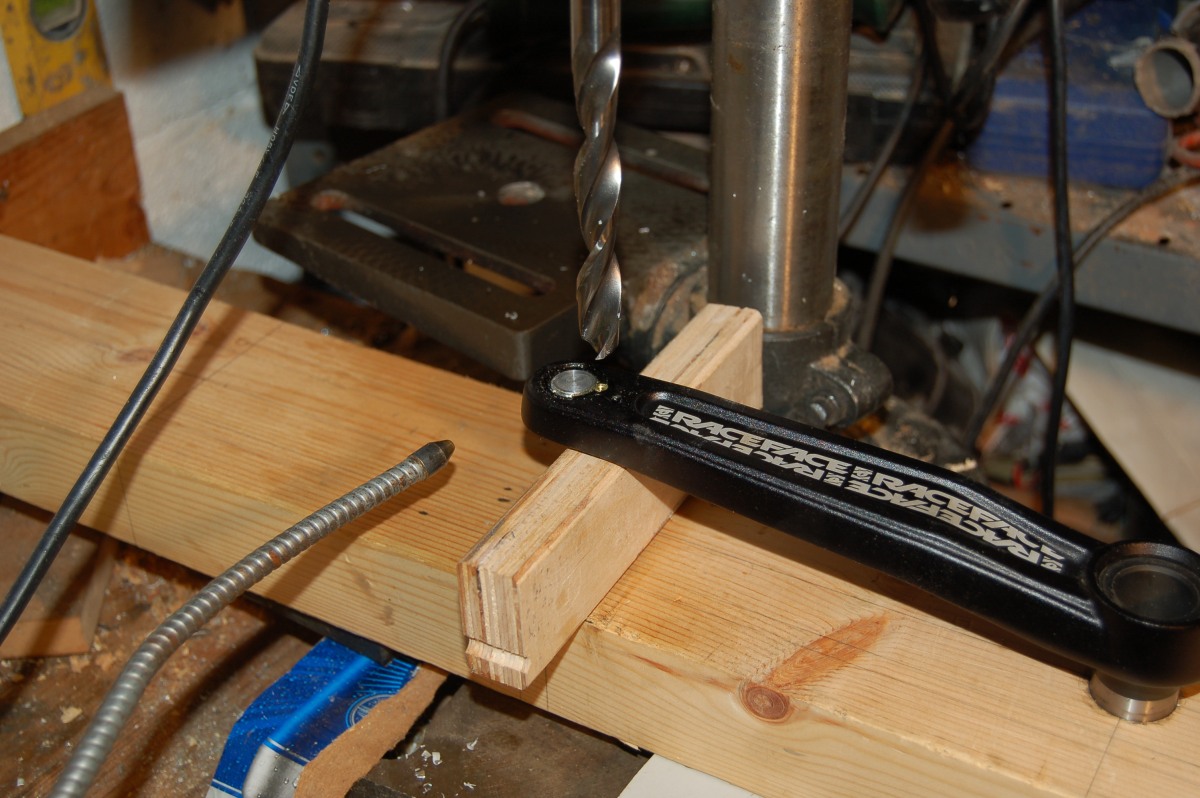
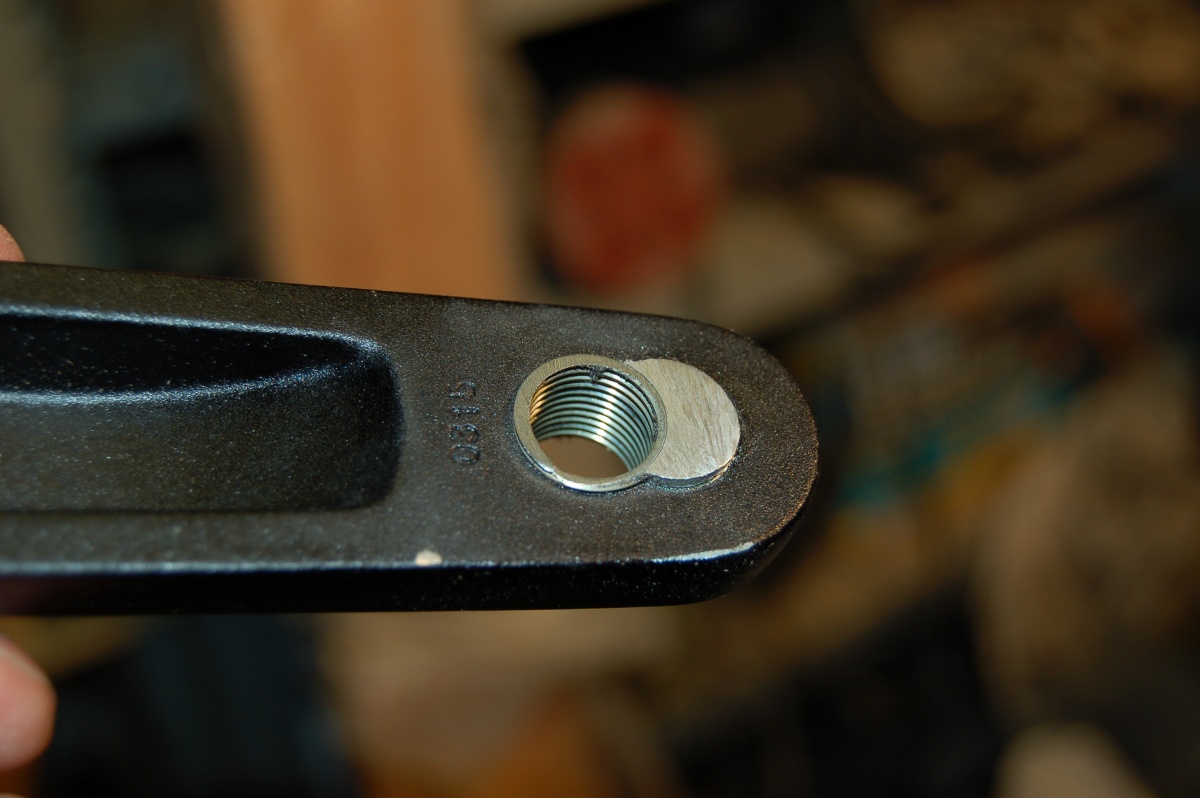
I could have tapped these holes for pedal threads directly, but was bothered that the wedging effect as the pedals were tightened would fall across the glue line for the threaded plugs, so wanted to bush the holes with crank repair inserts to reinforce them. This meant opening the holes out to 14mm
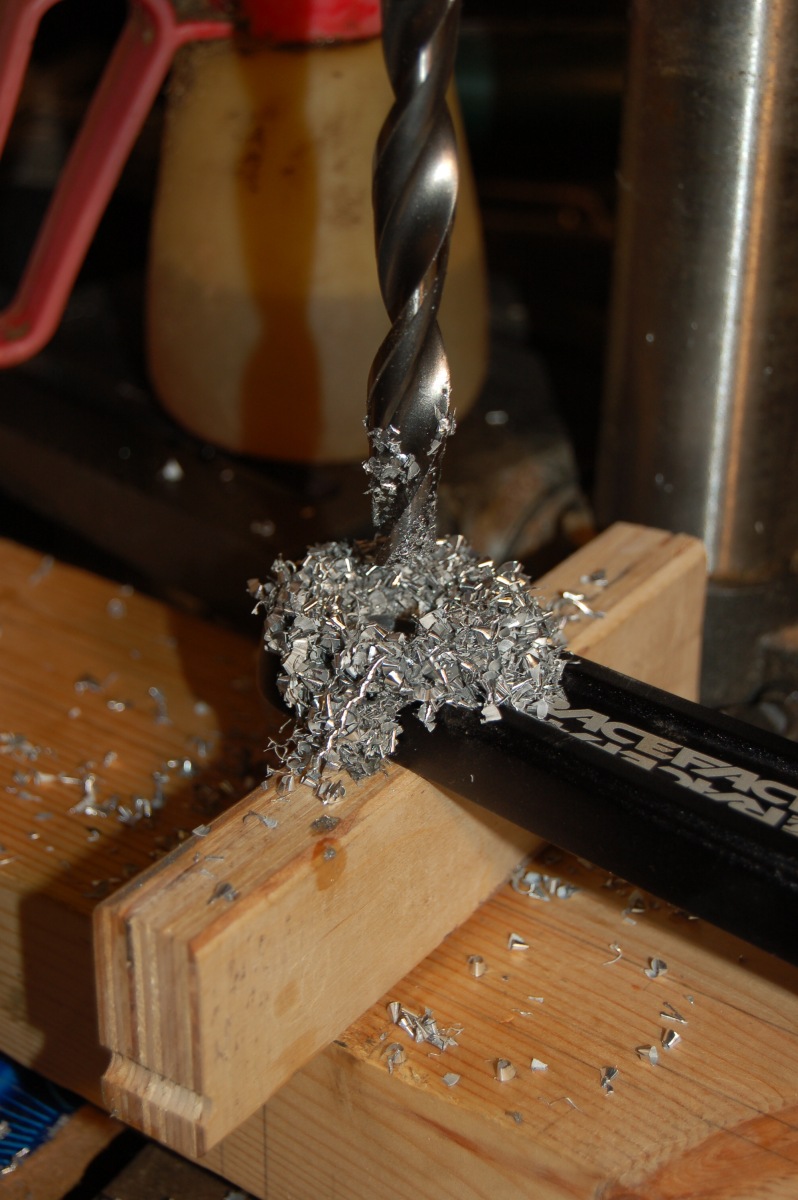
and using the combined reamer / tap to cut threads for the repair insert:
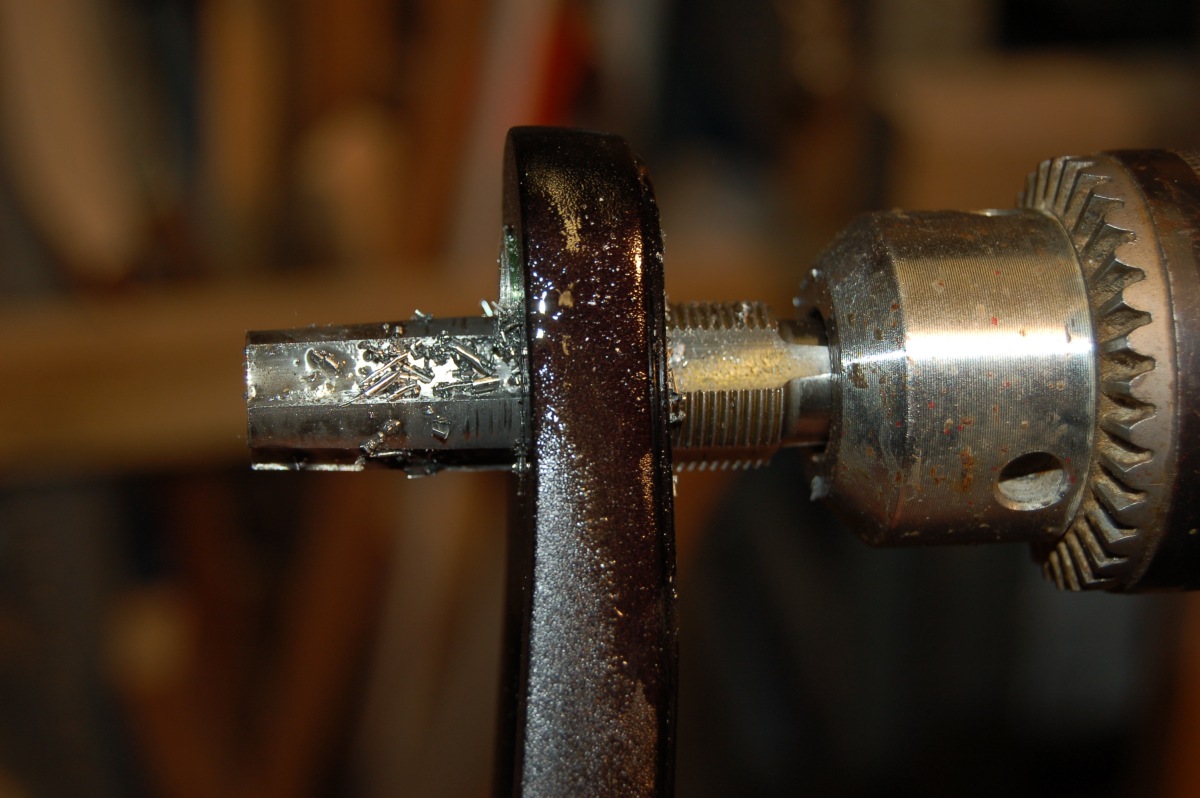
(It isn’t in the drill here! The drill chuck is a loose one that I was using as an improvised tap wrench as my tap wrench was too small to take these taps). All through this, I was chanting to myself “left crank – left hand thread – left crank – left hand thread – … …”
(I hid the wrong tap from myself and then had a cup of tea before re-checking that I had the correct tap… twice).
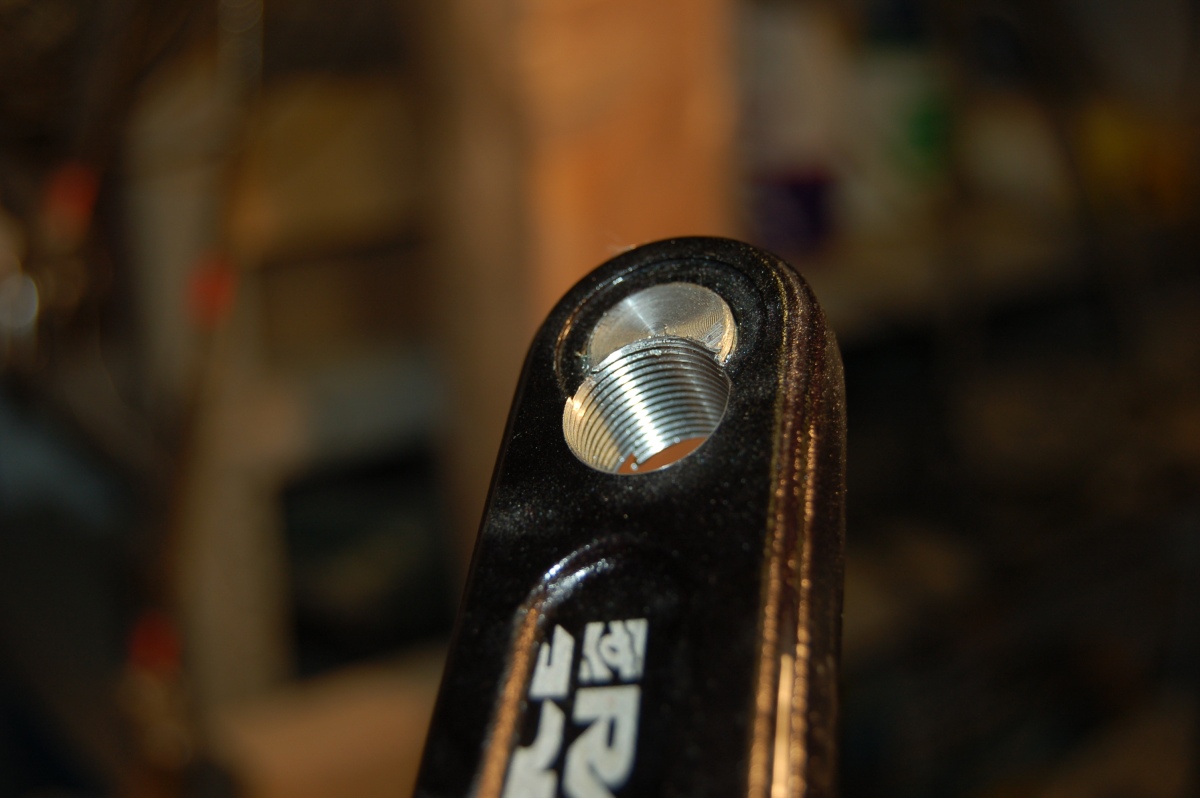
Looks about right…

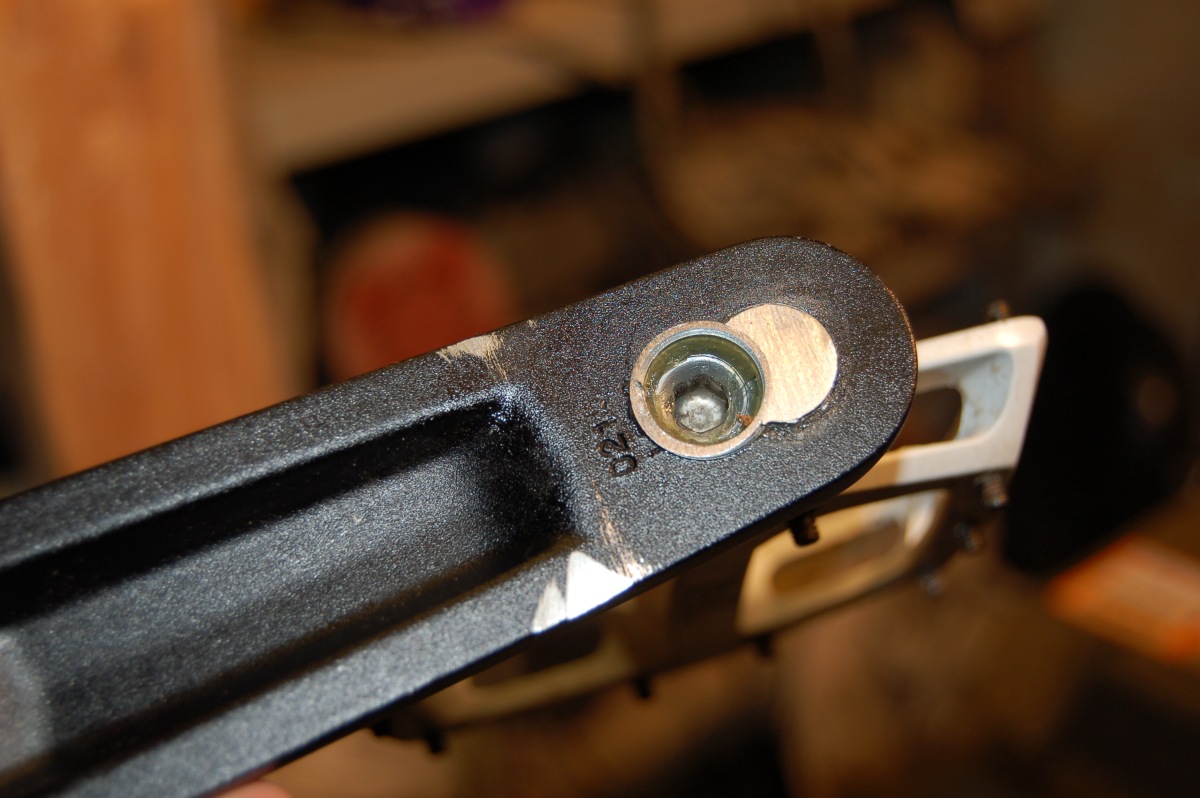
Same again for the other side, then some more Loctite (after cleaning and de-greasing everything again) to secure the inserts:
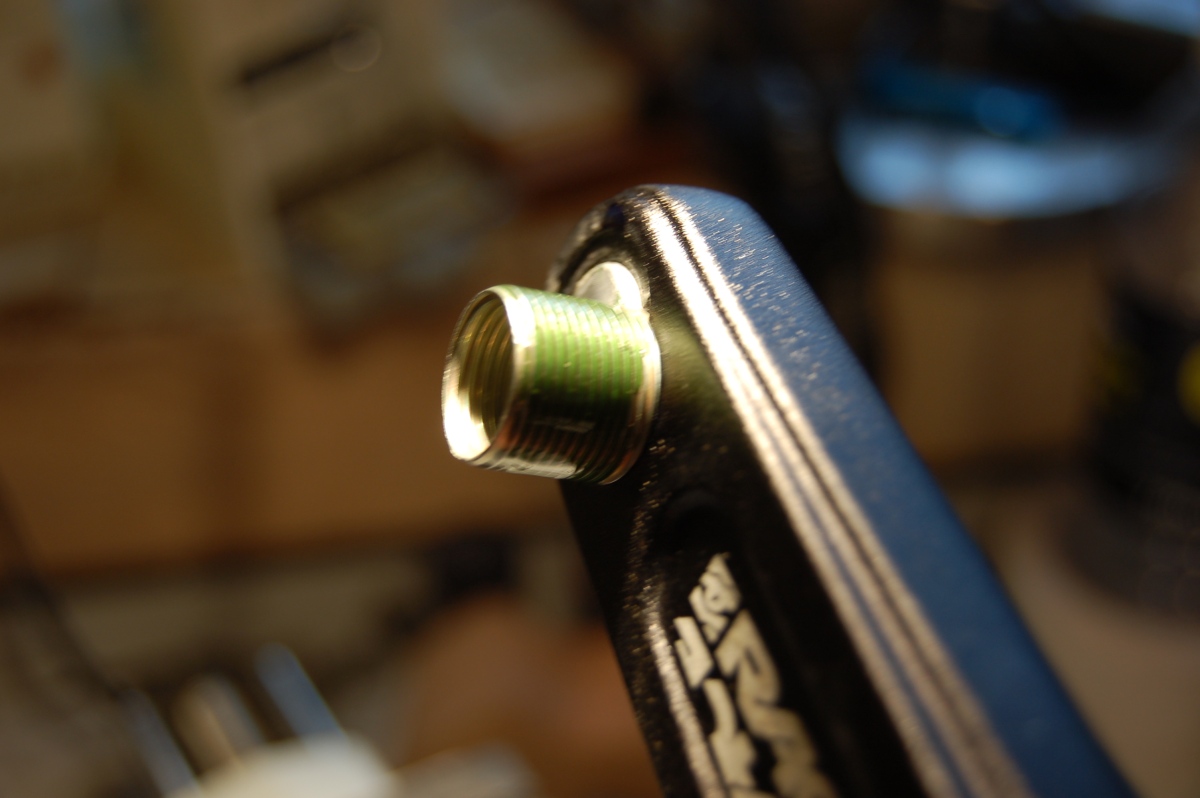
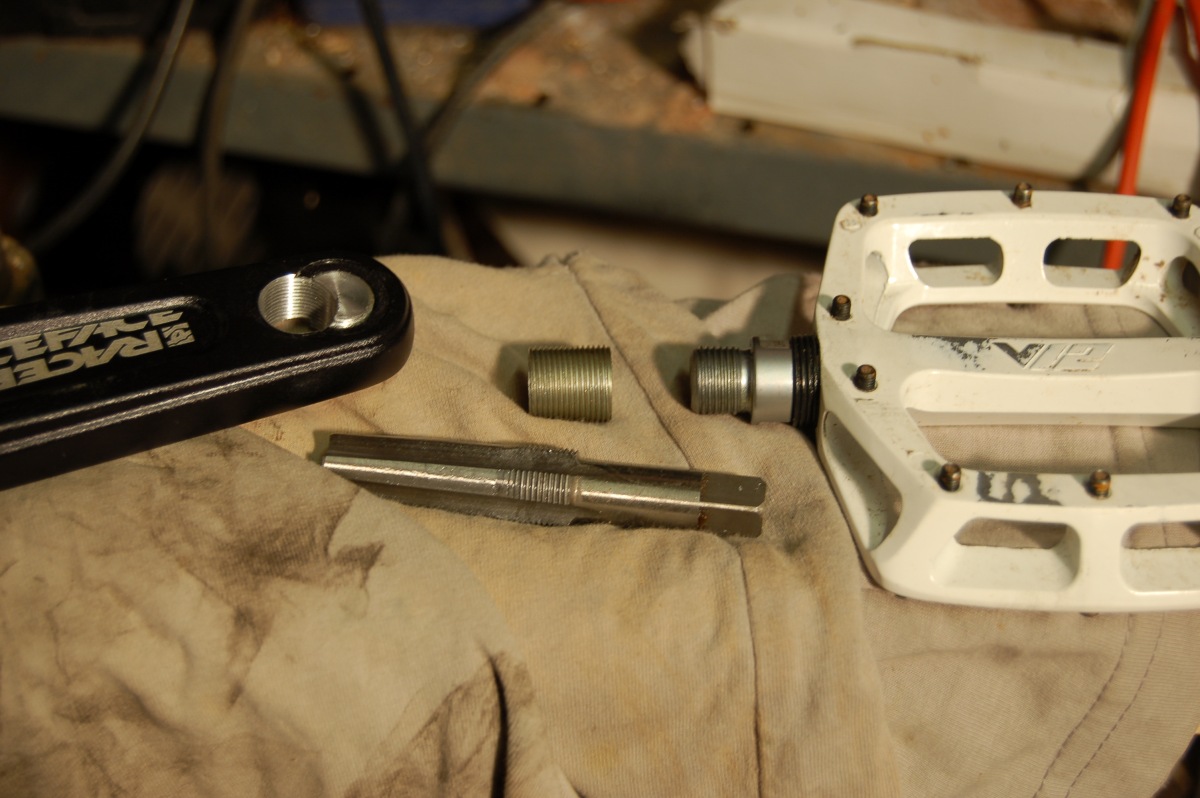
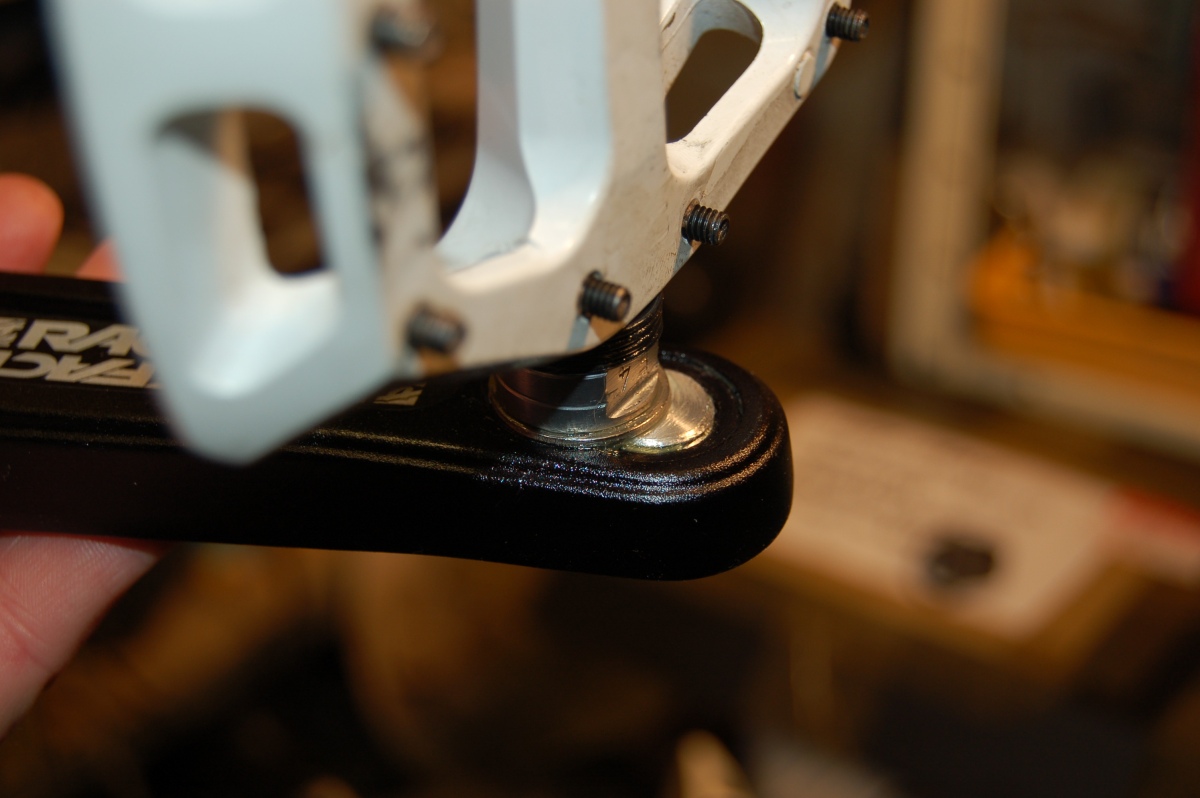
The pedal threads were heavily oiled and fitted to the inserts and tightened up to make sure that the inserts were fully home and tight.
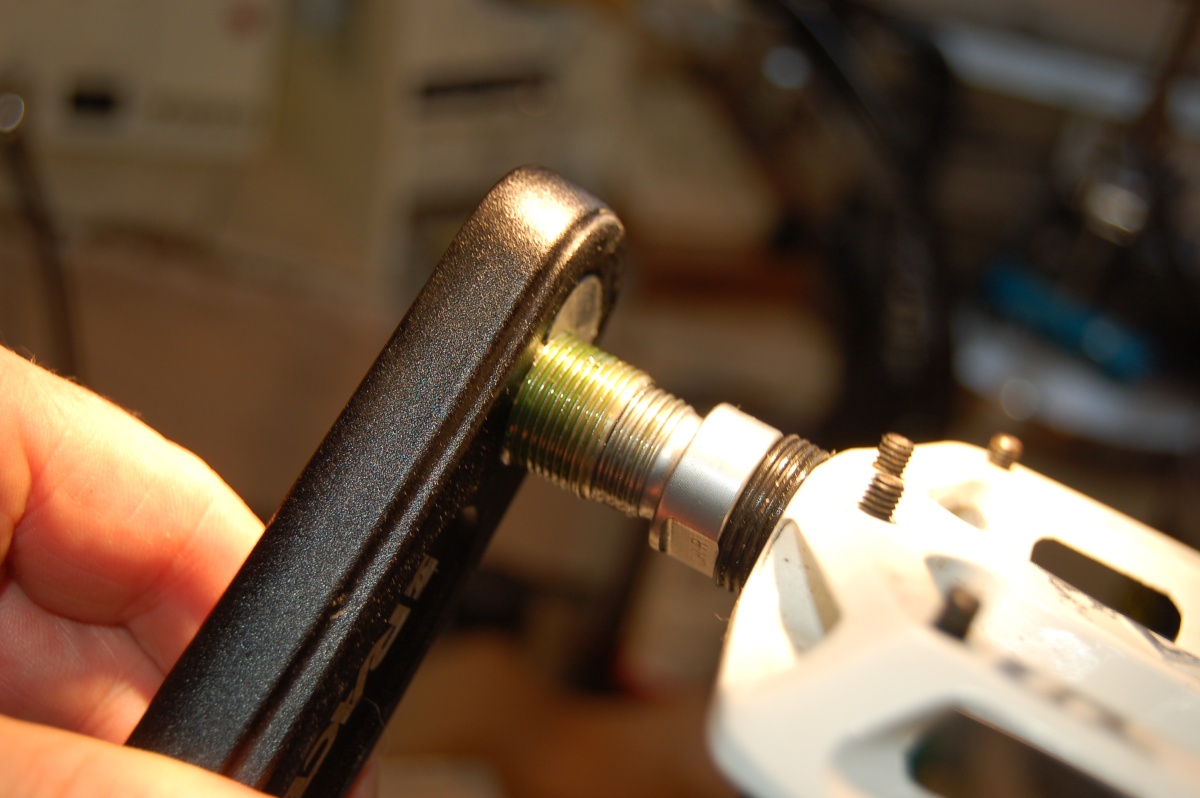
I checked that I could still loosen the pedals after a few hours and then left it all to set overnight. Pedal side:
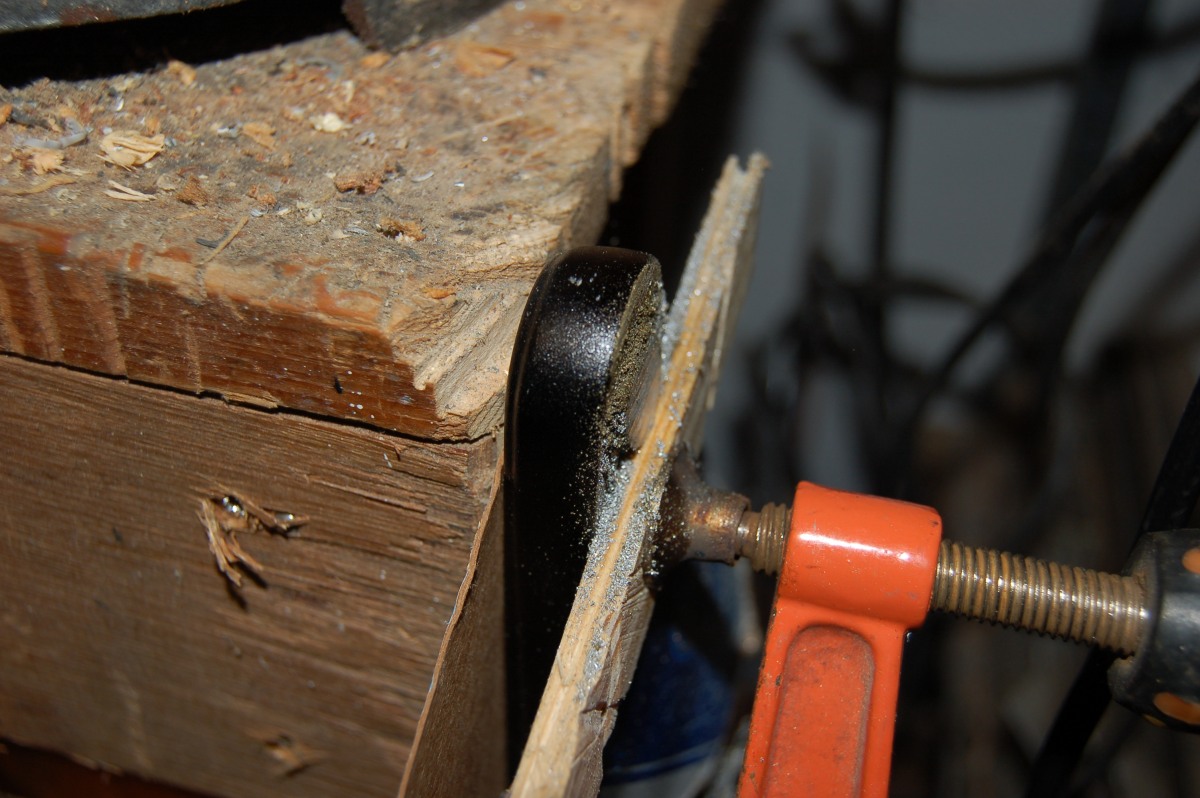
I got lazy and decided to use the belt sander to clean up the back of the cranks. This actually worked OK once I got the hang of it:
Unfortunately the first one didn’t go so well:
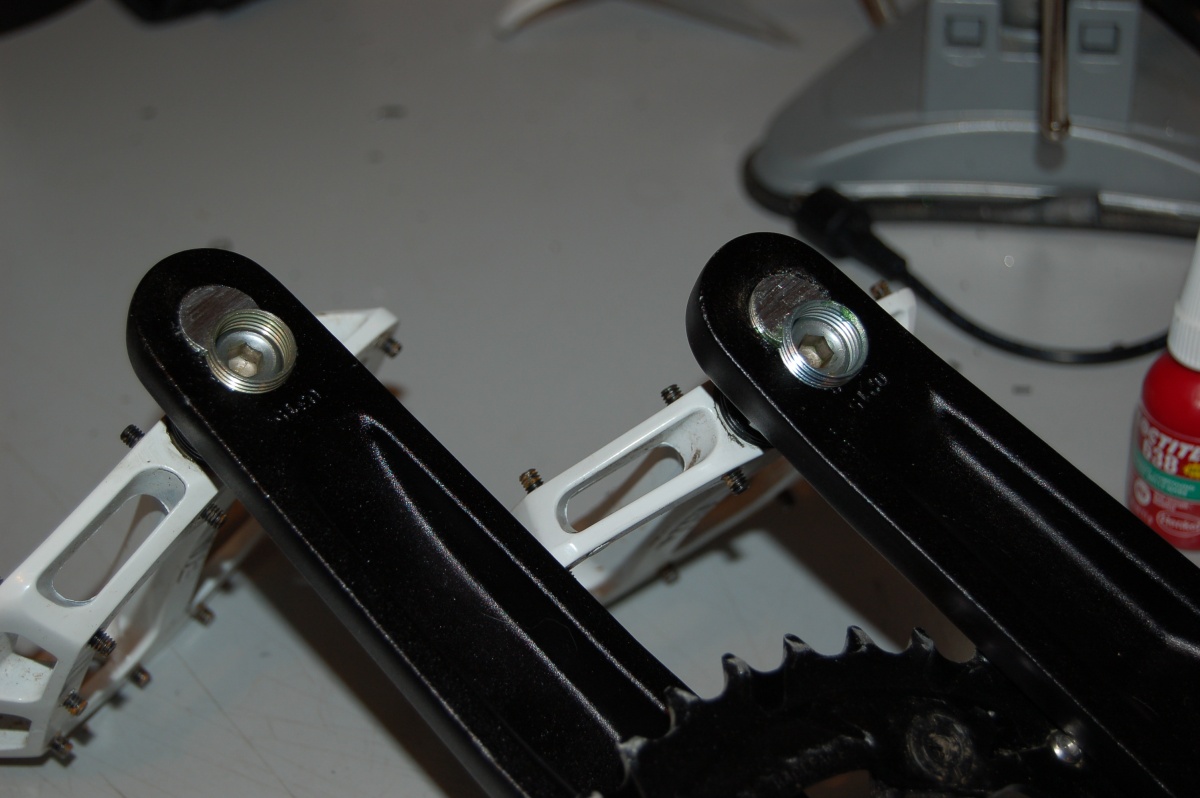
Still, it’s only cosmetic. Pedals fitted and back on the bike:

A brief test-ride around the block in the dark confirmed that nothing wobbled or fell off, and they’ve been been fine ever since (4 years and about 1500 miles at the time of writing this page). I considered taking some material off the end of the arms, but decided that this risked weakening them too much. In practice, the slightly long arms haven’t been an issue at all.
Don’t try this at home, kids!