
Some things that have gone wrong
1) Bad cleaning
Despite (I thought) scrubbing the ‘feet’ thoroughly, the one on the left didn’t anodise properly. I don’t think this has happened if I’ve rinsed the parts in solvent before water cleaning. Cleaning is the biggest bug-bear.
2) Bubbles
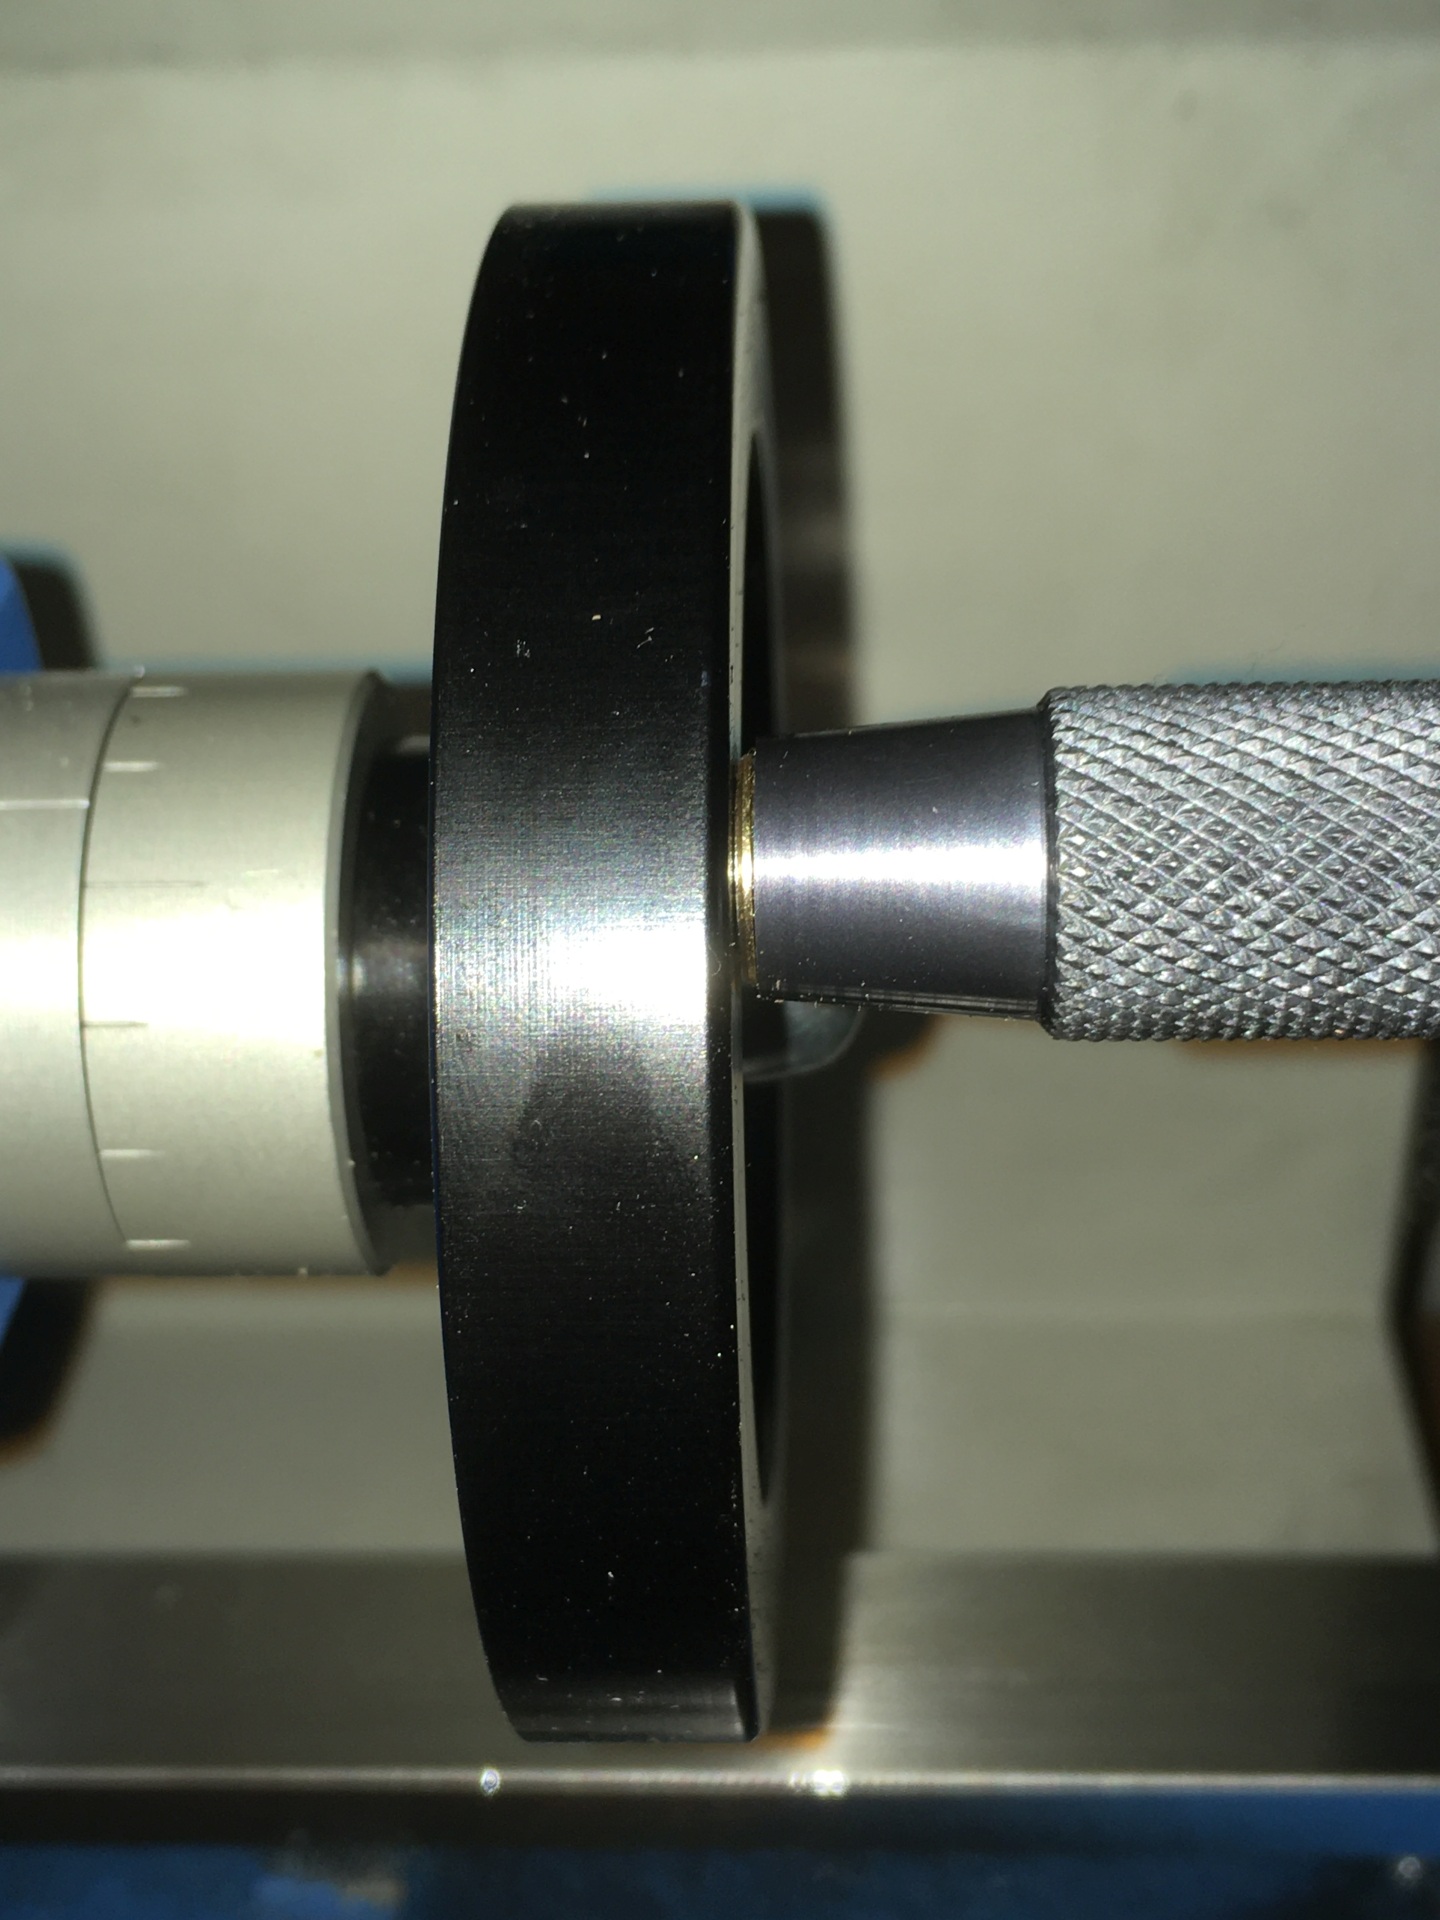
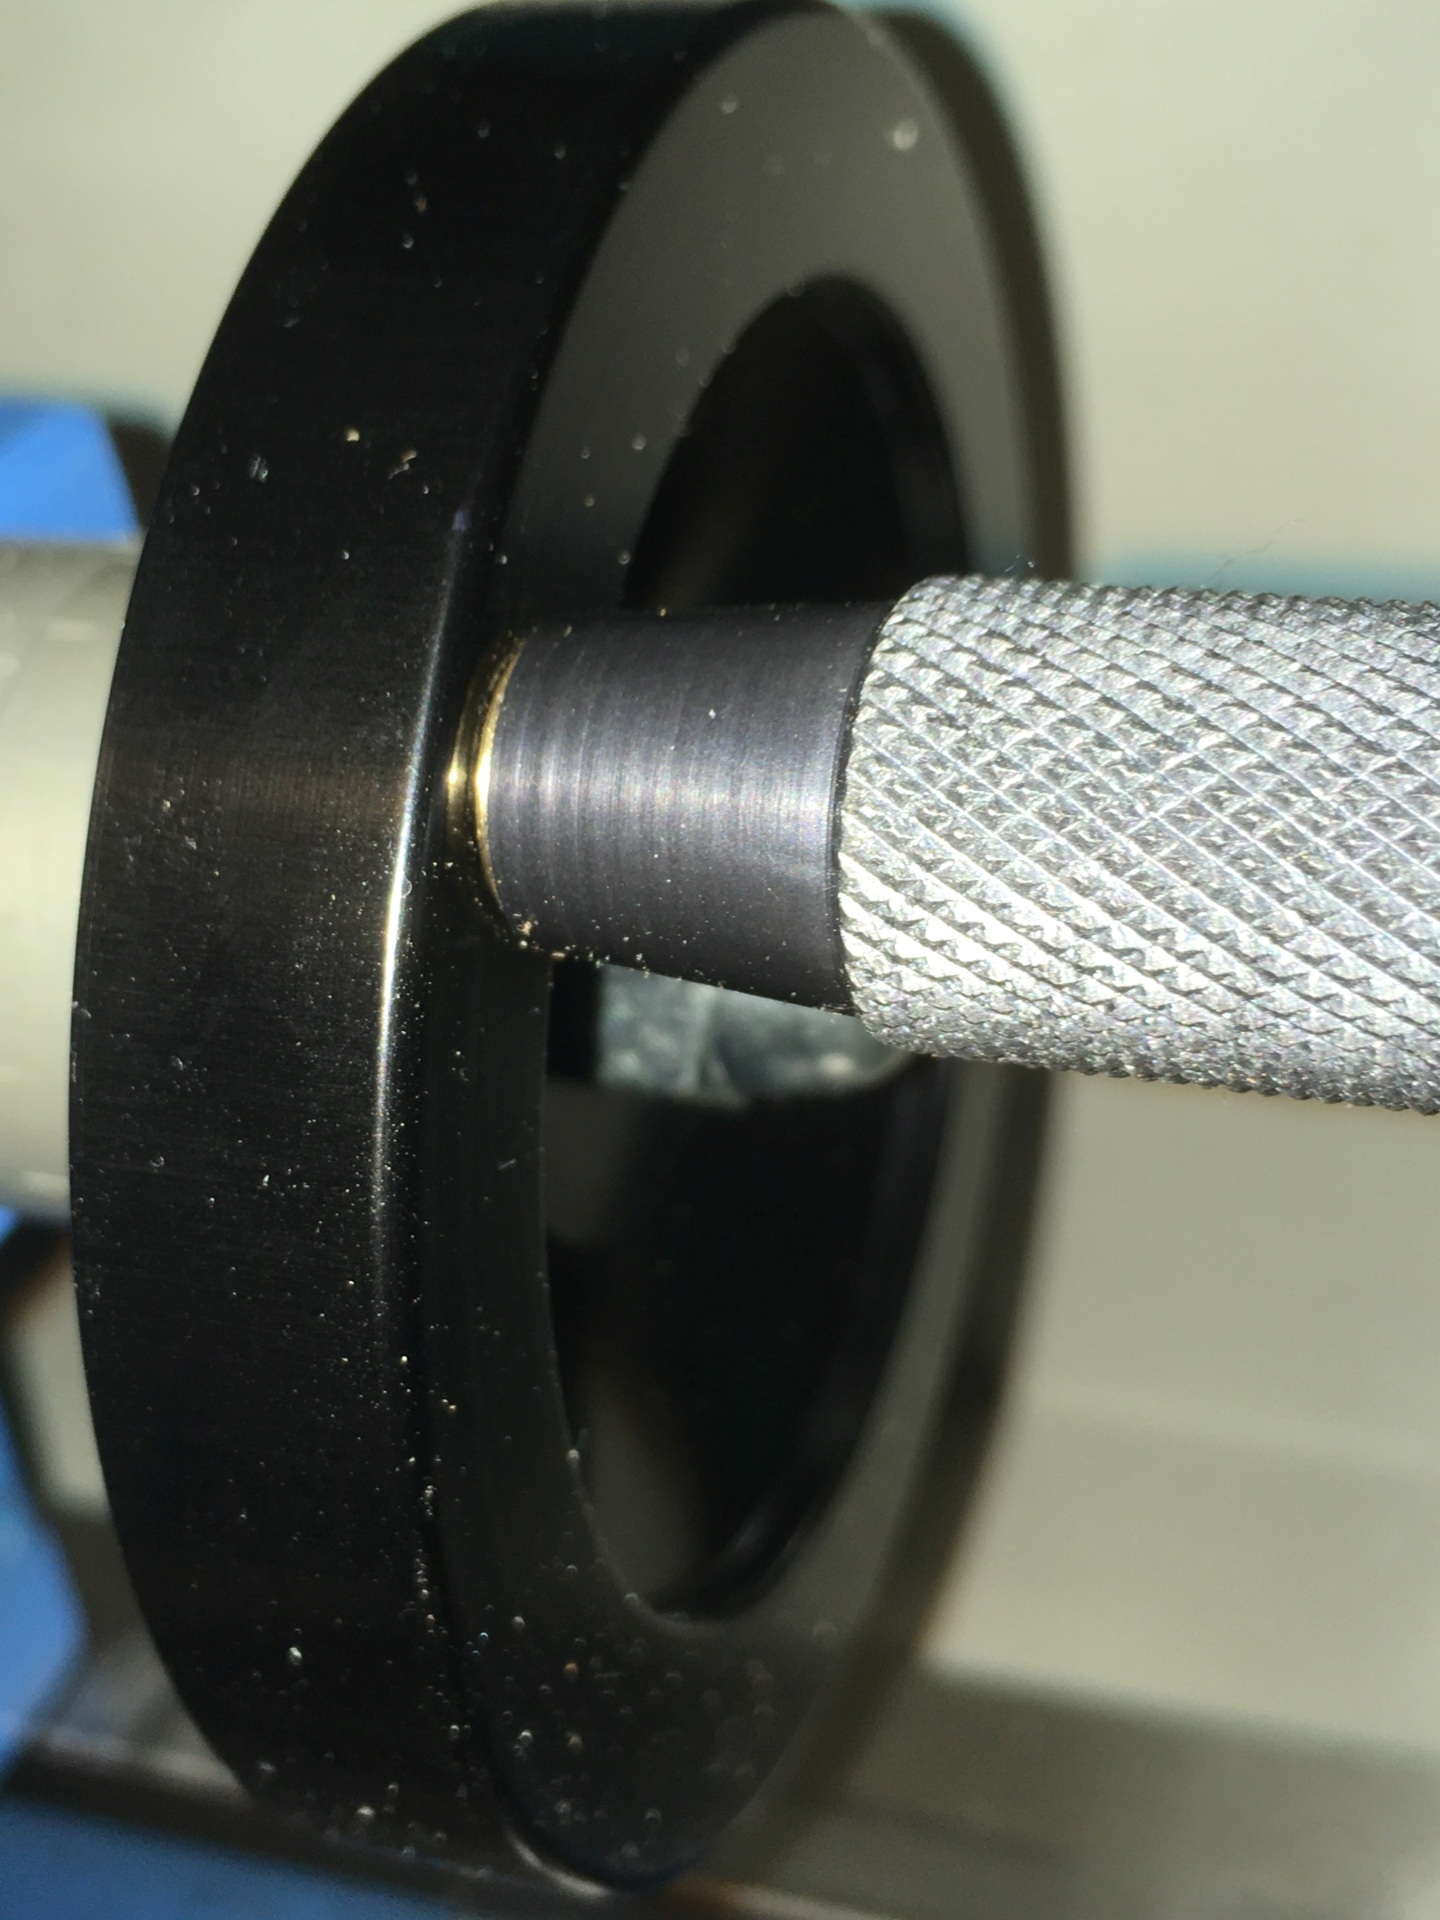
If you look at the area on the inside of the rim, there’s an area at about 4 O’Clock where the dye hasn’t taken properly. This handwheel was held roughly vertical during anodising and this area was at the top. The fine bubbles created during the anodising process have been trapped under the rim which has reduced the depth of anodising here.
3) Not enough anodising
The handwheel was done at my usual 2 hours. As an experiment, I tried reducing the time to 1 hour for the knurled handle. The colour is nowhere near as deep as the handwheel – it might show better here (it doesn’t look this bad in real life, but you can tell it’s different):
4) Too hot and / or too much current
I simultaneously put a large area of parts in for anodising on a hot day and miscalculated the current by 50%. When the parts came out, they had a brown, crusty deposit on them. I suspect that this was due to the bath getting too hot (it was noticeably warm at the end), but could just have been too much current.
The deposit mostly rinsed off, but you can see staining on the surface where it was:
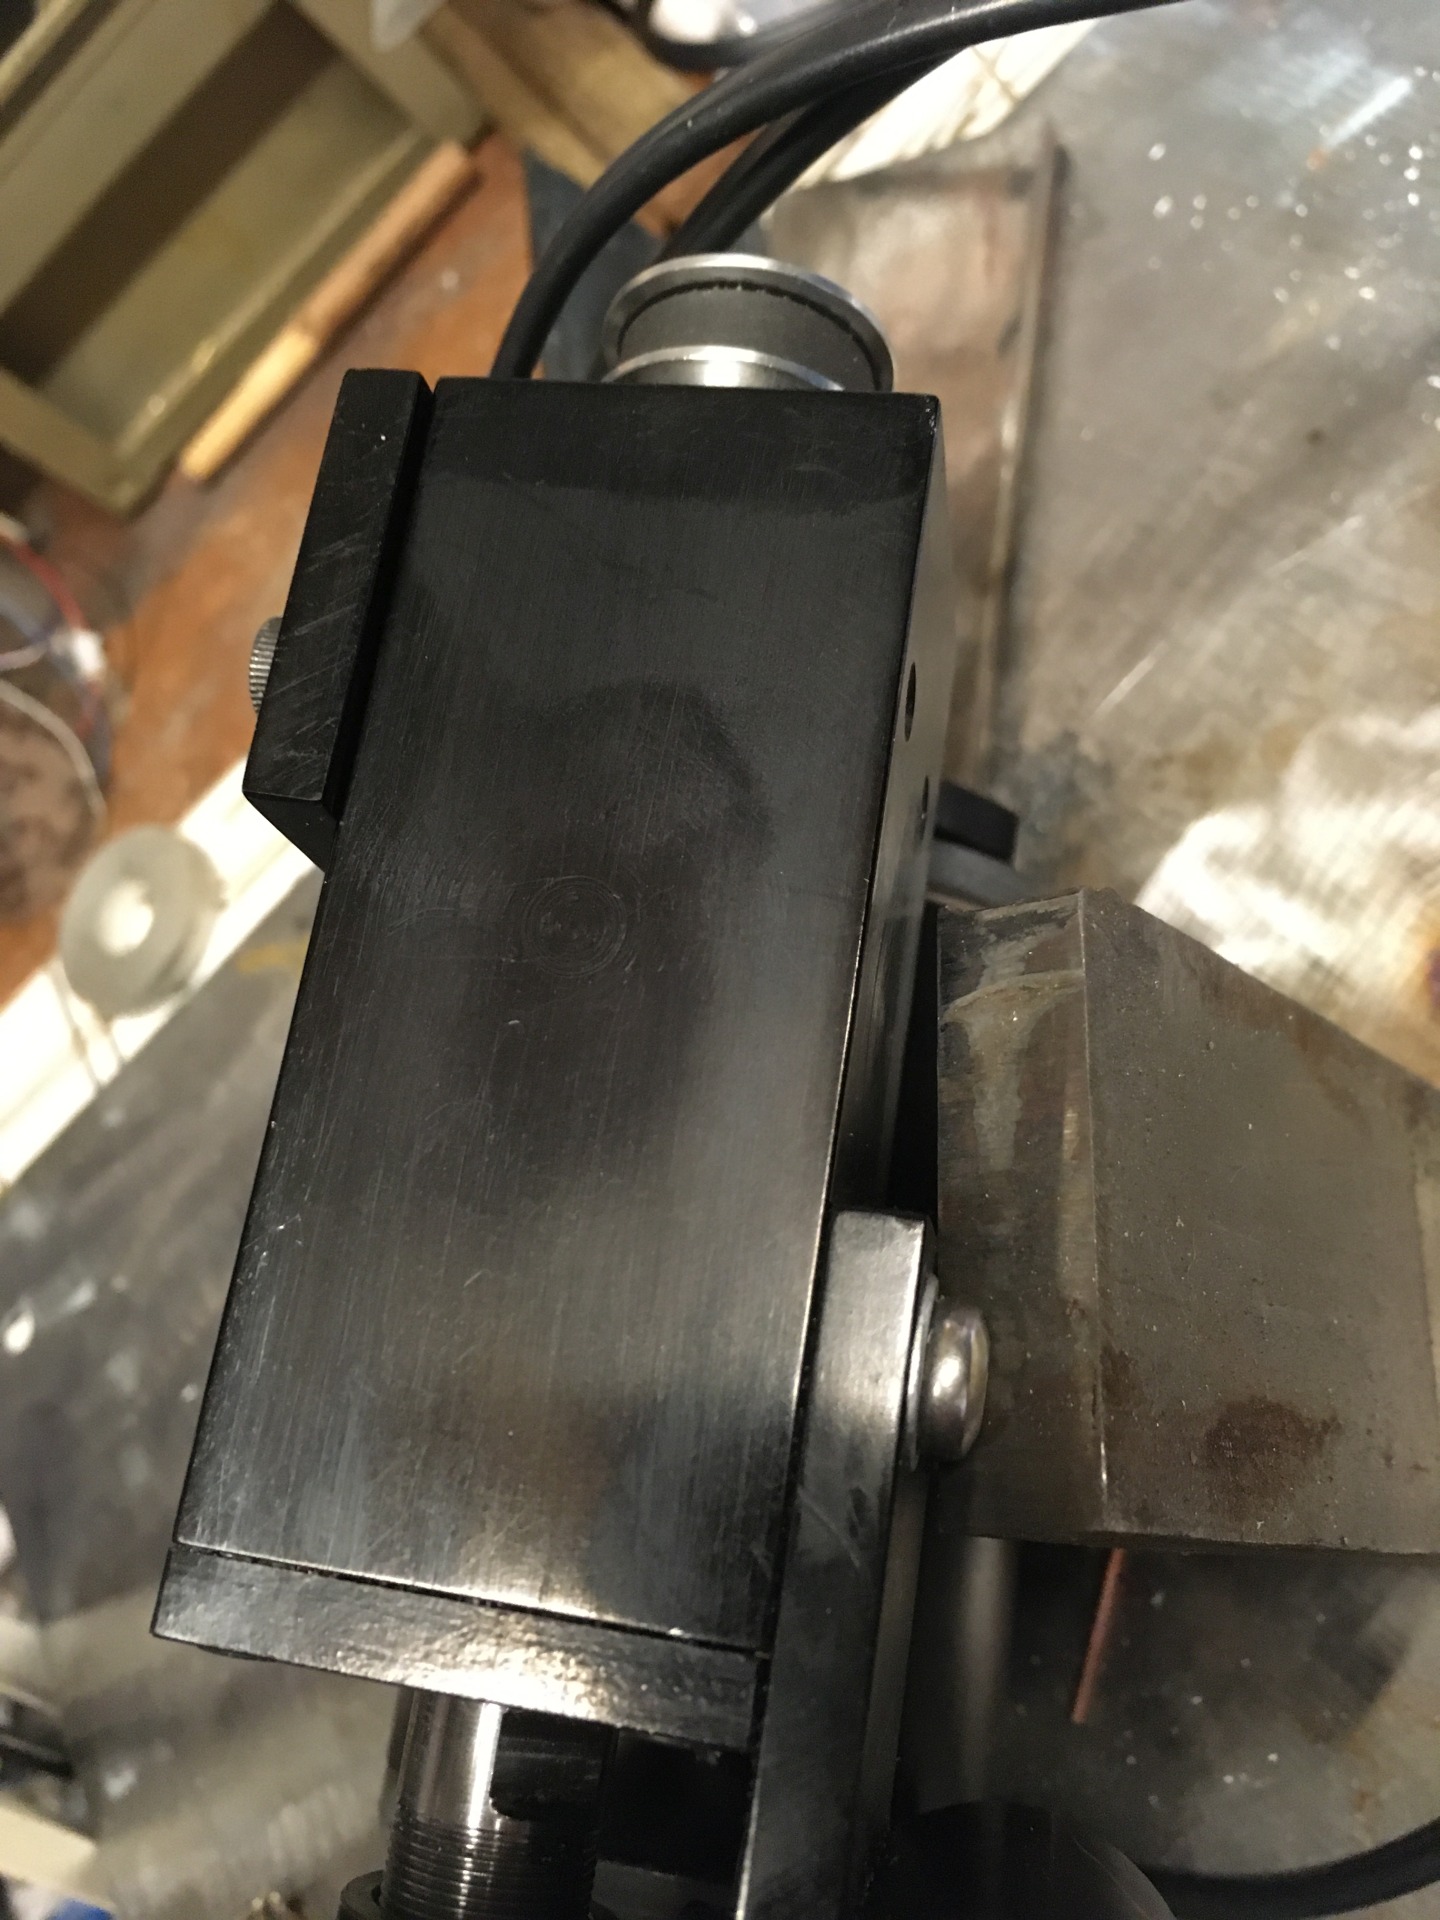
It was annoying, but I was only anodising a toolpost spindle to stop it getting dinged up.

I’ve since taken to standing the anodising bath in a bucket of water if the weather is warm or if I’m using over about 2 amps of current. I haven’t seen the effect since.
The whole process is (IMHO) easy to do and amazingly consistent (barring mistakes) and produces a very hard coating. I encourage anyone to give it a try!