
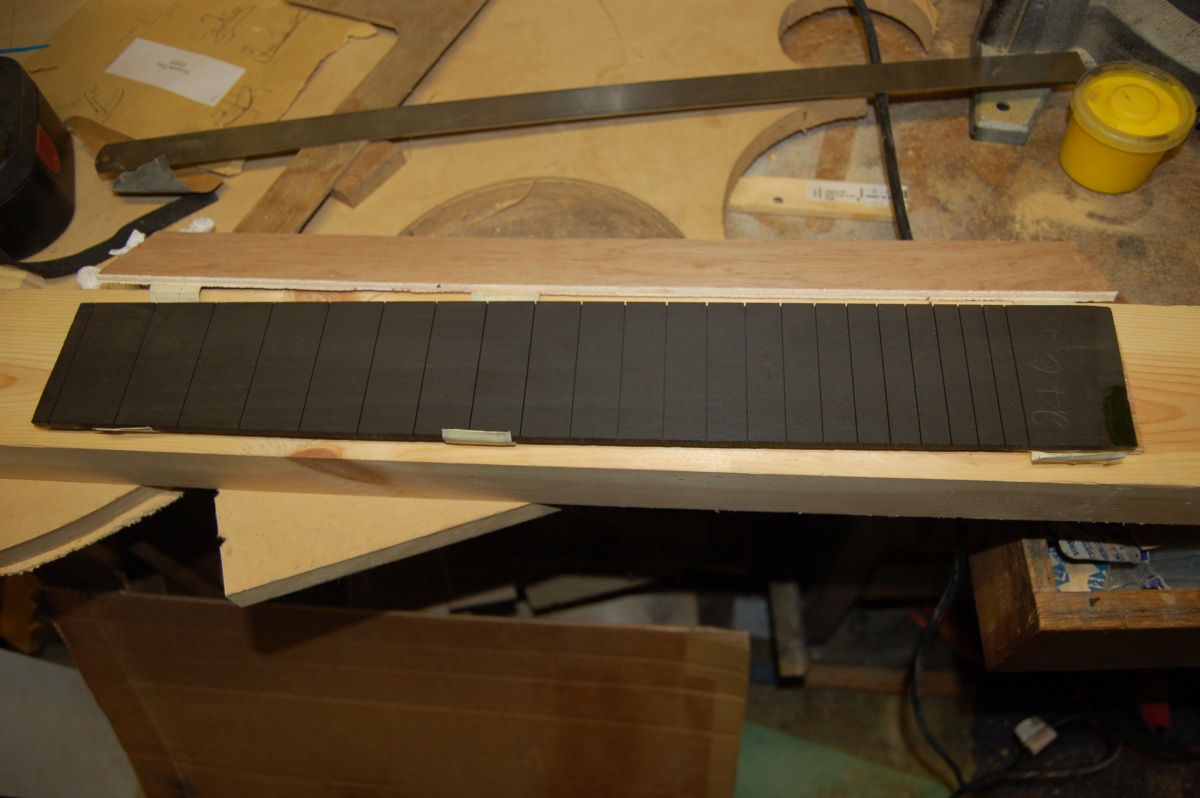
I wanted an ebony fretboard with block inlay markers. Just for kicks, I decided to fit a fretboard binding, too. I had cut my own fret slots in the fingerboard when I built the electric uke, and was quite happy to do the same for this, but I found a nice looking pre-slotted fretboard blank on ebay for little more than the cost of a plain one. As a bonus the seller would put the blank through a thickness sander to finish it at the thickness of my choice.
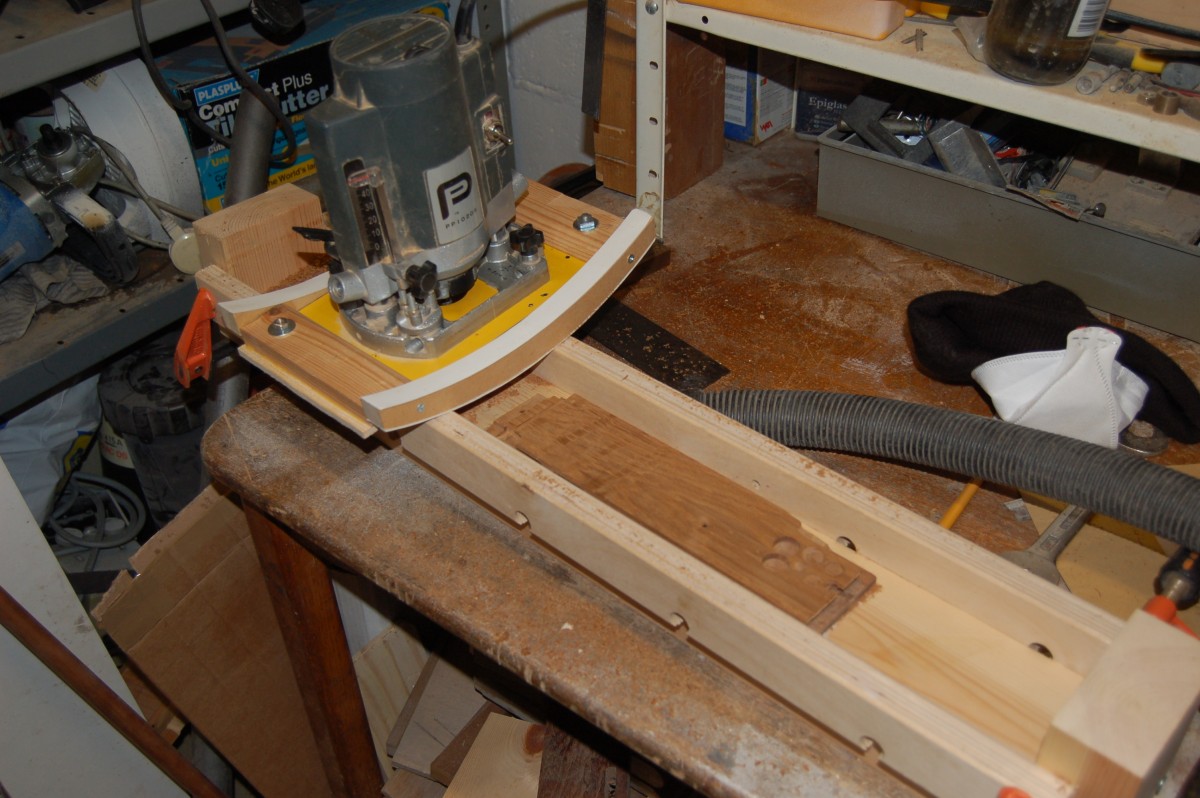
I made up a router jig to cut a convex radius on the fretboard, and also a matching concave radius in a sanding block.
I was cutting the sanding block here; the router base with the curved rails can be flipped over to cut a convex radius on the fretboard – that was the plan, anyway:
I also needed recesses for the block inlays; After some thought, I decided that it would be best to cut these first, while the surface of the fretboard was still flat.
Fretboard inlays
The way that I’d seen it done on youtube, etc. was to lay out the inlays on the fretboard, score or draw round them, then use a freehand router, dremmel, chisels, etc. to dig out a hole for each inlay to sit in.
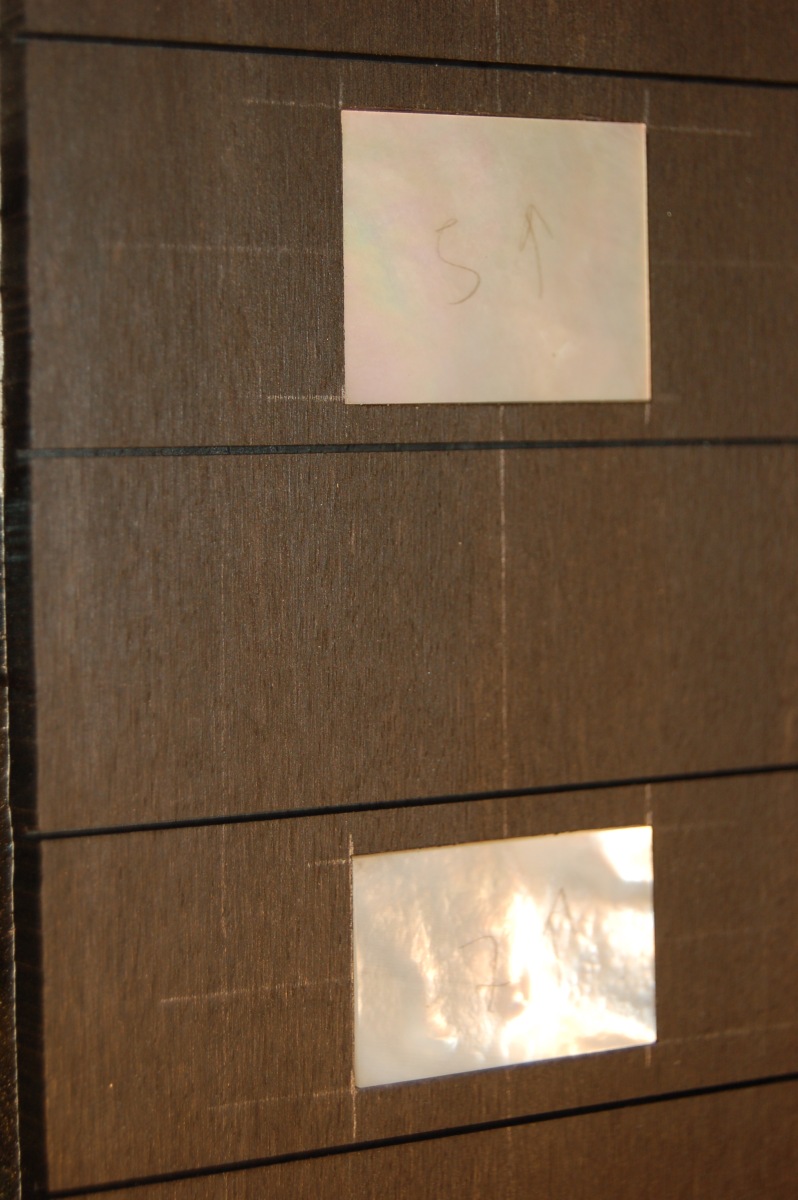
These are the “mother of pearl” (shell inlays) laid out on the fretboard to mark out the right positions:
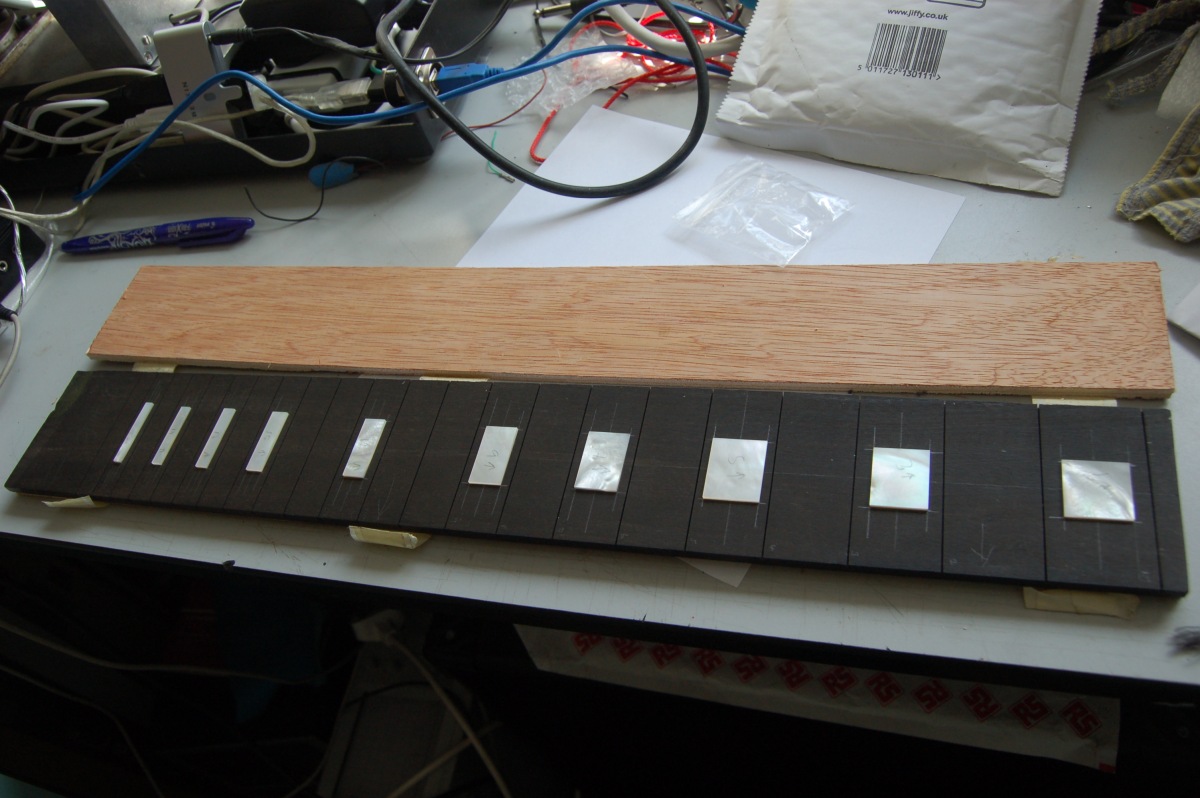
I found that the inlays I got were extremely accurately machined and absolutely square, so I though that I may as well make up a jig to route out the recesses, rather than try to do it free hand (I’m not good!).
Just as I was finishing this jig, my router died! The bearing at the top of the motor collapsed and siezed!
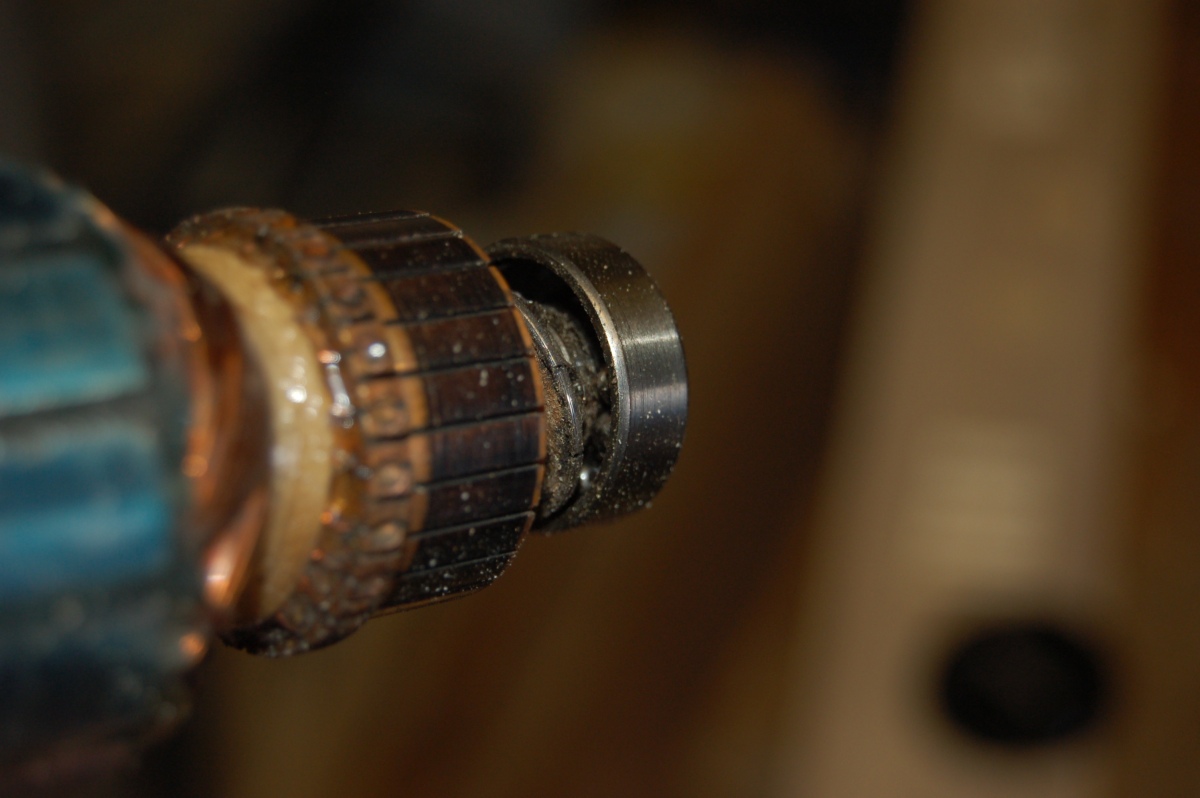
This was an excuse to buy a new, 1/2″ router which I thought I might need for the body, anyway. (Actually, I managed to fix my original router a few weeks later with some new bearings for much less than £10.)
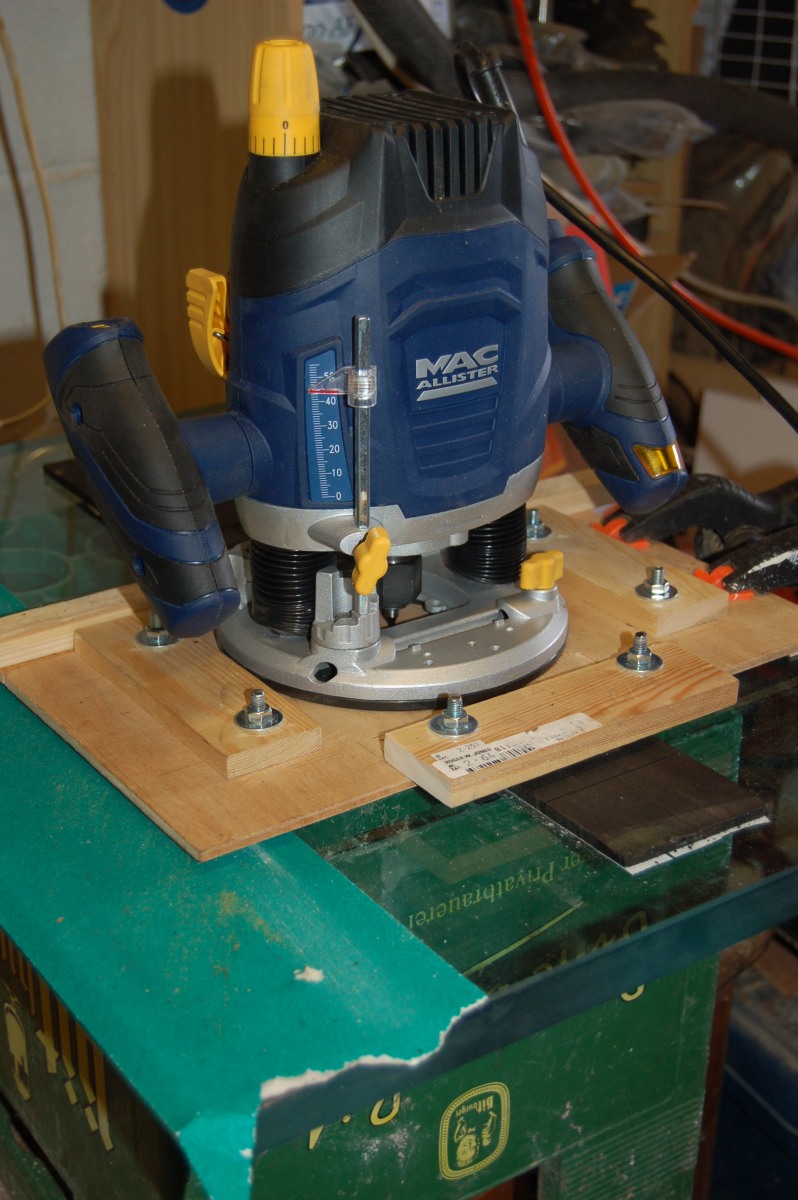
Luckily, I could still use the inlay jig with the bigger router – all it does is to constrain the router body to a rectangular area:
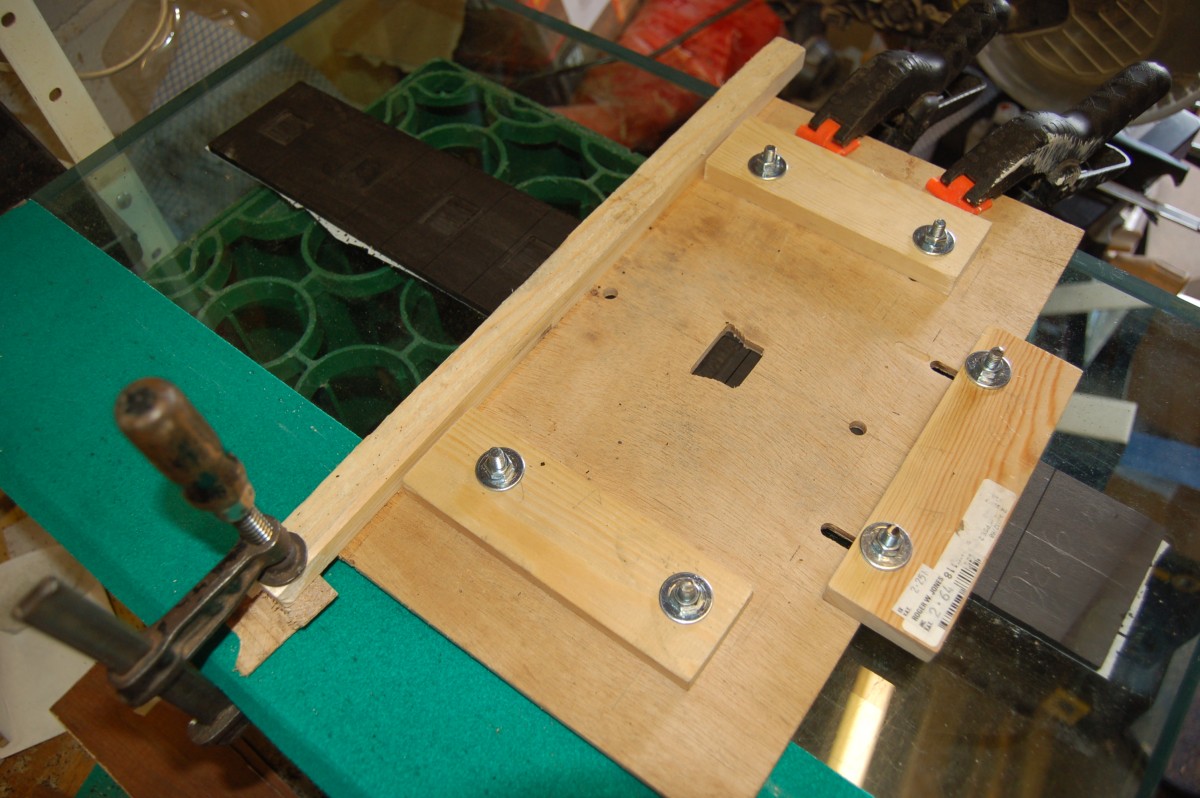
After setting the stops to the right size for the inlay, the jig was placed over the fretboard, aligned with the inlay marks and clamped down. Then the router was used to cut out a neat rectangular hole:
Repeat 10 times:
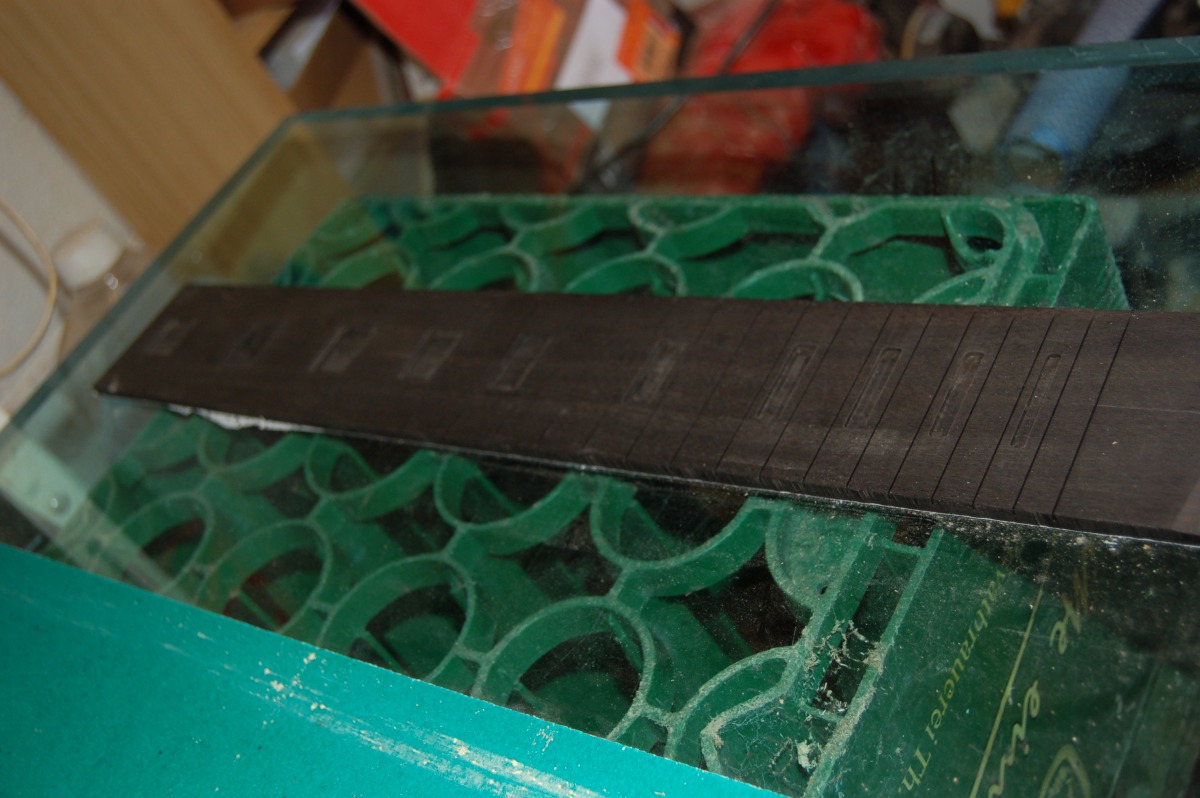
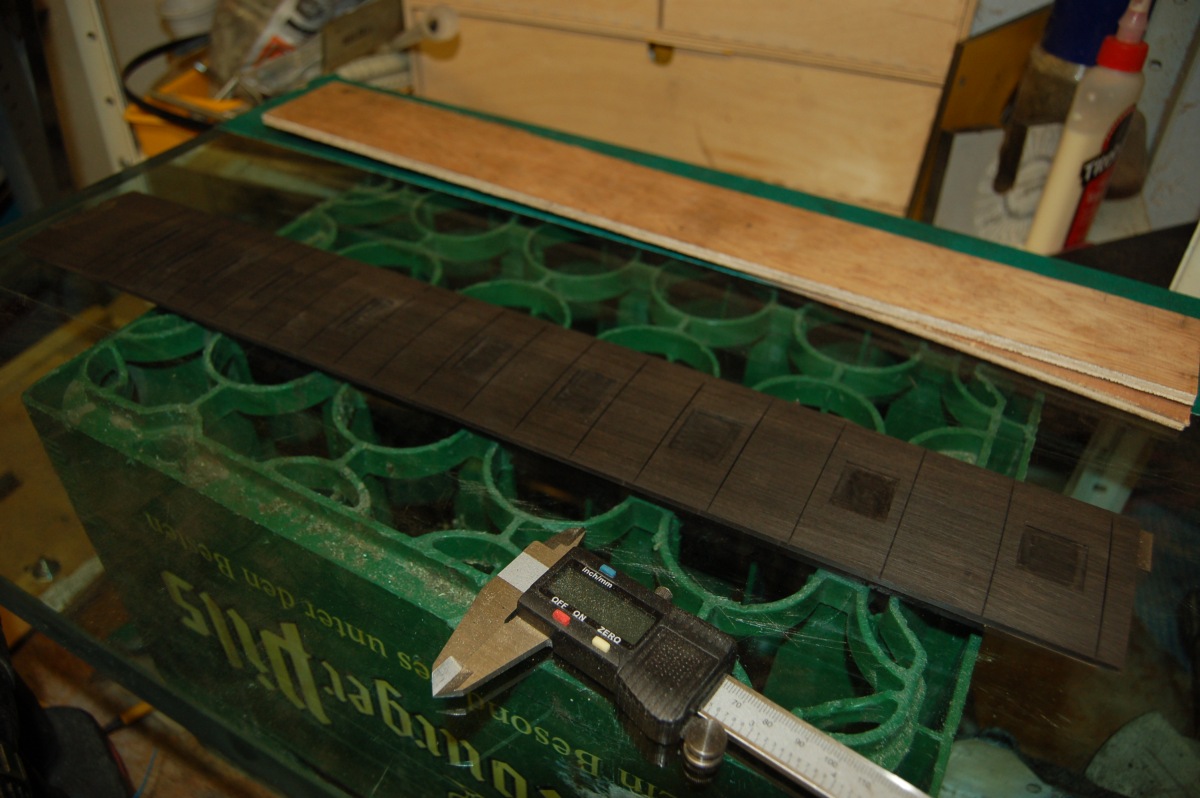
You can also see my secret weapon in those photos – a piece of thick glass which I used as a very flat reference surface. It comes in handy for all sorts of things.
The router cutter can’t get right into the corners of the cut-outs, so these needed to be finished by hand with a craft knife and a sharp chisel. Each recess also needed careful tweaking to match its inlay so that the inlay would drop in without too much of a gap.
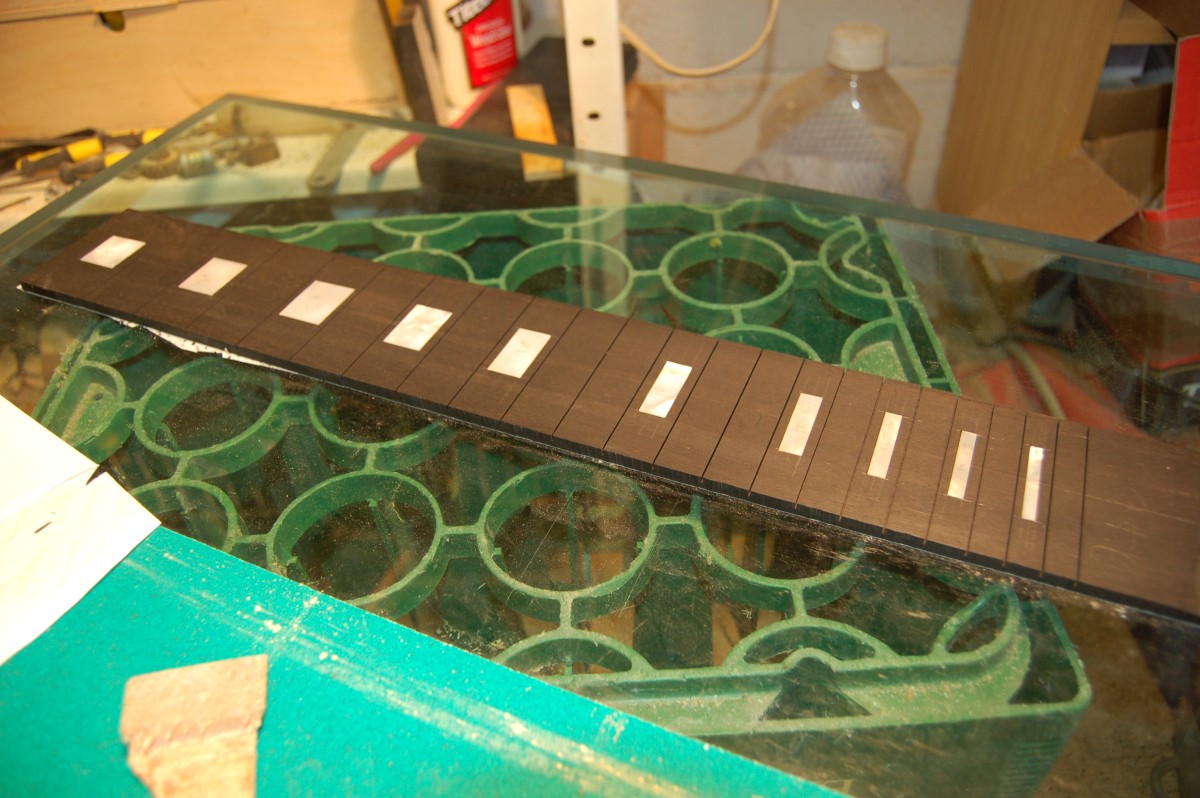
Here the inlays are all loosely fitted in place:

Now I could remove the inlays and radius the fretboard. My new router wouldn’t fit my radius jig, and the old one was still broken. I had already machined the radius block, so decided that I might as well sand the radius into the fretboard.
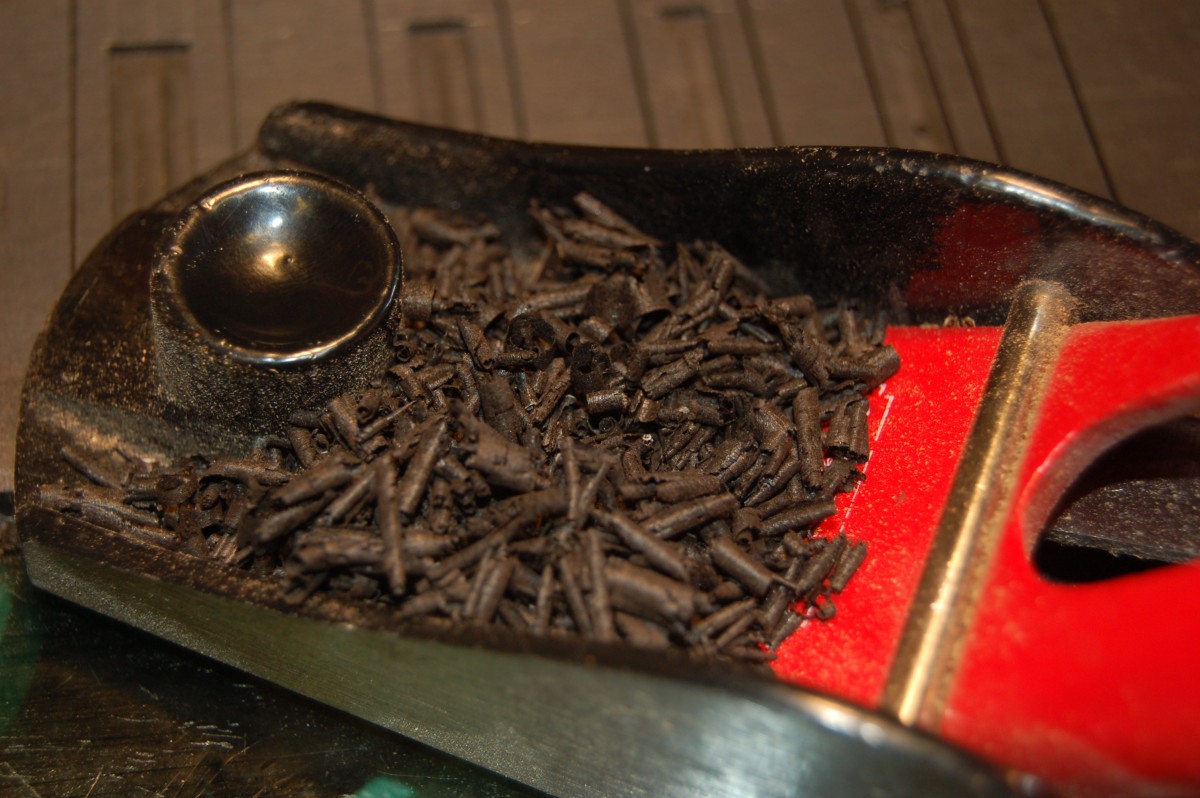
I started things off by roughly planing the fretboard, then began sanding, and sanding… and sanding… and sanding… This ebony is bl&&dy hard! It feels like stone or coal, but produces shavings like wood:
Eventually I got to the stage where the whole surface of the fretboard was evenly sanded:
I glued the inlays into place with a mixture of epoxy and a little ebony dust to colour it, then used the radius block again to sand away the surplus glue and bring the inlays level with the fretboard.
All this was done with rather brutal 80 grit paper, but once everything was level, I could work through finer grades, and the ebony and MOP started to look very nice.
To finish the fretboard, I cut it roughly to width with the bandsaw, then planed it to the final width allowing for the thickness of the binding each side. (I nearly chickened out of the binding here!) With the string spacing and scale length set, the fretboard outline is pretty much fixed, so all I had to do was plane down to the marked lines.
I used an old shelf as a ‘shooting board’ to keep the edge of the fretboard square.
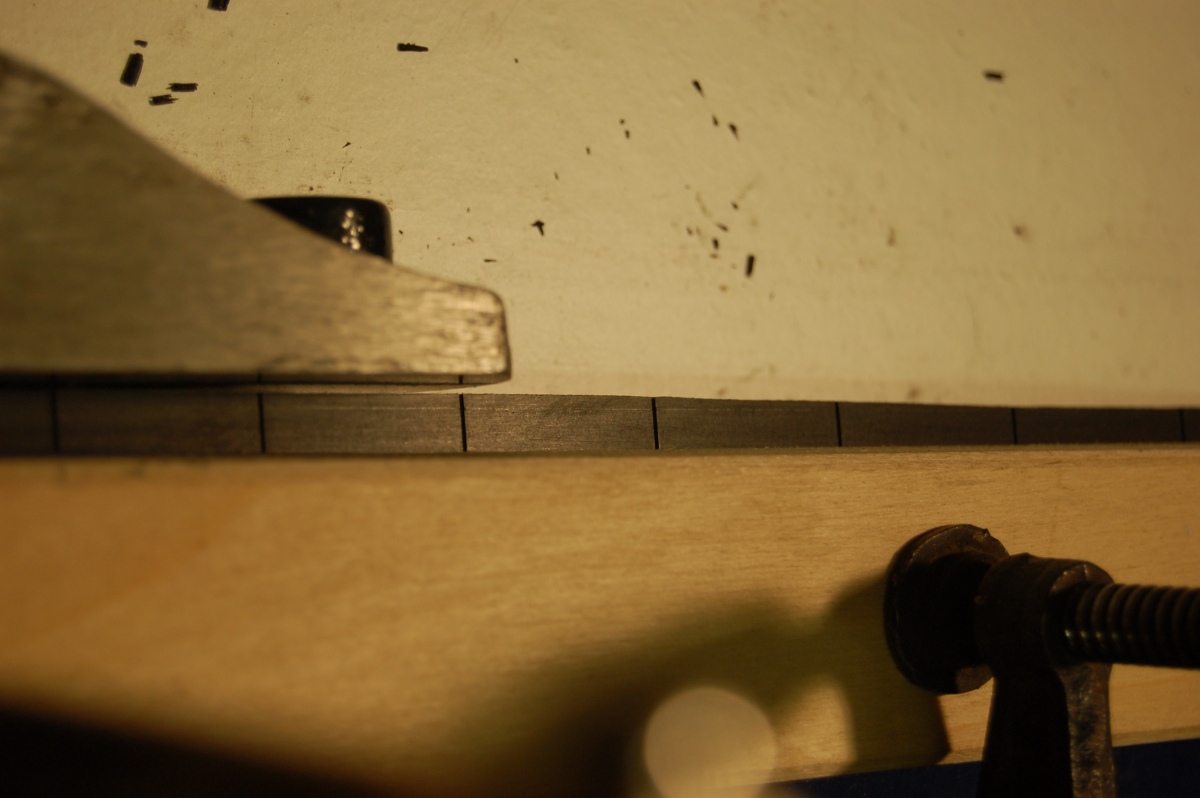
You can see the line, and my rather wobbly bandsaw cut.
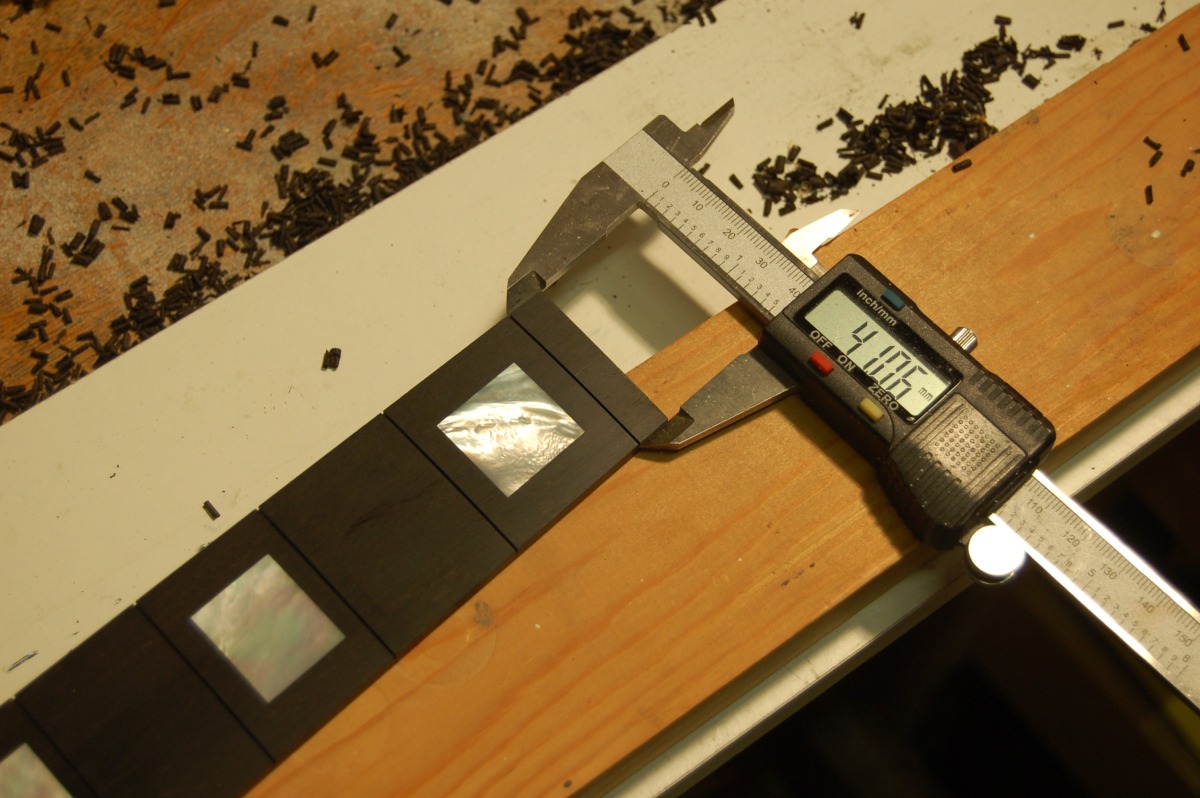
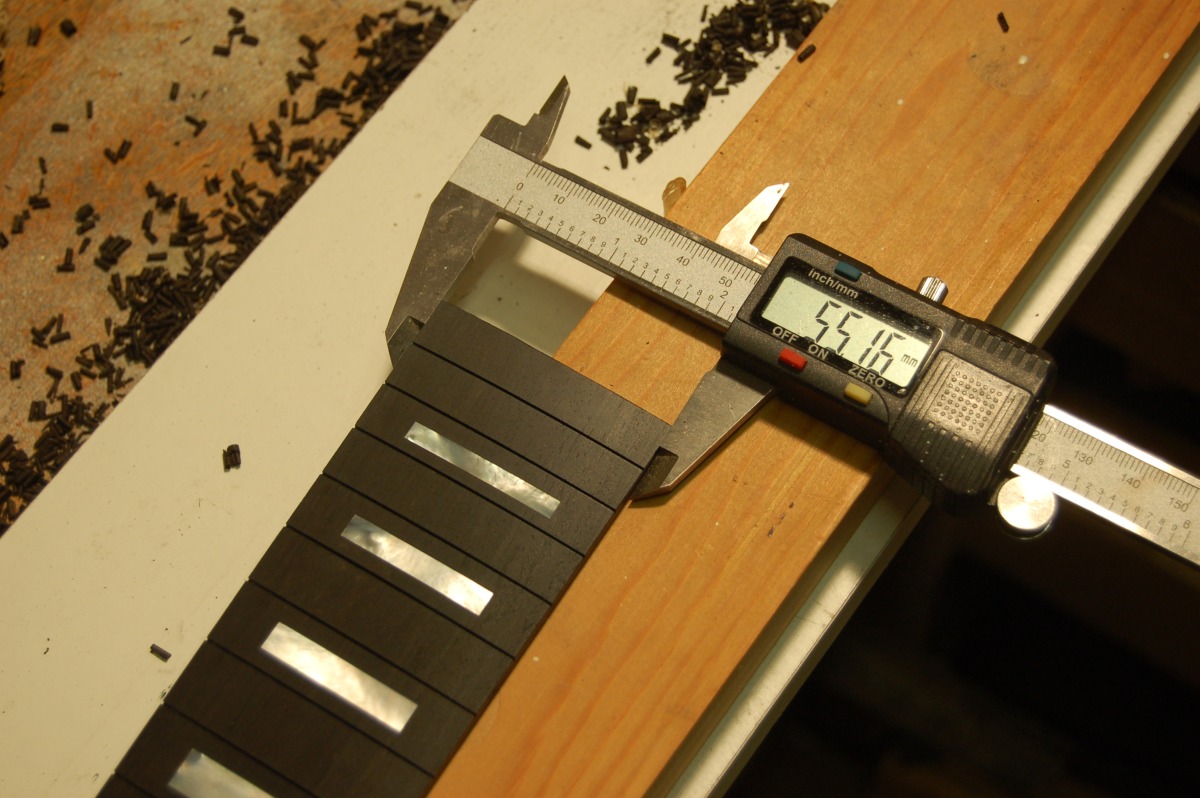
When it’s right, the fretboard should be 41mm wide at the nut, and 55mm wide at the body end. This allows for ~1mm of binding either side.
I decided to stop there!
Fitting the frets
One of the plus points about buying a pre-slotted fretboard, so I thought, was that I wouldn’t need to worry about getting the width of the cuts right… HAH!
I found I needed to deepen and widen the fret slots before I could fit the frets. I had made a radiussed caul to push the frets in using my little drill press, but the ebony is *so* hard, that the fret slots need to be a little wider than they were cut to get the fret in. I had used a triangular file to create a ‘lead-in’ to each slot, but even so, they were extremely difficult to press in. I think I may have damaged my drill press – there was a loud ‘crack’ from it when pressing in one of the last frets. Did I mention that the ebony was HARD?
I don’t seem to have taken any photos here – I thought that I had, but can’t find them!
After fitting the frets, I clipped the ends off and filed them smooth and square with the edges of the fretboard.
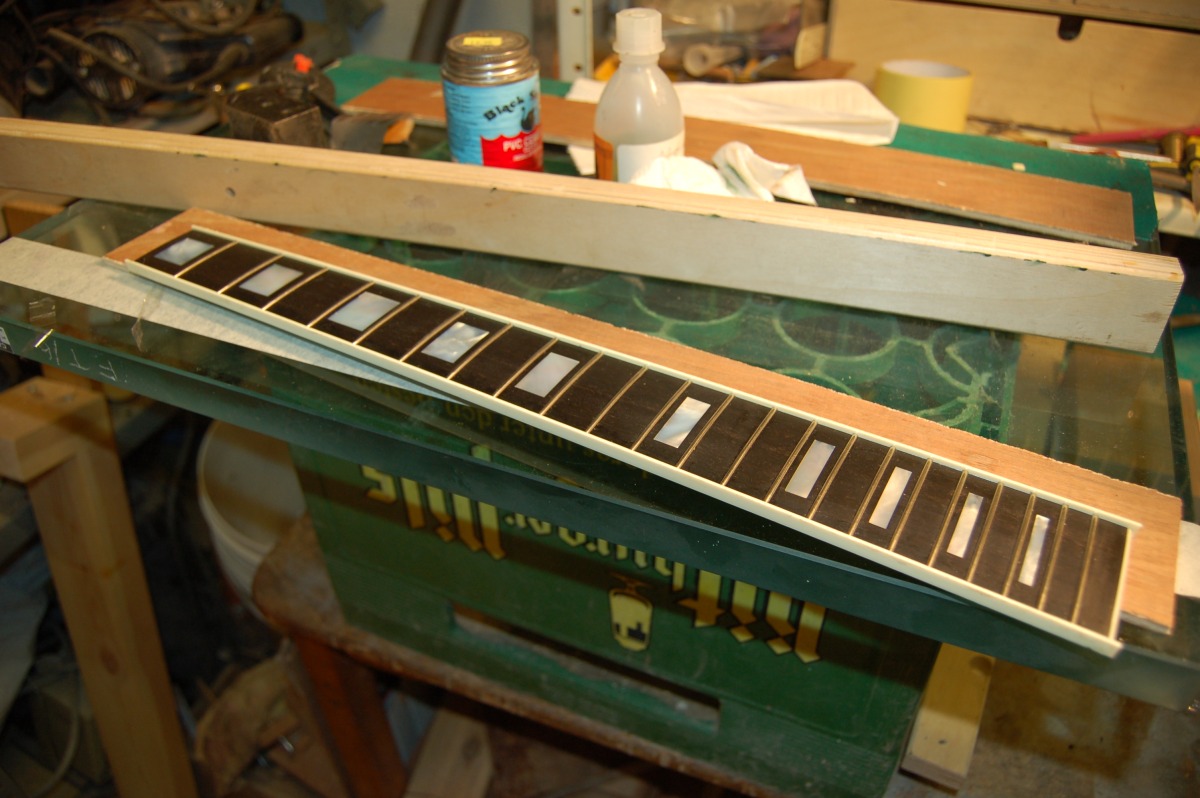
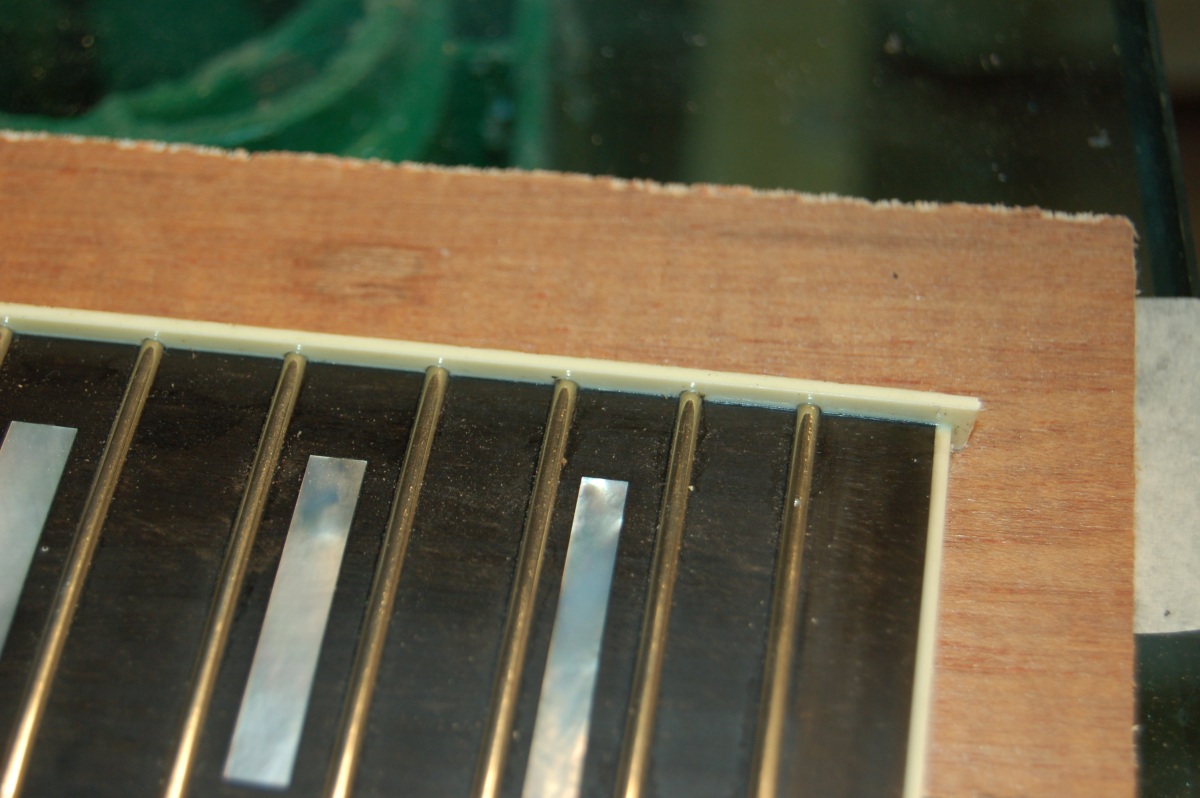
Neck binding
I wanted a thin-ish fretboard binding (about 1mm), but could only find 1.5mm thick material which looks too thick, IMHO. I tried to thin some down before fitting, but mostly just ended up chewing it up. I got one piece long enough for the end of the fretboard before giving up, and using the thick material as it was – I’ll just have to sand it down later. I clamped the binding either side of the fretboard and used a small paintbrush to drip acetone into the joint. This softened the binding enough for it to stick to the edges of the fingerboard:
There’s a slight bow in the fingerboard after fitting the frets which I had to flatten out while fitting the binding – it flattens out easily enough.