
Now I had the fretboard, I could use it to mark out the neck blank. The first job was to plane and sand the top surface of the blank flat:
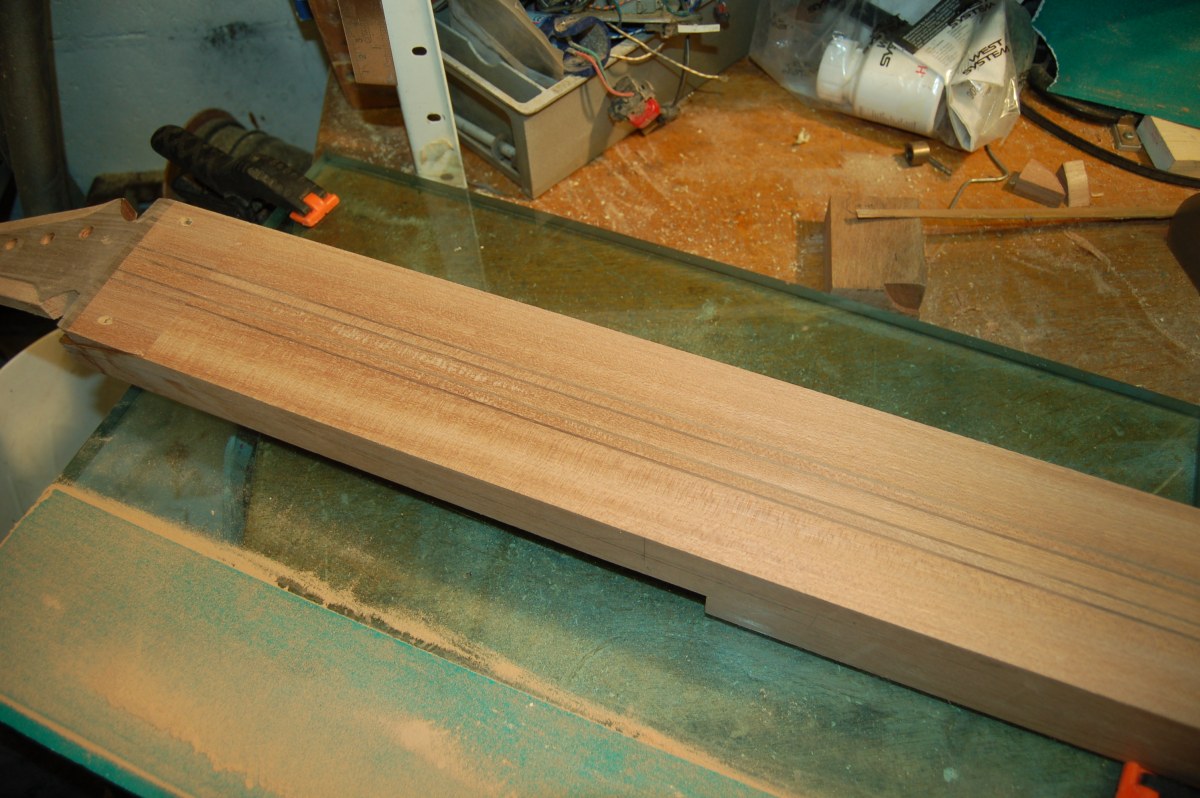
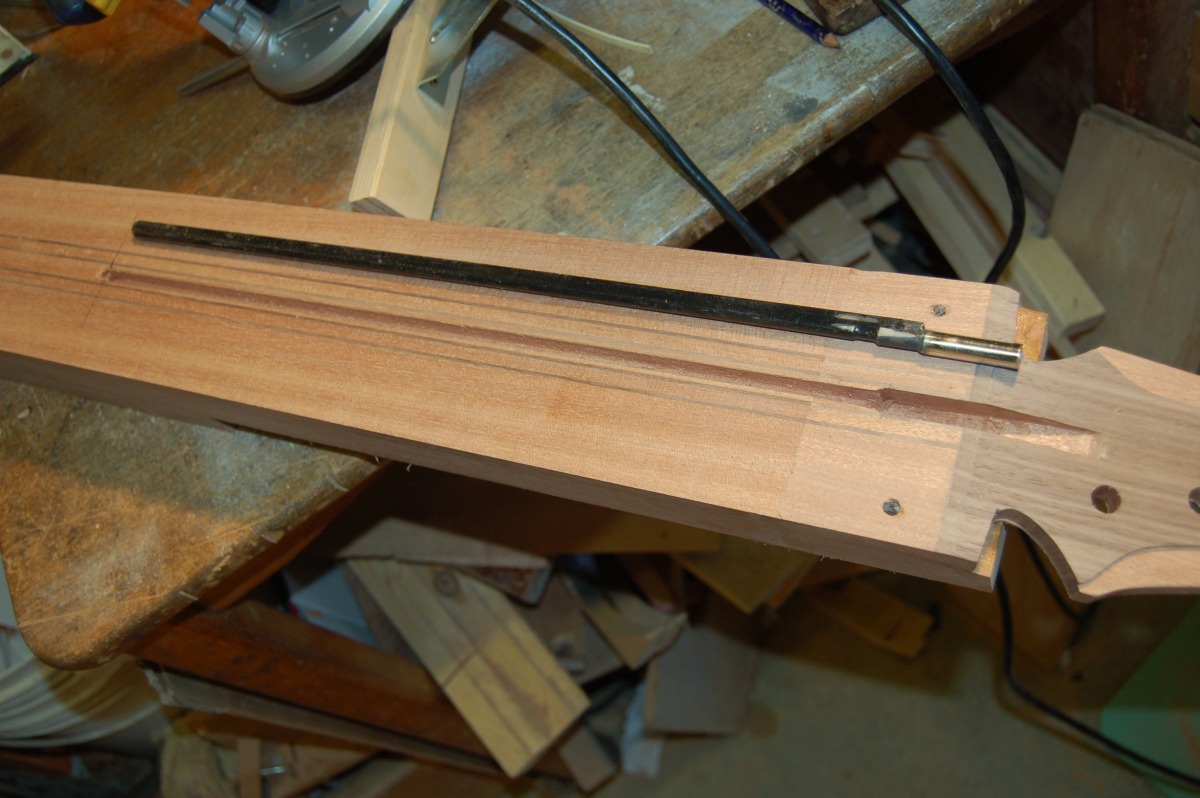
Then I could mark out and cut a slot for the trus rod. I thought long and hard about trying to do a traditional truss rod with a curved bottom slot, but in the end went for the more straightforward dual acting truss rod.
I wanted to cut the truss rod slot while the blank still had straight sides that I could use to guide the router.
Roughing the neck out
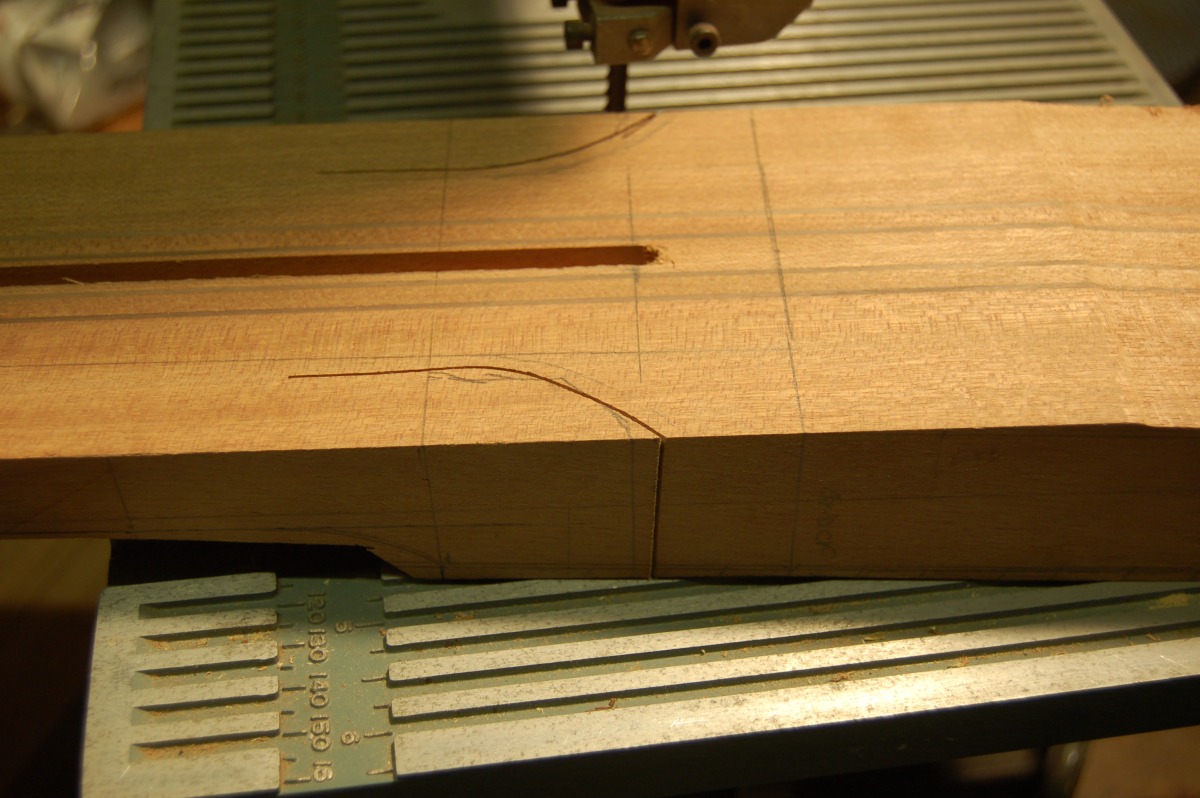
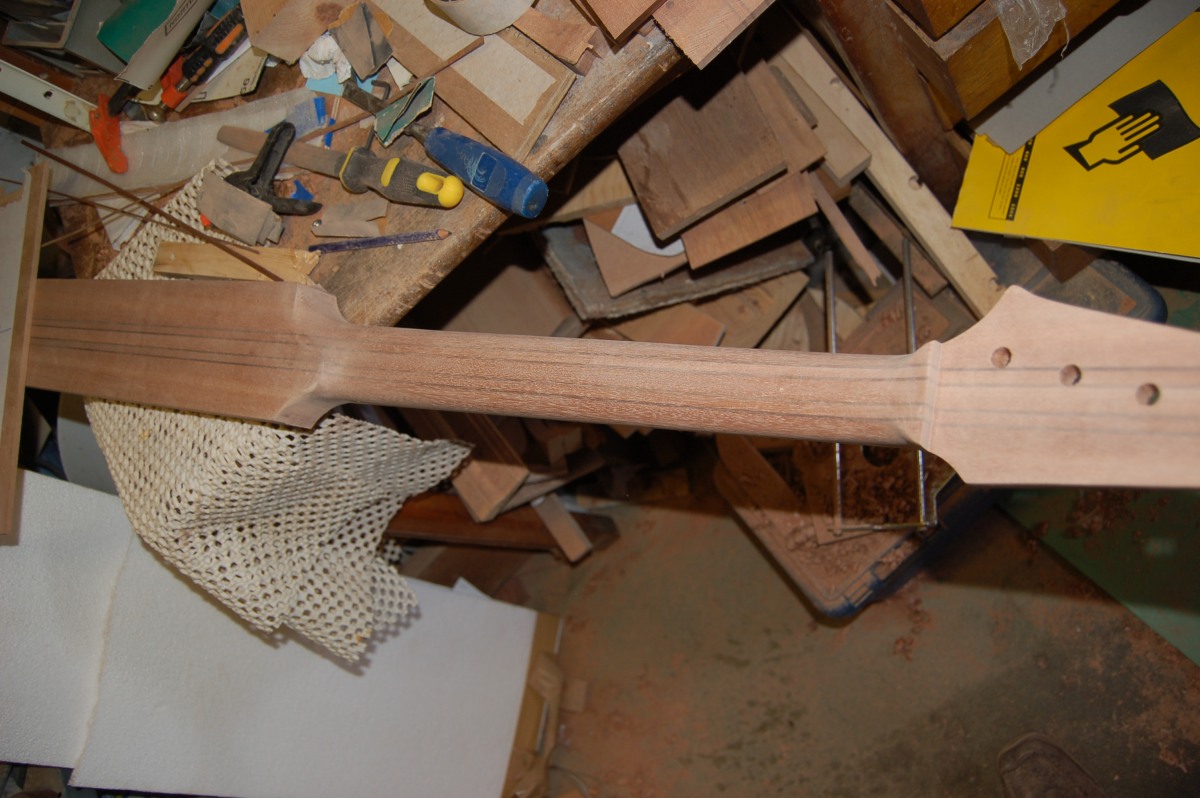
With the truss rod slot cut, I could mark the neck thickness (20mm at the 1st fret & 23mm at the 12th), allowing for the thickness of the fretboard, and cut away the surplus wood from the back of the neck with the band saw:
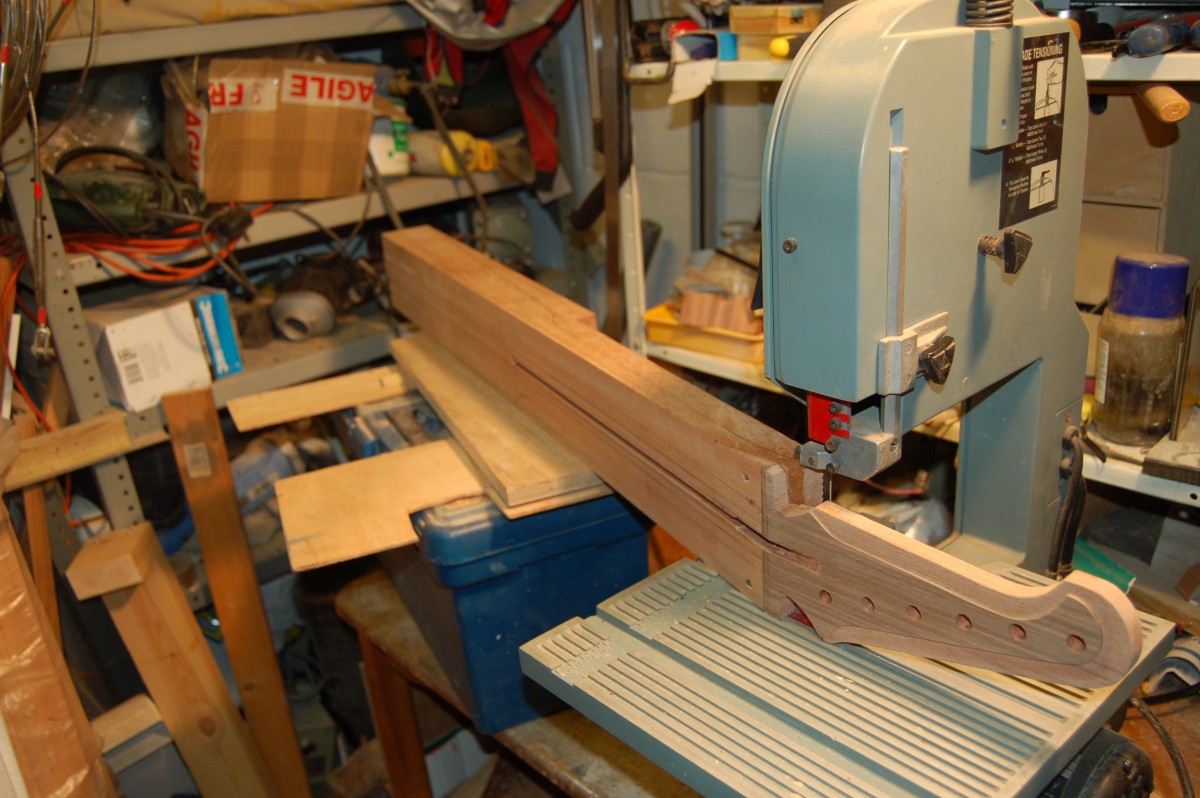
Neck / body angle
This is a through neck guitar, so any angle between the neck and the body (for the proper string clearance and action) needs to be build in. I thought it would be easier to do this while the blank still has straight sides.
I aimed for the top of the bridge saddles to be level with the top of the fretboard with the bridge at its lowest height. With the bridge I had and the thickness of fretboard I actually ended up with, this meant that the body needed to be 10mm lower at the bridge that it was at the end of the fretboard.
Marking these points and drawing a line through them gives the cutting line for the top of the body. The bottom of the body is 1.5″ from this.
With everything double-checked, I made the body cuts:
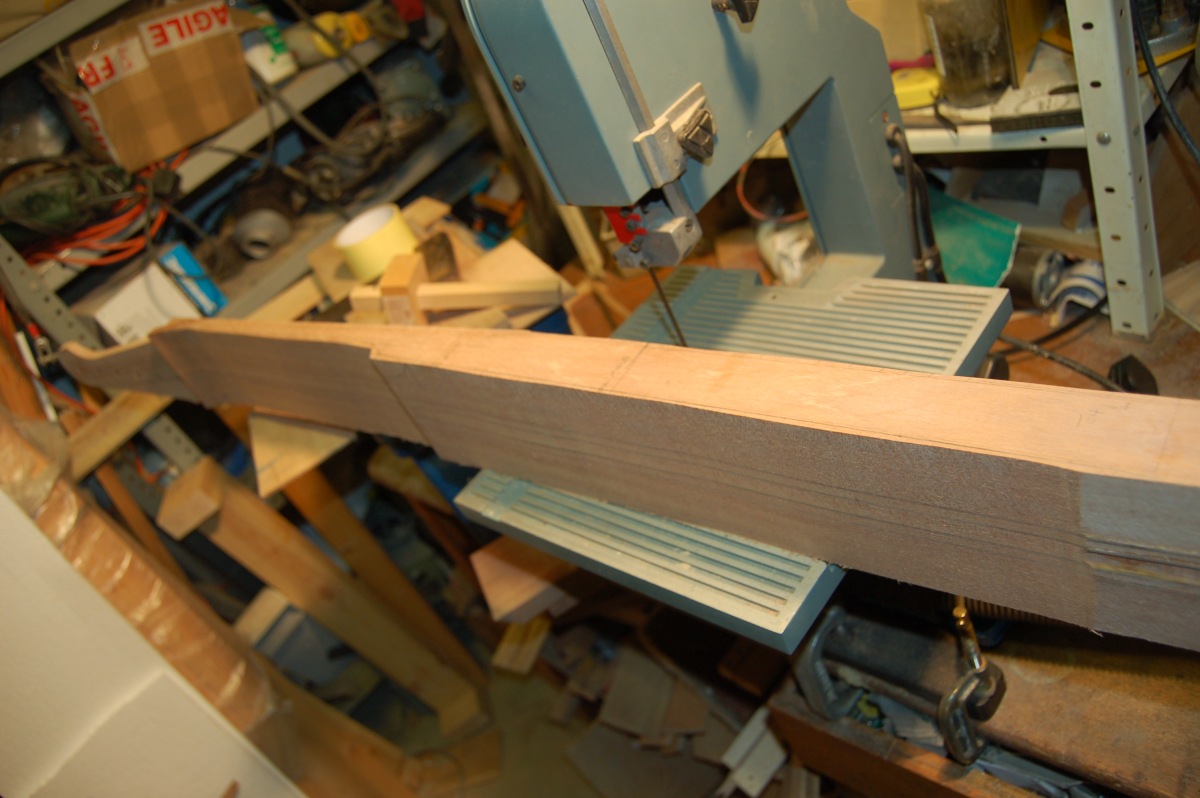
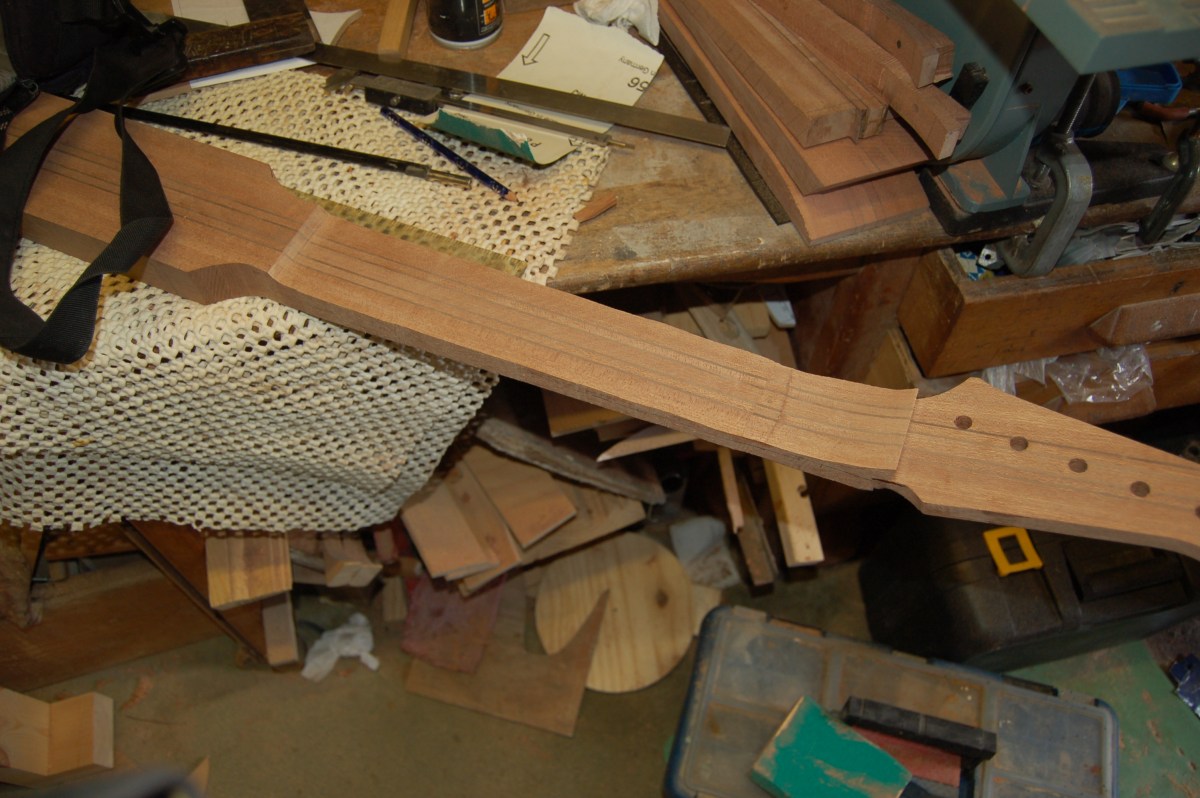
Then rough cut the outline of the neck
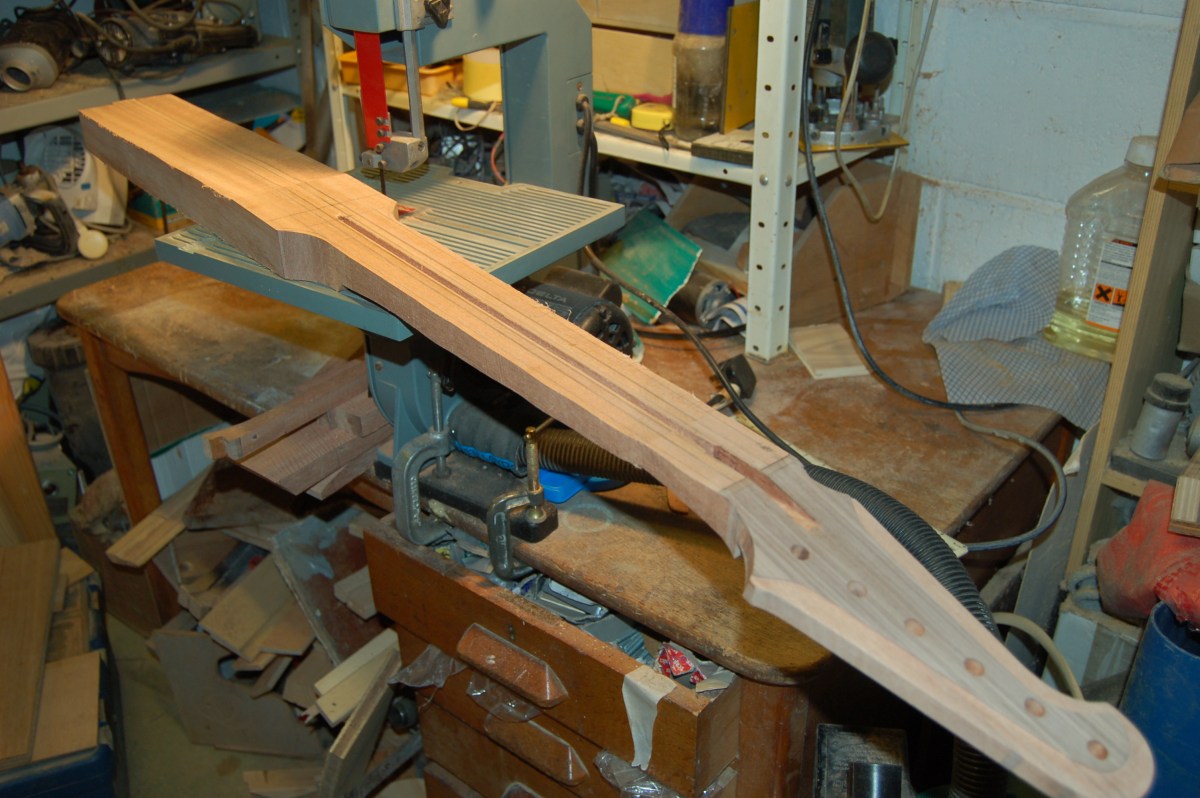
This is how close it came to ending right here:
When cutting away the wood from the back of the neck, I came close to my line, and instead of stopping (as I should have) I tried to steer the saw cut away, but I tried to do it too quickly, and succeeded in pushing the blade even further off line before I saw sense and stopped. The deepest cut stops *just* short of the finished thickness, so I have no safety margin when it comes to sanding this part smooth.
This is a neck through build (in case you hadn’t guessed!) -The part of the neck that runs through the body needed to be planed flat and square, making sure that the break between the front of the body and the fretboard area of the neck fell exactly at the end of the fretboard.
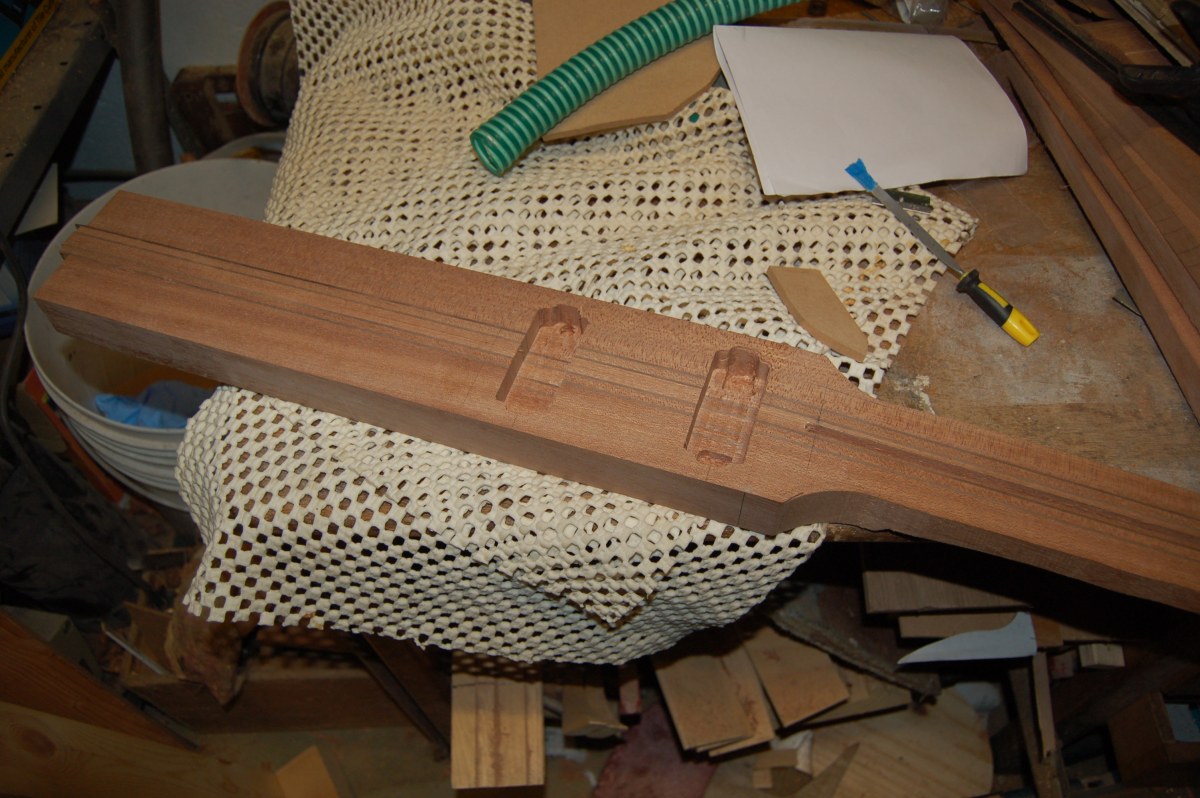
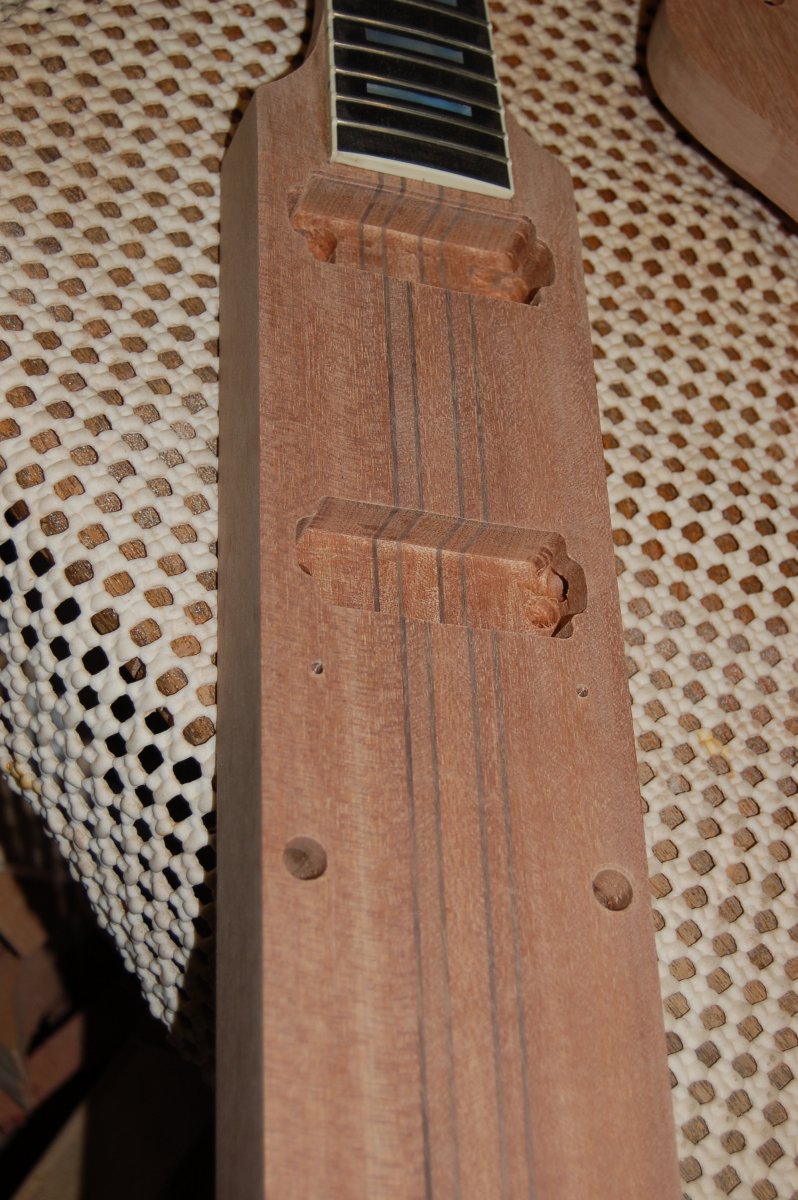
Since the neck pickup sits next to the fretboard, it was easier to rout the cavity for this before fitting the fretboard:
While I was at it, I routed the bridge pickup cavity, too. The pencil line is the bridge location. I say this because I had the routing template all lined up on it, and was ready to press the switch on the router when something made me stop and double check the pickup spacing. That would have been a big OOPS!
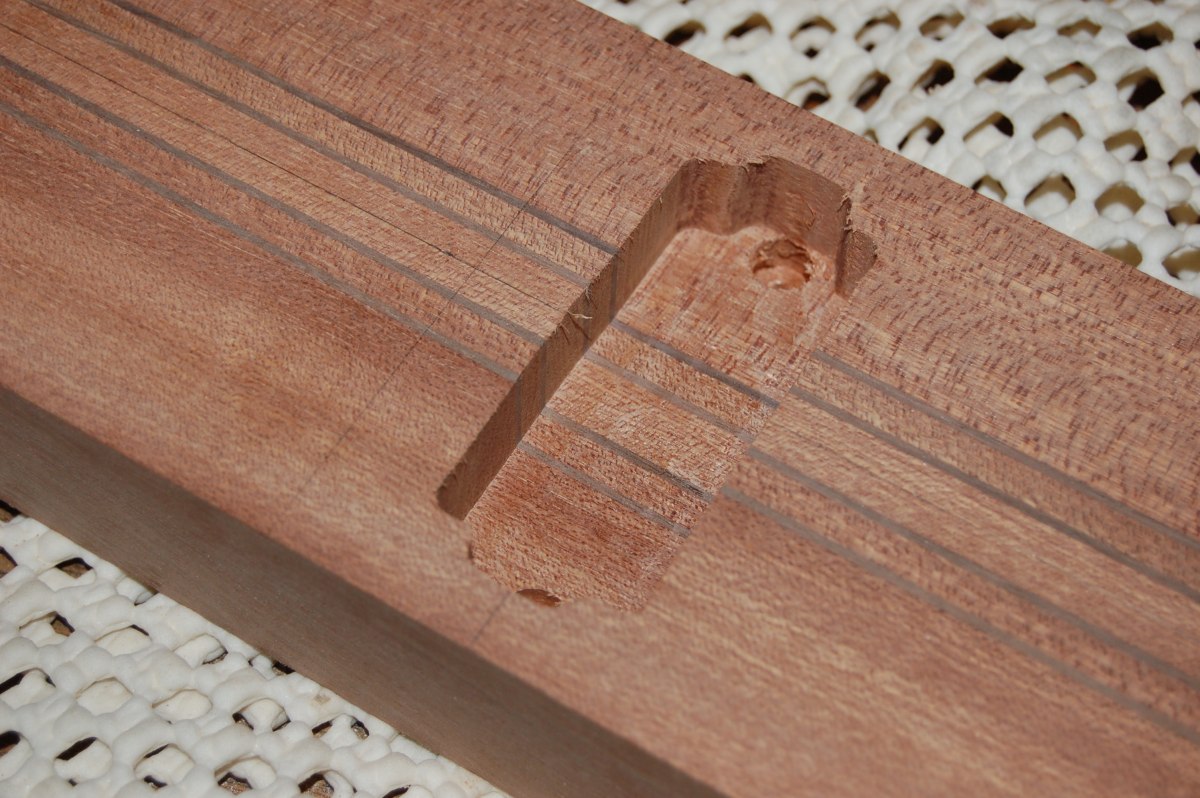
The neck pickup sits lower than the bridge one, so I had to make the neck pickup cavity deeper at either side to take the pickup mounting feet.
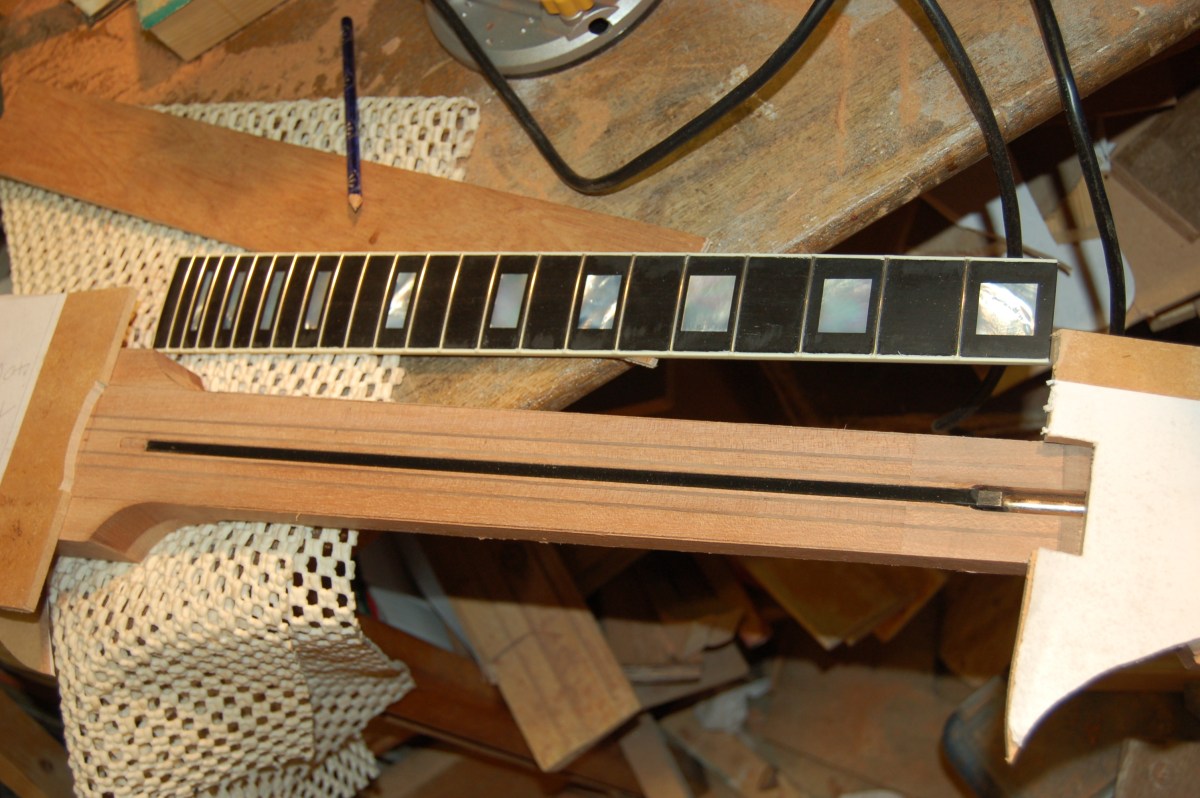
Fitting the fretboard
With the pickup cavities done, I used a straight edge and the router to trim the neck to almost its finished width and fitted the trussrod into its slot with a few small blobs of silicone sealant under the ends and middle to stop it rattling.
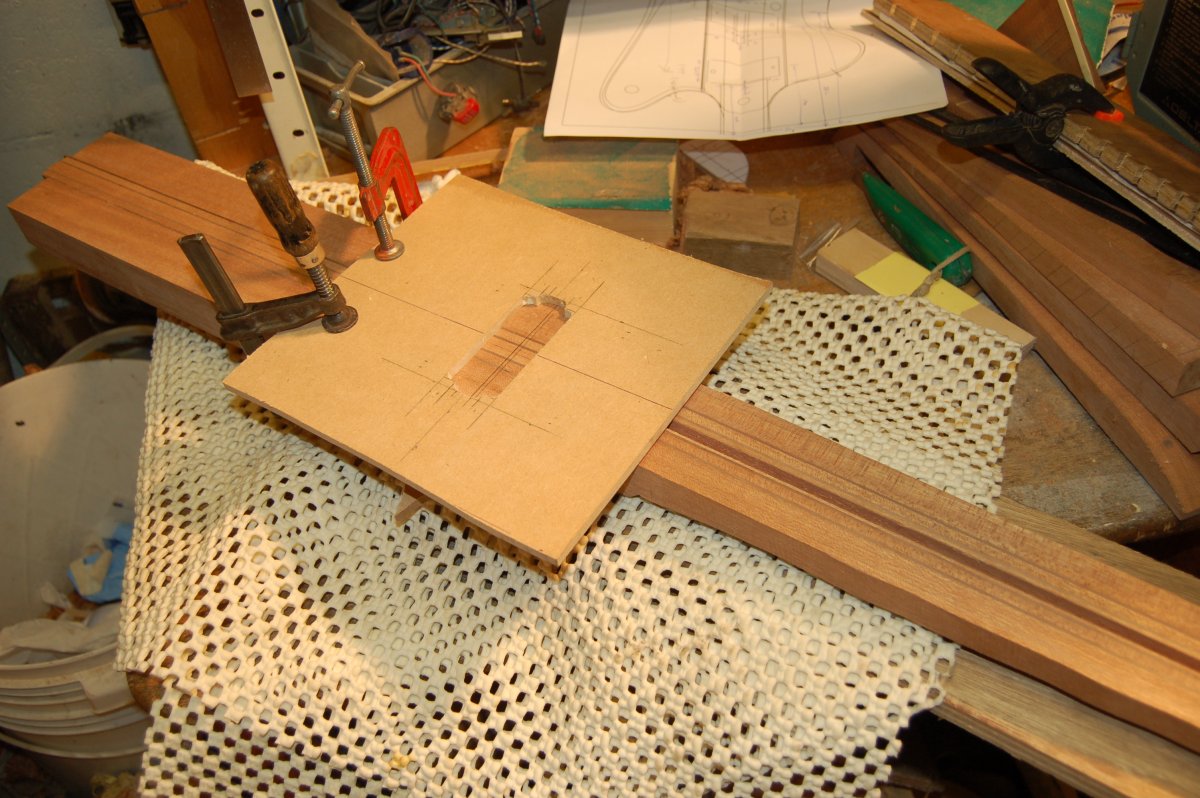
I needed to make sure that the fretboard stayed perfectly aligned to the centre of the neck when I glued it on, so I made a couple of guides that could be clamped to each end of the neck to gently hold the fretboard in the correct position while I clamped it in place. I also had to trim the fretboard binding level with the tops of the frets before I could clamp the fretboard to the neck. (I did this with a file, but it was a real PITA – I won’t be doing that again!)
I used a strip of tape to cover the truss rod slot while I spread glue on the neck (so the slot didn’t fill with glue). The first time I fitted the fretboard, I couldn’t understand why I couldn’t close the joint with the neck… Then I realised that I had forgotten to remove the tape over the truss rod. I hurriedly pulled everything apart and sponged the glue off! The second time worked OK.
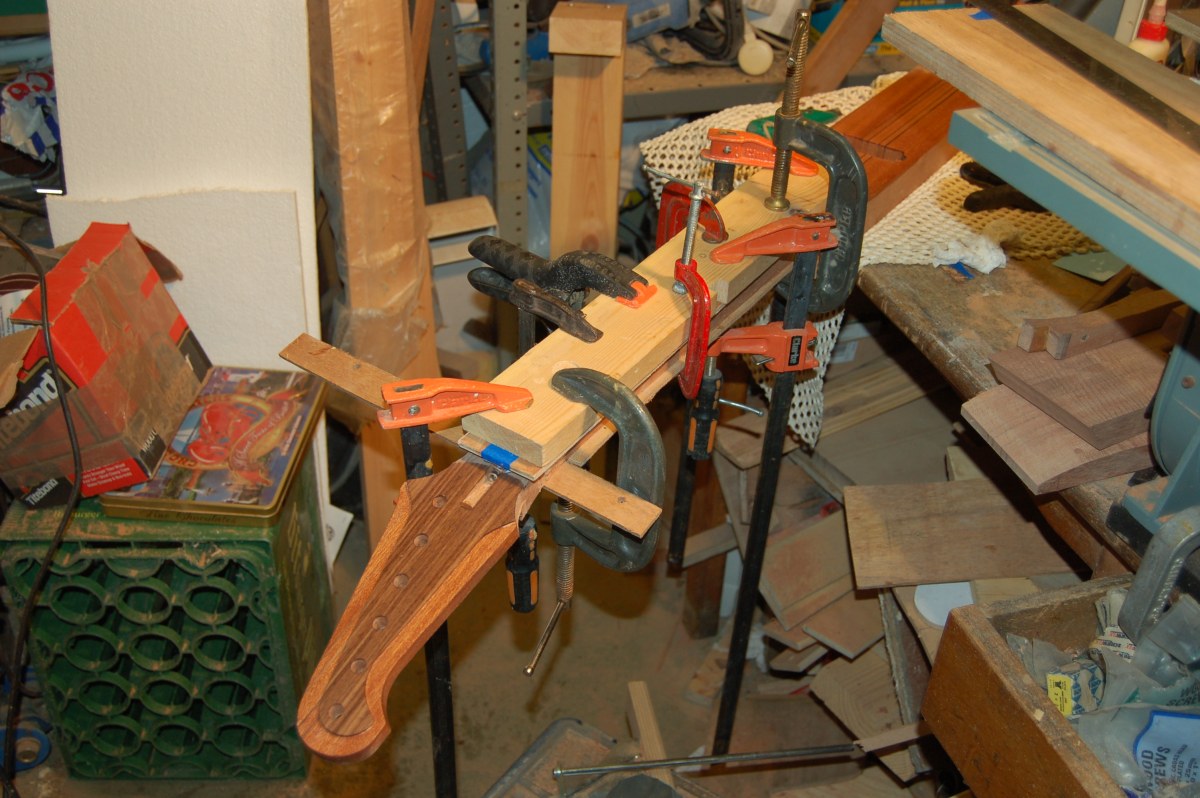
And my alignment jigs worked:

Shaping the neck
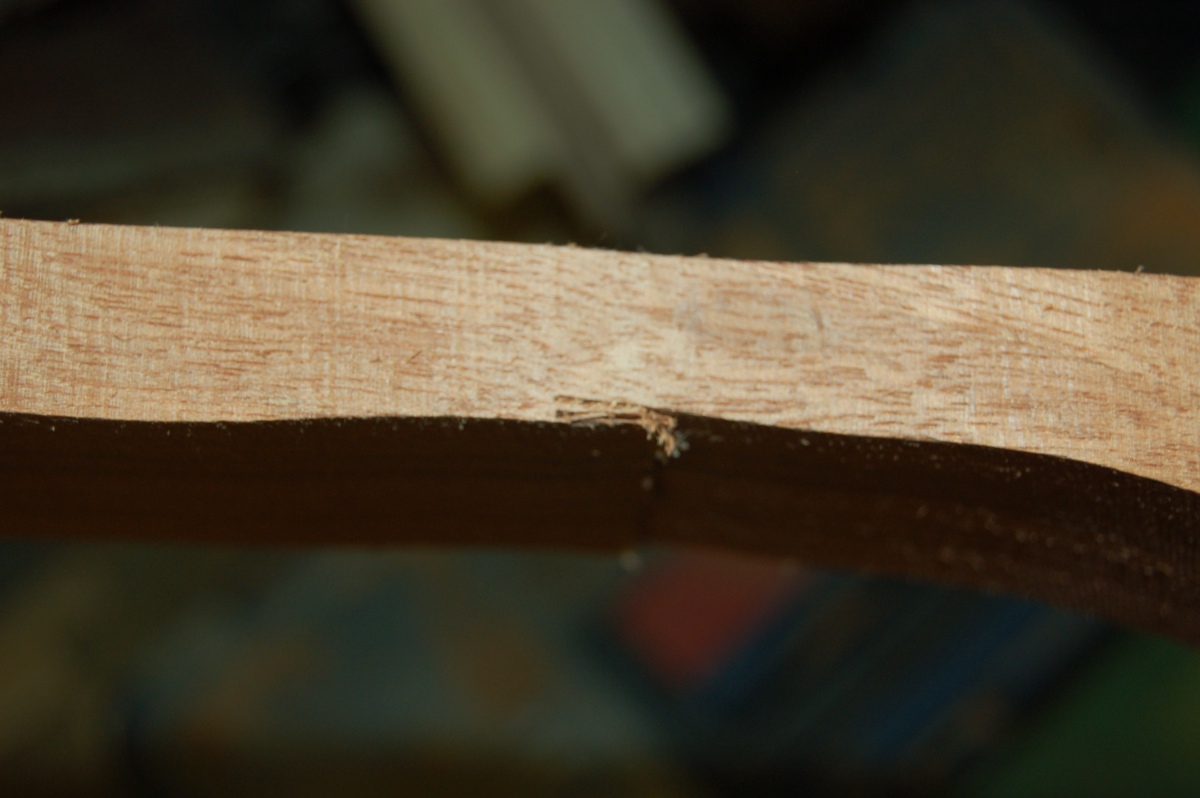
I glued in a sliver of neck offcut into my dodgy saw cut, just in case I couldn’t completely clean it up. At least there would be wood there, even if it didn’t look very pretty.
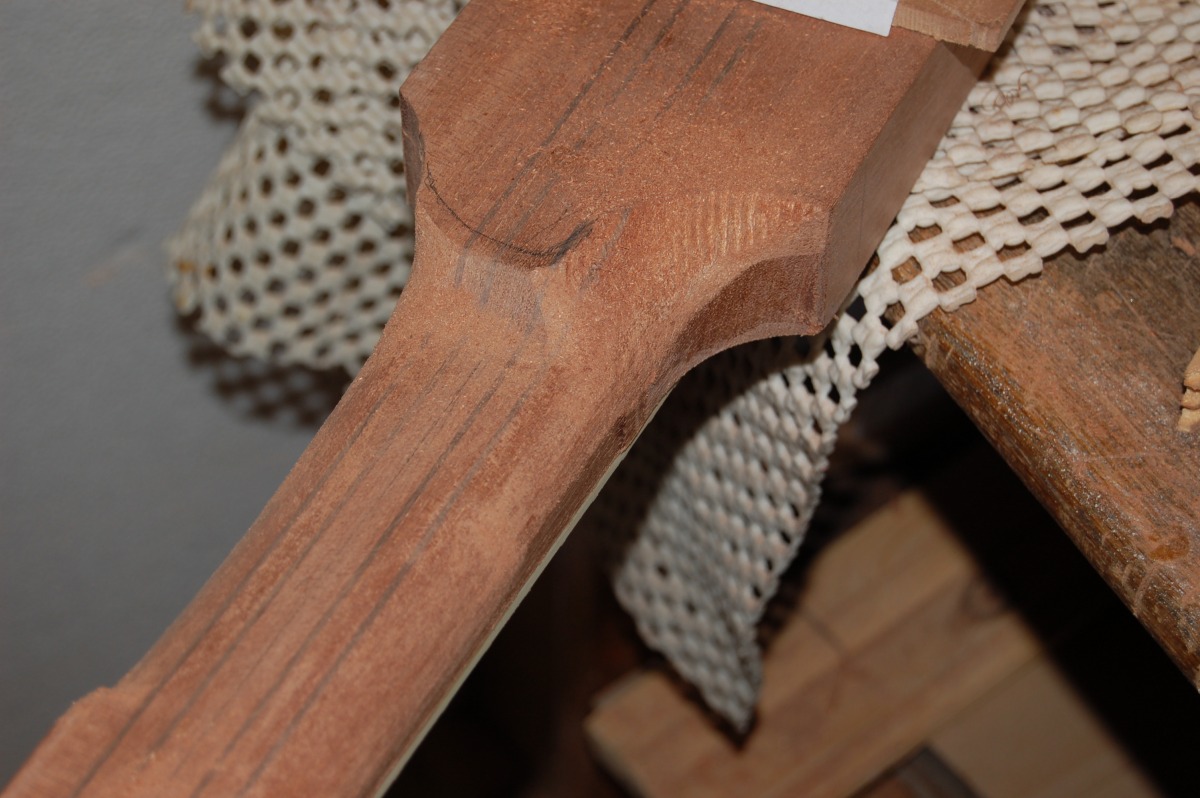
I used a rasp to carve the rough shape at each end of the neck…

I’d decided I wanted to extend the neck cut away on the underside of the neck, so included this in the rough carving. It will need to be blended into the body later.
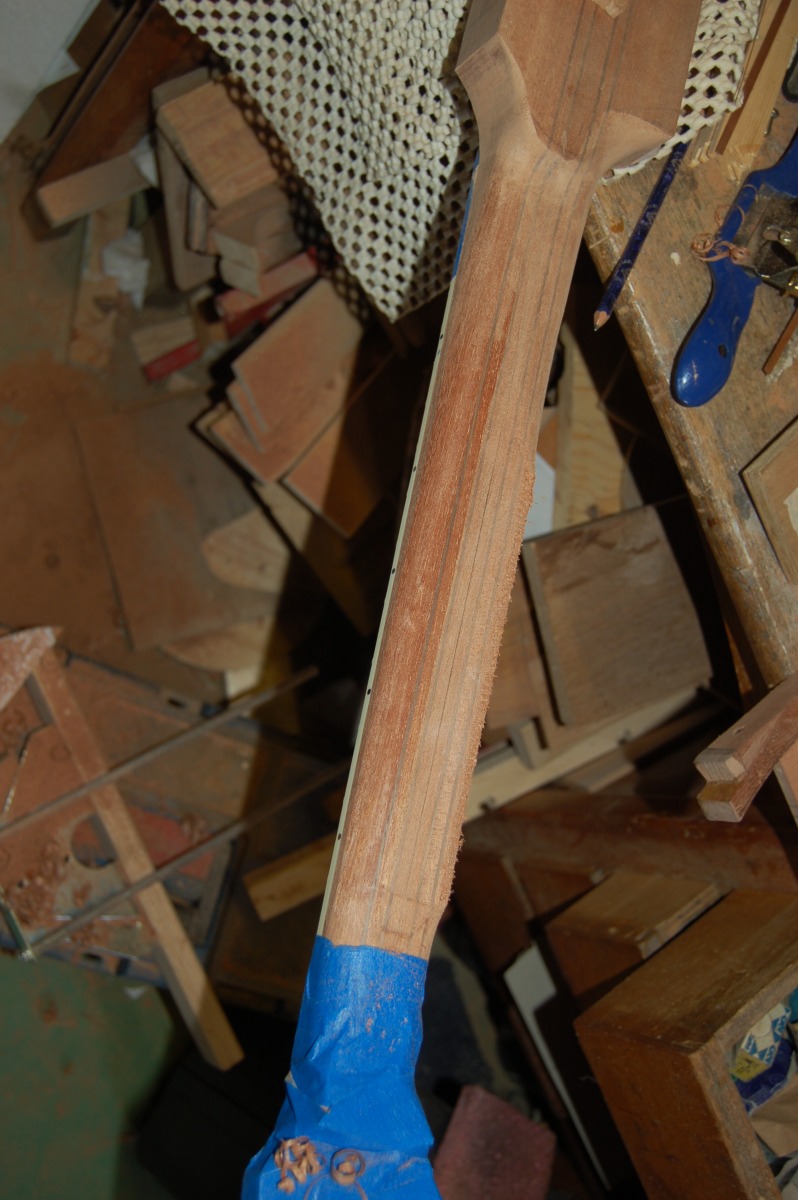
… then join the ends up:
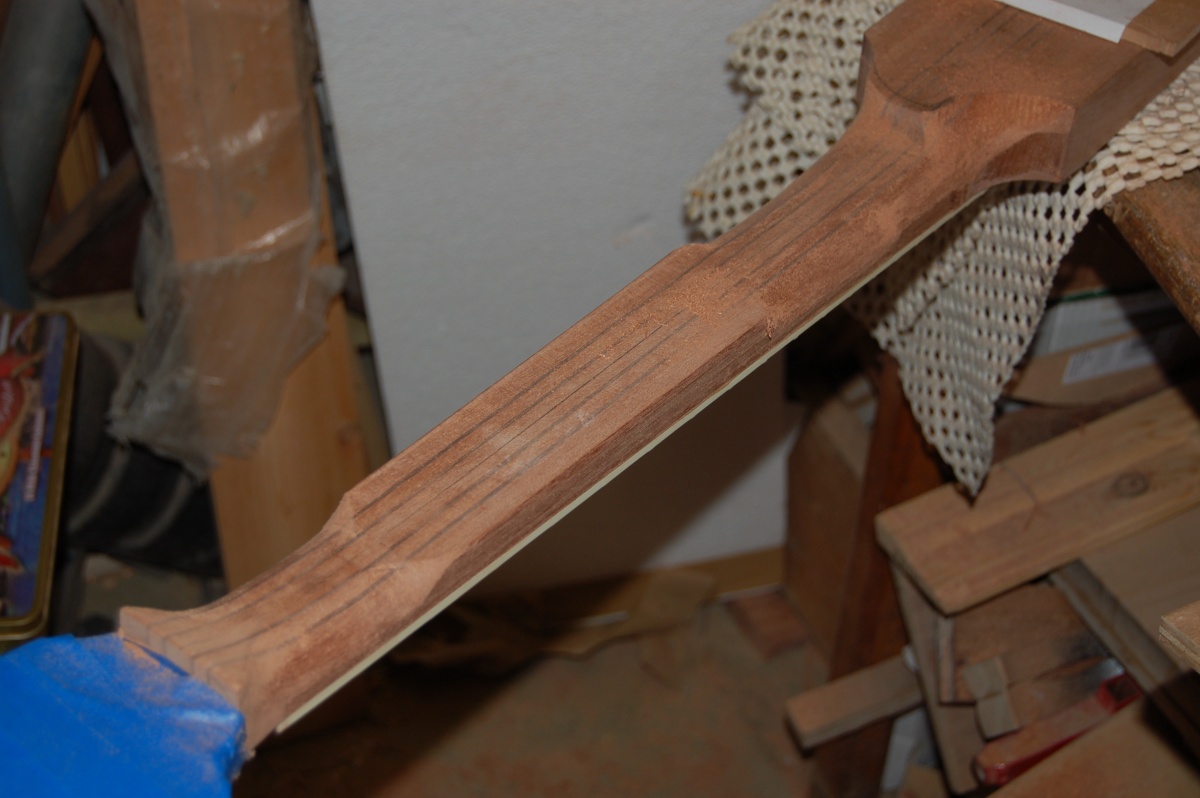
I’ve only made a rough job of the volute here – I wasn’t sure what I was going to do with it at the time. I could also check my body angle measurements now by putting the bridge in position and resting a straightedge on the fretboard:
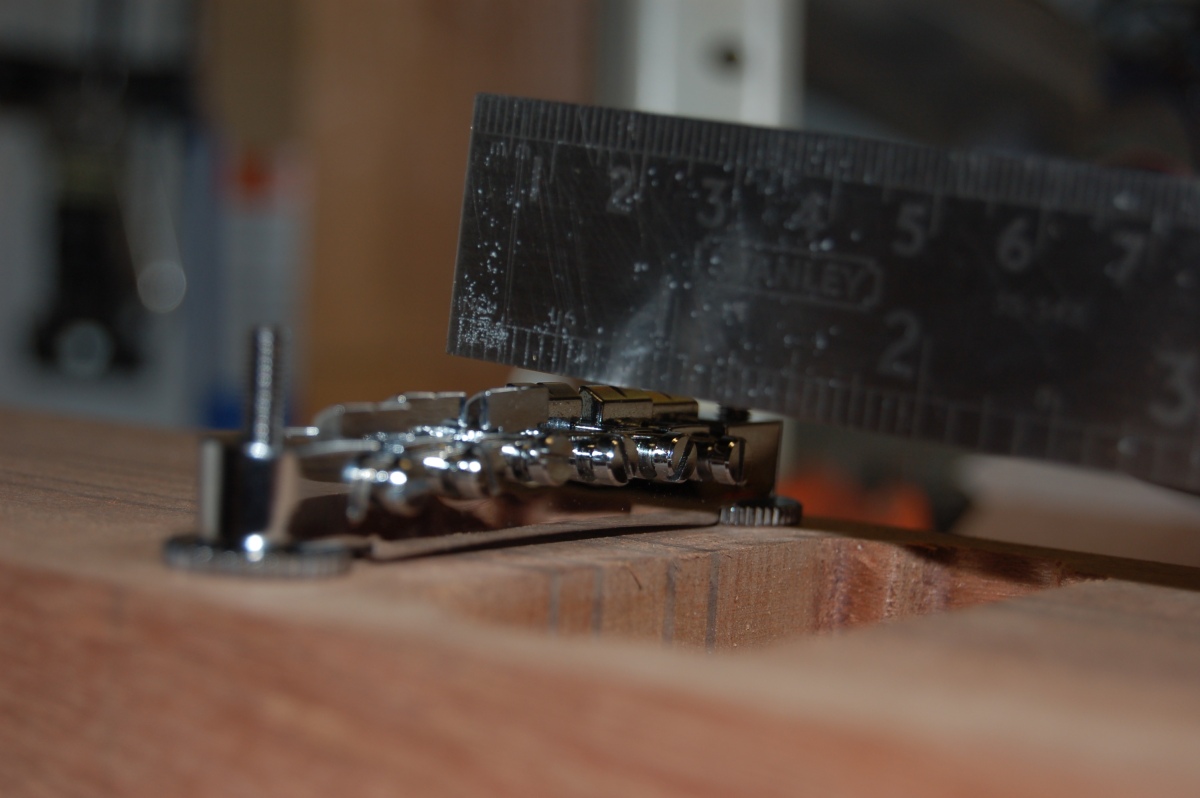
Hmmm… the bridge is about 1mm lower than I expected it to be. Well within the range of adjustment, but I couldn’t figure out why it wasn’t closer… until I remembered I hadn’t allowed for the height of the frets when I worked it out! Oops! Annoying, but not really of any consequence!
I also took this opportunity to drill the holes for the bridge posts and the tailpiece while I could still get the relevant part of the neck into the drill press. I decided that the slight possibility of getting the bridge posts in the wrong place by not being able to check the intonation before drilling was better than the dead certainty of getting the holes crooked if I had to drill them with a hand drill.
There was a bit of trial and error on offcuts to find the right sized drill to make the tailpiece bushing holes a good, tight fit before drilling for real. (I can’t fit the bushings until the guitar had been sanded and finished.)