OK, time for the ‘bird to get wings… Another length of plank:
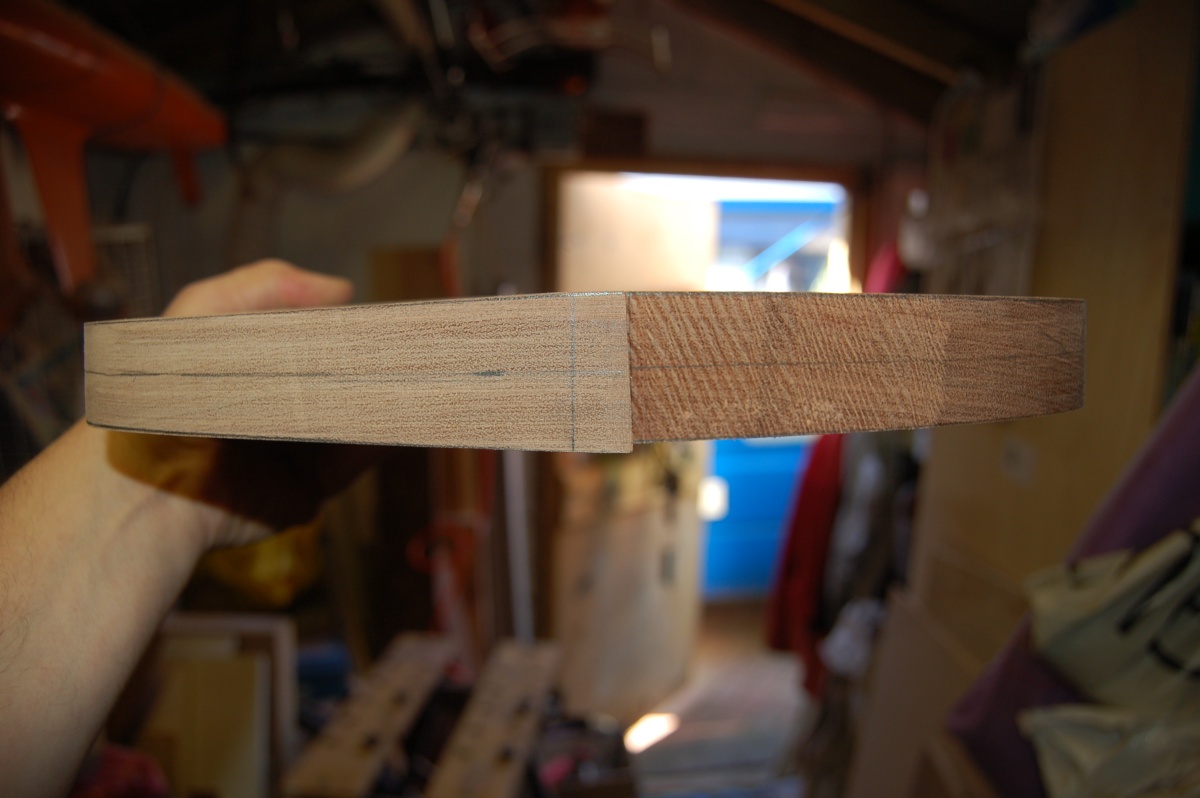
The body on a real Firebird tapers from the centre to the edge. Not everybody seems to bother with this, but I wanted to replicate it, as in my eyes, it is important to the aesthetics of the guitar.
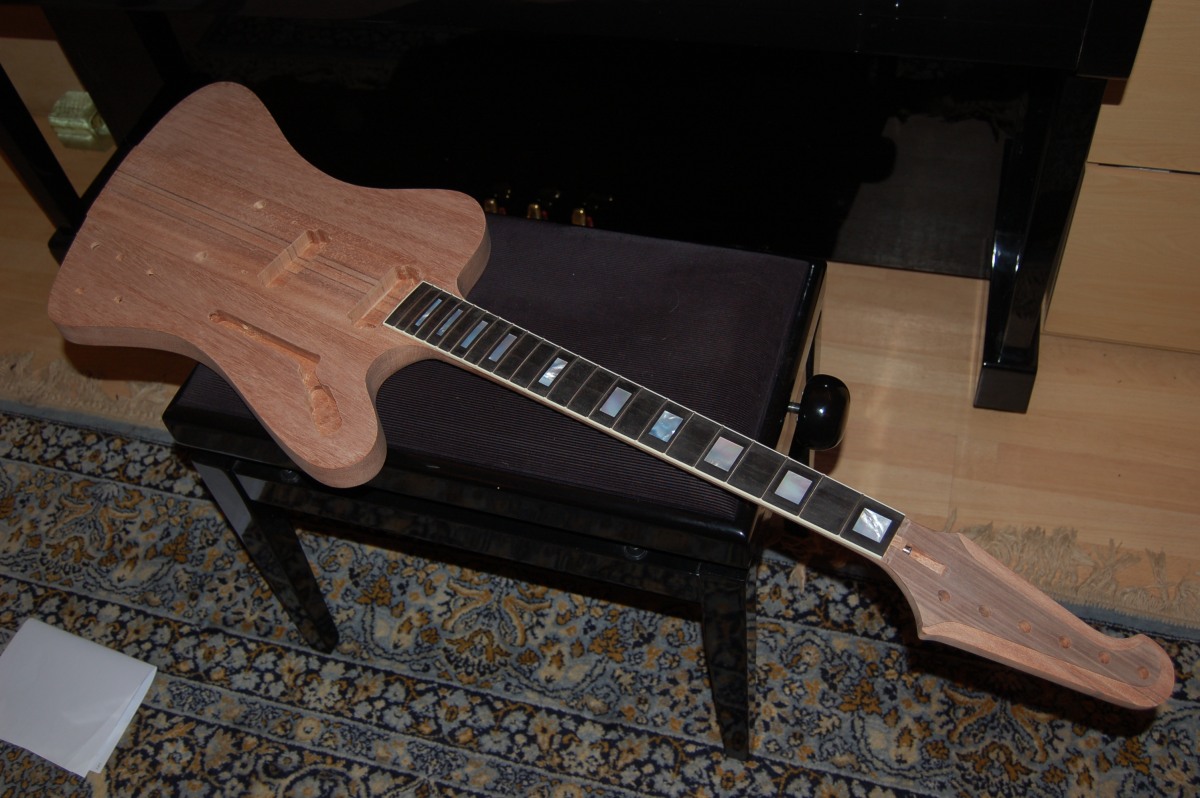
I thought it would be easier to make the two body wings as one piece and separate them after shaping. I also wasn’t 100% sure how I was going to attach them to the neck at this point: Gibson machine a deep vee down each side of the neck and a matching bevel on the edge of the wings. (This means the wings automatically centre and square themselves to the neck when they are clamped up). I didn’t think I could replicate this without access to a spindle moulder (or an inordinate amount of work), but thought I might be able to mortice them into the edge of the neck instead and allowed a bit of extra ‘meat’ between the two halves to facilitate this. The backup plan would just be to butt-joint the wings to the side of the neck.
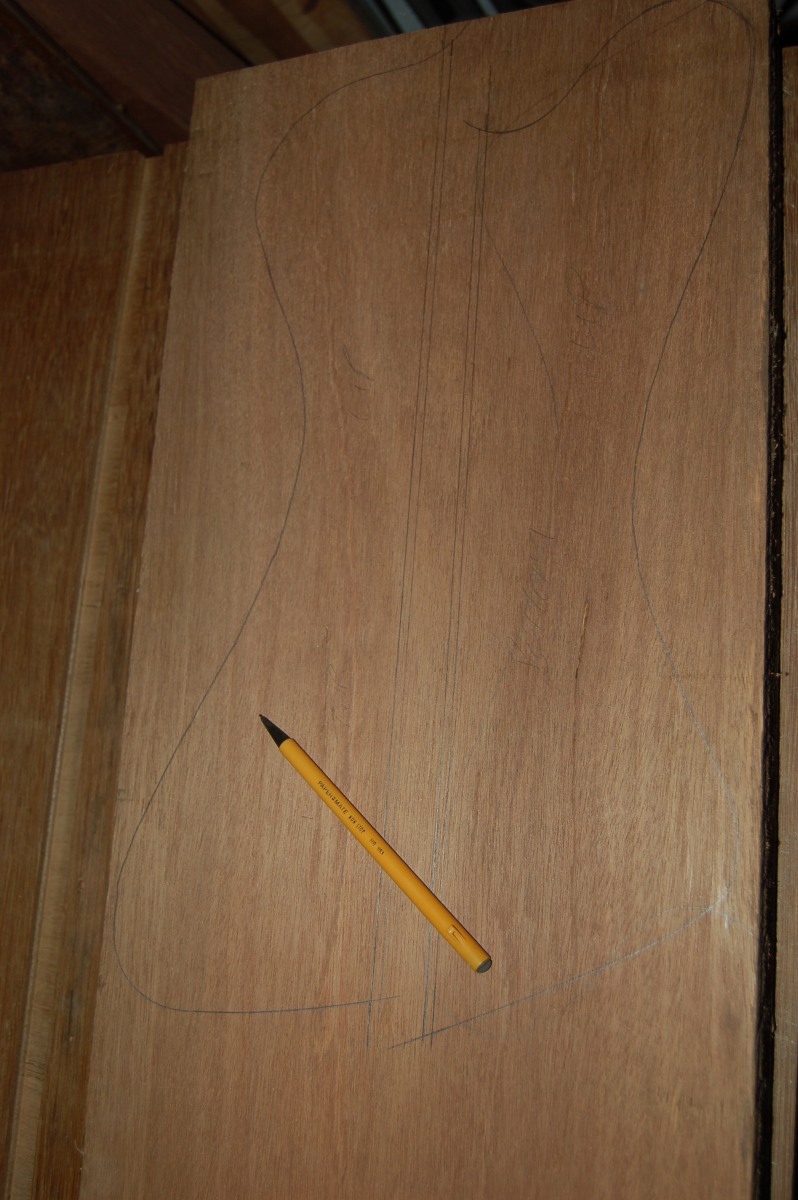
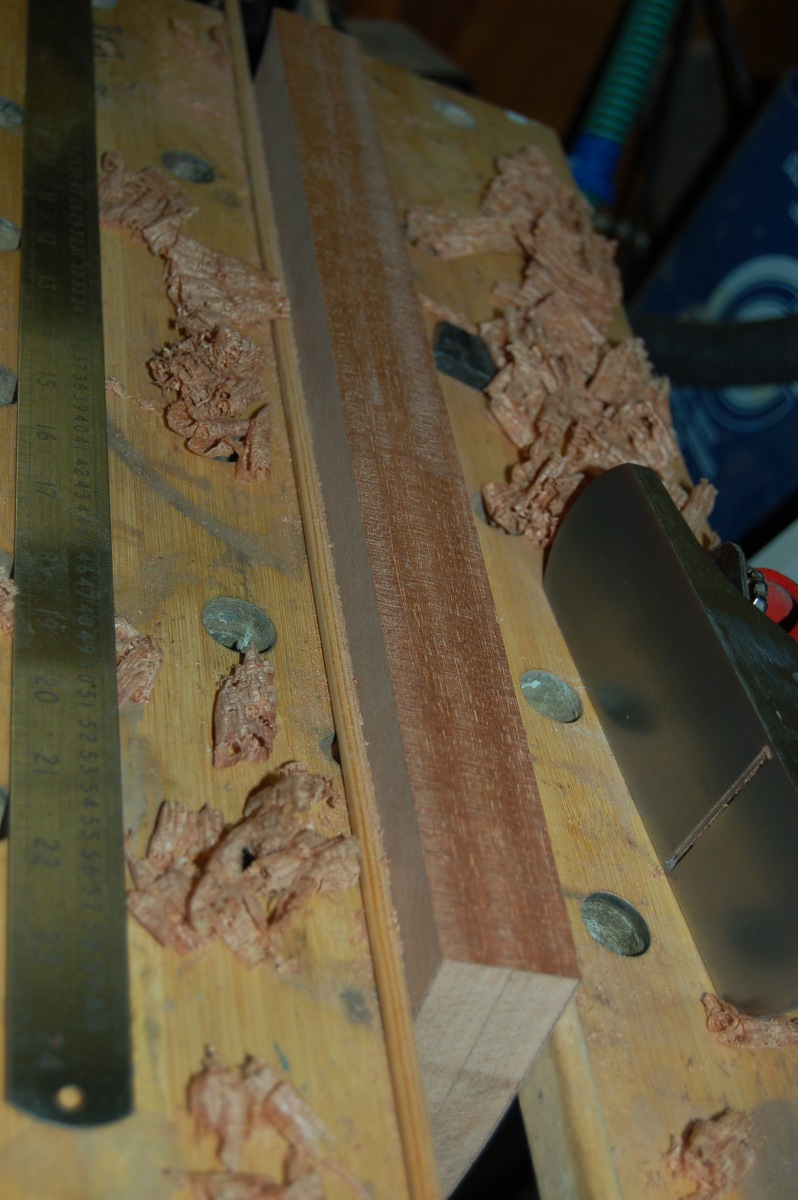
After I cut the outline, I marked up the taper by packing the piece up in the centre, pushing the edge down, and running a pencil line around.
All I needed to then was to plane down to the lines.
Nearly there:
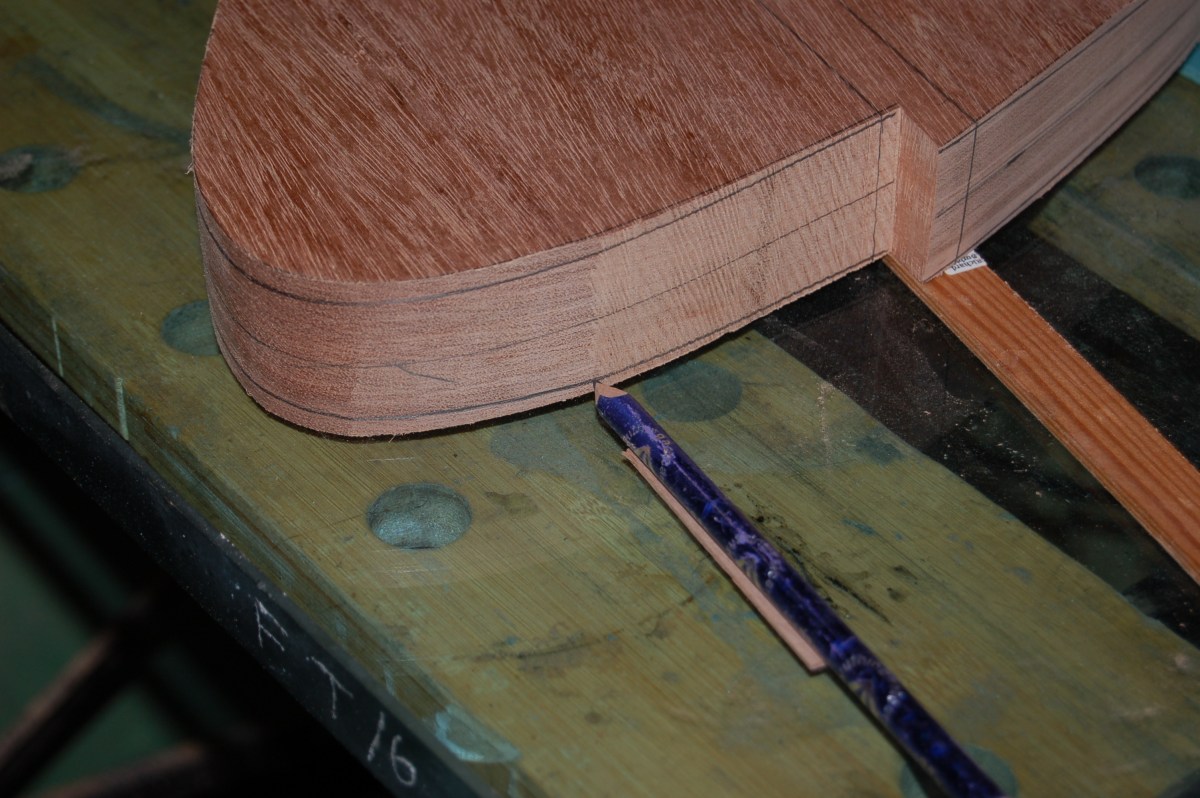
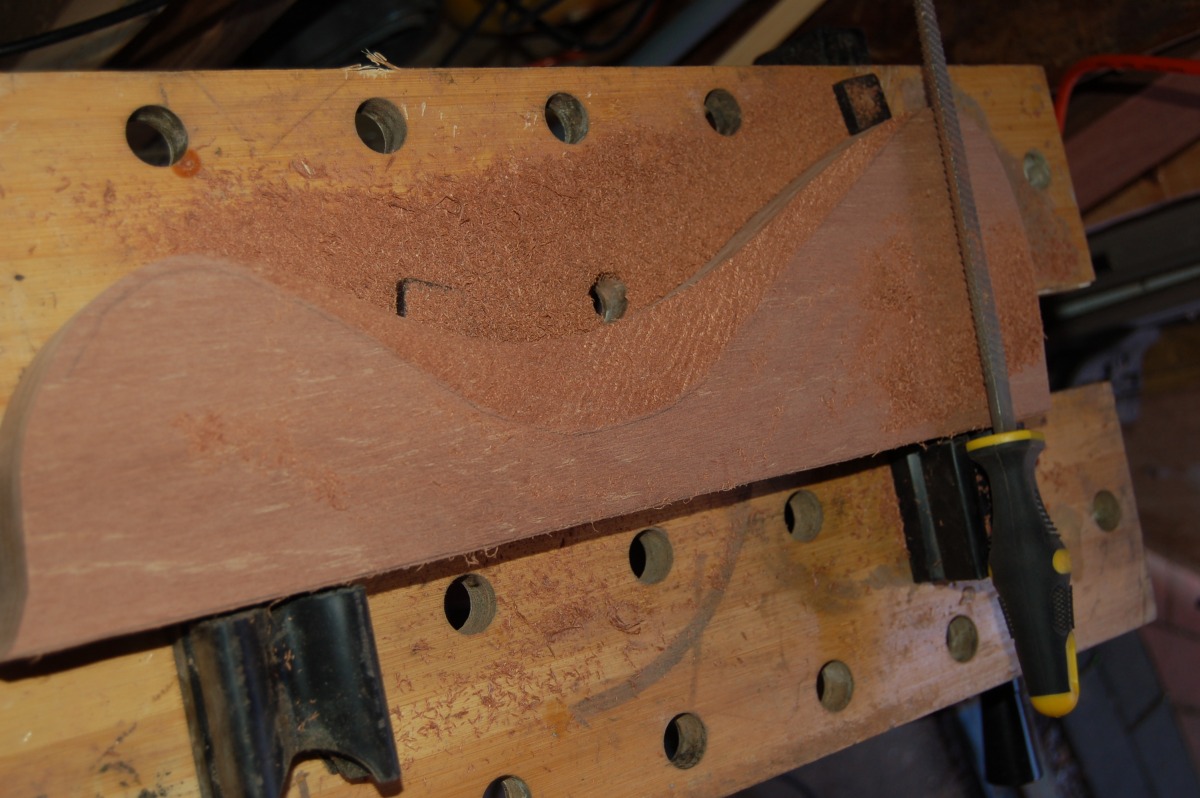
I had a quick try at cutting a mortice in the neck to take the wings, but it would have left such a thin sliver either side that I decided it wasn’t worth it, and would fix the wings with a plain butt-joint. So after splitting the two wings apart, I needed to plane the edge flat so it made a tight joint with the neck and sat square to it:
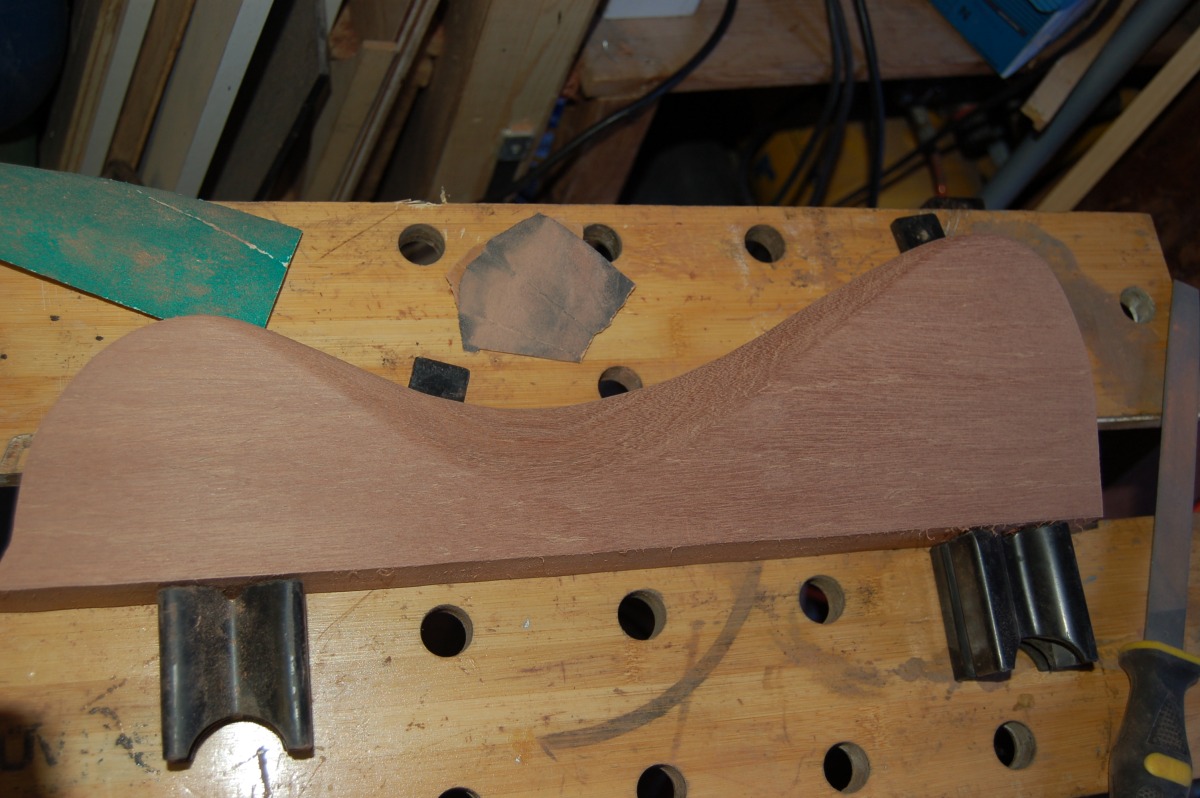
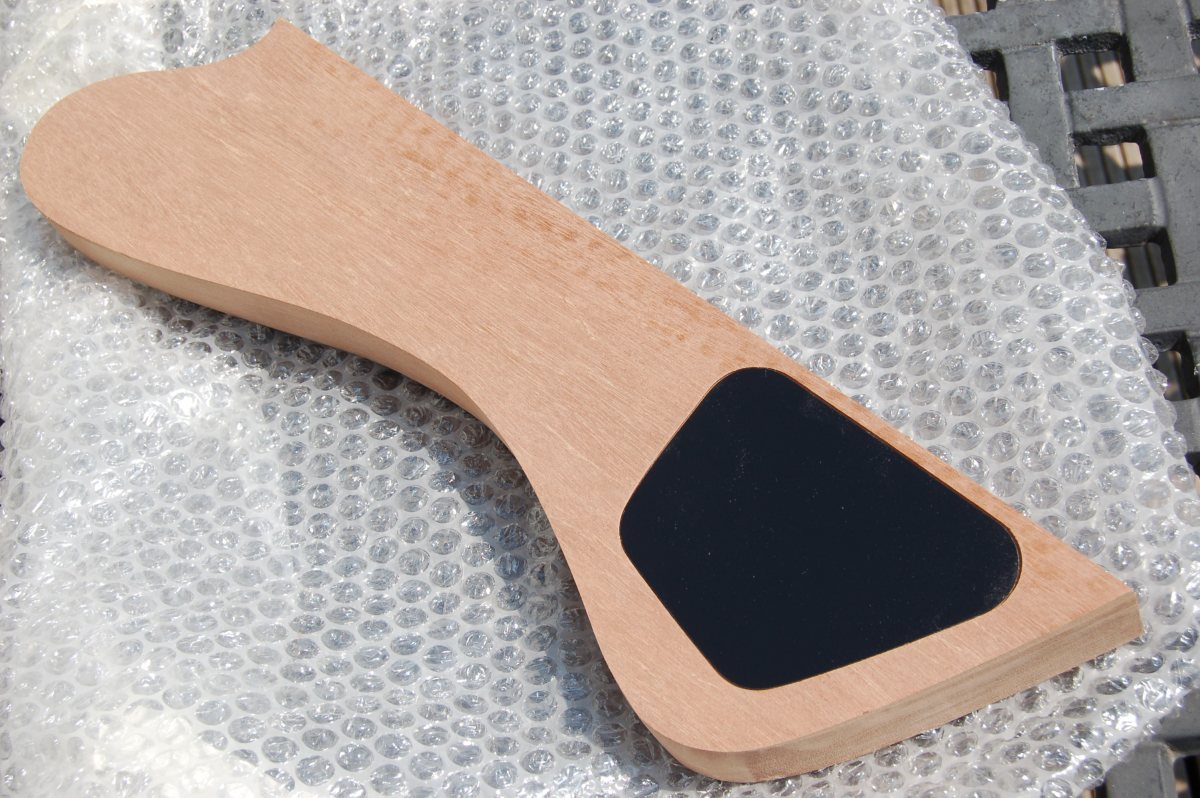
I tried to complete as much work as possible on each wing before gluing them on. The upper wing needed a ” belly cut”. Easy, quick and satisfying with a rasp:
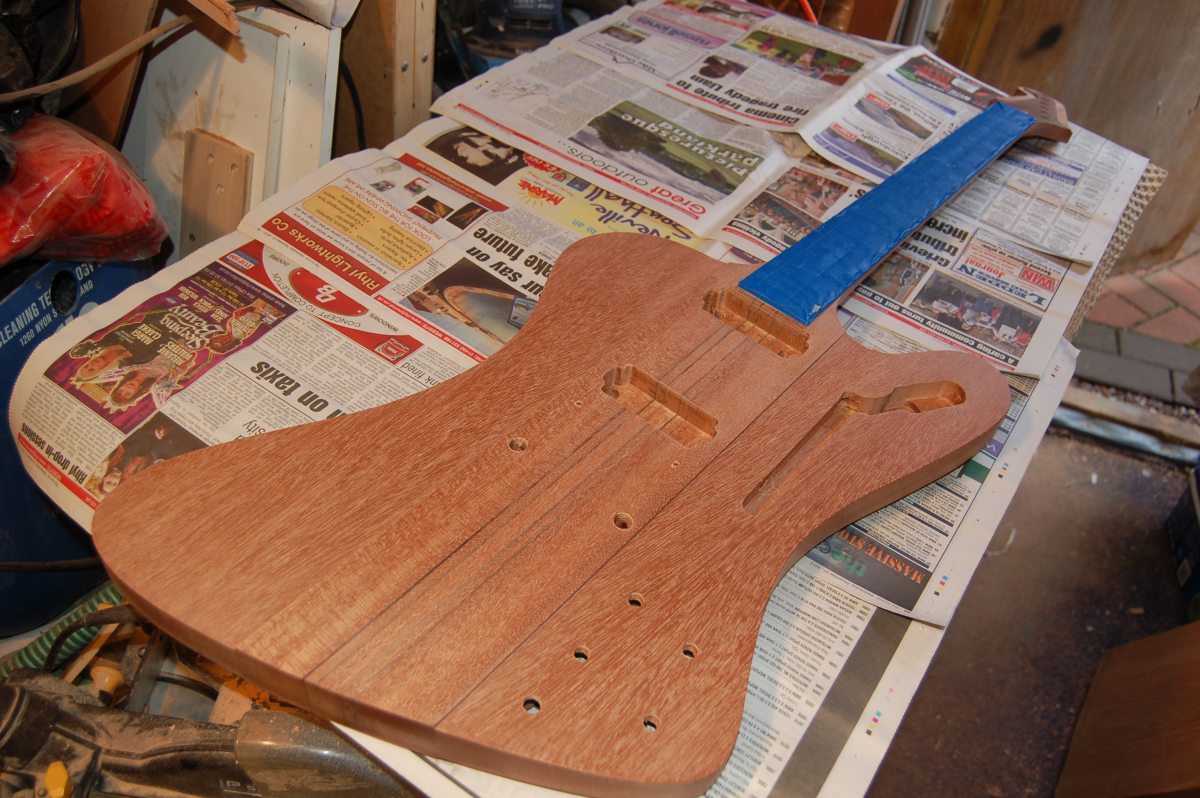
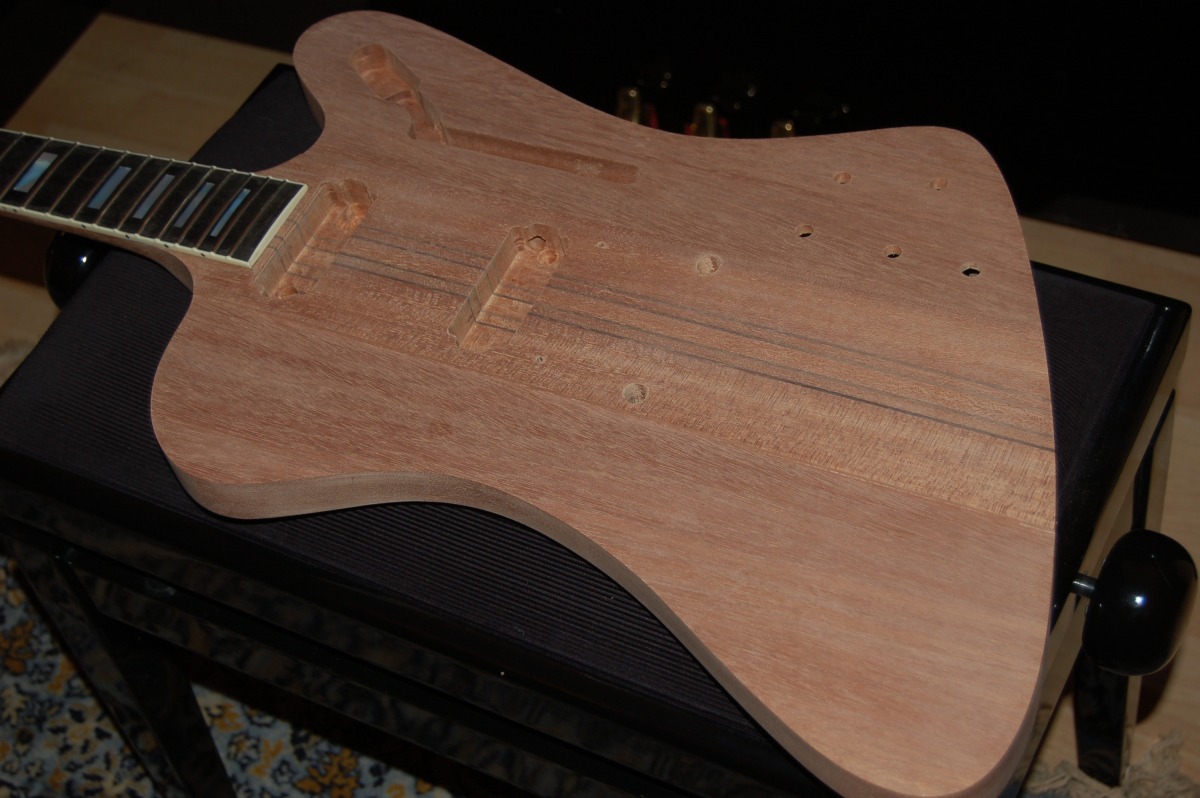
The lower wing needed routing out for the pickup switch and wiring. The body is quite thin at this point because of the tapered thickness, and pretty much the only selector switch that is slim enough to fit is the right-angled Switchcraft pickup selector switch. The switch cavity comes to within about 3mm of the other side of the body.
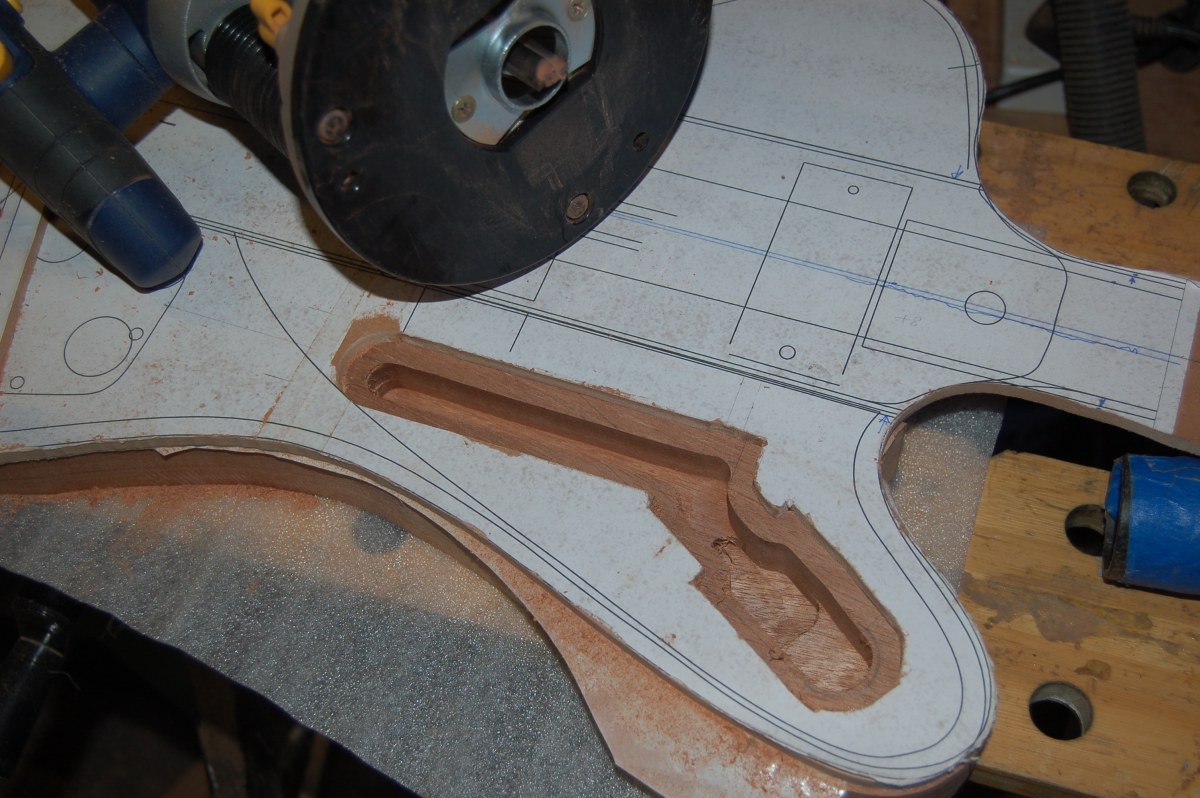
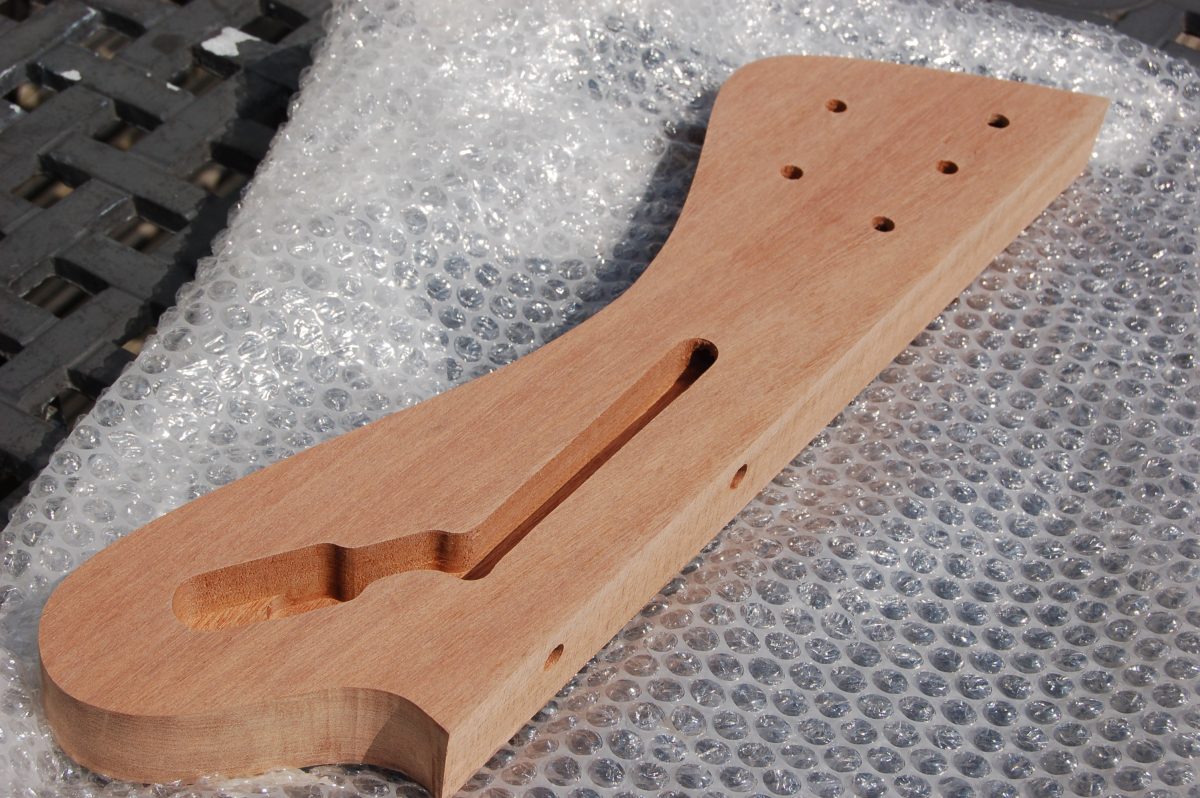
You can see I also drilled holes in the edge of the body which will match up with the pickup cavities in the neck.
Because the body is tapered, the holes for the controls were quite tricky to drill: They need to be square to the top of the body, so it has to be packed up until the top surface is level in the drill press. I used these holes as a guide to drilling out the control cavity from the rear. All this also needs to be square to the top of the body which is OK for the drill press, but means you would need to use a tapered base if you wanted to cut the recess with a router. (Whose idea was it to taper the body??)
Drilling removed most of the material, and although I had originally intended to use the router to finish it off, it didn’t take long to clean it out by hand.

You can just see the hole for the pickup wiring, drilled (with a very long drill bit) from the channel on the front of the body into the top left of the control cavity. I need to drill another hole from here to one of the tailpiece posts for the ground wire, but this will have to wait until the body and neck are glued together.
While I was at it, I also cut the control cover and matching recess:
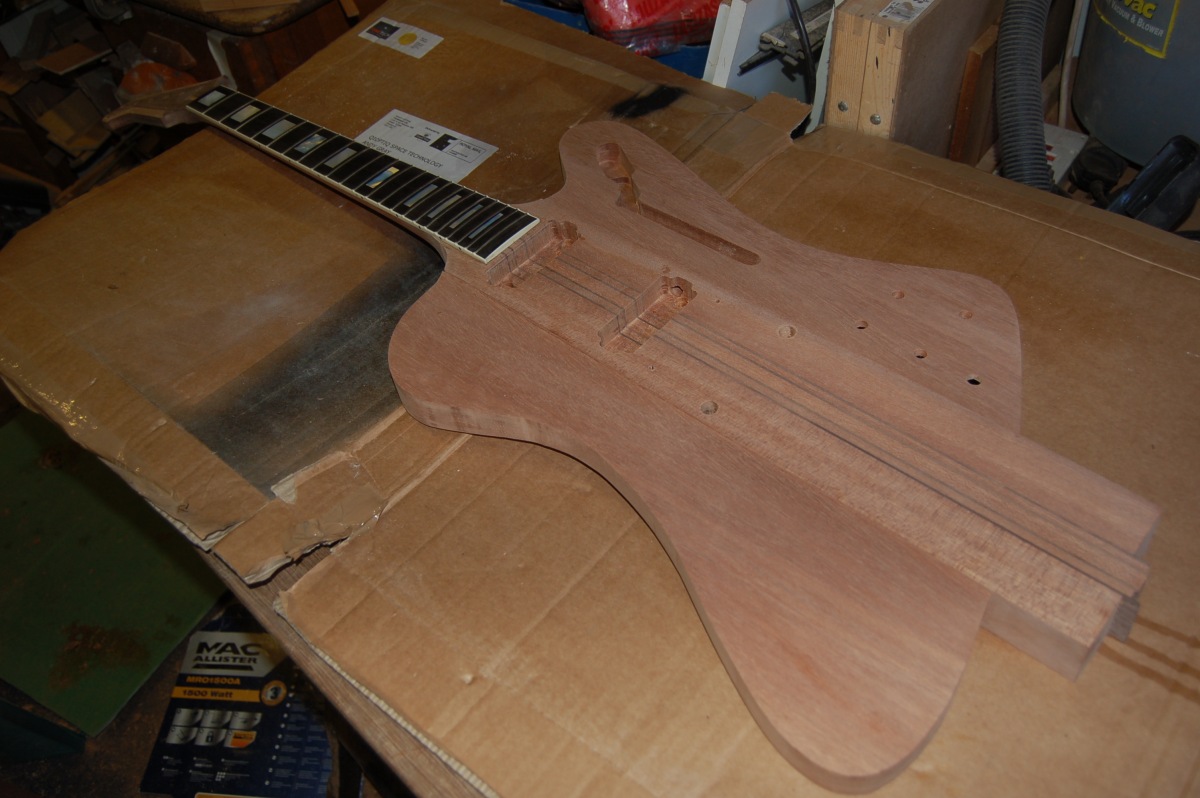
Ready for glue!
Gluing the body
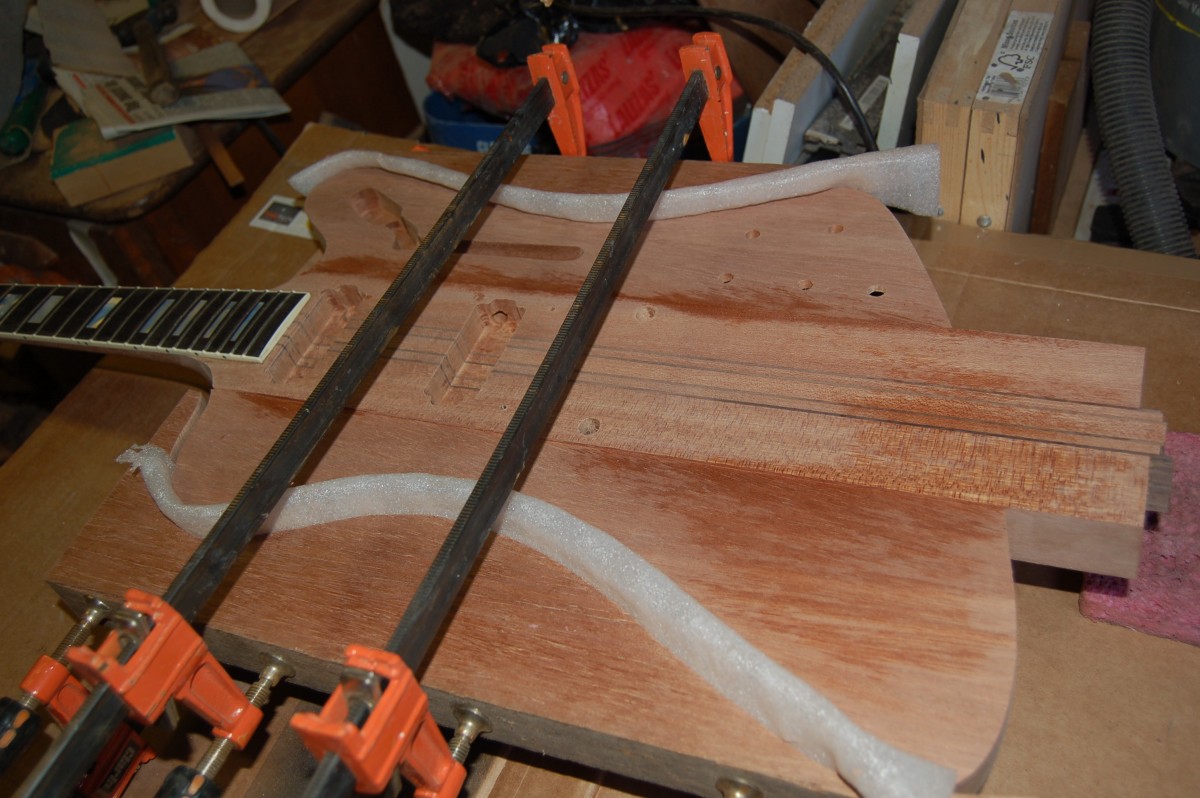
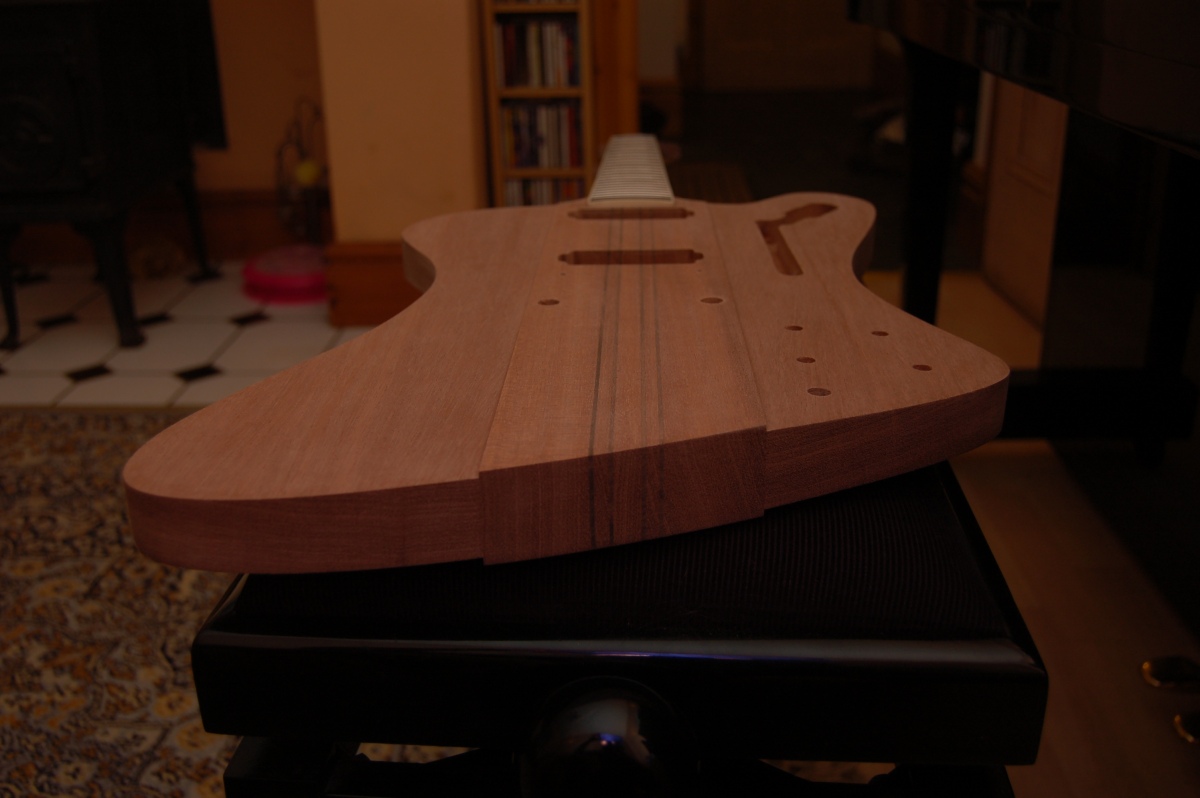
You can see the holes from the side of the neck into the pickup cavities that match up with the ones on the lower wing.
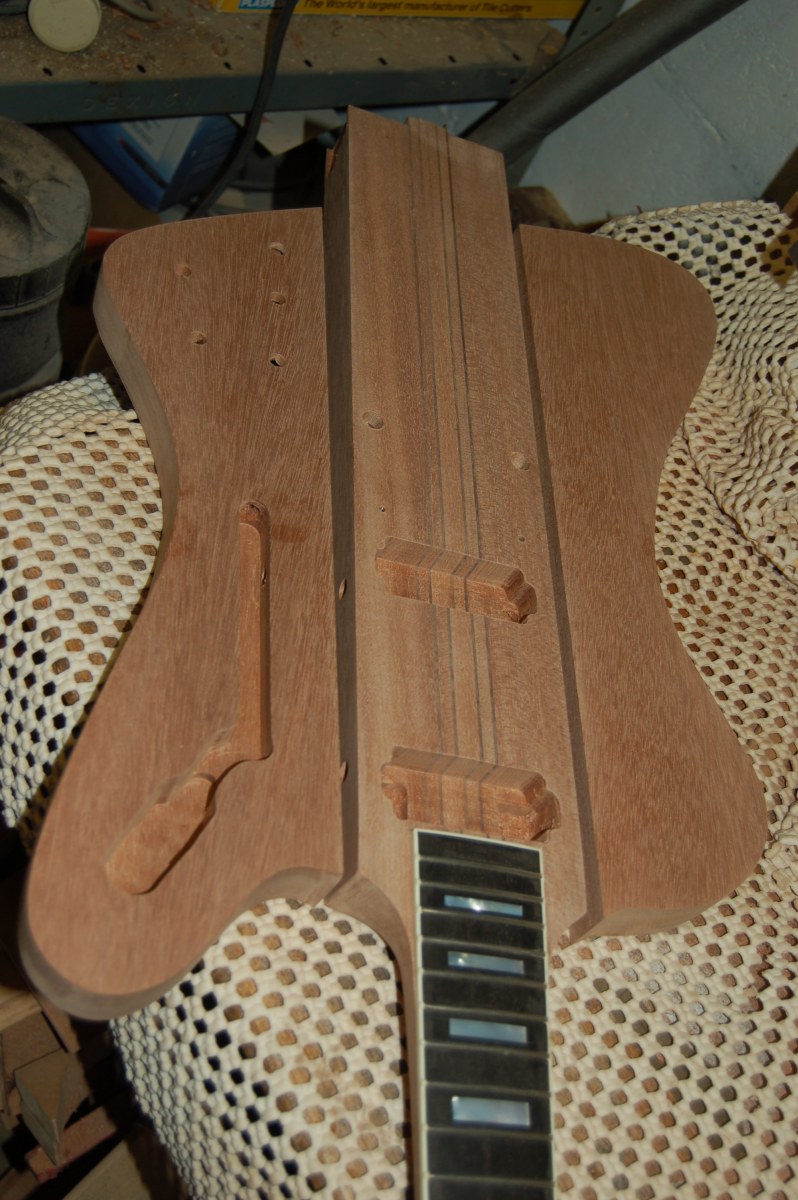
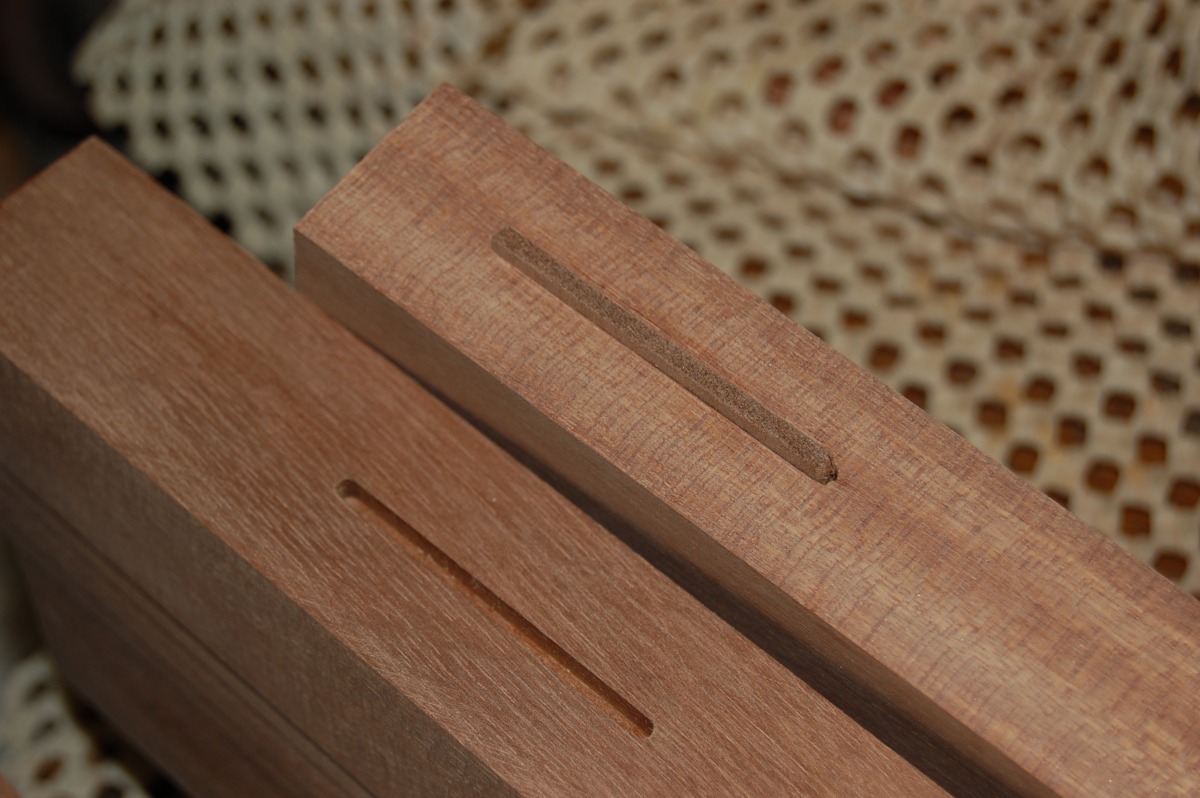
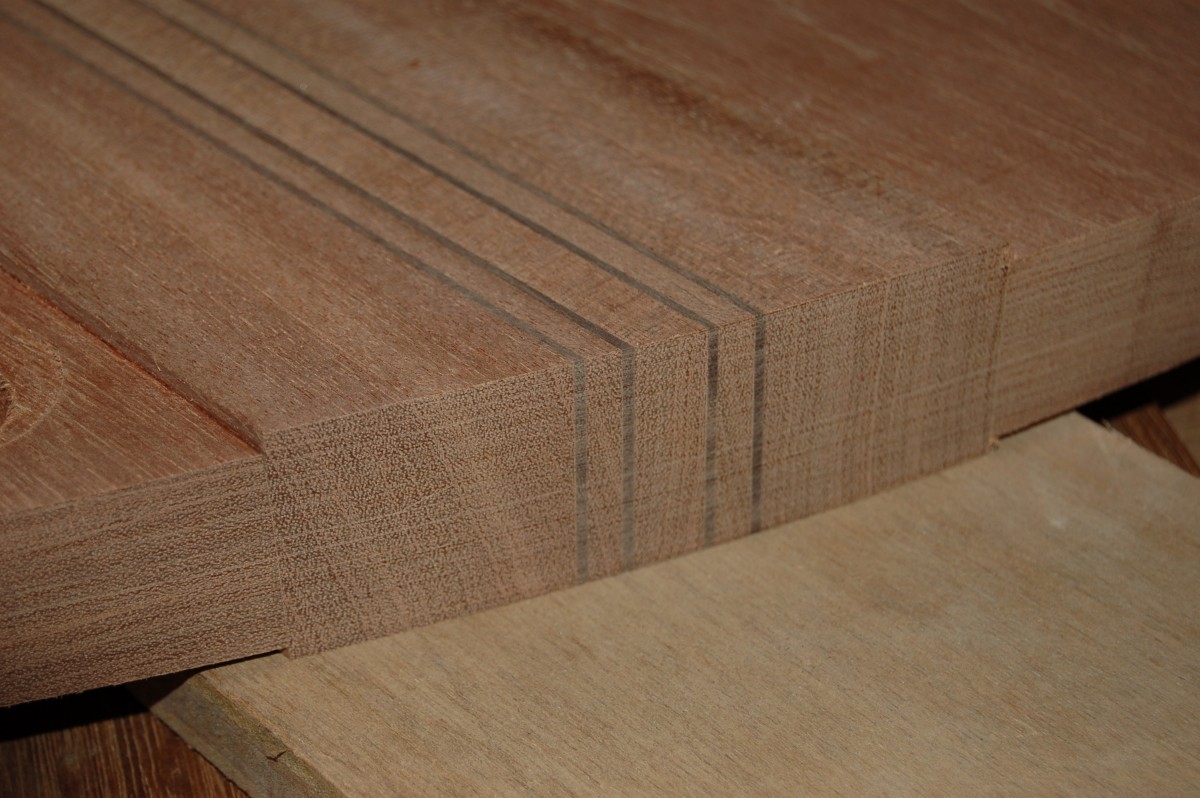
I was still uneasy about getting good alignment between the neck and the wings – there is a step between the two which needs to be uniform end to end, even top and bottom and matched side to side. In the end, I thought I would have the best chance of success by using a couple of small splines (loose tenons) to keep the pieces aligned while gluing.
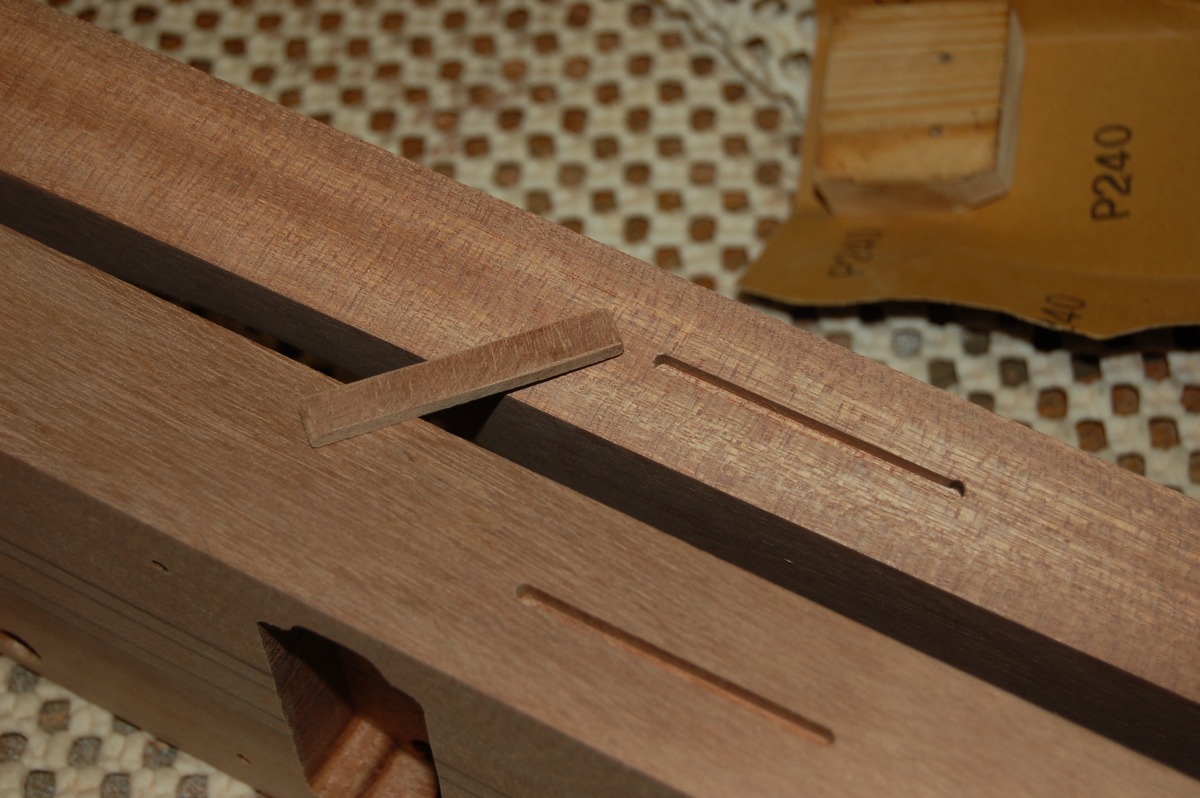
The splines are cut across the grain, so will (hopefully) give some strength to the joint, even though they are only 3mm thick, as well as maintining the alignment.
Glue time! ;D
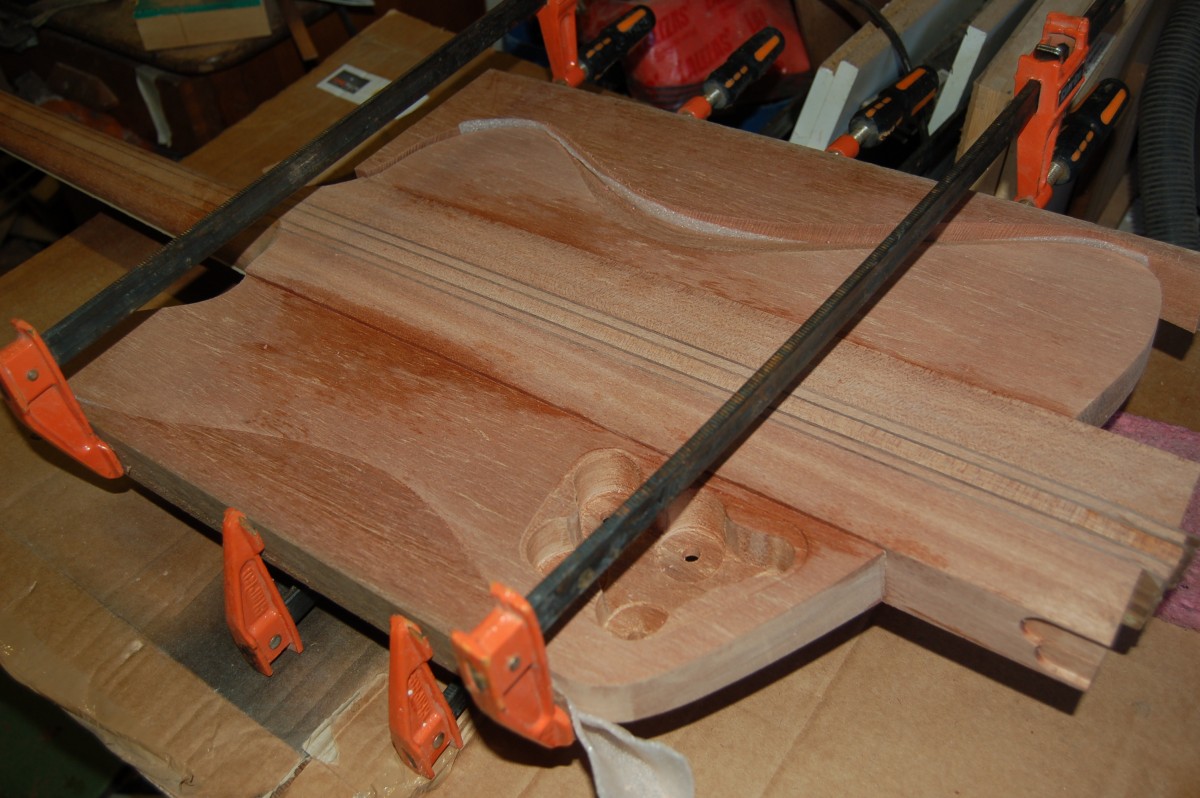
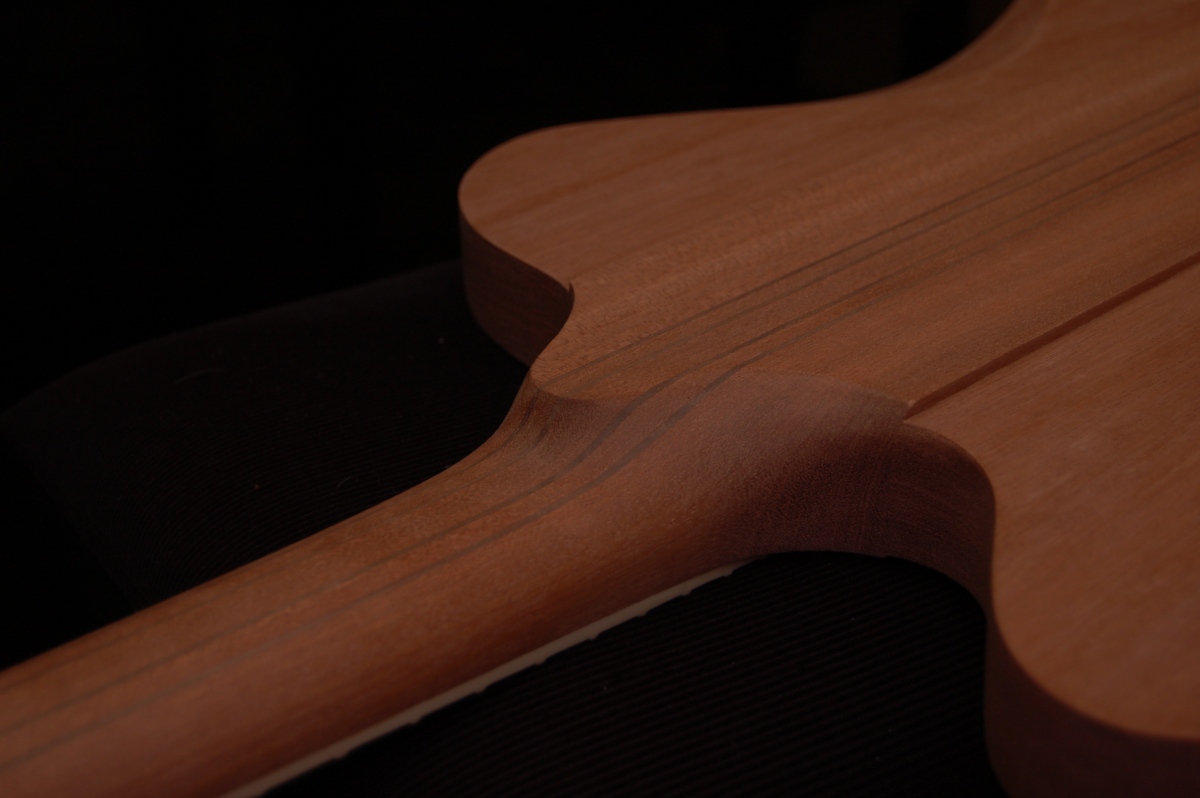
The body offcuts were handy for clamping. While I had the damp sponge out to clean up the glue, I couldn’t resist wiping the neck to see what it might eventually look like.
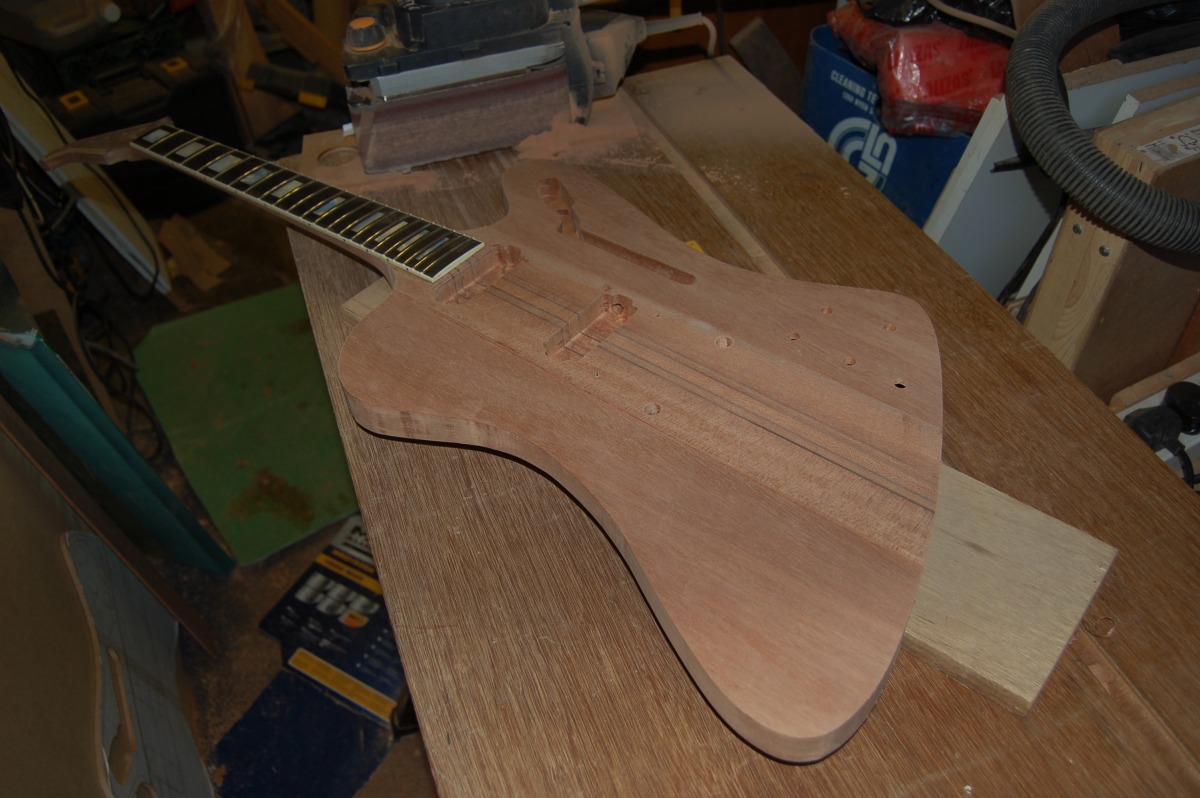
The neck joint still needs to be blended in, but pretty pleased! Clamps off:
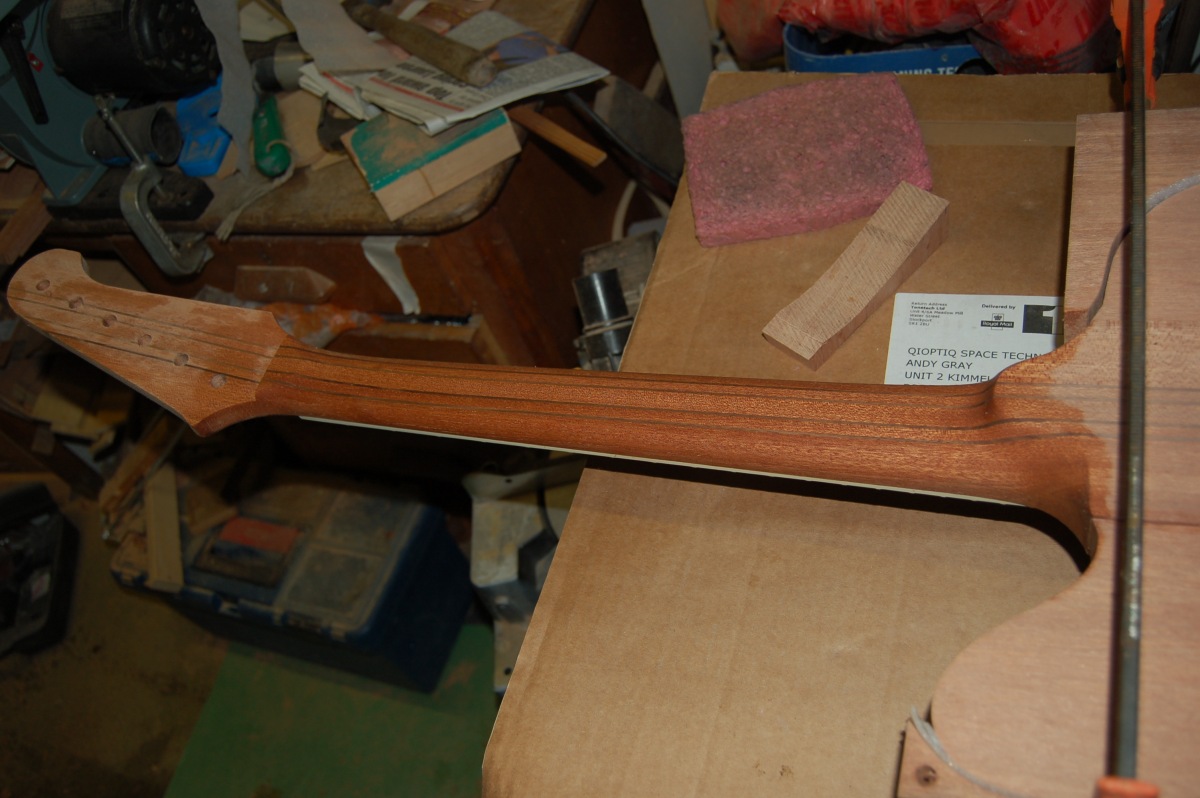
Trimmed off the ‘stump’ and did some rough sanding with the belt sander:
And it’s starting to look like a guitar!
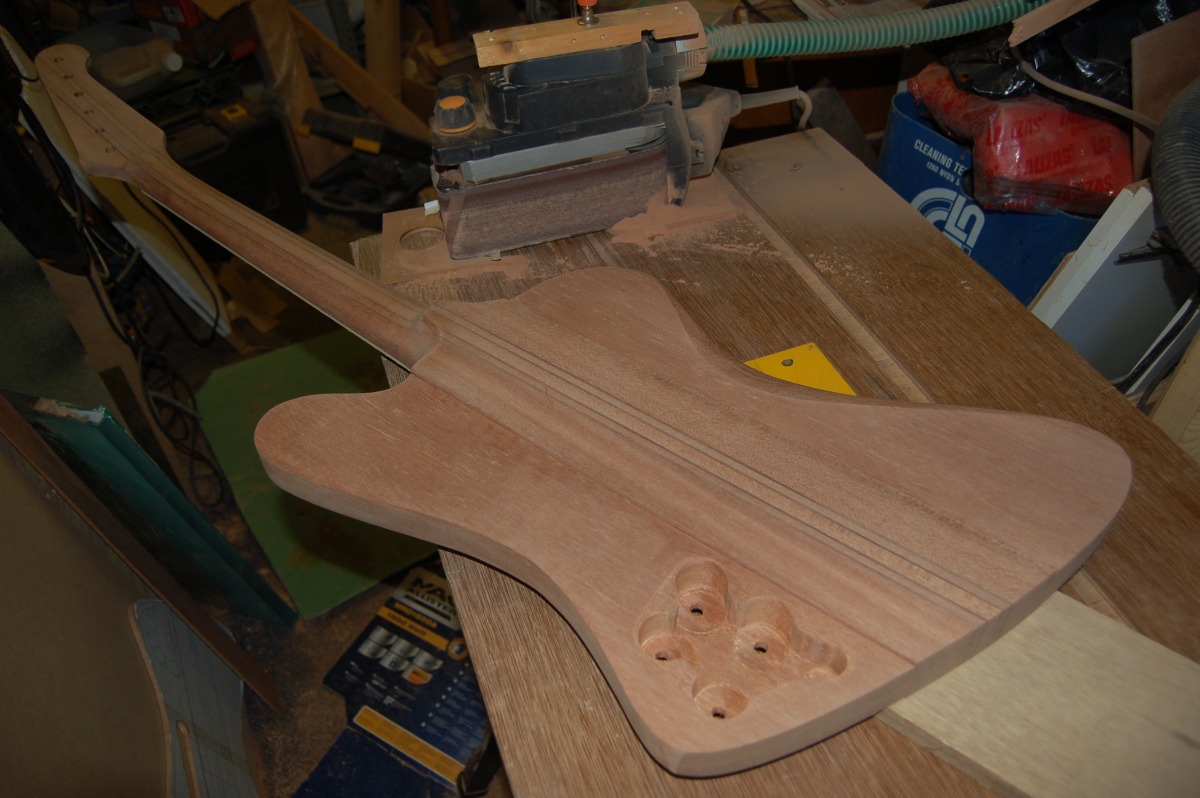
Sanding, sanding, sanding…
After gluing the wings on, I needed to sand the edges of the body to blend everything in. I managed to use the belt sander clamped to the bench for some of it, but most of it got done by hand. (I used sandpaper wrapped around a can to try and keep the edges nice and square – oh for a spindle sander…) The whole thing then got sanded to 240 grit.
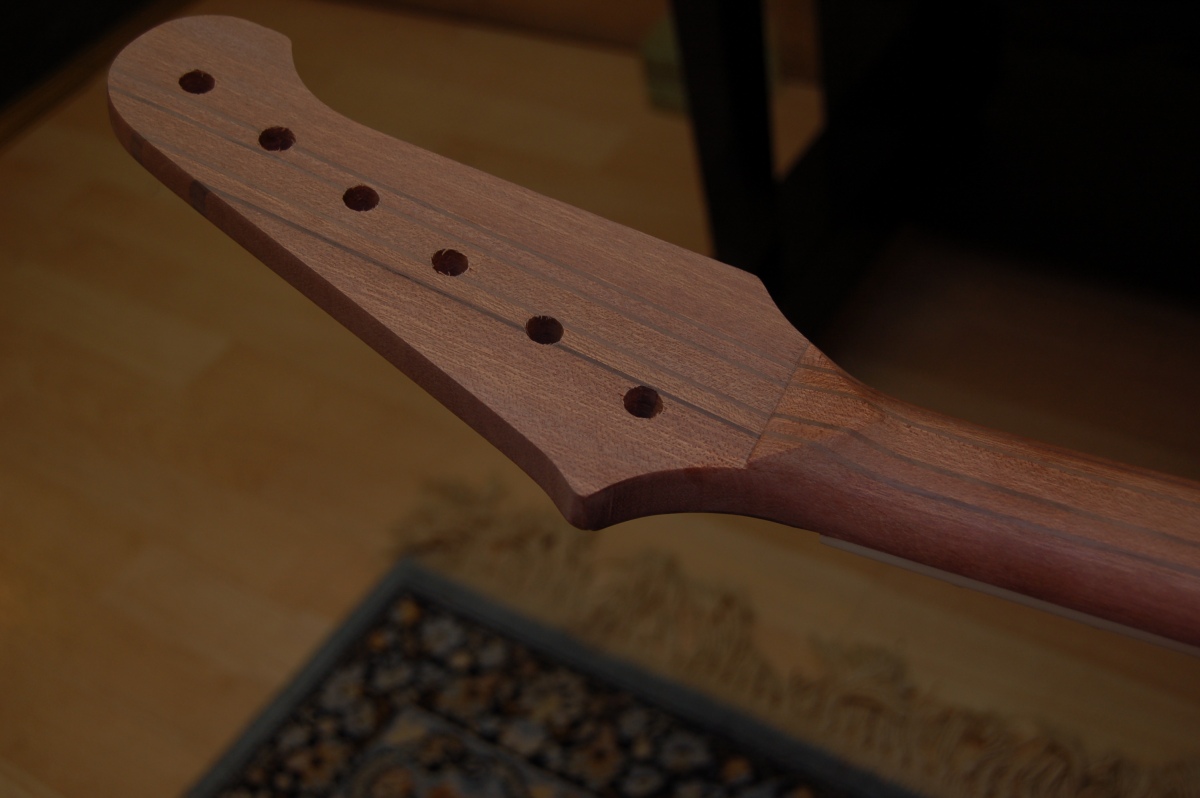
When I thought I’d finished, I cleaned the guitar down and brought it into the house and just looked at it off and on for a few days, from different angles, etc. I noted some bits that still needed work – like the neck was too fat near the volute, and the neck cut-away wasn’t smooth, etc. which would need to be reworked.
Ideally, I should have strung it up now, but I still didn’t have any tuners. I did take some photos, though:

All masked up, ready for finish!