After much procrastination and some trial runs of lacquer, Danish Oil and Tru Oil, I decided that I was going to finish it in Birchwood Casey Tru Oil. There’s an awful lot of information and discussion about using it as a guitar finish on the ‘net – some of it rather bizare. I based my approach on Bruce Bennet’s procedure on TGP.
Action shots of ‘paint’ drying follow 😉
Tru Oil application
First, soak the guitar with tru oil, wipe off and leave to dry 24 hours…
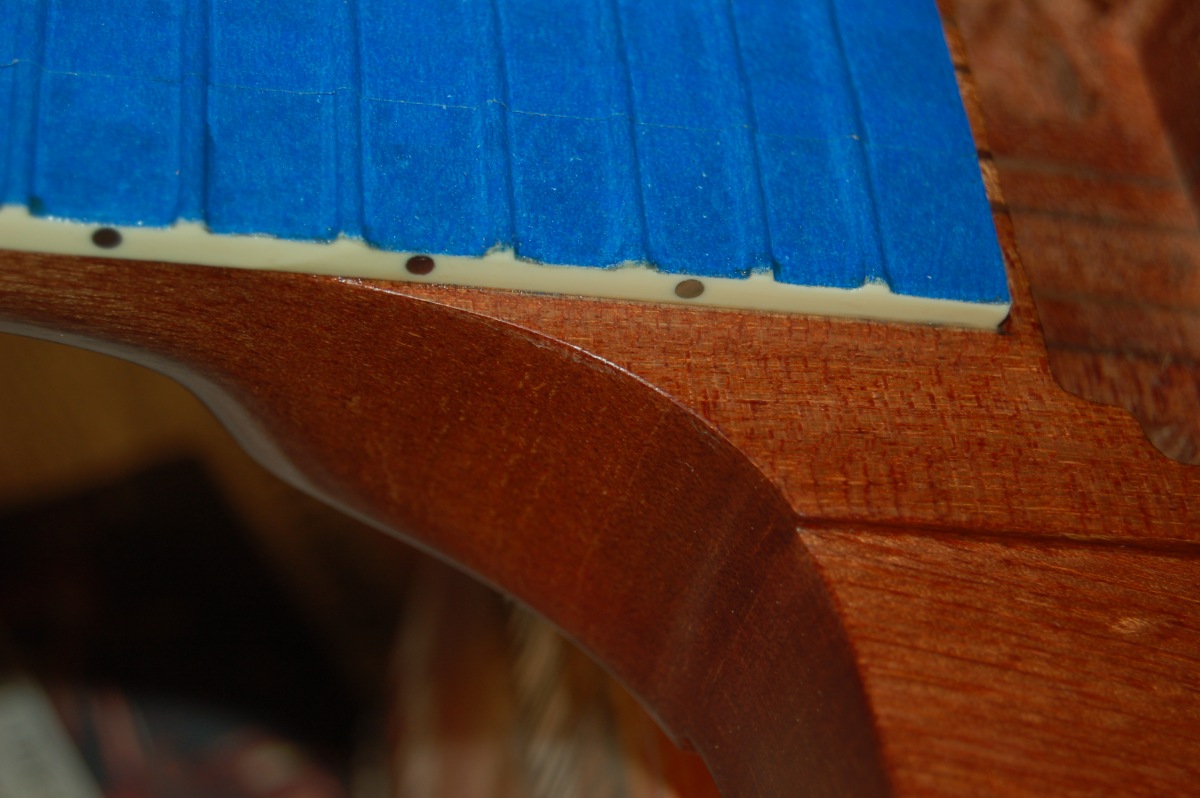
Apply 2nd coat of tru oil, rubbing in with 240 grit paper, then wipe off again and leave for 24h. It looks like this step takes more off than it puts on, but it fills the grain. It is also really hard work – it took about 3 hours to do the whole guitar, excluding breaks because my arm was knackered. The whole of the back of the body has been done here, but not the neck itself.

Apply 3rd coat of tru oil, rubbing in with 600 grit paper, wipe off and leave for 24h. (Here I found that Halfords waterproof paper is rubbish & falls apart in oil or water – the other grades I bought from there were fine).
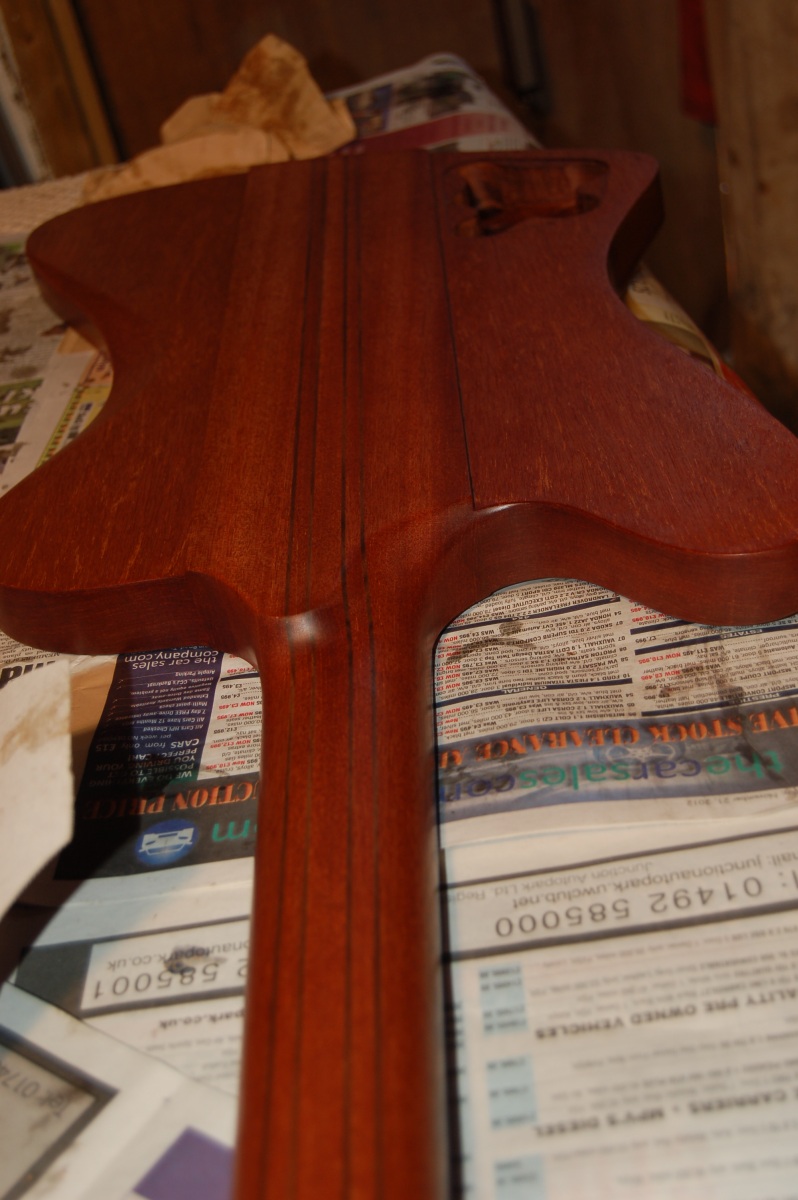
4th Coat is rubbed in with 1200 grit paper (wipe off, allow to dry for 24h etc… etc..) and it starts to look shiney…
Then there is a coat wiped on with a cotton pad (wipe off, 24h etc… etc..) and it looks really, really shiney – it doesn’t show too well with the camera flash, but it is.
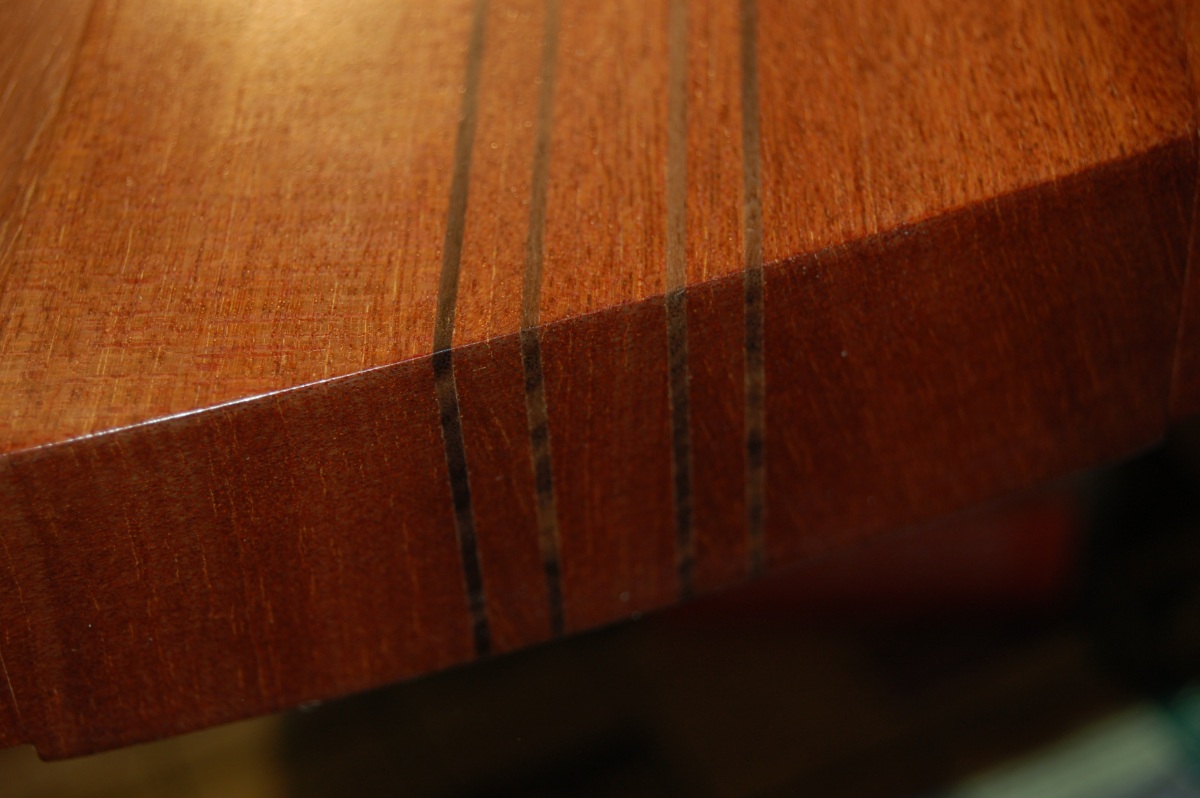
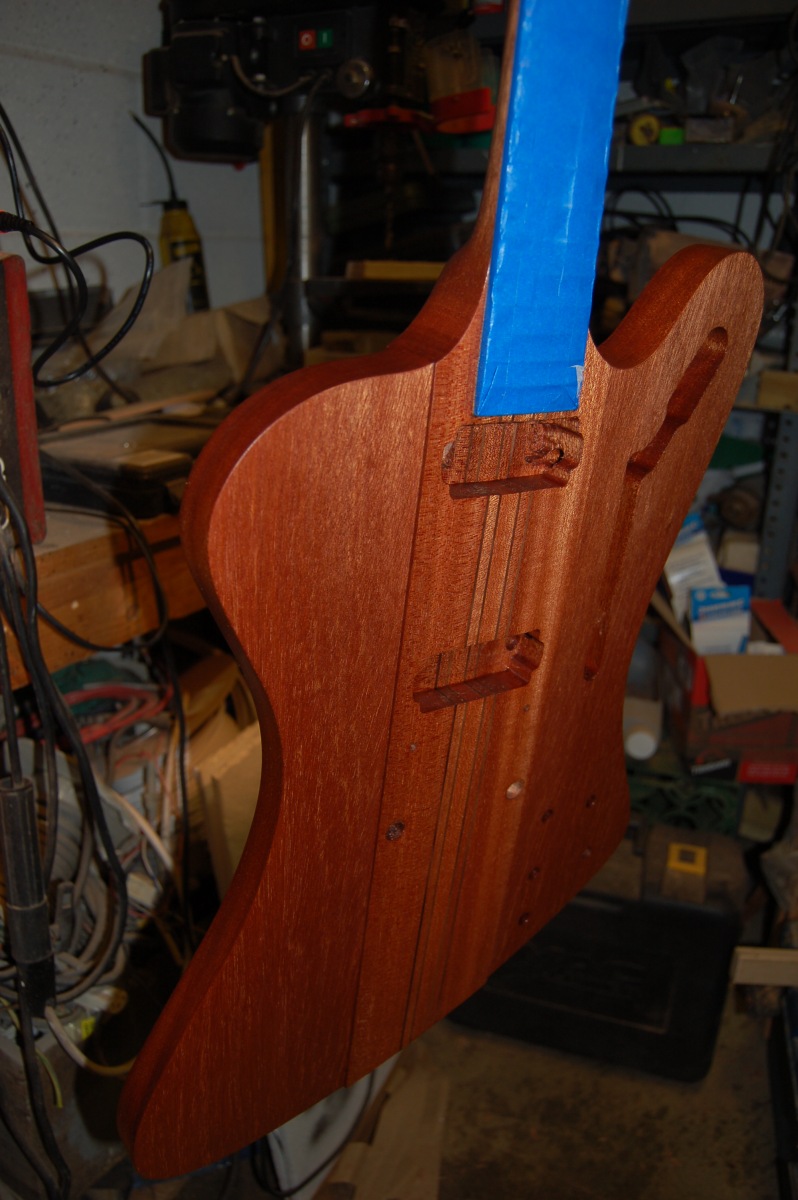
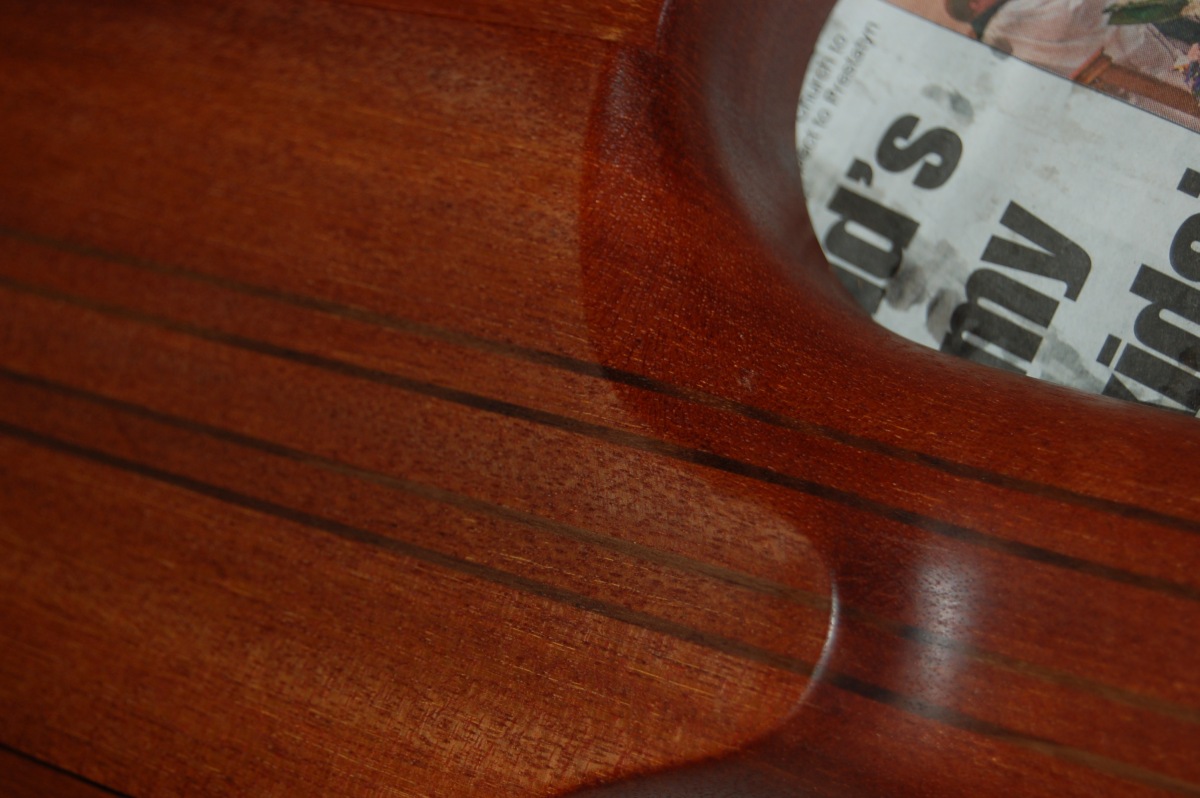
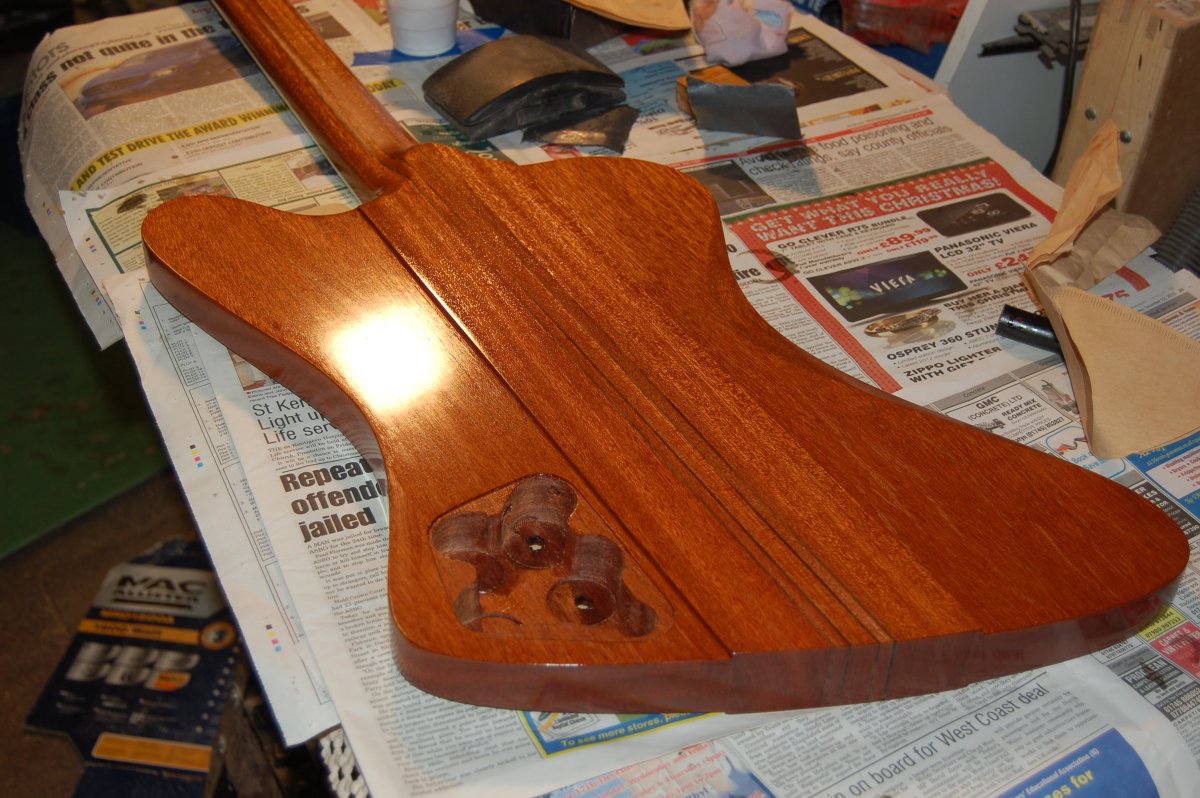
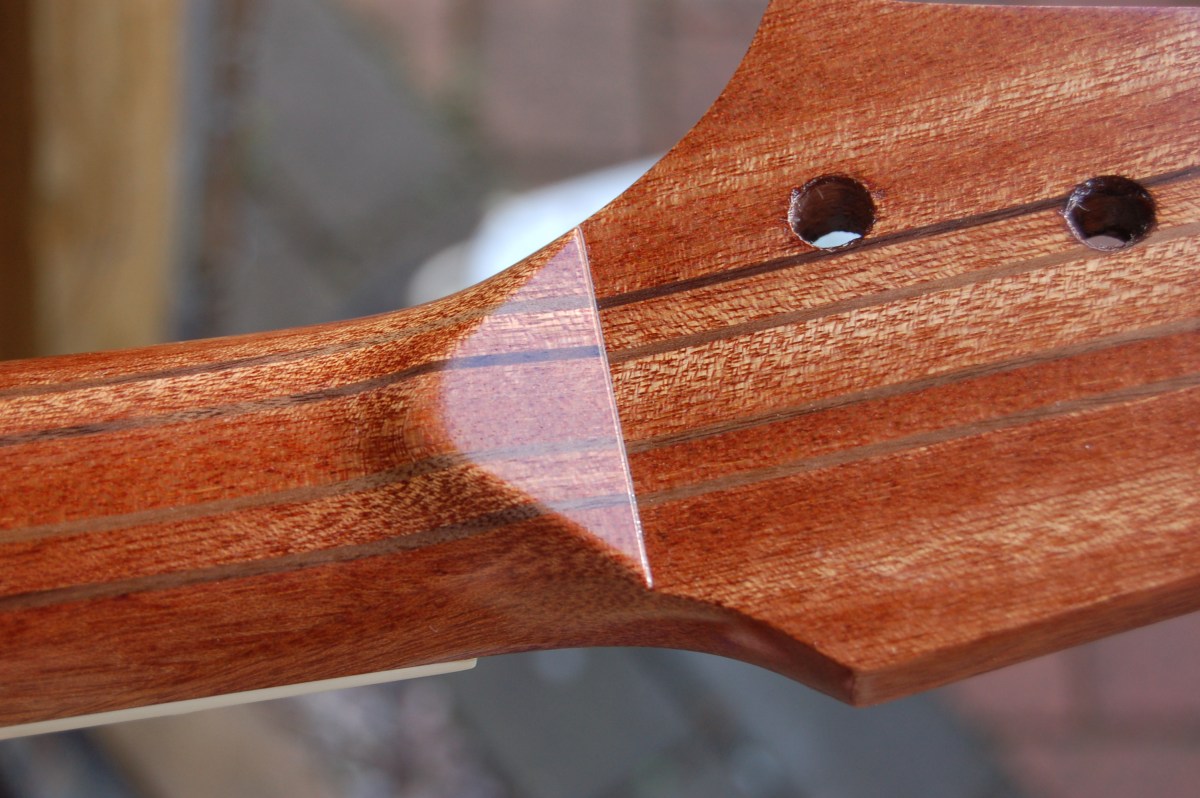
I really like the look of the stripes across the back of the neck joint and at the end of the body, but the whole thing just cries out for a vintage burst, so then, I did this:
Genius or Lunatic? You decide…
I got the chance to wipe on another couple of coats of Tru Oil then went on holiday for a week where I wondered constantly whether I had made some fundamental error and it will never play in tune, or whether the neck will snap like a twig the first time I string it up, or… or…
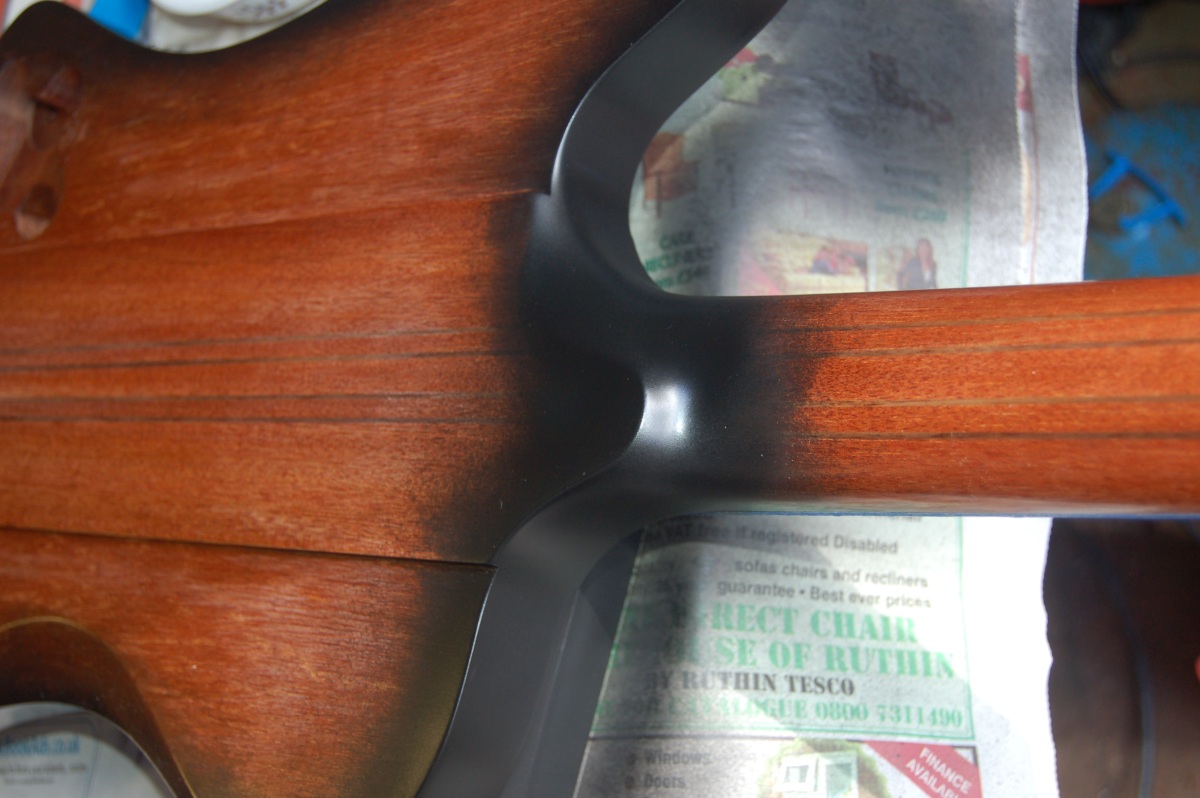
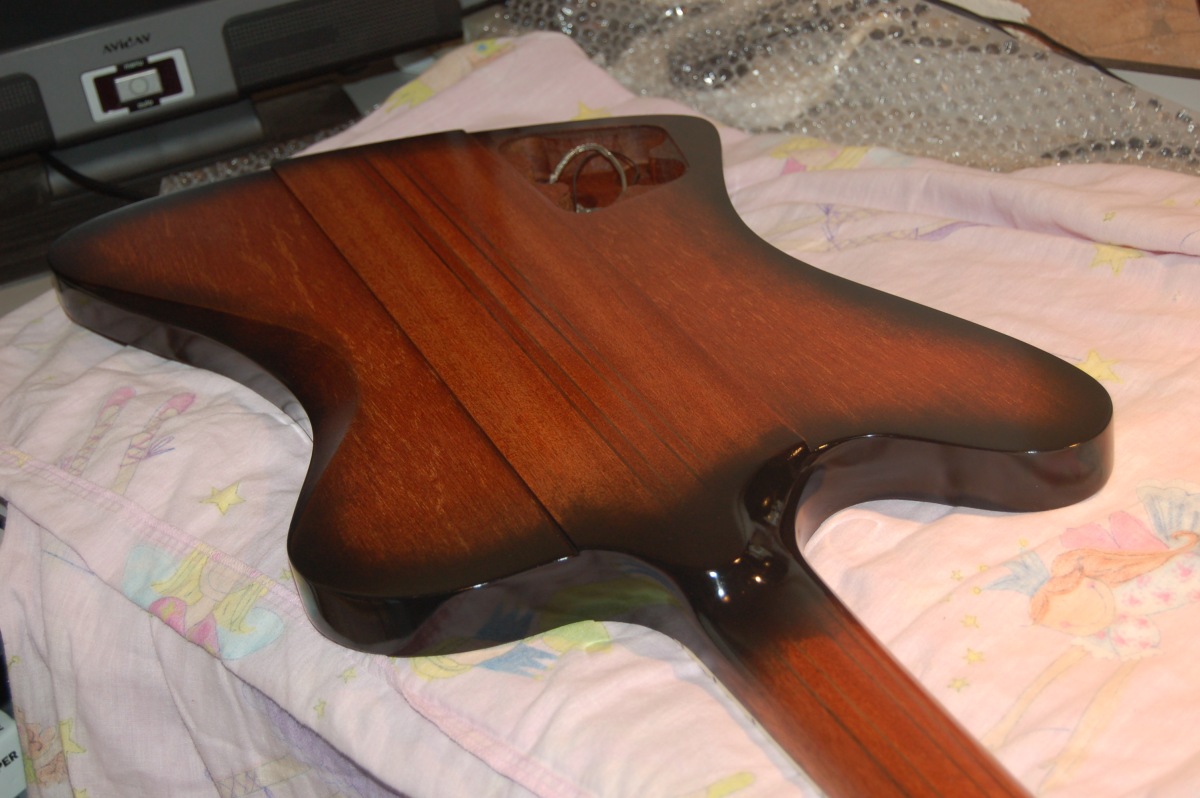
Some Firebirds just have the sunburst on the front, but not the back or edges. It looked kind of odd to me with just the front done, so I sprayed the back as well.
I went further onto the body with the black than I wanted to, across the back of the neck, so after letting the finish harden up while I was away, I tried to sand the black back a little, but that made the edge of the black very abrupt. In addition, I found a couple of small runs / sags in the black paint each side of the neck. When I sanded these flat, I also managed to sand through the black in a couple of places – there is no room for error, it’s only one thin coat. I managed to fix both of these problems by re-spraying the black across the neck end of the body. I needed to mask the neck off to avoid overspay, but I didn’t want a hard edge where the masking ended, so I used an old trick of leaving the edge of the masking tape sticking up:
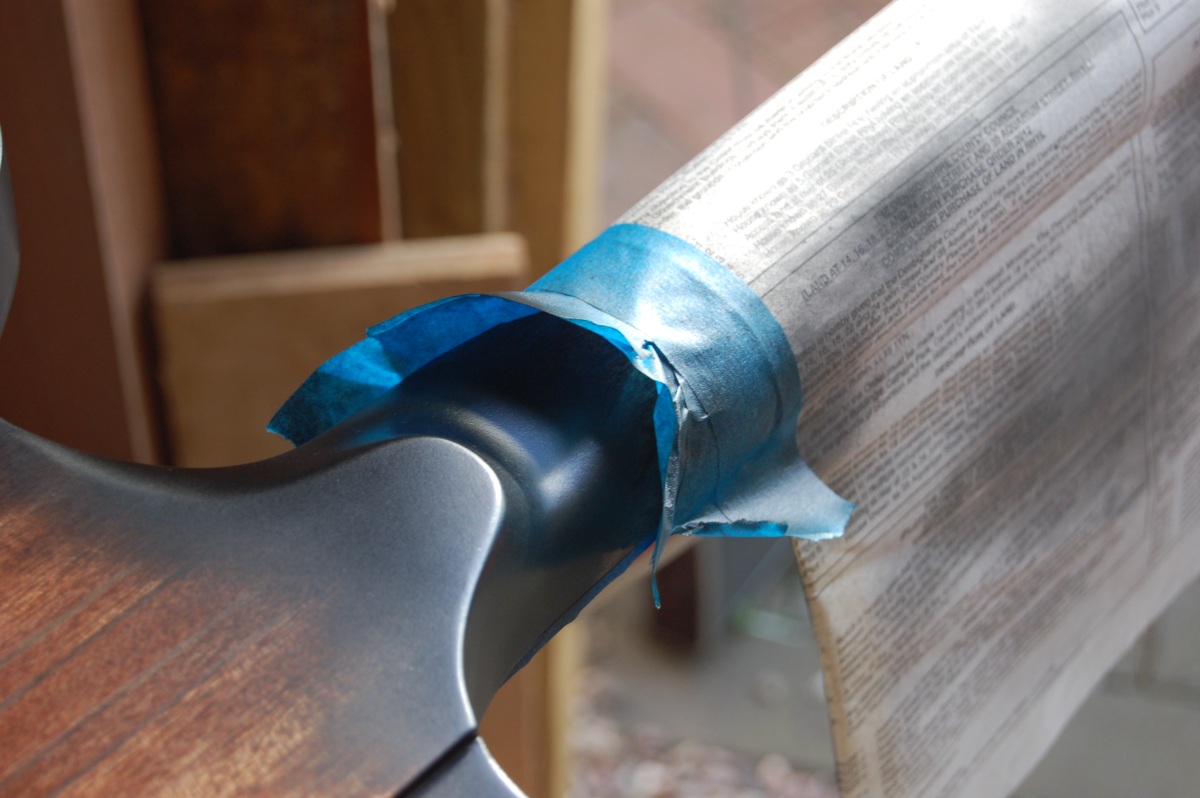
It seemed to work. The moral of the story is to get the black right first time and then *don’t mess with it*
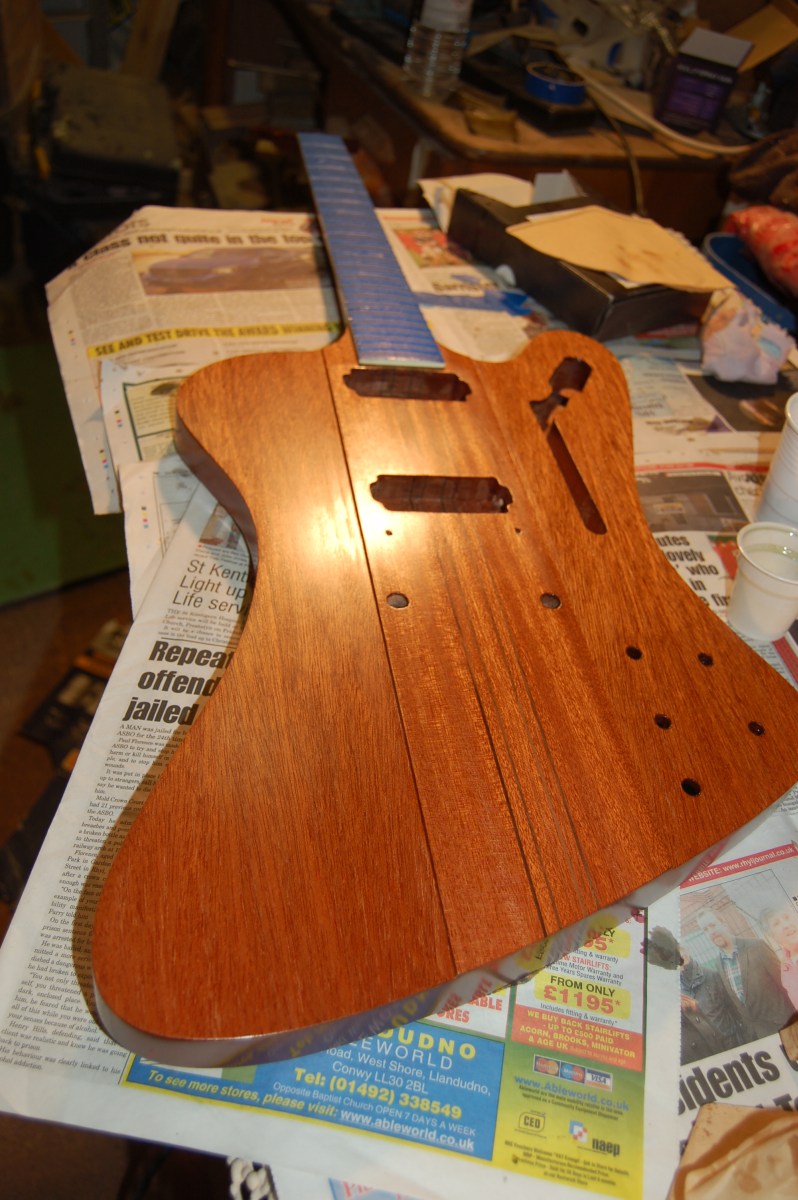
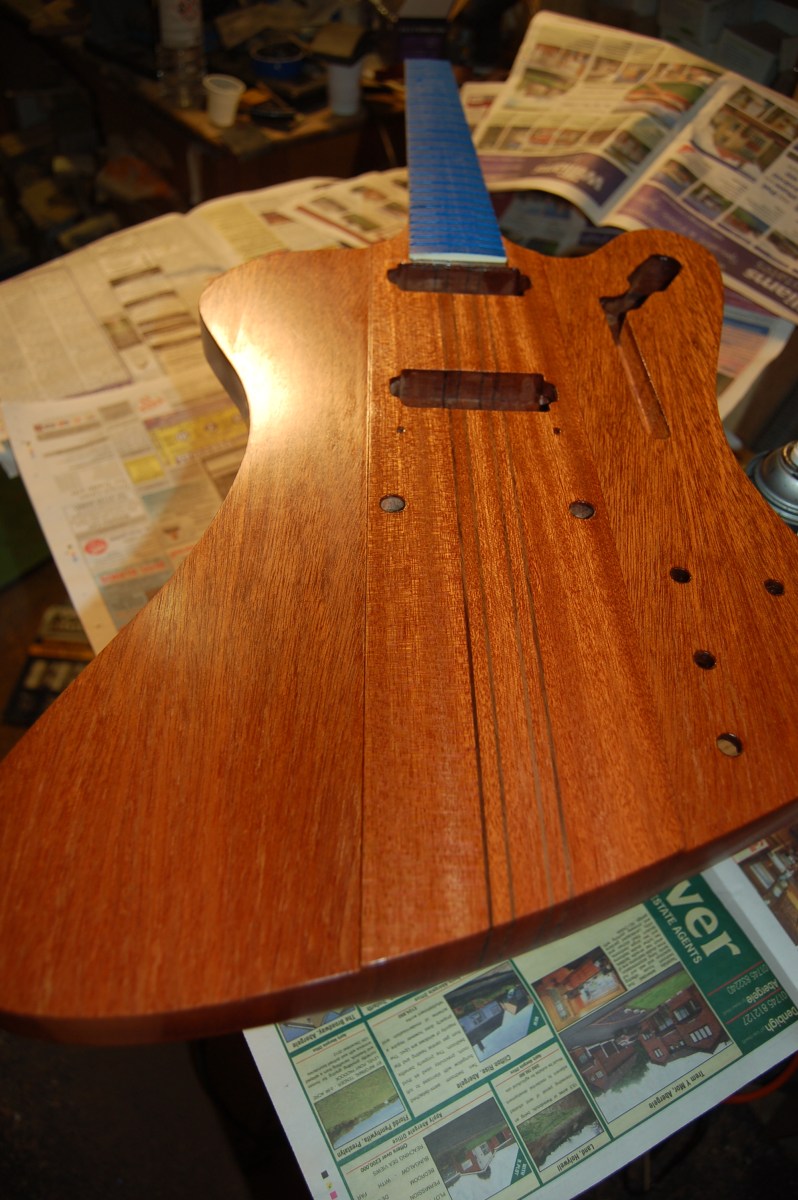
The wiped tru-oil finish worked well on smaller areas, like the neck:
But on larger areas of the body, I had struggled a little in not getting streaks in the wiped finish. I’m sure it can be done, but I wimped out and bought a little detail spray gun for ~£15 and sprayed the re-touched body with a couple of coats of thinned tru-oil. (I already had a compressor).
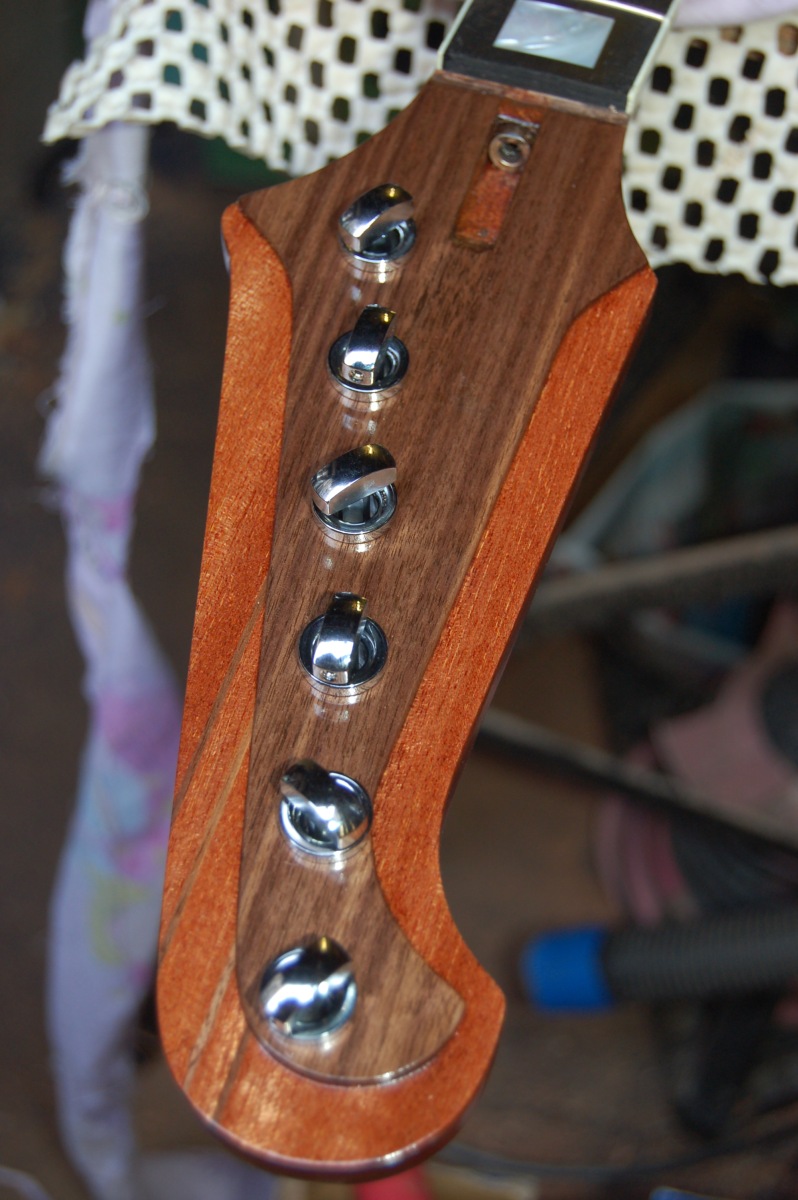
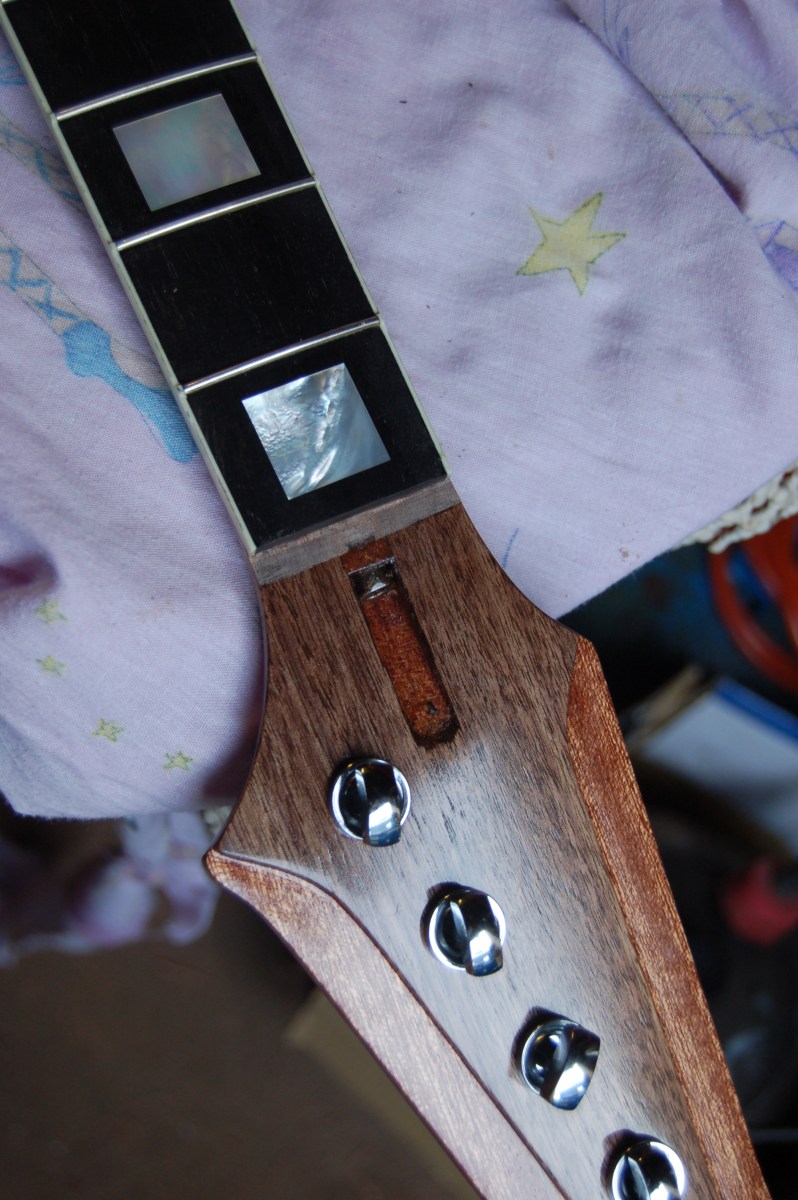
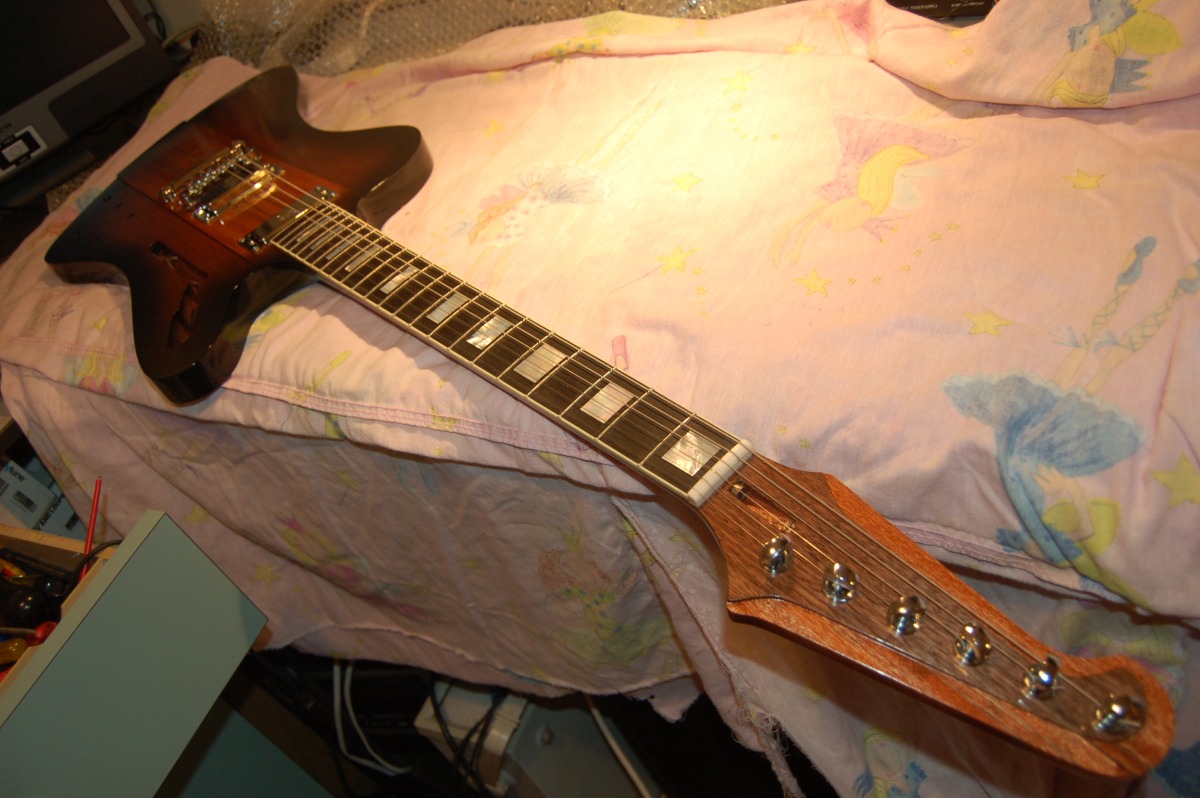
I had also received a gift from the USA – 6 of these:
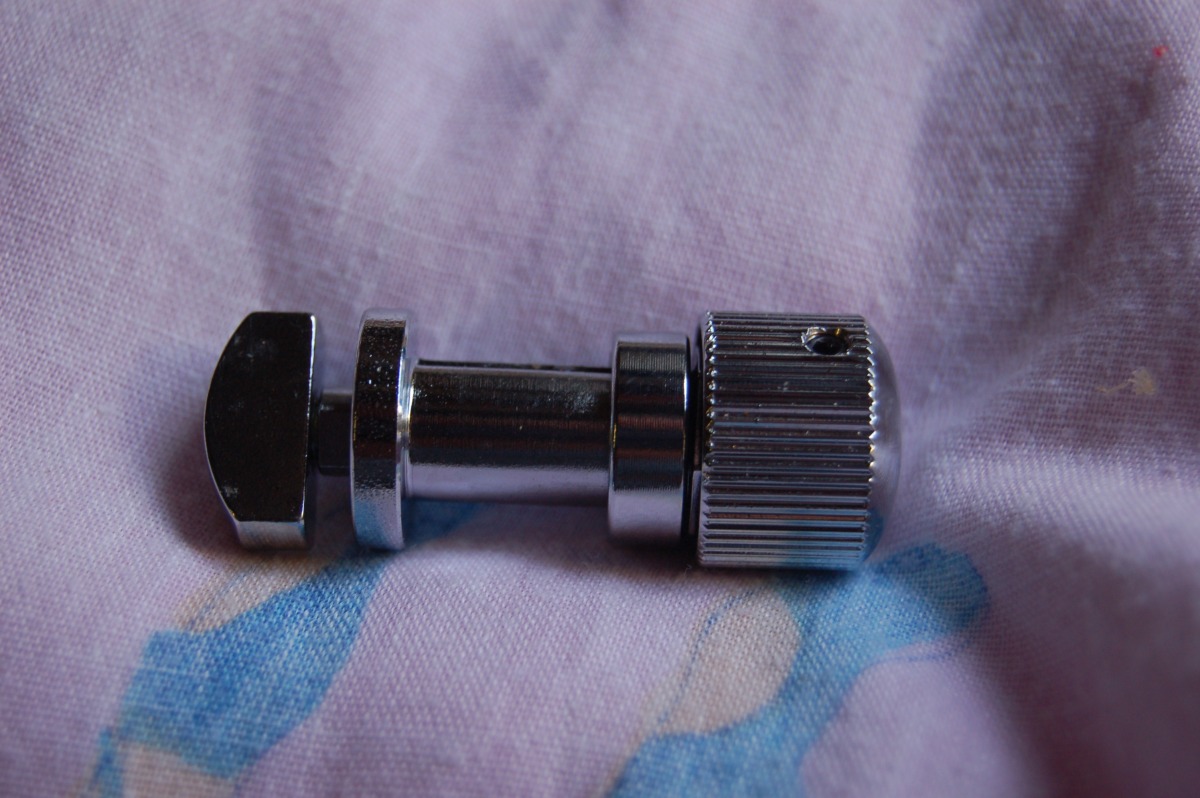
Machine heads
The are Steinberger gearless tuners and they fit! . I was mighty relieved that I had drilled the holes the right size, and in the right place. (It’s never good to do anything without having the hardware to hand to check!)

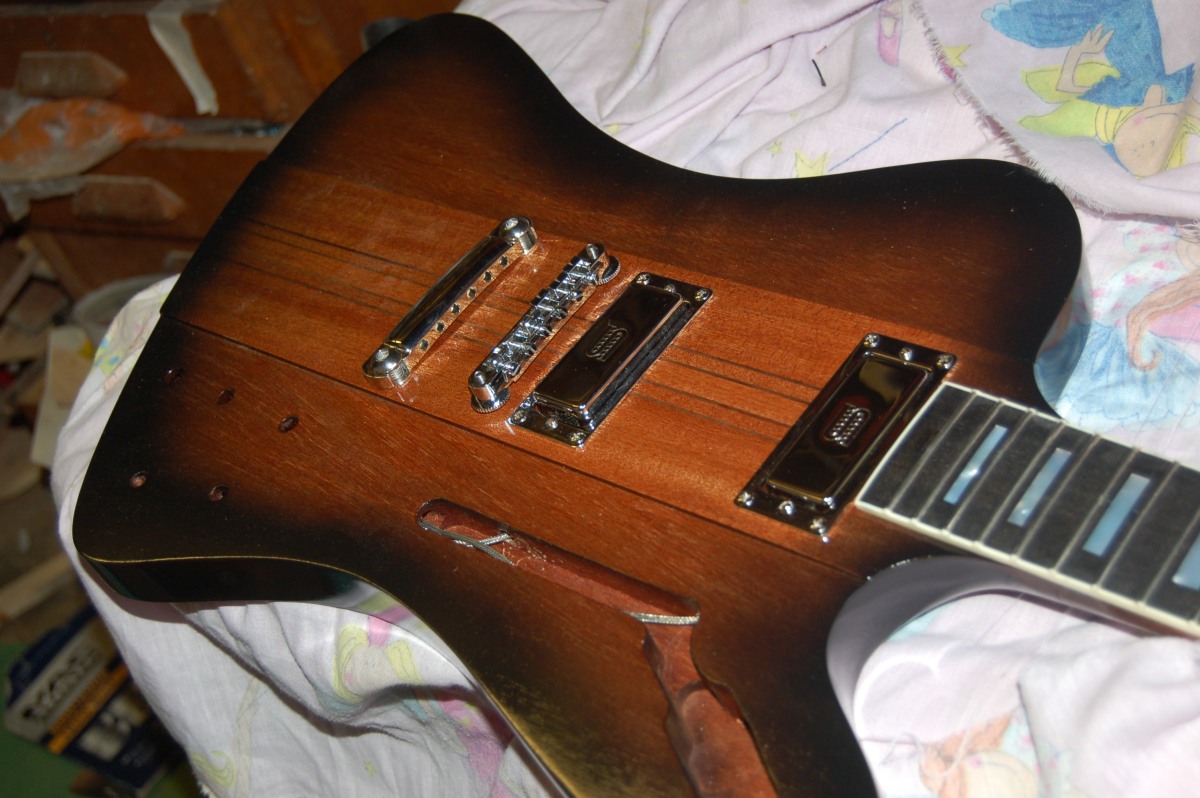
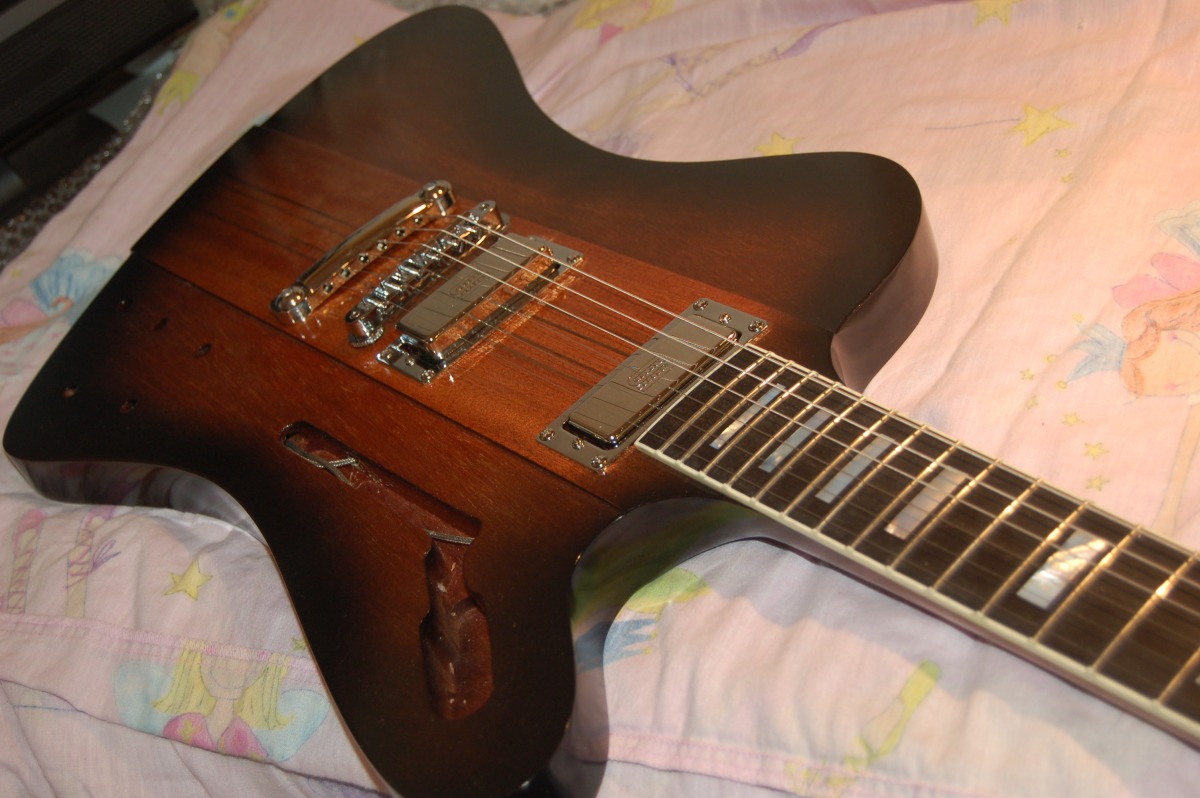
Body hardware
Next was the bridge and tailpiece – not forgetting the ground wire that gets trapped under on of the tailpiece bushings:

While I was at it, I fitted the pick-ups, too:
Stringing up
I carefully cleaned up where the nut sits, and tried to get it as flat and smooth as possible:
Then temporarily fitted the nut and strung it up – the neck didn’t snap in half like a twig!
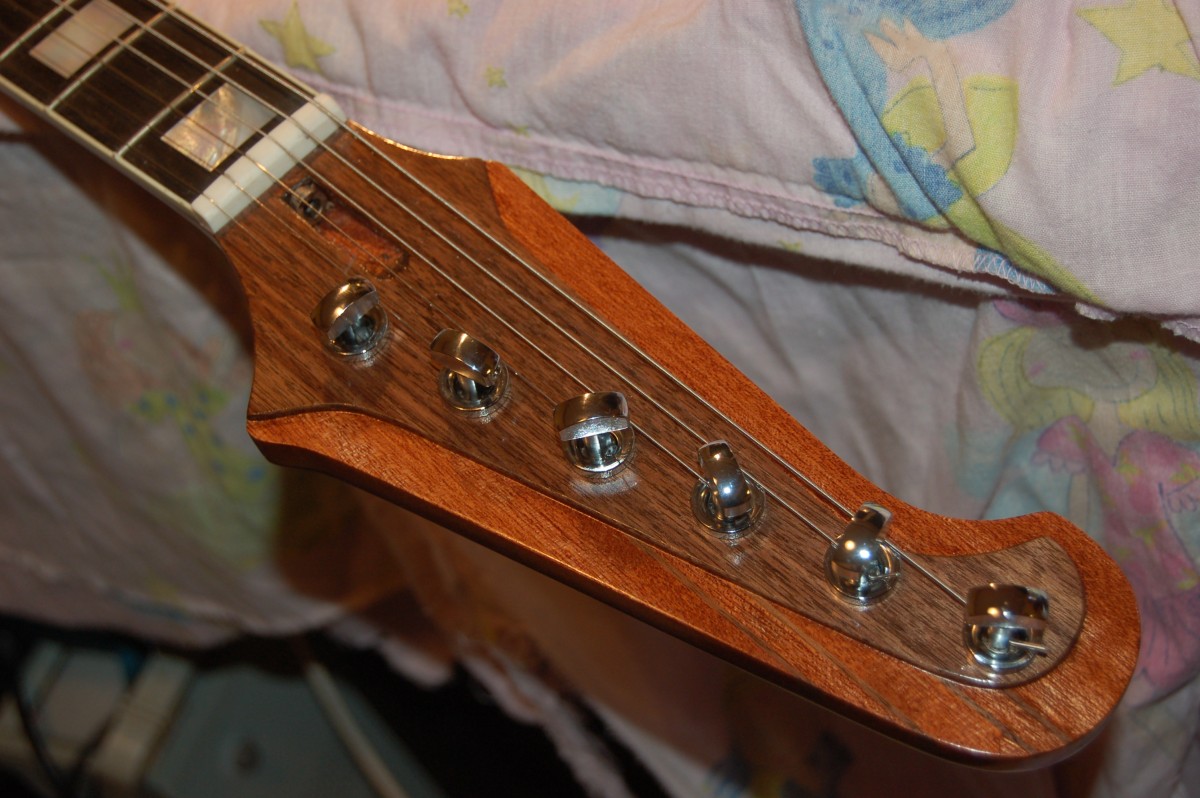
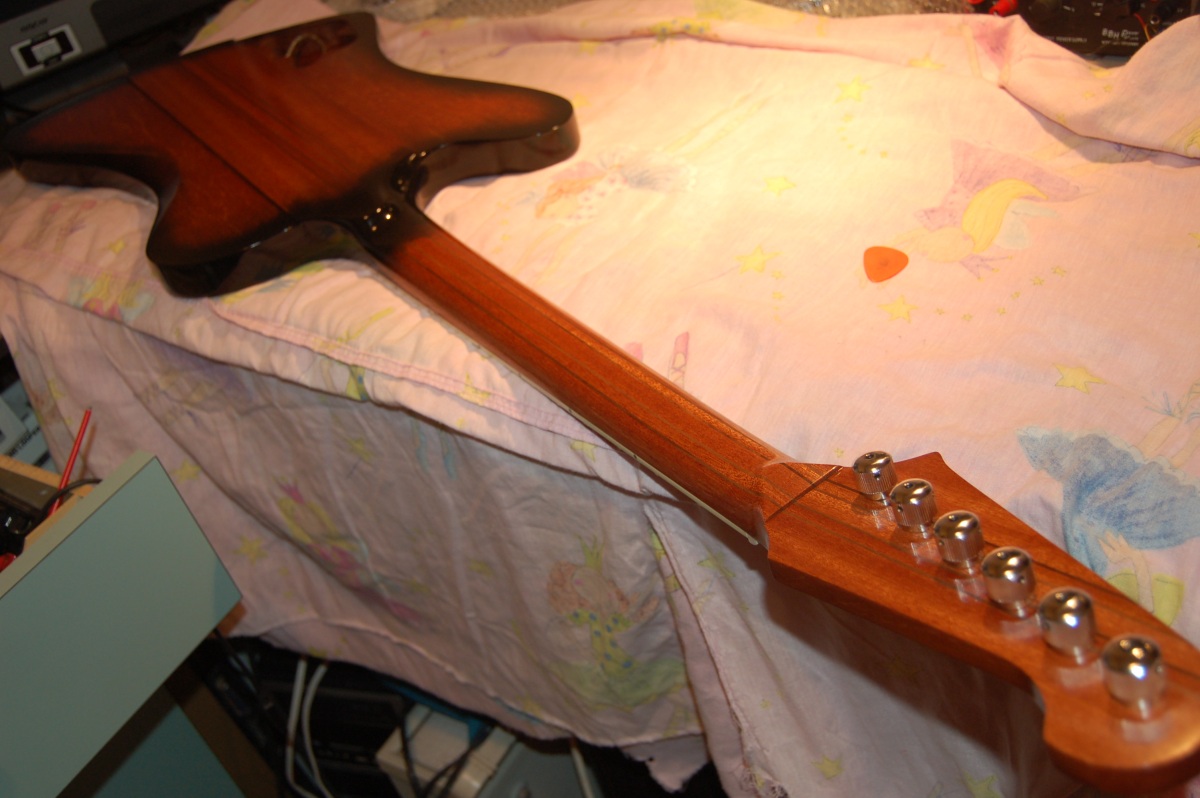
Very pleased at this point – I seems like the intonation and action will be OK.
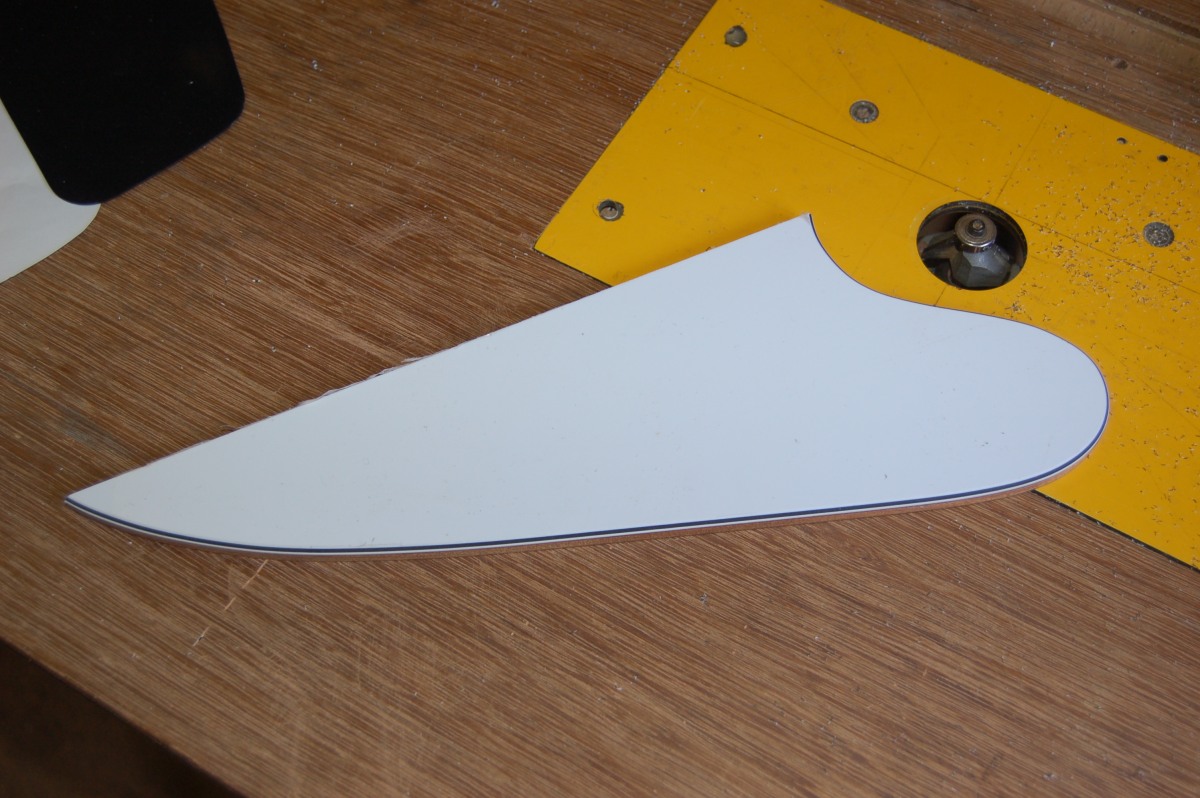
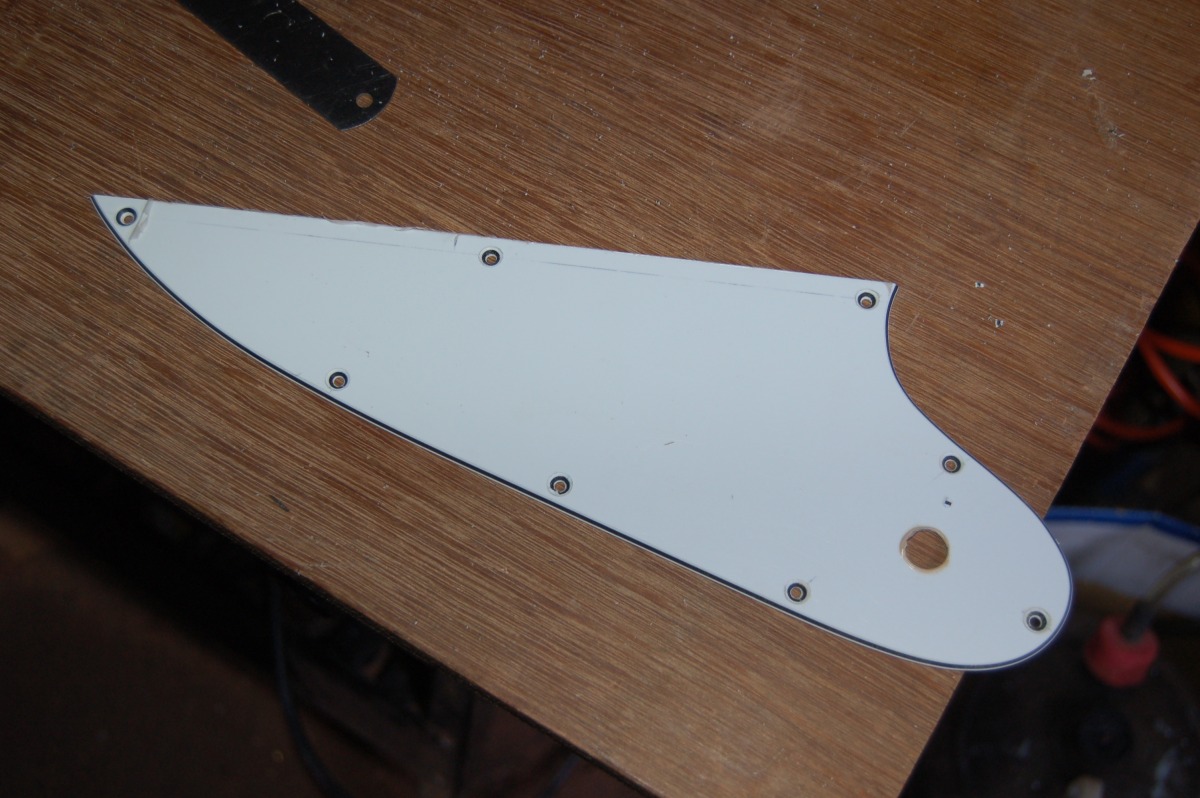
Pickguard
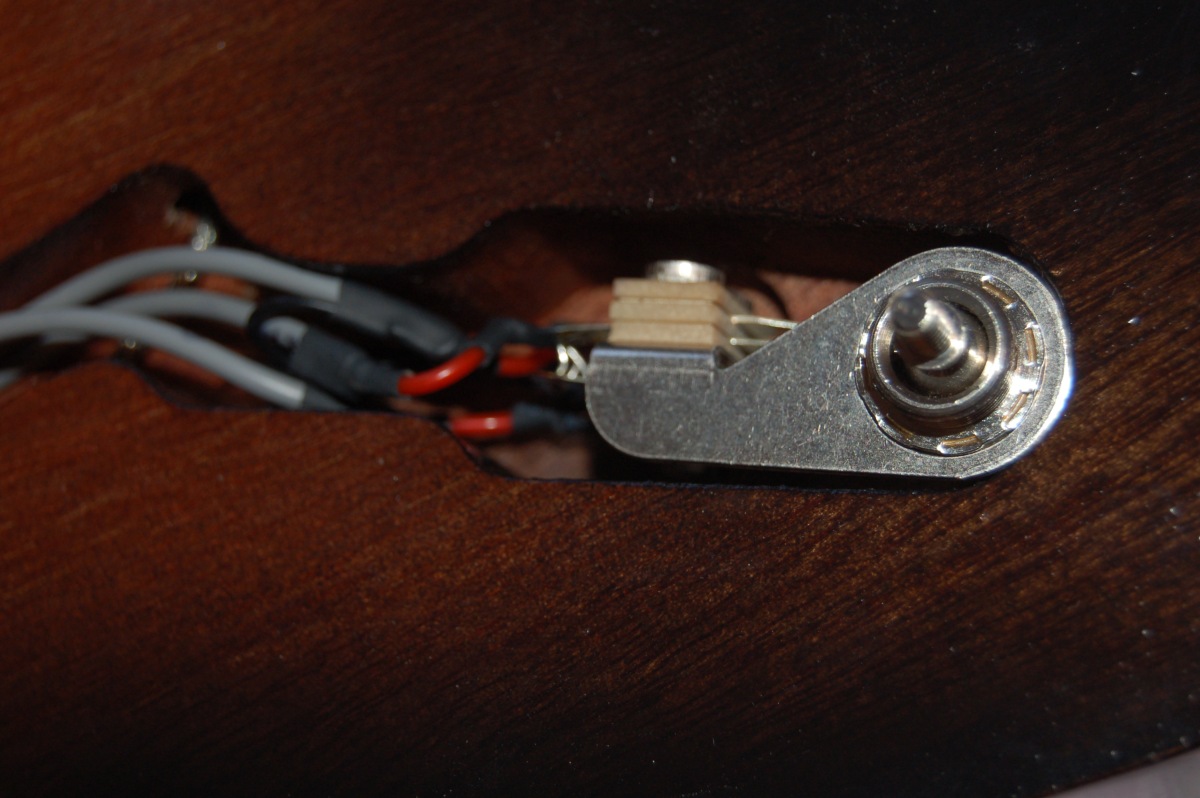
A Switchcraft pickup selector switch is the only one thin enough to fit inside the body.
I made a wooden template for the pickguard, as I find wood much easier to trim accurately to size than plastic. Also, I can glue bits on if I cut too much off. Once I had a nicely fitted template, it was simple to stick this to a sheet of pickguard material and trim it with the router.
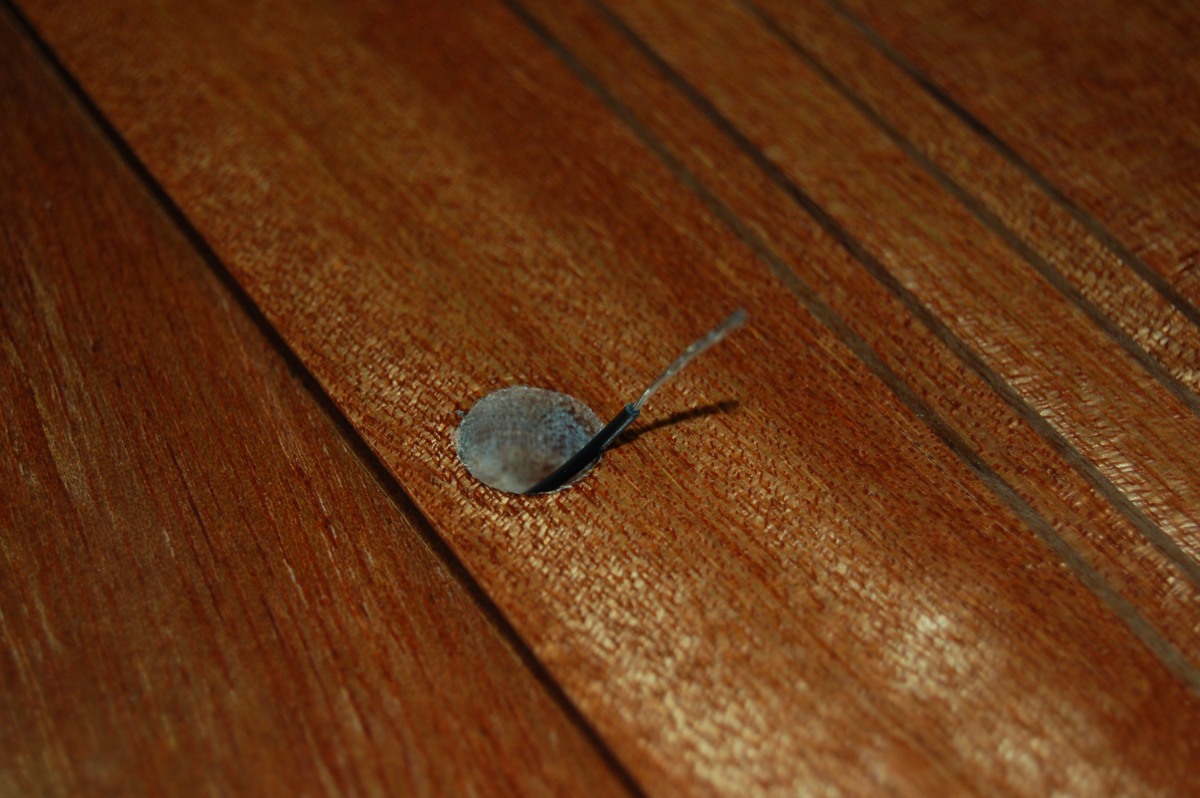
After cuttting, I went around again with a chamfer bit to bevel the curved edges then drilled and countersunk the mounting screw holes.
I read on another guitar build: “If everything is going well, and you’re flying along then STOP! You’re about to make a mistake.” It is so right. In this case, I drilled the countersink for one of the mounting screws far too deep – I couldn’t be bothered to find the spanner to adjust the depth stop on the drill, and thought – “I’ll just finish this off, it’ll be OK…”. I nearly scrapped the pickguard, but it doesn’t look too bad once it’s fitted to the guitar. There were several such moments through this build.