Nut files
When I built this, I hadn’t got any luthier’s nut files (too expensive ), and had got by with welding torch cleaning files:
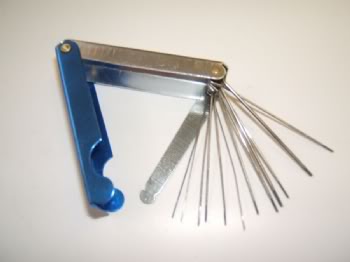
I had made minor adjustments to my other guitars with these, but trying to file a nut from scratch was too much – the thin files were too flexible, and I was getting a slot with a curved bottom on all but the thickest two strings which was throwing off the intonation.
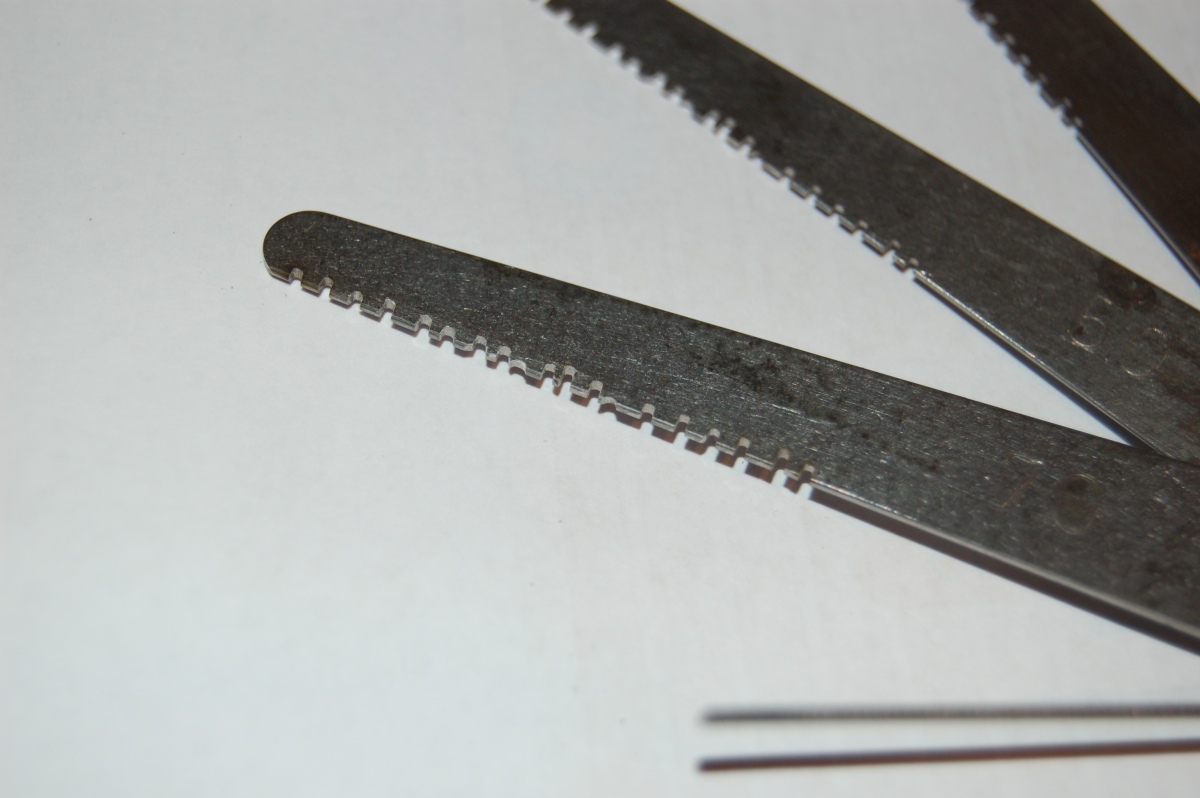
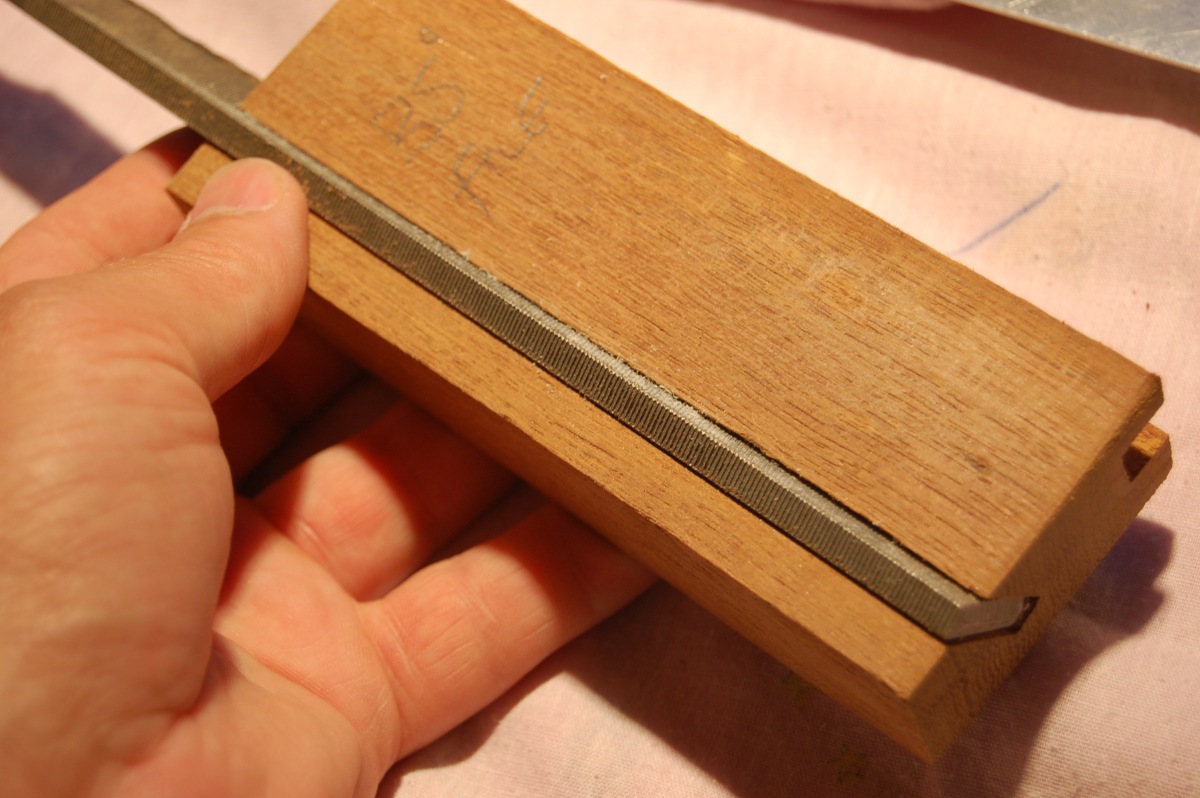
I’ve read of people grinding down saw blades, etc to make files, but the best way seemed to be to modify some ‘feeler’ gauges by cutting teeth into them with a mini grinder (Dremel, etc.). The biggest critiscism of this seems to be that the blades have a square edge, but the string slot should have a round bottom.
I had a go at rounding the edge of some blades with the belt sander and it seemed to work well. My Aldi Dremel-a-like made a good job of cutting the teeth:
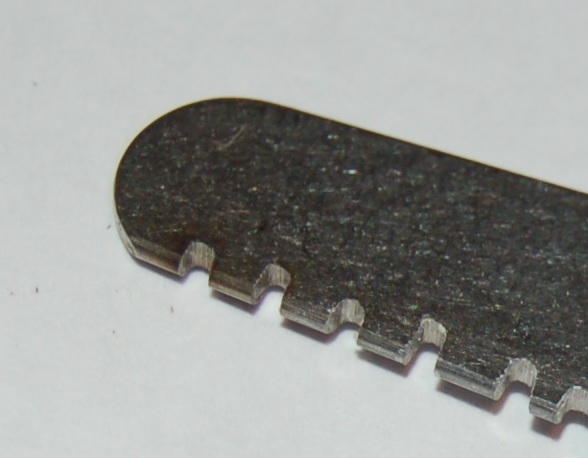
You can just about see that the teeth are radiussed here:
I kept the tip cleaning files for the thickest two strings as they were stiff enough to cut straight and I didn’t have any feeler gauge blades thick enough. (I believe the ideal slot width is 0.002″ – 0.004″ / 0.05mm – 0.1mm wider than the string).
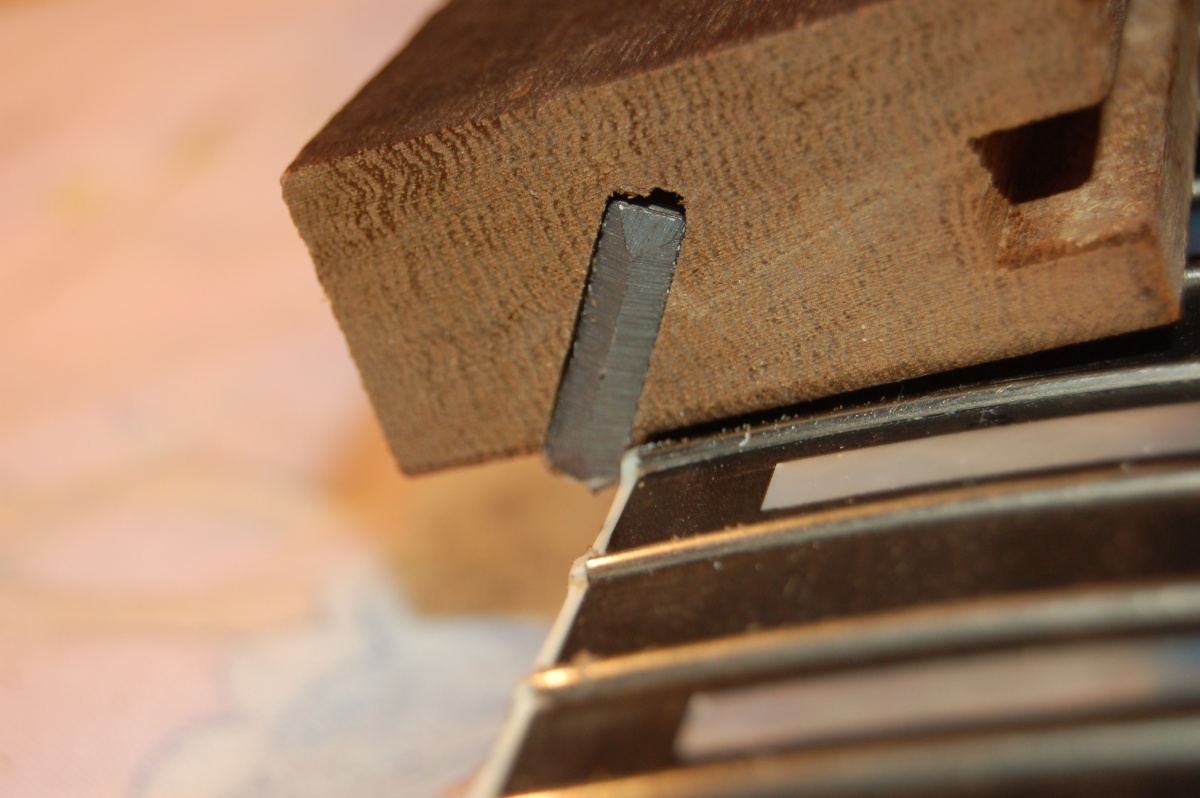
These files worked *really* well, and after making sure the nut was as good a fit as possible on the neck, it was easy to cut the slots to just the right depth. I aimed for just a slight amount of clearance between the string and the first fret when the string is held down at the second fret:
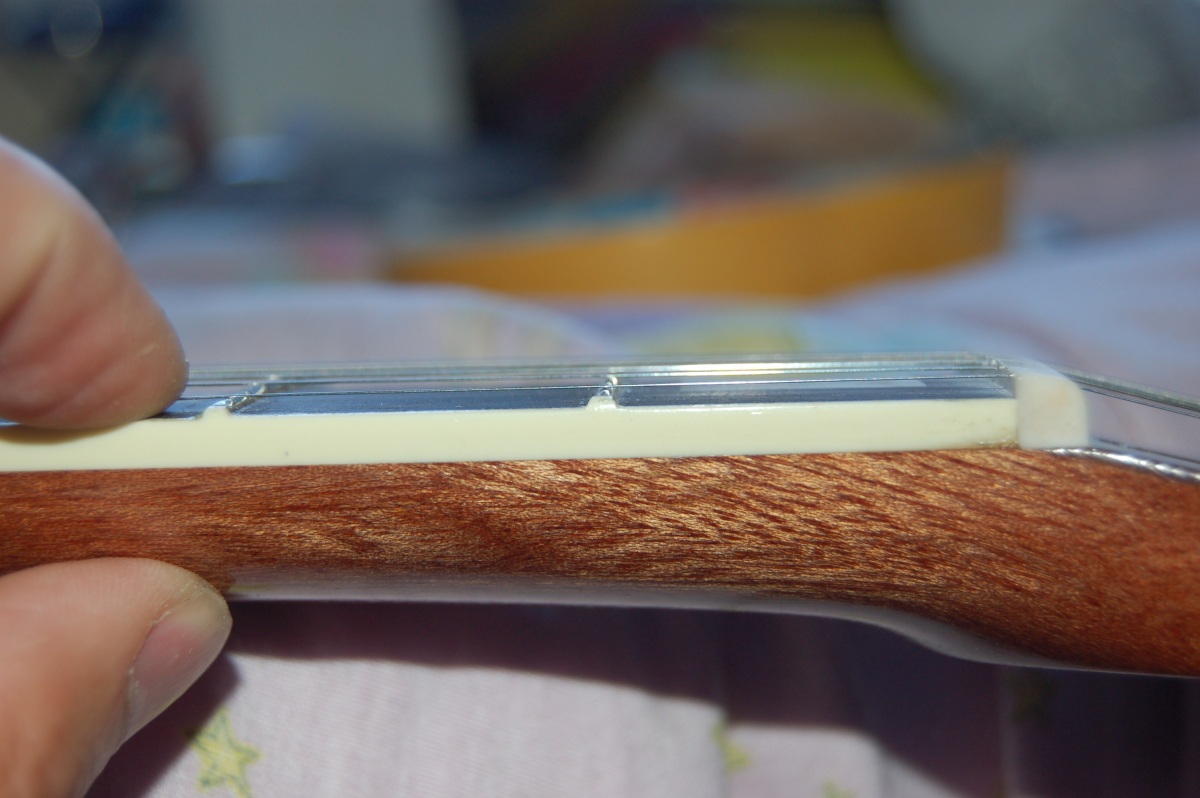
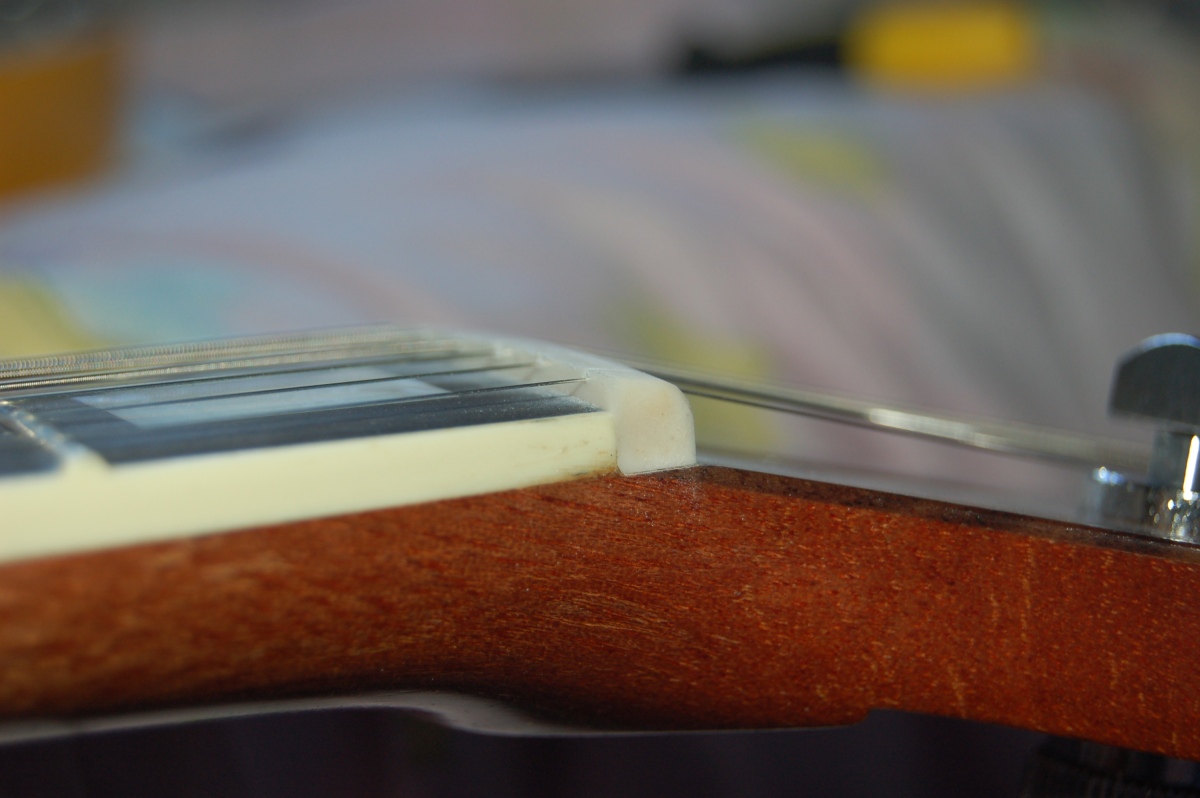
This leaves the string slots cut deeply into the nut:
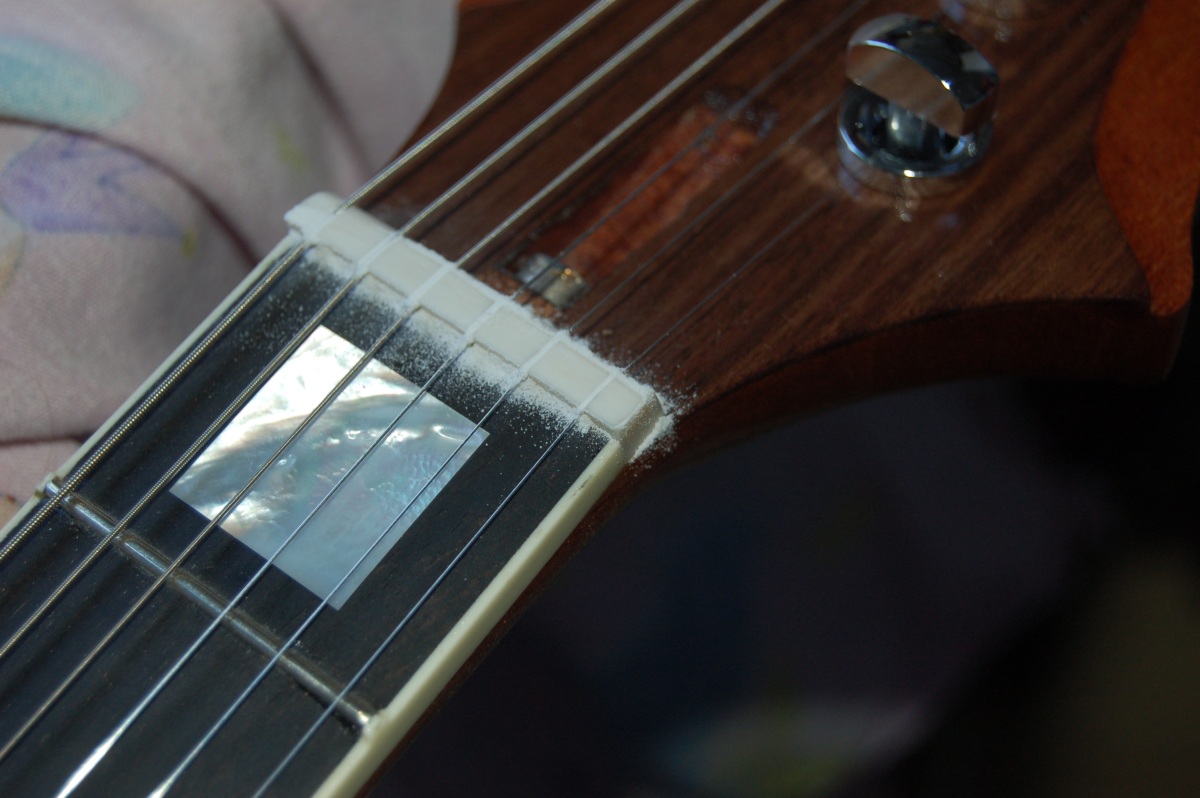
I left the strings in place to stop the file at the right depth when I filled the nut down. It damaged the strings, but I was sacrificing this set to getting the guitar set up – they had been taken on and off several times already.
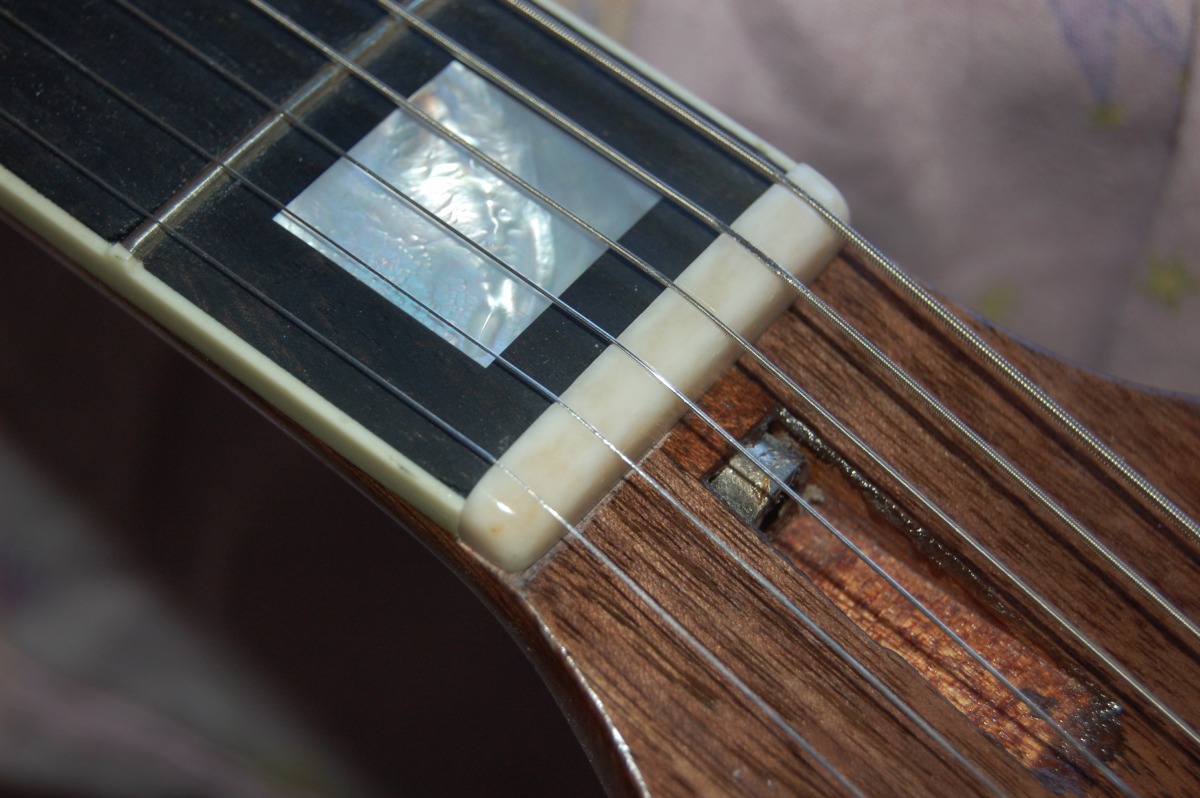
A bit of fine sandpaper and a polish:
Fret levelling
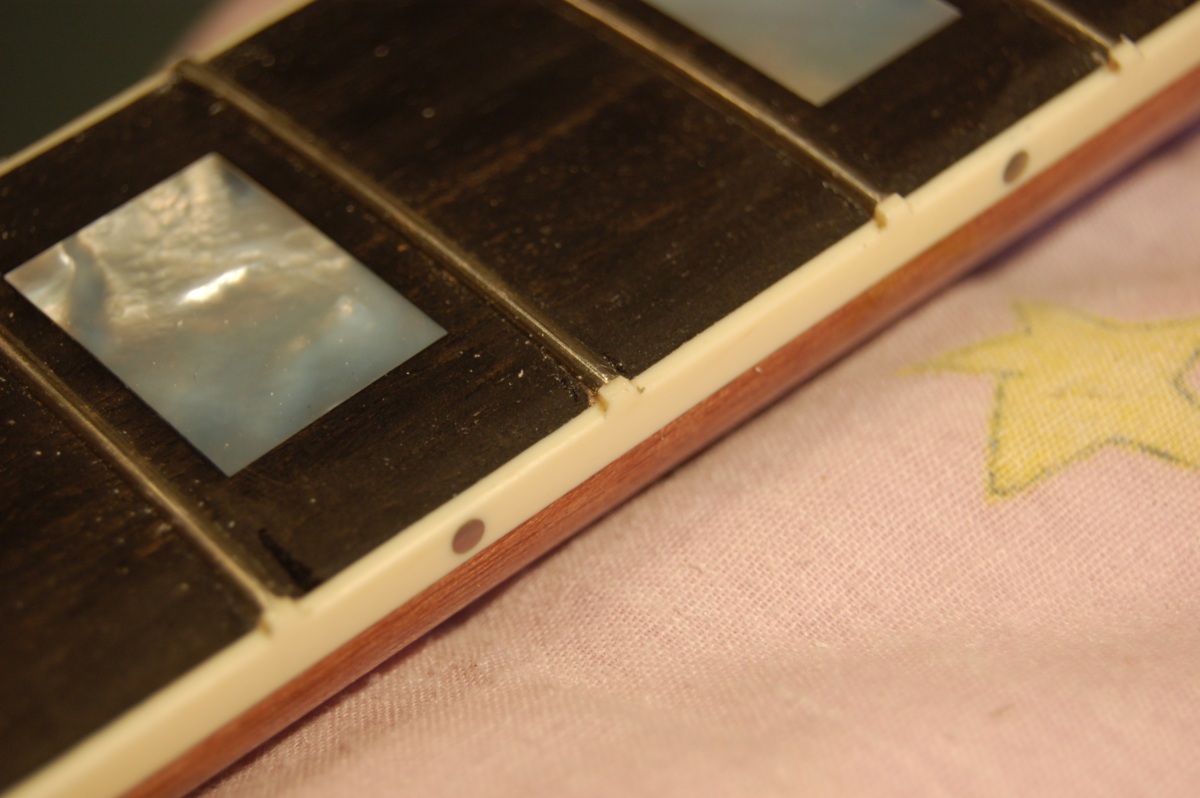
I made a small holder to run a file down the fretboard to chamfer the ‘nibs’ at the end of each fret. I was bothered about trying to do it free-hand, as the binding is really soft, and it wouldn’t take much of a wobble to wipe out the nibs completely. This might have been better left until after they were levelled, but hey-ho..
Before:
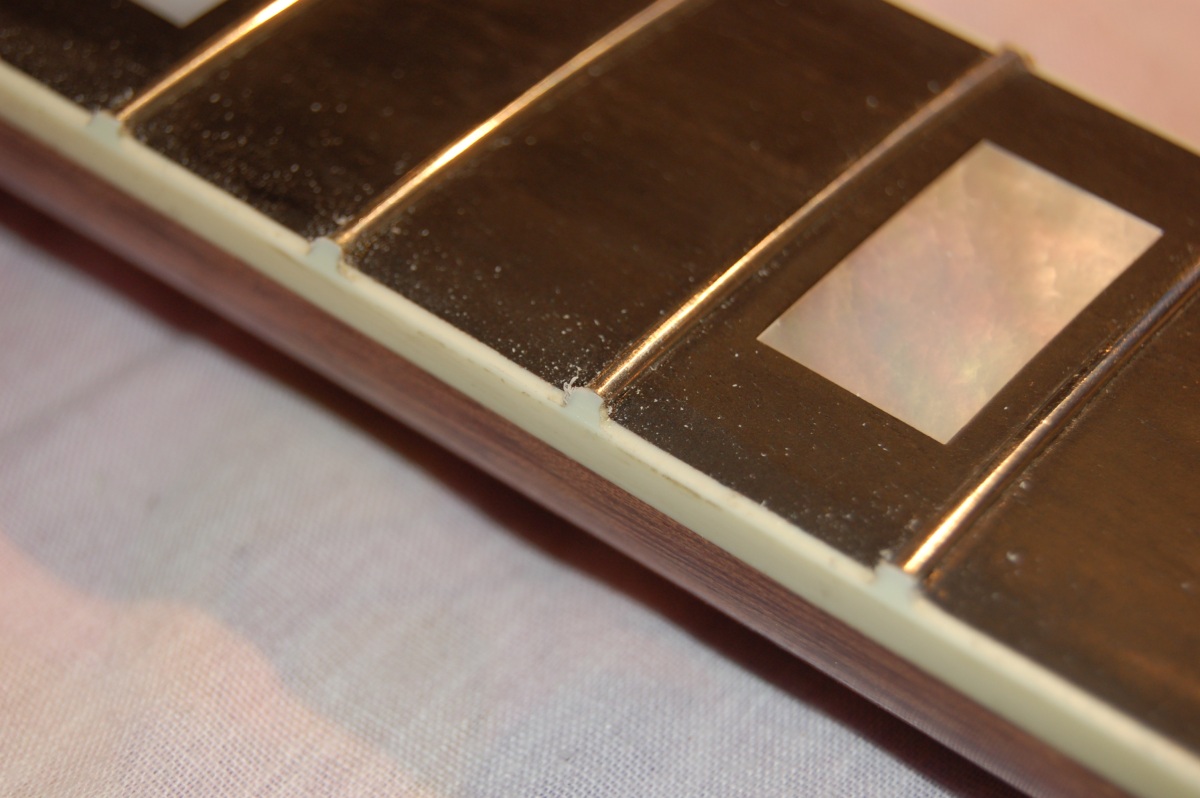
After:
To level the frets, I needed to adjust the trussrod to make the fretboard as level as possible – I just notched out the edge of a straight piece of wood to fit over the frets and adjusted the truss rod for the closest fit:
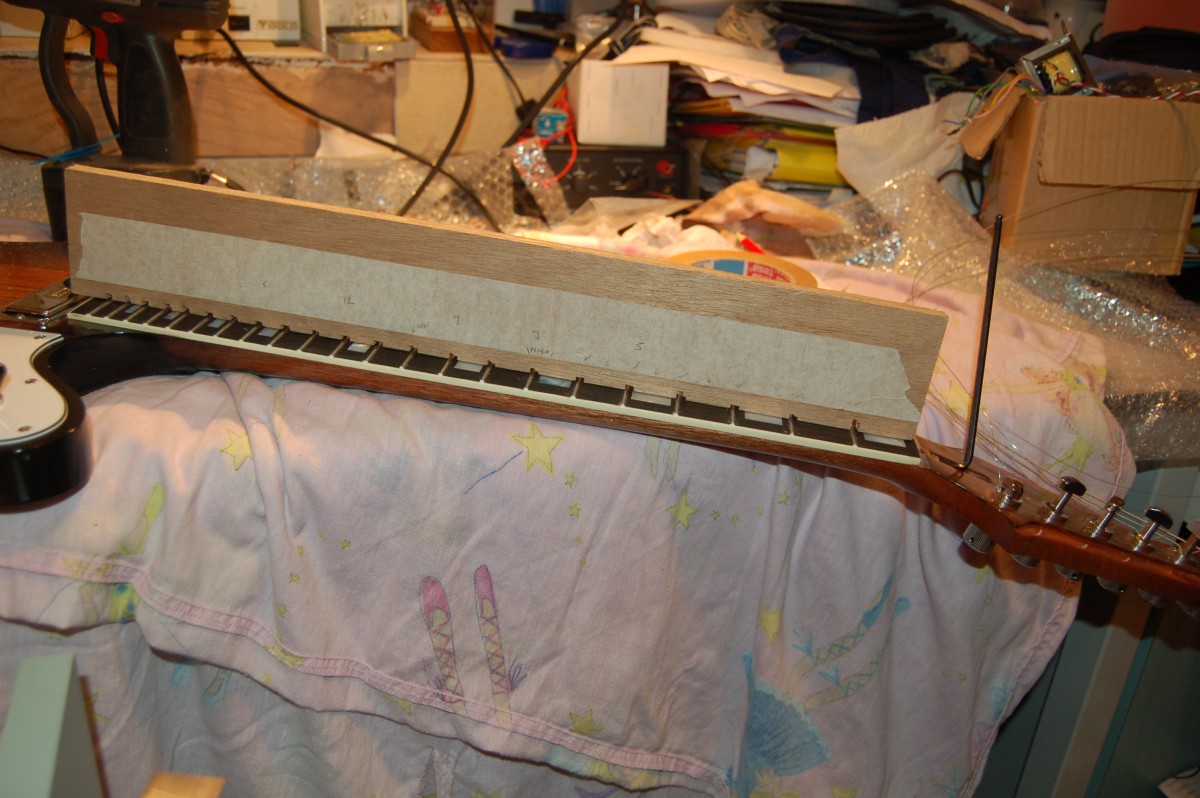
I also made a ‘sanding beam’ from some pieces of laminate with some 240 grit silicon carbide paper stuck to it.
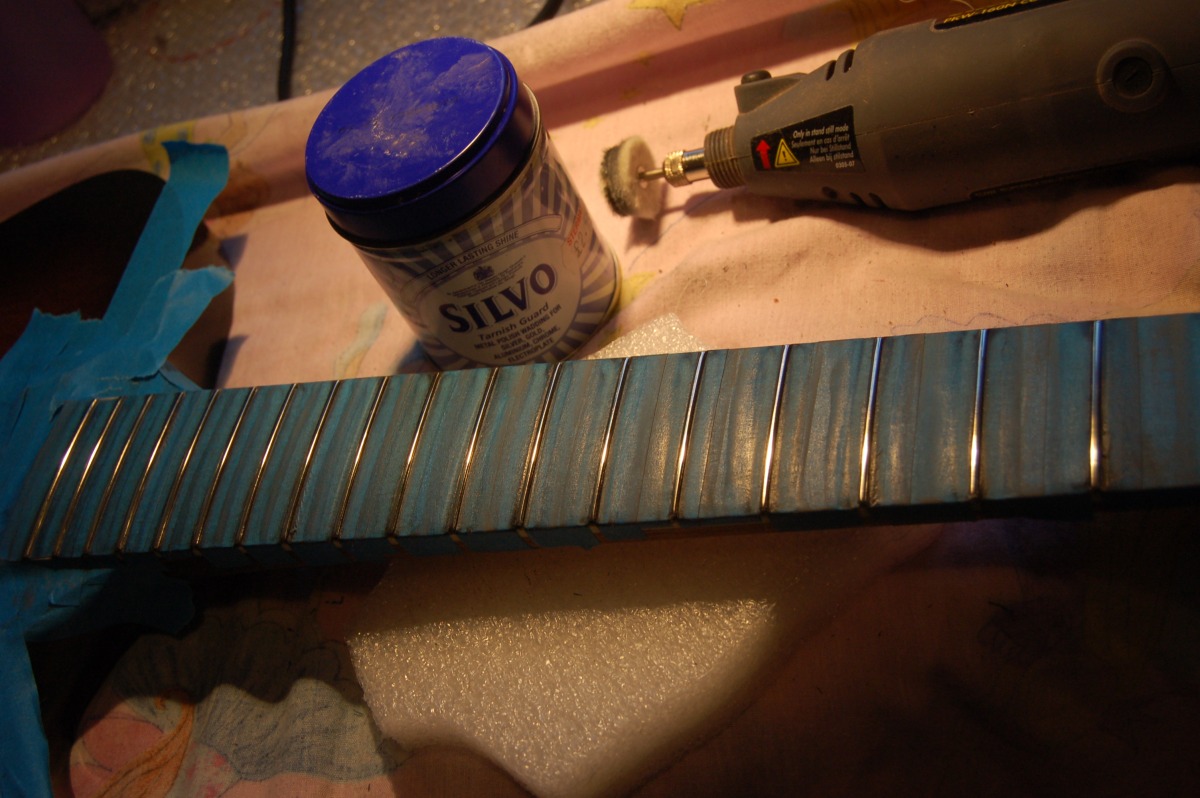
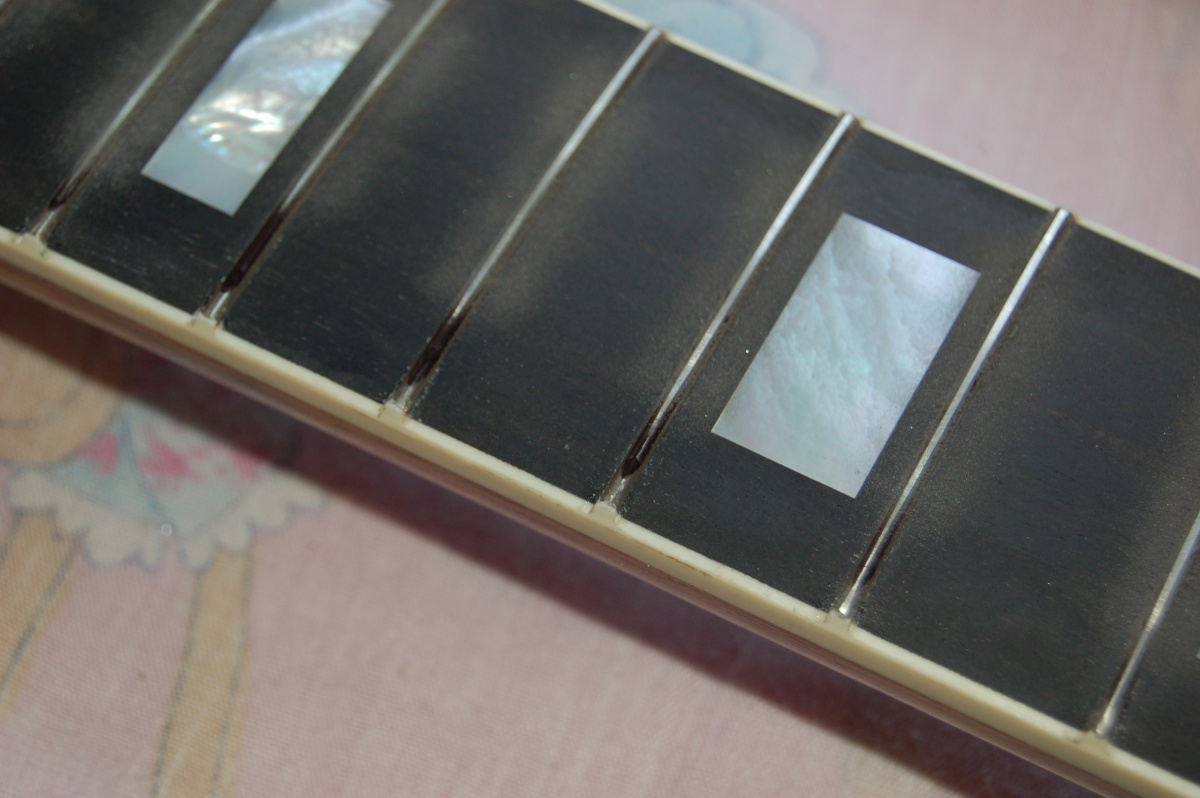
With the fretboard flat, I blacked out each fret with a marker pen and rubbbed the whole fretboard gently and evenly with the sanding beam, continually checking whether all the sharpie was sanded off or not.
There are low spots on 3 or 4 frets near the bottom of the photo here, so more sanding needed (I probably should have masked the fretboard first…)
When the frets had all been touched by the sandpaper, I blacked them out again and used a luthier’s crowning file to restore the curved profile of the fret and sanded them all smooth with proressively finer silicon carbide paper, then gave them a polish. The Aldi Dremel is good for this, too – *much* faster than polishing by hand, but a bit messy.