
There seems to be a bit of a thing about ‘Pinecasters’ over on TDPRI and I’m a cheapskate, so as a bit of an experiment, I thought that I’d try to make a (somewhat) rustic pine body.
(It’s a tele, right? If I don’t like it, I can make a different one.)
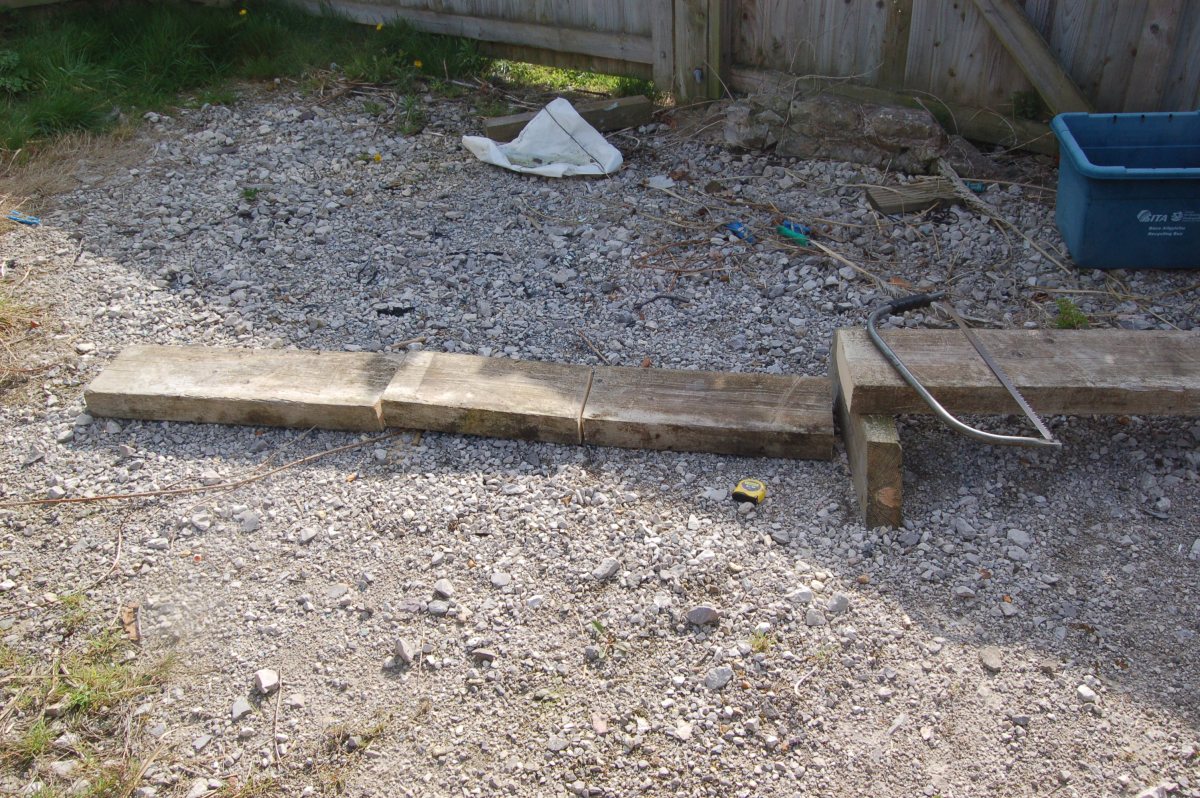
No ‘hundred year old pine’ for me, sadly, but I did have some left-overs from a house extension that have been weathering away at the bottom of the garden for the last ten years. Unfortunately, a lot of the wood had split. There was a length of 9″ X 3″ that seemed to be ok.
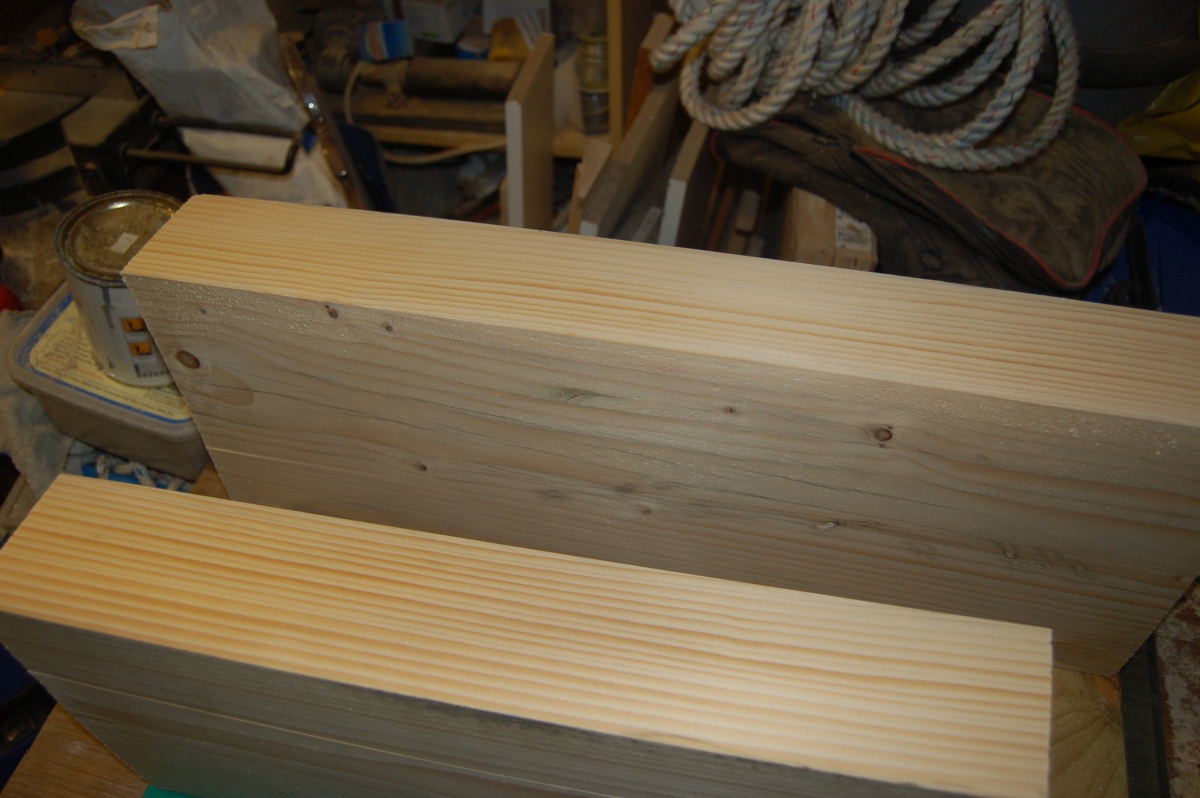
I picked a section that was as free as possible of knots and cut a couple of pieces to join together to make a body blank.

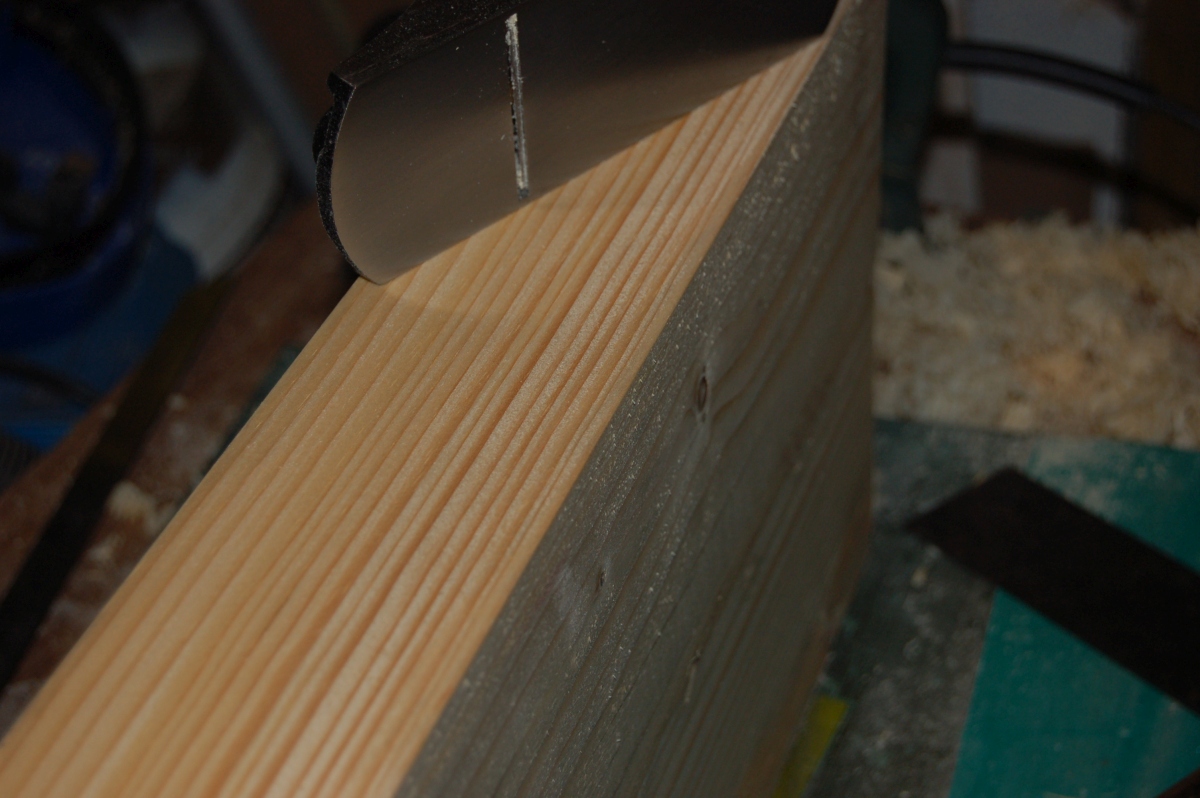
I cleaned up the faces of the blanks with the electric plane (which also took off a lot of the weathering… )
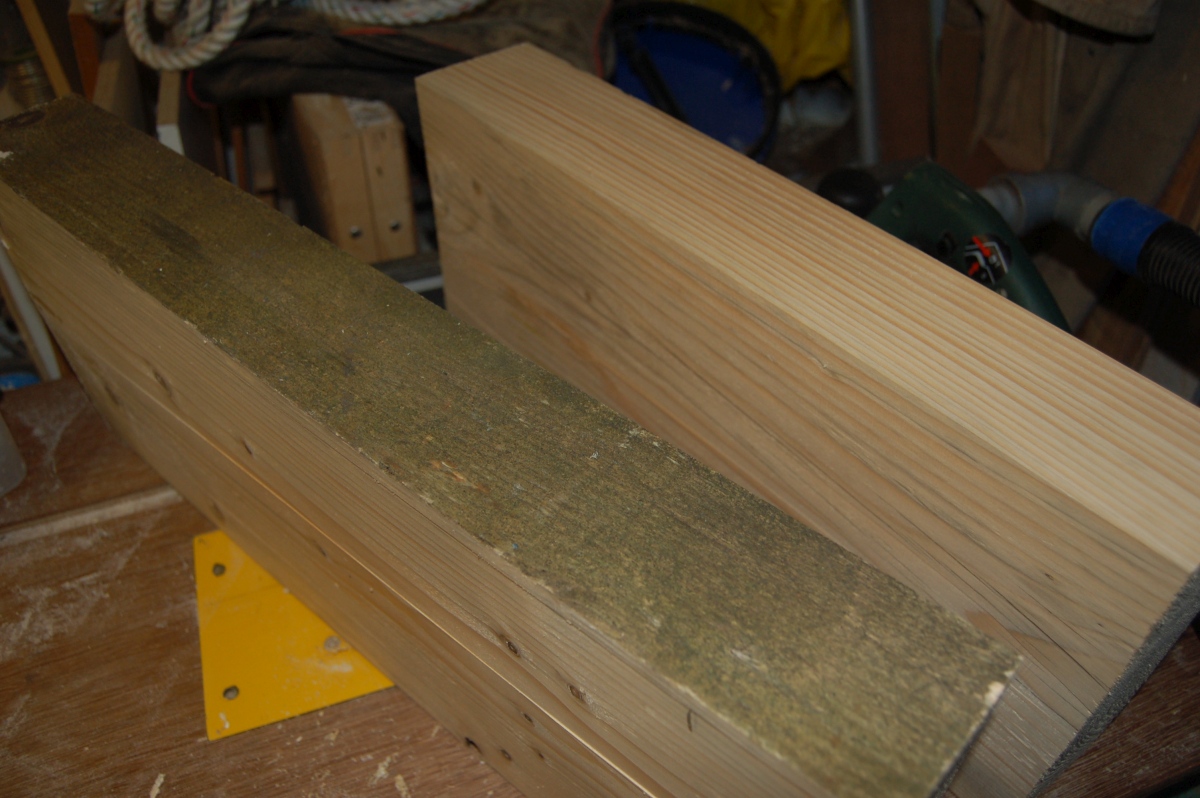
I had to use the hand plane to true up the two edges that would be glued together – the electric plane is hopeless for that. (I’m constantly amazed at what a nicely tuned plane can do, even in the hands of a bodger like me.)
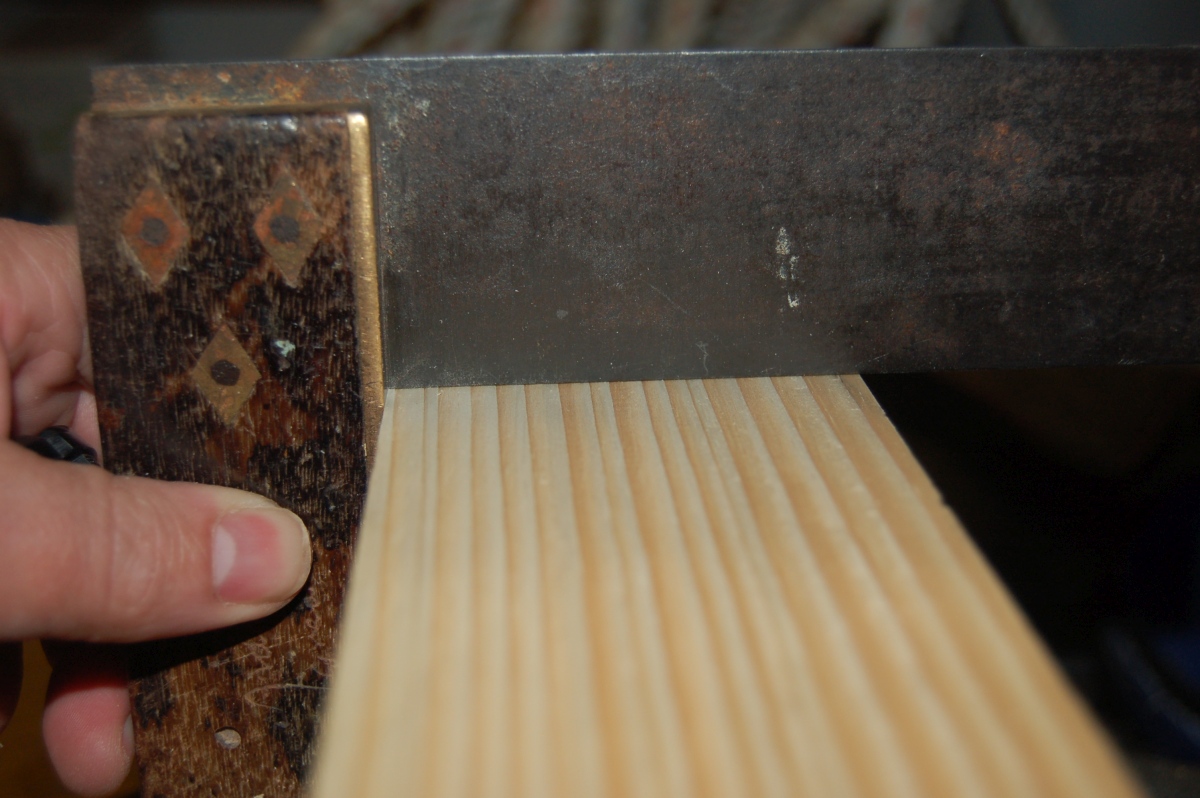
Got a square and true edge on both pieces, then sanded them to open the surface up and glued them together.
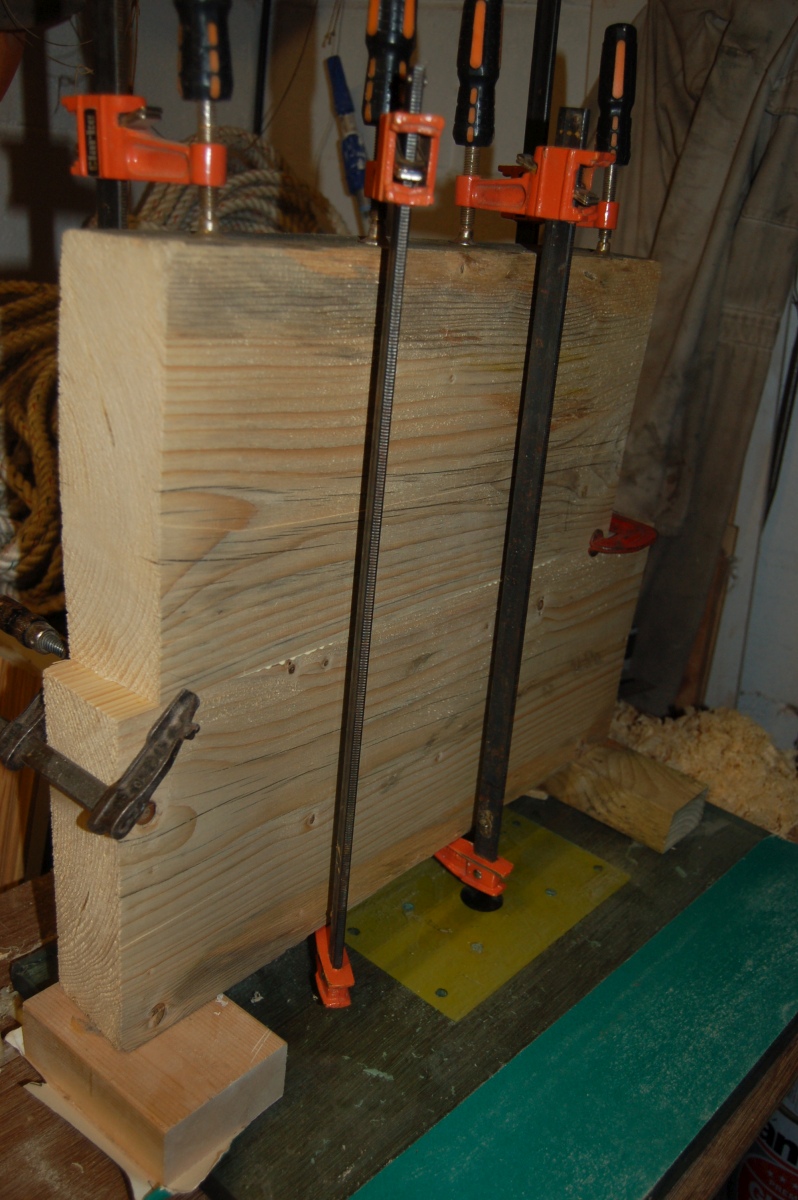
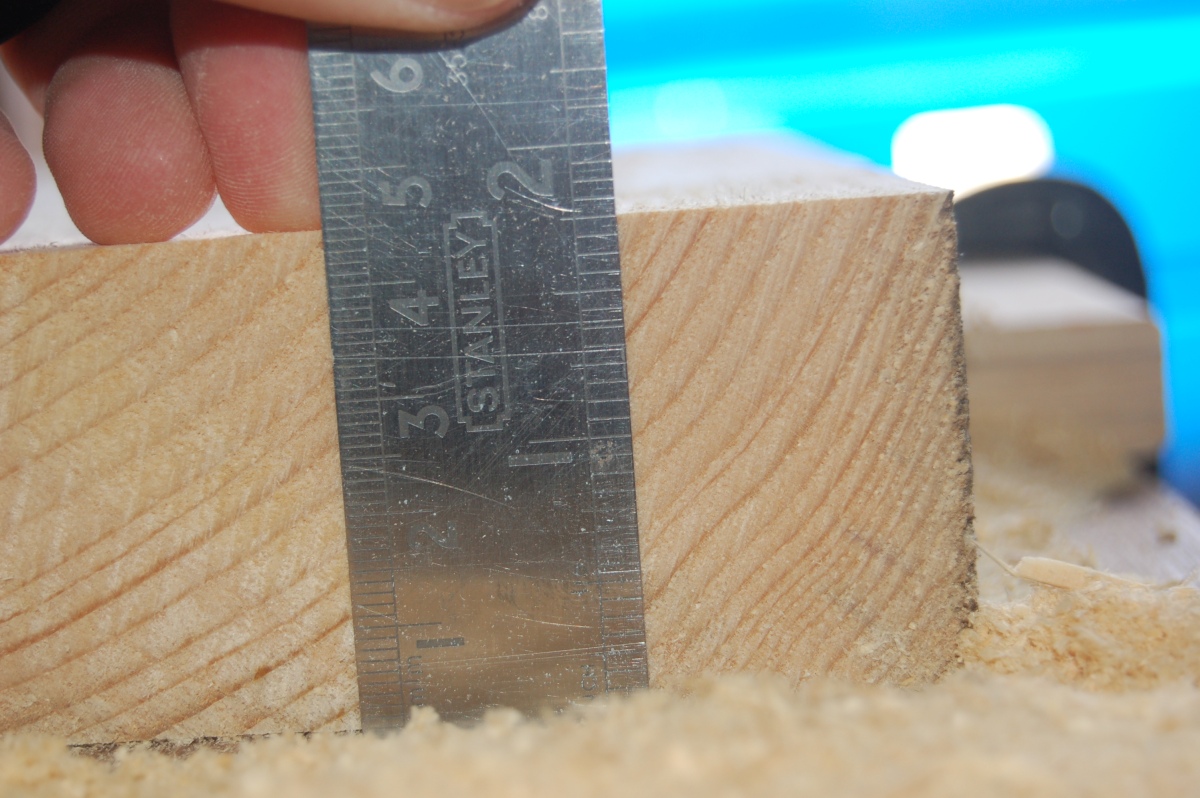
This got me a massively over thick blank that I’d need to thin down.
I decided to true up the weathered face and see how it looked. If I didn’t like it, I could take more off that side of the blank. If it was OK, then I could take all the thickness off the rear of the blank.
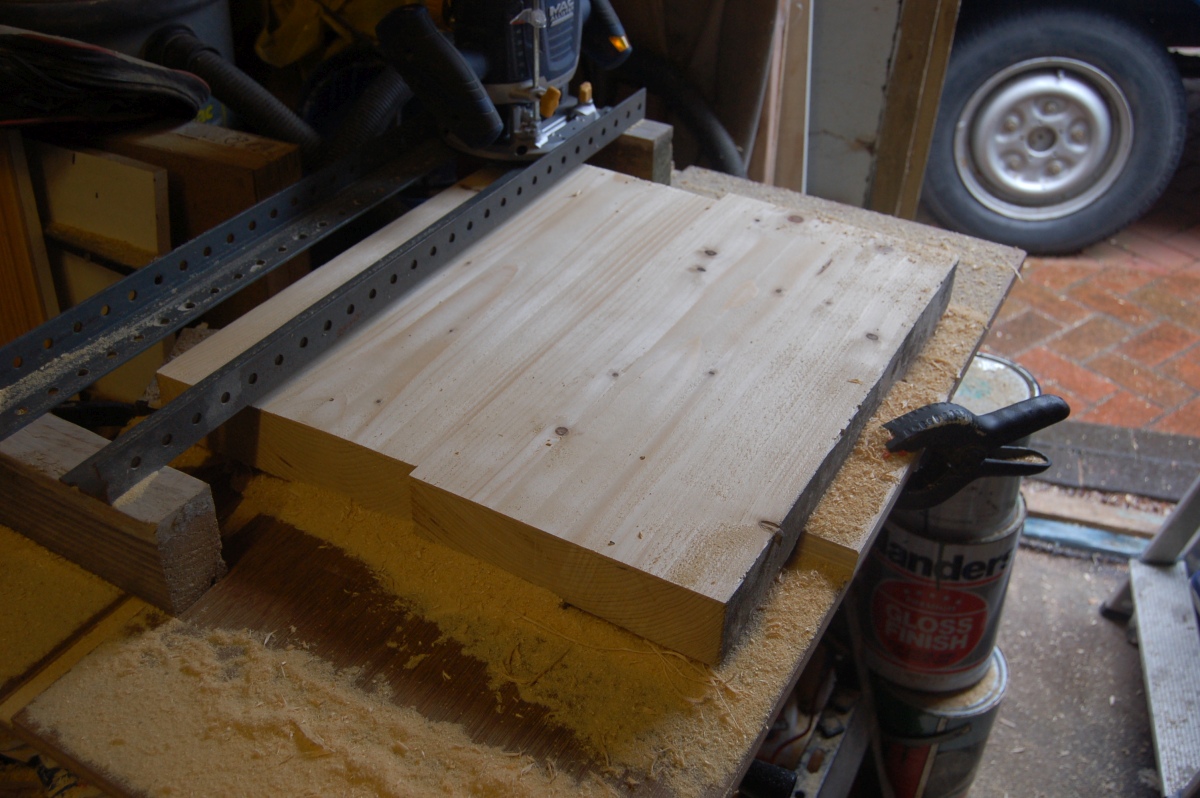
I happened to have a couple of offcuts of Dexion that were dead straight and long enough to bridge the blank, so I cobbled together a router support that I could use to hold the router at a fixed height to machine down the blank (not my idea).
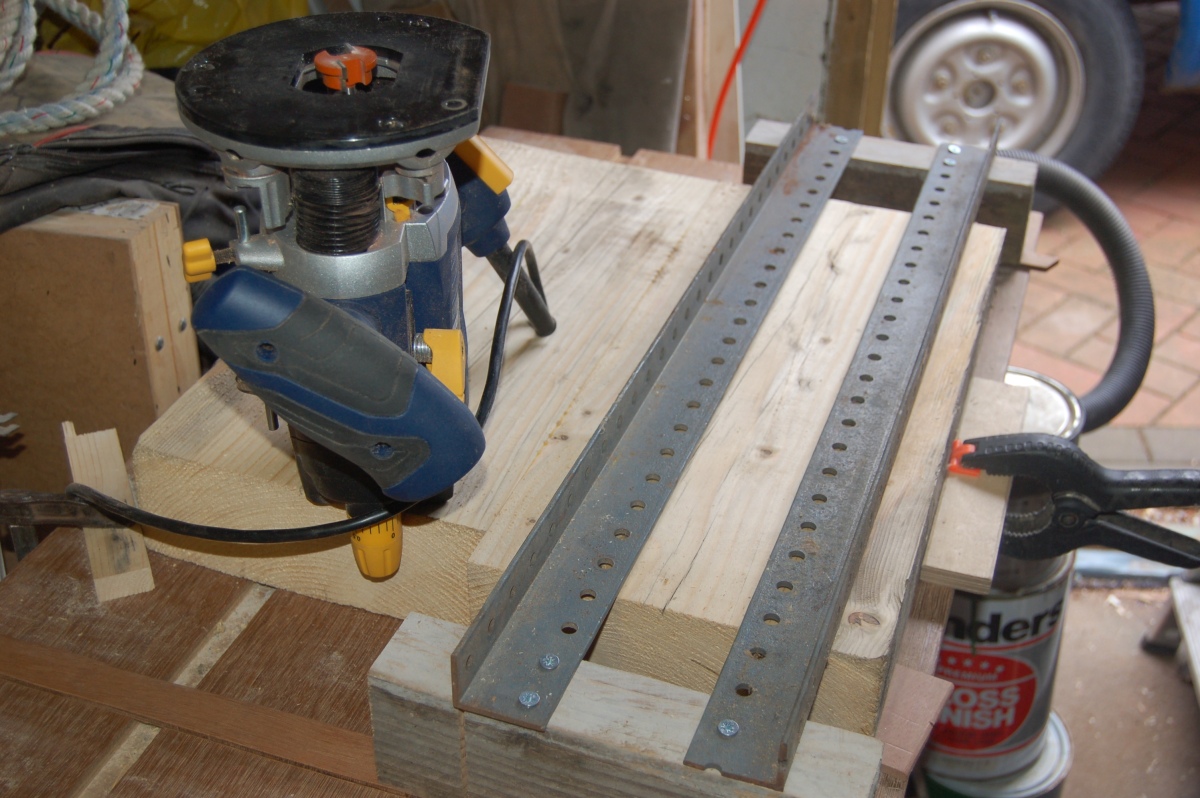
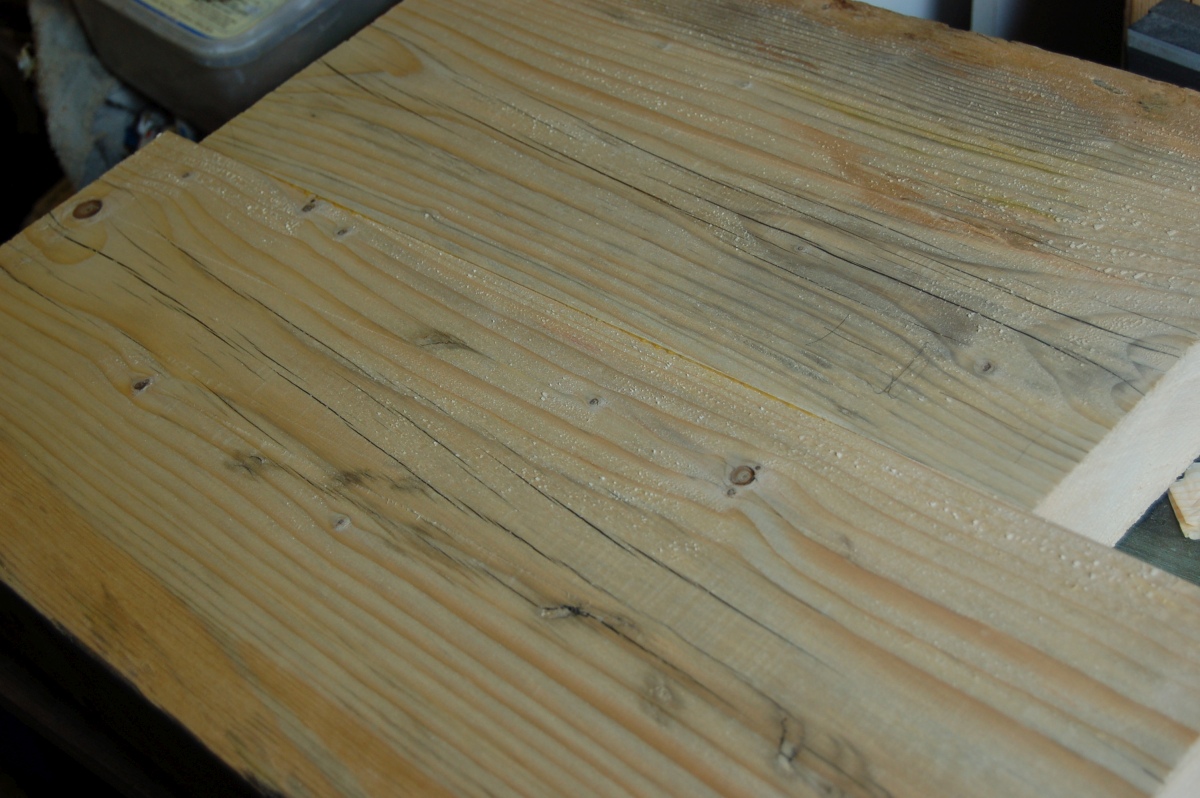
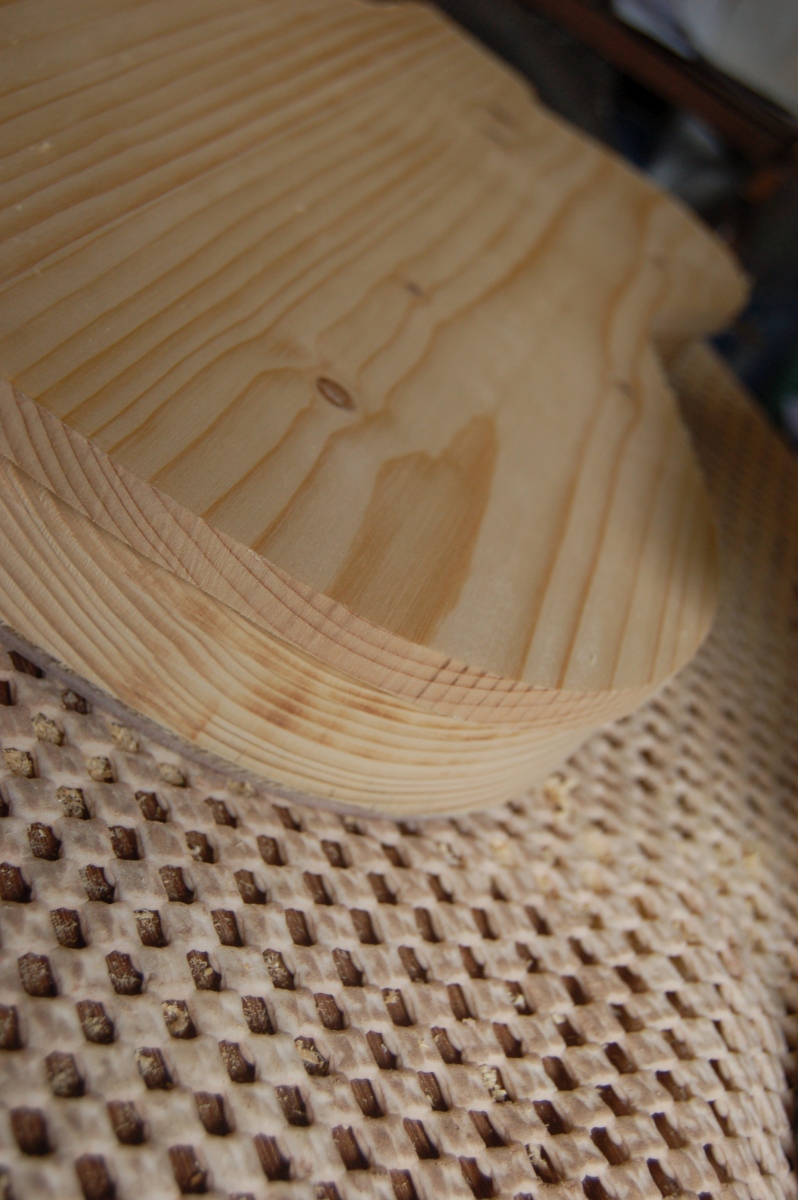
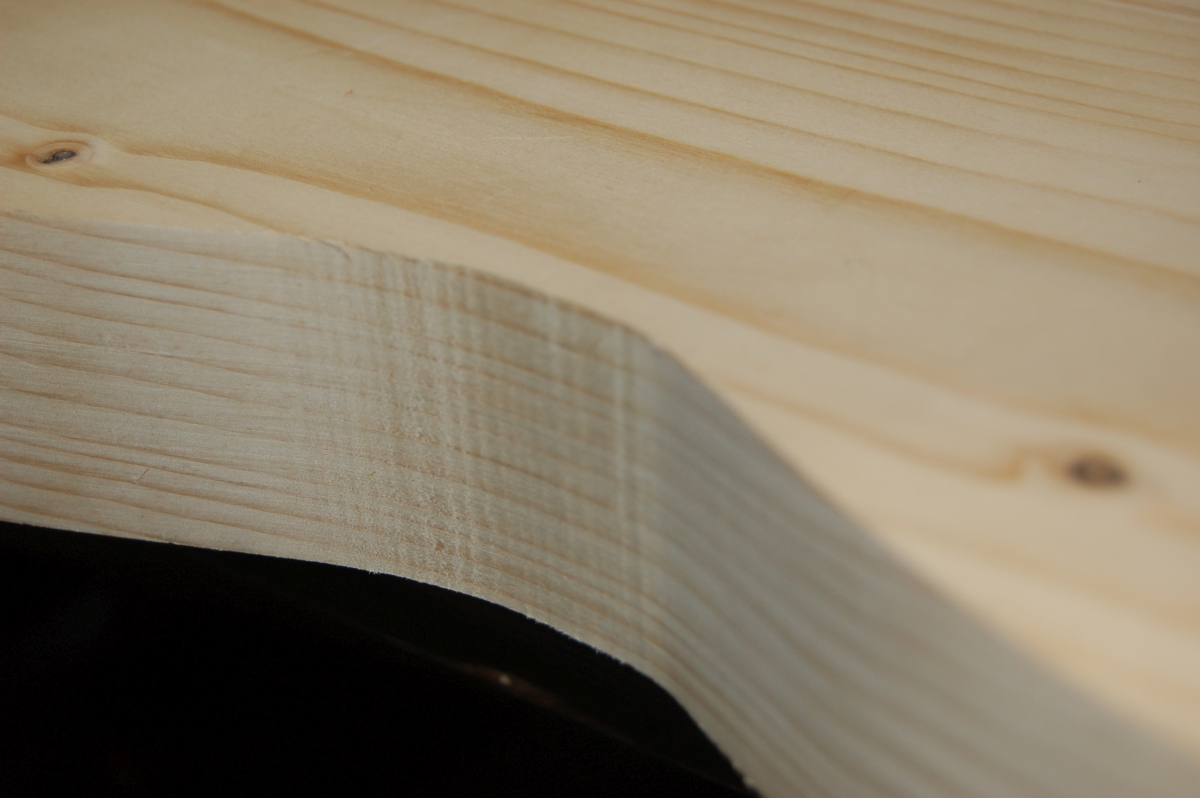
It was necessary to pack the blank up to stop it rocking, and to get the top face as flat as possible, so I could take the minimum amount possible off to true up the top surface. When it was trued up, I thought that there was probably enough ‘character’ left to go with the (somewhat) rustic theme
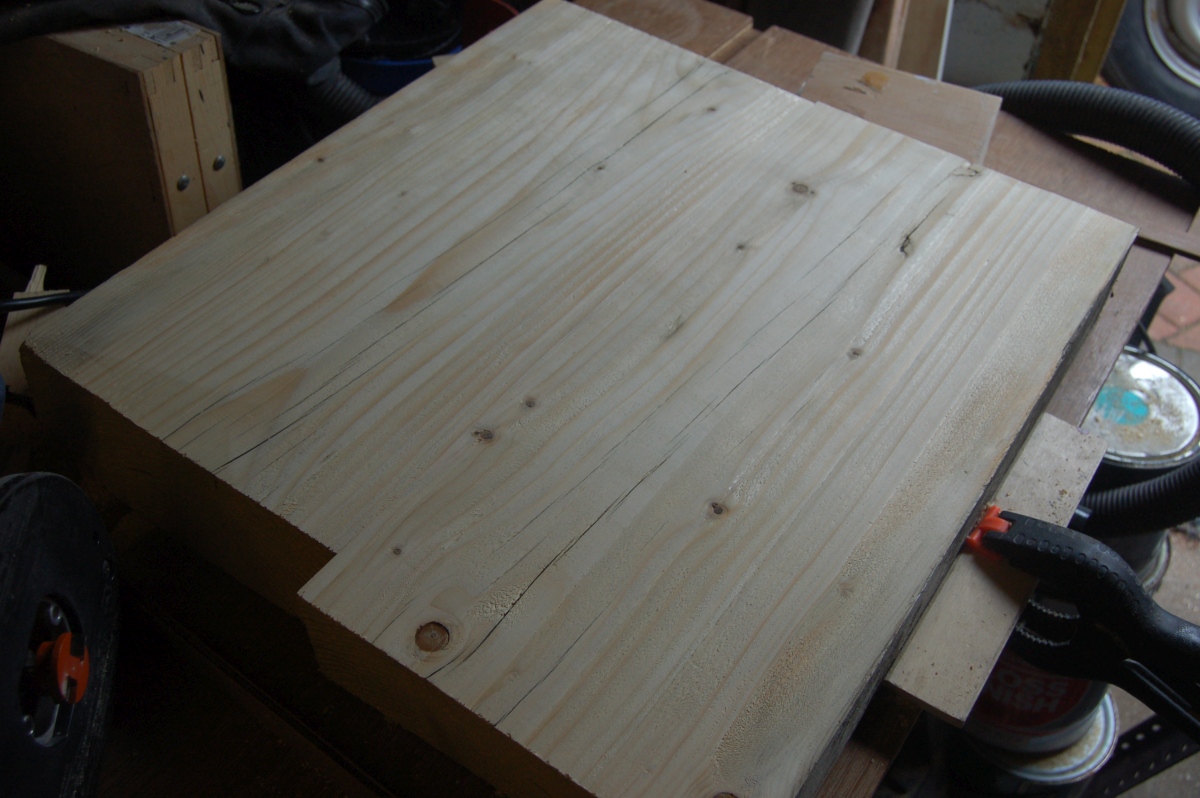
So I flipped the blank over and marked the amount of material to be removed
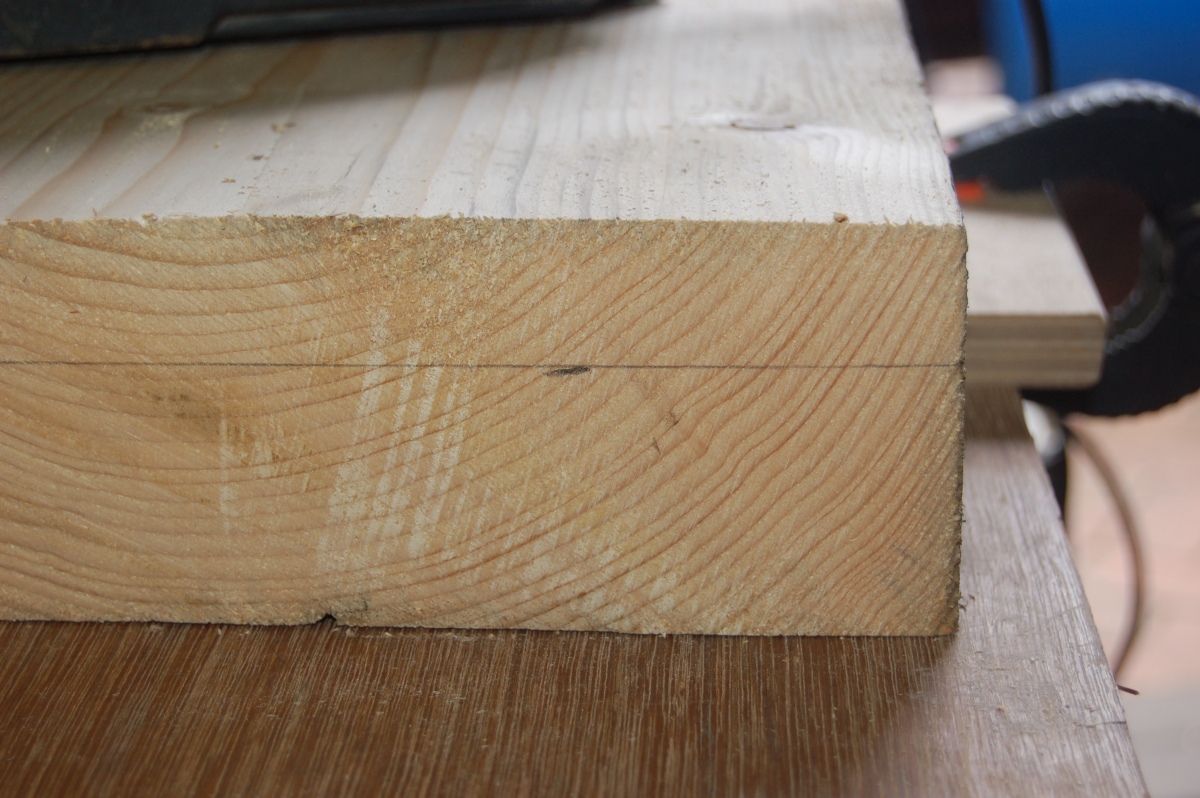
That line is still 1/8″ over finished thickness, so it is a LOT of wood to come off. As planer blades are cheaper than router cutters, I took most of the thickness off with the electric planer before going back to the router to true the face up.
I should have mentioned above that the plank I cut up for the body had been stored under cover for a couple of months before I started with it, but it had been outside before that and I was bothered that the wood might still be a bit wet. With that in the back of my mind, and the amount of material I had removed (unevenly) from the blank, I thought it could warp like mad.
So I brought the blank into the house and weighed it every day, or so. It lost about 1% of its weight over the space of about a week, then seemed to stabilise, so I thought it was OK to carry on.
I soaked the weathered face with epoxy and worked it into the cracks as best I could to fill / stabilise them.
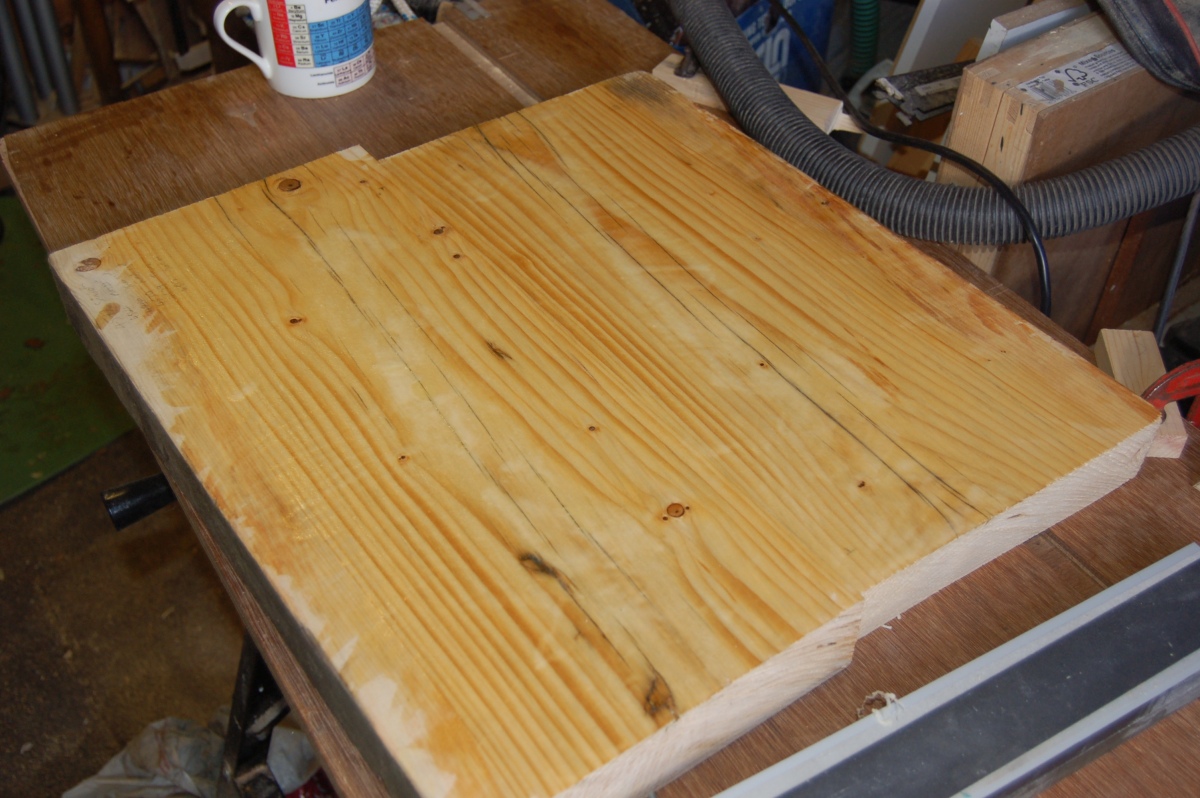
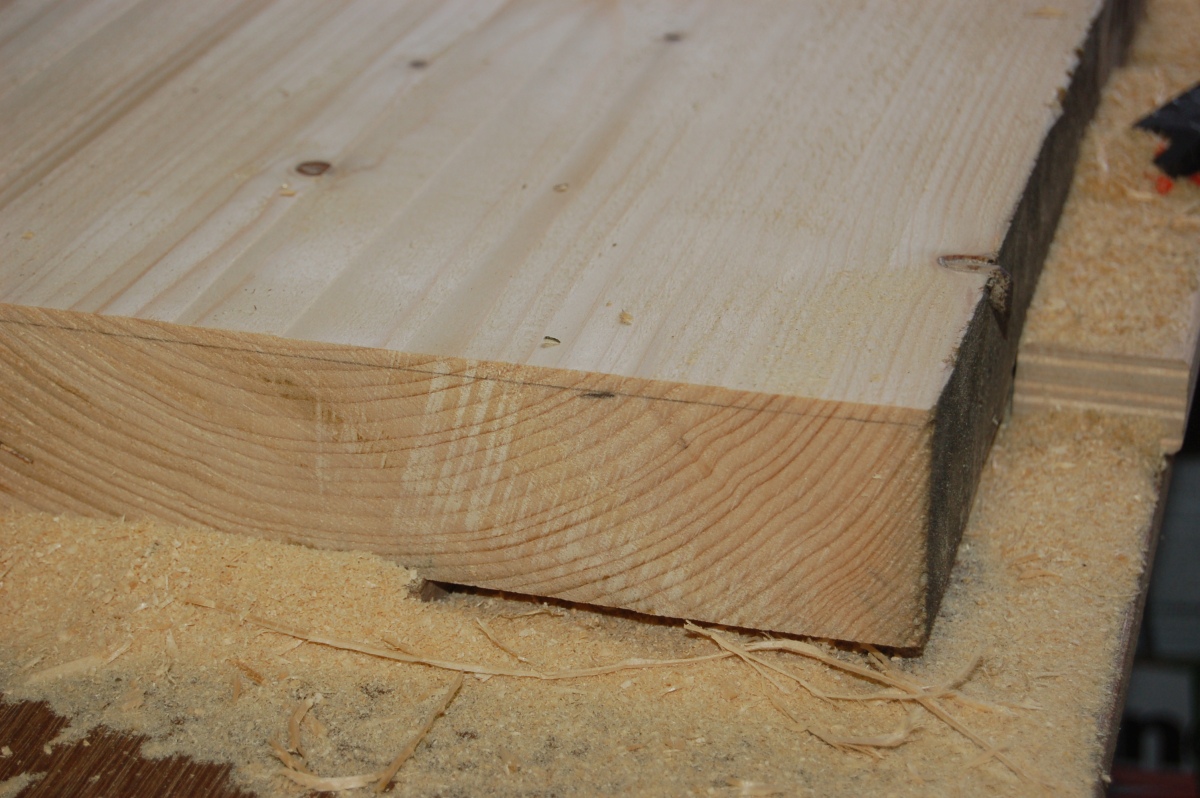
When the epoxy had set, I skimmed this surface flat again (in fact it had moved very little, if any since I’d brought it into the house), then flipped the blank over again and carefully brought it down to the finished thickness:
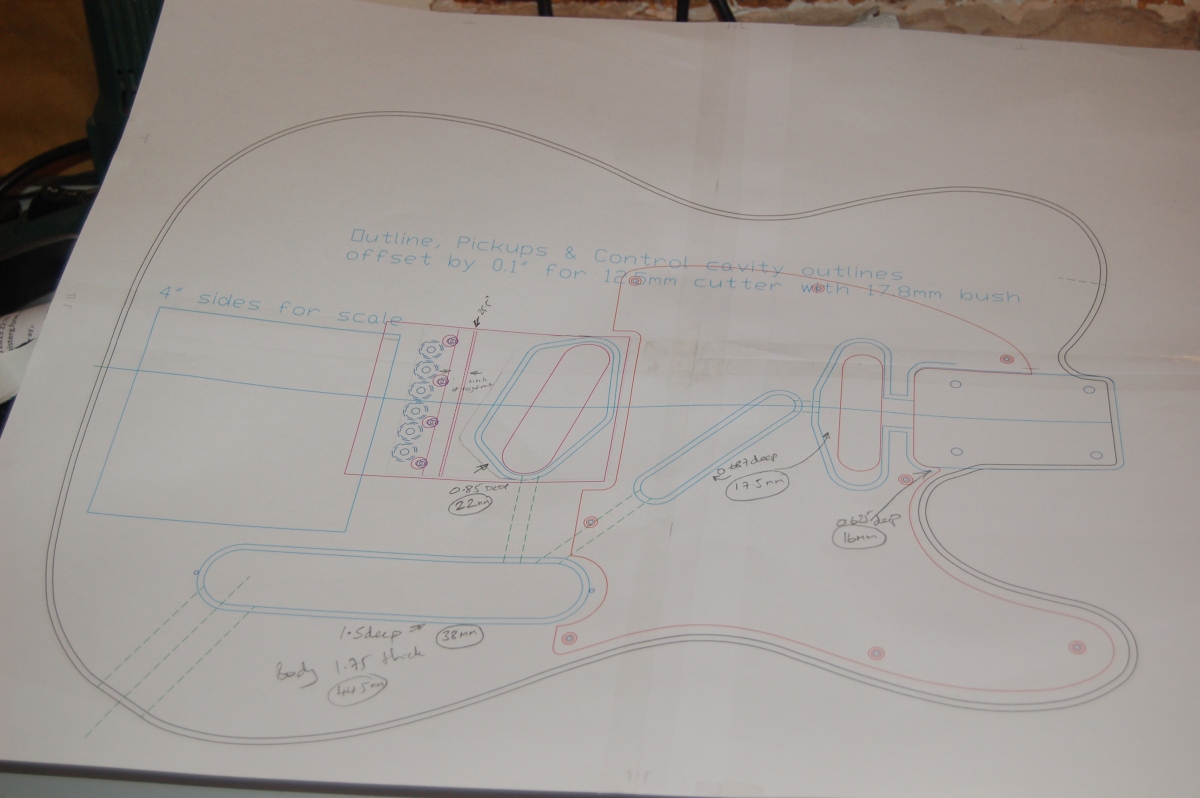
I haven’t got a template bit for my router that is long enough to cut this thick a blank, so I needed an under-sized template to use with a guide bushing on the router base. As luck would have it, there is an autocad drawing of a tele body over on TDPRI (and I have access to Autocad ) which meant that it was easy to create a template that was 2mm smaller all round. Not so easy to get four pieces of A4 to line up while holding sellotape.
I glued this to a piece of 6mm MDF, cut along the dotted lines and made a template. I don’t know why I got the MDF – I hate the stuff for templates. I find thin ply much easier to work with. I had to soak the edge of the finished template in superglue to make it solid enough to use.
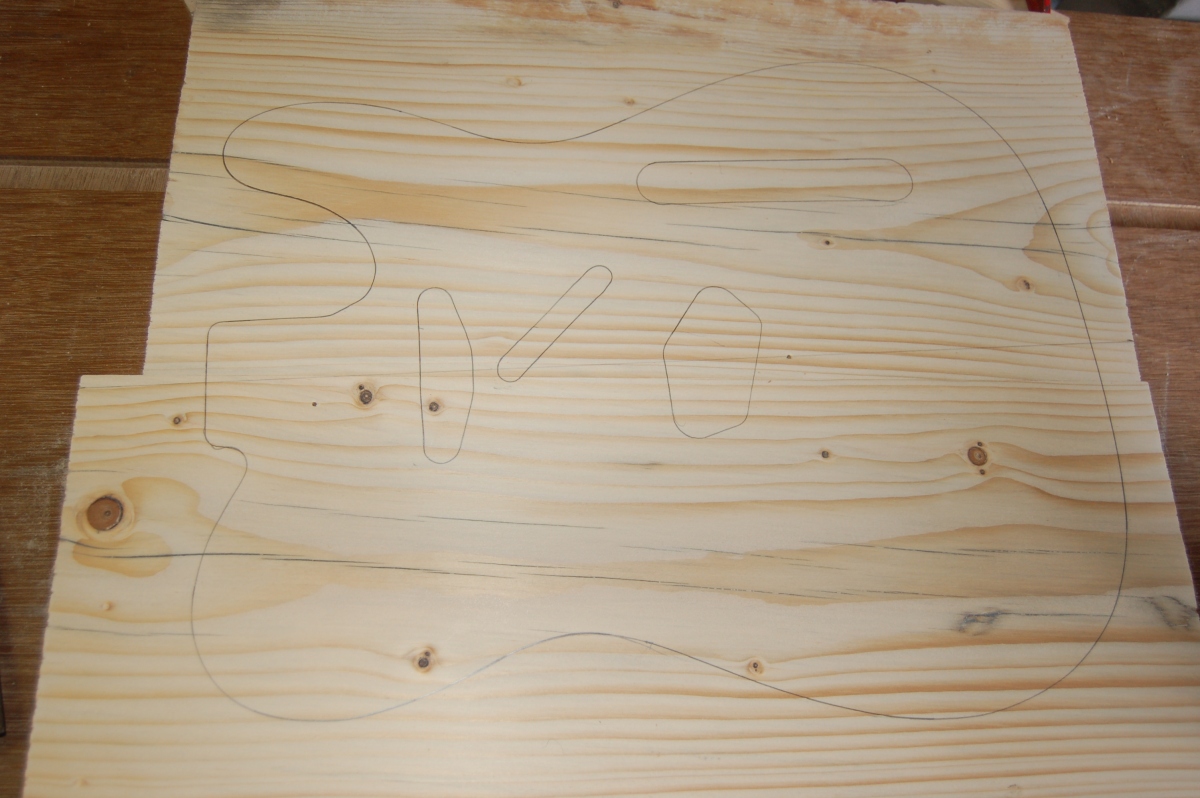
I used the “washer trick” to get a guide line for roughing the body out (the router cut will be offset from the template by 2mm)

I felt a strong urge to align the centreline of the template with the glue line in the blank, but the grain just didn’t look right to me, so I offset it and angled it until it looked ‘right’. It may well look ‘wrong’ when finished.
I roughed the blank out with my cheapo band-saw (a jigsaw would work just as well, but I like band-sawing stuff )
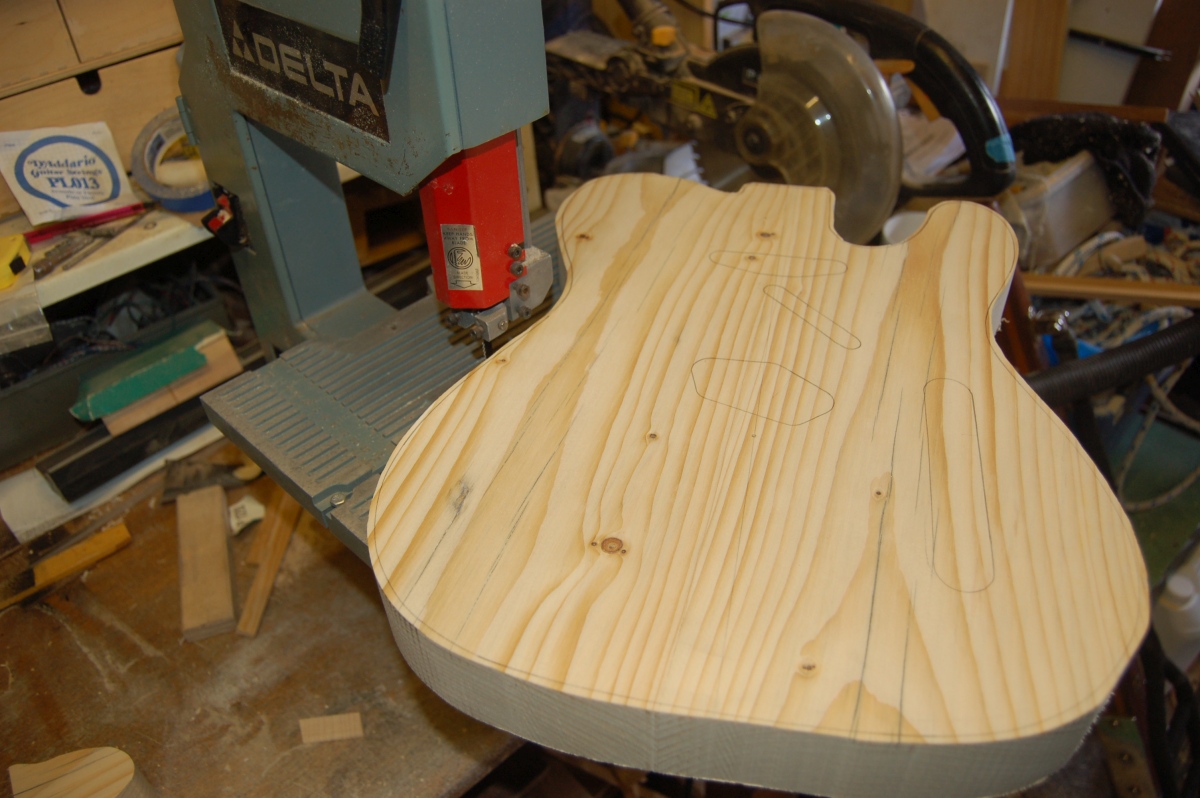
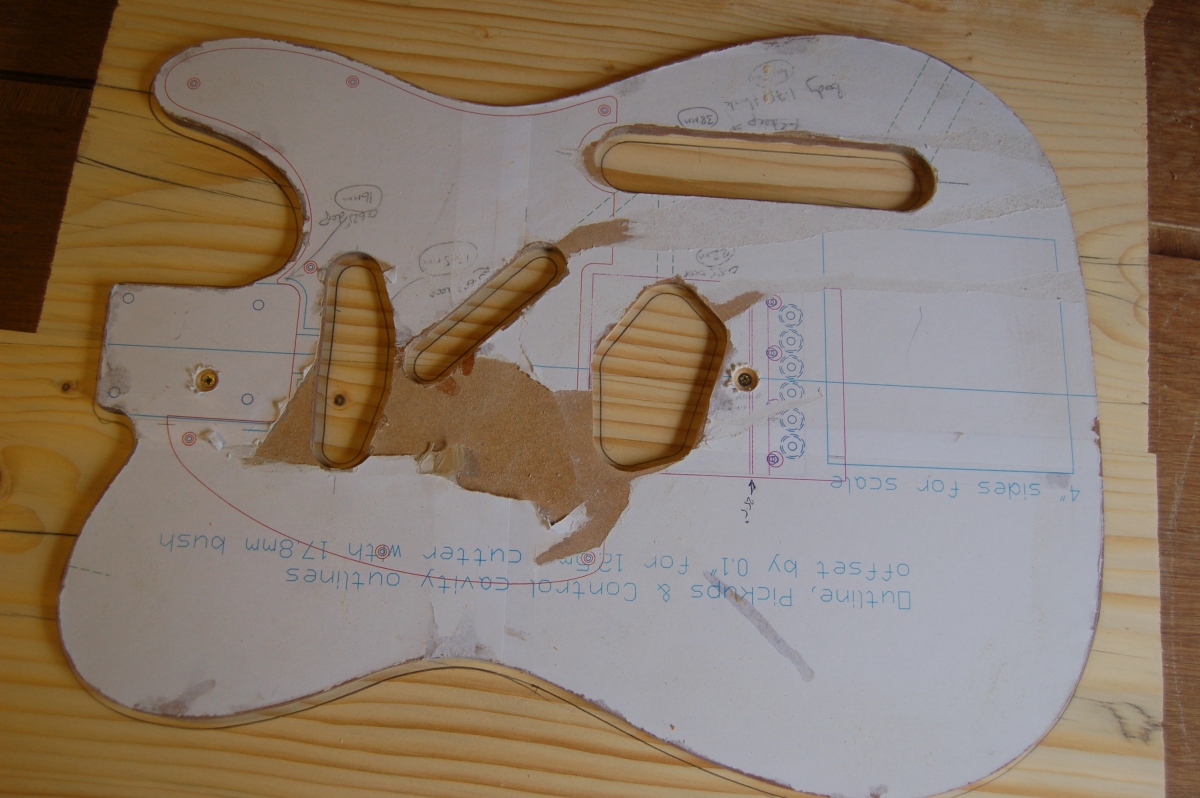
Took several passes with the router to cut most of the way down the blank (running the guide bush along the edge of the template):
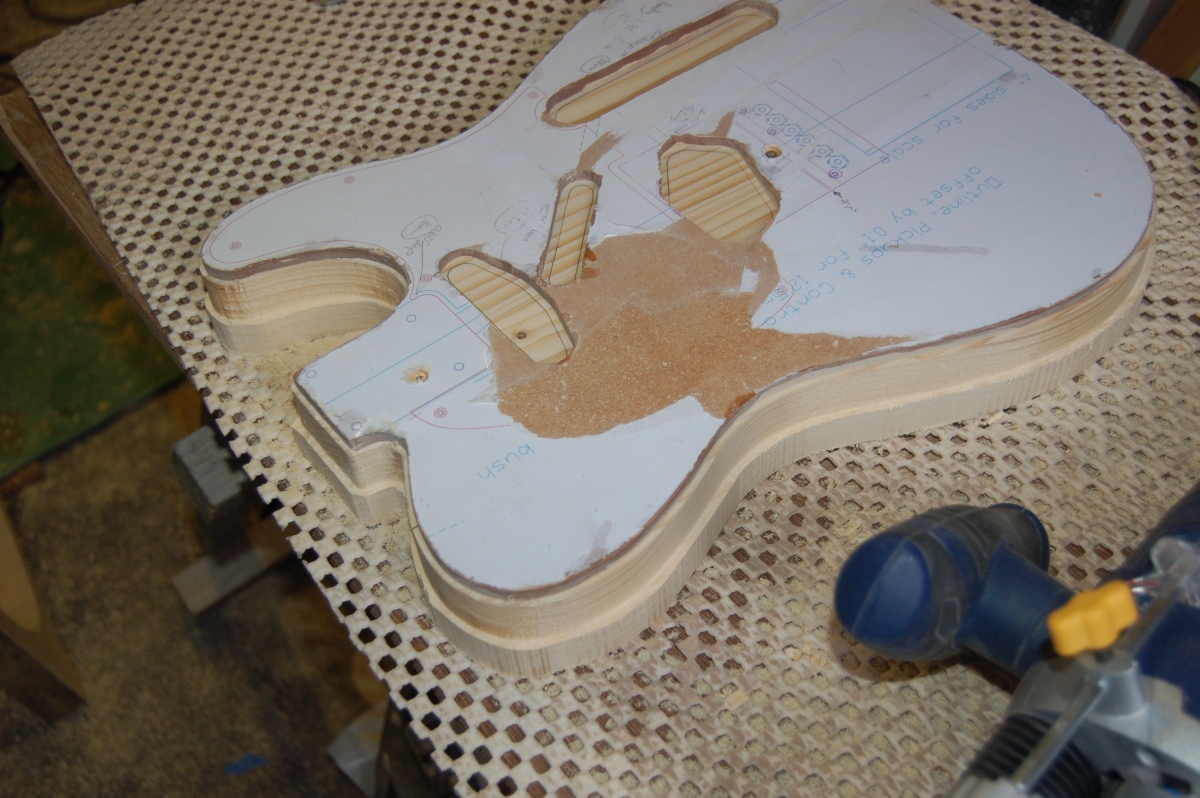
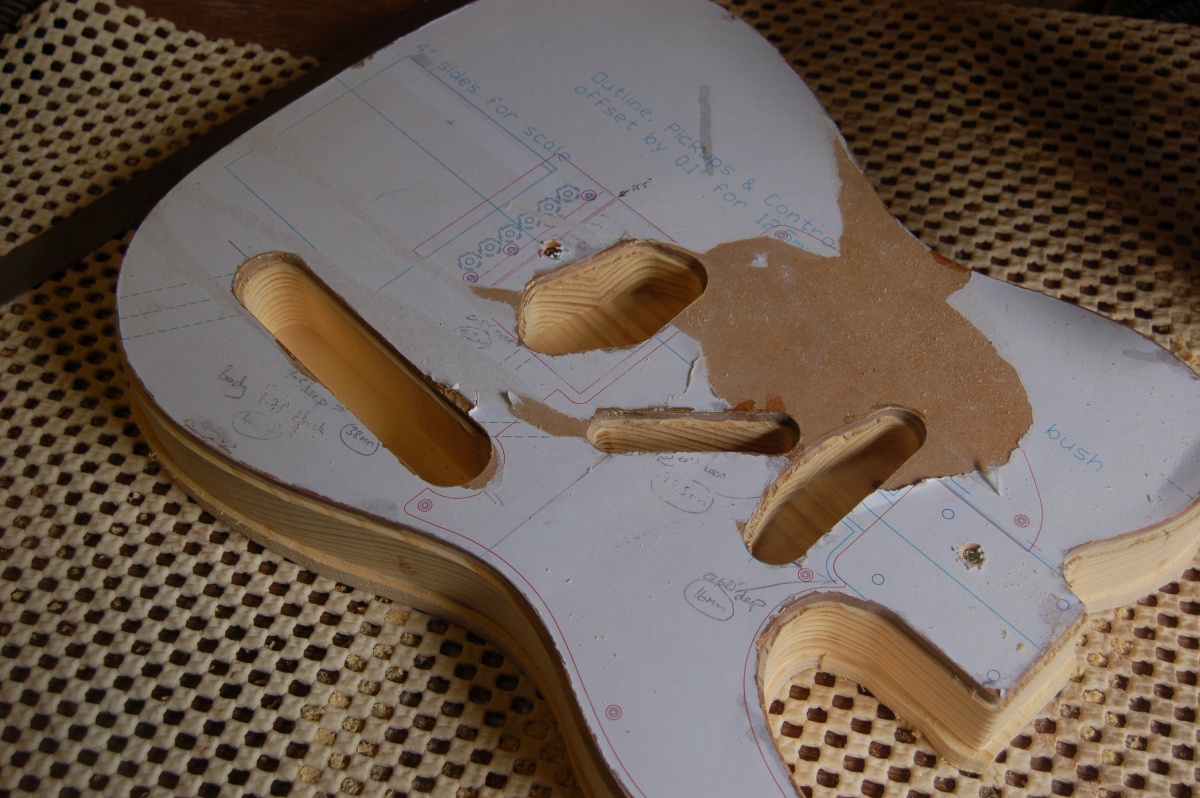
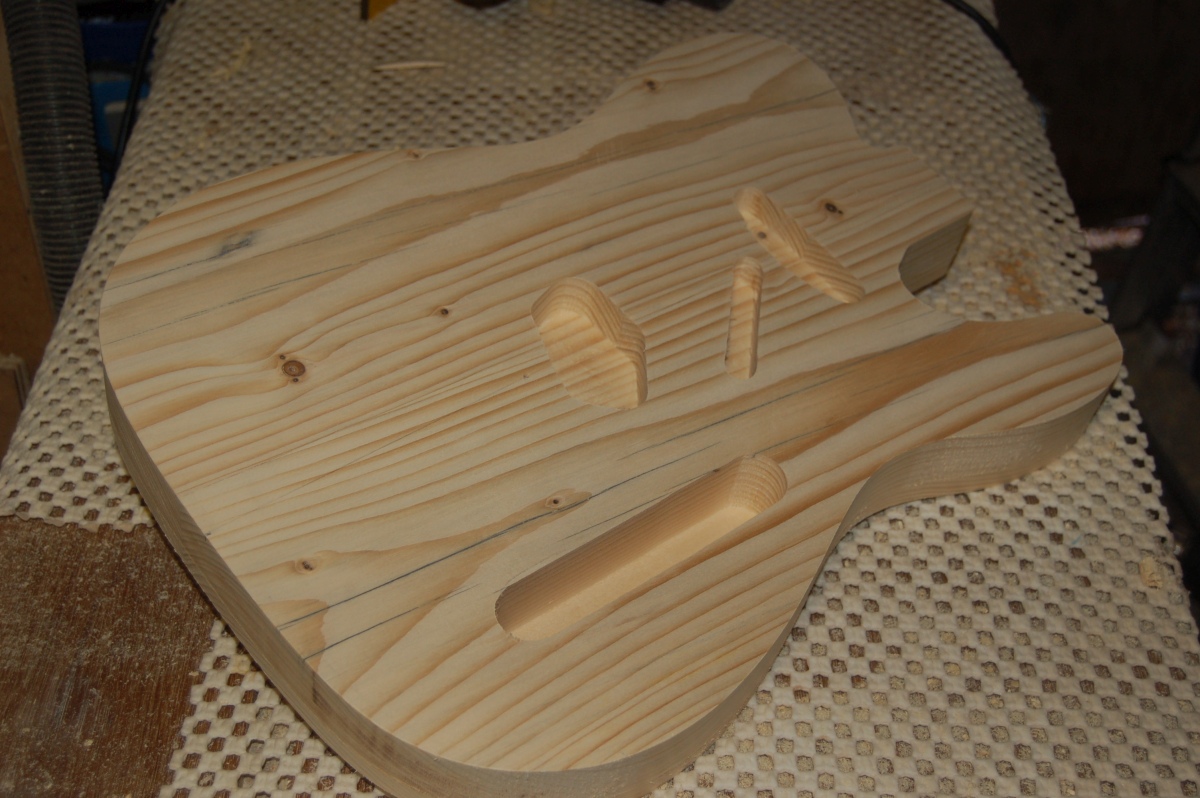
Then cut out the various recesses to their various depths while the 1/2″ bit was still in the router:
Then flipped the body over and used a flush trim bit to take off the remaining ‘lip’ around the back of the body:
I had one little wobble when cutting from the first side
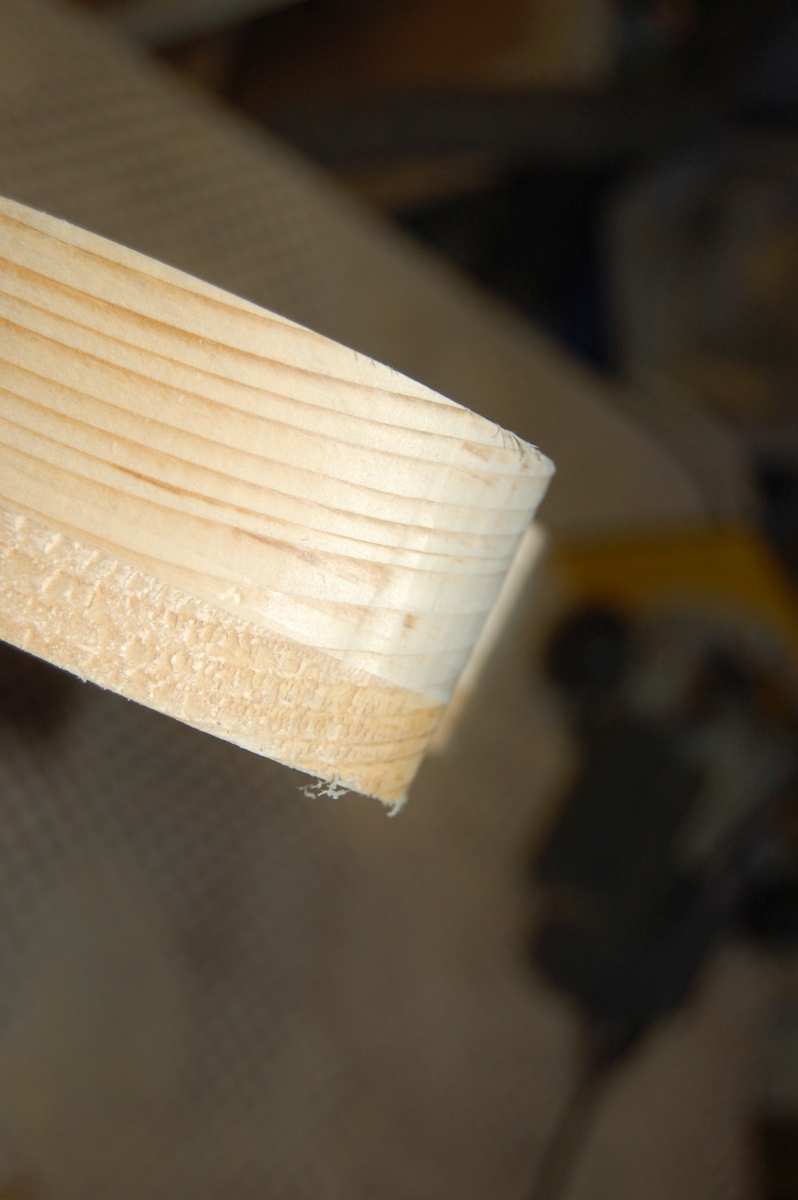
and some poor cutting
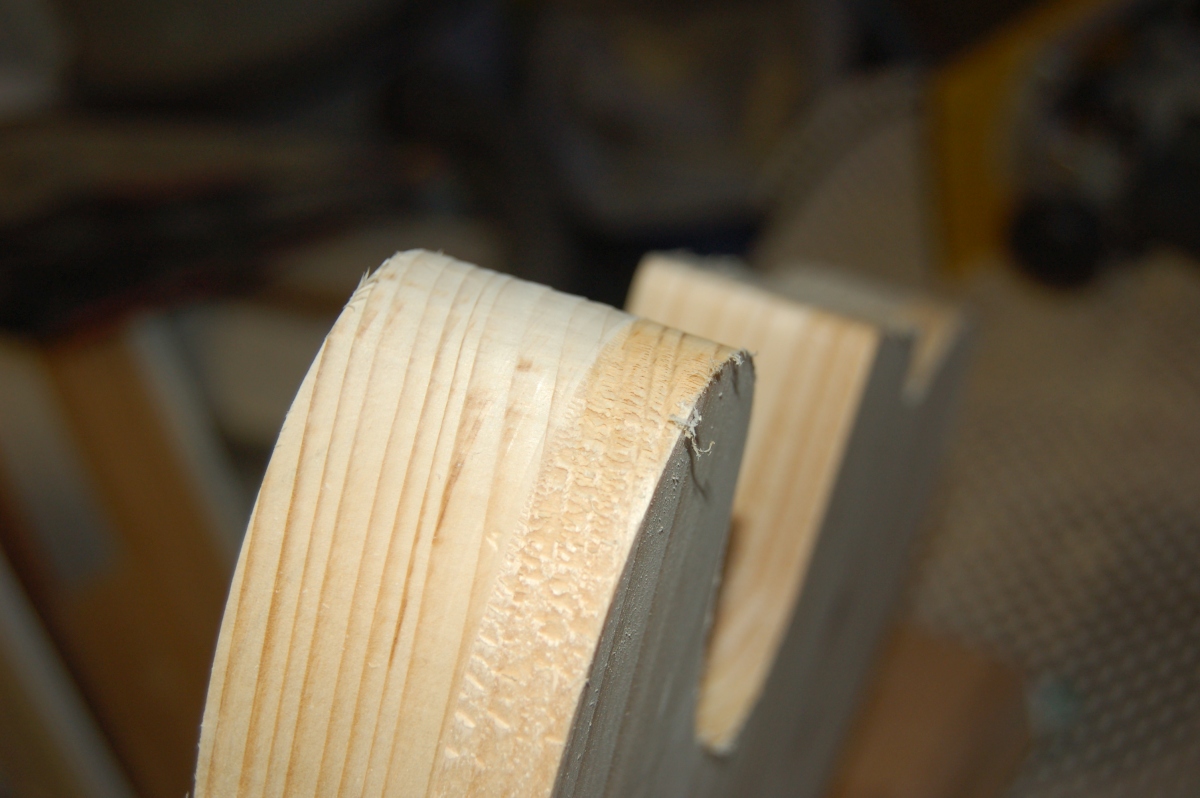
but I think everything will sand out.
After a lot of sanding, the edges of the body came up OK. I used the belt sander clamped to the bench for the easy bits (keeps things square), but there were a lot of bits it couldn’t reach which had to be done by hand
Cutting the neck pocket
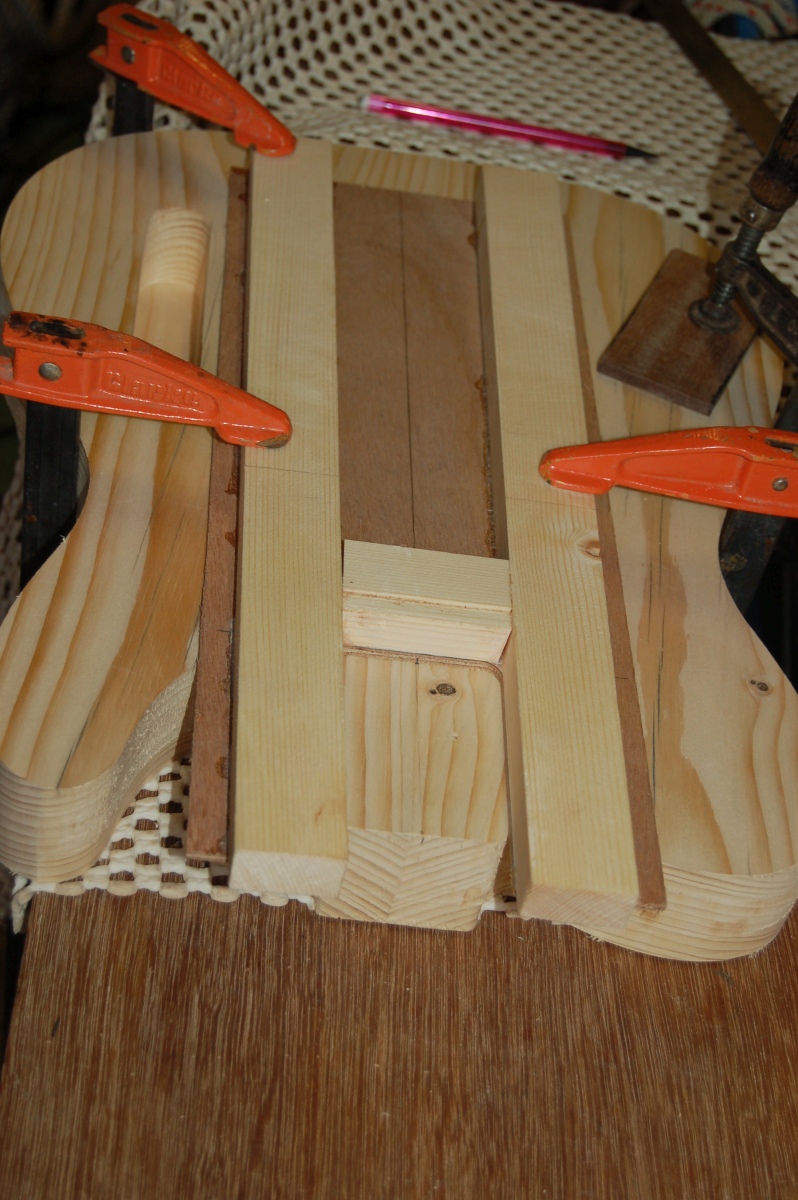
To cut the neck pocket, I made up a template by clamping a length of wood each side of the neck, then, while they were still clamped, fixing them to a piece of ply. In theory, when the neck is removed, this should give a perfectly fitting router template. I made some test cuts in scrap pine and if anything, the pocket was a little snug. If I do it again, I’d put a sheet of paper between the neck and the pieces of wood to generate a smidgen of clearance in the pocket.
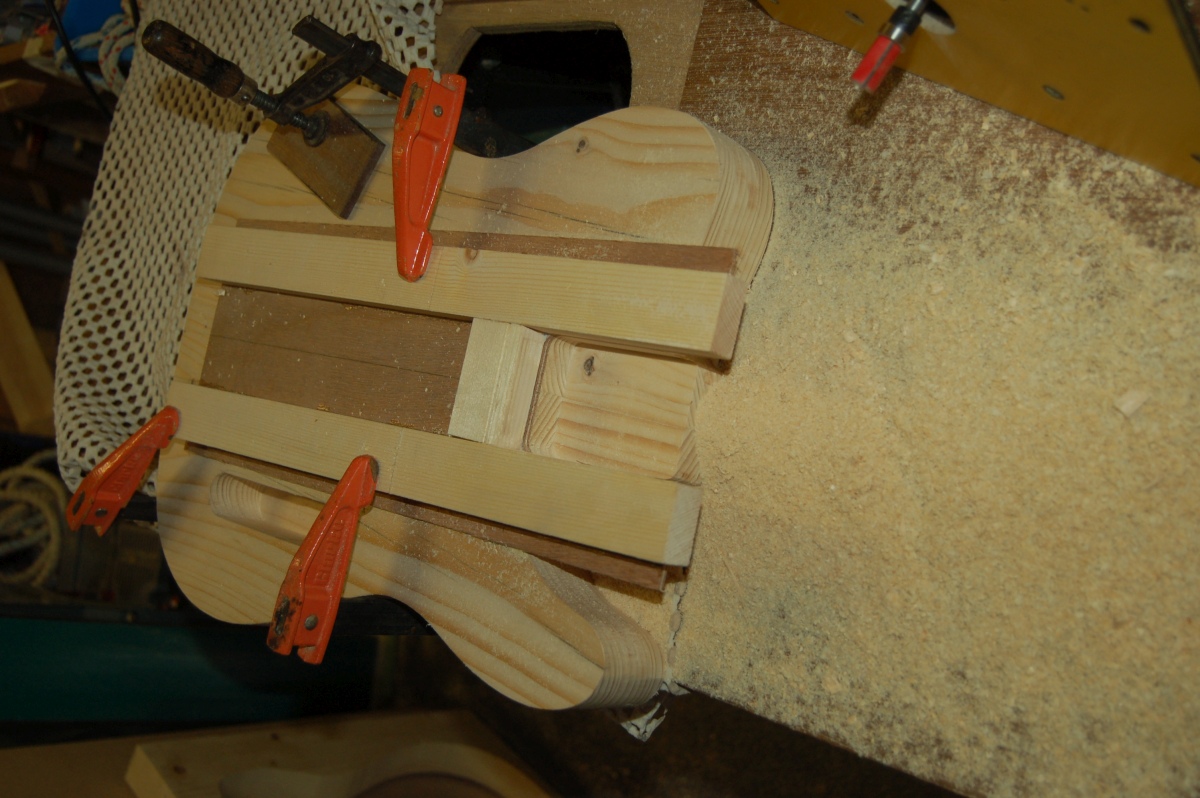
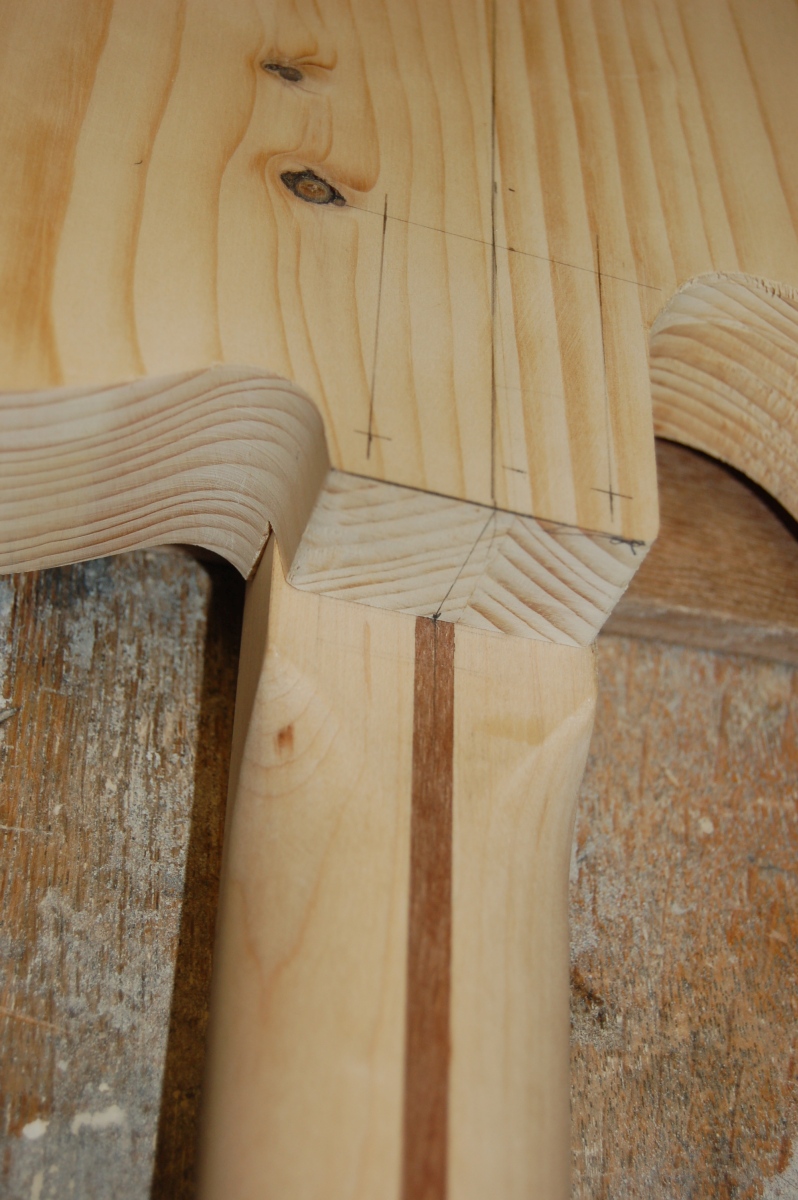
After finding all the centre lines, the template was lined up on the body and positioned so that the neck pocket finishes 3″ into the body:
Didn’t take long to route it out to 5/8″ deep
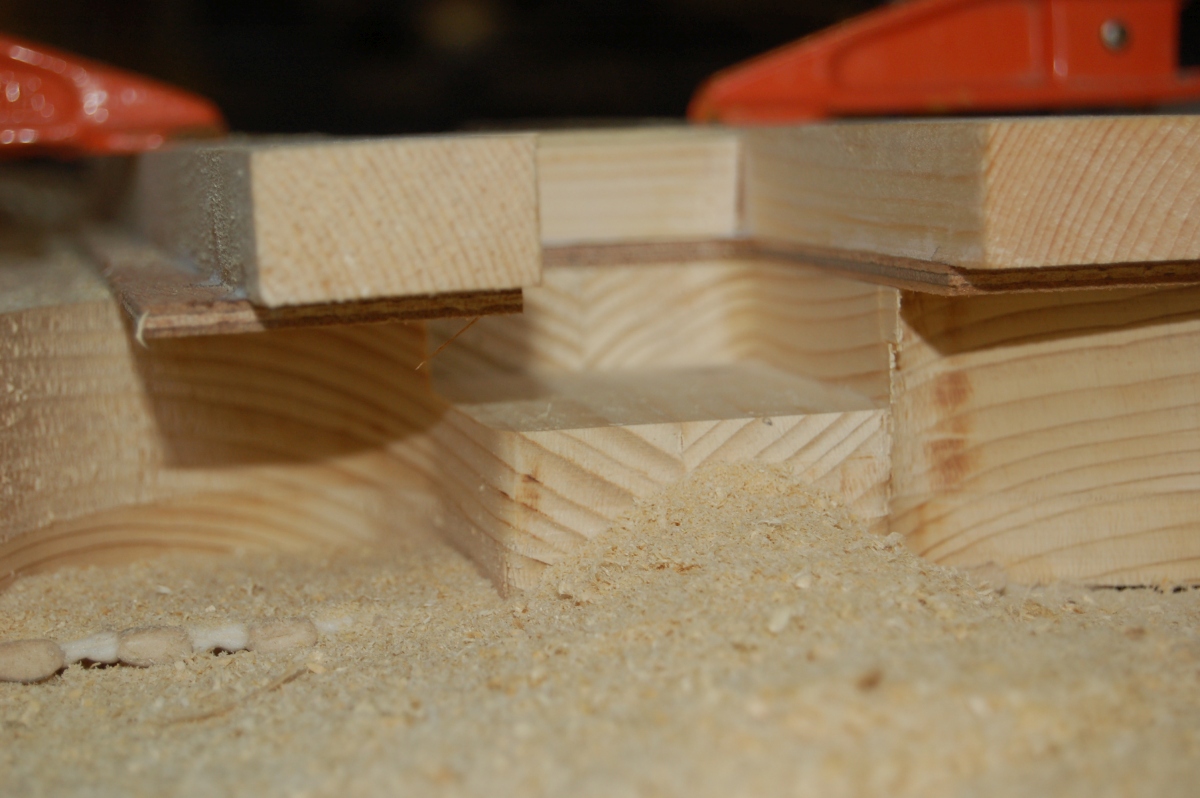
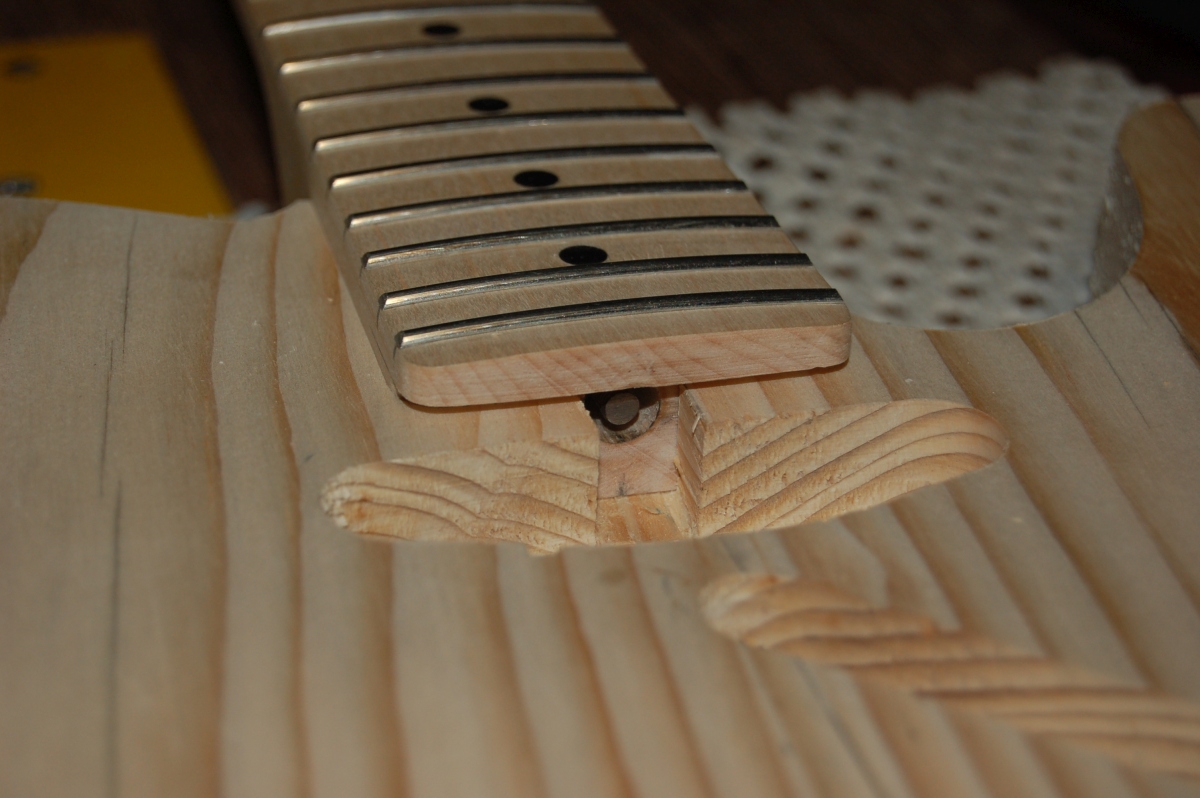
A little snug, but the neck fits! (I just cut out the ‘notch’ for truss rod adjuster access with a saw & chisel.)
A few snags…
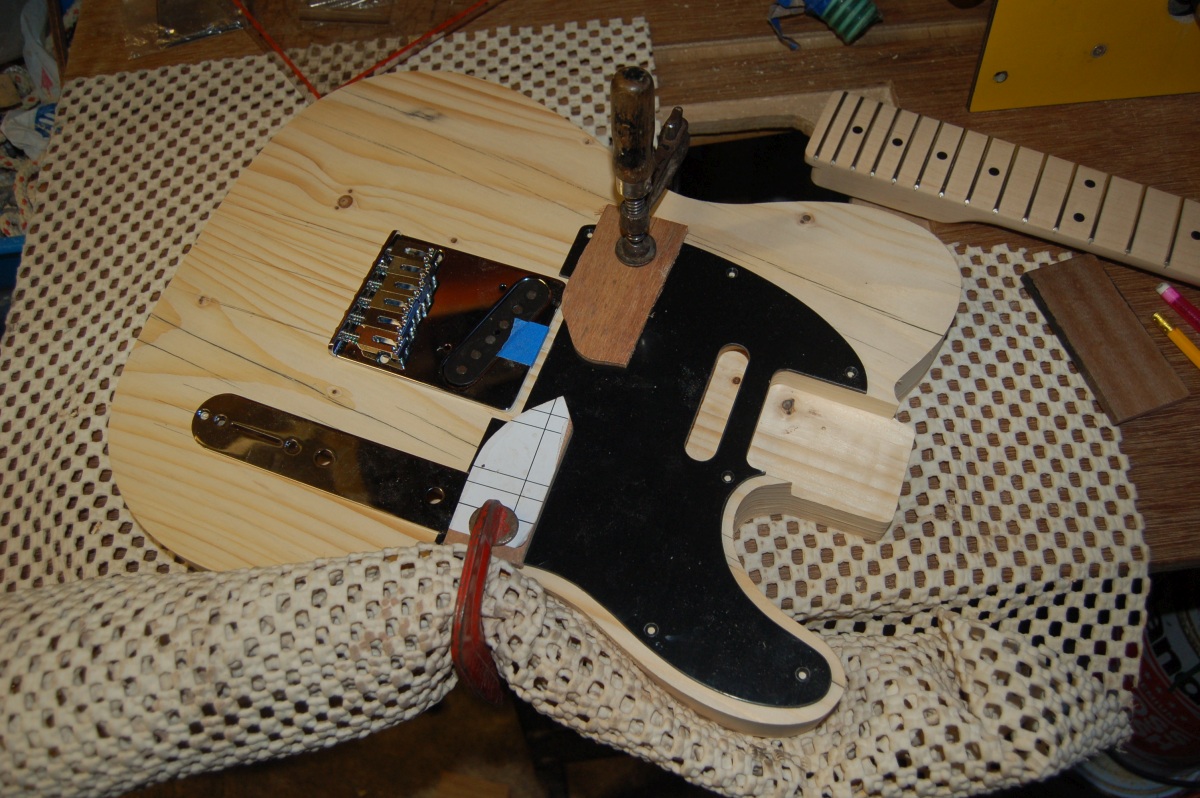
I wanted to set everything out on the front of the guitar, but the pick guard wouldn’t quite fit around the neck heel, and the ‘step’ on the neck heel wasn’t quite deep enough to accomodate the thickness of the pick guard.
The pick guard was easy: I set the bridge out on the centre line and juggled the pick guard and the control plate around until everything seemed to line up then clamped the pick guard in place
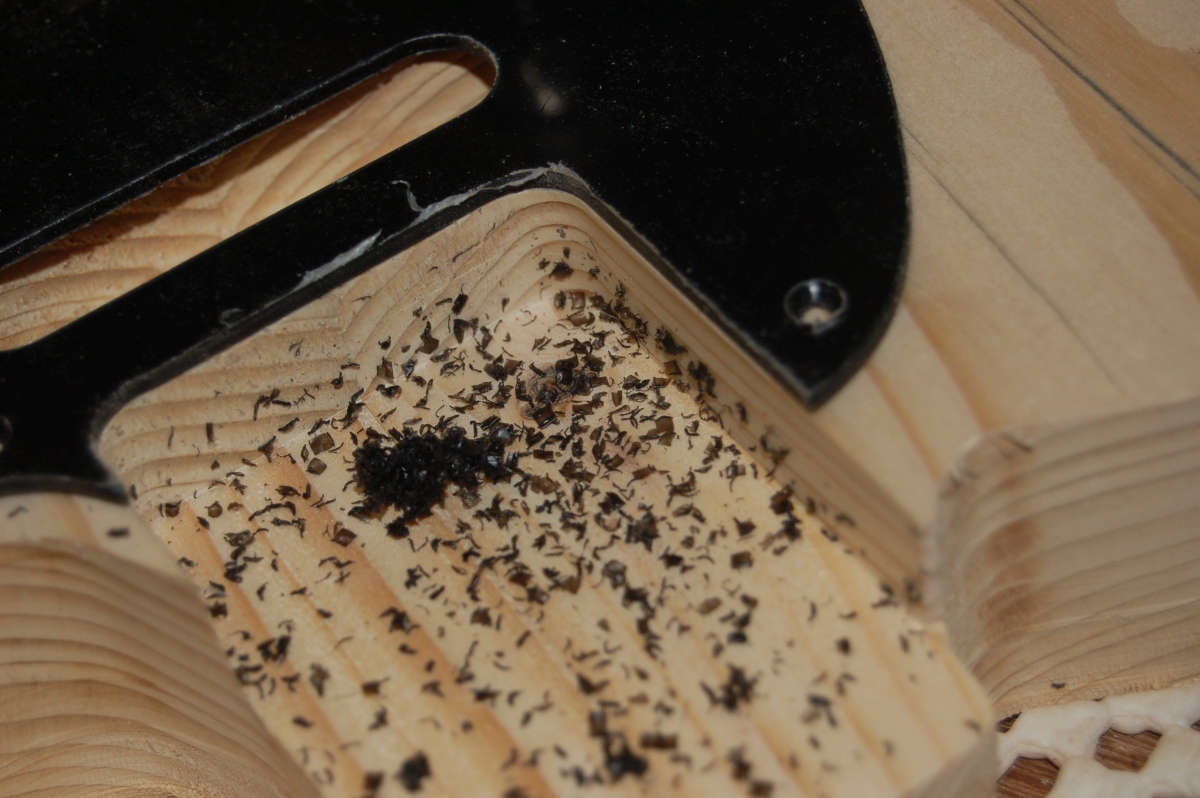
You can see the slight mis-match with the neck pocket:
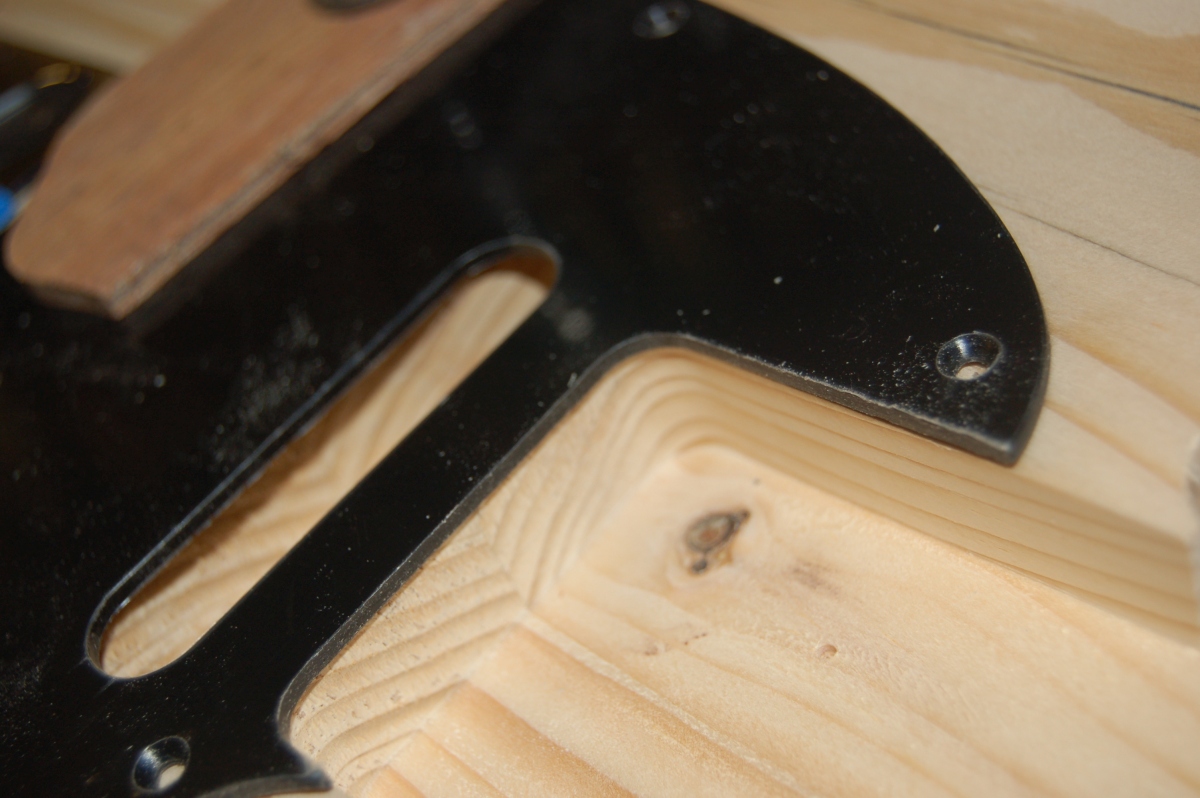
Easily removed with a flush trim bit in the router:
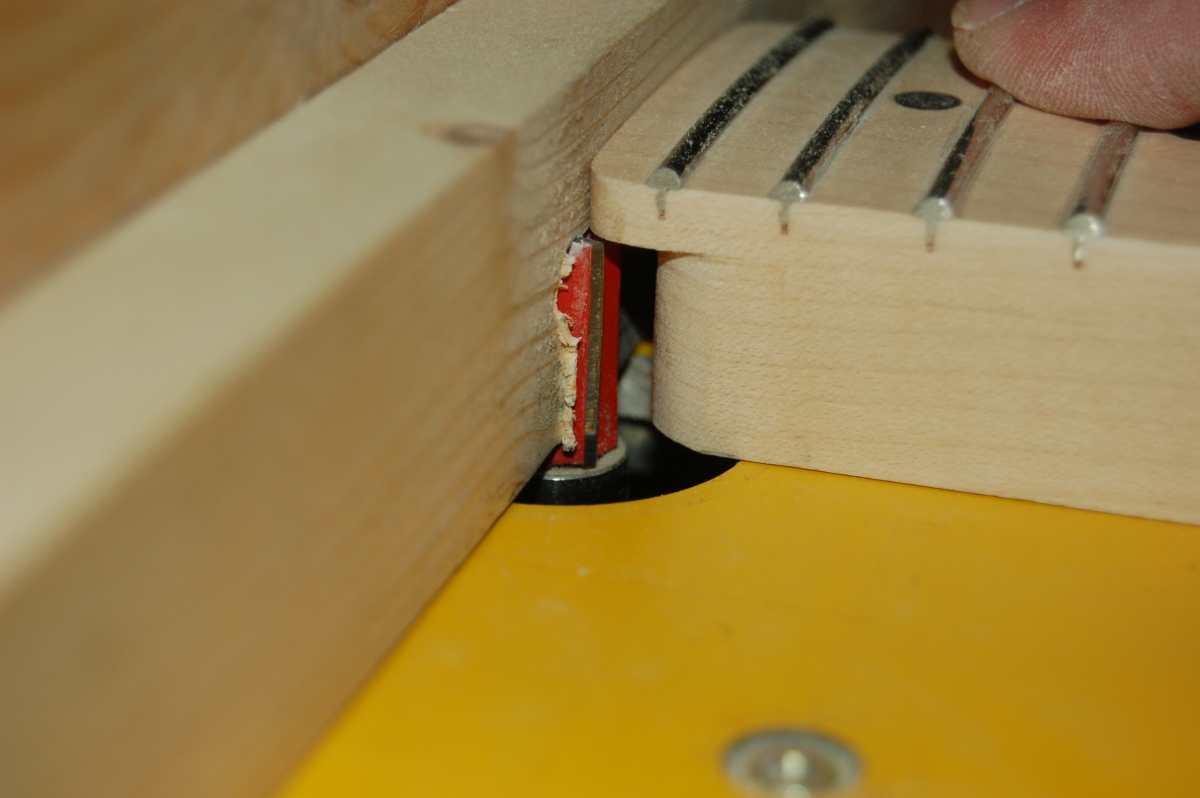
For the neck heel, the cut needed to be clean, as any irregulatities would stick out like a sore thumb against the flat surface of the pick guard. So I cheated and put it back on the router table with a fence to keep the cutter away from the end of the truss rod. I cut away as much of the step as possible, just leaving a bit of cleaning up to do with a chisel.
That meant that I could do this!:
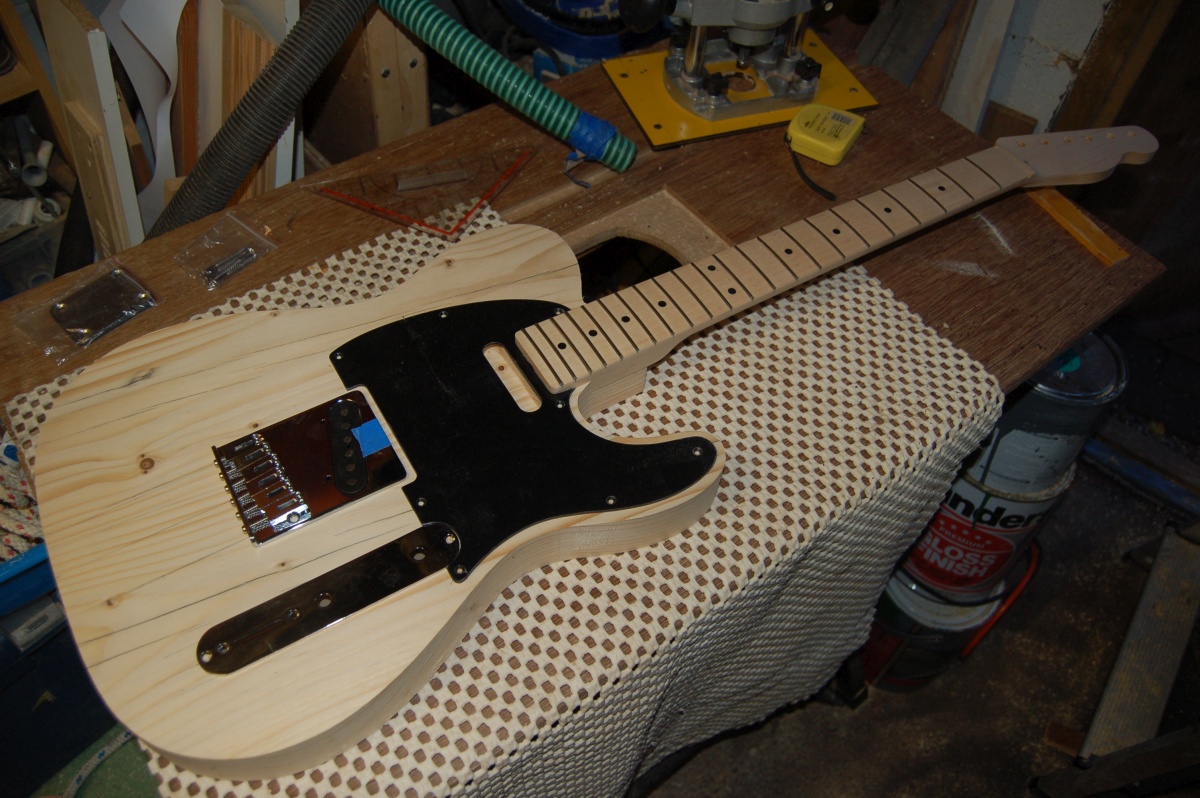
Woo! Hoo! it looks like a guitar! 🙂
Nothing is fixed down or finally positioned, but you’ve got to do it, haven’t you?