
Now for the difficult bit …
Drilling for the truss rod
Holes need to be drilled from each end of the neck into the truss rod channel. They need to be drilled ‘blind’ to emerge as near as possible flush with the bottom of the truss rod channel and in line with its curve.
At the headstock end, the hole is anout 75mm deep and needs to be ~10mm diameter from the headstock to within about an inch of the end of the truss rod channel to take the truss rod anchor, and then ~6mm diameter from there, along the same axis to the truss rod channel. From my Excel sheet, I knew what angle the hole needed to be at, what height it needed to come out at, and knowing where my vertical cut was on the headstock, I could work out what height the hole needed to start at. (That’s the theory, at least…)
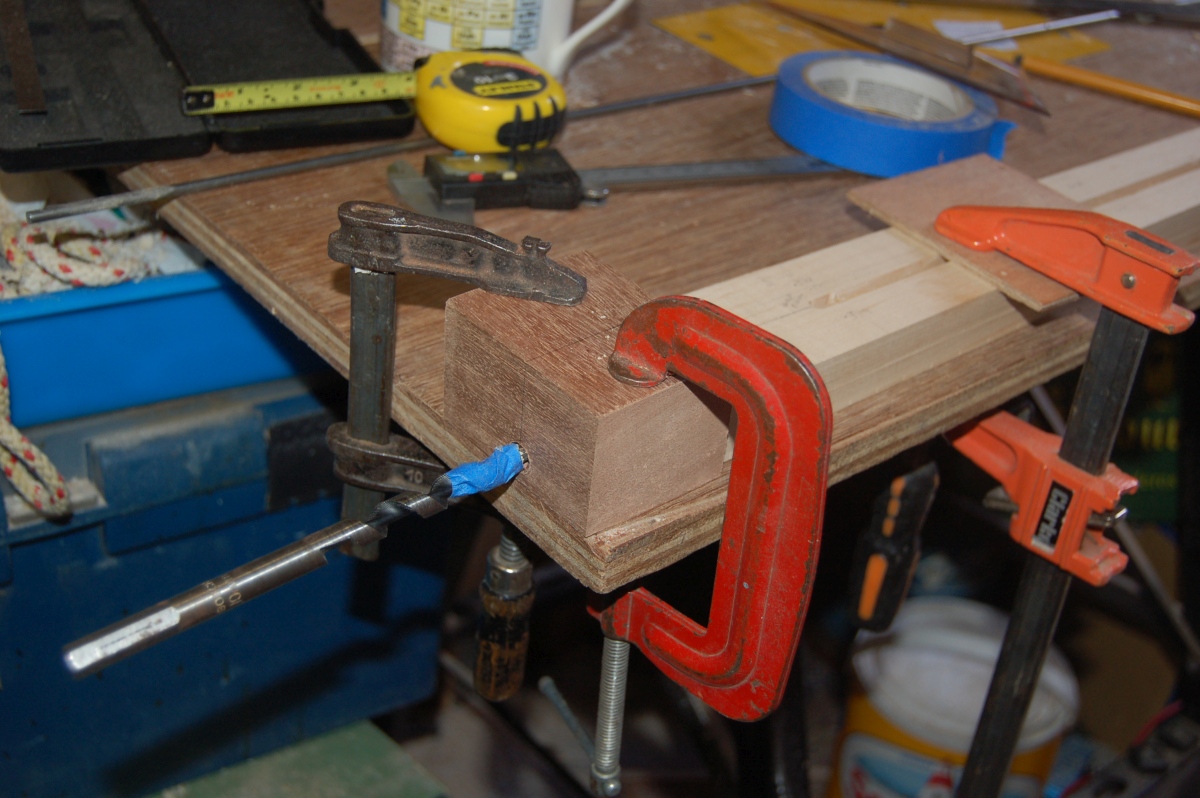
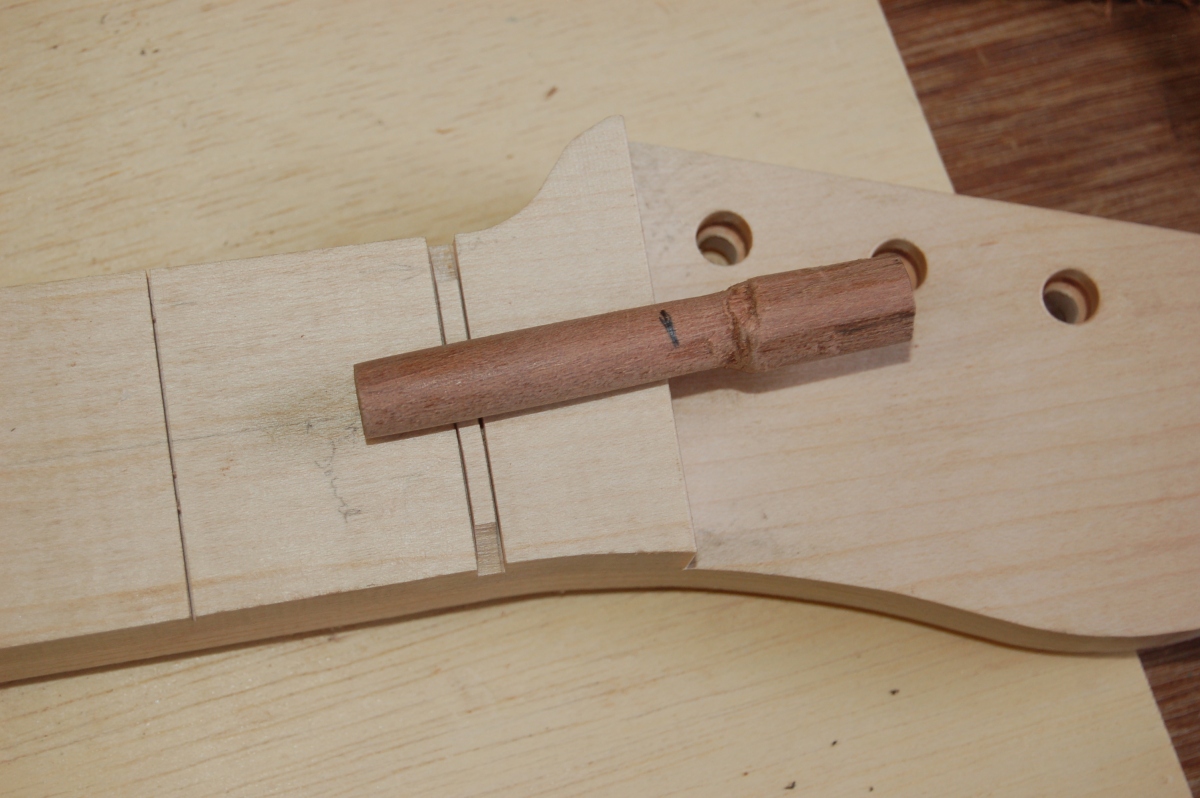
I made up an accurately square block, marked the hole height and angle on it and, while it was still square, I drilled a 10mm hole through it, then planed away the angle:
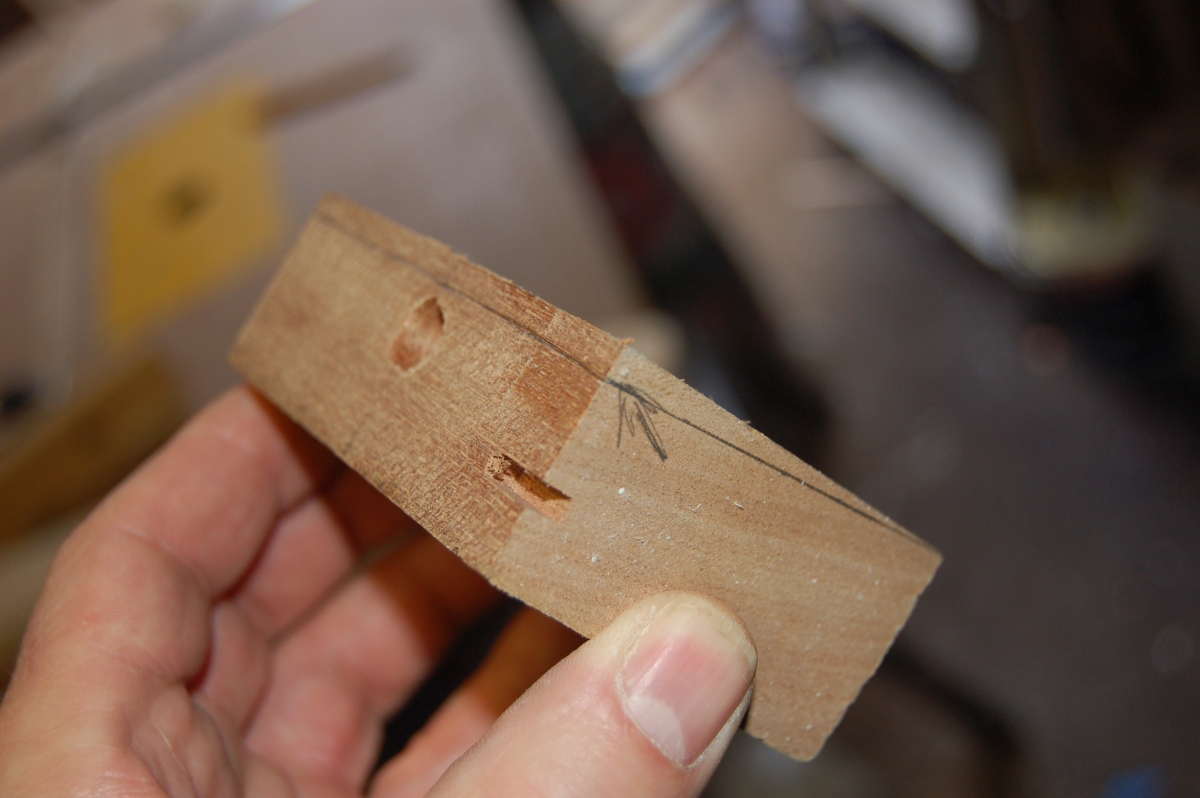
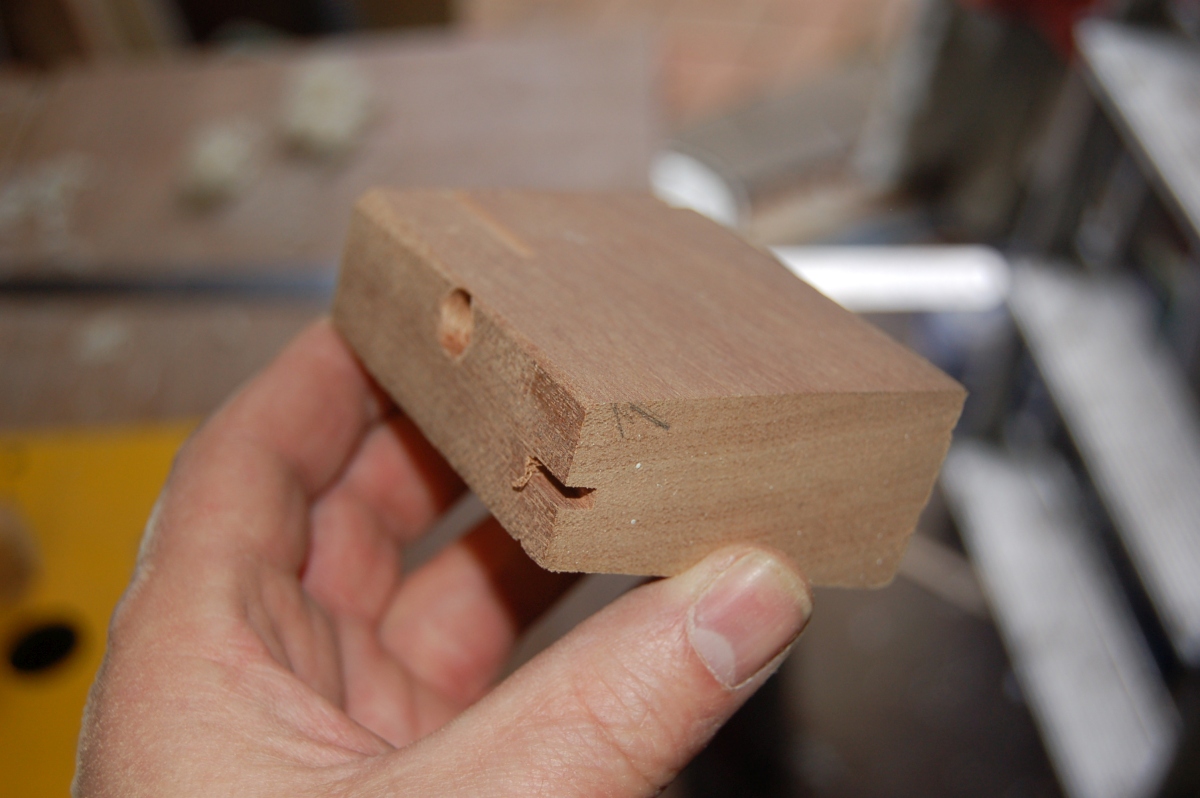
(I must have had a re-think between marking out and taking the second photo !)
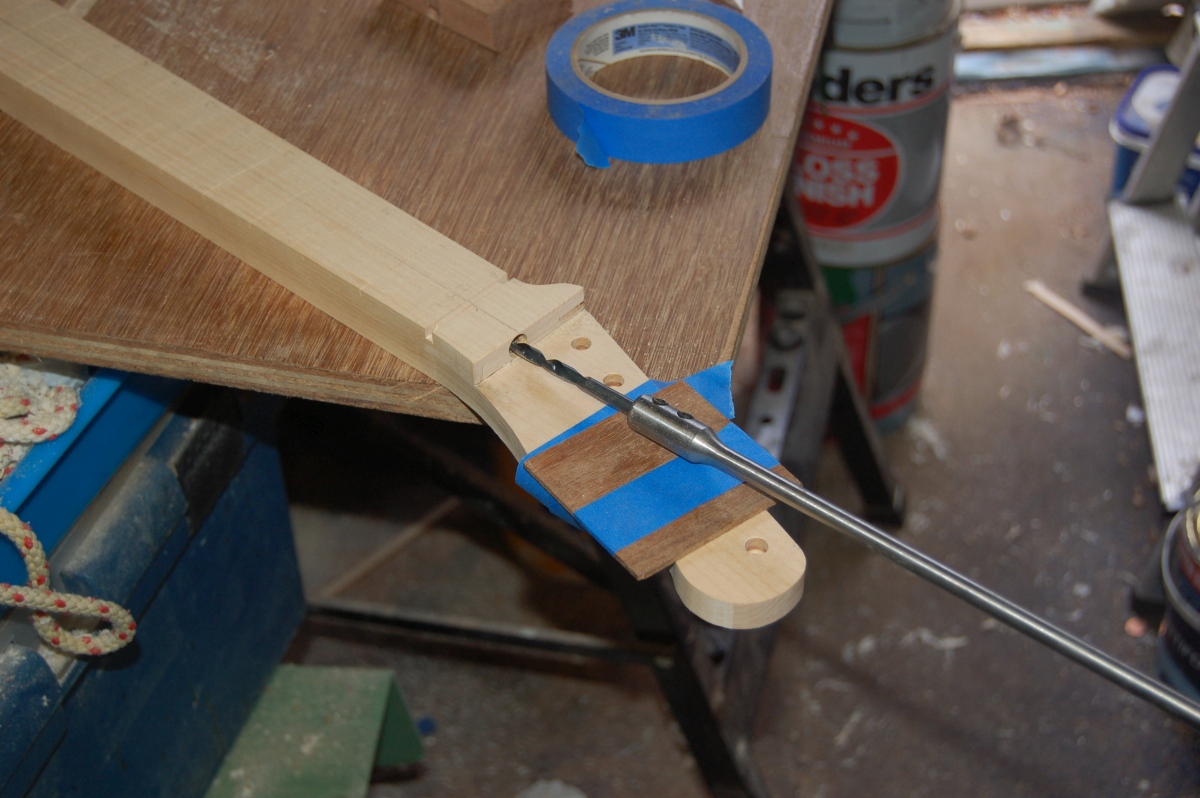
In theory, then, all I needed to do was to clamp it to the headstock, on the centre line and up against the vertical cut, then follow the 10mm hole through to the right depth.
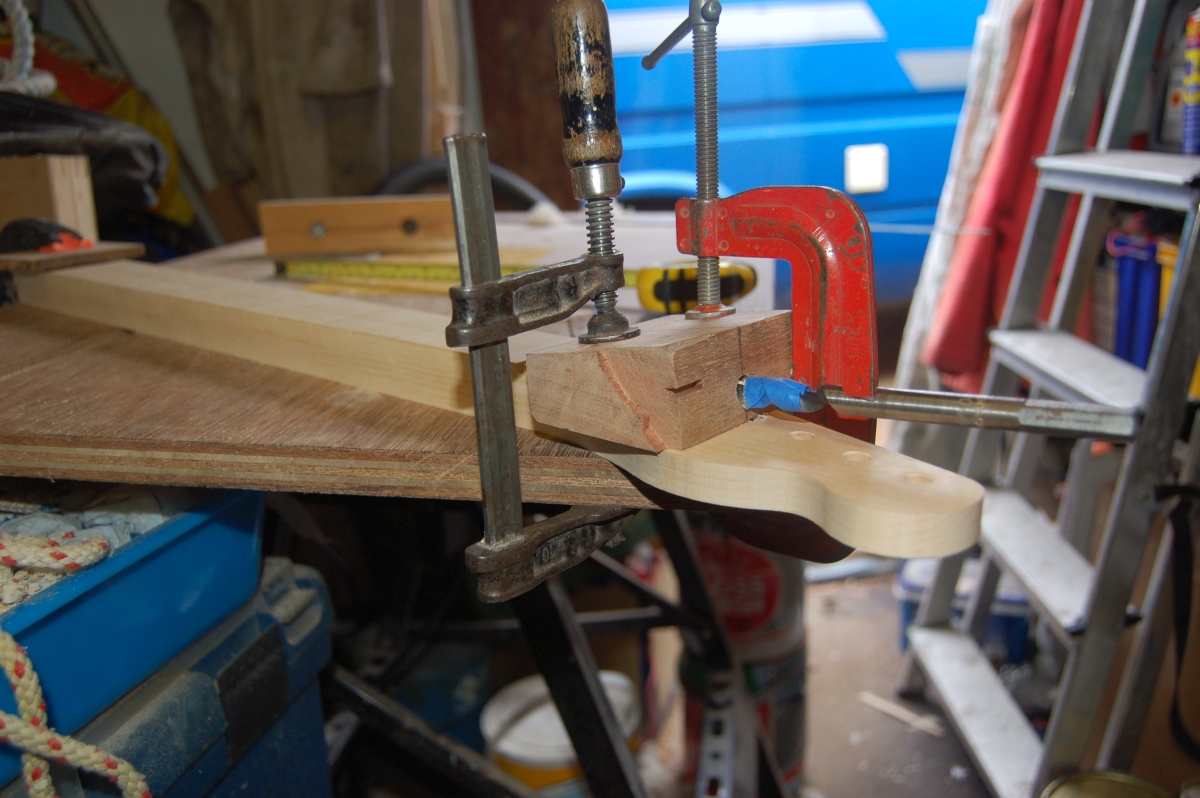
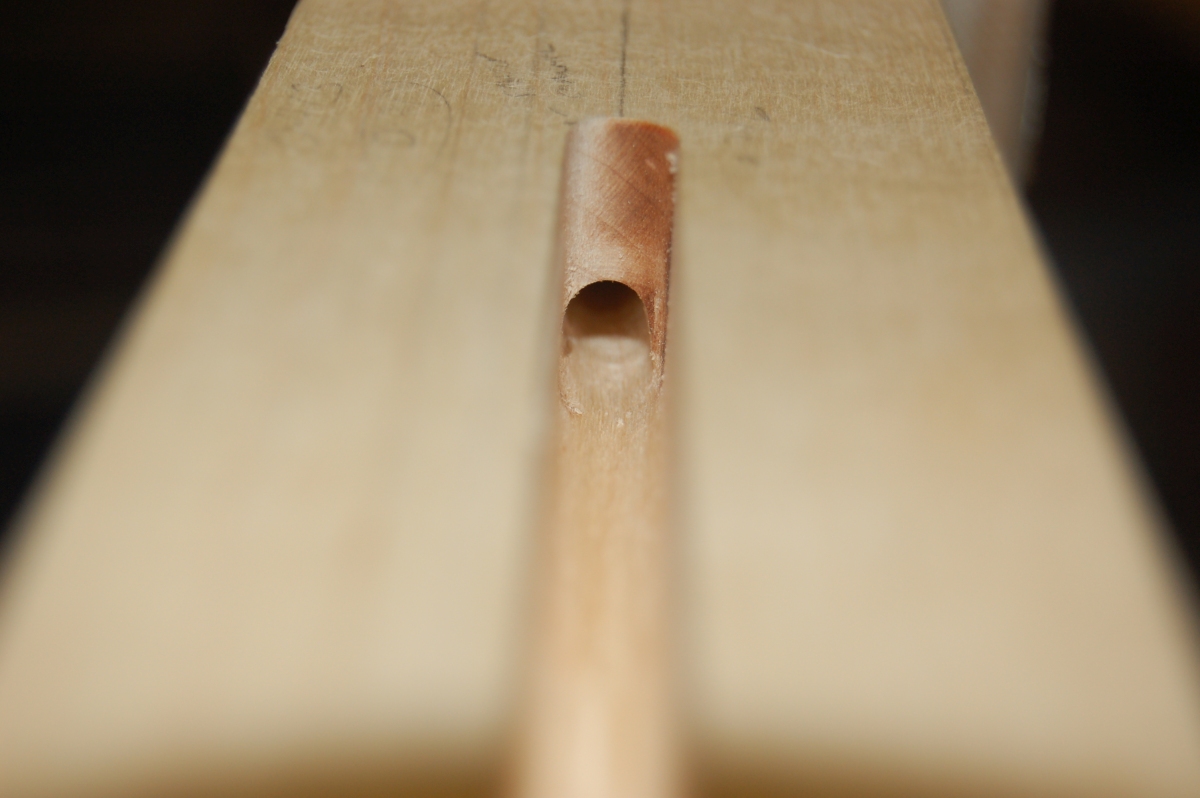
There’s only about an inch to drill with the 6mm bit, so it’s not too bad to keep it centred in the larger hole
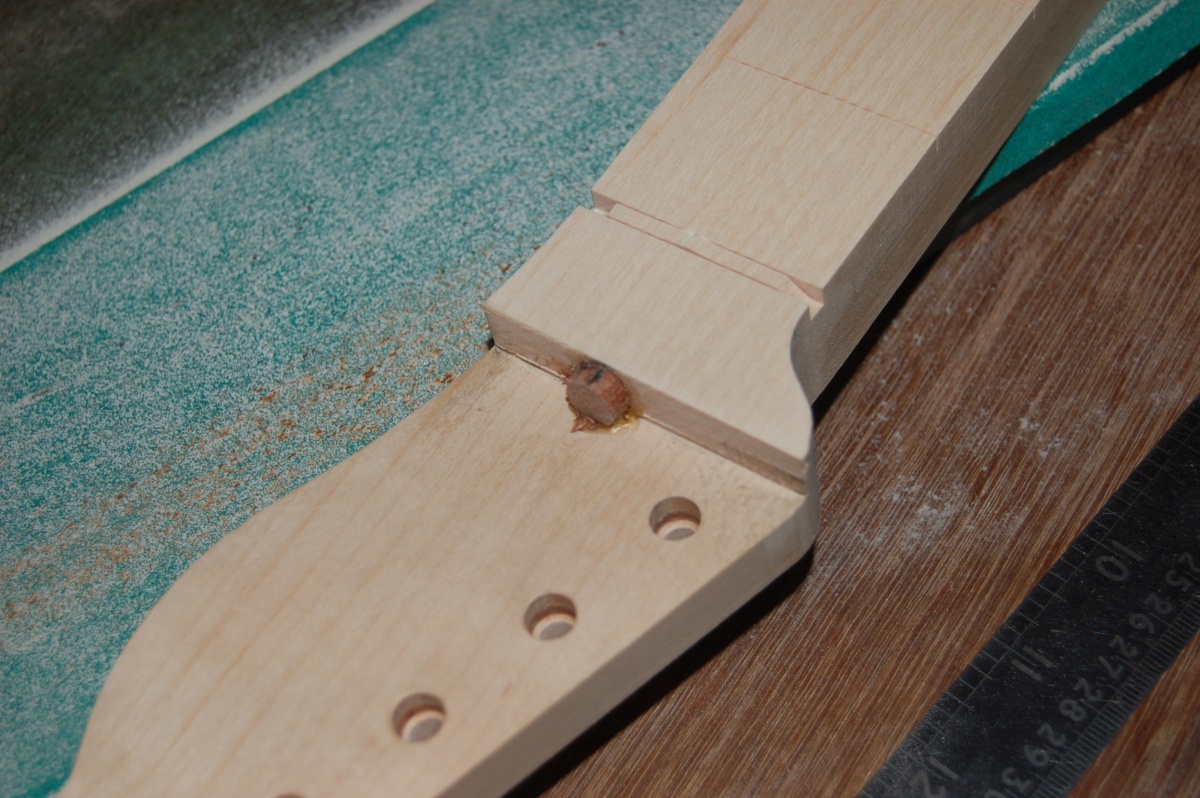
Bugger me! It seems to have worked!
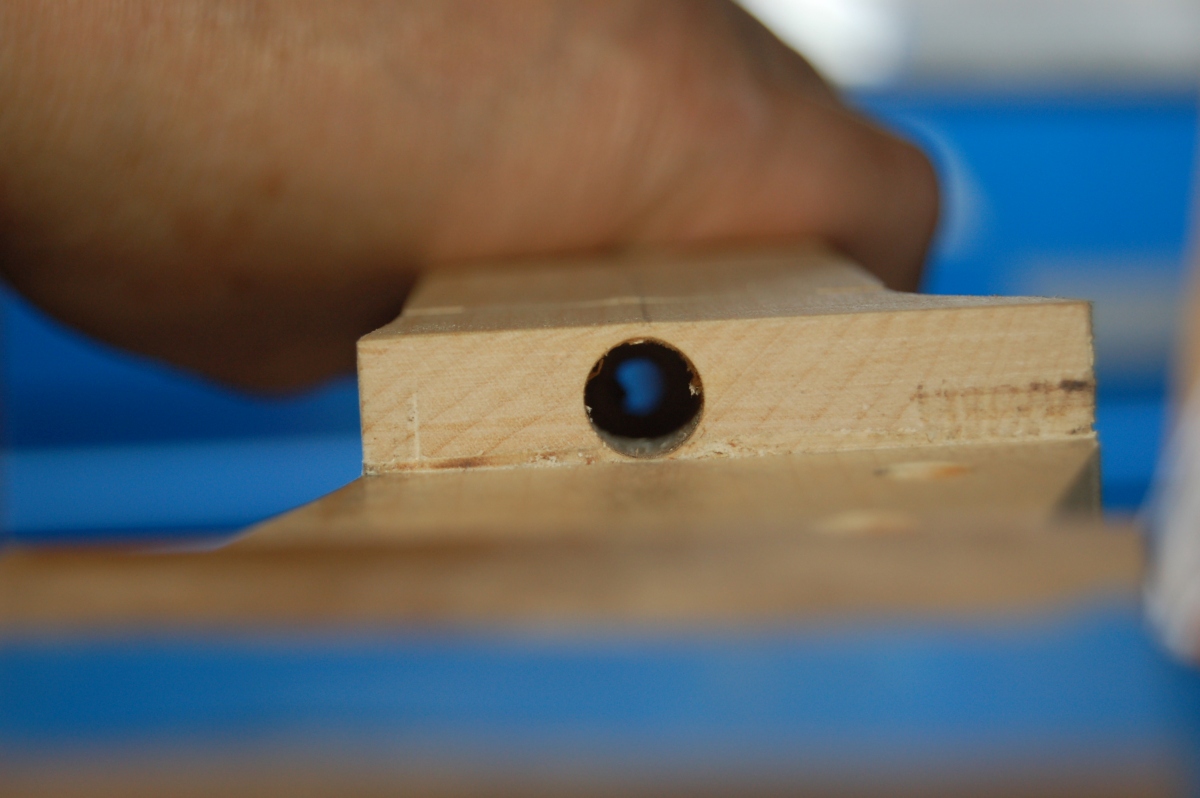

Not perfect, but close enough for rock and roll
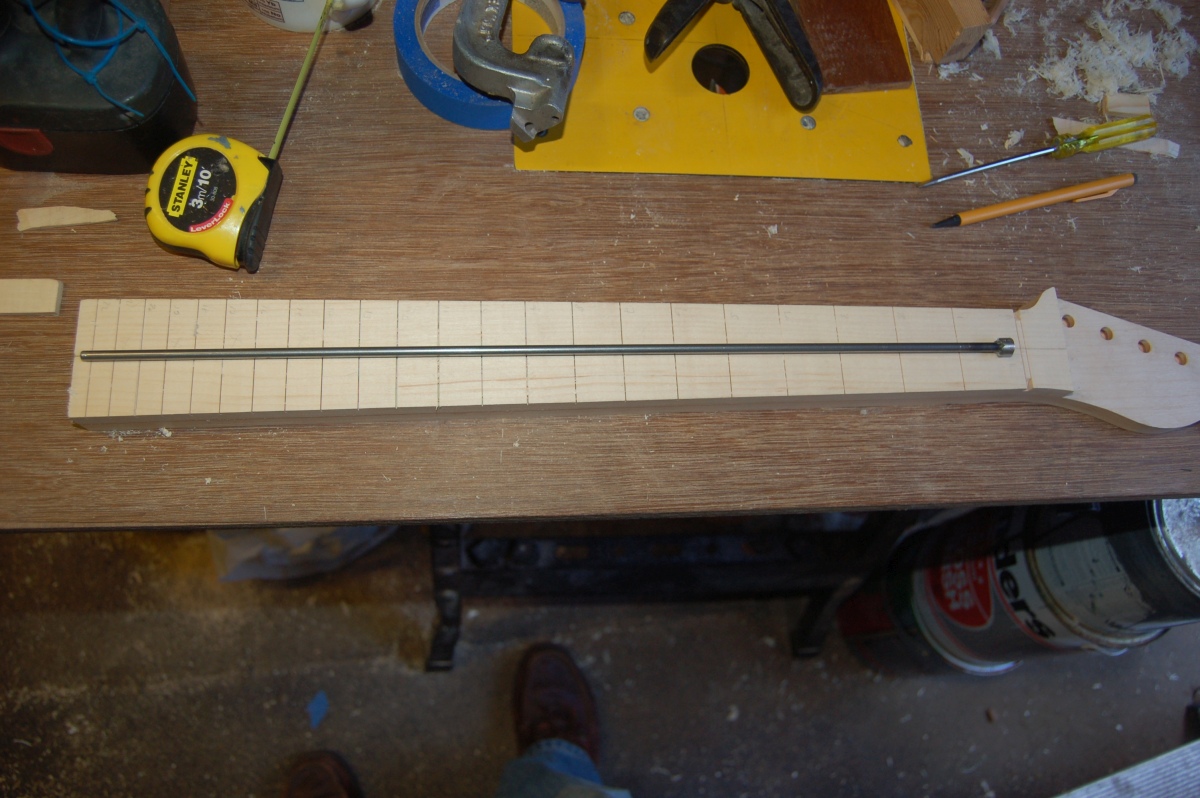
At the heel, I cut the neck to length (Strat neck length for the 22nd fret). I didn’t cut the heel to its final shape as I was concerned that the narrow strip of wood near the radiused corners would chip off when fitting 22nd fret.
I could then made another block to match the angle of the hole in the neck heel (1.6° – headstock was 3.6°). Then I threw that block away, because I’d forgotten that the angle went in the opposite direction… 🙁
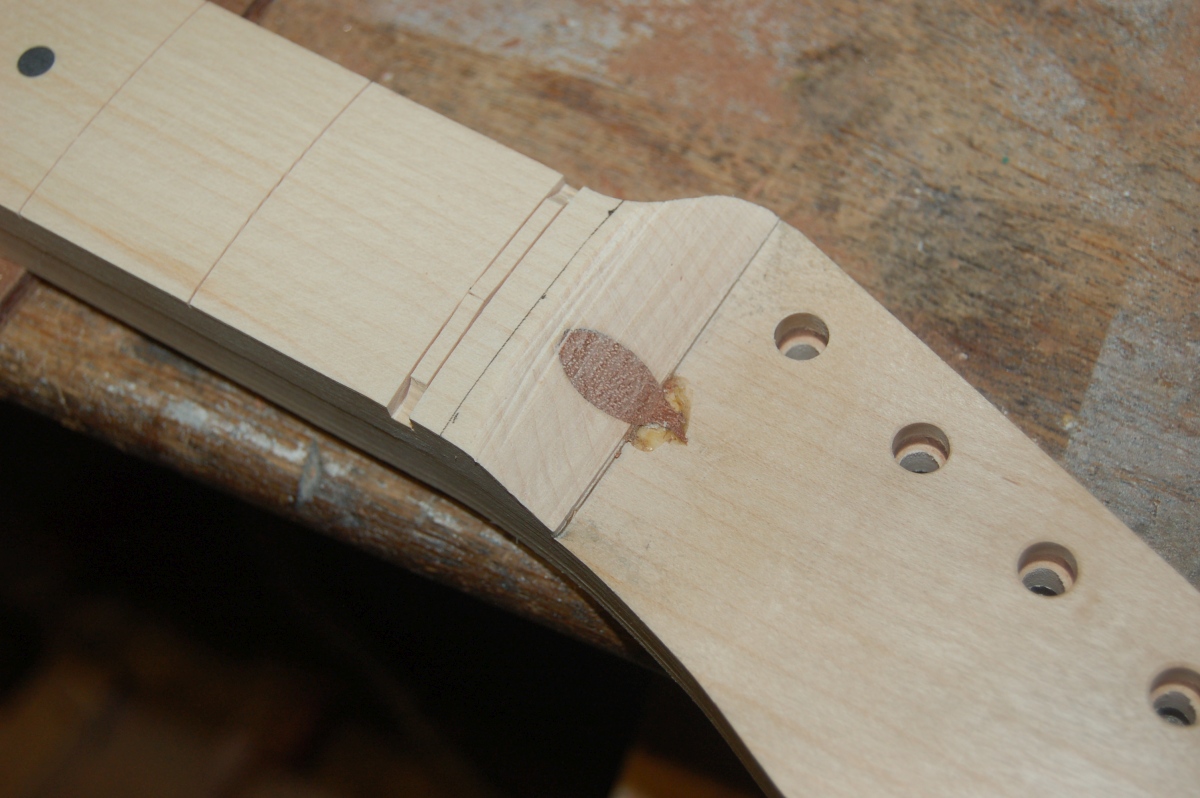
New block made, marking the drill bit for the correct [1] depth of the adjuster hole:
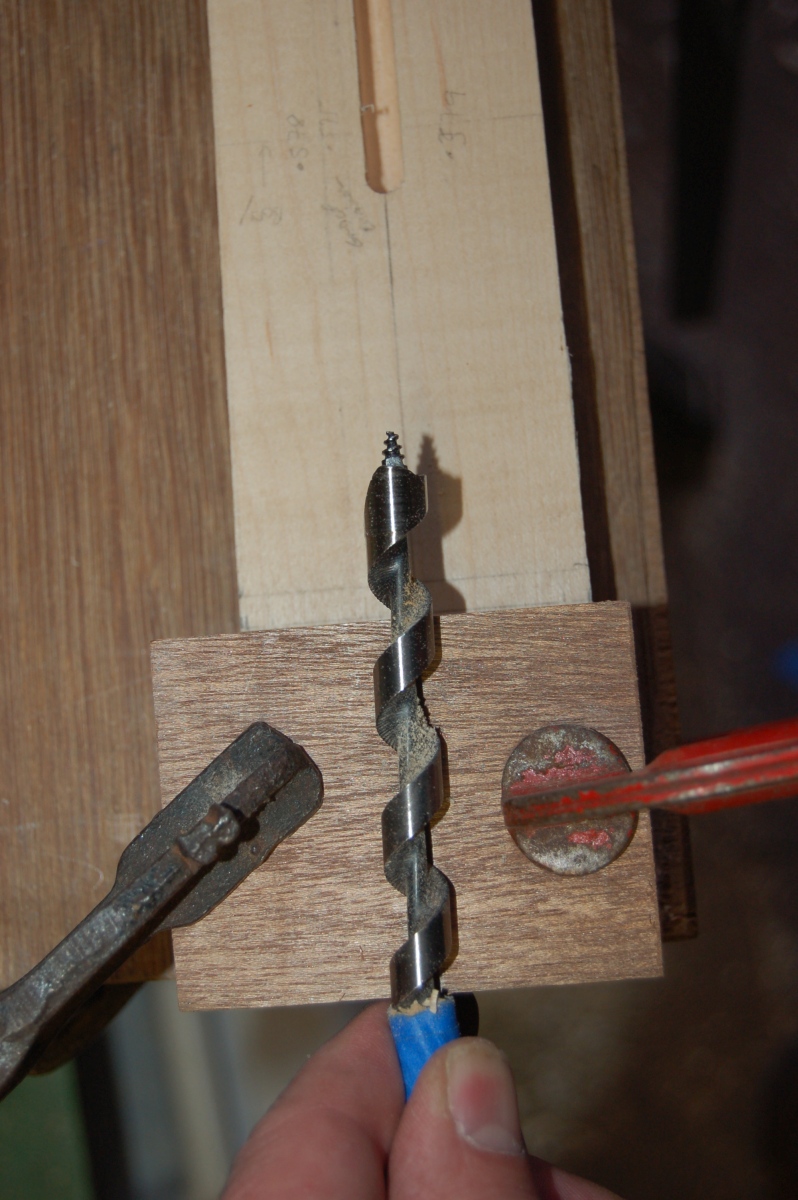
[1] It wasn’t. More later.
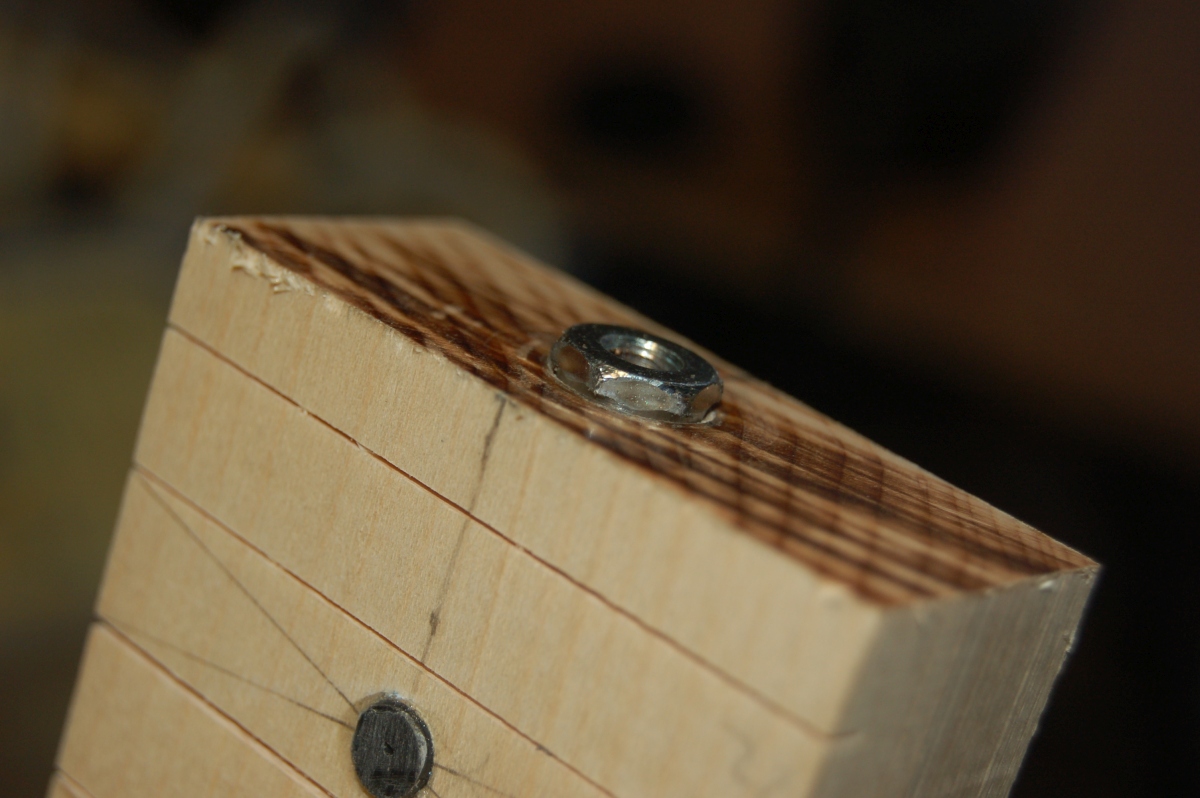
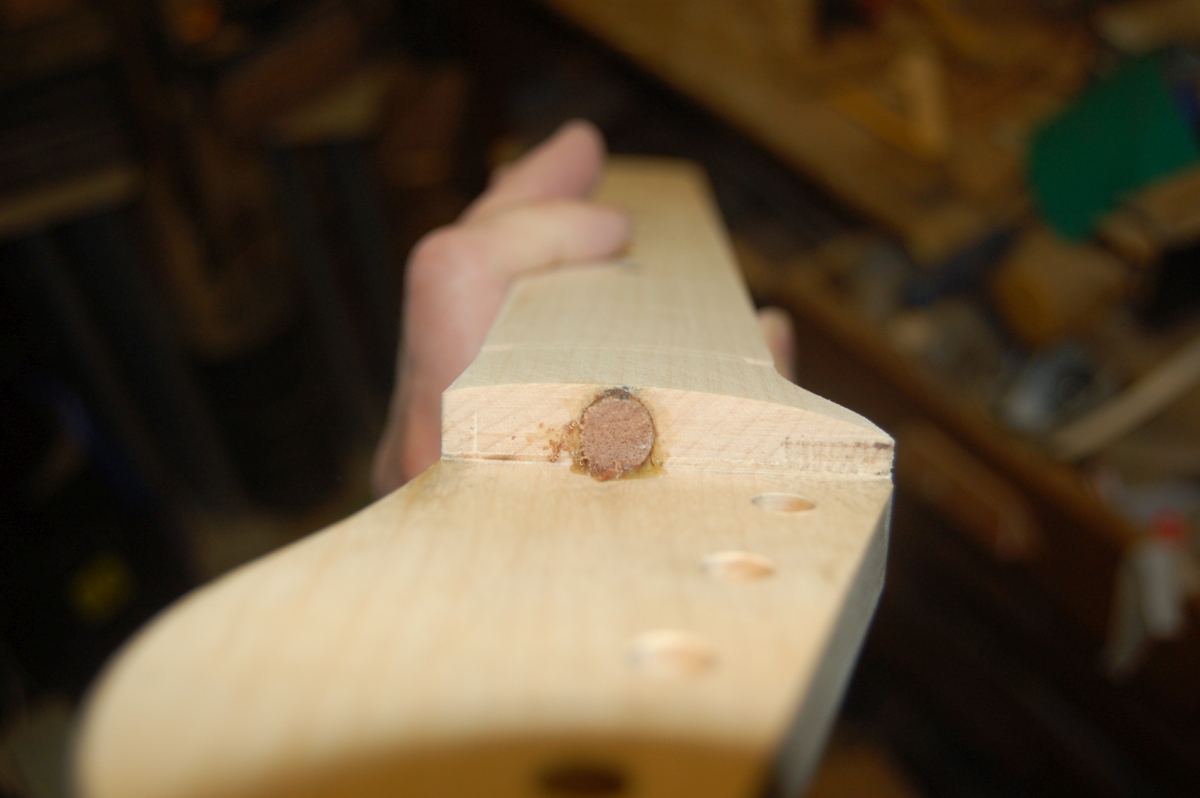
Then drilled it as before, and followed up with the 6mm drill to break into the truss rod channel
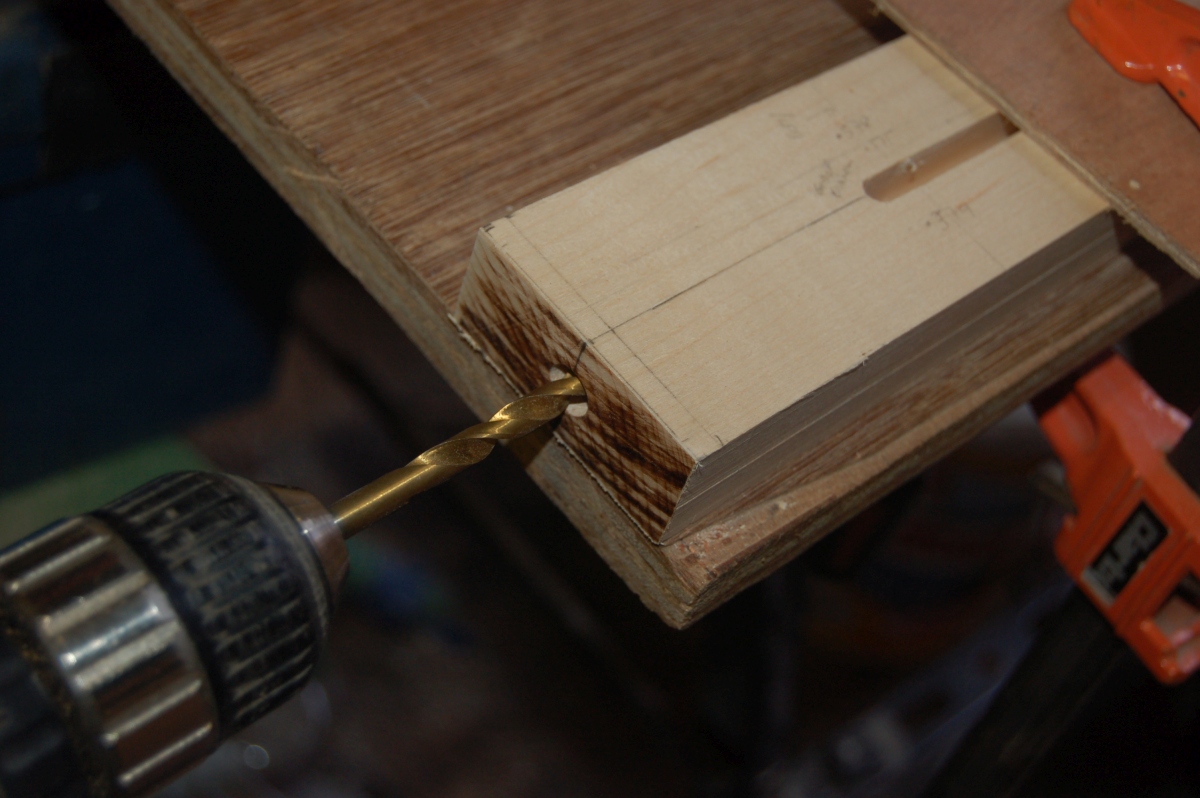
A little off to one side, but not too bad.
Fretboard position markers
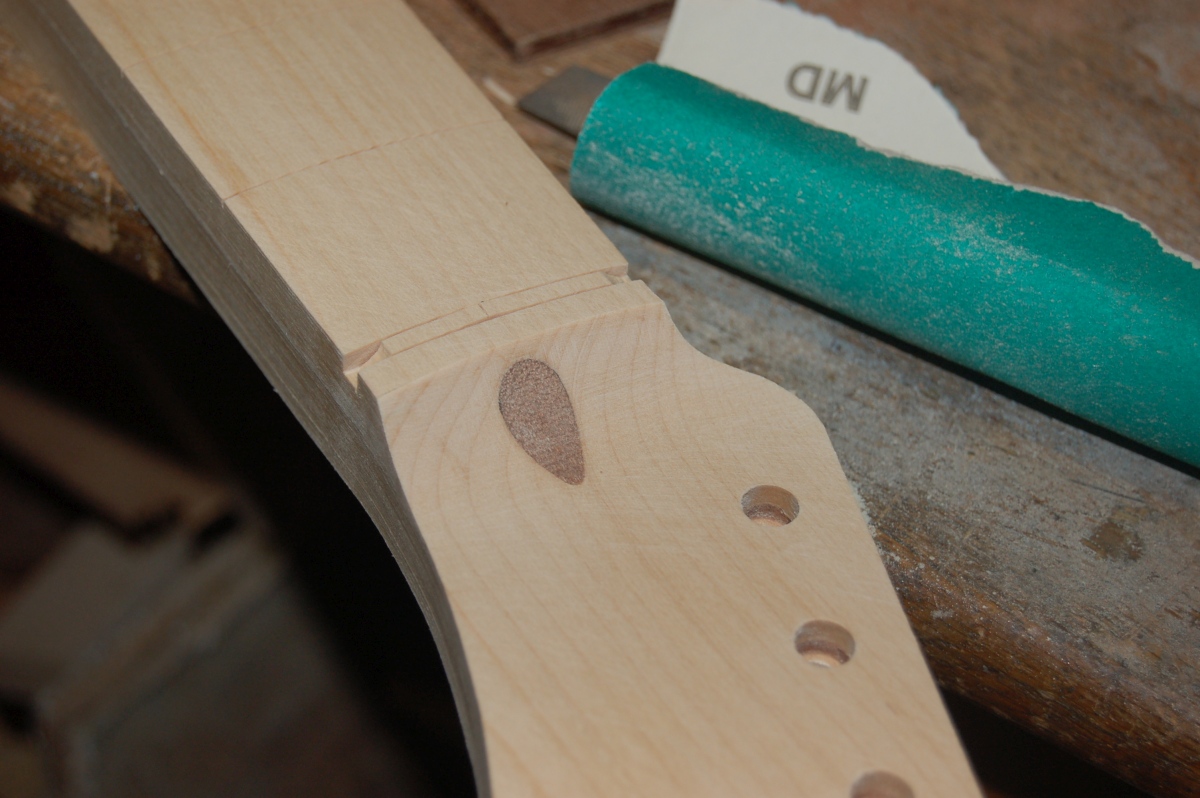
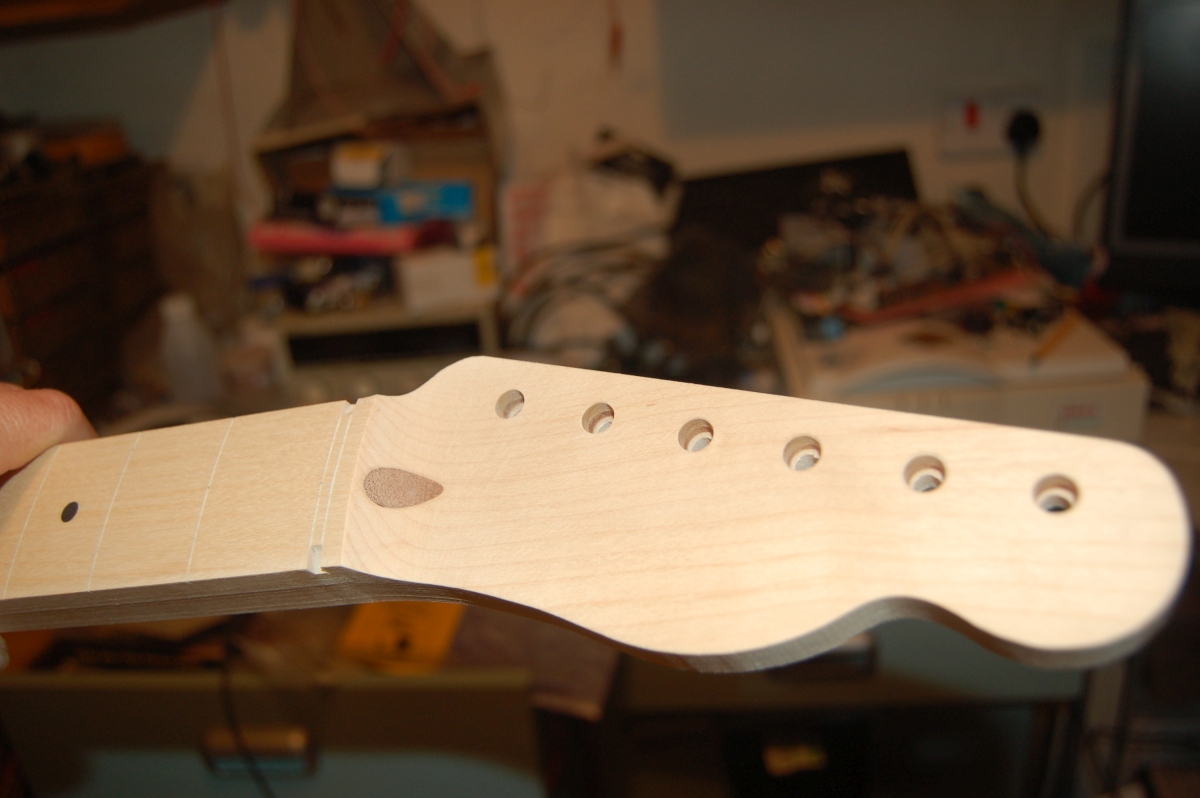
I drilled the the other side of the neck for the position markers and superglued them in place (just short lengths of plastic potentiometer shafts that I had been hoarding).
looked OK when they were trimmed off and sanded flush.
The Truss rod
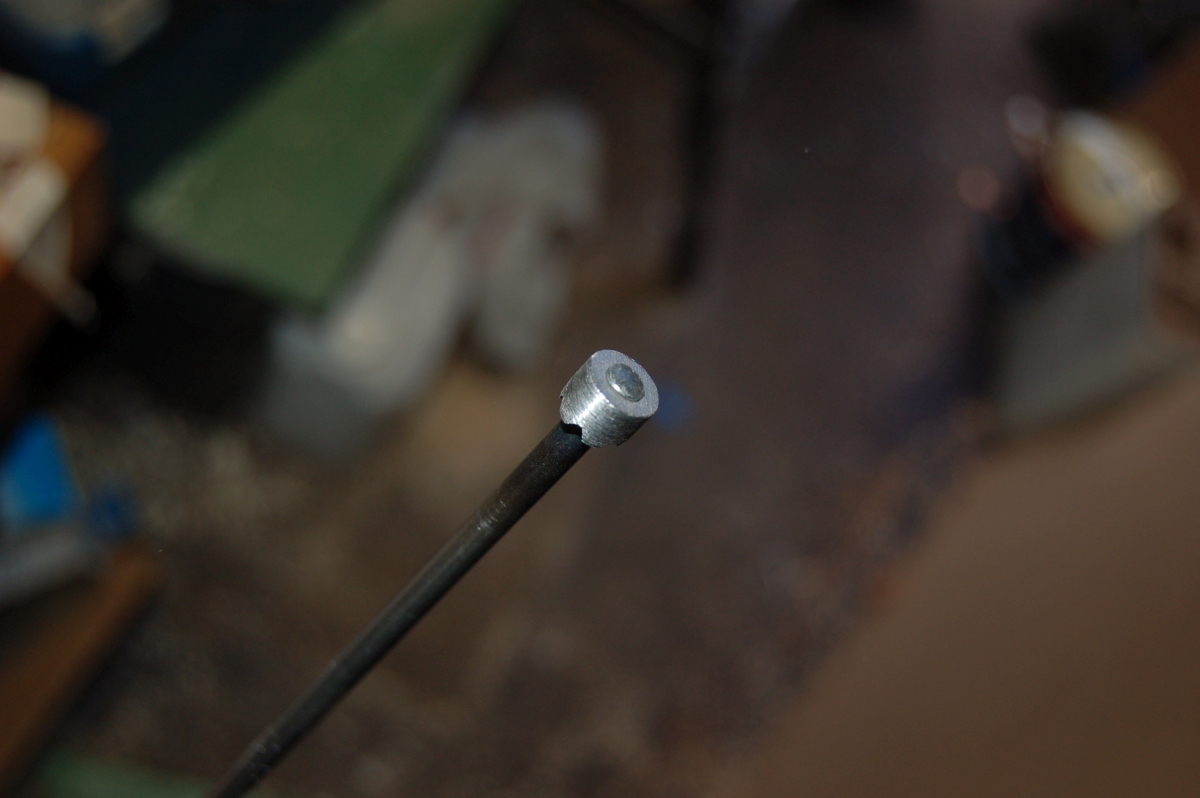
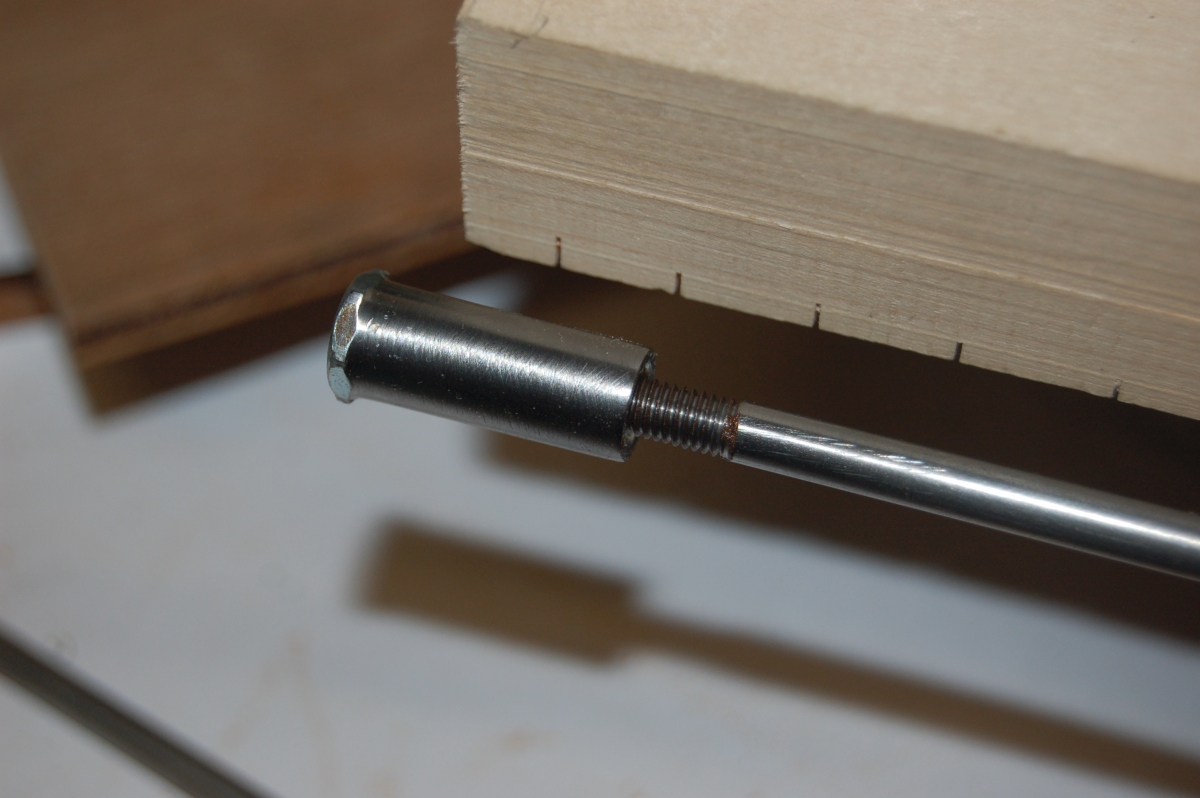
I could have bought a vintage truss rod, but B&Q sell 5mm steel rod for a couple of quid, so all I needed to find was something for the headstock anchor and the adjuster. By sheer luck, I happened to see a bucket full of little hex adjusters in the scrappy and asked (yes, really) if I could pinch a handful. They were already threaded M5, so I just needed to knock the corners off the hexagon.
They even join together so that you can hold one in the drill chuck and screw another one on and and attack it with file.
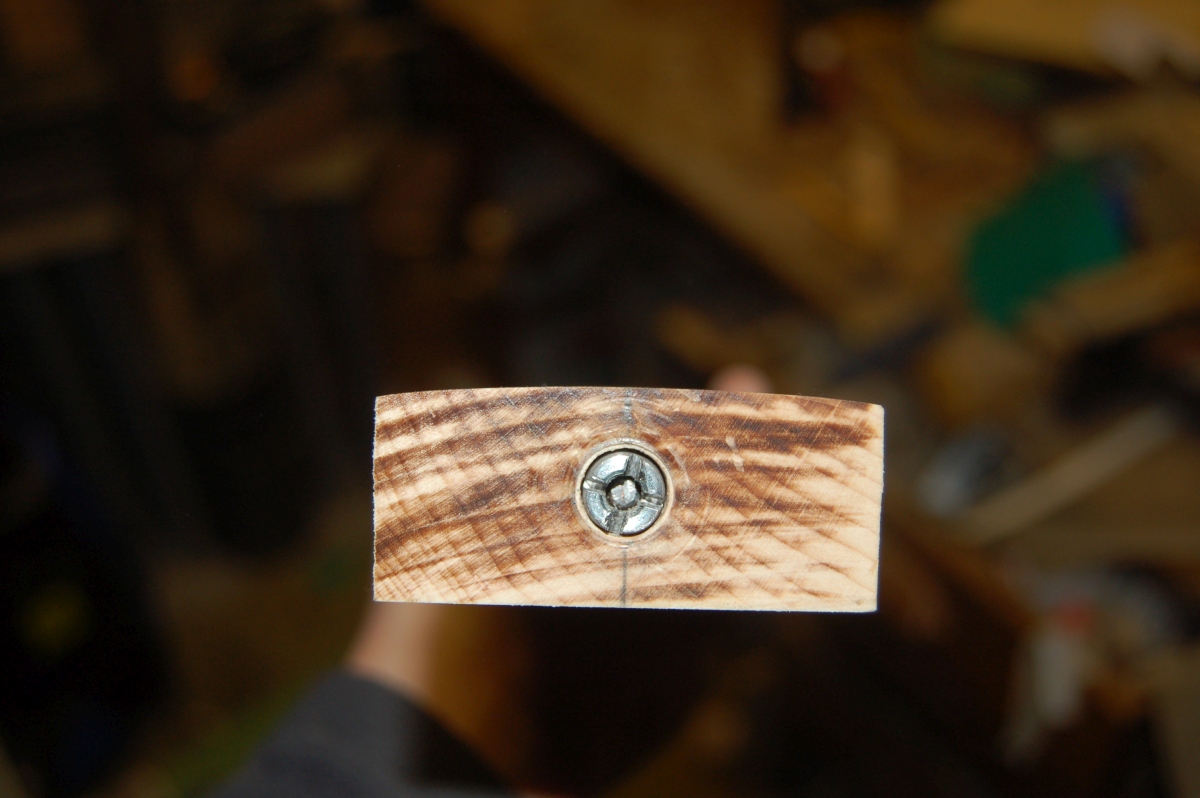
Gives you an adjuster with a snazzy hex end [2]:

And with a bit of additional hacksawing and filing, an anchor:
[2] which turned out to be a flawed idea
The rod from B&Q came with a shear mark on the end which turned out to be the ideal tool to use as a scraper to blend my 6mm truss rod holes smoothly into the channel (I broke my nice, new, long 6mm drill bit trying to use it for the same purpose)
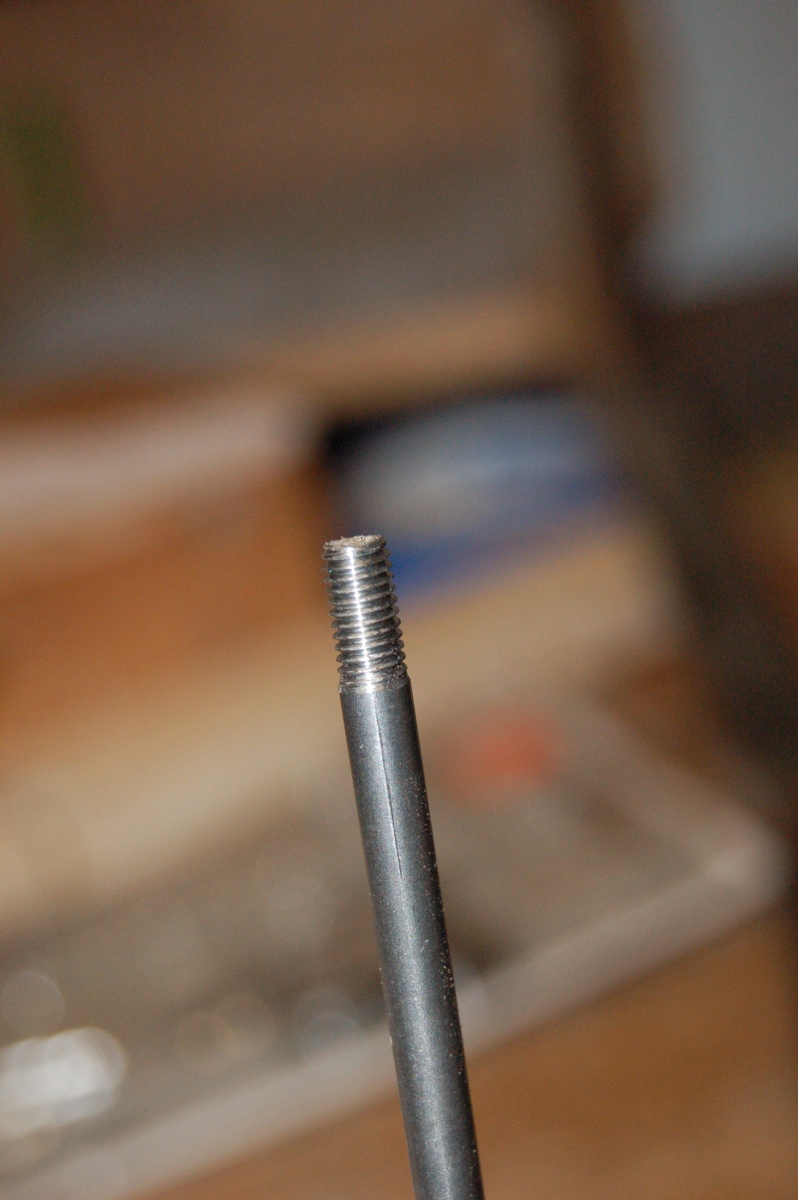
Scraping done, I could saw the end of the rod off clean and tap it M5. The metal is really hard (I guess it’s cold drawn) so it was essential to back the die off and break the chips every 1/4 turn, or so.
I had to resort to heating the very end of the rod on the gas stove to make it soft enough to peen over and secure the anchor
I inserted the truss rod into the necktemporarily and used a punch to seat the anchor (it was a nice, snug fit), marked where the other end of the rod came out of the neck, knocked it back out again, cut the rod about 6mm shorter than the mark [3] and threaded it for the adjuster nut:
Everything seemed to fit perfectly
[3] Can you guess where this is going yet? – A 22 fret neck needs the neck heel to undercut the fretboard so that it will still fit on a standard body. I’ve fitted the truss rod and adjuster without taking account of this, so they will need to be shortened, and the metal rod will be in the way when it comes to cutting the neck overhang.
Skunk stripe
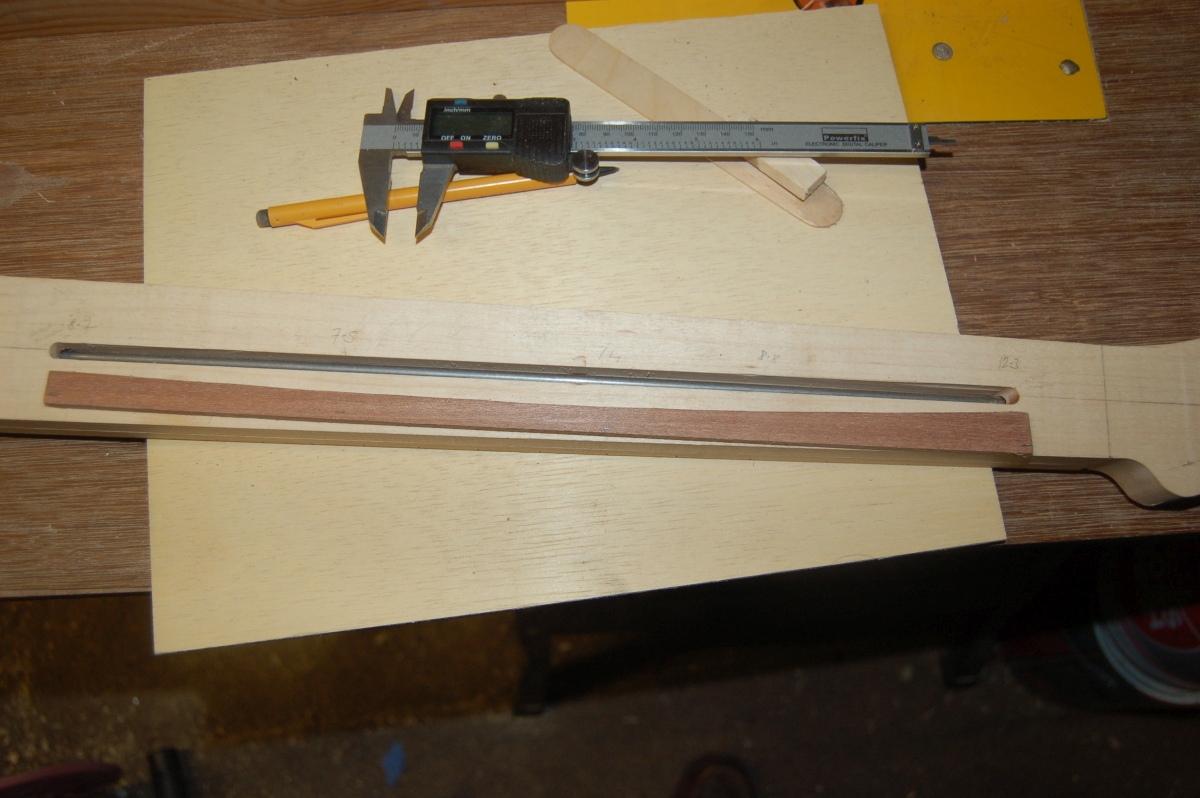
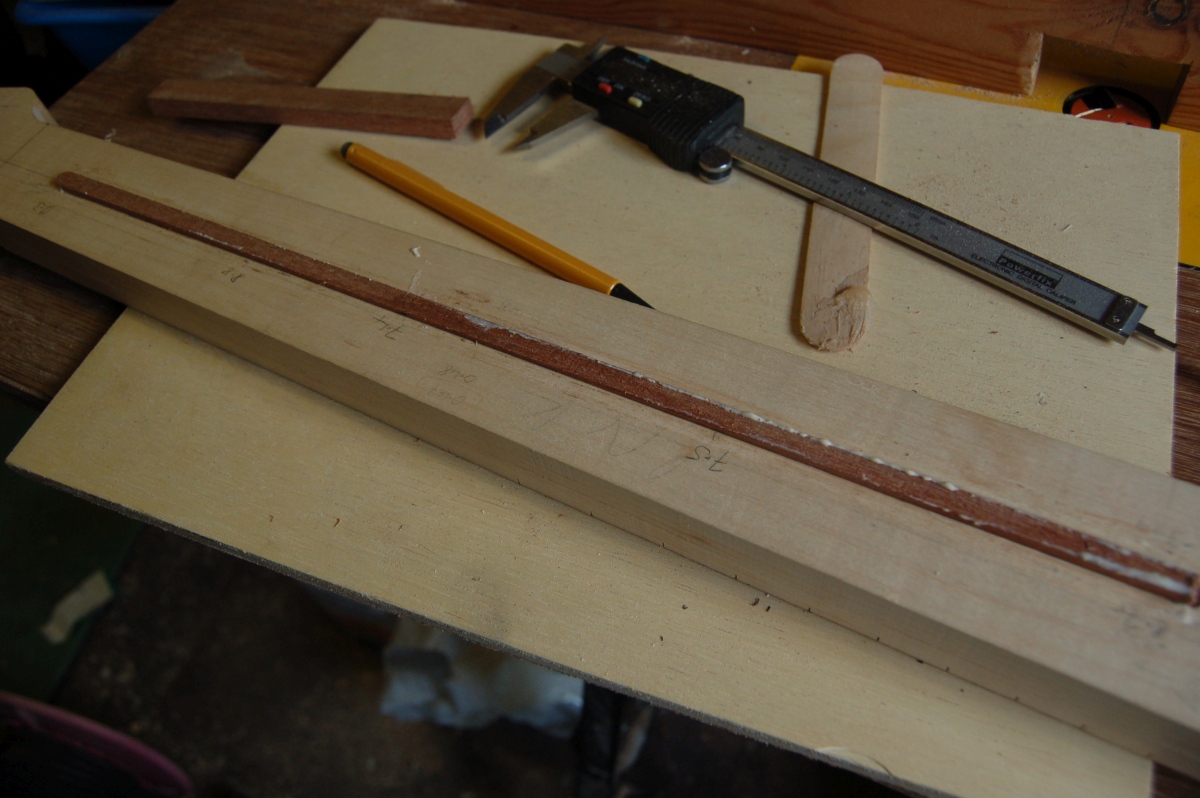
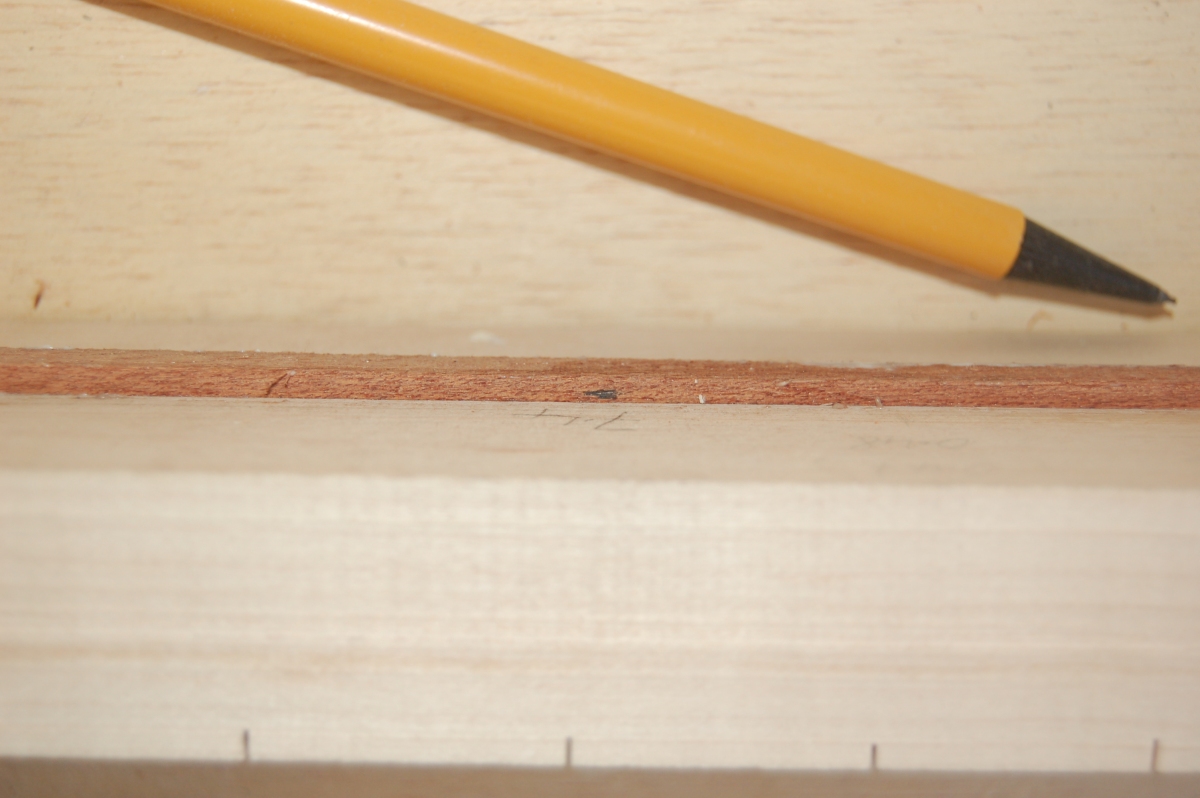
The truss rod channel is filled with a (usually) contrasting strip of wood (“skunk stripe”). Eager to press on, I cut a piece of wood for the skunk stripe (“Mahogany” of some sort, as I had some) and spent a while planing it down and sanding it until it was a nice snug fit in the truss rod channel. It took me about 3 attempts before I got the radiussed end anywhere close to matching the end of the channel (only the headstock end needs to match, as the other end is hidden in the neck joint). It’s made harder because cutting the channel with a router on a sled means that the end of the channel is at 90 degrees to the truss rod, not 90 degrees to the back of the neck. One other ‘gotcha’ I found, is that when the strip is close to being the right size, it slides a long way into the truss rod channel, sticks, and doesn’t leave you anything to grip to get it out again. Having spent ages trying to get it to this stage, it is quite a perplexing problem to extract the strip without mangling it.
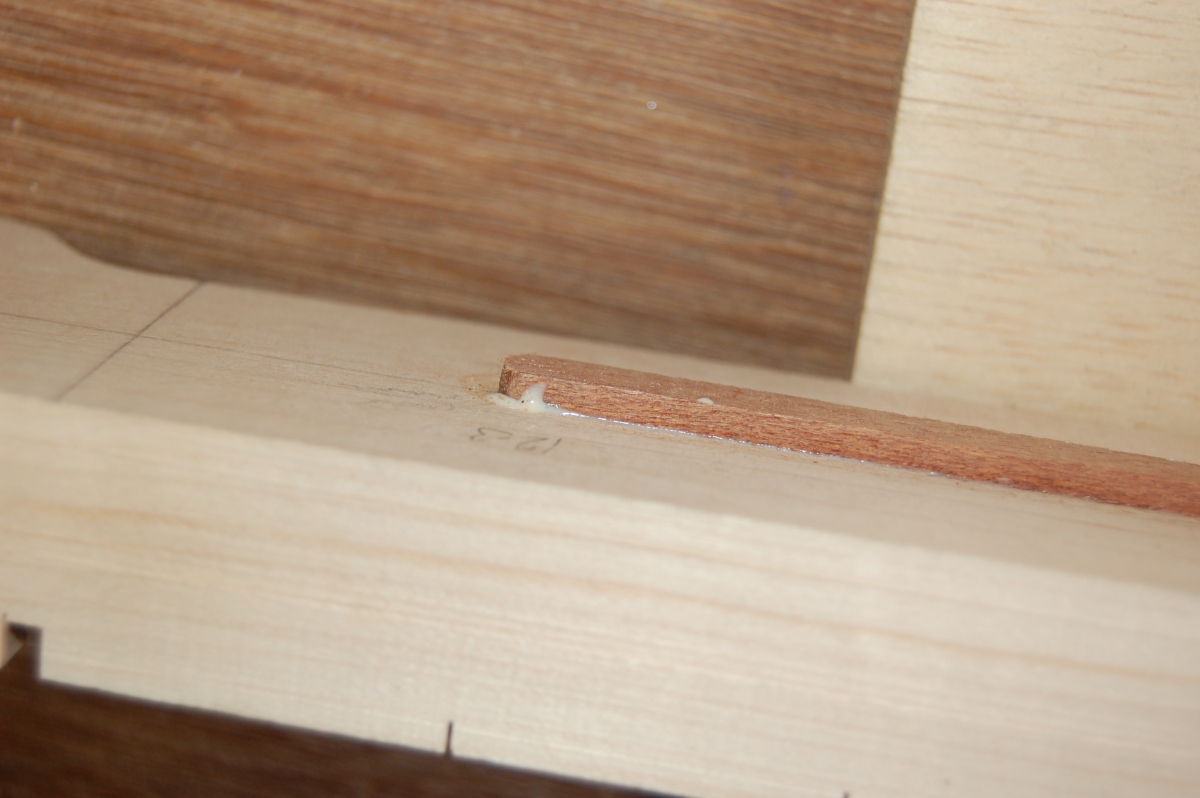
Once it fits, one edge is trimmed to match the curve of the truss rod. I also marked the depth from the back of the neck to the the truss rod at a few points on the side of the strip so I could make sure that it had been inserted fully when it came to glue time.
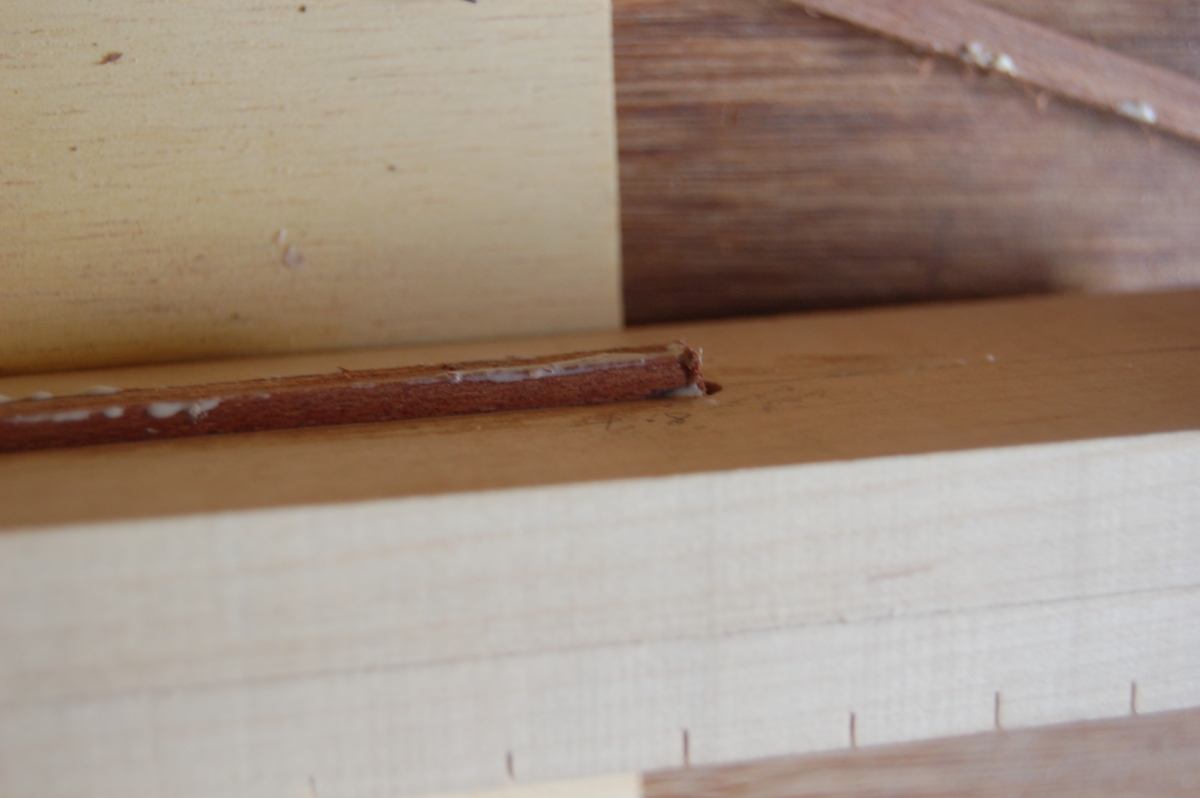
So with the truss rod waxed, fitted to the neck, the anchor seated, and a little tension applied to the rod to make sure it was snug against the bottom of the channel, I proceeded to glue the strip into place – just a sparing amount of glue to avoid gunking up the truss rod.
The depth marks all worked out OK.
Headstock plug
I didn’t think there would be any problem picking up a length of 10mm diameter dark hardwood dowel to plug the truss rod anchor hole in the headstock, but nobody locally seemed to have any at all. I did find some hardwood dowel in a model shop, but it was very light in colour, undersized and not even round.
So I made some…
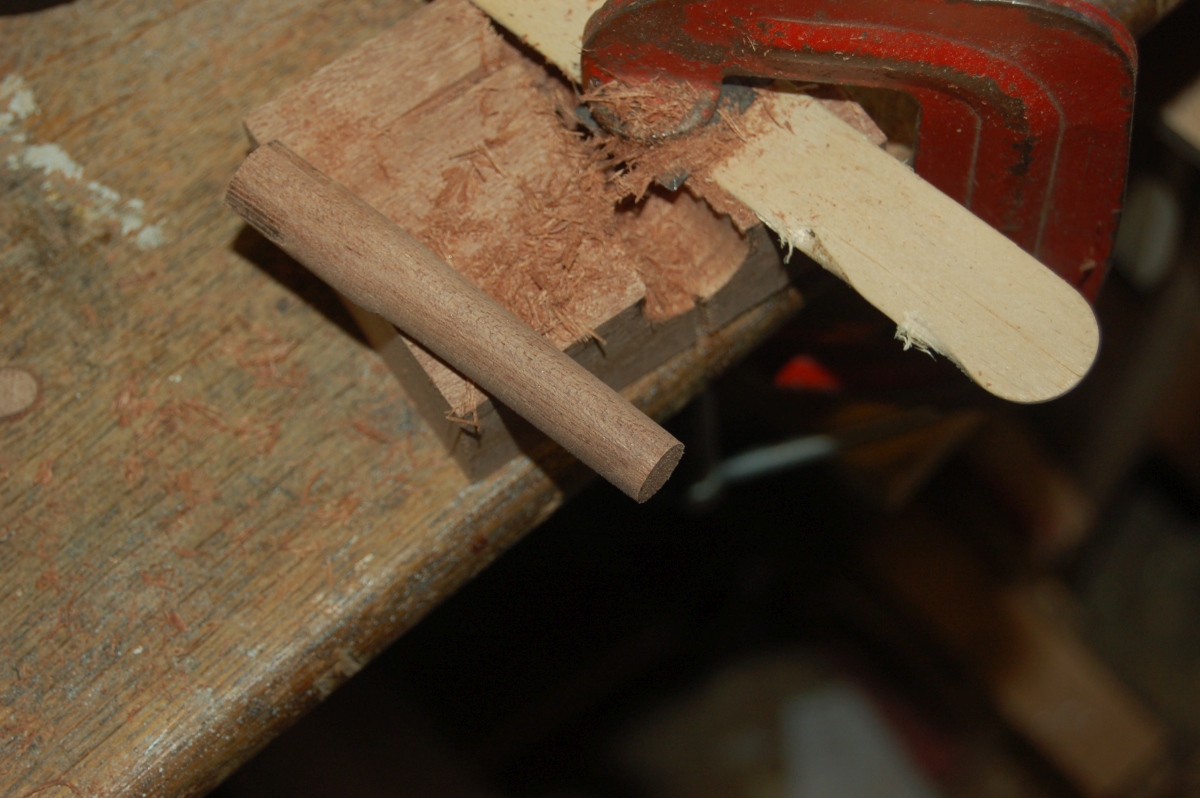
I’d made some dowels before by the brute force approach of bashing square pegs into round holes, but I found this ‘pencil sharpener’ technique on teh internets and it works staggeringly, amazingly, fantastically well:
You need a block of wood with a hole in the same size as your finished dowel in one side, and a larger hole that your stock will fit into on the other. You then cut into the block to just meet the dowel sized hole and clamp a wide chisel or plane iron at an angle over the top.
Put a length of roughly sized stock into a drill and feed it through the jig.
This is the jig and the first dowel I made. It was only supposed to be a practice, but it came out spot on!
And it was long enough to do the job:

Radiussing the fretboard
Before I finished off the transition from the headstock to the nut, I wanted to radius the fretboard while there was still plenty of support around the nut area (snigger…)
I fancied trying a compound radius – something like 7.5″ to about 12″.
I planned to work out how much I would need to remove to get the right radius at each end of the neck (assuming the centre was un-touched), mark the edges of the neck blank with the depth that needed to be removed at each end, then plane down to the marks smoothy, blending centre to edge.
Now I know how compound radius boards are supposed to work, but it still came as a complete ‘Doh!’ moment when I worked out that the depth of the tight radius at the narrow end of the neck was the same as the depth of the shallow radius at the wide end of the neck – err… yes… that’s what they’re supposed to do!
You need to basically need to plane along the string lines (rather than parallel to the neck), and the shape just sort of emerges.
The headstock end looks lop-sided because there’s still excess wood (which will be removed when the headstock transition is finished) on the right hand side of the photo. I’d planed this to a steeper angle to keep it out of the way.
Headstock transition
With that done, I could finish off the headstock transition.
First, a saw cut at roughly the right angle:
Then some VERY carefull attention from the belt sander:
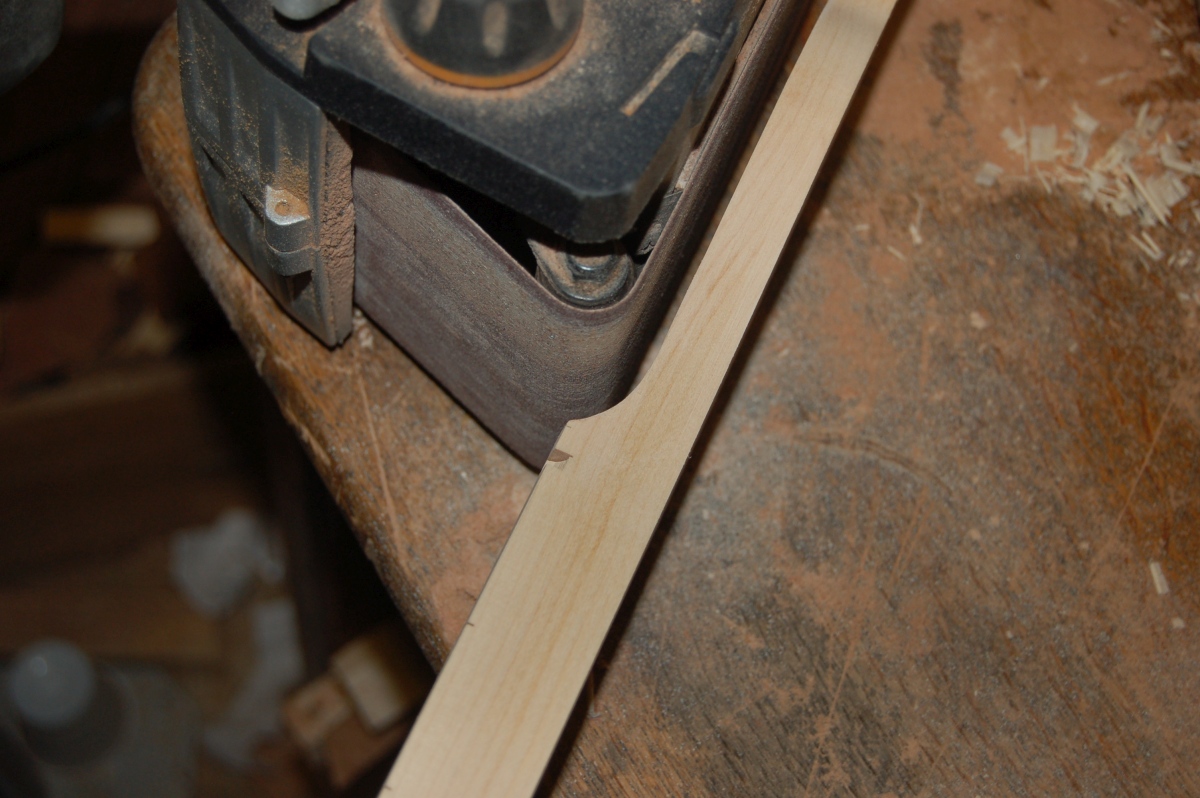
And with a bit more sanding:
Lovely!