
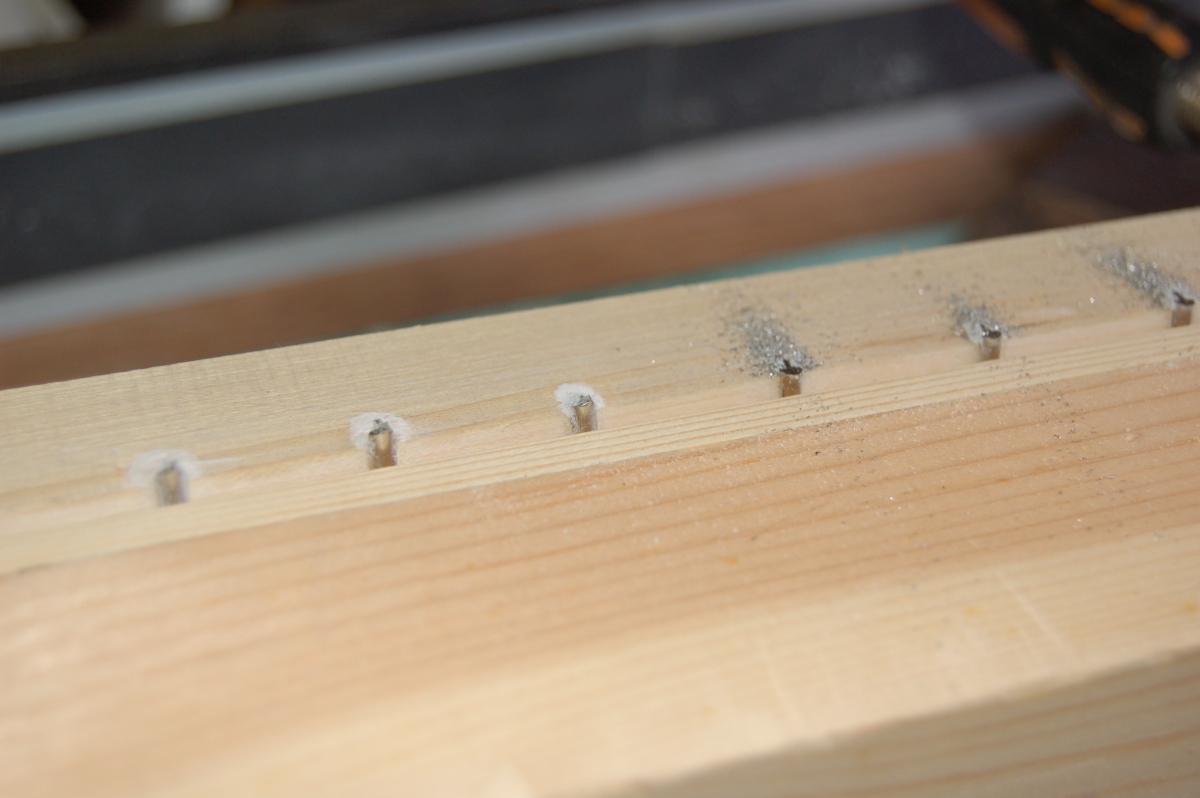
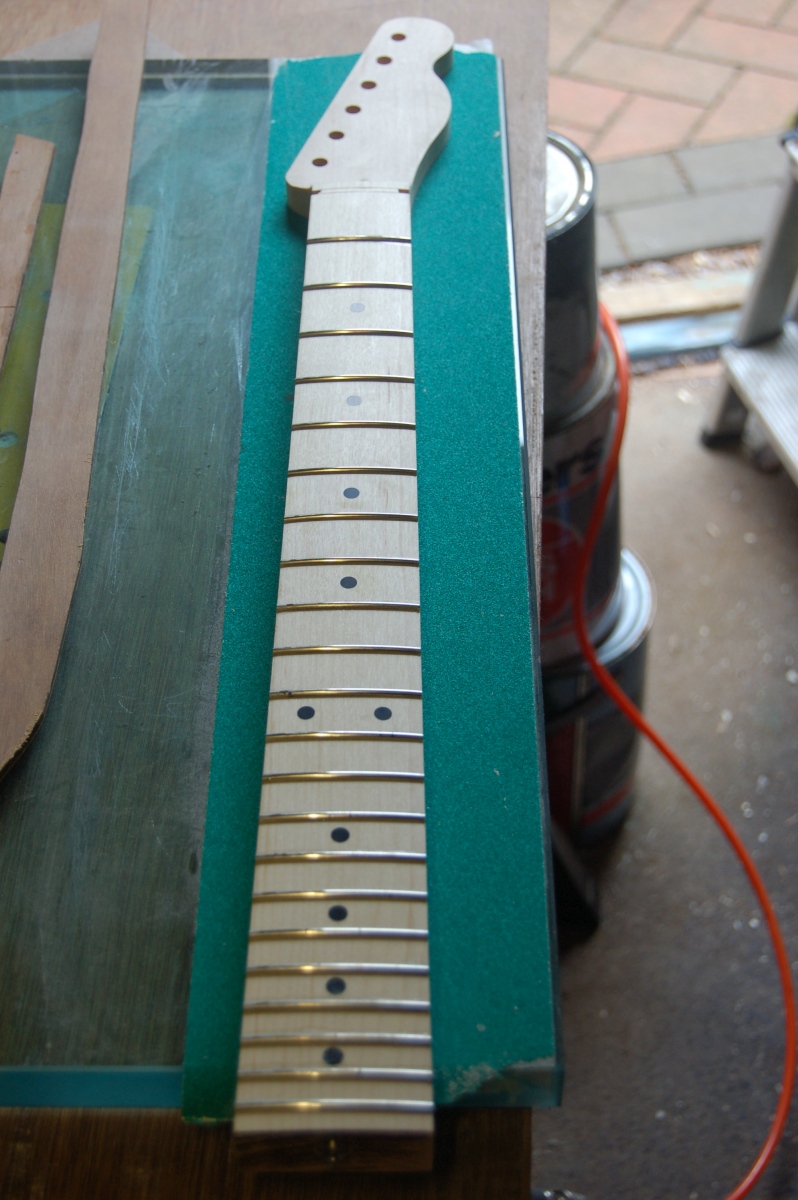
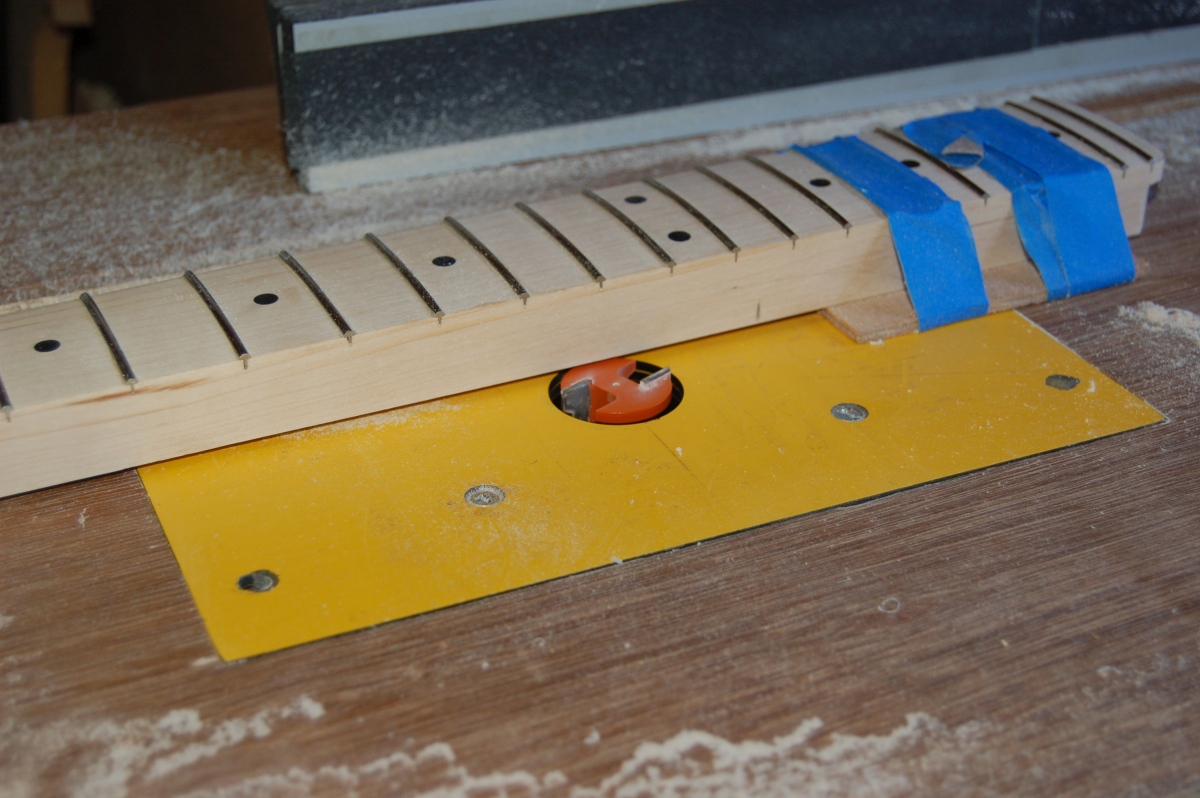
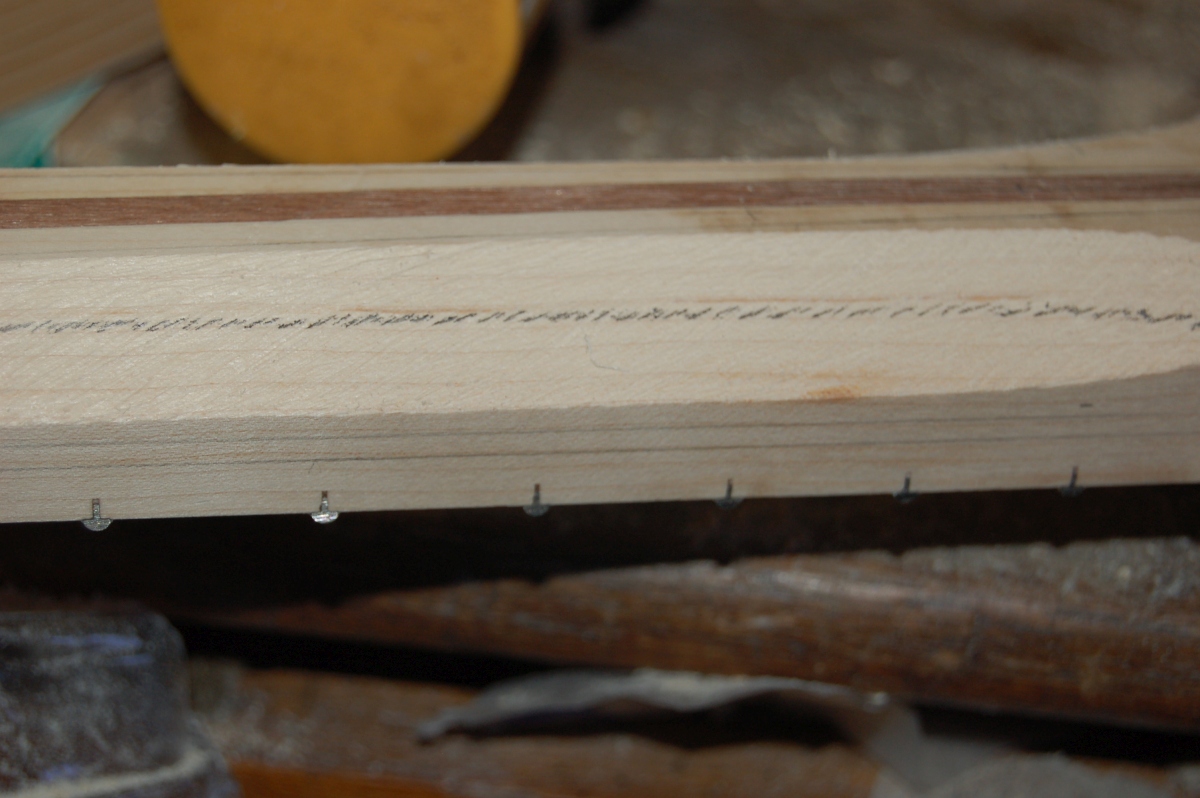
Deepening the fret slots
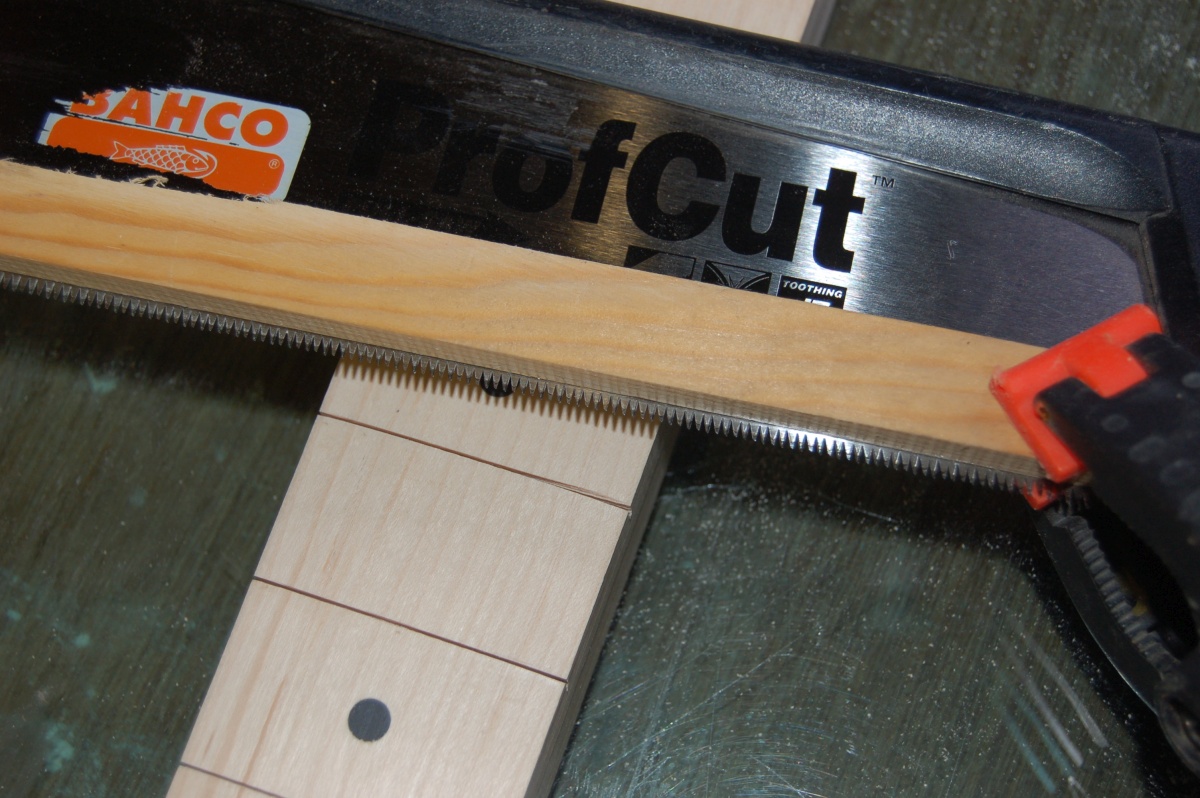
Before I could fret the neck, I needed to cut the fret slots to a set depth across the radiussed neck.
I used a stop on the saw to try and keep this consistent. The photo also shows one of the perils of doing it this way, in that if you’re a little off starting the saw (or stop concentrating), you can catch the edge of the slot, rather than following the original line. Not disasterous in this case, but annoying!
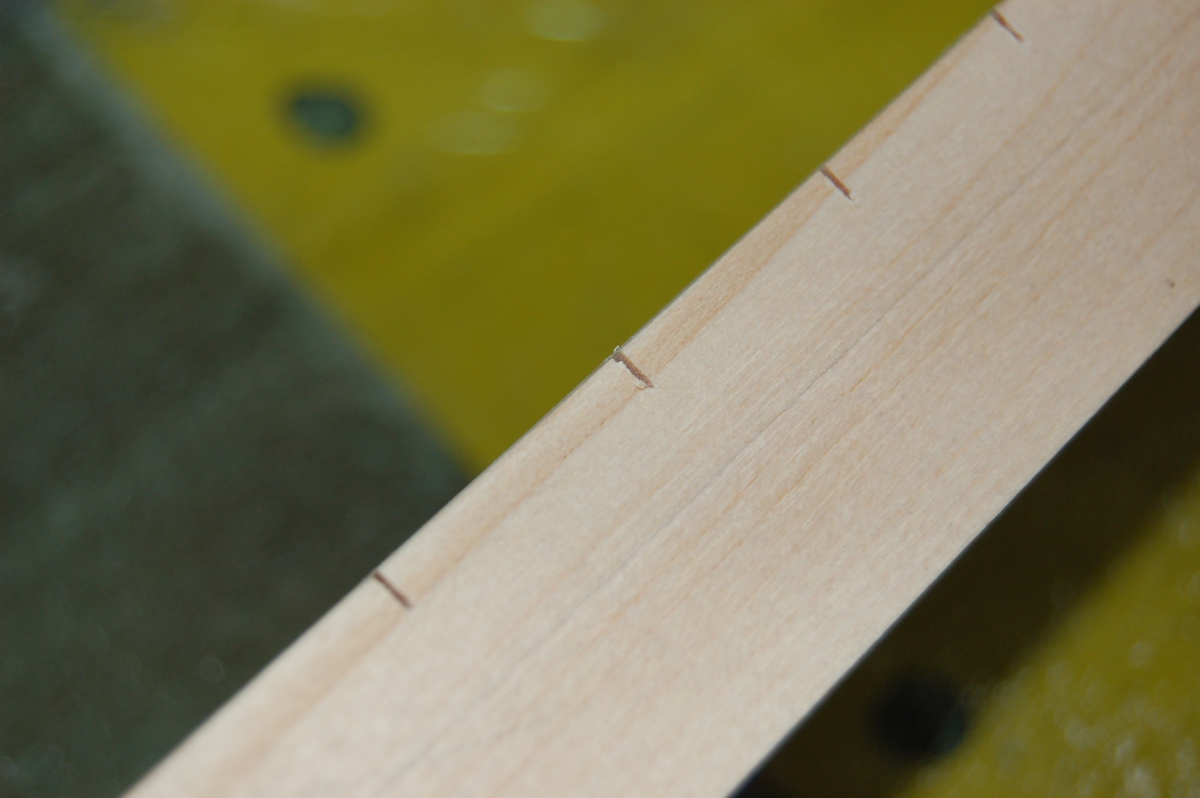
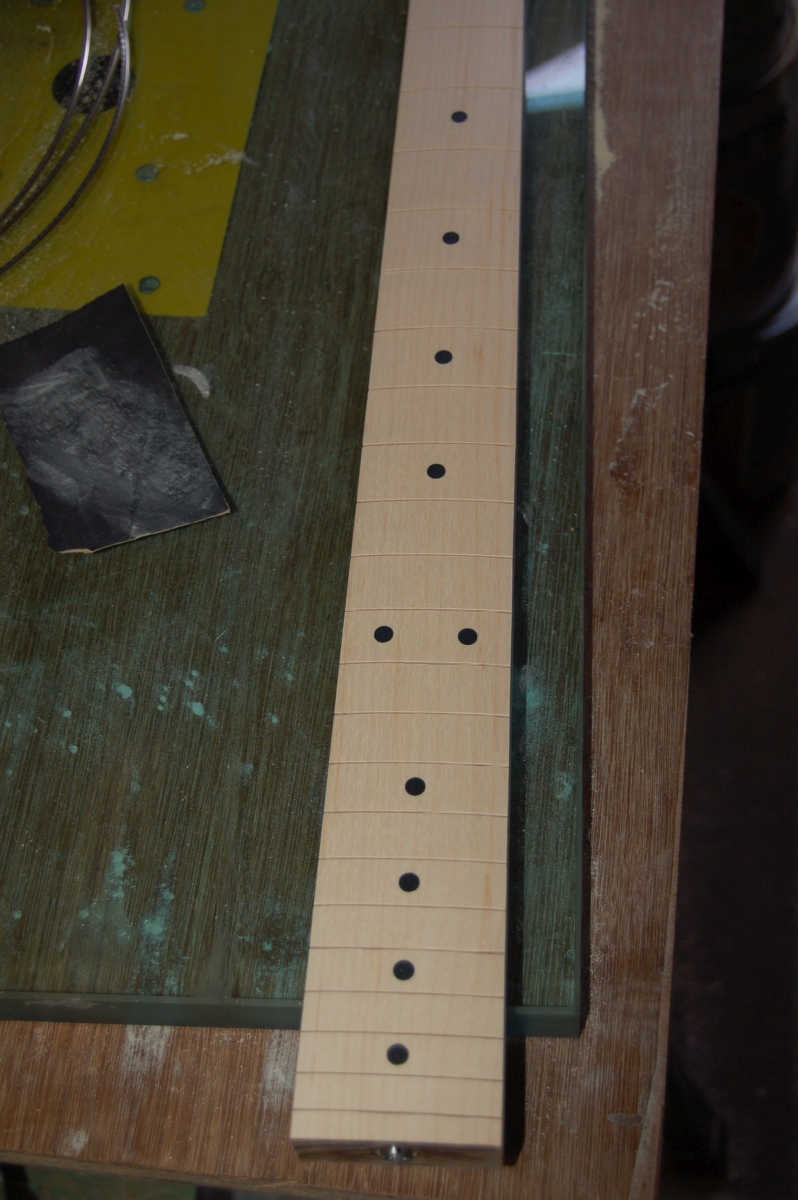
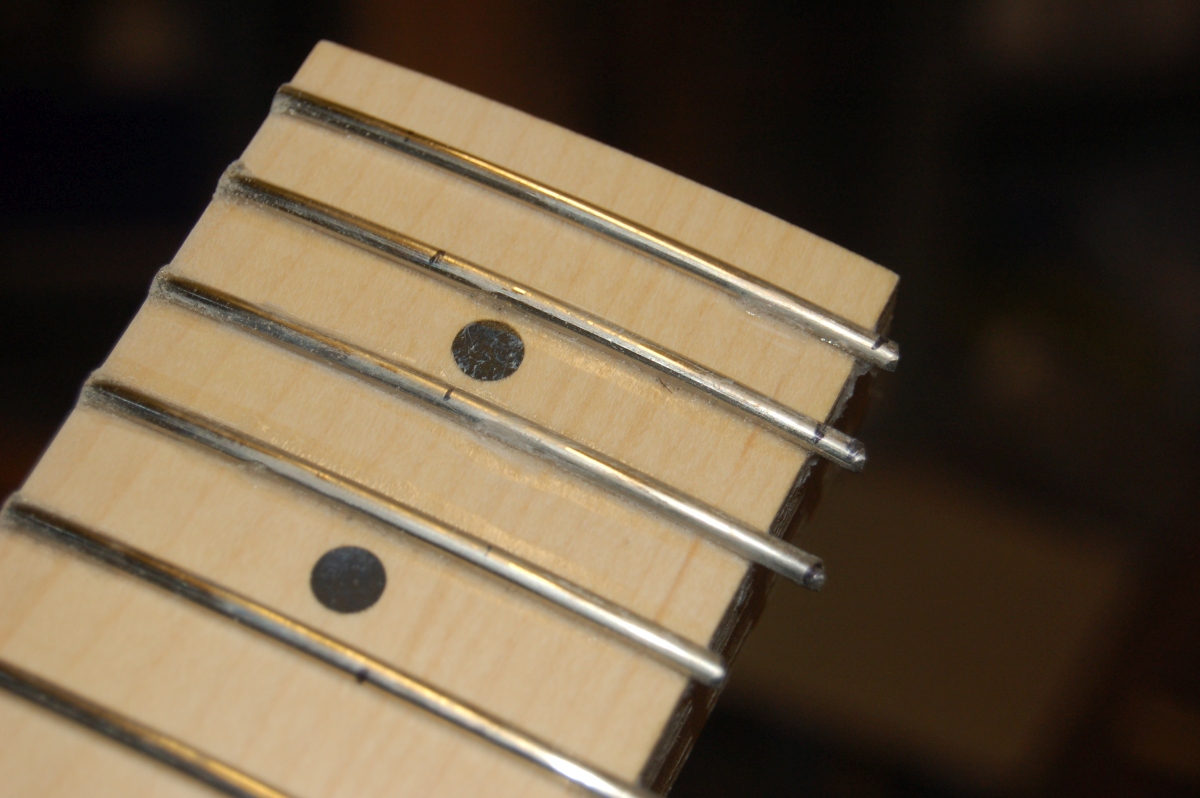
The fretboard was now sanded to 400 grit:
Fretting
I bought my fret wire as straight lengths, so needed to pre-bend it before fitting.
Two ball bearing races, some brass blind pulleys from a roler blind and some time spent juggling washers and spacers got me this:
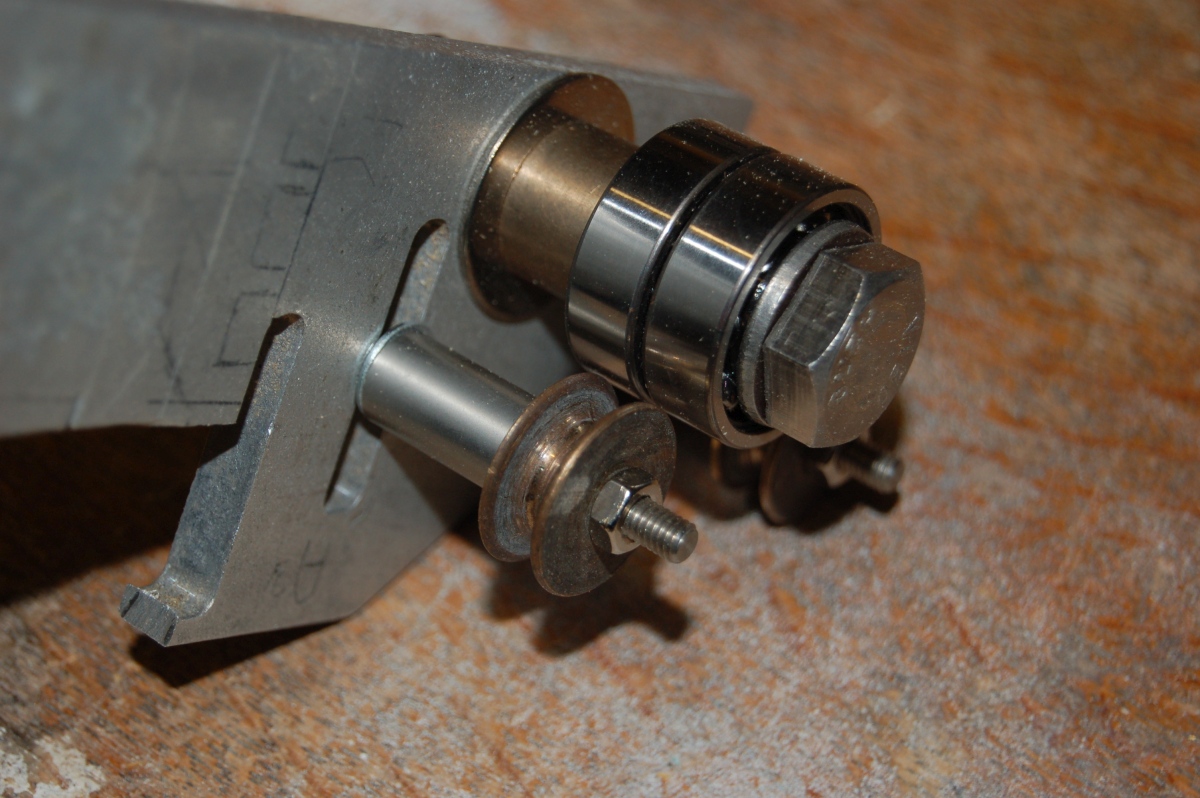
…which worked quite well for bending frets, but as it bedded in, the bend radius changed!
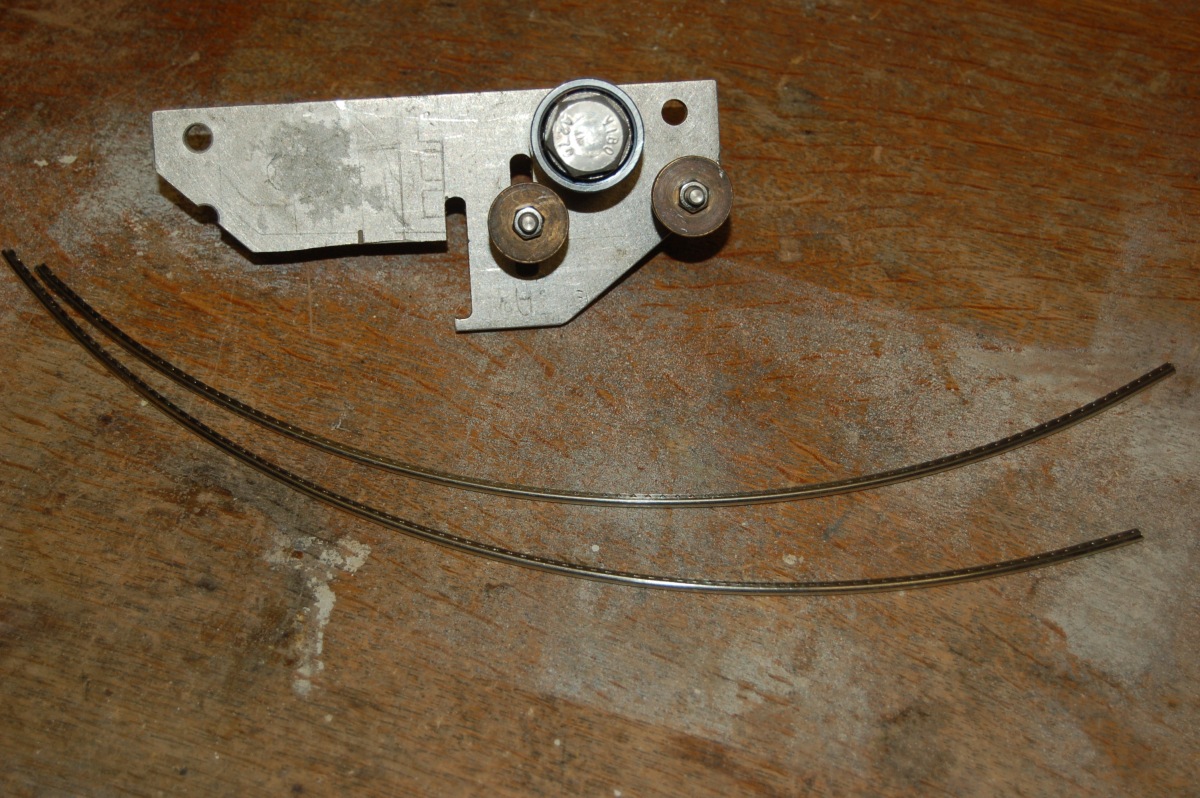
(I could even pretend that it was deliberate to suit the compound radius neck but nobody would believe me).
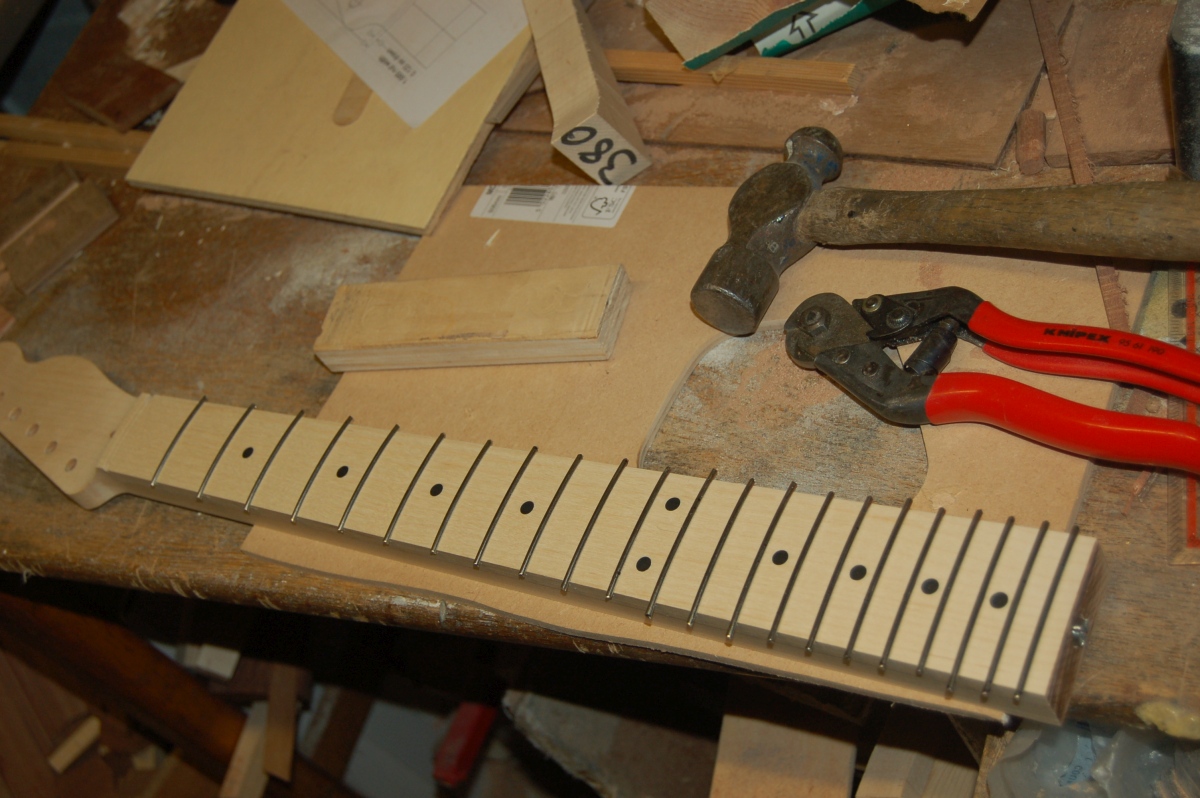
What I hadn’t banked on was losing an inch, or so, on each length of wire where it was threaded into or out of the machine – I’d only got five 12″ lengths, which would have been tight for 21 frets, but was touch-and-go for 22 – I marked out each length of bent wire in each position until I found a combination where I could cut 22 frets while avoiding the kinks near the start and end of the curve (hence the marker pen all over the frets).
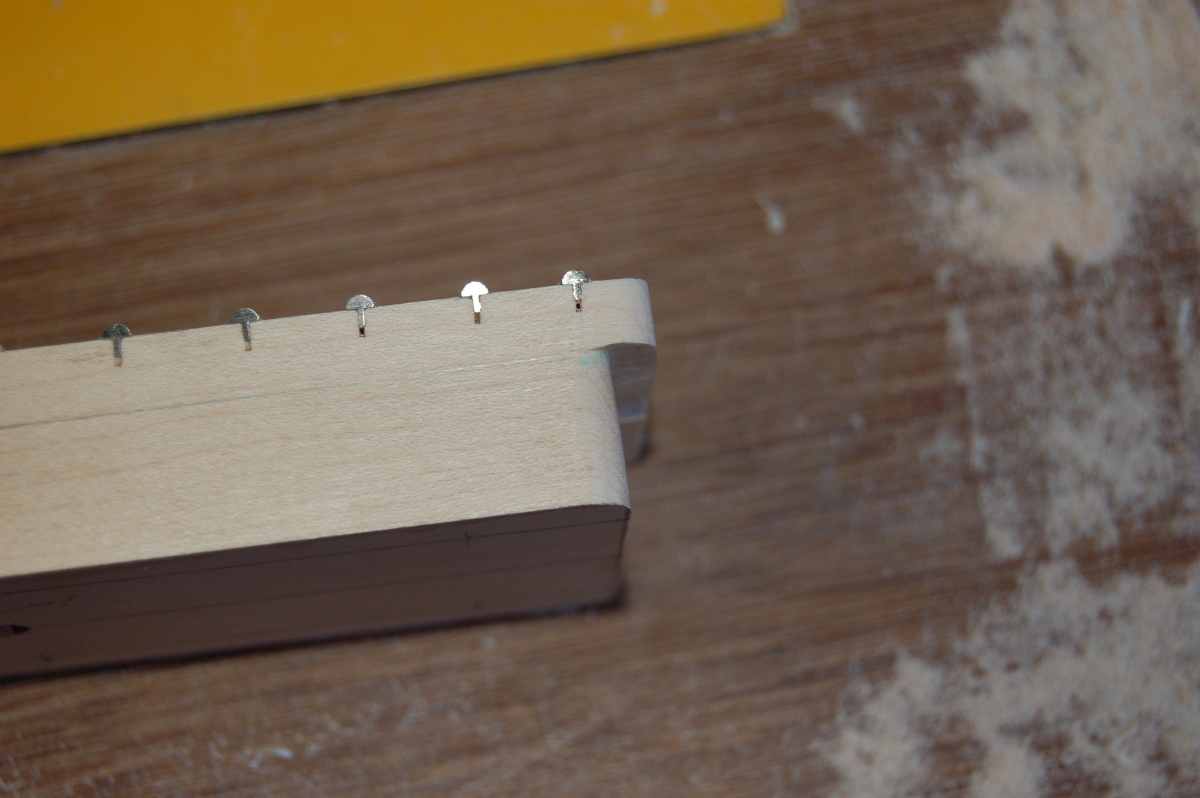
The frets were bent to a tighter radius than the neck so that the ends seated first (as is normal practice). I still couldn’t bring myself to hit the frets directly (and don’t have a decent soft faced hammer) so I compromised and used a hardwood block over the fret to cushion the hammer blows.
I managed to not to mangle any frets and this went pretty well – the frets seemed to be well seated and tight in the neck. It was so much easier than trying to get the frets into the ebony board of my Firebird.
This next bit comes under the heading of “Things I Wish I Hadn’t Done”…
I’d always intended to fill the gaps under the fret tangs with superglue, but I had the bright idea of running this in before filing down the fret ends, so that there was less chance of loosening the frets when I filed the ends off (not that they seemed loose). I clamped the neck at the edge of the fretboard, ready to file the fret ends, then went at it with the superglue, then filed the fret ends off:
When I took the clamps off, I saw to my dismay that the glue had run down the sides of the frets, as well as along the slot
I tried to clean and scrape off as much as I could, but I’m expecting problems here when it comes to applying a finish.
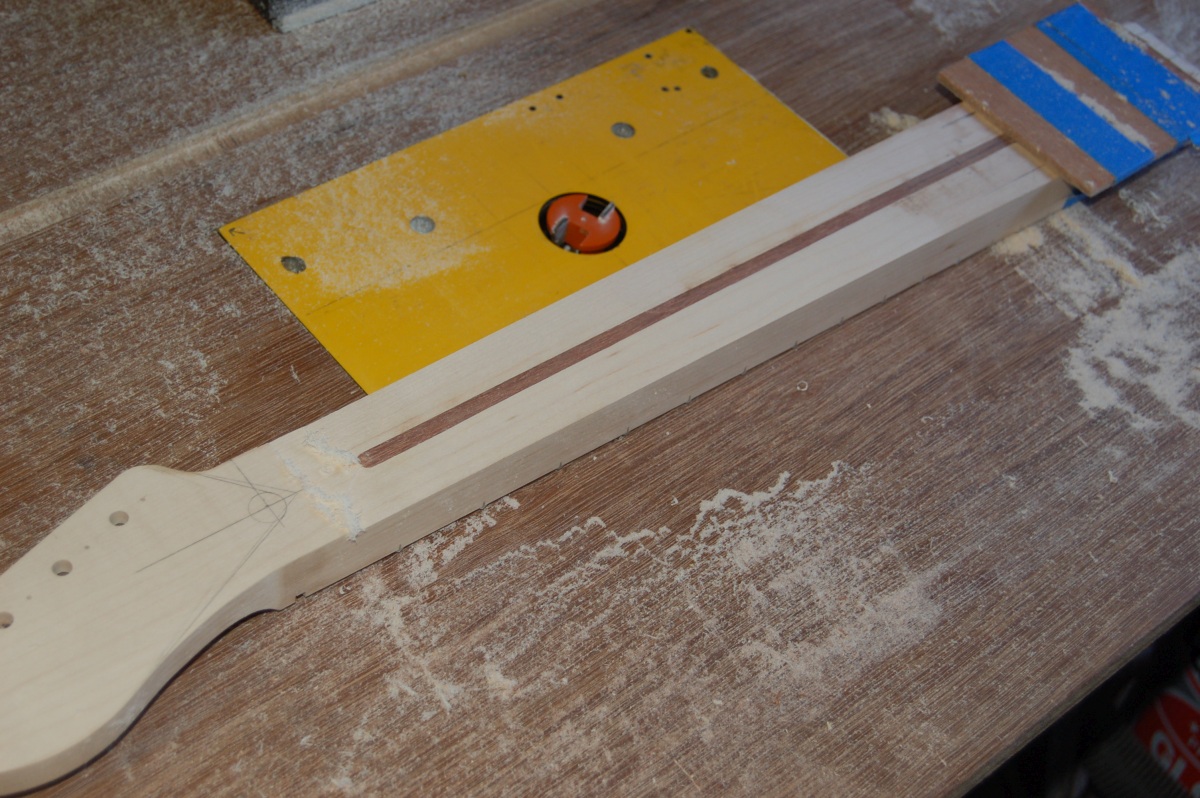
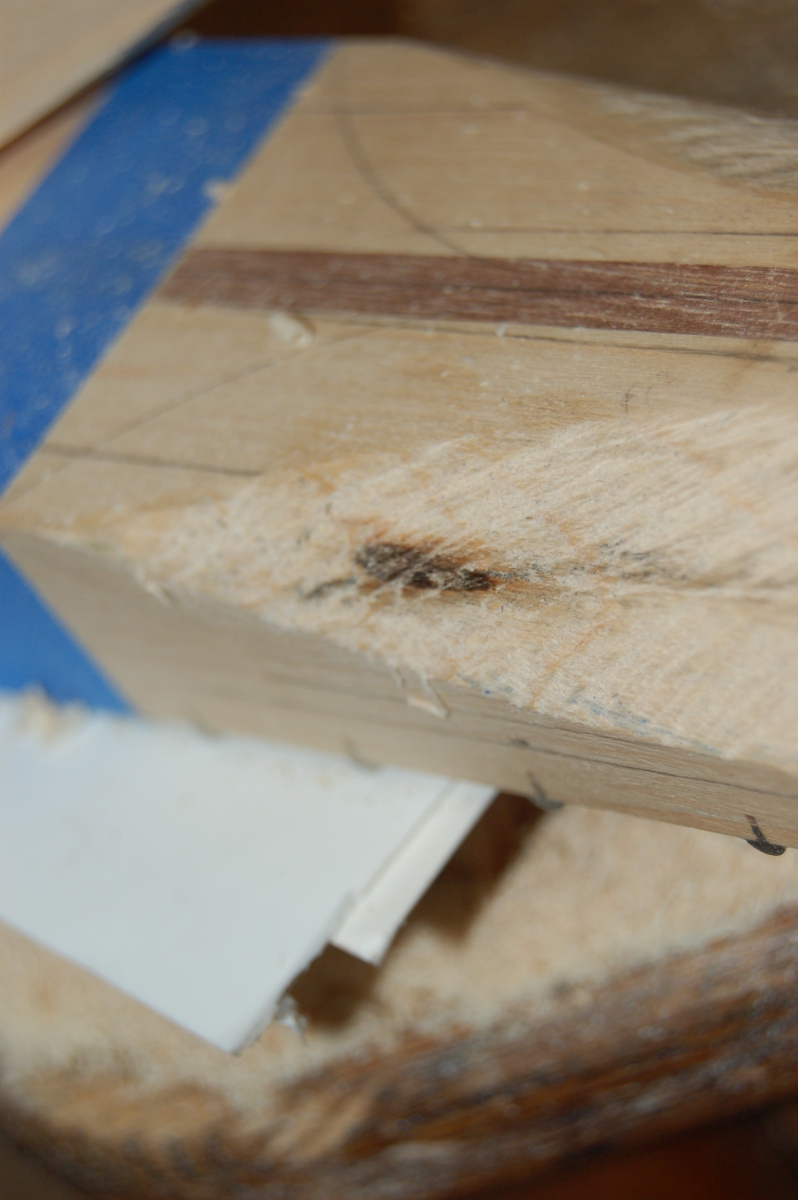
Now I could turn my attention to finishing off the heel of the neck, and I had another one of those “Oh Shit!” moments when I realised that I’d done all the truss rod cutting and drilling without taking into account that the neck heel should have a step in it so that a 22 fret neck will fit on a standard Tele body.
I could just have cut the neck pocket in the body to suit, but wanted to keep things ‘standard’ as much as possible (in case the body or neck turned out to be worth keeping). The adjuster nut sticking out a bit doesn’t really casue a problem (I could always cut it down slightly), but the length of the truss rod was a PITA, as it extended beyond the cut line for the step so: (a) I couldn’t use the router to cut the step and (b) the adjuster nut would have to extend out of the step so that the rod stayed clear of the screwdriver slot.
In the end, I carefully cut away as much as possible with the pull saw, then finished off with a junior hacksaw with the set hammered out of the blade to get through the truss rod.
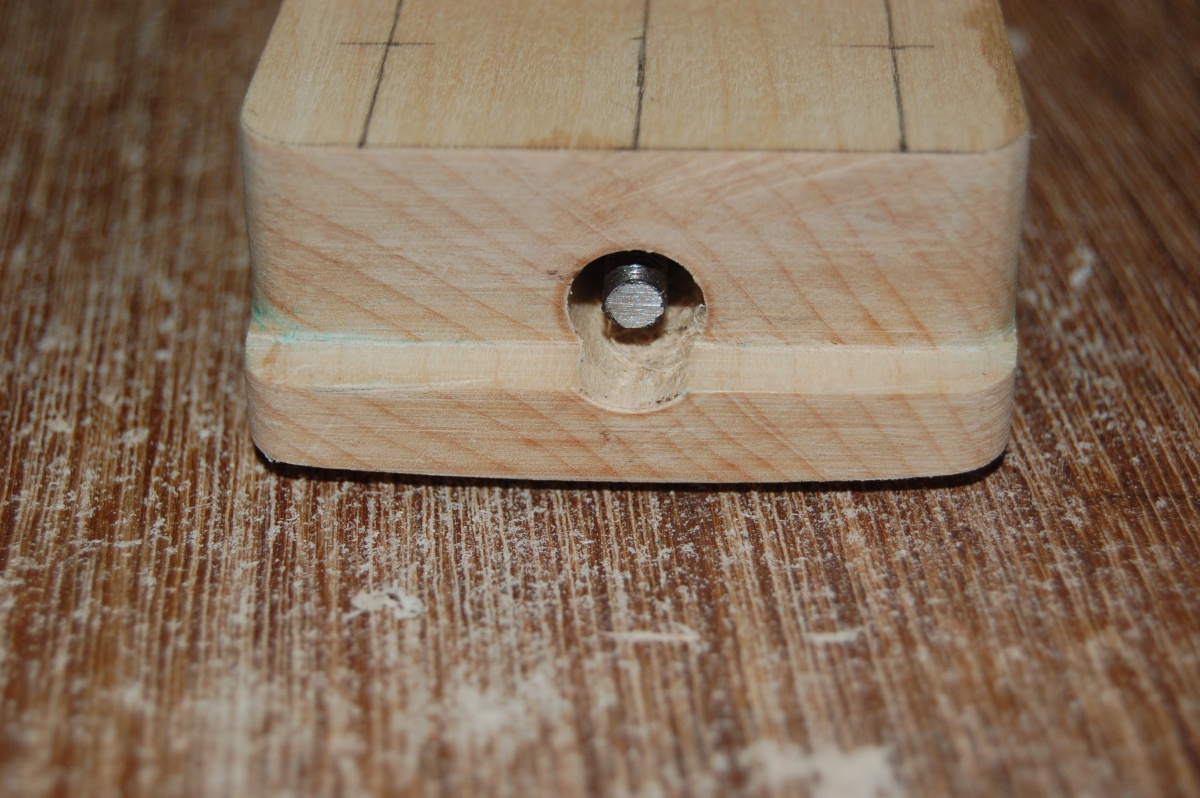
I think it’ll tidy up OK.
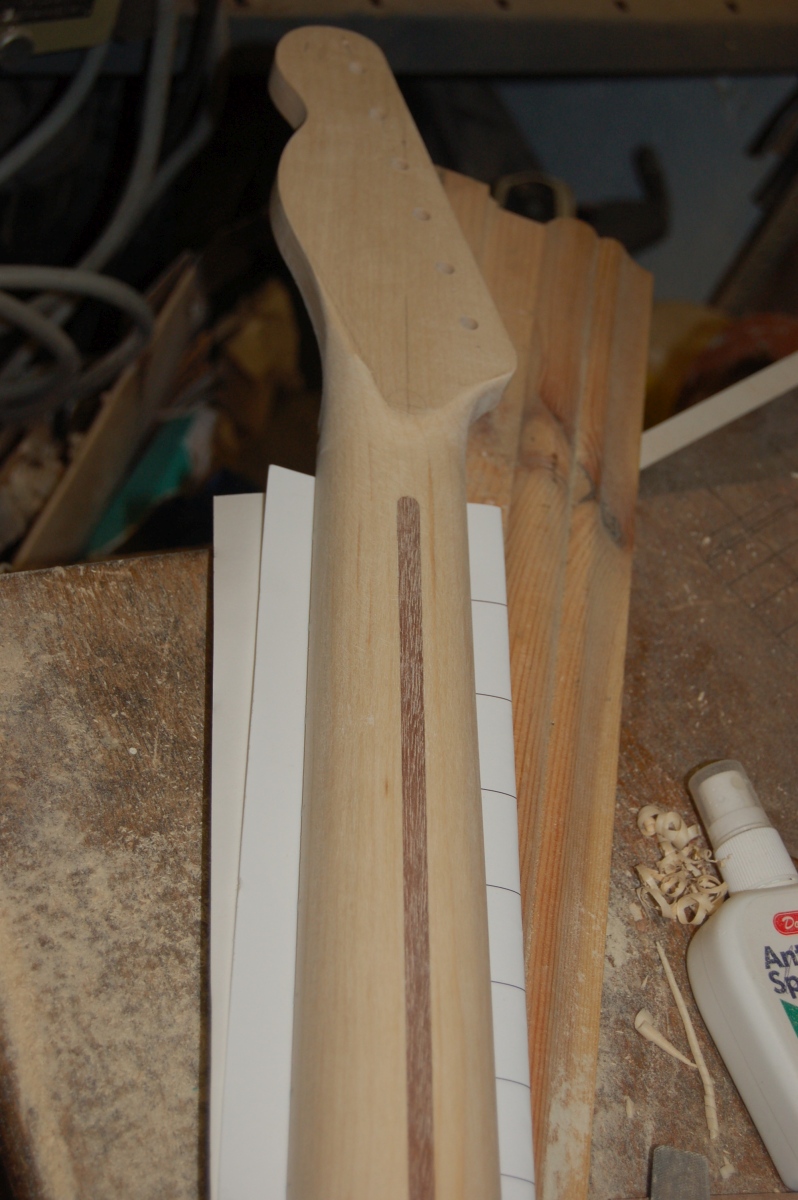
Shaping the neck
Time to start on the back of the neck (I love doing this bit).
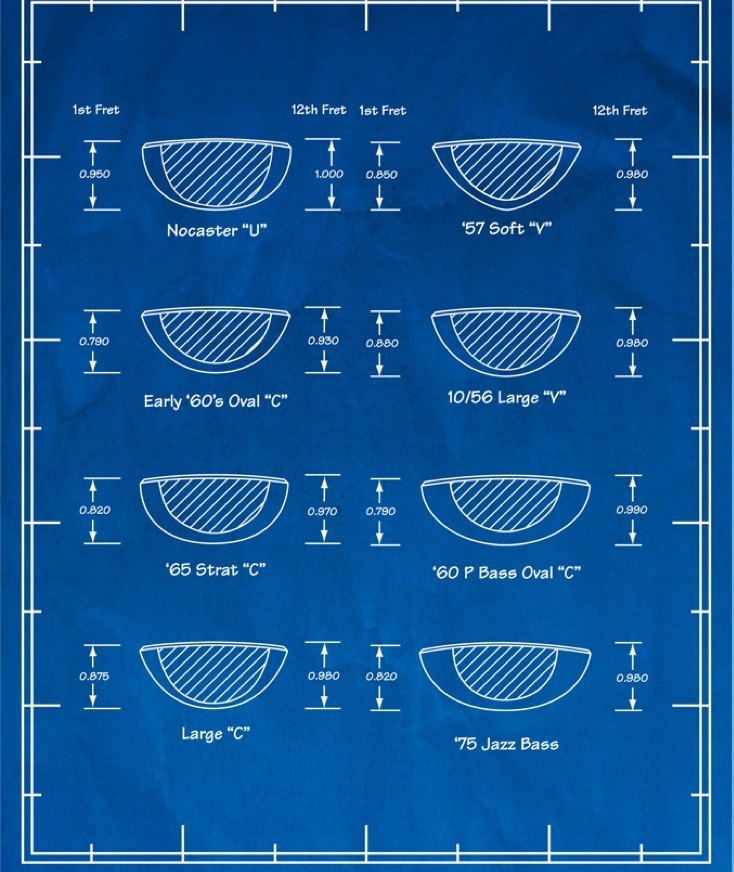
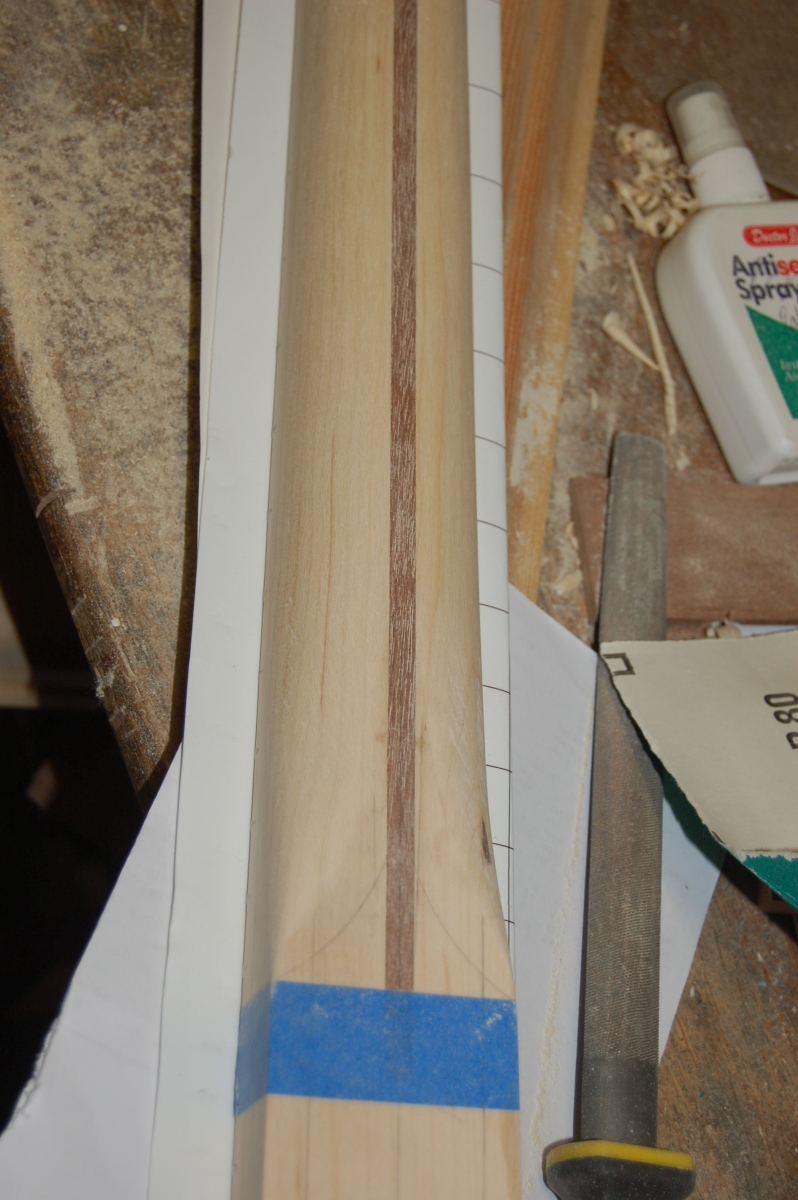
I’d decide to aim for a 57 ‘soft V’ type of profile (chart from TDPRI):
This meant tapering the neck thickness by about 3mm from the heel to the nut. I was keen to keep the shape under control for as long as possible, so did this by packing up one end of the neck and running it over the router with the cutter slightly raised
Stopping before the nut, of course…
Then I sketched a couple of “facets” onto the 12th fret & 1st fret profiles that would be the first stage of roughing the neck out, and transferred the edges of the first facet onto the neck blank and set about it with a rasp:

I could then mark the edges of the second ‘facet’ and do the same:
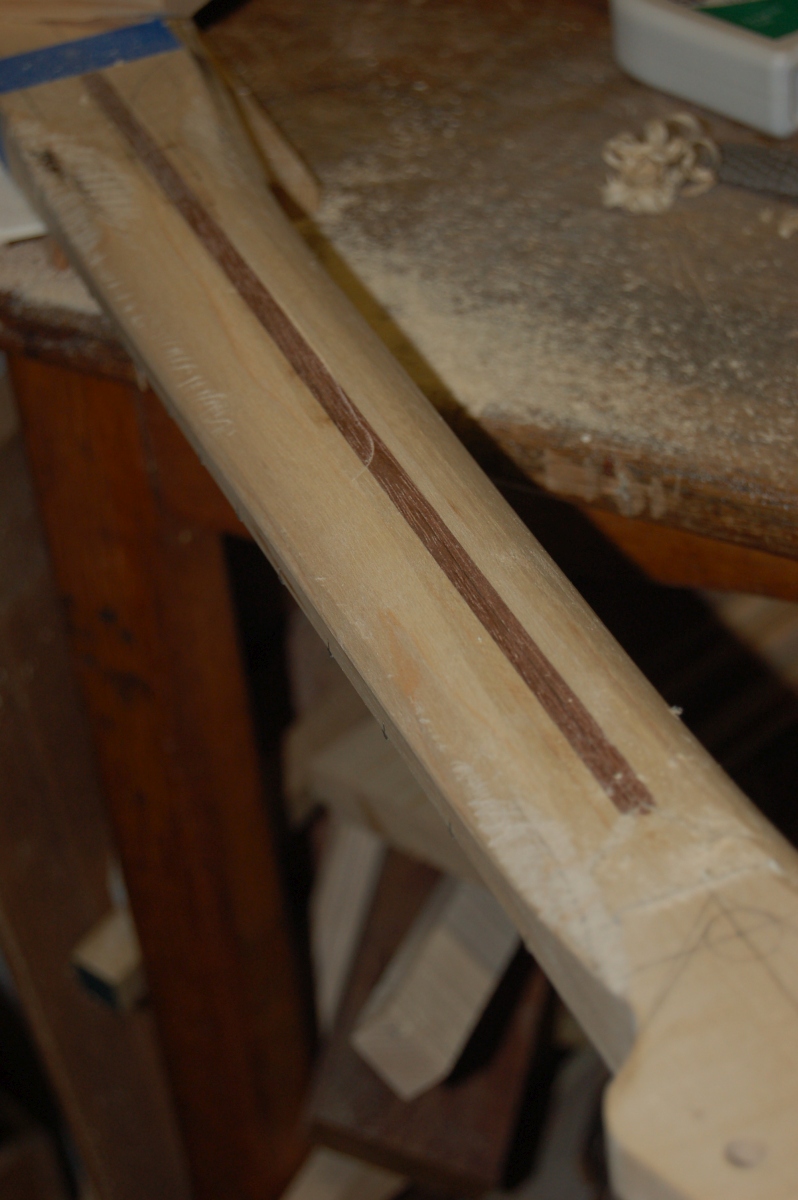
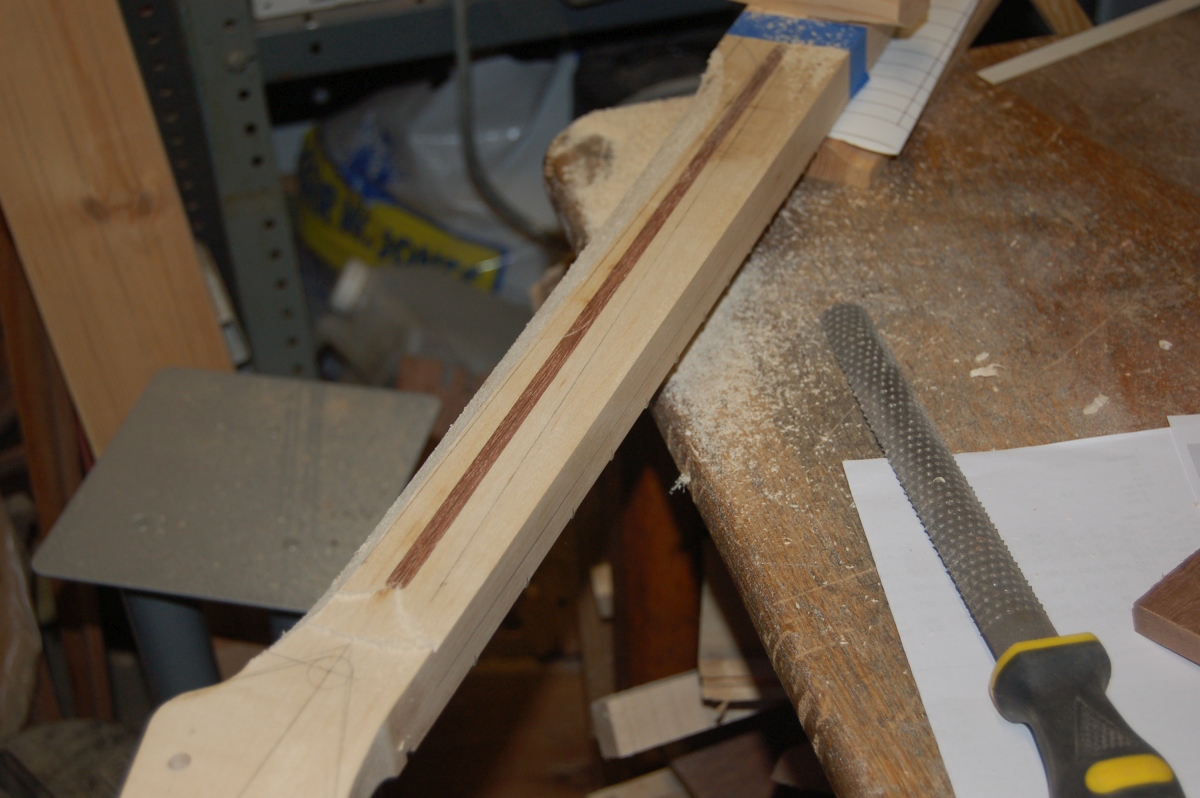
Somewhat annoyingly, I cut into a resin pocket, or something in the maple
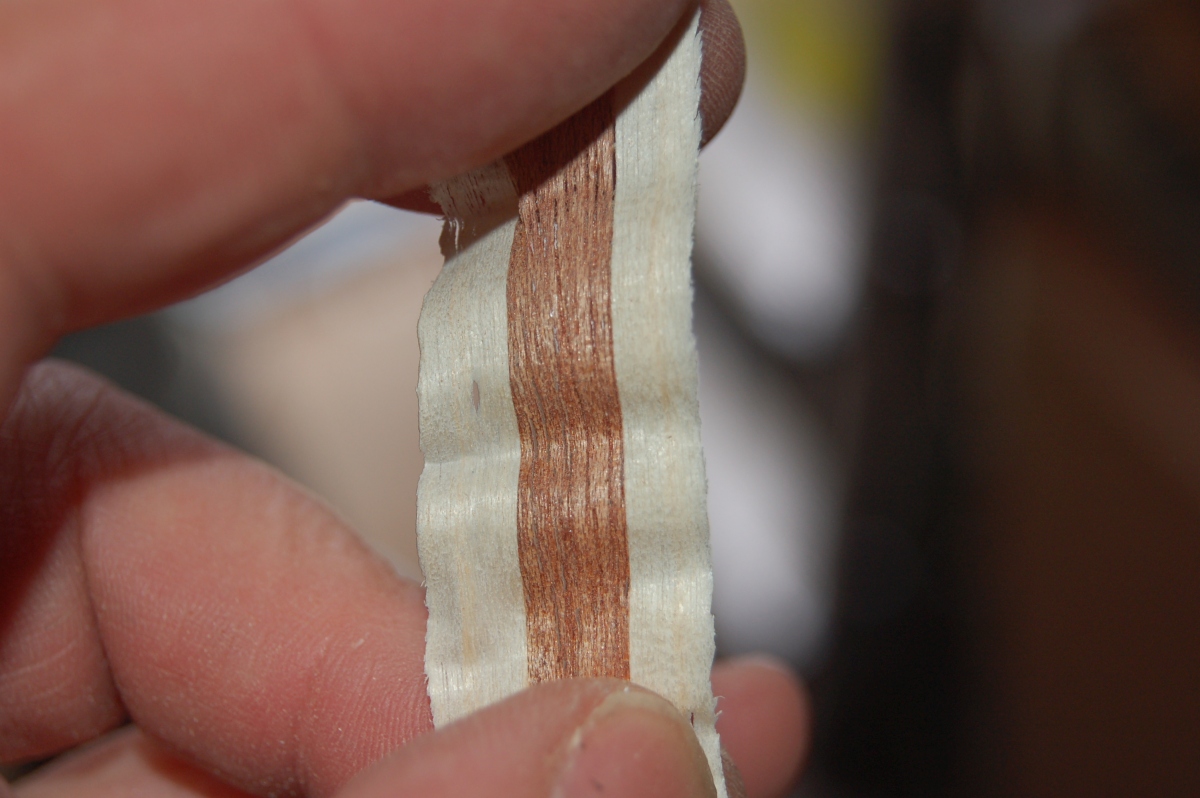
I blended the ‘facets’ mostly by using sandpaper, but did start using a spoke-shave. It was good to see that the glue between the skunk stripe and the neck had worked:
There’s still quite a bit to come off here, and a lot of tidying to be done at either end, but (like I said) I like doing this bit