
Nut slot
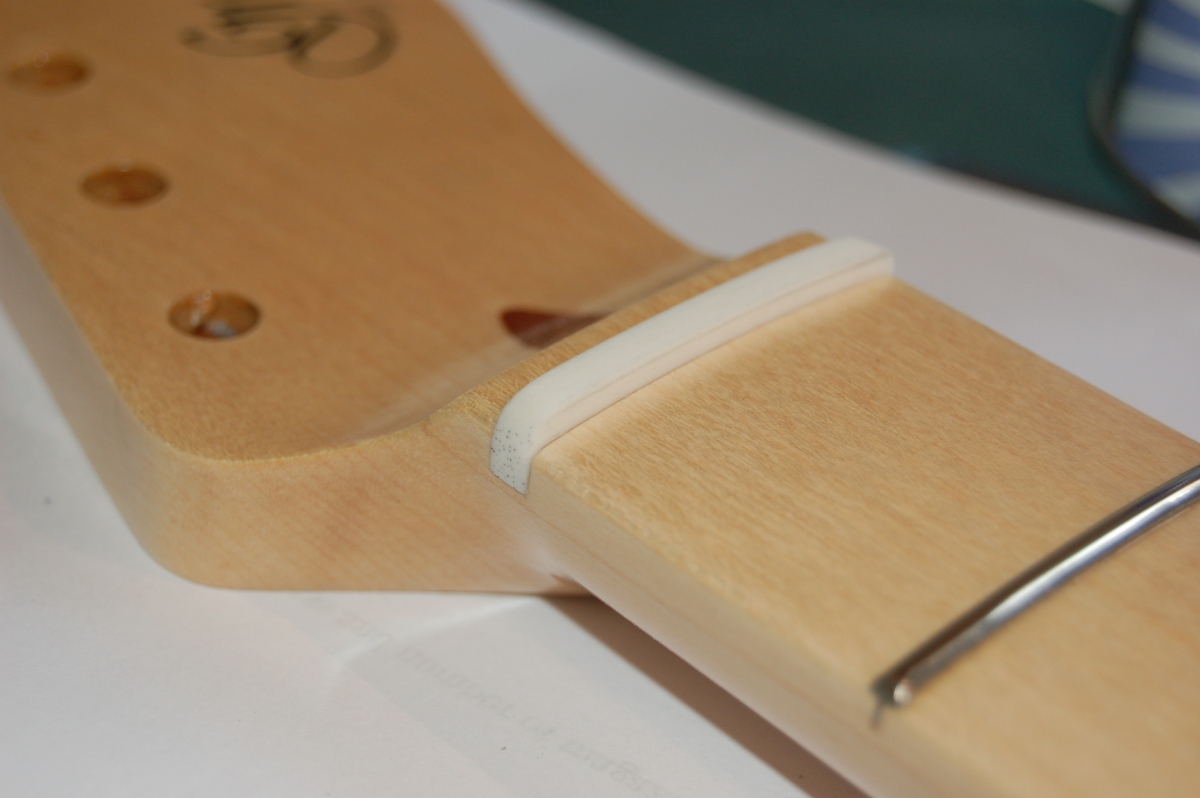
Cutting the slot for the nut proved surprisingly difficult. I’d made the cuts either side of it when I did the slots for the frets, but at only 1/8″ (~3mm) wide, I didn’t have a file or chisel narrow enough to clean the slot out. I made a few extra saw cuts to try and break up the surplus wood, but ended up taking a fraction of a millimeter off the headstock side of the slot to be able to get a square needle file in there.
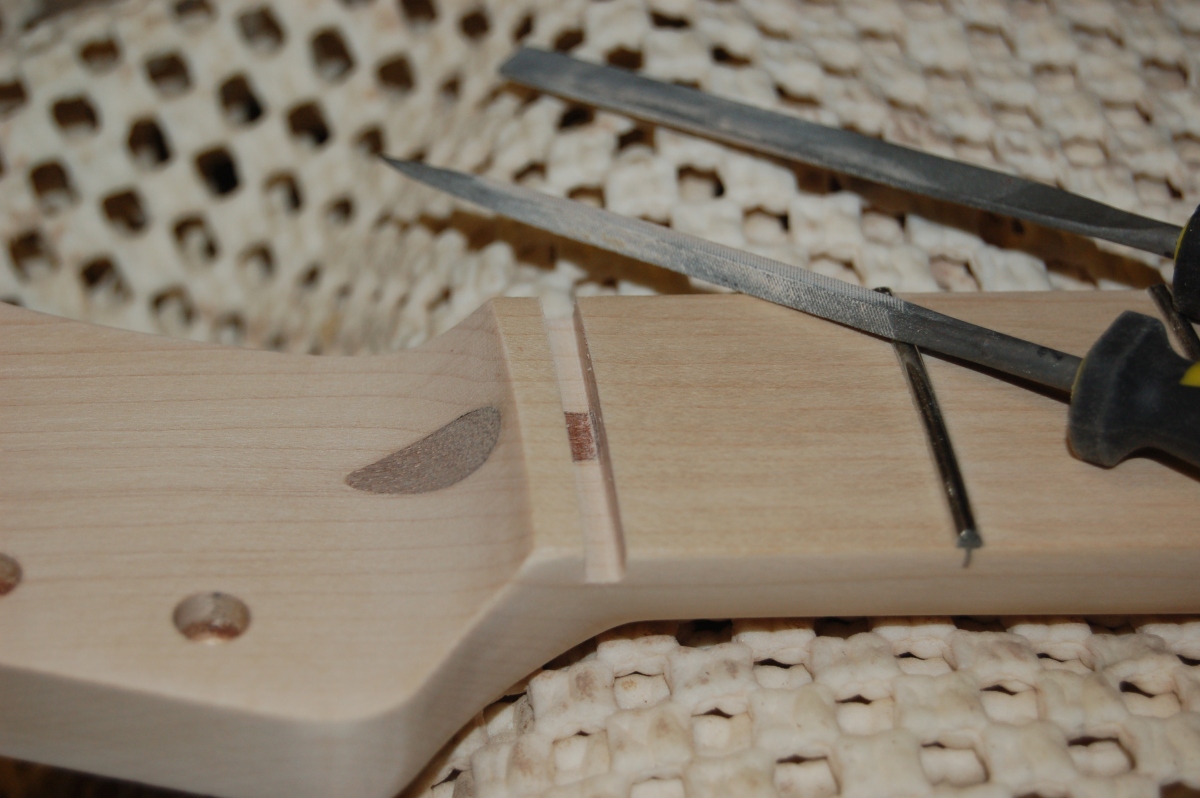
(I’d also been a bit over-zealous when I made the original cuts, so the slot is fairly deep.)
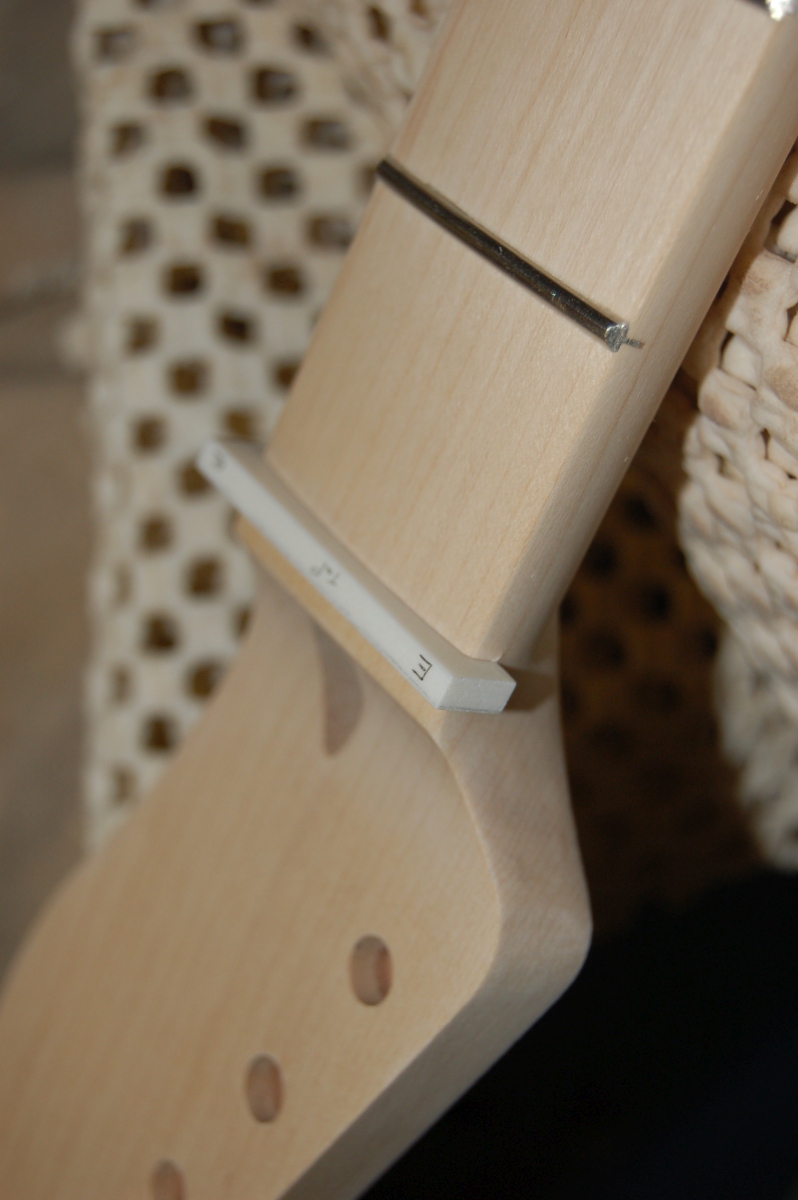
The nut blank needed a fair bit trimming off it in any case
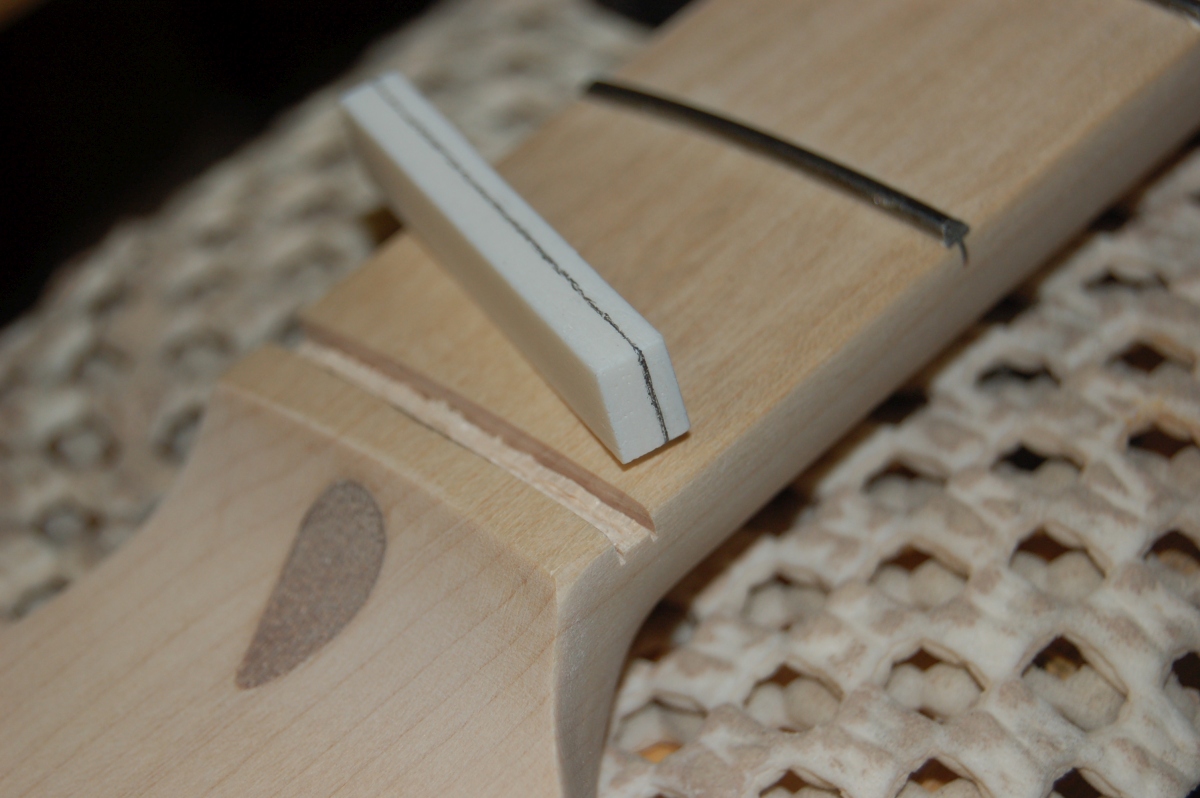
I took most of the thickness off on the belt sander (and stank my shed out), then a bit of gentle sanding got it to a nice snug fit.
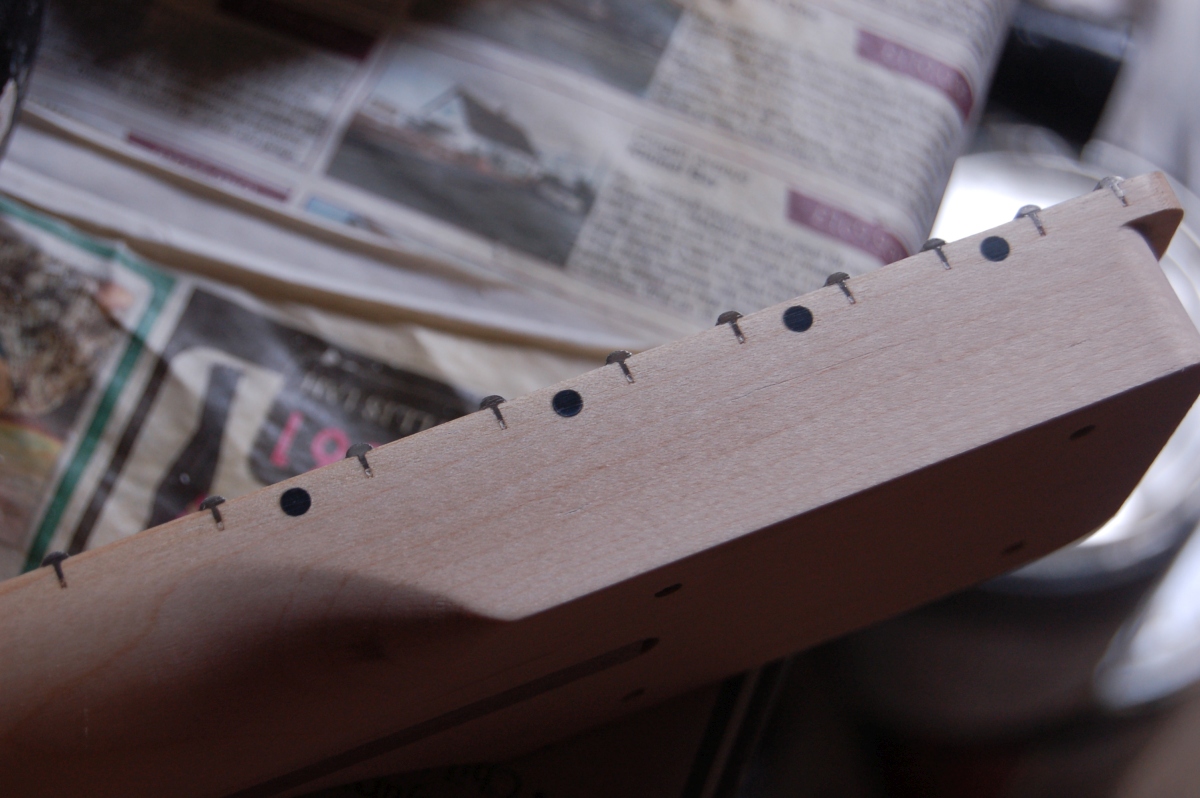
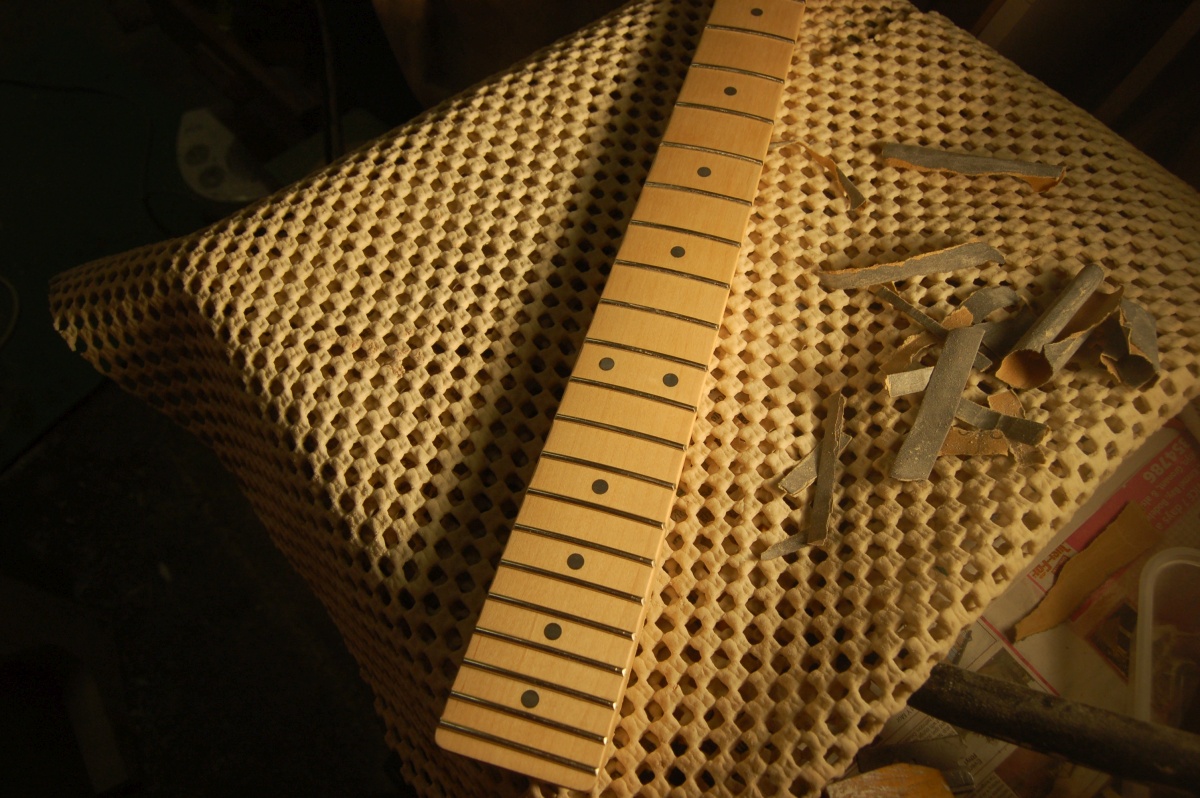
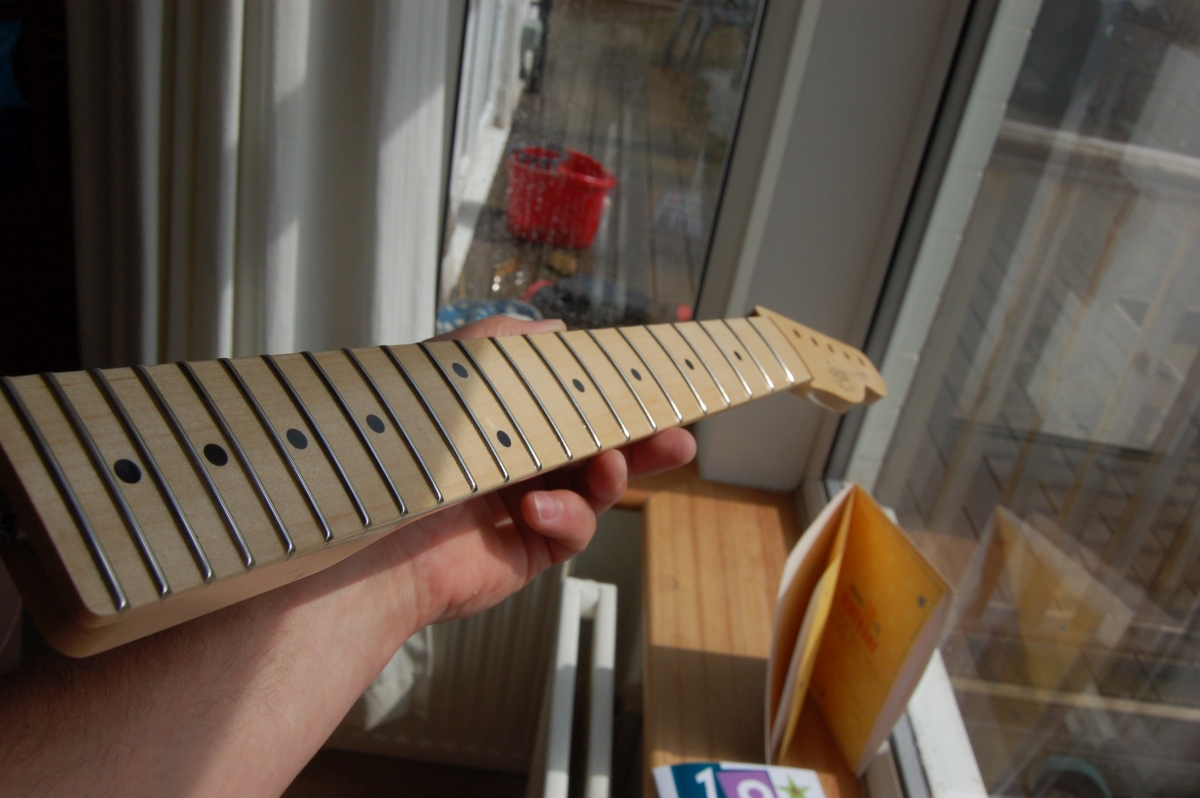
Side markers
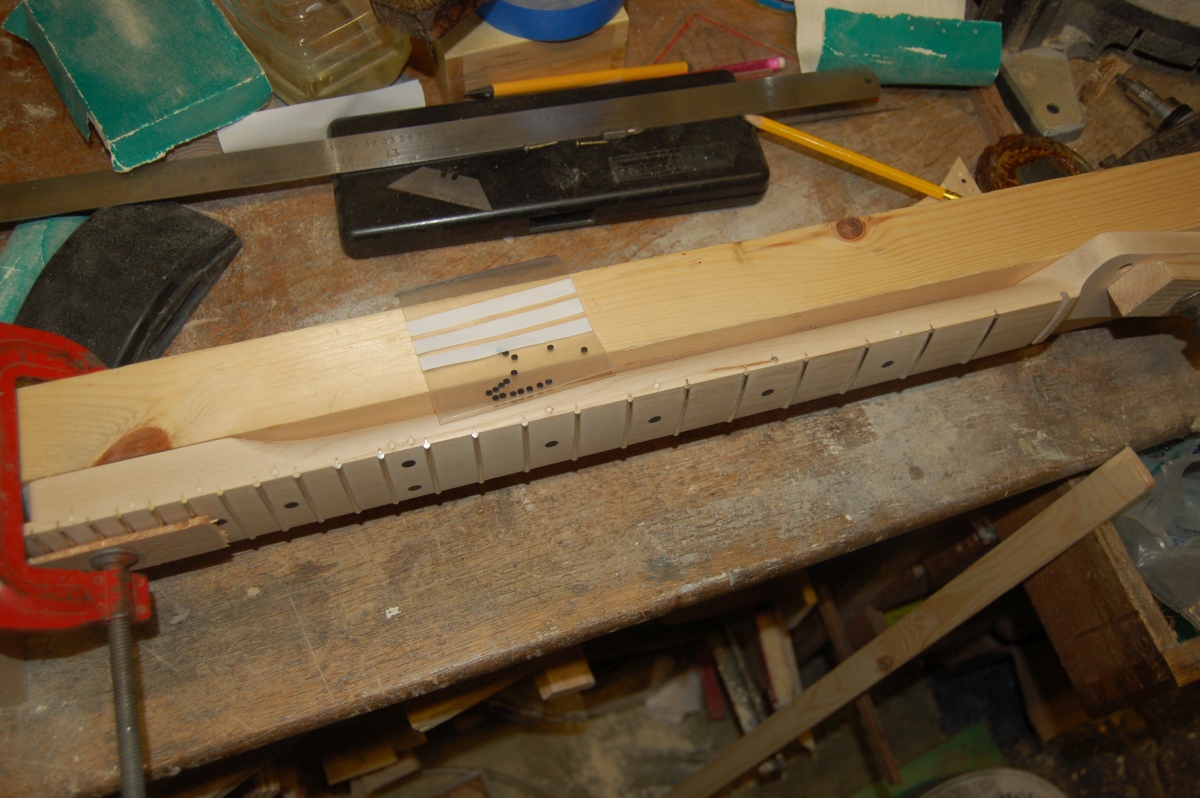
I also needed some side markers for the neck. I spent weeks with my eyes peeled for some suitable black plastic rod, but nothing showed up. In the end I used a leather punch to cut some dots out of an offcut of control cavity cover material. I did a bit of experimenting with drill bits and punch sizes to get a good size match between the two.

It would probably have been easier to drill for the dots before I started shaping the neck. Instead, I clamped it to a length of straight, square planed timber with the marker side of the neck parallel to the top edge. I also packed out the headstock slightly to get the edge of the fretboard parallel in plan view, too.
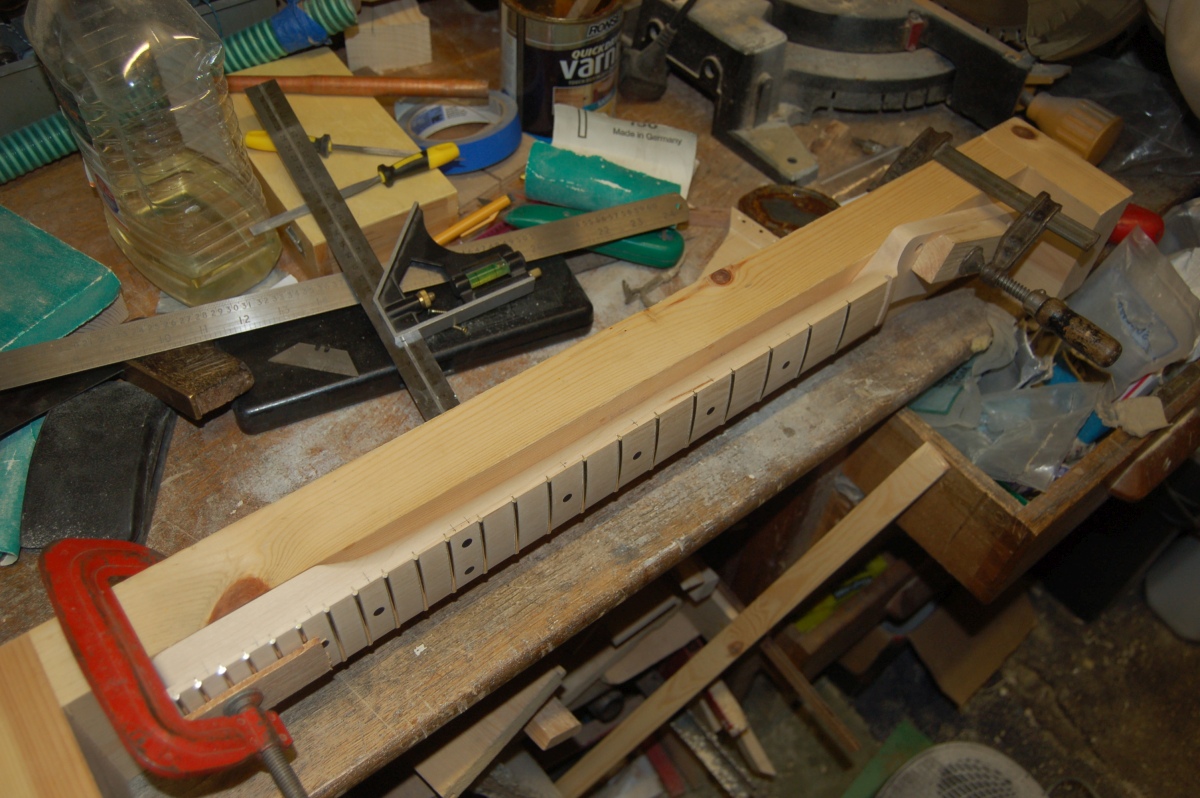
This made it easy to use a square to carry the ‘half way’ position marks down the edge of the neck and mark a appropriate distance from the fretboard for the markers.
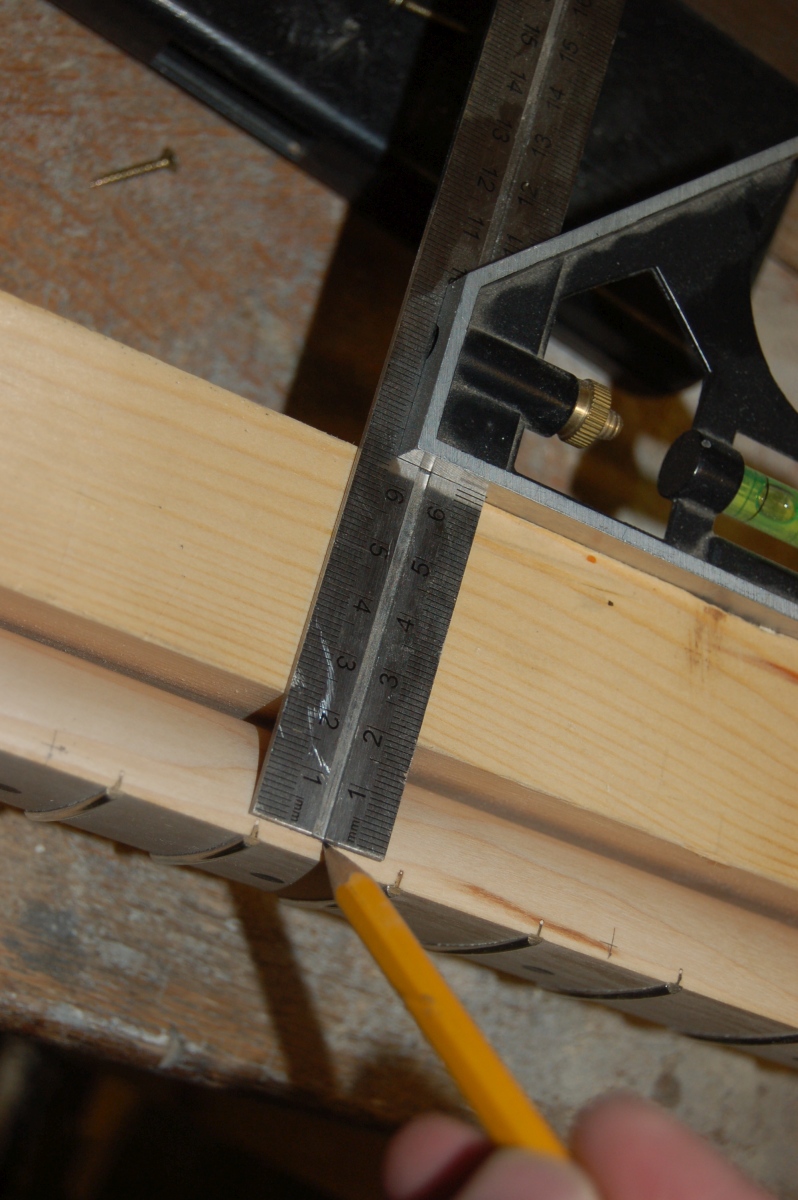
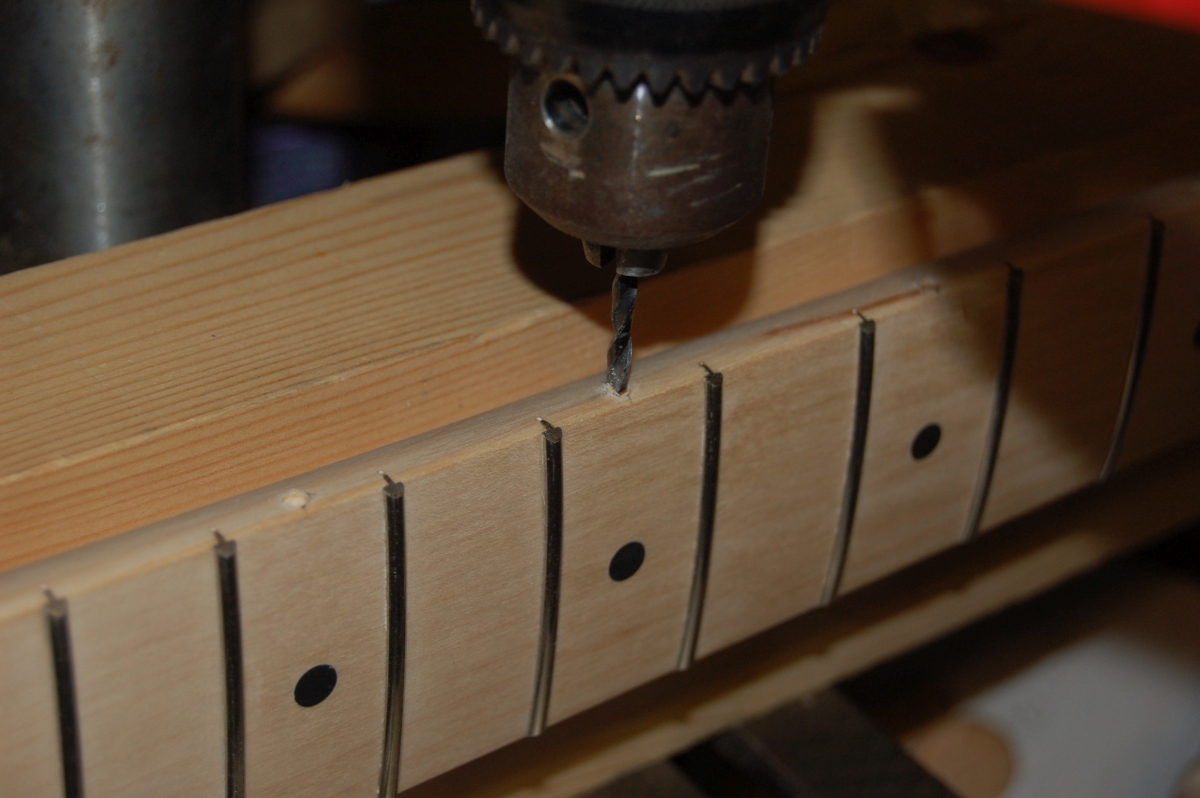
And because the fretboard was parallel to the timber, I could use a fence on the drill press to try and keep the markers in line.
Some fiddling around with superglue and fiddly little bits of plastic (I probably lost as many as I fitted)
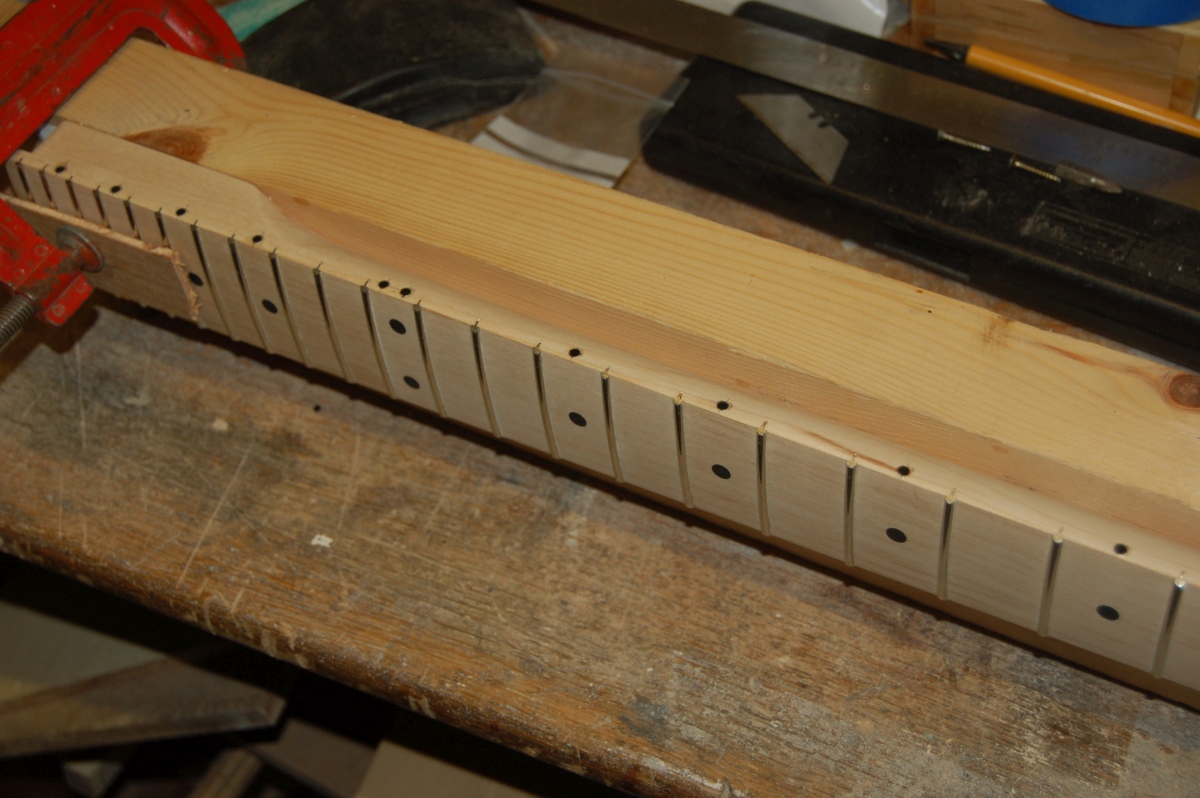
And after sanding the edge of the neck
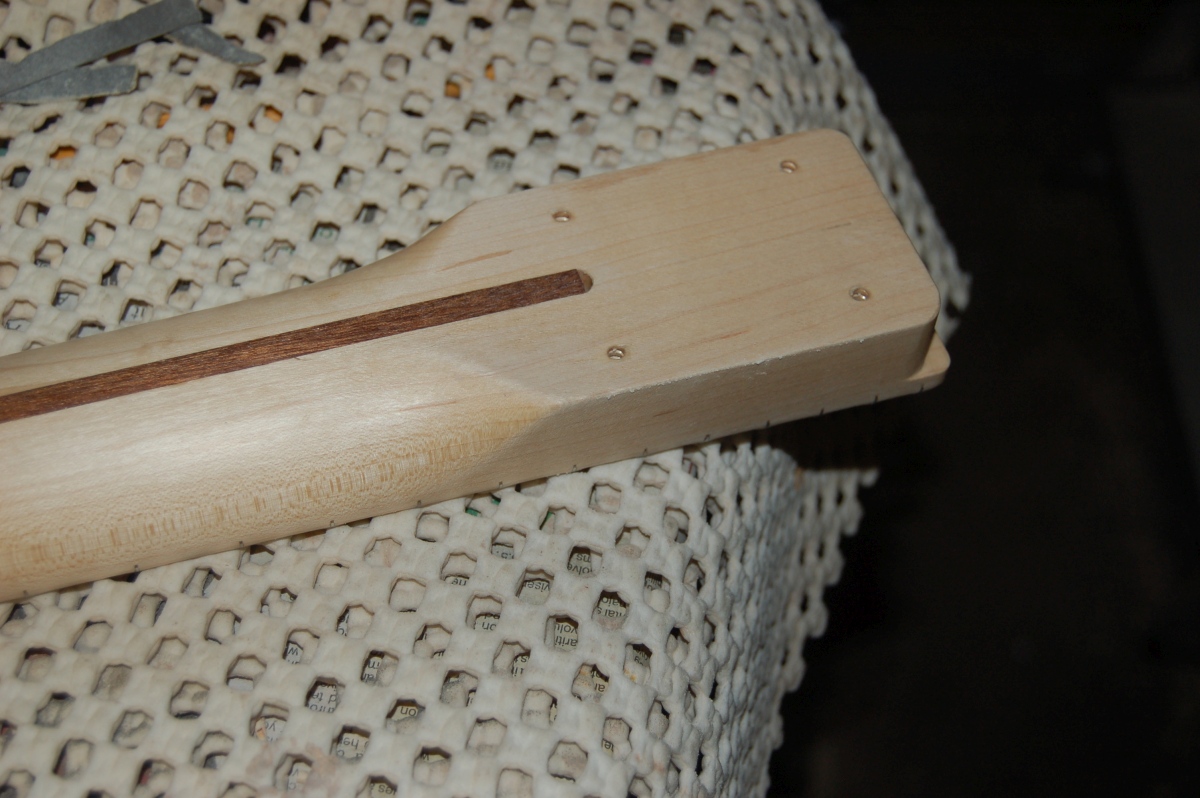
With the dots fitted, I could finish sanding and shaping the neck. The shape was roughly carved already, and I did most of the final shaping with a scraper made by turning the edge of a razor blade.
I spent a very pleasant, sunny afternoon, feeling for smooth curves in the neck and whittling away imperfections with the razor blade. It’s amazing how little material you need to take off to remove what feels like a huge ridge.
I tried to keep everything symmetrical, and made occasional checks with a profile gauge
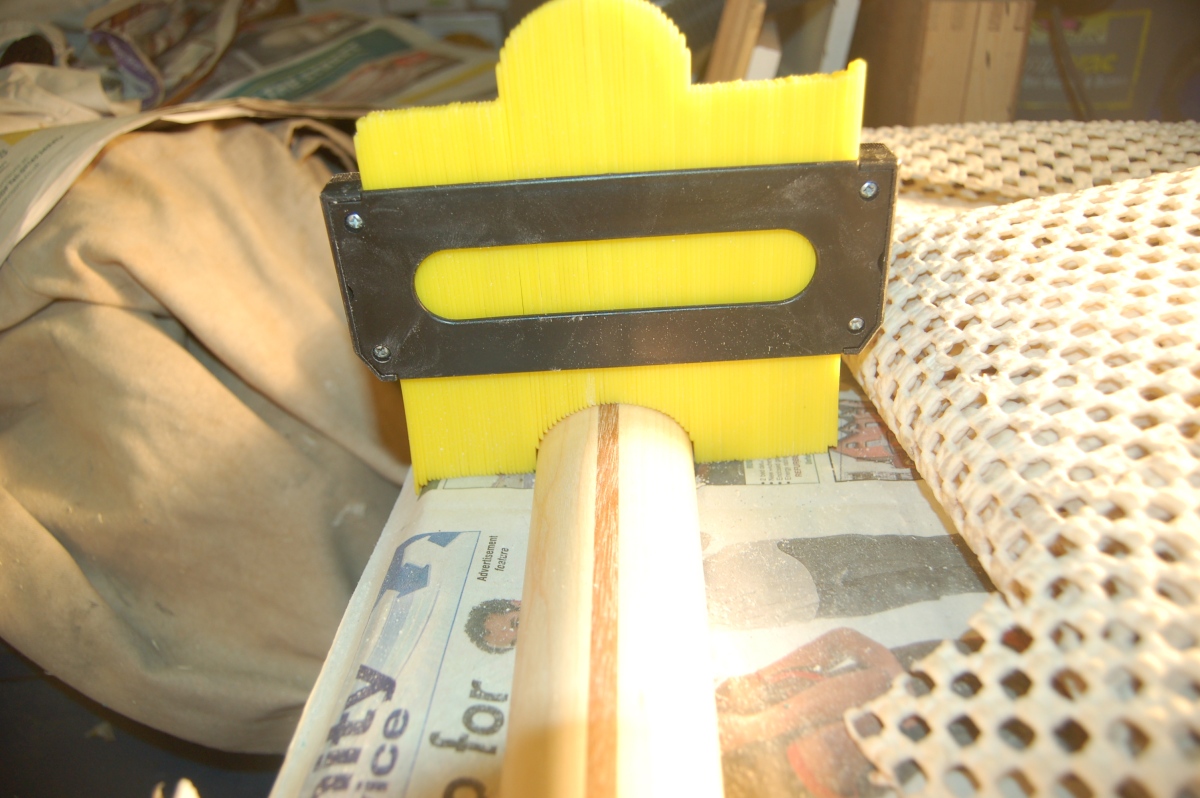
I would fit in one way, then flip it 180 degrees and check it against the neck again in the same place. Primarily, I went by feel, though.
When I thought I was done, I put the neck down for a day, and then came back to it with fresh eyes / hands. Eventually, I decided that it was ‘right’, and it was still ‘right’ the next day.
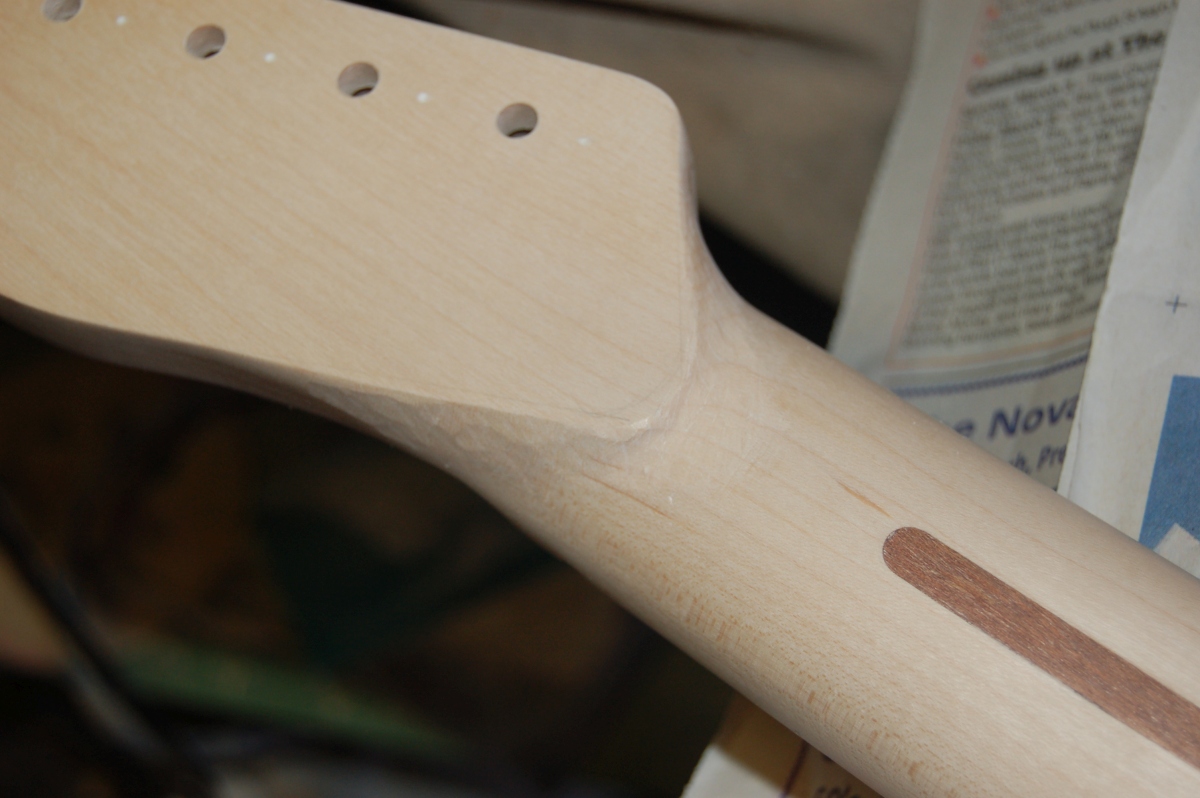
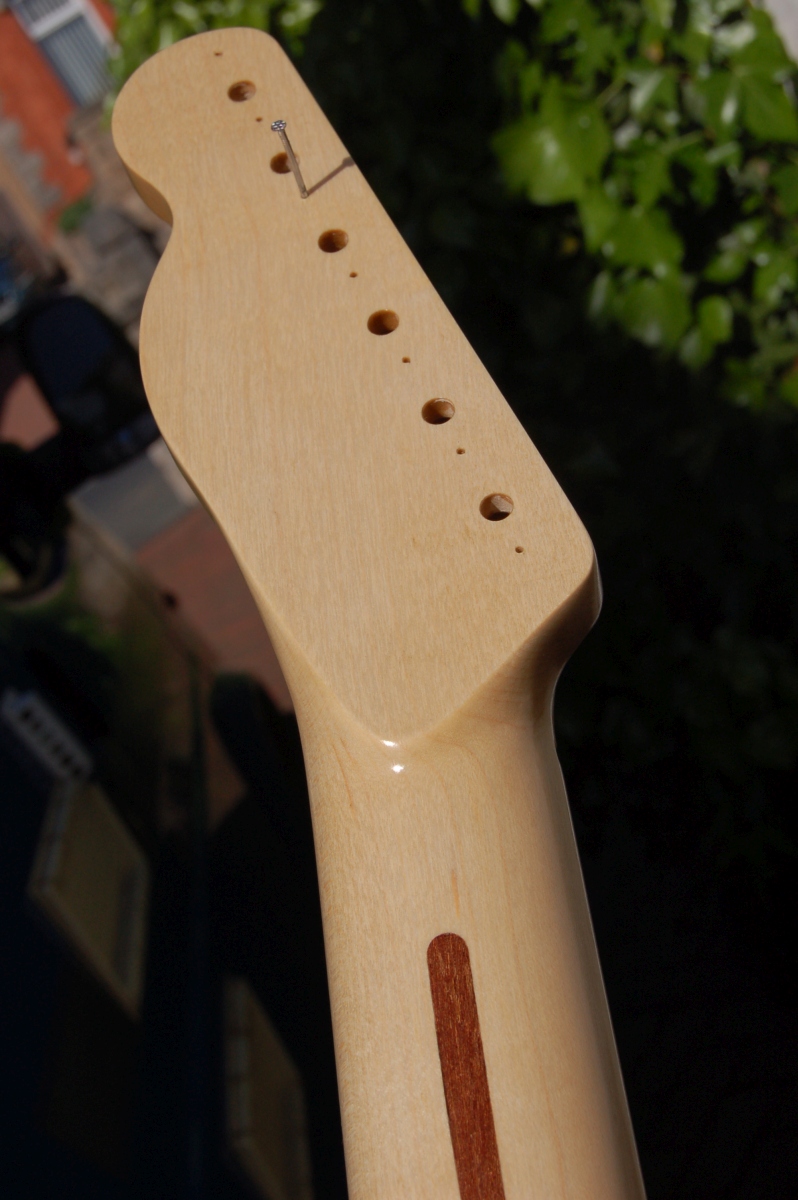
As the final contours took shape, I felt that the headstock transition looked wrong, so I wanted to move it
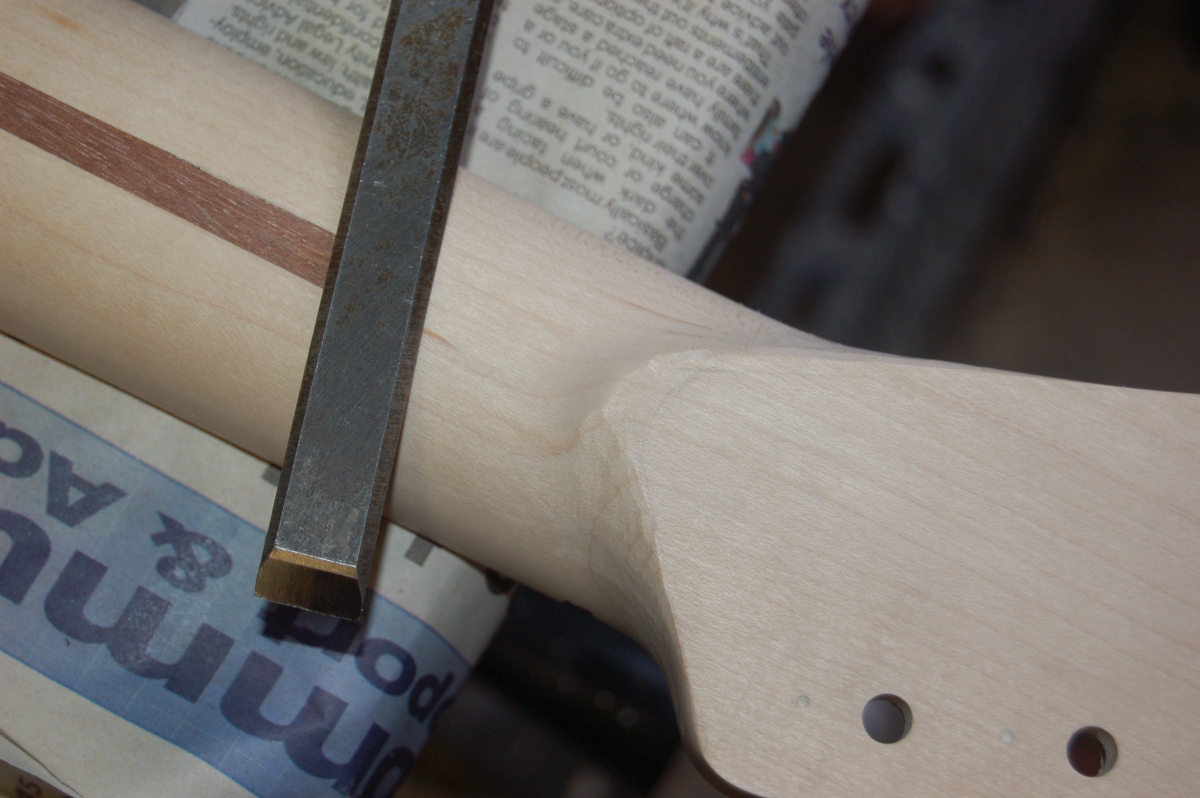
It felt wrong attacking a lovely smooth neck with a chisel, but I knew it would bug me if I left it.
Surprisingly quickly, it was carved away and sanded smooth again.
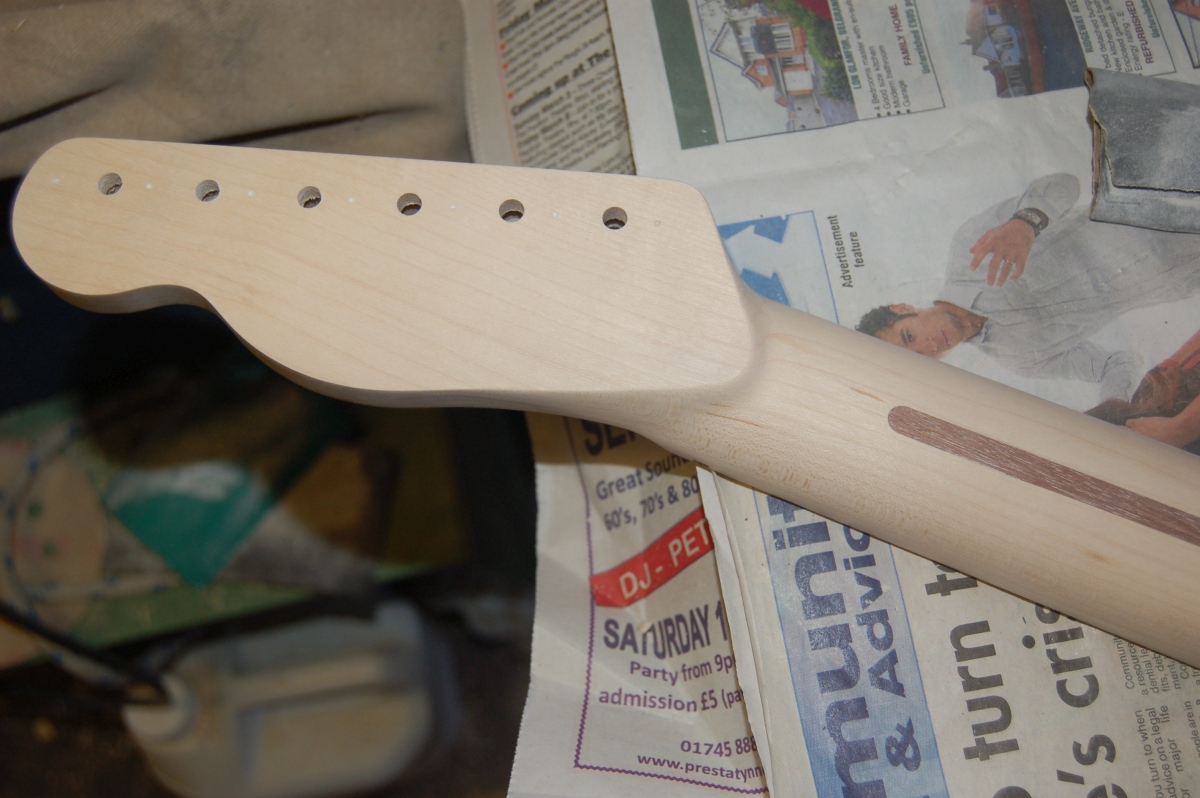
No regrets
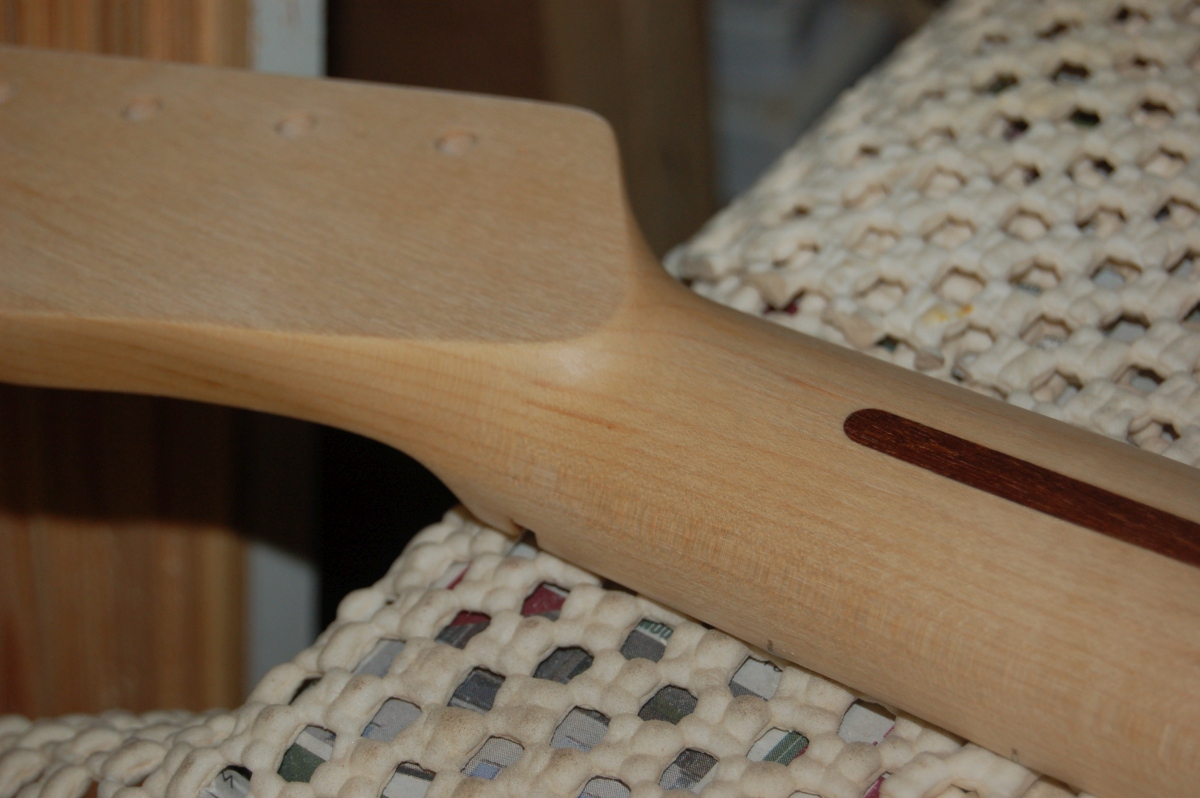
I did something similar at the heel end
Now, back to that damn superglue I spilled all over the frets…
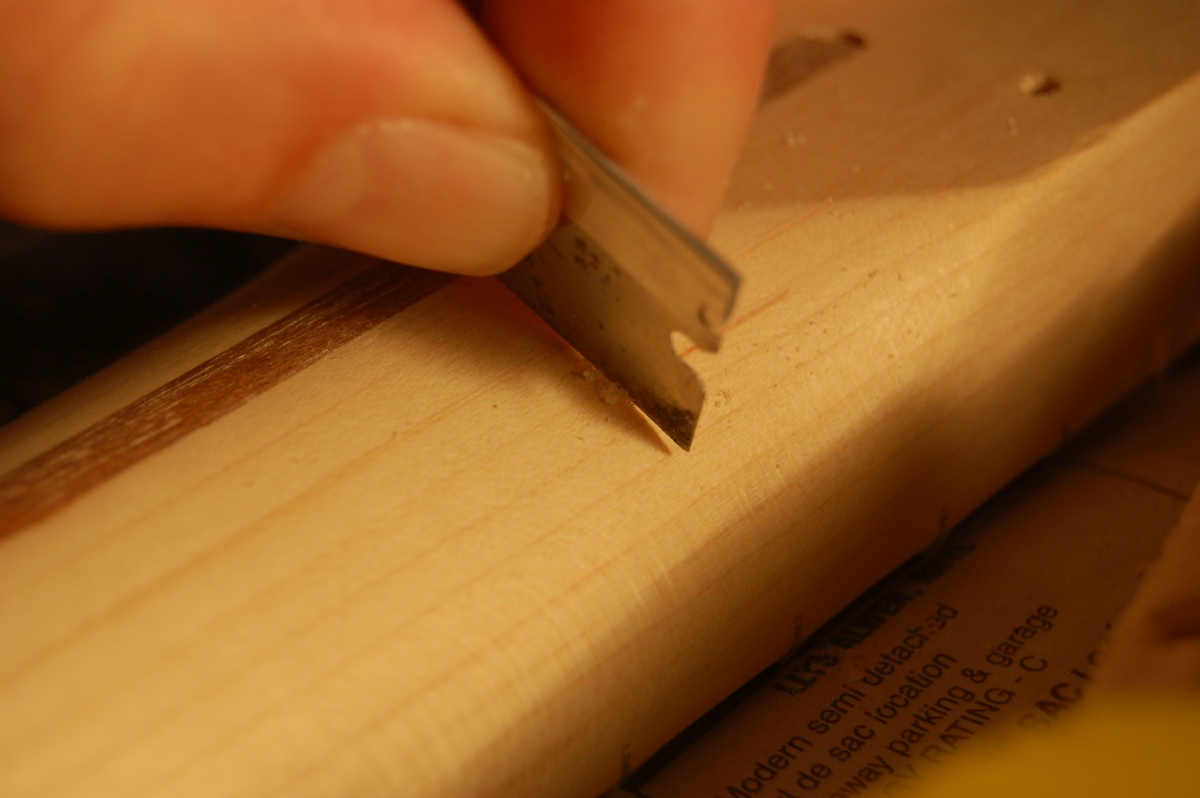
Fret cleanup
I’d tried to clean as much as possible off with acetone at the time, but it was obvious, even so, that the glue residue would affect the finish (just wiping the neck with thinners showed that it would look awful).
So I spent ages with a Stanley knife blade carefully scraping the glue off the fretboard between the frets. This messed up the lovely smooth finish I had on the neck, so I then had to spend even longer with tiny bits of sandpaper trying to smooth it out again.
While I was at it, I also rolled the edges of the fretboard a little. It made a big difference to the feel.

Getting there…
Neck finish
This week I have been mostly doing: Tru Oil…
I finished the neck in Birchwood Casey Tru Oil (a wipe-on varnish intended for gun stocks, etc. – I’d used it before on my Firebird).
I used the ‘coffee paper’ method – put a few drops of Tru Oil onto a coffee filter and rub it into the surface, then, quickly, with a fresh paper, wipe off the surplus. It took me a while to learn the same lessons as last time: Less is more, and don’t ever go back over the same area!
The maple took the finish really well once I’d stopped trying to slather it on – you almost have to go with the attitude that you’re trying to wipe every trace of it off. Even if it doesn’t feel like anything is happening, the surface gradually starts building a hard gloss. Doing between the frets was a PITA!
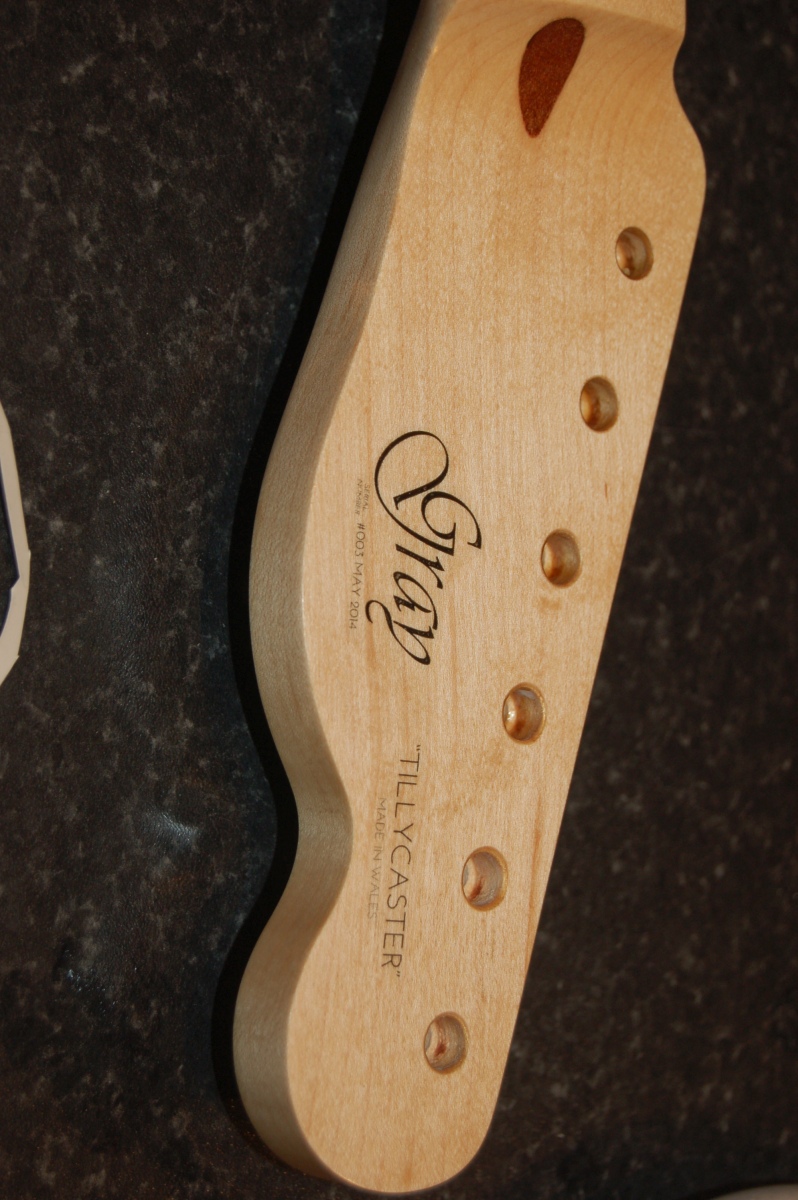
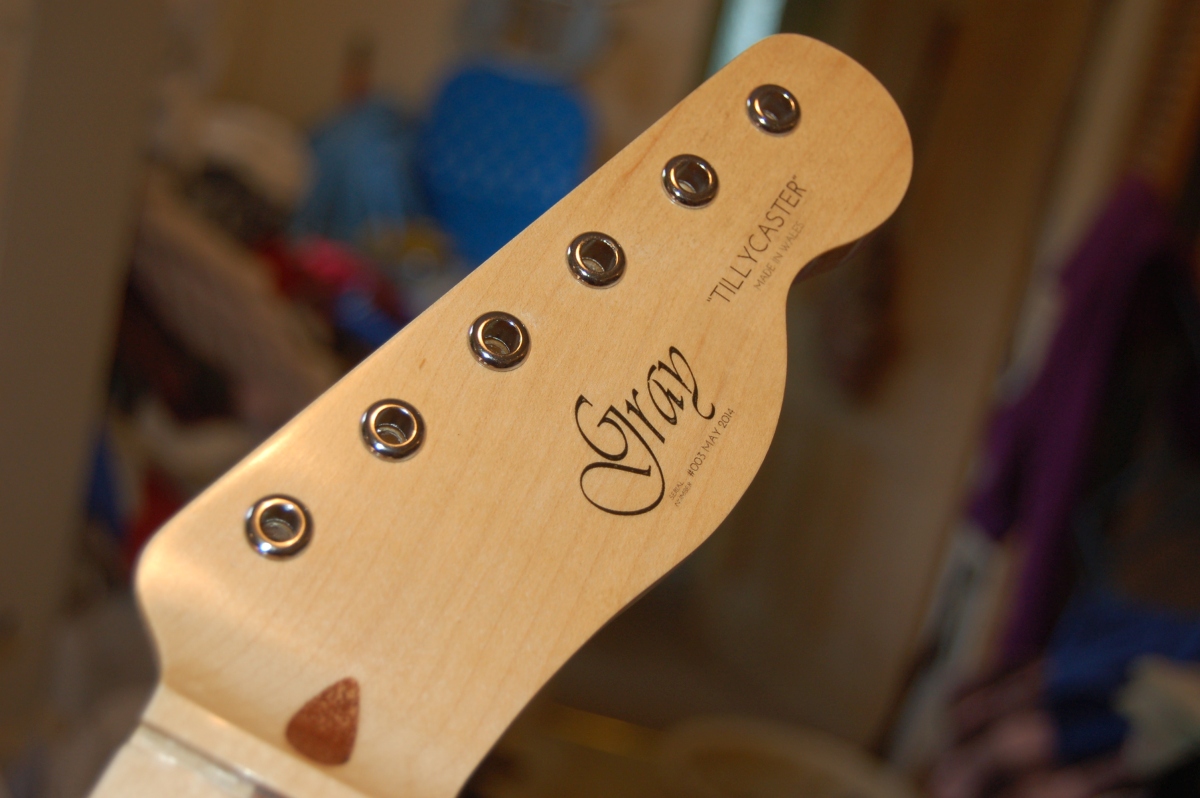
It took much longer that it should do, because I had 5 attempts at doing the transfer on the headstock (disintegrated, ‘silvered’, sanded through (after about a dozen coats of tru oil!!), sanded through (duuur!), put on and left alone ! )
Eventually, I decided it was ‘done’:
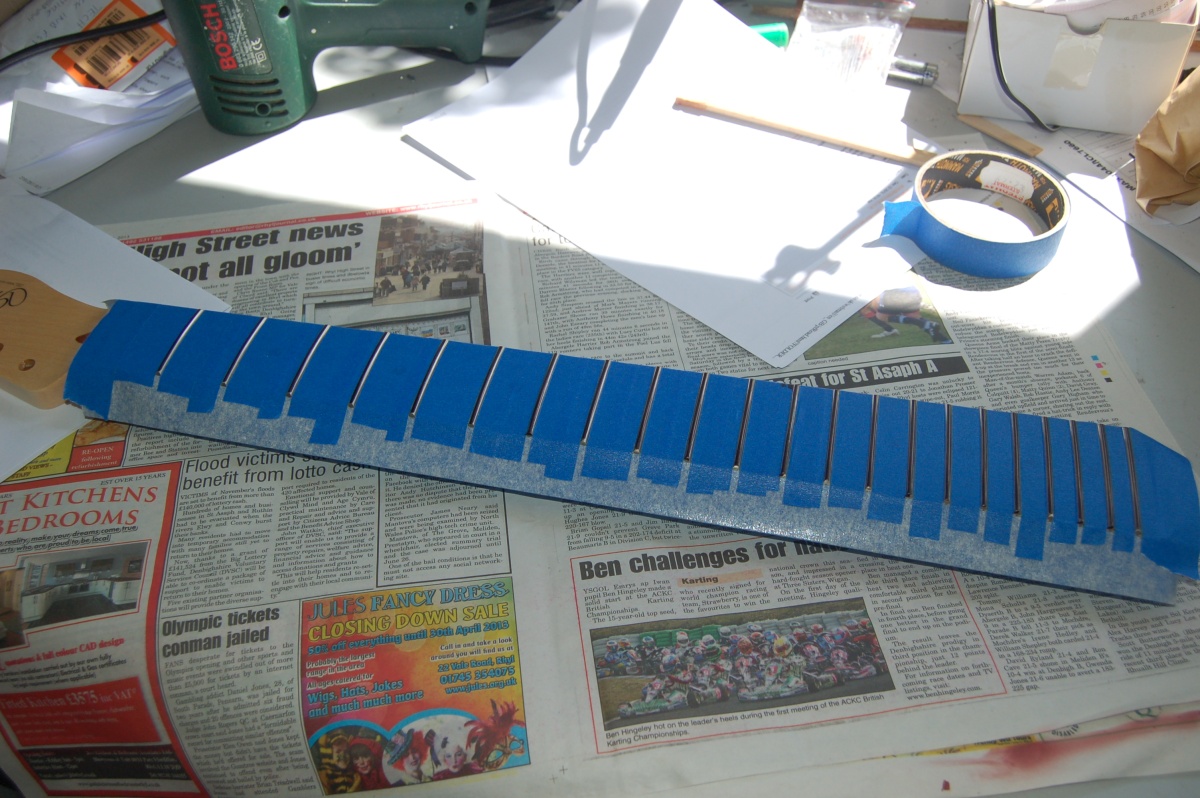
Fret levelling
I attacked a £4.99 Wilkinsons straight edge with a file to make a notched straight edge for a 25.5″ scale:
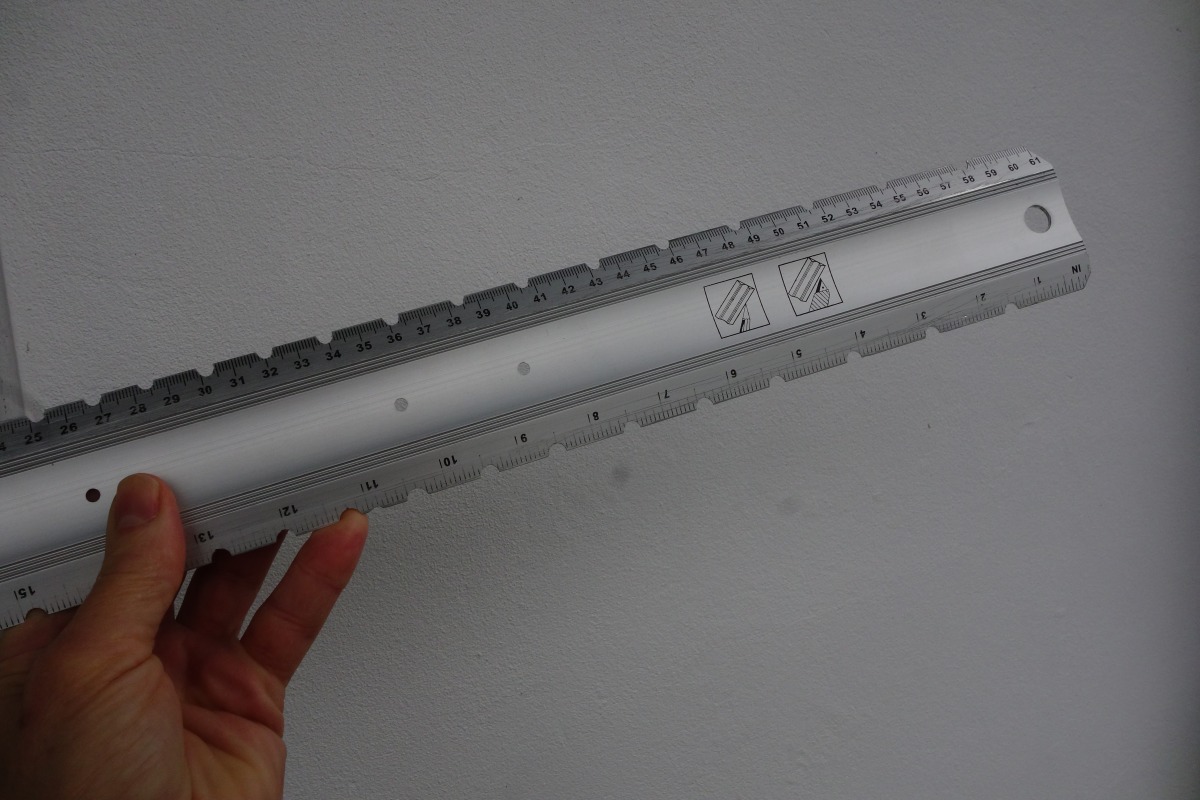
And used this to check the fretboard was straight – it had ended up with a very slight back-bow, even with the truss-rod completely loose (I tried whacking the truss rod nut, too, in case the rod was stuck) – it was only 0.1 to 0.2mm, so I could take it out when levelling the frets. I’m guessing it was caused by the stresses built up when the frets were pressed in.
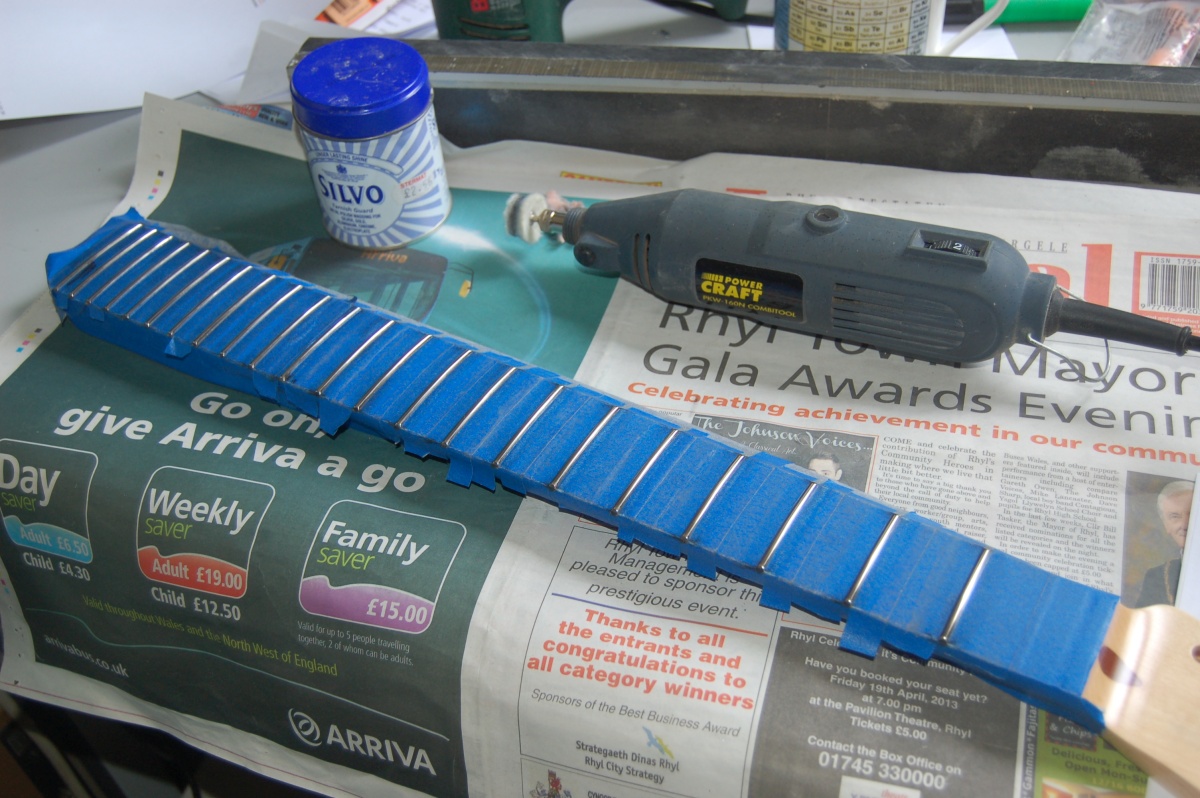
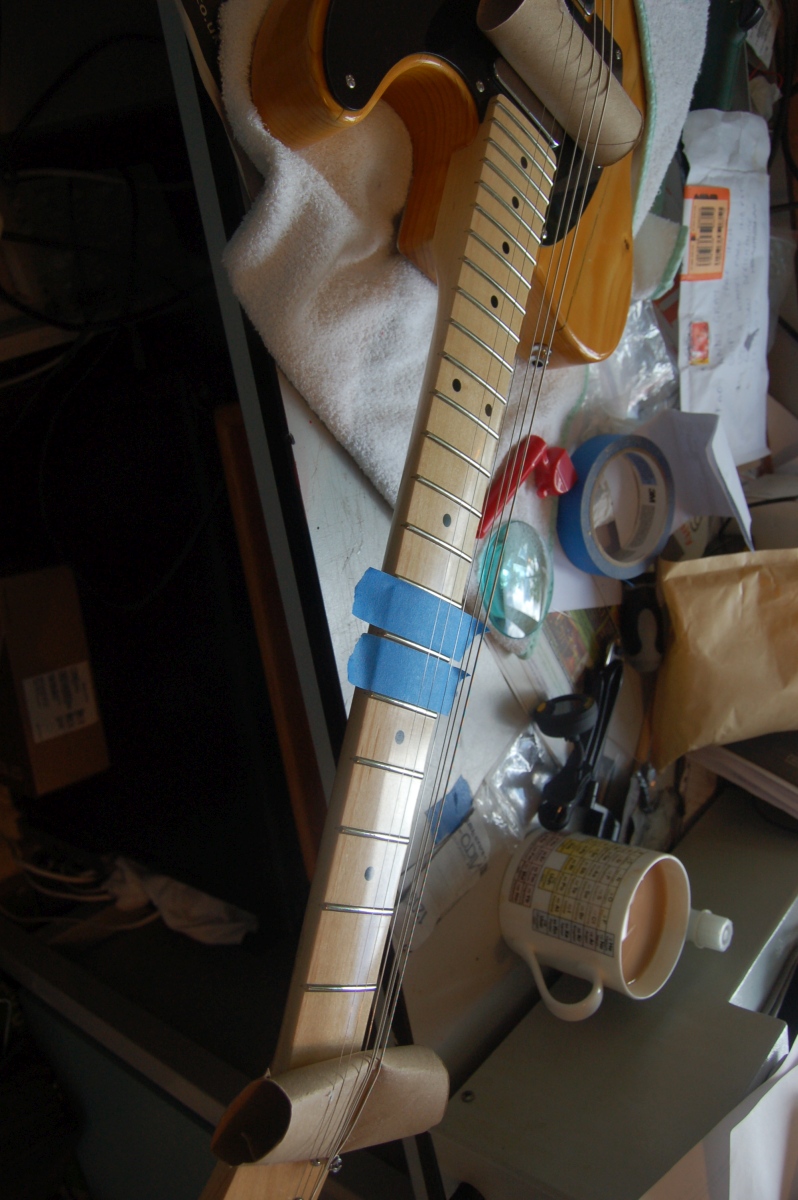
With the neck as straight as I could get it, I masked it up, blackened the frets with marker pan and started levelling them (I already had the levelling beam – it is a couple of pieces of laminate glued together with some wet & dry paper fixed to it with double-sided tape).
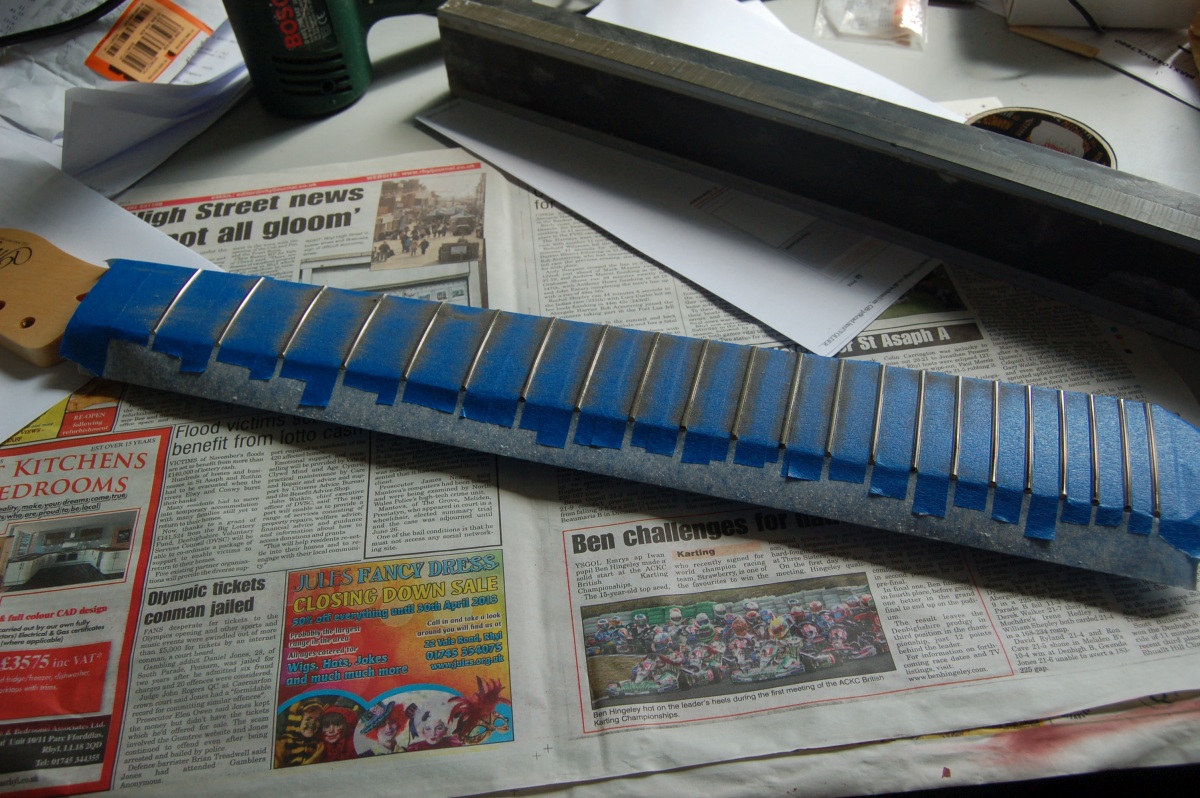
For the first time, I worked in a deliberate fall-off from roughly the 12th fret by taping a couple of thicknesses of card over the other frets:
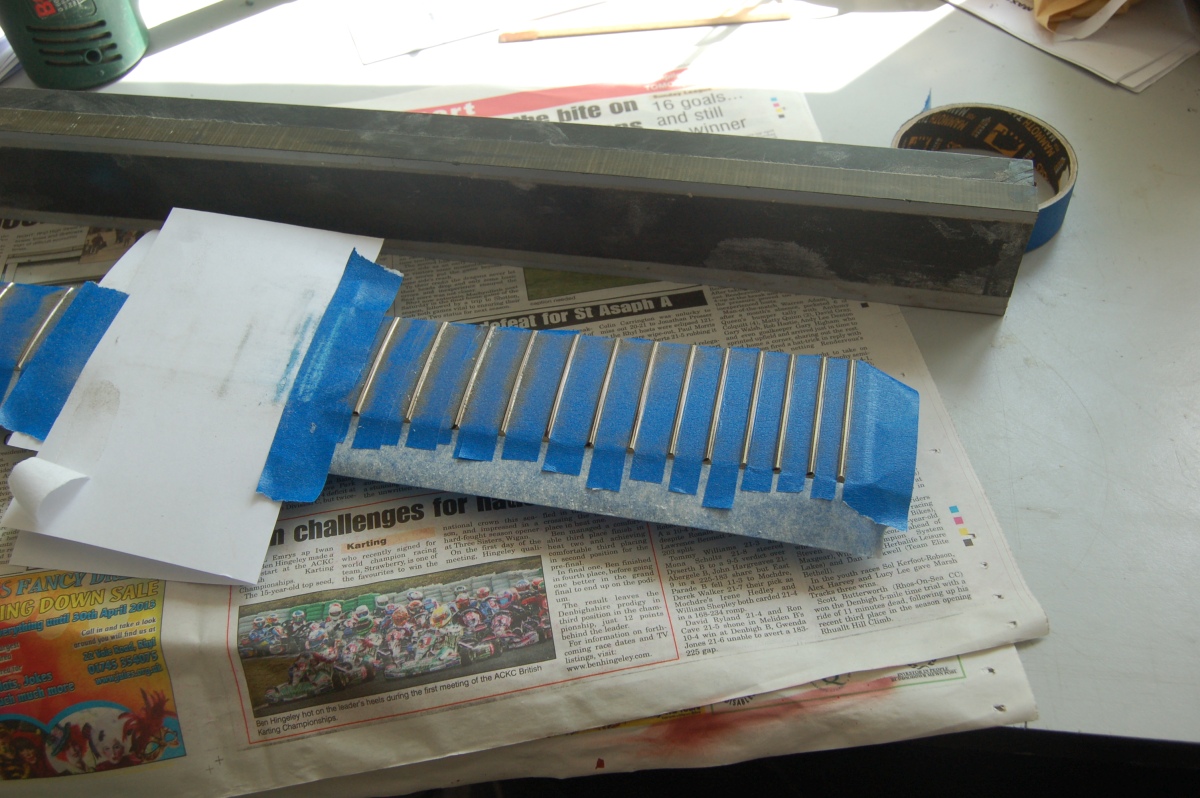
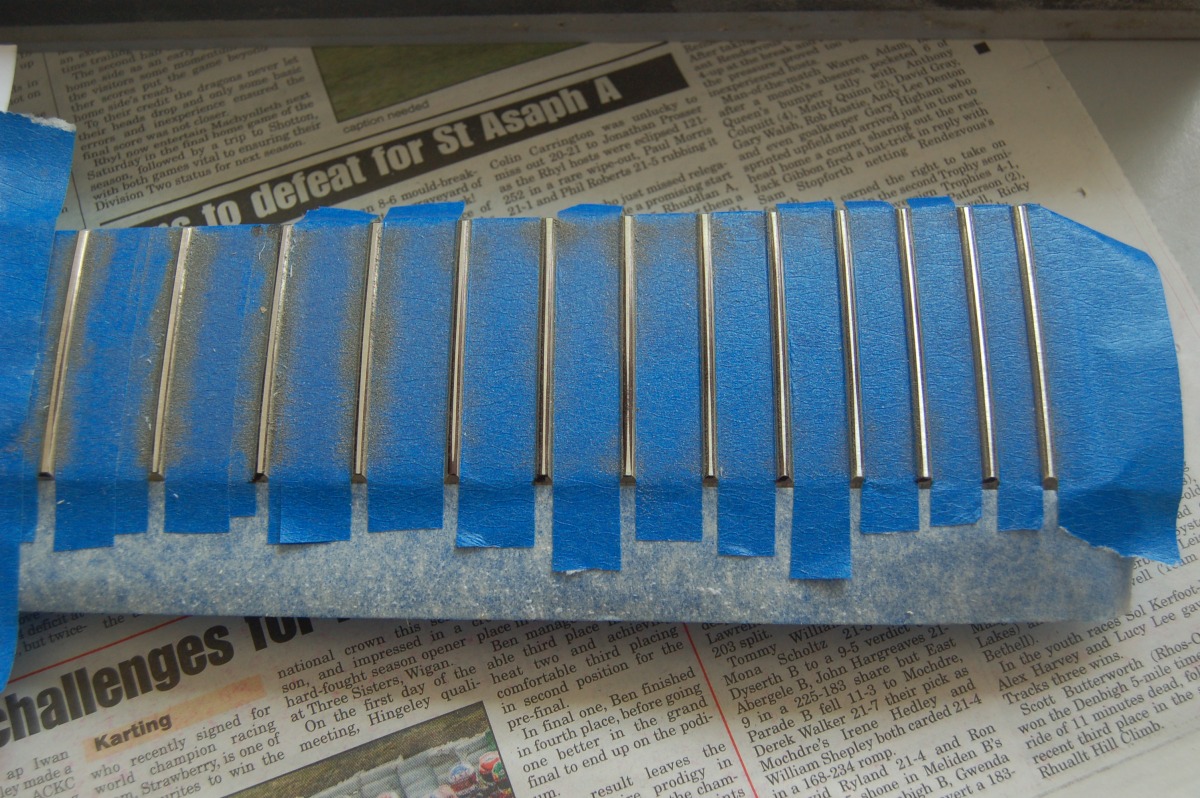
Pretty much done – just a little bit more needed to bring everything down to that low spot on the 16th fret:
I re-crowned the frets with a pukka crowning file from an ebayer in Portugal (much faster than using a needle file), then polished them with some micro-mesh. It was the first time I’d used that, too – it’s like posh emery paper.
The finishing touch was some Silvo polished up with my Dremmel-a-like.
Assembling the neck
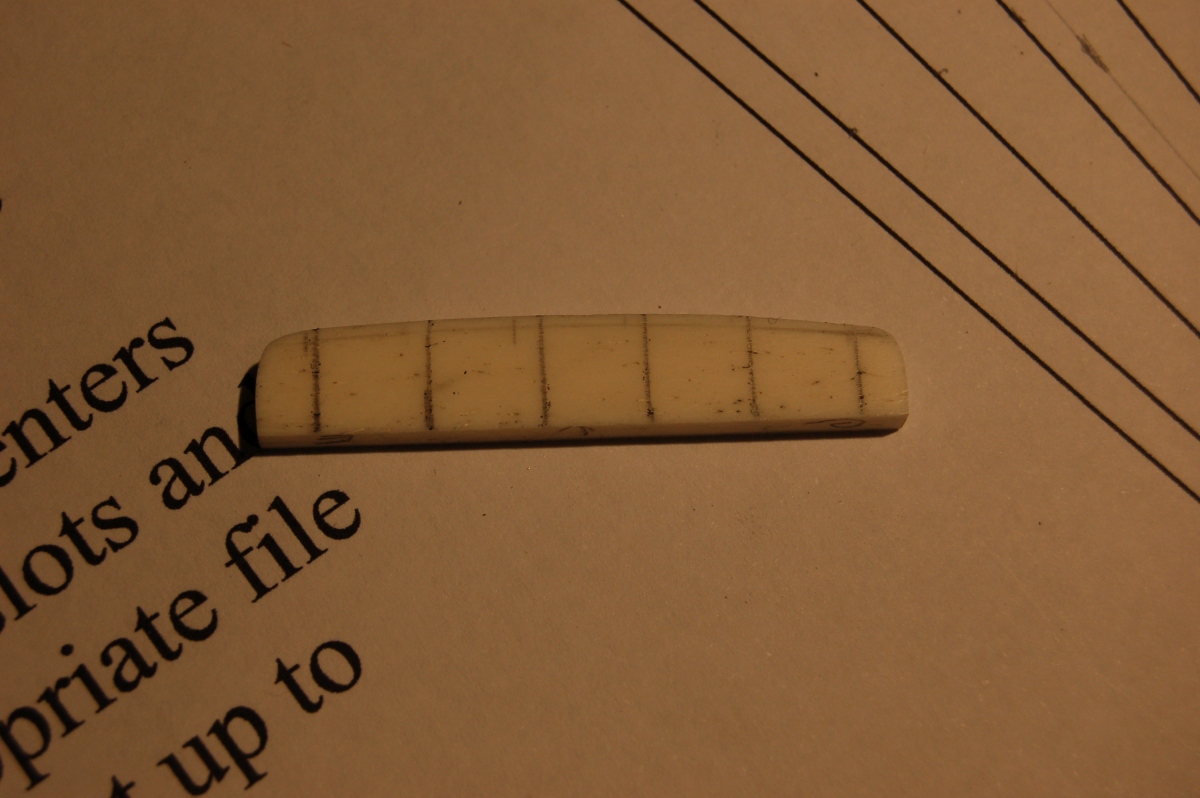
I re-fitted the nut blank and trimmed it roughly to size:
There’s a really nifty pdf file on TDPRI for marking out the string slot spacing. Just line the ends of the nut up with the outside lines and mark off the string positions:
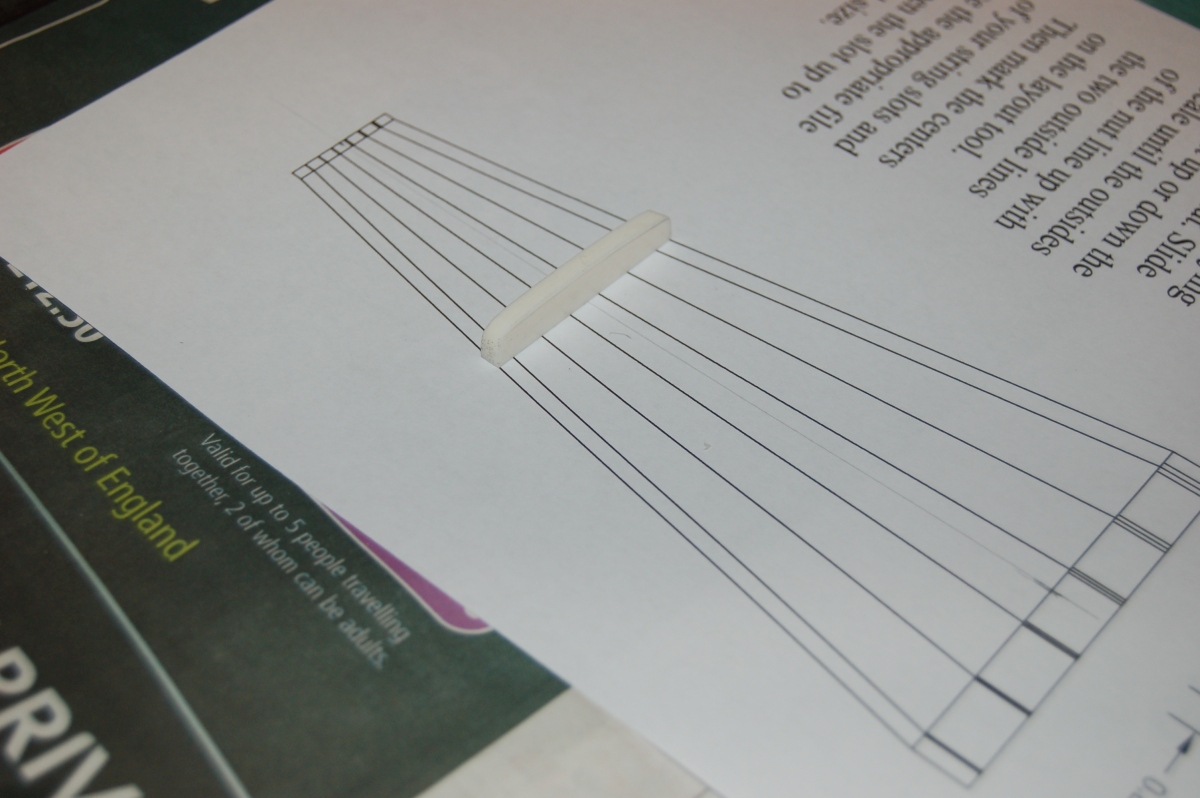
Then just use a square to take the marks up to the top of the nut (making sure you have the nut the right way around, or you end up with two sets of lines like I did….)
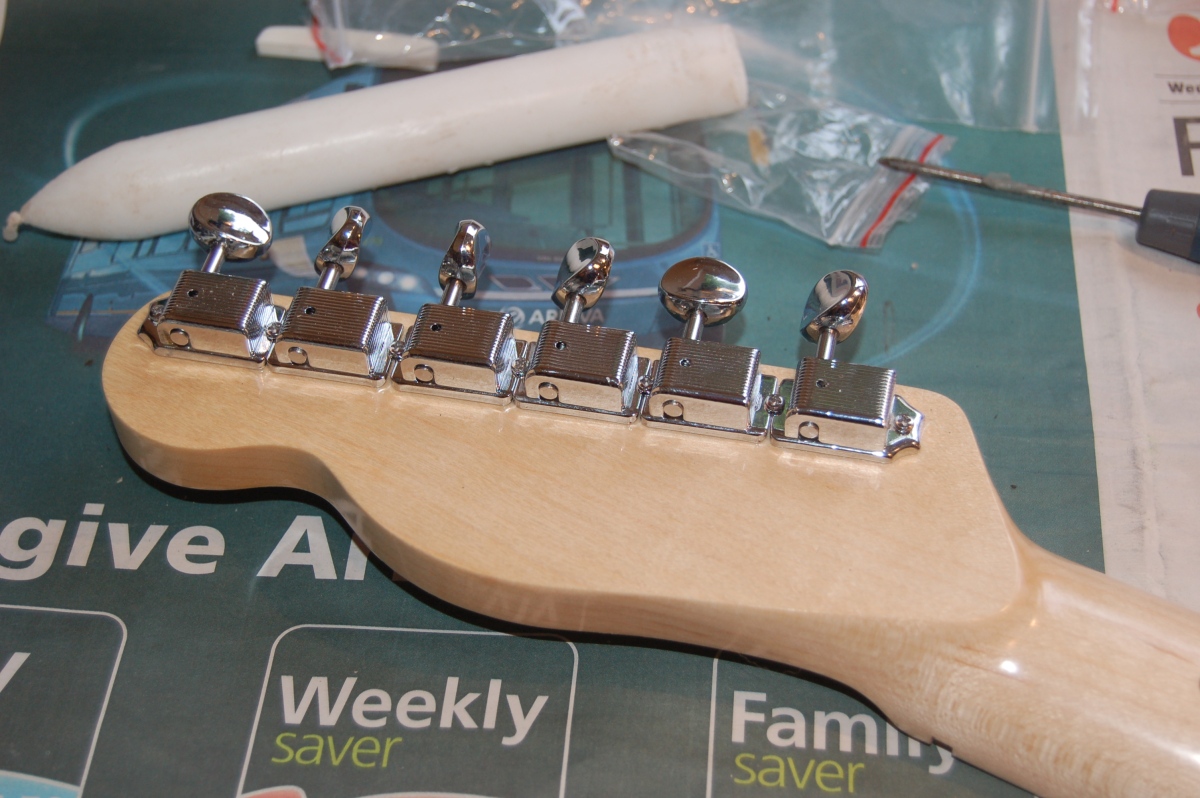
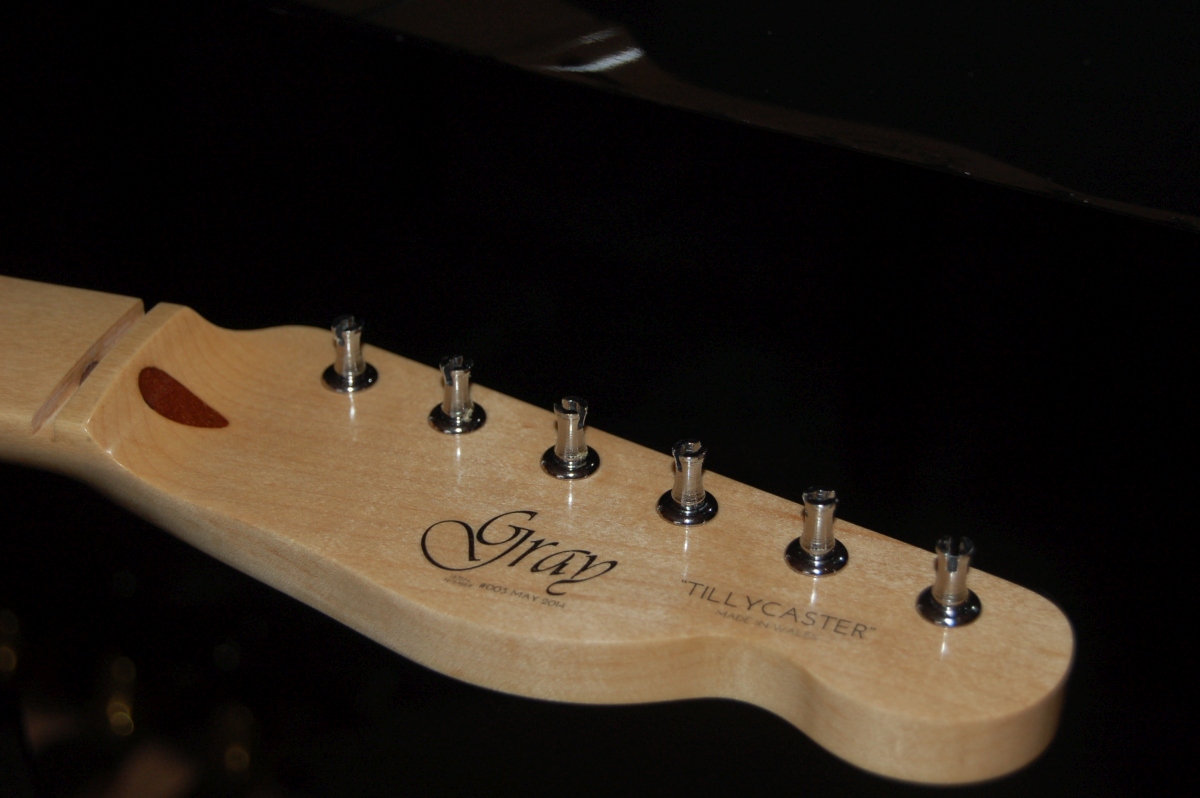
Tuner bushings (after cleaning all the tru-oil out of the holes). These needed a surprising amount of force from a G clamp to get them fully seated.
And the tuners (candle to wax the tiny little screws)
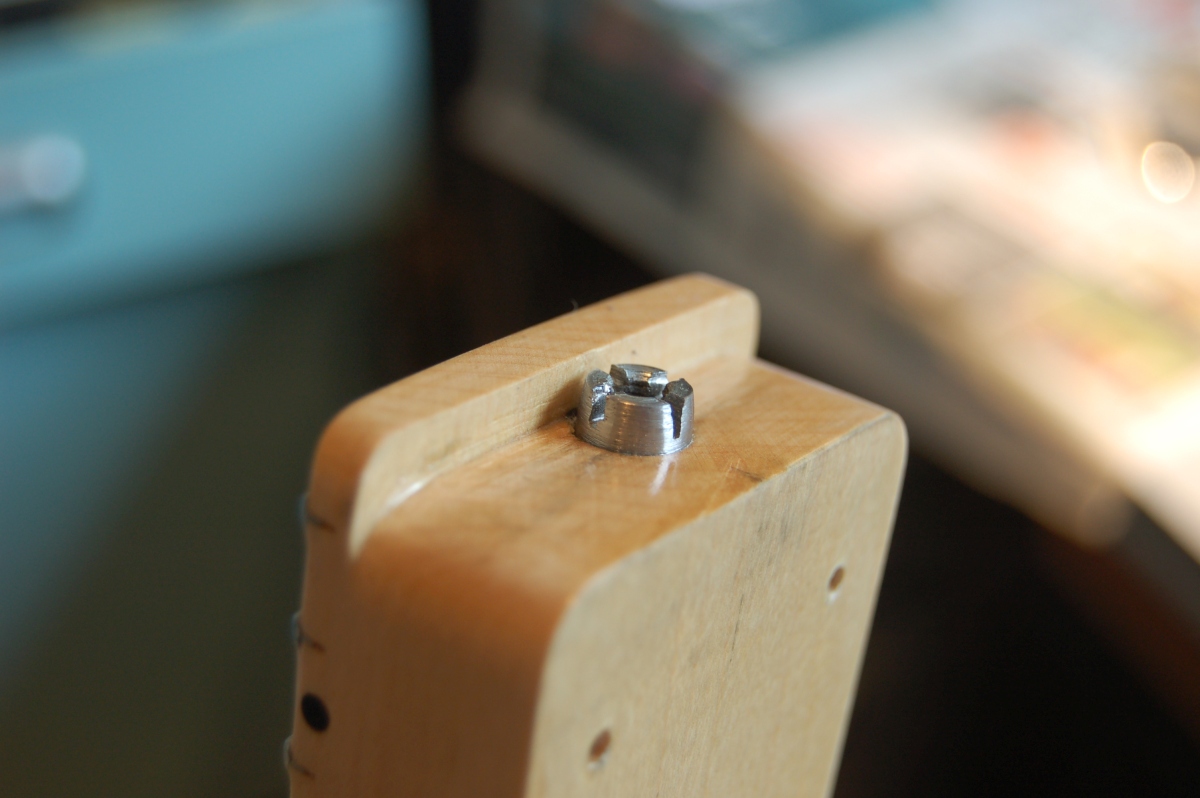
I’d cut the truss-rod adjuster down a little so that it was under the ‘overhang’, but because I’d cut the truss rod flush with the neck heel, it still needed to stick out a bit to get the screwdriver into the slot.
I filed the nut slots down (leaving them a touch high, just in case)
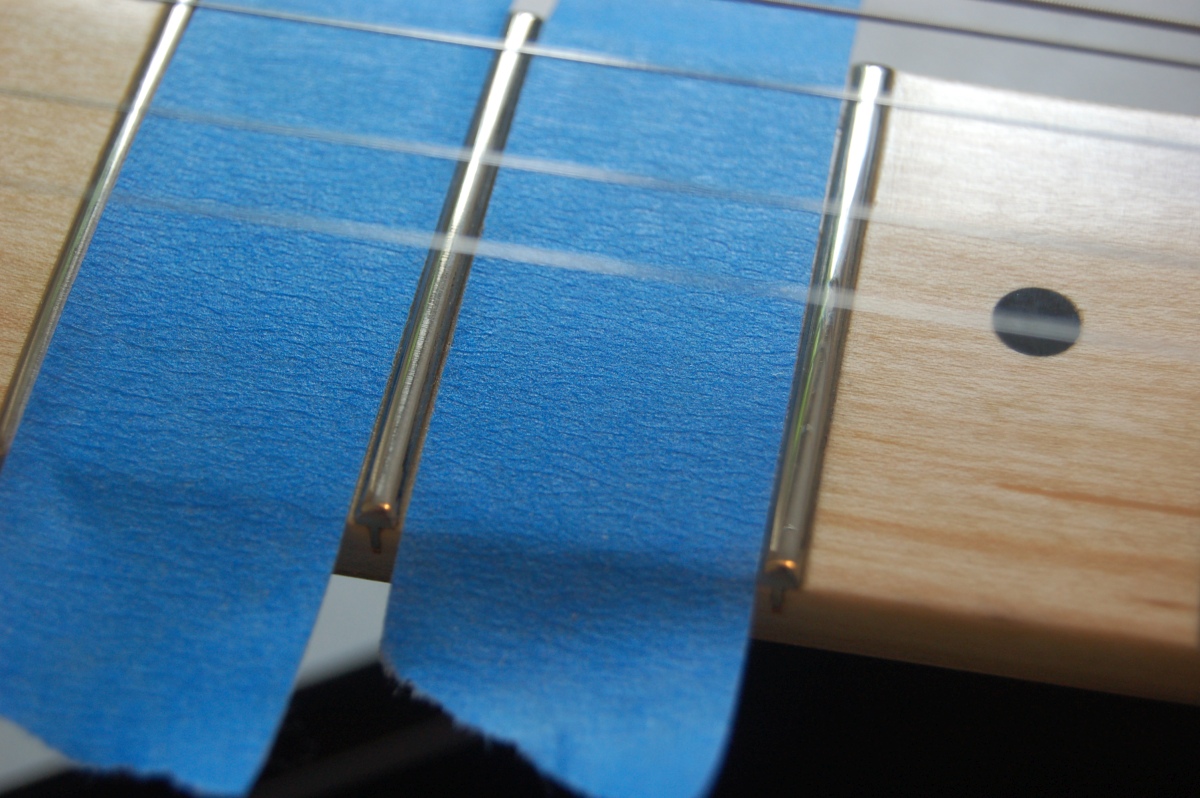
As soon as I tried to play it, I realised that I hand’t done as good a job of polishing the frets as I thought (It was like someone had put sand on the fretboard), so I had to slacken the strings and go over each fret again with the micromesh (string supports available for £20 + shipping )
The one on the right has been done, the one on the left hasn’t.
This also gave me the opportunity to take the nut off, sand off some of the excess and gave it a bit of a polish. There’s a few ‘pores’ (?) in the bone which are making the black dots.

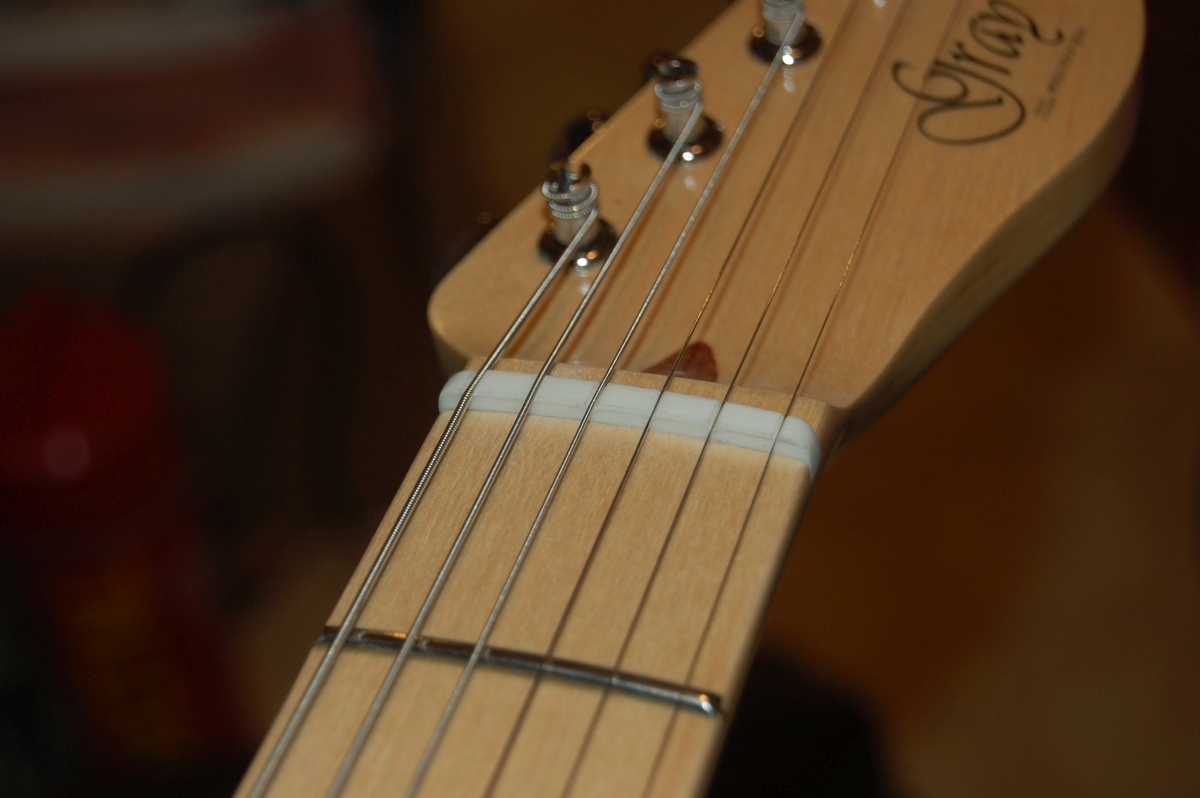
I fitted a string tree to the top two strings, re-tightened the strings and that was it – done