
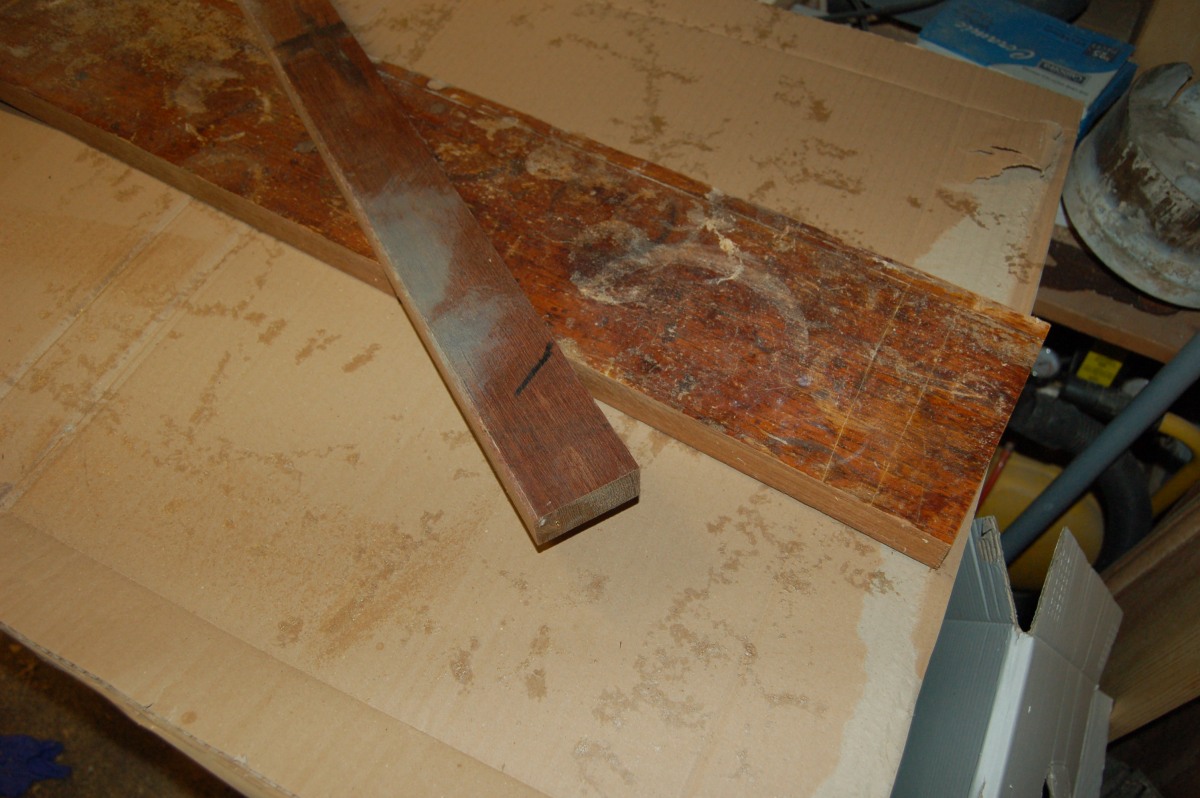
Neck Blank
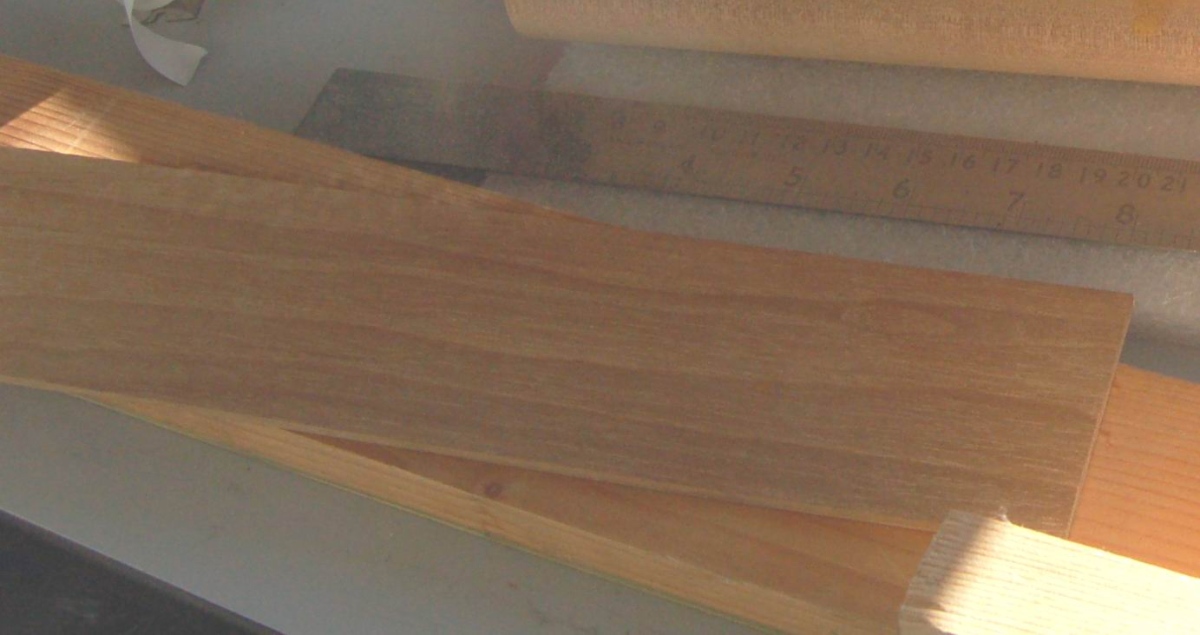
For the neck, I cut a ~ 50mm wide strip off some old laboratory work bench tops that are made of some type of teak (actually, I’ve been told it’s probably iroko):
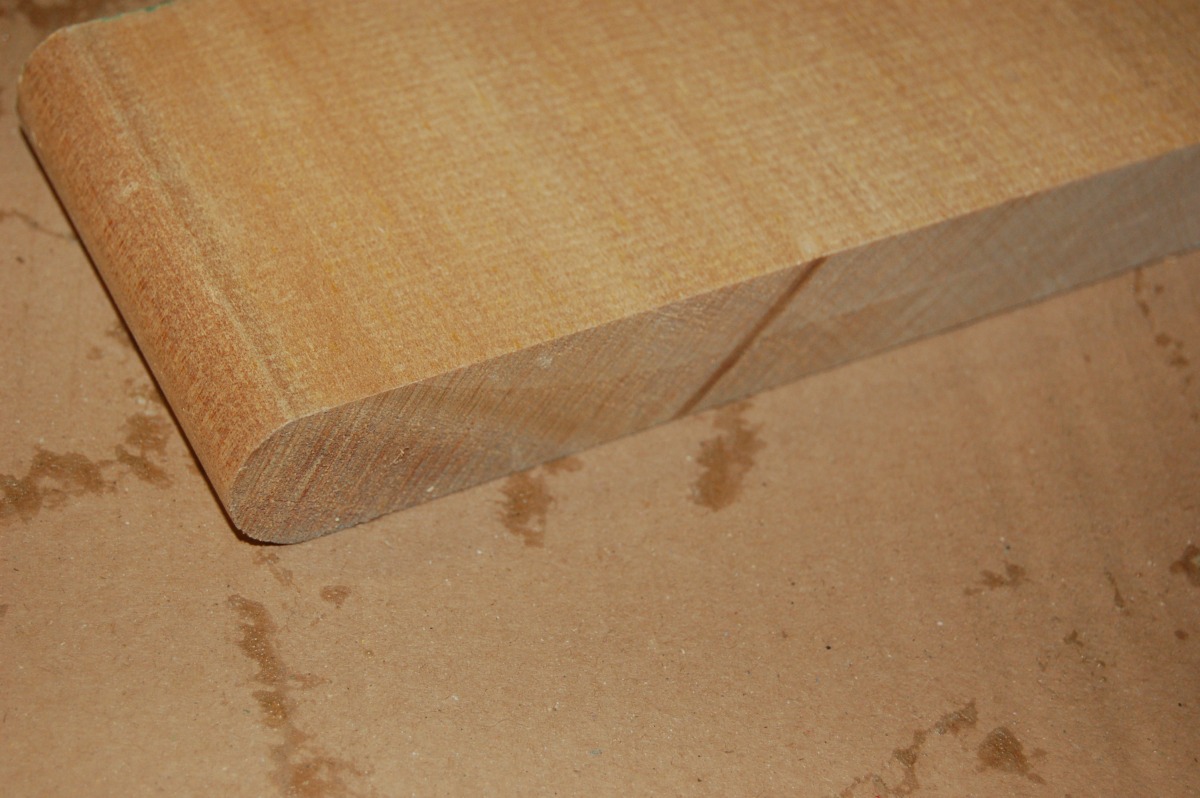
I cleaned this up with a plane, and also cut another, wider piece for the headstock and planed it down to about 1/2 thickness. I wanted a scarf-jointeded neck with a separate fingerboard, so the next job was to cut a 15° taper on the neck and headstock, clamp them together and plane the taper flat and true. I can’t cut straight to save my life, and was pleasantly surprised that this seemed to go OK:
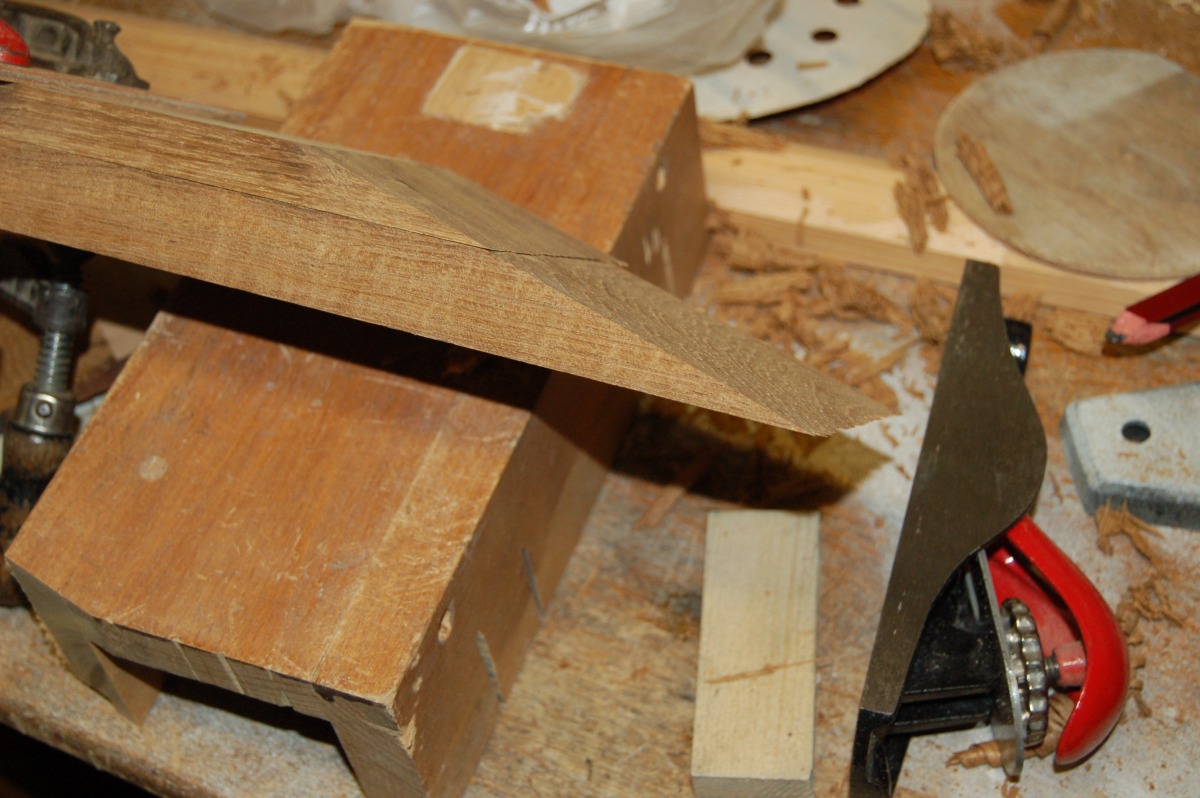
(I had spent 1/2 a day truing my little block plane up and sharpening the blade, and I think it made a huge difference.)
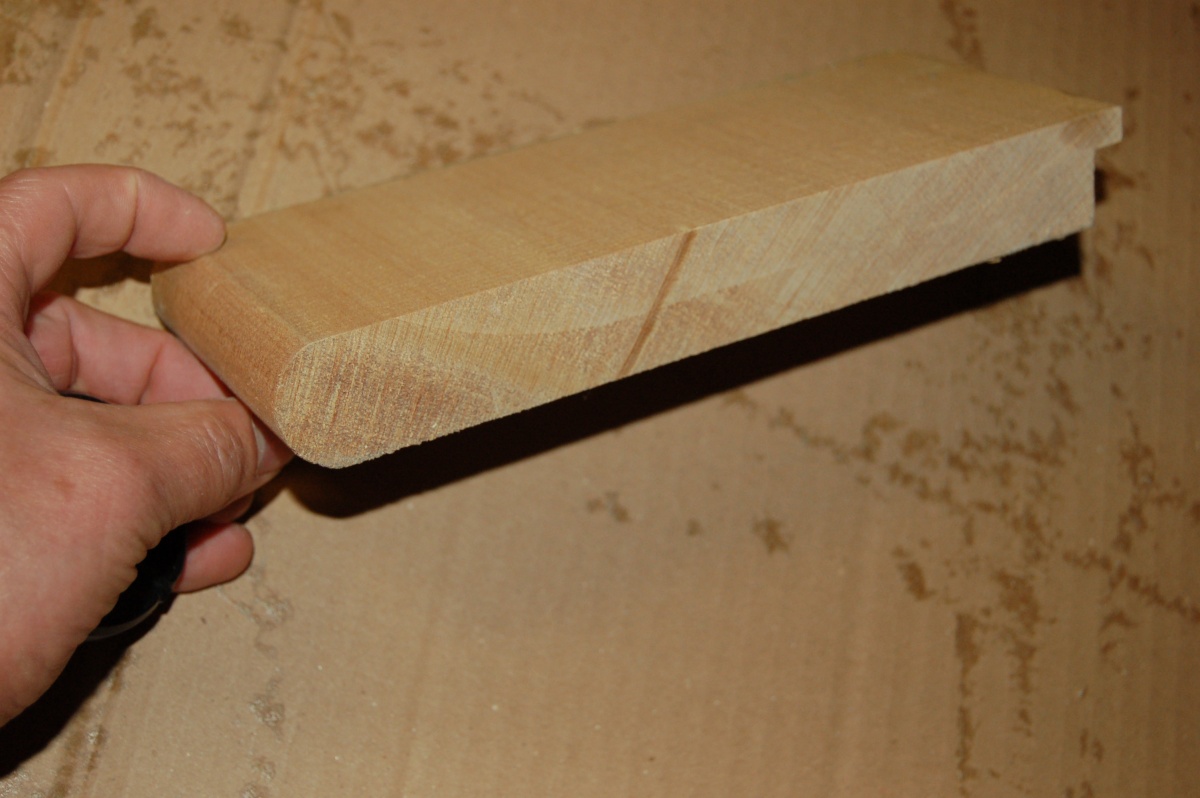
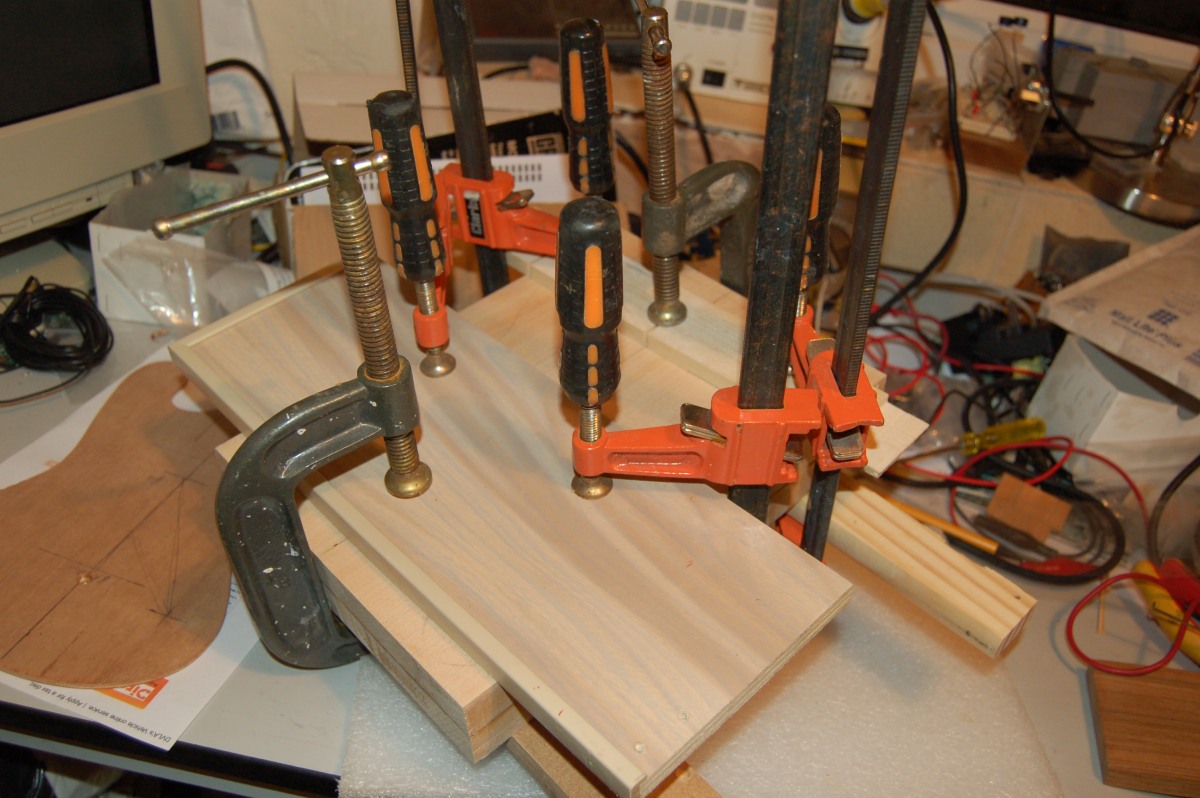
Next, you just flip the thin piece over and glue it to the tapered end of the neck (I think for guitars, people tend to glue the headstock to the underside of the neck, but for ukes the headstock goes on the end as far as I can tell). Trouble is, the glue is slippery, and you’re trying to clamp two tapered pieces together. The answer is to clamp the neck to a board first to keep everything true, and to drill holes for small pins in a waste area to stop the headstock sliding away as it’s clamped:
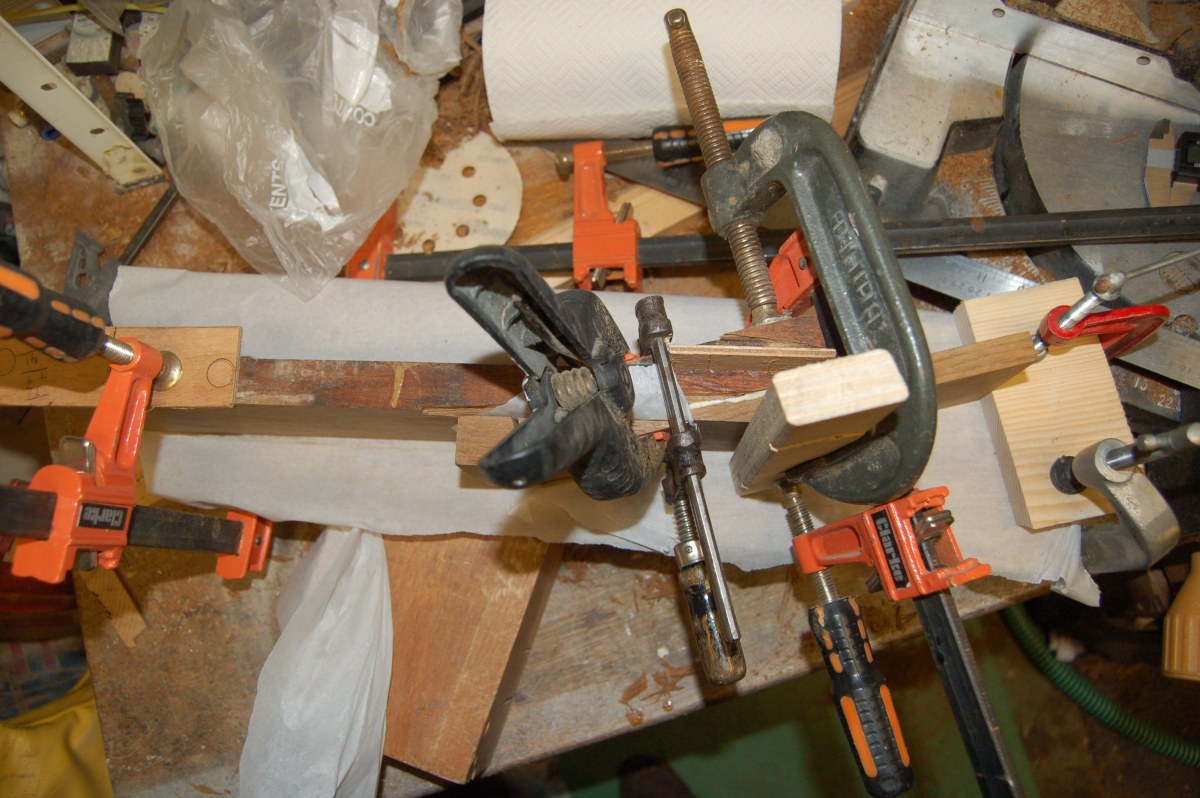

You need a lot of clamps…
One neck blank:
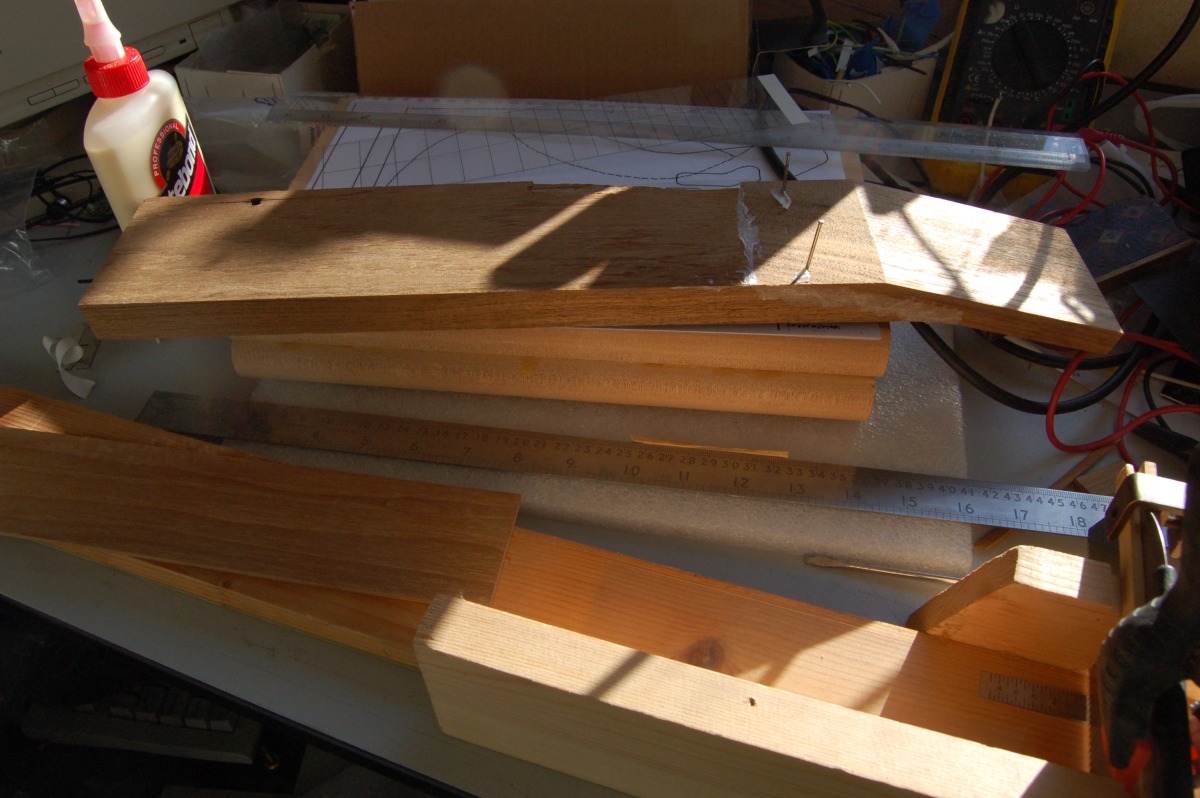
Body blank
For the body, I had an off-cut of parana pine window sill – this is a relatively hard, close grained wood:
It didn’t seem thick enough for a uke body, so I stuck two pieces together (did I mention that you need loads of clamps?):
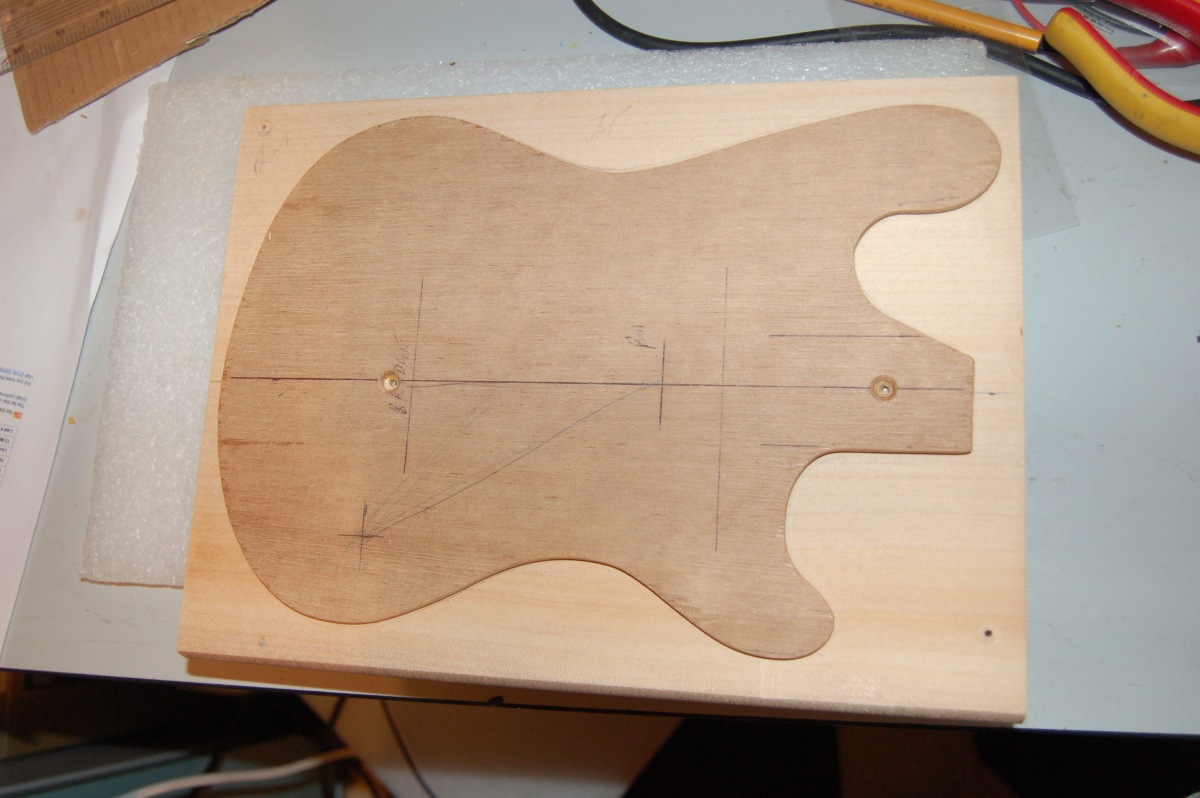
Chunky:
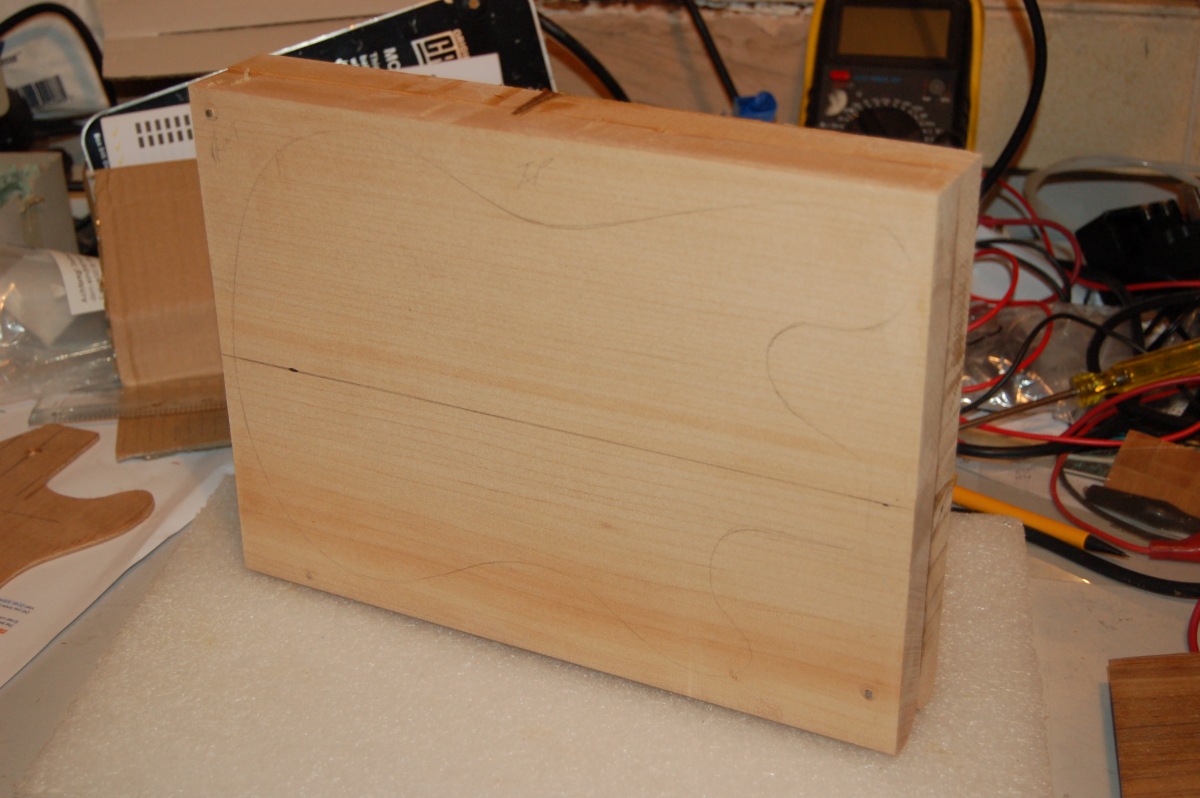
You can see the body outline that my son roughed out pencilled onto the blank. …Actually, this is the second body blank :-[ … The combined thickness of two pieces was too thick for my router. No problem, I thought, I’ll just use the router to take the thickness down a bit. I was working away, carving a network of grooves at a set depth (to be joined up with a chisel eventually), and the router was labouring more and more. Far too late, I stopped to see what was wrong: The router cutter was working its way out of the machine and was gouging out a slot nearly half the depth of the blank… . Firewood.
This time I planed the blank down to about 45mm thick which was just about OK for my 1/4″ router.
Fretboard
To get the body shape to match the neck, I needed to get the neck to the finished width so I could blend the body outline into it. To do that, I needed to make…. …THE FRETBOARD…
The fretboard was the biggest unknown for me. I’d previously worked out that if I cut the neck pocket to the full thickness of the neck with zero neck angle (i.e. bottom of the pocket is parallel to the front of the body – nice and easy to rout out ) that I needed a 3mm thick fretboard to give a reasonable action at the 12th fret (2mm, say) and at the same time fall into the available string height adjustment of strat style bridge saddles. I wanted something contrasting for the fretboard, but couldn’t justify buying a nice piece of ebony or rosewood, since I was pretty certain I’d screw it up. In the end I went with another piece of the teak work bench – a much paler piece with a different grain pattern. It was “interesting” planing this down to 3mm while trying to keep the thickness even – possibly the most accurate bit of woodworking I’ve done to date. It was about to get worse :-.
Fretboard blank:
The Stew-Mac fret position calculator gives fret positions to the nearest micron! From what I can tell, an accuracy of a few 10ths of a millimeter will do… As I’ve already said, I can’t cut straight to save my life.
I bought some “narrow fret wire” from ebay:
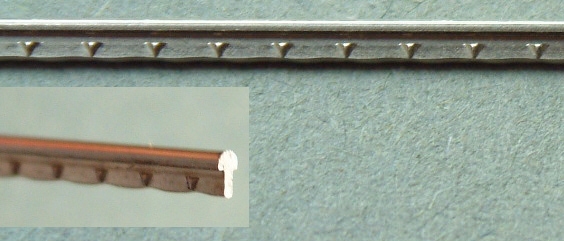
(This is his/her picture)
By happy coincidence, my super-duper Japansese style pull saw (from B&Q) cut slots that were pretty much the right width for the fret wire. This is good, because it cuts very cleanly.
I clamped some softwood together to make a mitre box for cutting the fret slots, made some test cuts on scrap, and tapped and adjusted an re-clamped all the bits until the test cuts were at exactly 90°. To stop things moving, I then dropped super-glue on the mitre box joints in a few places. To control the depth of the slots, I clamped two strips of wood to the saw to limit its depth of cut (I checked this with a nifty taper gauge that I use for measuring string action):
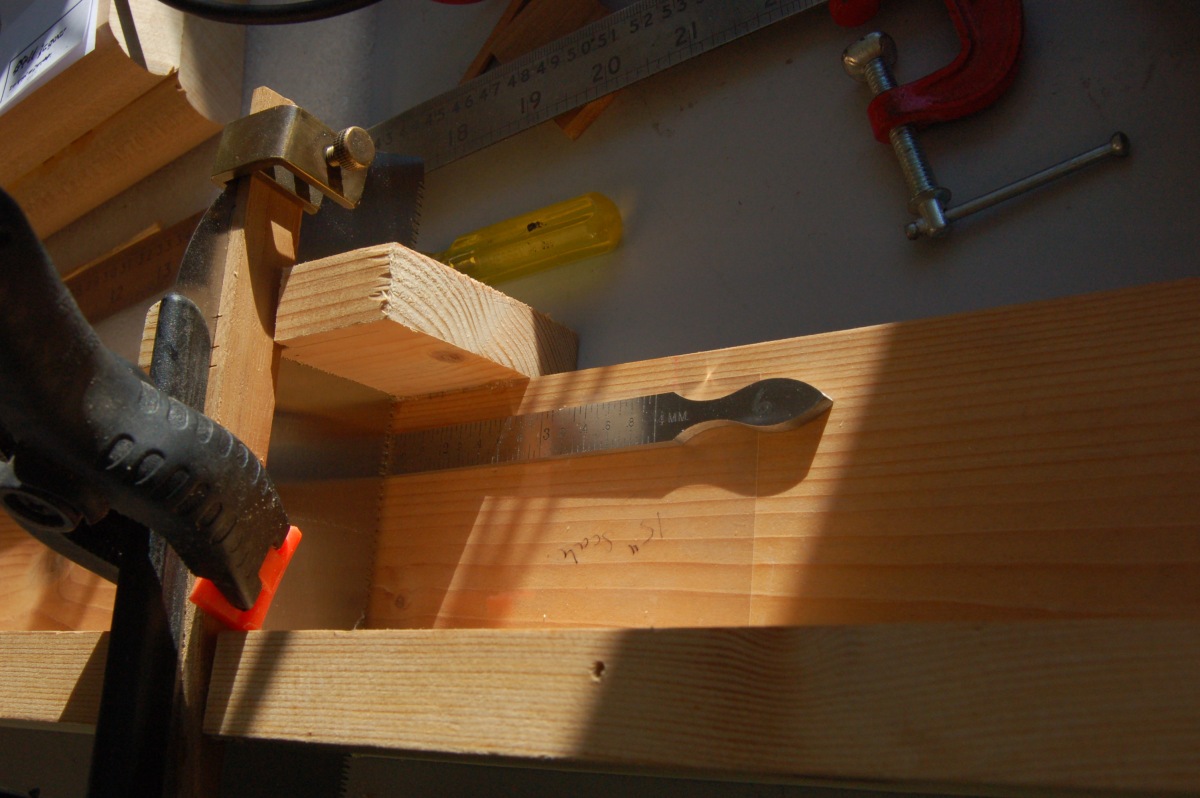
(These got the superglue treatment when I felt they were correct, too.)
I didn’t trust myself to transfer the fret position measurements to the blank accurately, so printed a template onto acetate film (OHP film) that would drop into the bottom of the mitre box. I didn’t want to use paper, as it expands and contracts with the weather. I double checked each line on the print-out with a steel rule, and my cheap-ish ink-jet printer is definitely more accurate than my eyes! All I needed to do was slide the blank along the template until the end matched up with a fret position, then cut down as far as the stops on the saw
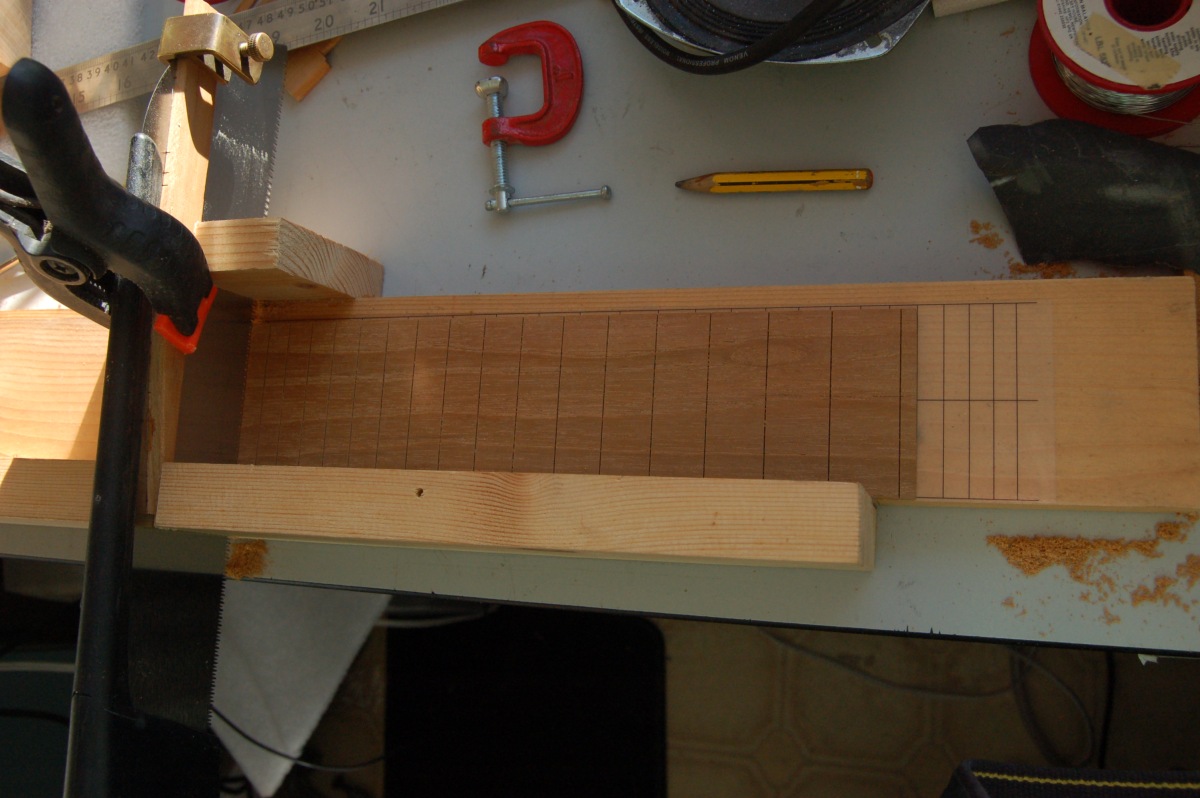
The actual slot cutting only took about 10 minutes… (I should probably have taken a bit longer, and concentrated more on making sure the slots were cut to the full depth). The fretboard blank was then cut and planed to its final shape (tapered out from the nut by about 3mm each side over its length).
Marker dots
I planned to use the fretboard as a guide for the router to cut the neck to the correct width, so needed to find a way of accurately registering it on the neck. Some people use a small nail in the base of a fret slot, and/or a dowel in one of the 12th fret marker dots. Since I’d decided not to put a truss rod (or any reinforcement) in the neck, I could use any of the marker dots, as there would be solid wood underneath all of them. All I had to do was find something round to use as dowels.
An extensive search of the shed came up with some heavy ‘strimmer’ line (for a strimmer we no longer have).
I just needed to align the centre lines on the fretboard and neck, set the nut at the top of the neck, drill through the marker dot positions and push in the strimmer line:
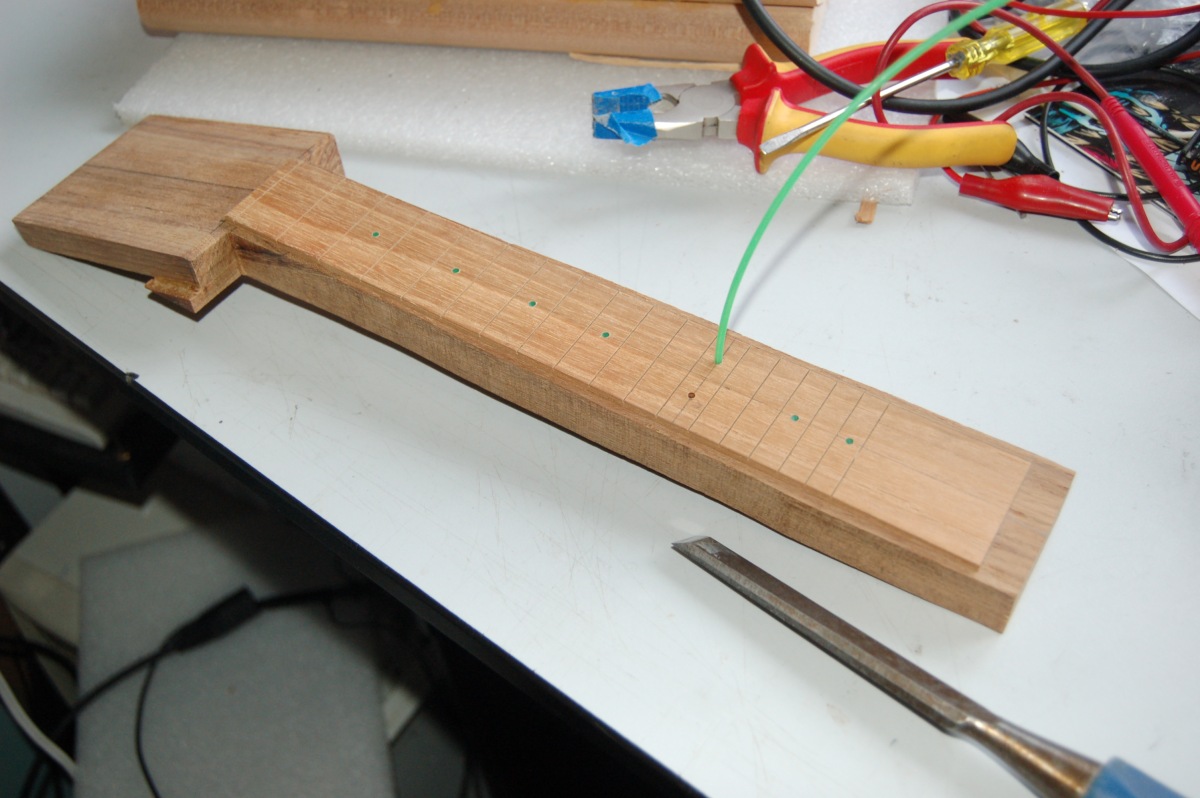
The neck has been roughed to width at this point.
Schoolboy error:
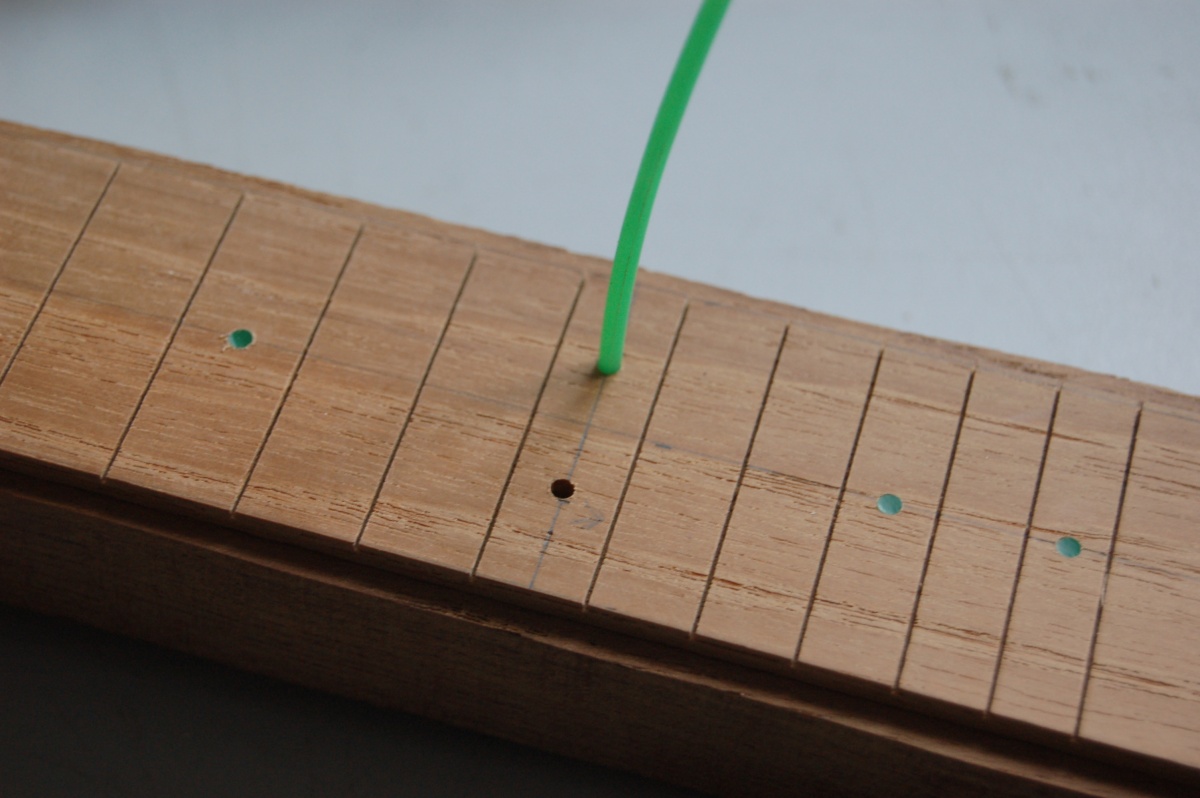
Guitar players won’t see it, but banjo and uke players will… …There isn’t a 9th fret marker on a uke – it should be at the 10th fret. Oops! We’ll just have to live with that… Onward:
At this point, I should have glued the fretboard to the neck …
…but I wanted to finish the headstock before I did that …
…and I couldn’t finish the headstock until I had the tuners …
…and the tuners (bought on ebay) were on their way from China in a slow boat.
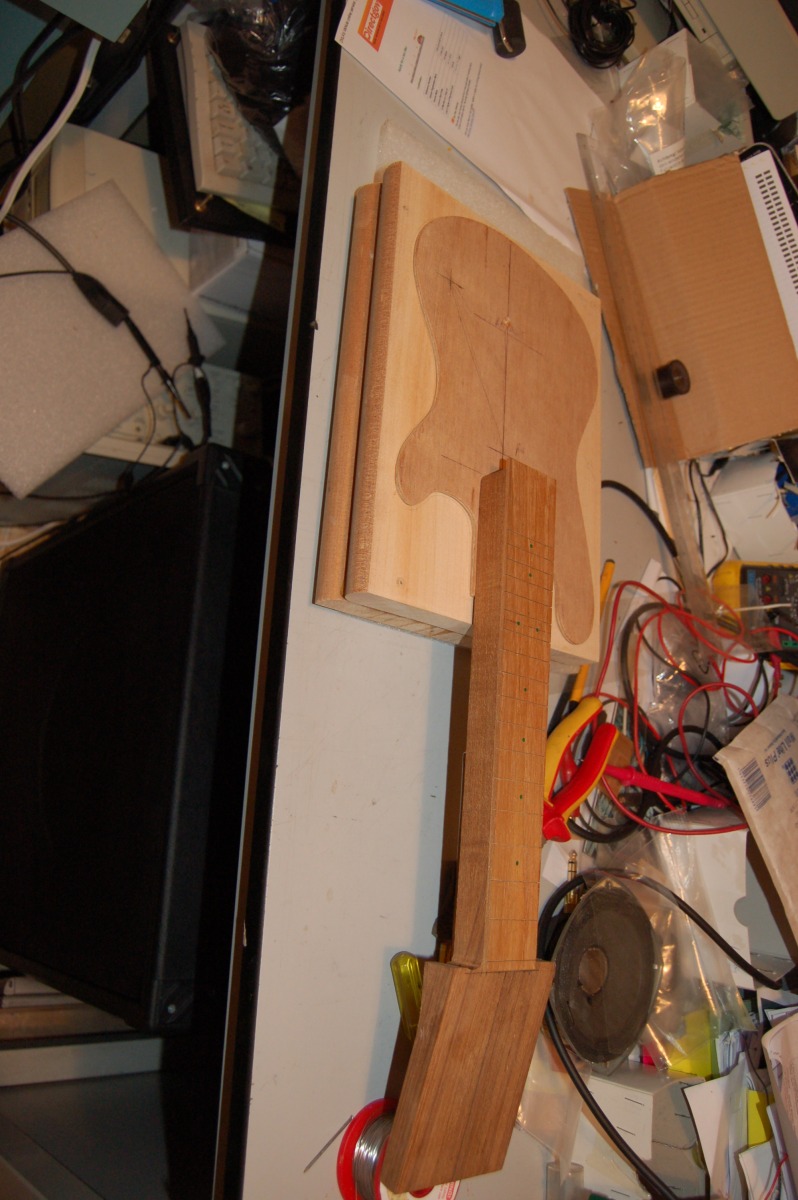
So I went ahead and routed (most of) the neck to match the fretboard width, just relying on the fret marker dowels to hold it in position. I could now finish the body shape so that it blended into the neck.
Cutting the body out
The body shape was transferred onto a template for guiding the router:
The template is fastened to the body in the neck pocket area, and under the bridge, so the screw holes will be eventually be hidden or cut away.
I wanted to rout out the holes for the pickup, too (I only intended fitting one) so I could decide where the neck had to end.
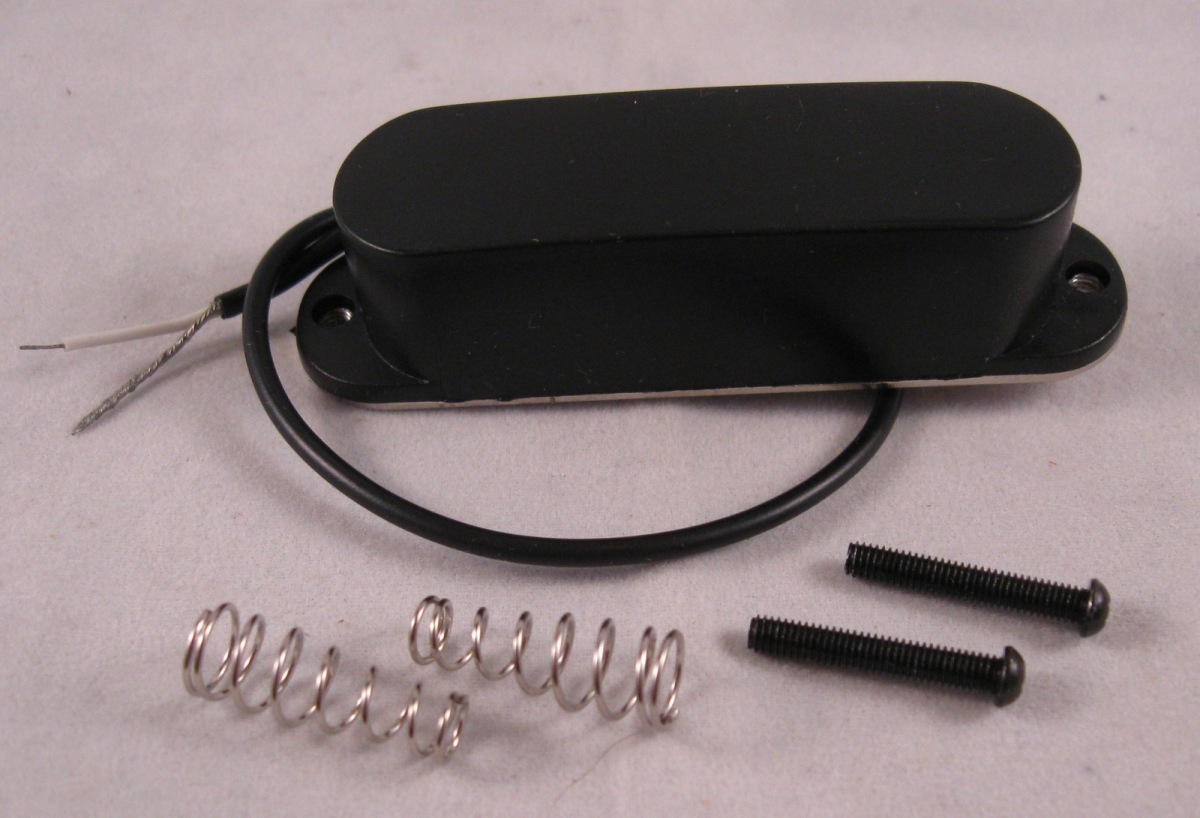
I had looked at various options for pickups: Guitar pickups just look wrong, and the pole spacing isn’t right for my chosen string spacing; some people use half of a precision bass pickup, but the pole spacing is a bit narrow; Custom wound pickups are available (e.g.Almuse) for around £40; I thought about winding my own (and even bought the wire) but couldn’t find any cheap magnets; I didn’t want to use a piezo pickup; Then I found an American ebay shop selling 4 pole magnetic pickups for about £16 delivered to the UK – very happy with the service and the pickup:
This article suggests that the optimum position for a ‘neck’ pickup is 77.5% of the scale length from the nut. That looked OK, so I went with it.
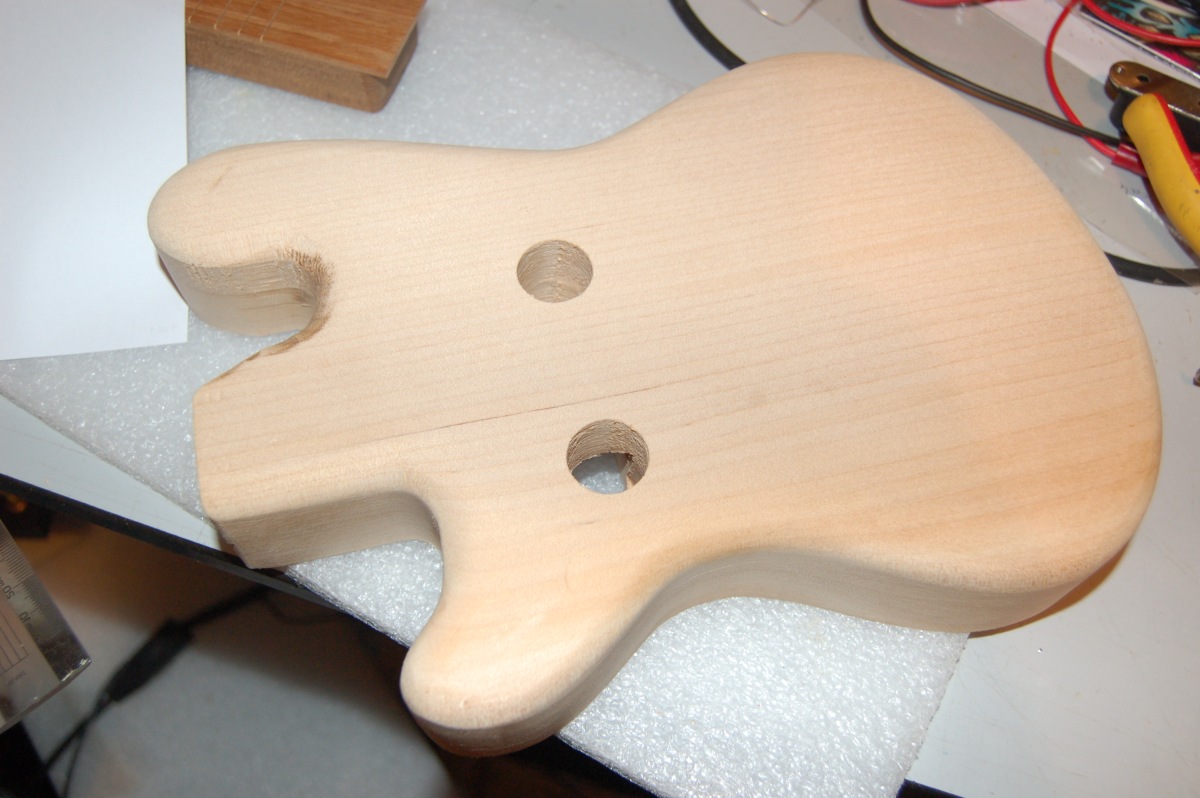
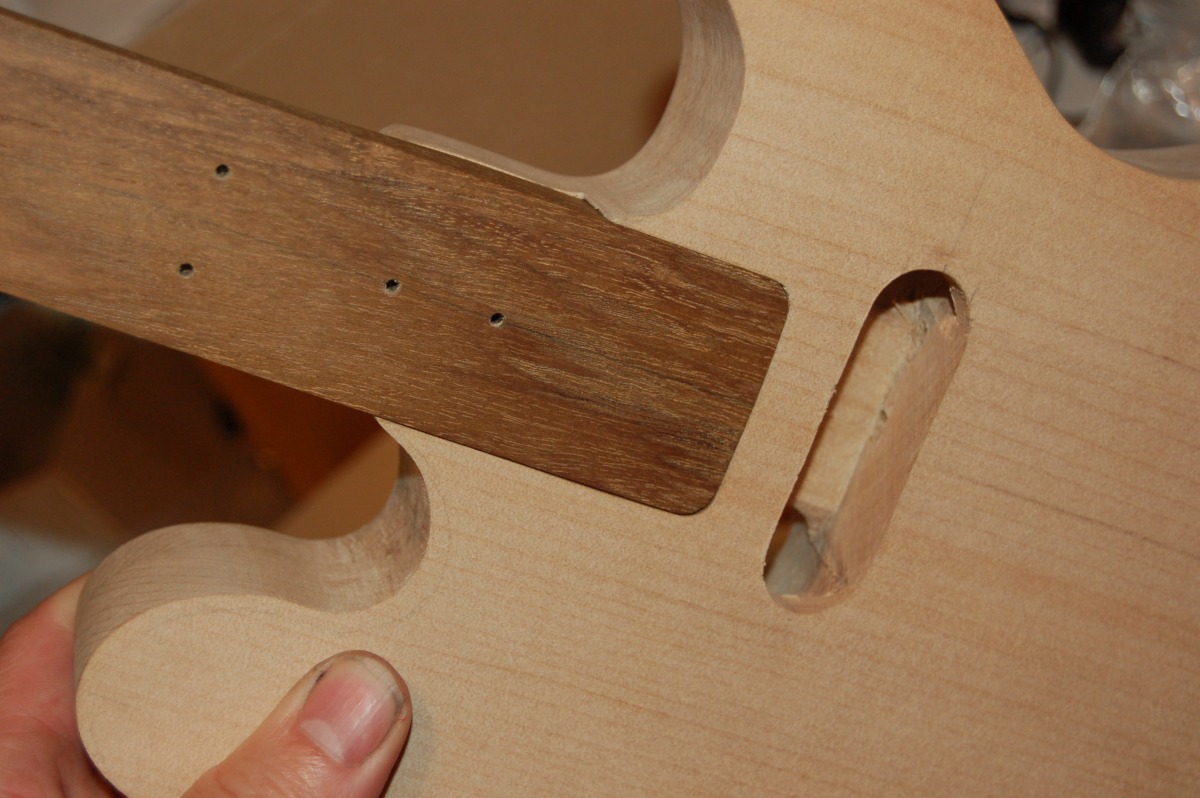
The end of the neck pocket was marked out just behind the pickup and the length of the neck trimmed to suit. I wish I’d taken a picture part way through the body routing, but I didn’t. The router would only cut just over 1/2 way through, so I had to trim off the excess from the body and flip it over to rout the bottom half using the top half to guide a flush trim router cutter. I made a template to match the neck heel (two, actually – the first was too big) and cut the neck pocket, then modified the body template to suit the pickup cavity and cut that, too.

I had a vision of the pickup mounted in a closely fitting recess in the body, with just the wood all around. To do this, I needed to drill two holes from the back of the body to access the ends of the pickup. It’s a bad idea, and I wouldn’t do it again. I also planned to round over the front and back of the body, but after being horrified by how the back looked after being rounded over, I stopped!
I used a belt sander to smooth the sides of the body (which meant that the top horn got re-shaped a little so I could get the belt sander in).
Fitting the neck
Yet another template and some metalwork got me a neck plate and a recess to put it in:
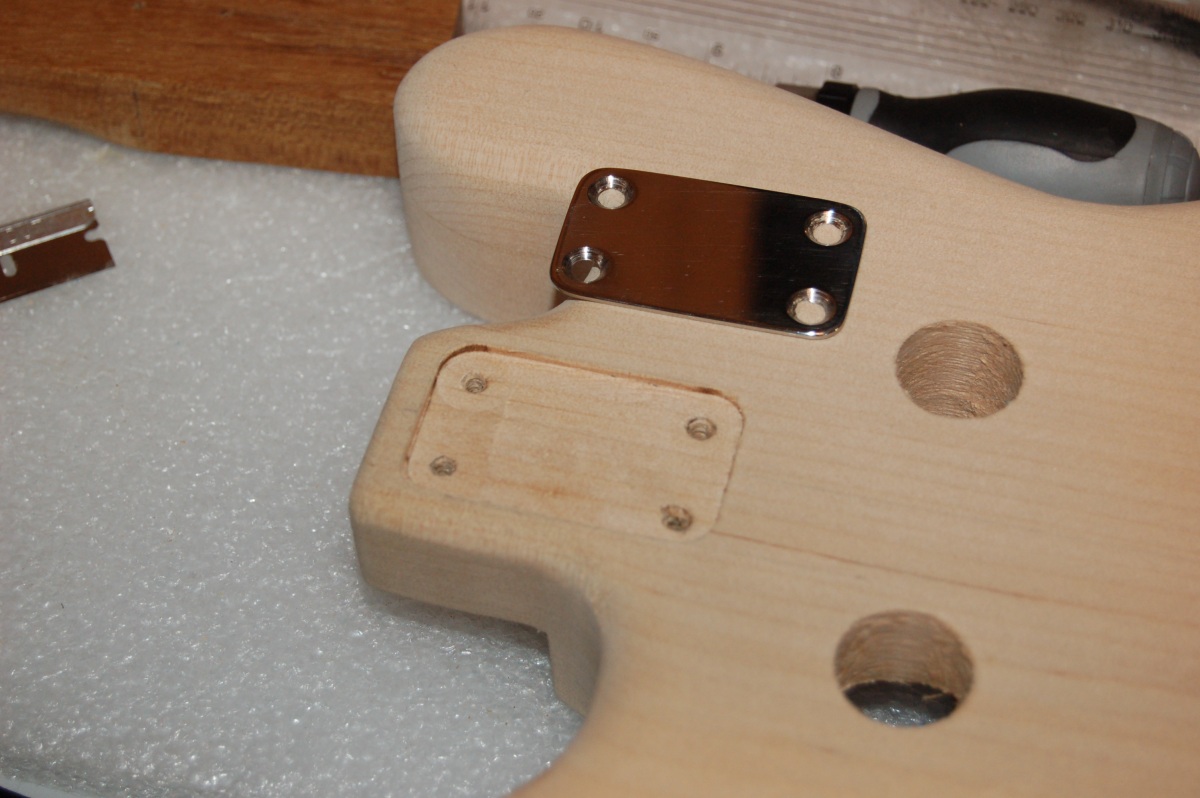
(There was a bit of elbow grease involved to polish the stainless steel plate, too.)
The neck fitted in pretty well:
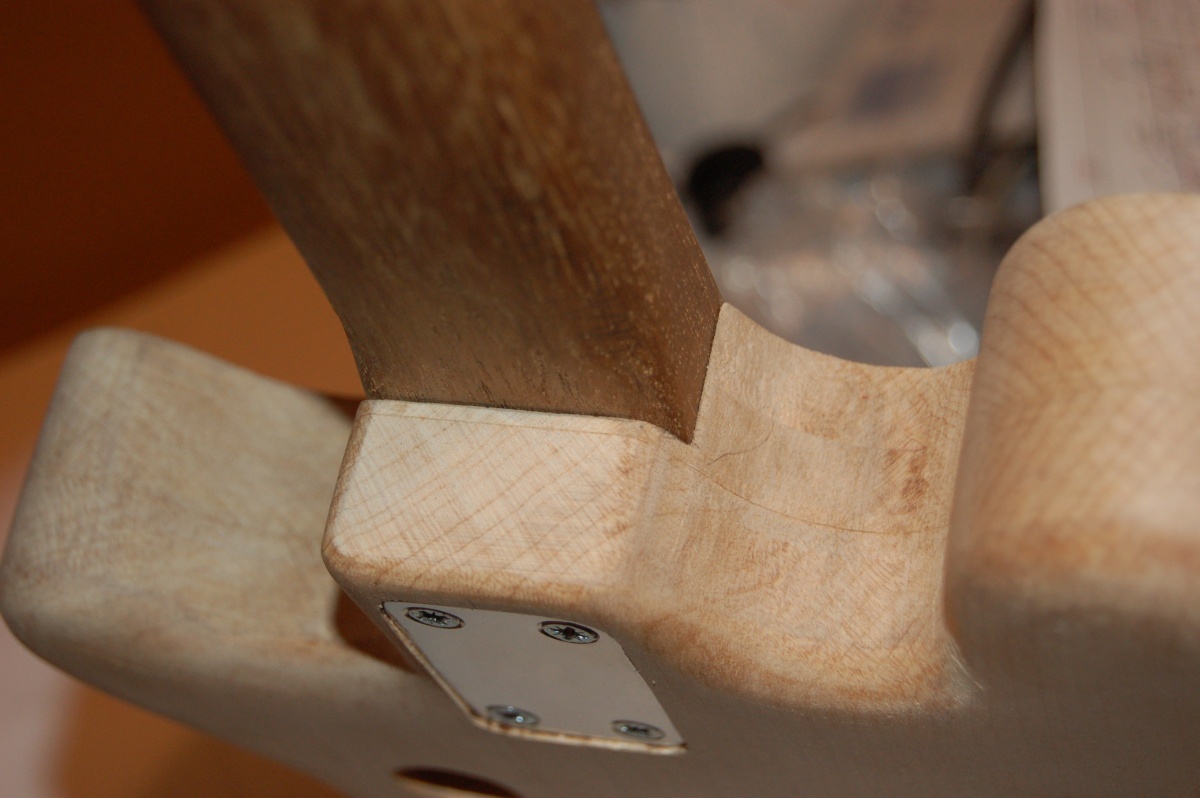
We were getting excited now!