
Stringing it up
As someone used to guitars, it was a bit of a puzzle to know what string gauges to use.
I decided to try and matched the tension in my electric guitar strings (it turns out that they’re at about 70N) with a 15″ scale using an on-line calculator
I came up with:
- G: 0.015″ plain
- C: 0.024″ wound
- E: 0.018″ plain
- A: 0.013″ plain
These seemed awfully heavy to me…
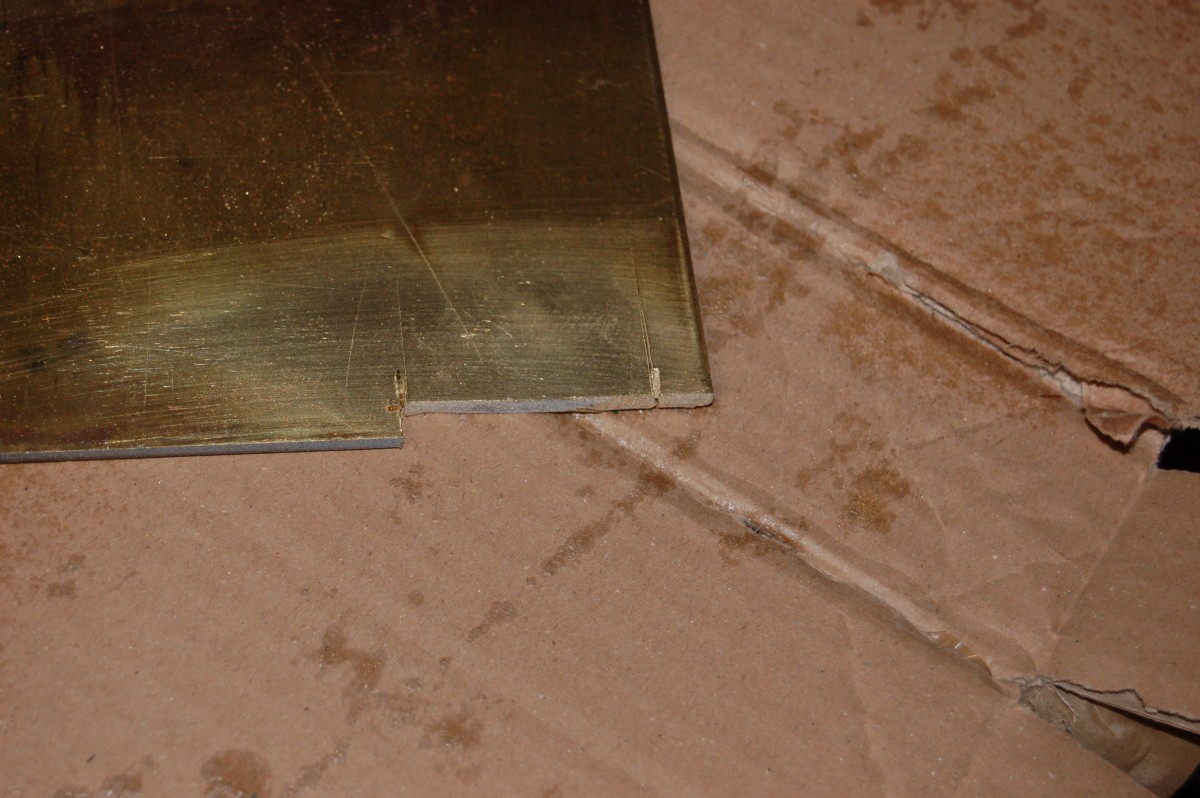
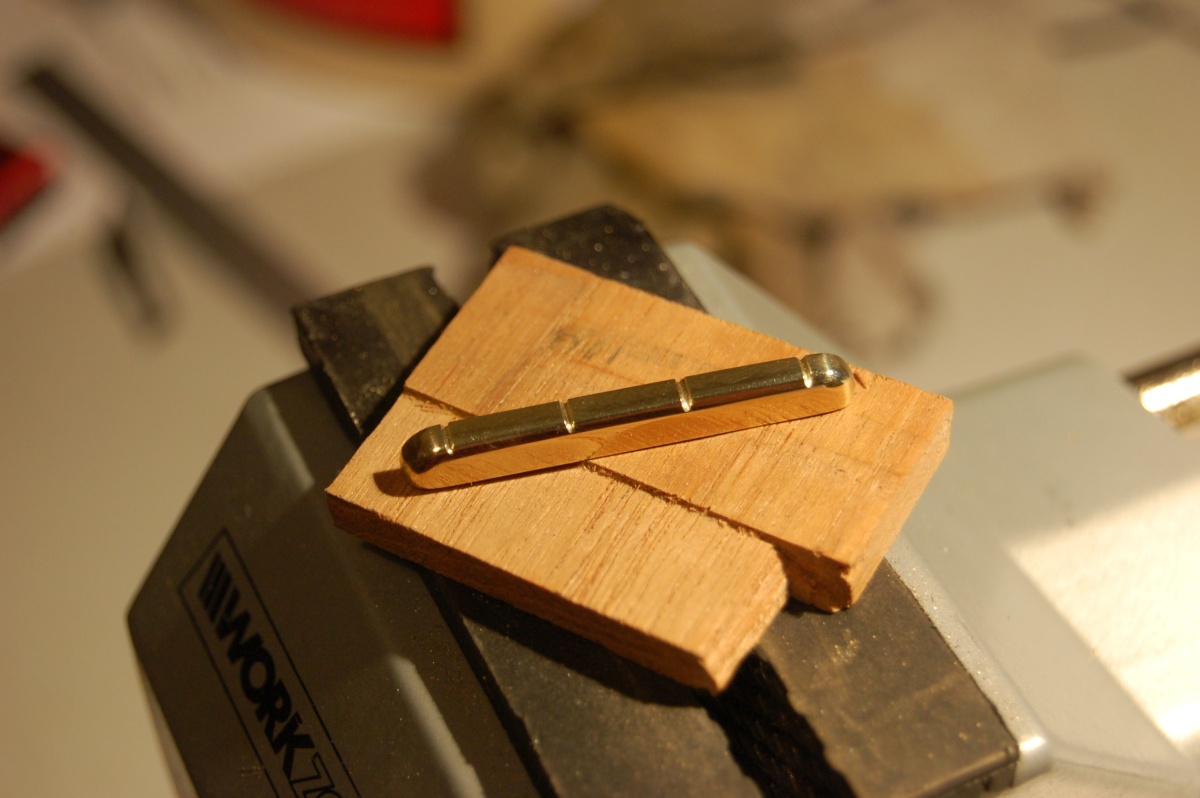
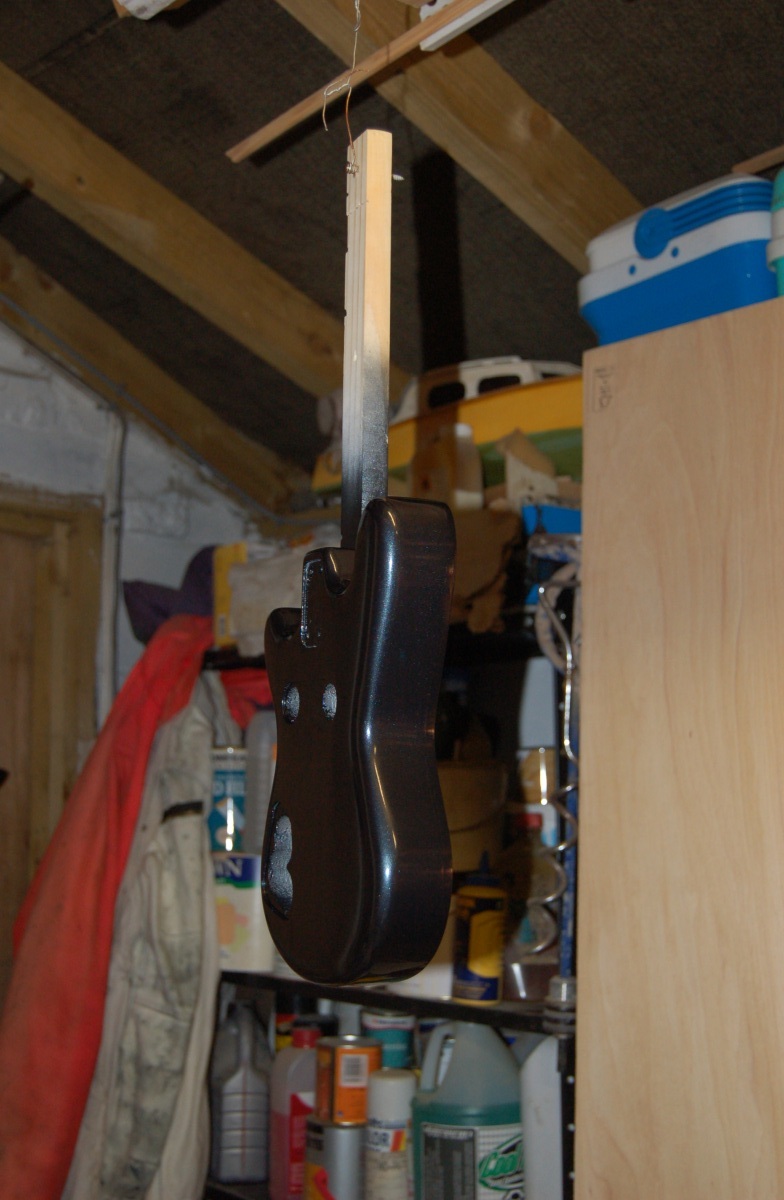
Although the neck has a zero fret and straight pull tuners, I still needed a nut to keep the string spacing correct. I had an old guitar nut that I started filing down, but it was slow work, and we were nearly dancing with anticipation to get the uke strung up for the first time, so I cut a nut out of some brass instead and polished it up:
I finished sanding the neck and gave it a coat of Danish oil, too.
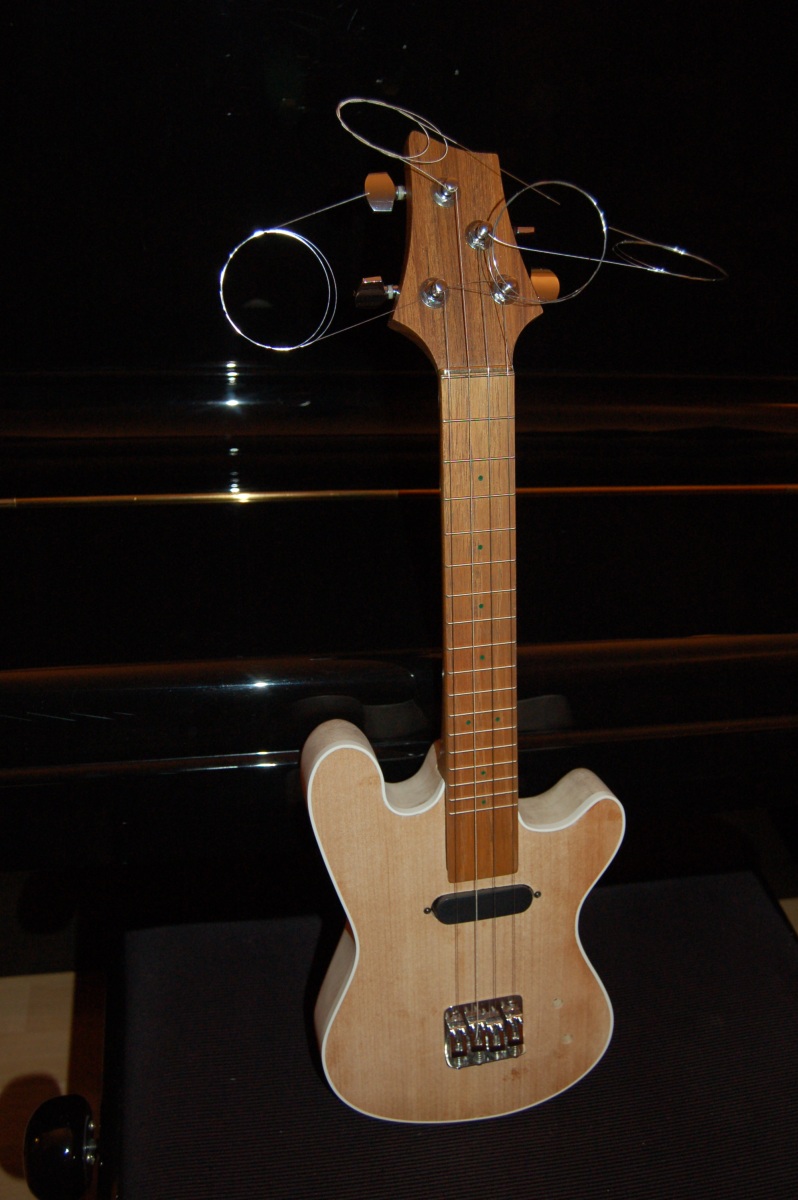
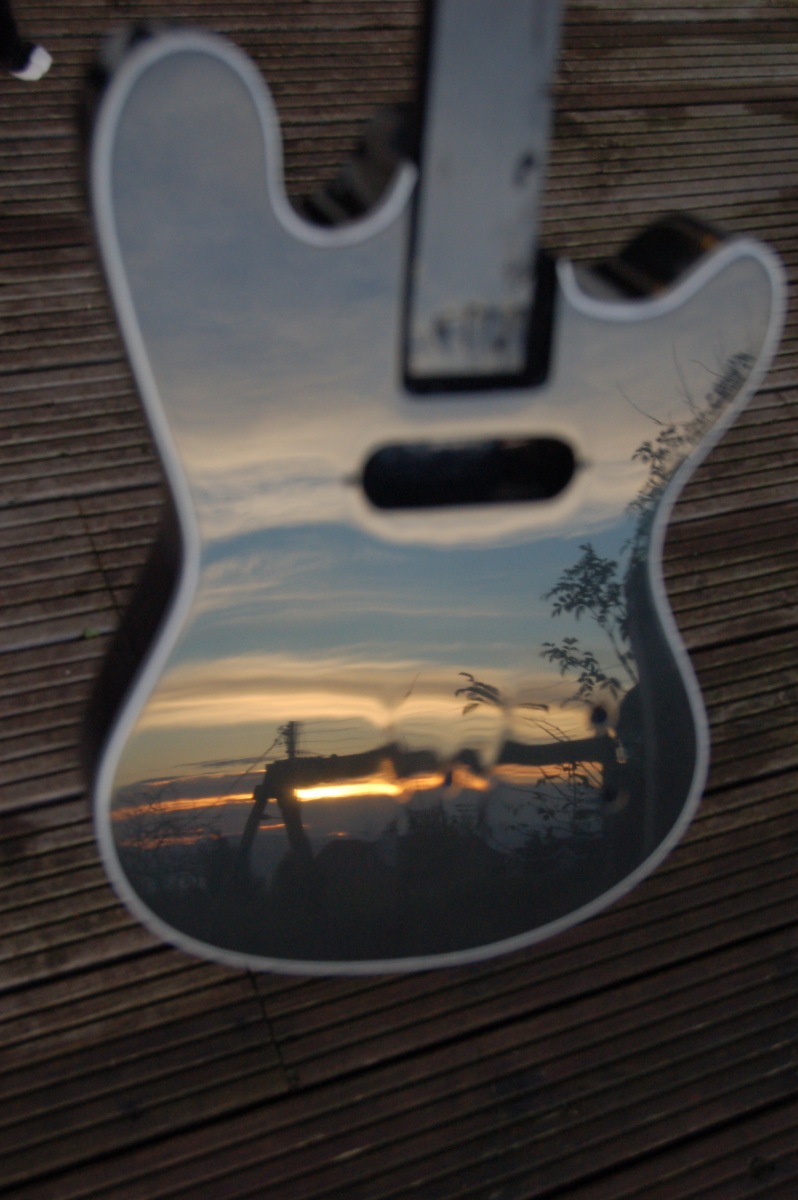
We fitted the neck to the body and used a straight-edge either side to position the bridge so that the strings ran true with the fingerboard; measured the 15″ from the nut, added on 1 – 2 mm for intonation and screwed the bridge to the body. Gulp! It was suddenly time for strings.
It didn’t explode!
What’s more, it seems to play in tune, so I haven’t made some gross error in fret and bridge position calculations. The action is even reasonable. (Excuse me, but WOO! HOO!)
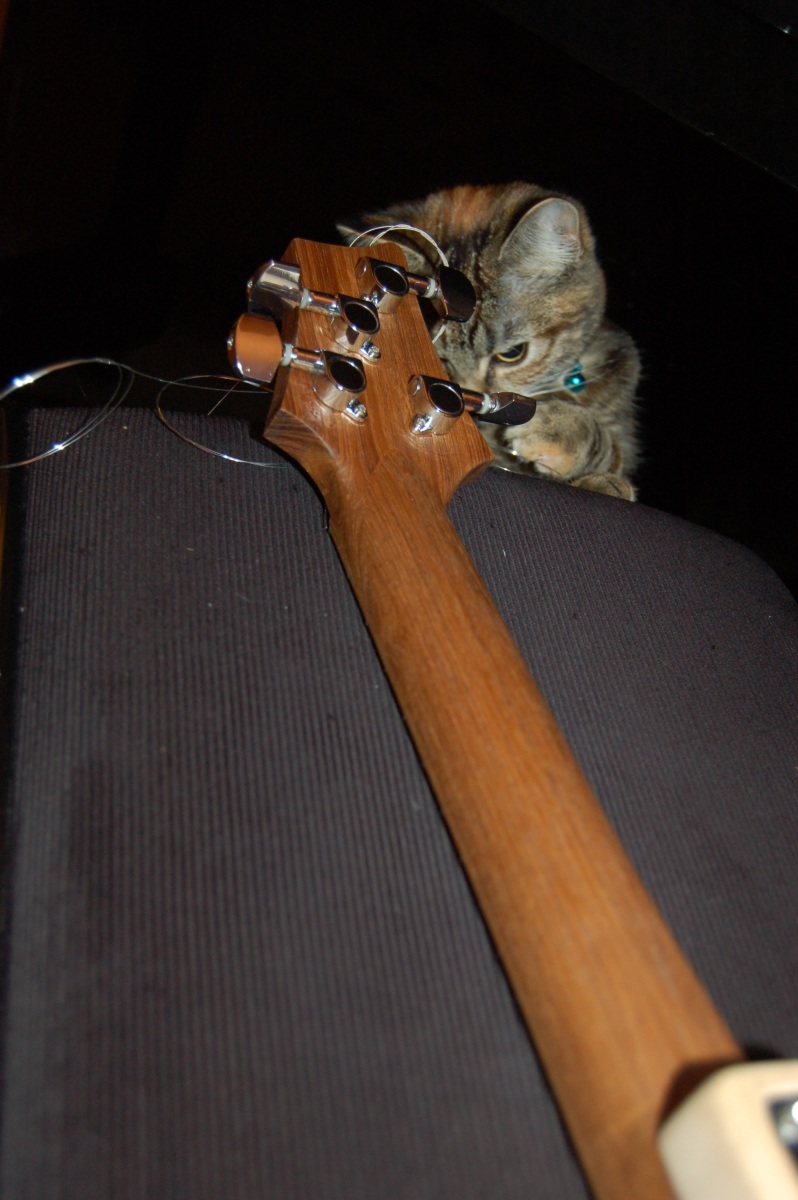
Undergoing quality inspection:
Finishing
I like wood (Quiet at the back!).
I liked the grain pattern in the edges of the body. I would have liked to finish it in a nice transparent sunburst.
You can get aerosol cans of tinted nitro that would do the pukka job, but just the colours come in at over £45, plus the clear coat. And the grain on the body isn’t that great… And the edges would be under the black, anyway… And my son would like black… And I would probably louse up a sunburst anyway and end up having to paint the body a solid colour.
I experimented on scrap trying to make a sunburst with wood dye… …then I hit the body with 3 coats of primer and some metallic black.
Not too bad, actually! It’s Vauxhall Diamond Black in an aerosol can from Halfords. I was very impressed with the paint – The primer built up well and was easy to sand; the top coat went on smoothly with a good gloss, and didn’t splatter at all.
I wet sanded the primer which was a bit of a mistake in hindsight: Despite my best efforts, the wood got wet around the screw holes and started swelling. I stopped as soon as I noticed it, but you can still see the witness marks if you know where to look. Luckily, the worst is hidden by whatever is being held on by the screws. Dry sand next time. (Next time??)
There seem to be two ways of dealing with the binding when painting a body. You can mask it off, or do what the cool kids do and just paint over it and scrape it off later.
I wish I hadn’t tried to be one of the cool kids – The paint was stuck like the proverbial to the binding, the primer especially. Trying to scrape the primer off with a razor blade went badly, with gouges and chatter-marks. After getting it so nice on the bare wood, this was disappointing . I also slipped and put a fine scratch on the front of the body… What’s needed is a tool I saw on the TDPRI Telecaster forum – a dowel with a Stanley knife blade in it:
The dowel rests on the body and controls how far the scraping goes, and the Stanley knife blade is rigid enough not to chatter. I used this to rescue the binding after the primer and to remove the colour coat, and it is *much* better than the razor blade. If I ever do this again, I would *definitely* mask off the binding!
This is a metallic finish, so needs a transparent lacquer over the top. I would have just sprayed it, but that the instructions on the can said to sand the paint back before lacquer. Sand a metallic?? Surely not!? Yep, sand it – it’s important (it said so on the can). So I did. And sanded through the paint!
That isn’t a highlight (in any sense):
This time I masked off the binding (and the rest of the body) and used the last of the aerosol can to put a couple more coats on. Right down to the last drop, the can sprayed well and gave a good gloss:
The binding ended up quite undercut from the body, but looks a lot better than it did! I dutifully flatted the top off again and hit it with 5 coats of lacquer (flatted off after 3 coats). The lacquer sprayed like the aerosol cans I remember – inconsistent and splattery once the can was half empty.
Fretboard repairs
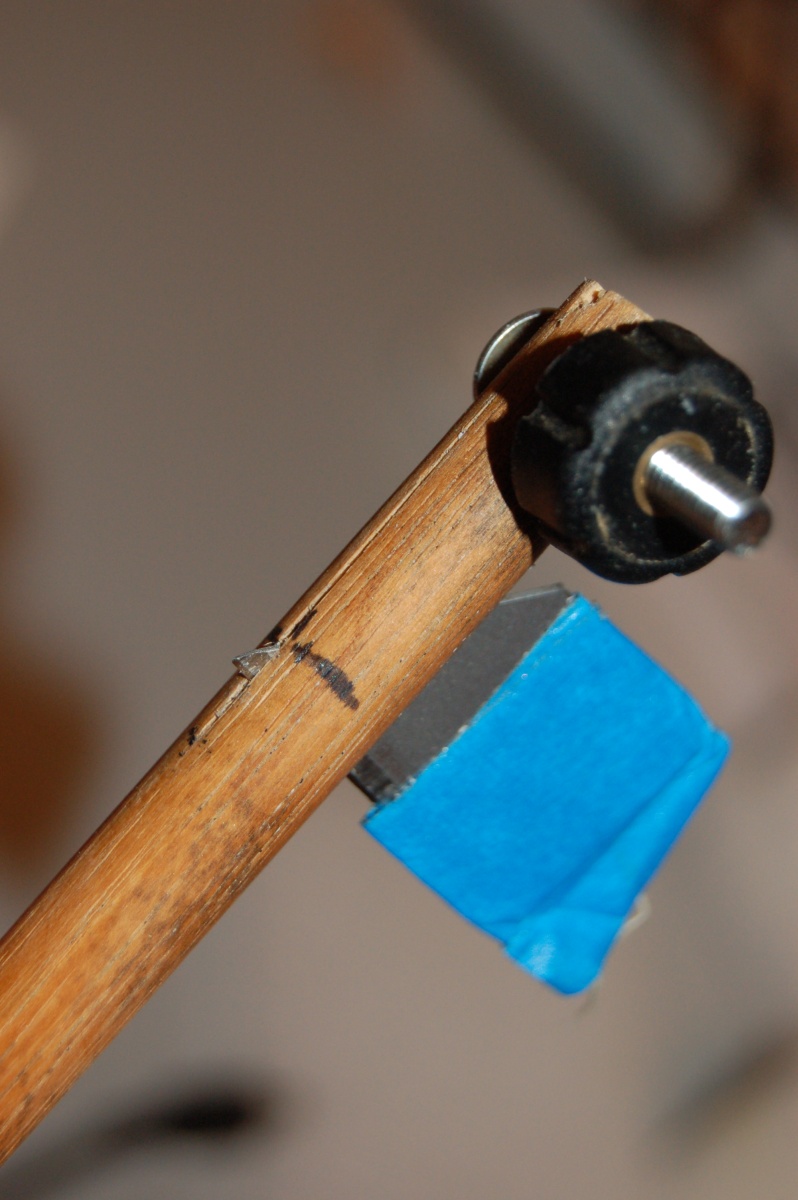
Meanwhile…. When we had the strings on, I noticed that a number of frets around the 9th – 15th were high on one side. It turns out that I hadn’t cut the slots quite deep enough here – only by 0.1 – 0.2mm, but enough to leave a noticeable gap under the fret, once you know where to look. One, in particular was high, so I very gingerly eased it out of the slot with some pincers, ran the saw through the slot again and pressed in a new length of fret wire (which is when I took the photo of the method). It went so well, that I pulled and replaced 6 in total.
The 9th & 12th have been replaced here:
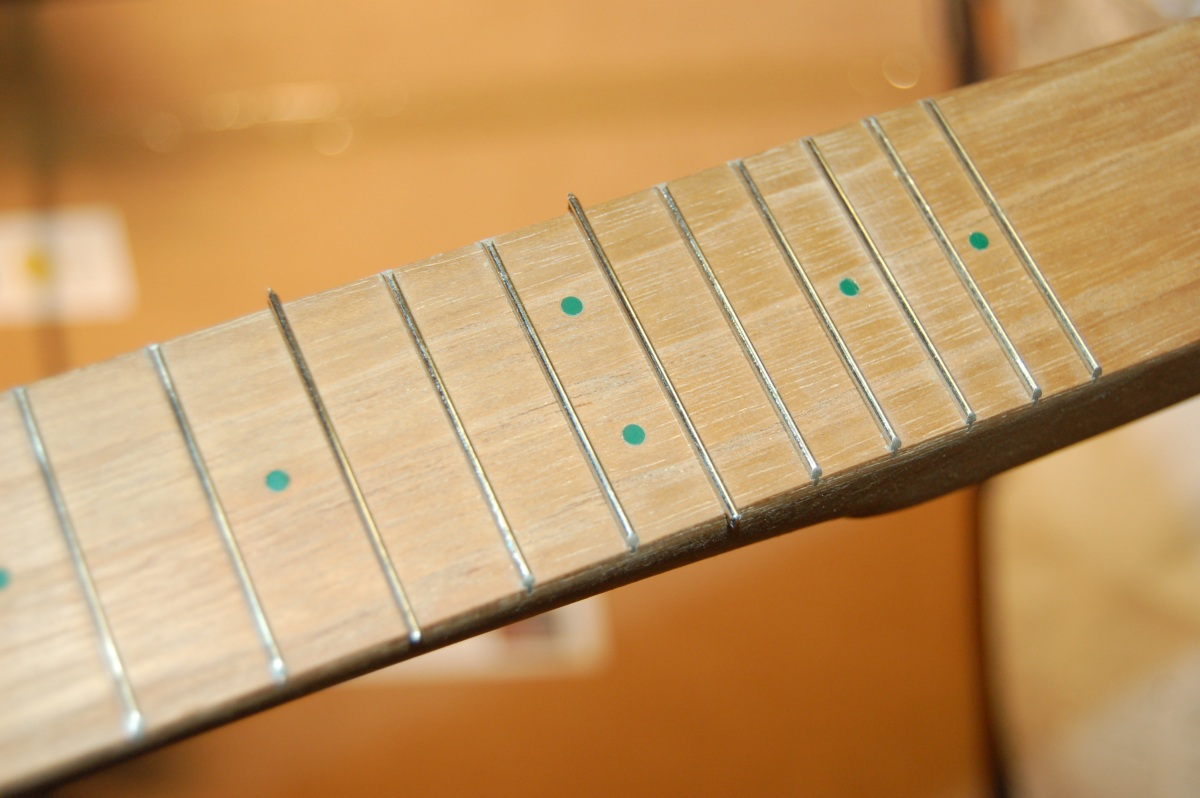
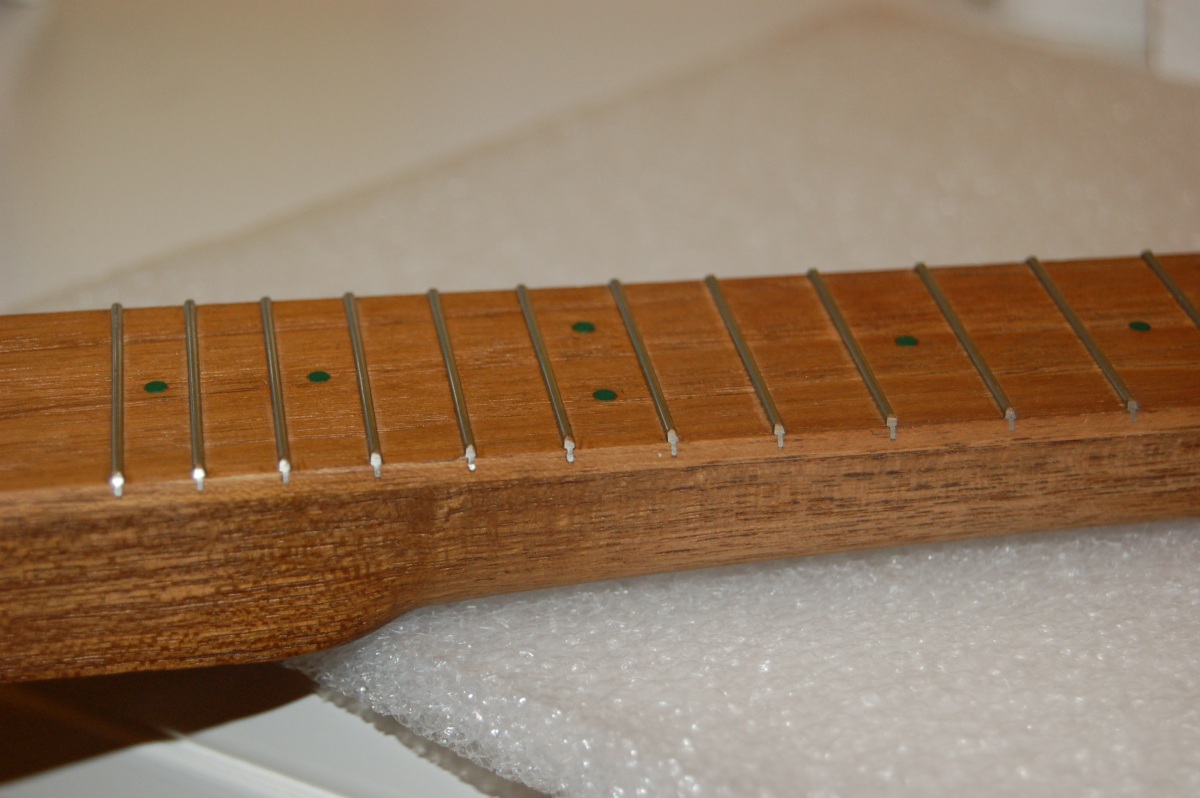
That’s better:
Why don’t I quit while I’m ahead? A few of the position markers were sitting a little proud of the fingerboard, so I had the bright idea of using the dowel-in-the-drill-press method to pressing them home. I couldn’t get them to budge (I think there was probably too much glue in the bottoms of their holes), and what’s more, I managed to bruise the fretboard in the process :
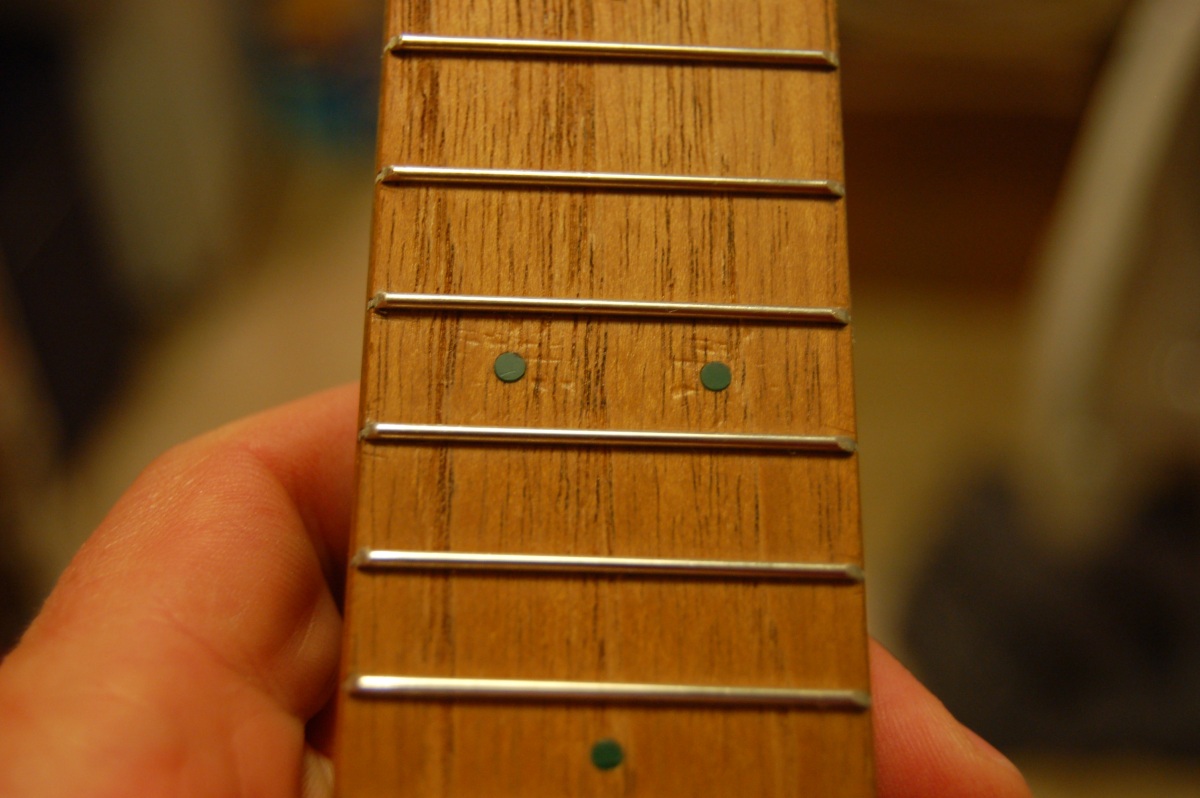
Luckily, I managed to bring most of it out again with a hot steam iron and a damp cloth.
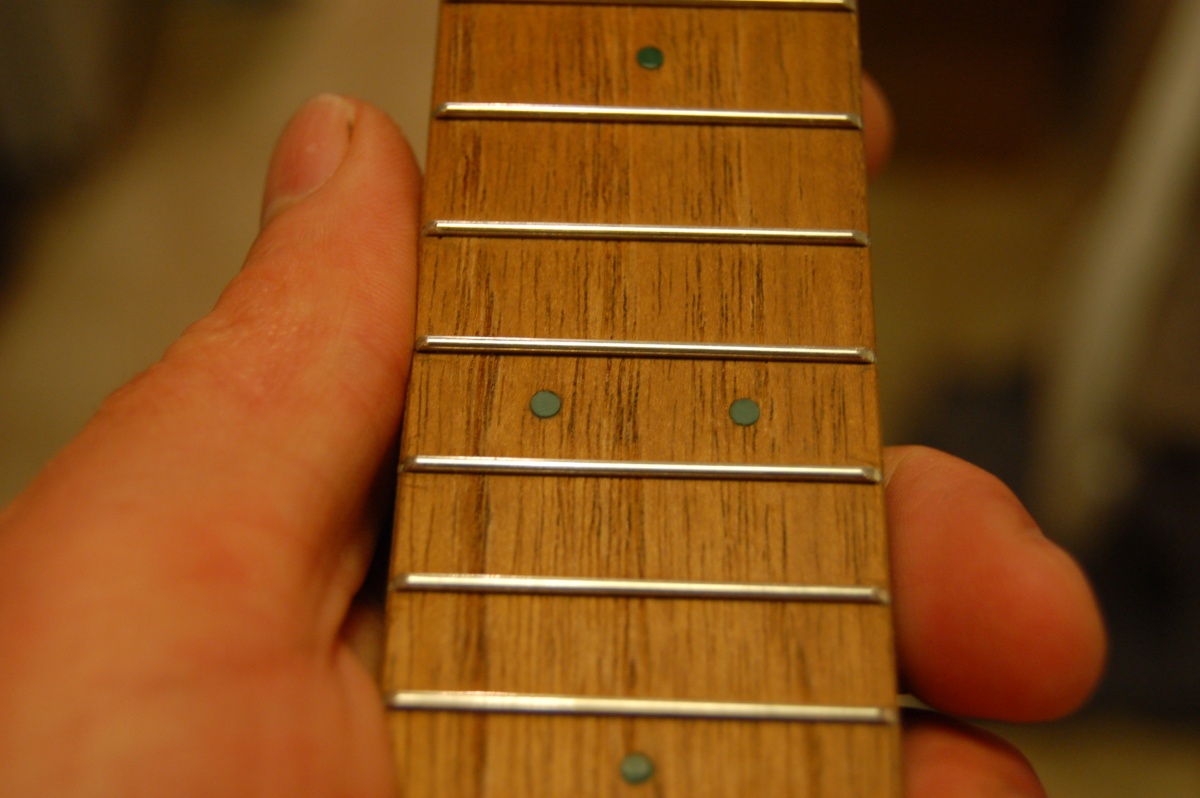
I just shaved the ends of the markers flush with a sharp knife. Just got to wait for that lacquer to dry now…
I’m really pleased with the way this worked out. Not too much left to do now….
Fret levelling
I still needed to level and dress the frets. I’ve seen quite a few youtube videos on this, but never done it before.
Since the uke fretboard didn’t have a radius on it (and I hadn’t yet fitted the nut), I could just lay a sheet of 400 grit wet-or-dry paper on a sheet of glass and gently work the frets against it rather than filing or stoning the frets – the fretboard is small enough that it all fits on one sheet of abrasive paper.
Even though I felt that I’d got the frets pretty level, it still needed quite a few minutes work before every fret made contact with the paper. I don’t have a fret file, so I ground the edge of a small file flat and polished it up so I could use it to dress the frets back to a smooth profile and round the ends. Then I smoothed the frets with fine wet-or-dry paper and finished with polish. Another coat of Danish oil, and the neck is … FINISHED!
Polishing the body
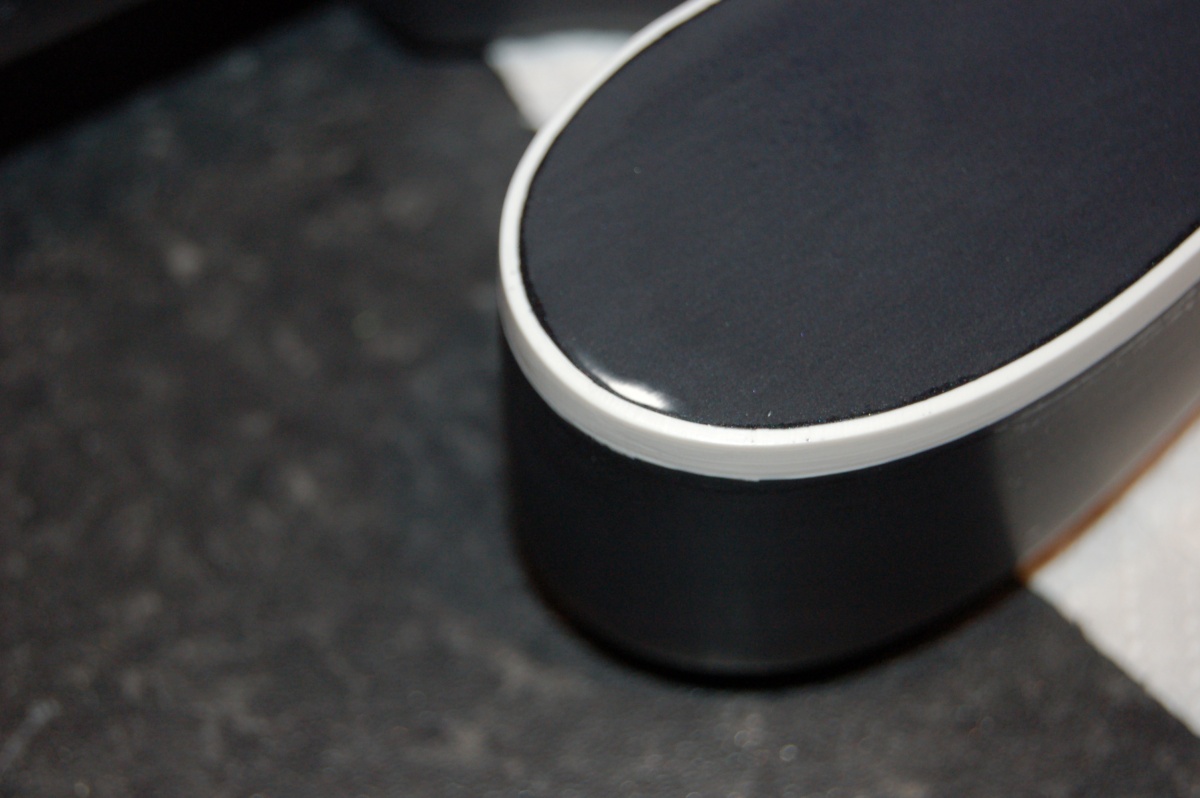
Back on the body the lacquer had hardened for a couple of days. The finish looked good, with just a little orange peel, and I was sorely tempted to leave it alone. I was loathed to do it, but knew I’d regret it later if I don’t… I hit it with the sandpaper again, flatting it off with 1200 grit all over, then buffed it up with cutting compound and elbow grease, then polishing it with T-Cut.
Shiny shiny shiny:
Although the lacquer felt dry, it would still pick up marks if the body was left resting on anything for any length of time – It took weeks for this to stop (common with off the shelf car aerosols, apparently).
Electrics
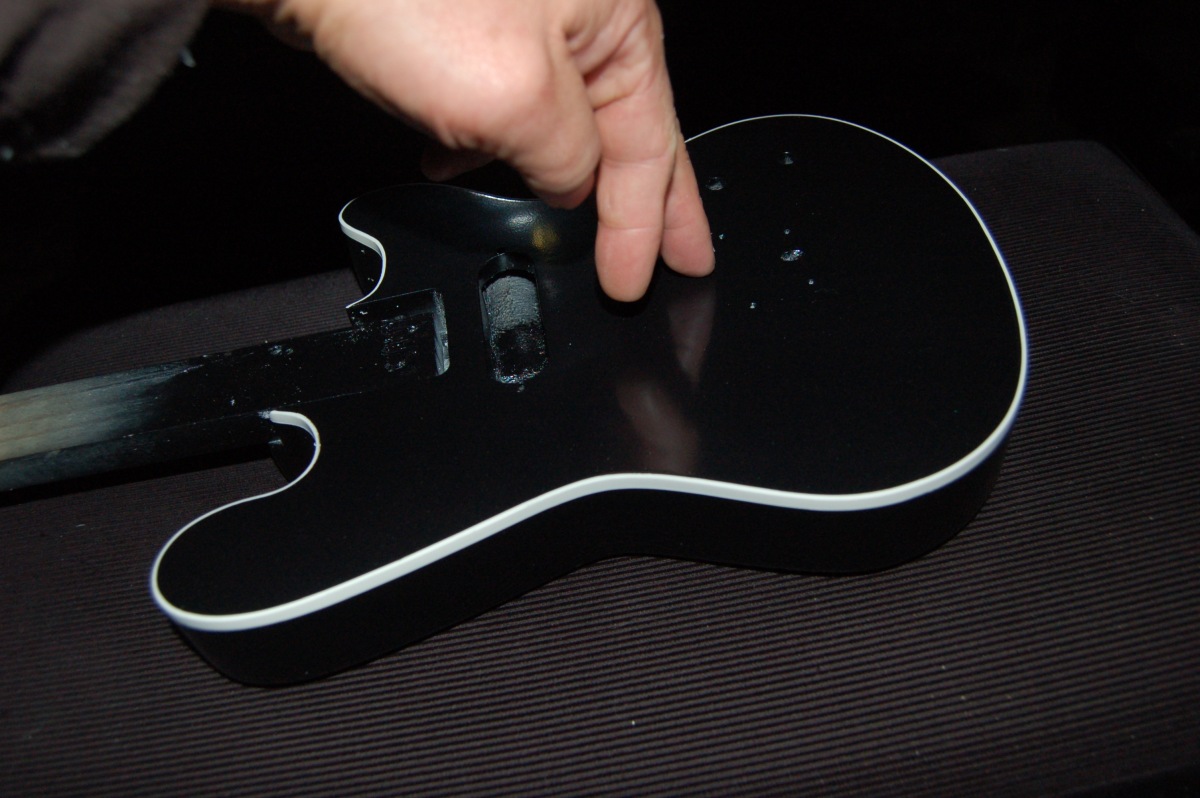
The next job was to fit the electrics. We wired most of it up with the pots pushed through a piece of card at the right spacing, as the control cavity is a little cramped. The wiring is simple – just one volume and tone pot, no pickup selector, or anything. I went for 250k pots and a 0.047 tone cap. I used a linear pot for the tone and log for volume. Having played it since, I should have used log for both – the useful range of the tone pot is all in the first 1/4 turn.
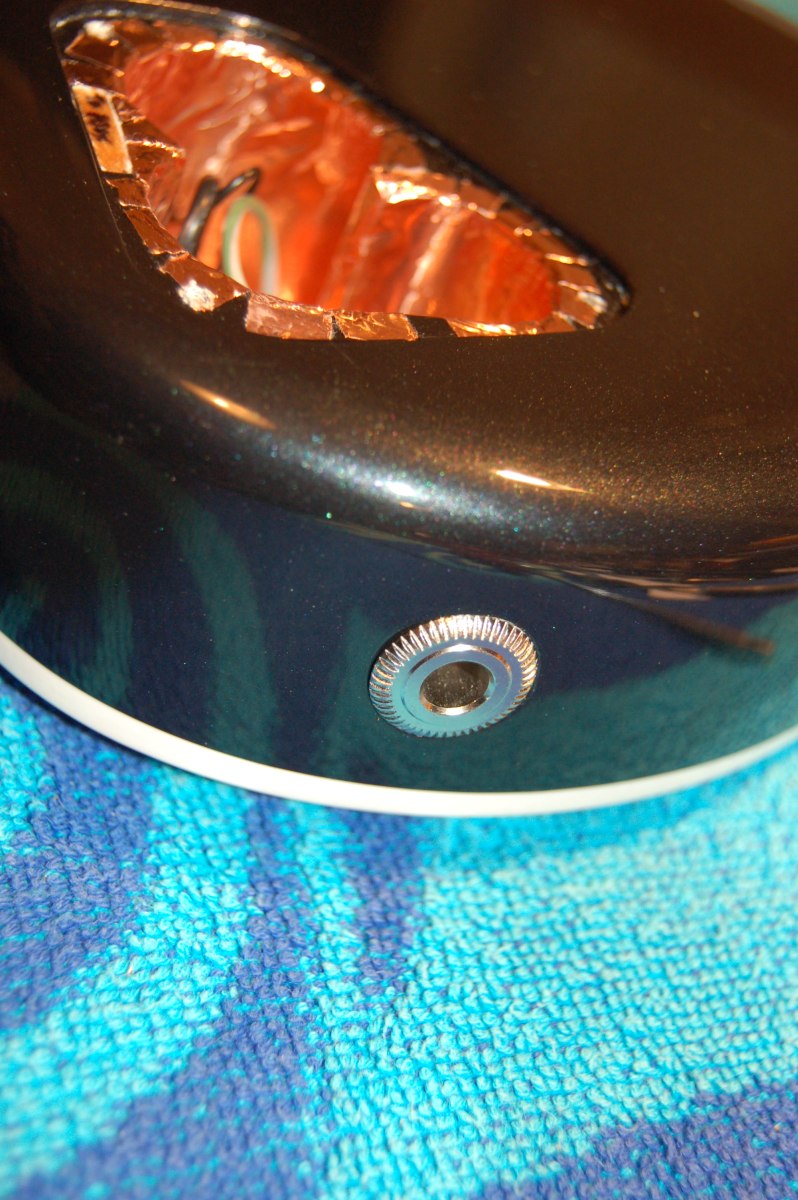
Prior to installing the wired assembly, we lined the cavity and the inside of the cover with copper shielding foil:
Getting the springs in behind the pickup lugs was a real trial – don’t copy this design! The only other wire was a grounding wire that comes from the control cavity and gets trapped under the bridge. That’s what the large hole under the bridge area is for. Just got to fill this hole up now:
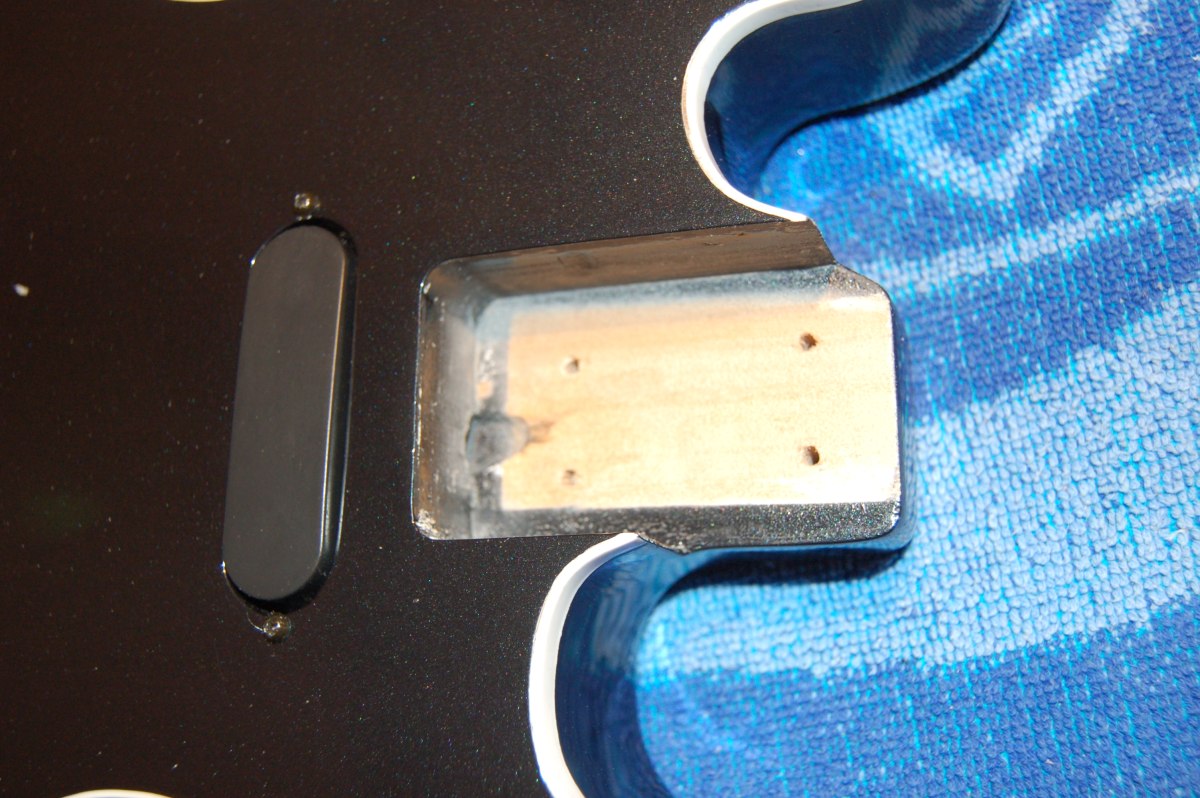
There you go:
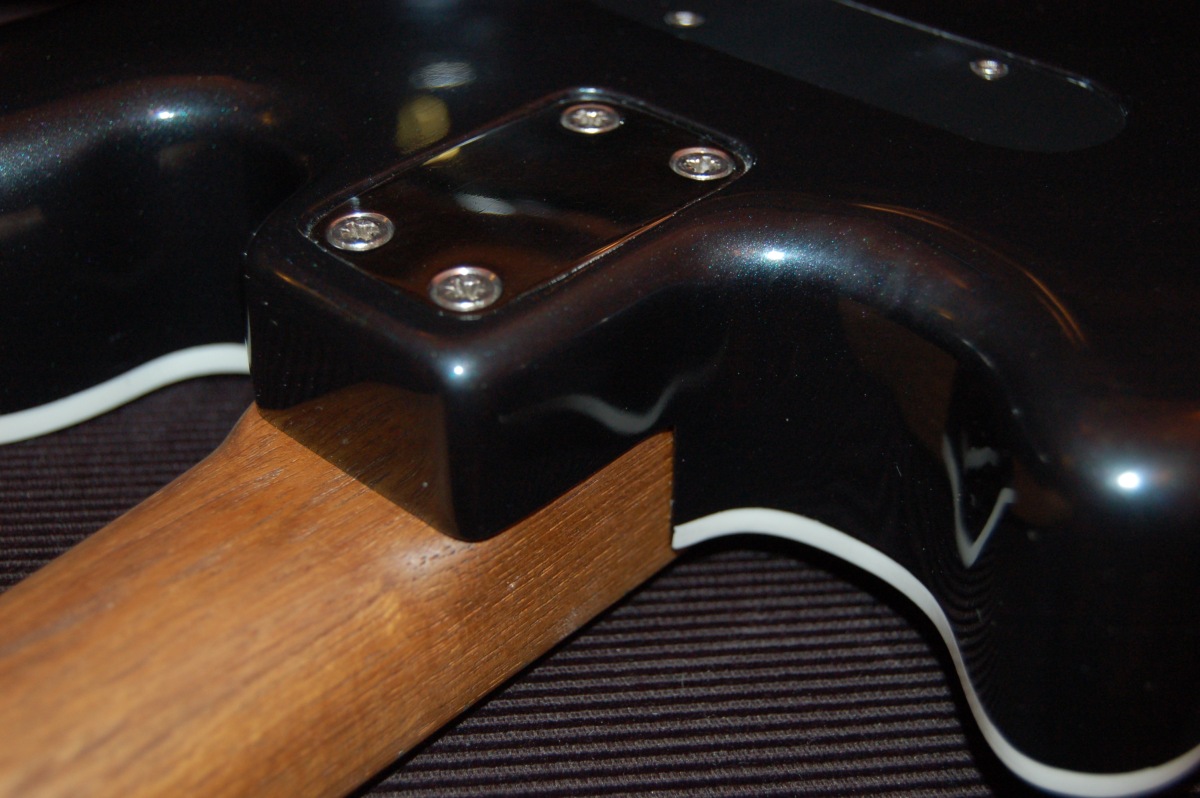
Job done.
Whadyamean you want pictures?
Really?