
Making the control cavity
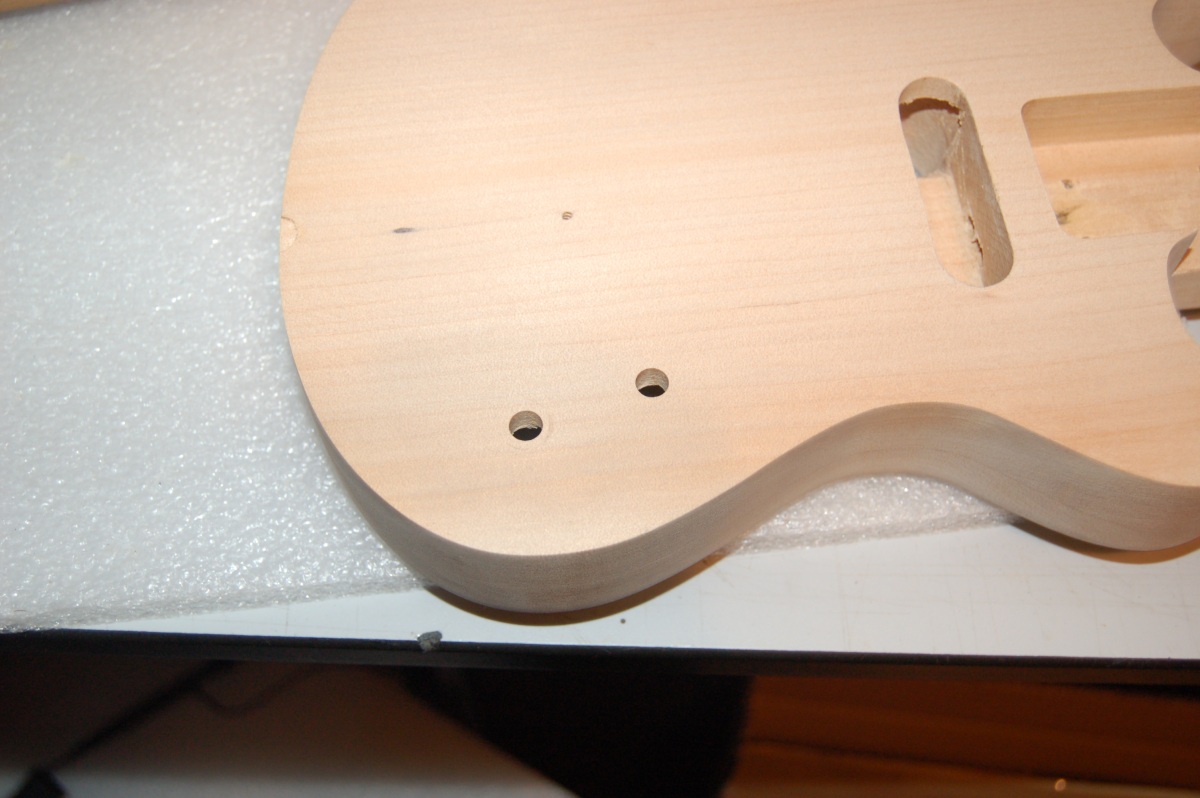
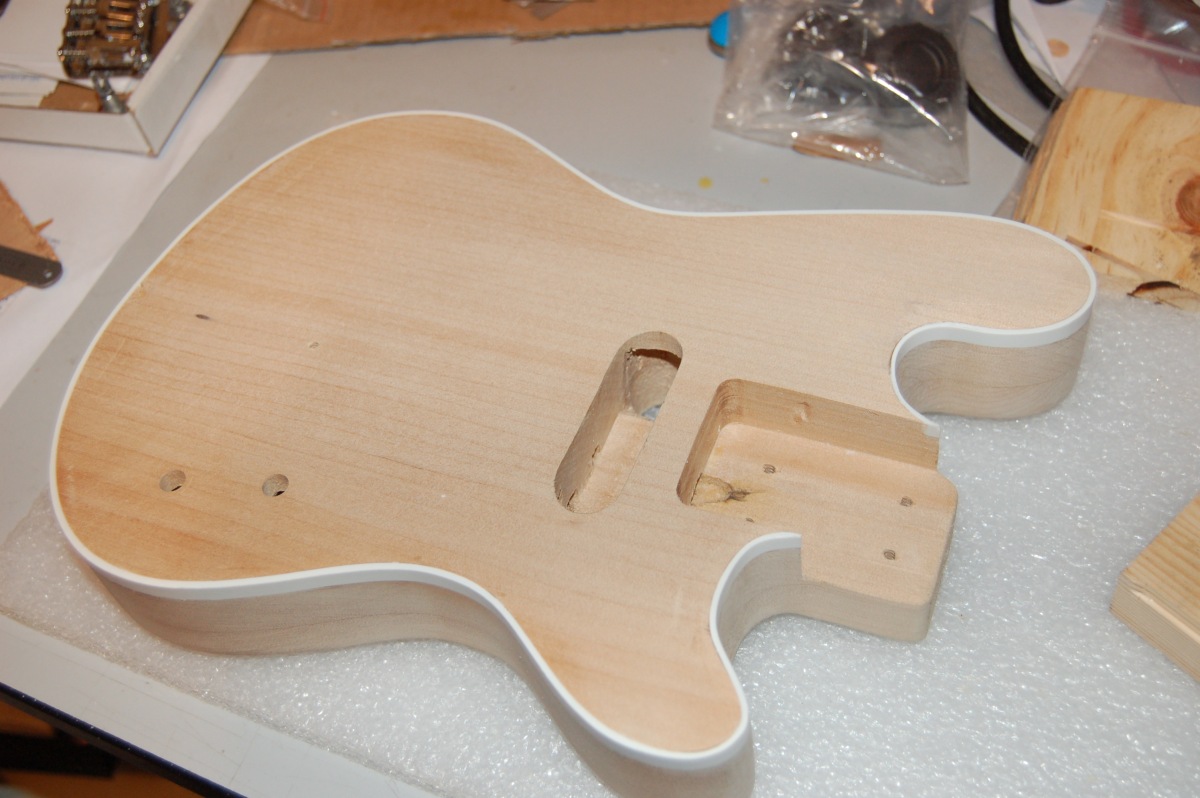
Next up for the body was drilling the holes for the electrics and making the cavity to house them. I spent some time figuring out how big a cavity was needed, and how close to the edge of the body it could be and still be covered with a flat cover plate. I judged the right place for the control knobs by eye and drilled through with a nice, sharp brad-point bit for nice, clean holes without any tear-out:
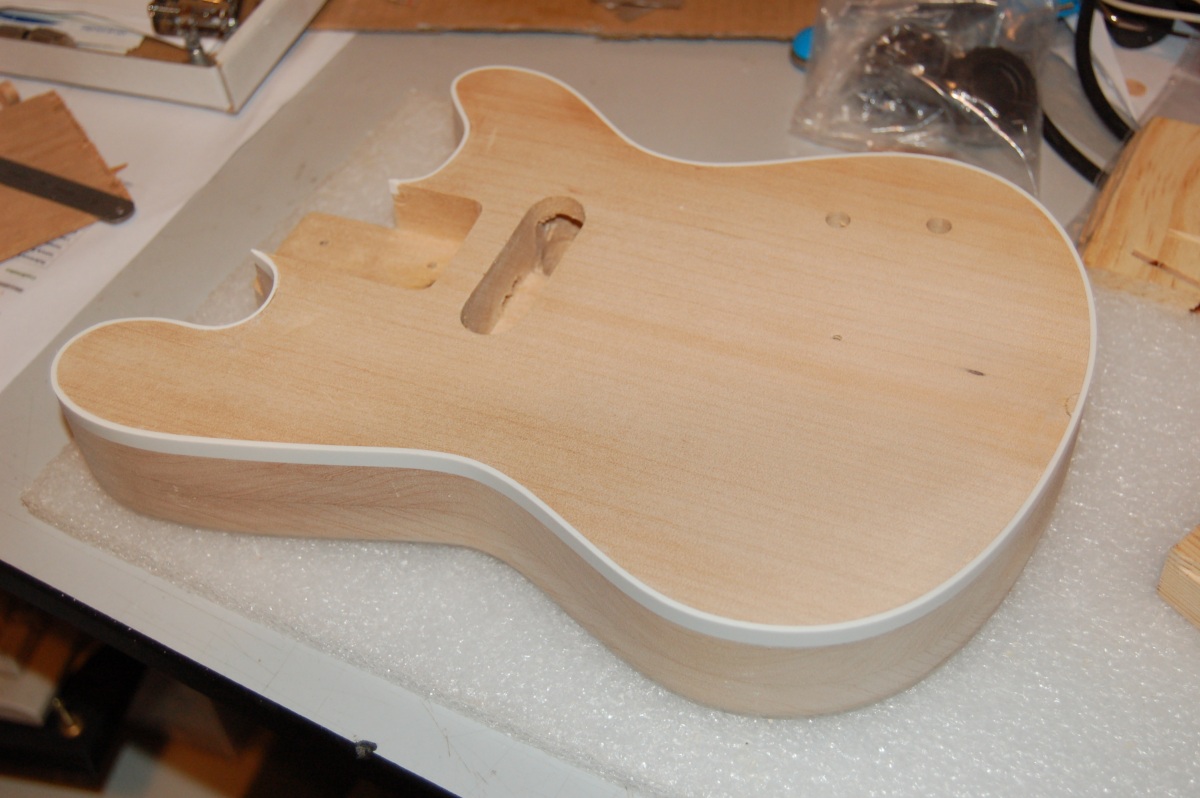
The keen-eyed amongst you will have noticed the little half-moon cut out right at the tail end of the body. I’d like to tell you the technical reason for this. But I can’t. There isn’t one – it’s just what happens if you’re a little careless putting the router down. It happened on about the second pass around the body blank. It’s been filled with a little plug of wood now.
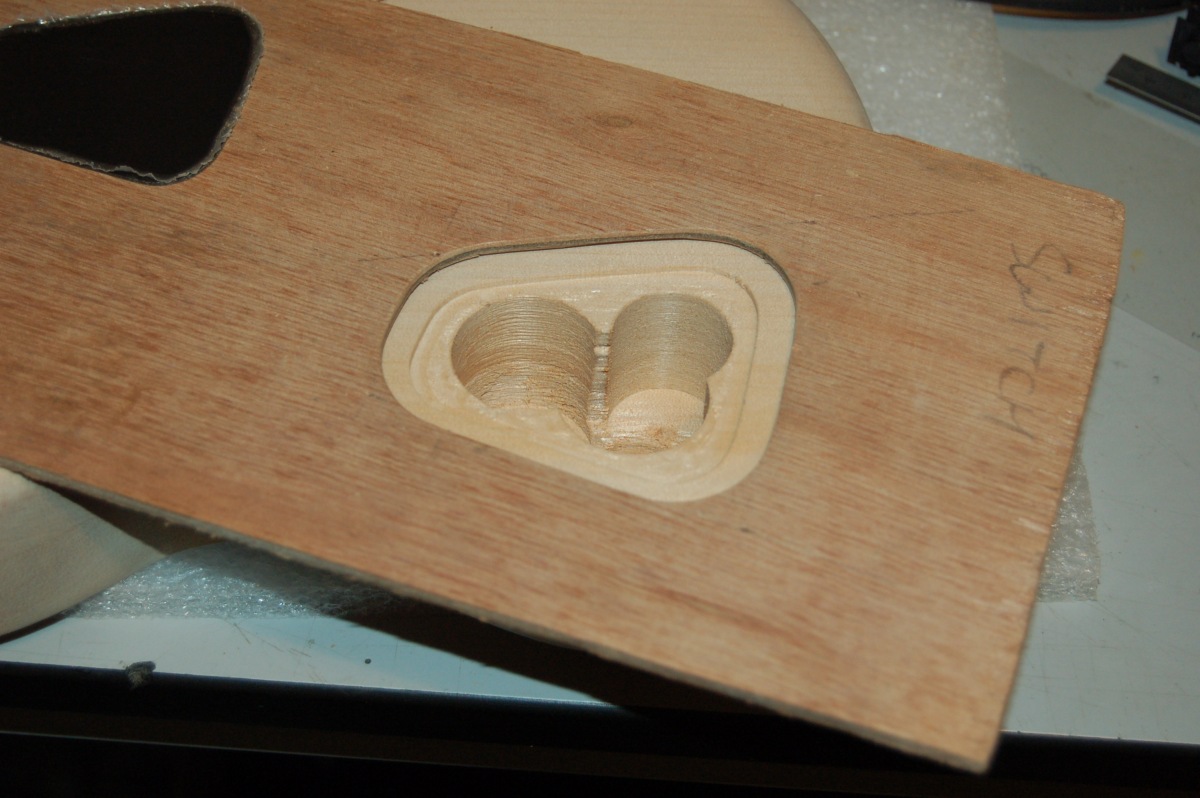
Using the holes as a guide to position, I drilled out the cavity with Forstner bits – these give a flat bottomed hole and can drill overlapping holes for things like this. The holes for the cavity are offset from the holes for the controls so the pots sit at one side of the cavity.

You can see where I was sketching the cover outline around the holes so I could make a template to rout out the cover recess and a cover to match.
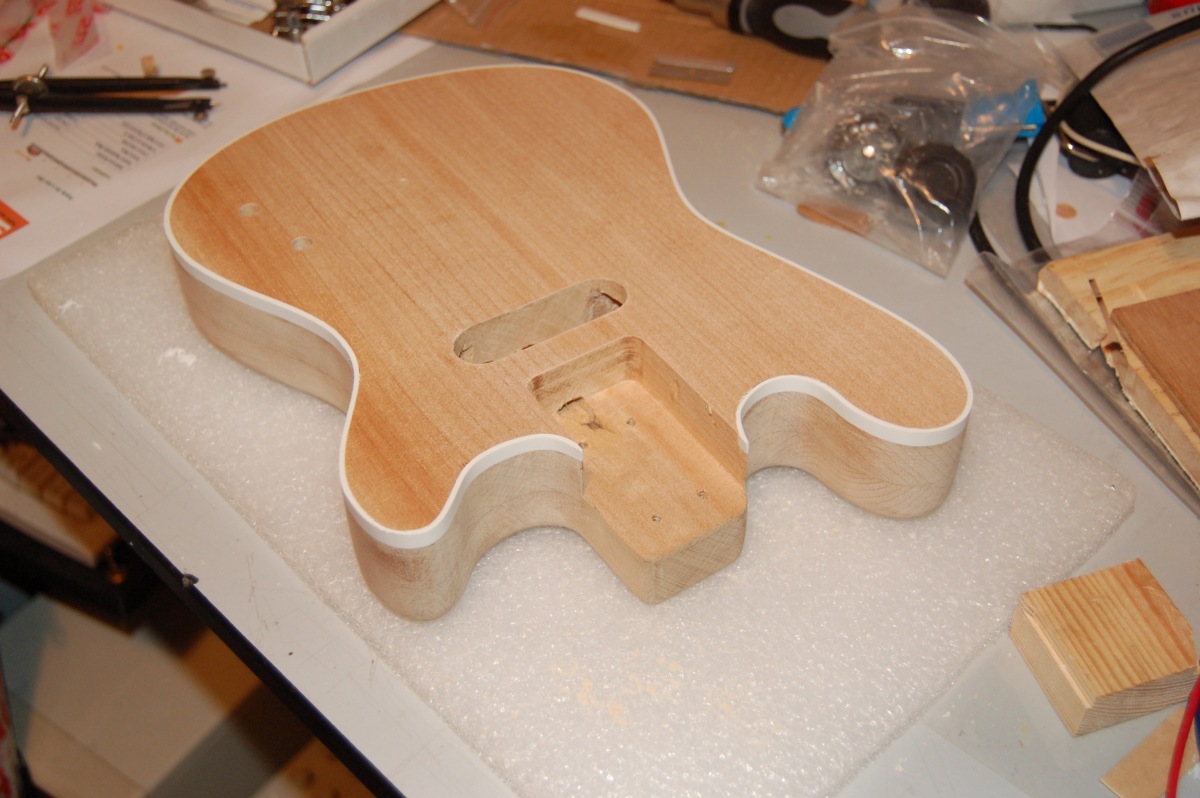
I knew where the jack socket was going to go, but I didn’t drill it yet because…. I had changed my mind about rounding over the front edge of the body, I was still waiting for the tuners before I could finish the neck, so I decided what the heck, I’ll put a binding on the front edge of the body. Oh Boy!
Binding the body
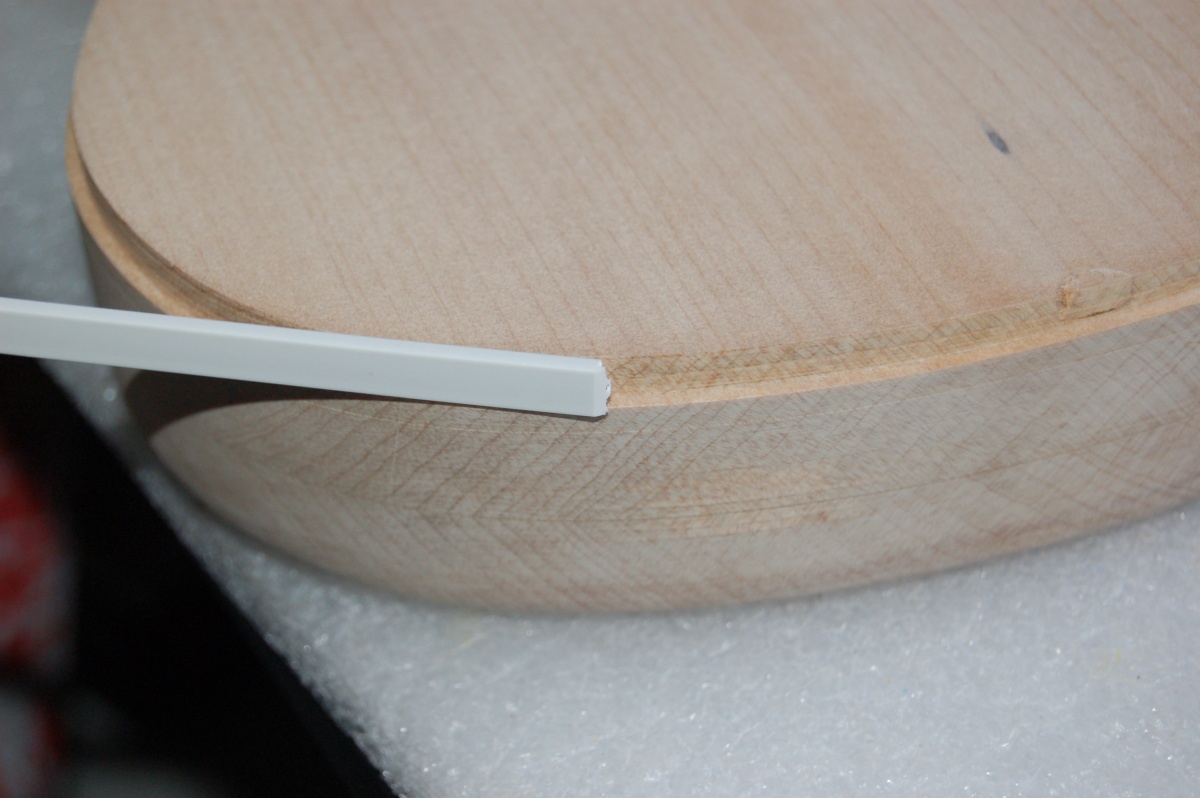
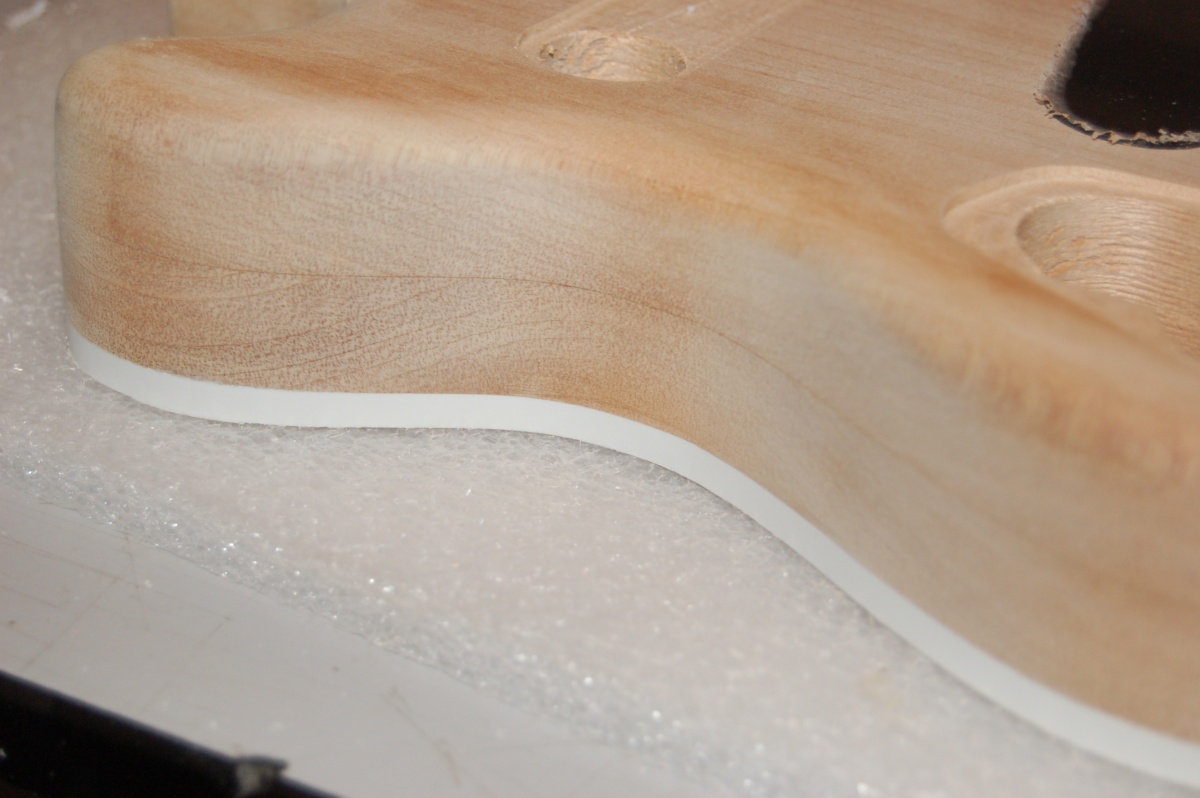
Binding the body meant cutting a ledge all round the top of the body that a plastic binding strip would be glued into. With my limited selection of router cutters and bearings, the best I could come up with is a ledge just a little less than 2mm deep. I would have liked a little less, as I’m guessing that thinner bindings are easier to deal with.
It didn’t take long to cut the ledge (I put a block of wood in the neck pocket to keep the ends of the ledge neat):
Looked OK for the plastic binding that I’d ordered:
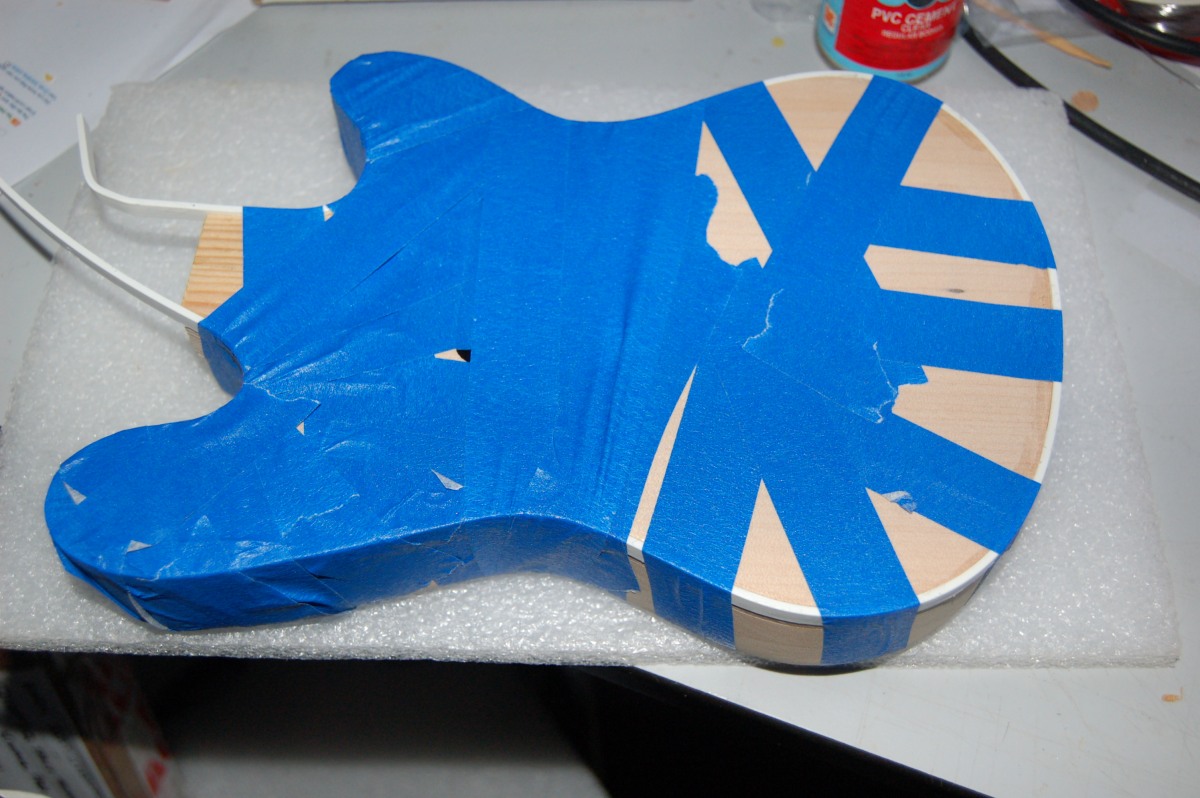
All I needed to do now was glue it in place and scrape it back smooth…
AAAARRGHH!!! What have I done? ??? What was I thinking? ??? Getting the binding on tightly round the body was a nightmare! I just didn’t have enough hands to hold the binding in all the directions needed at once. It needed a LOT of masking tape:
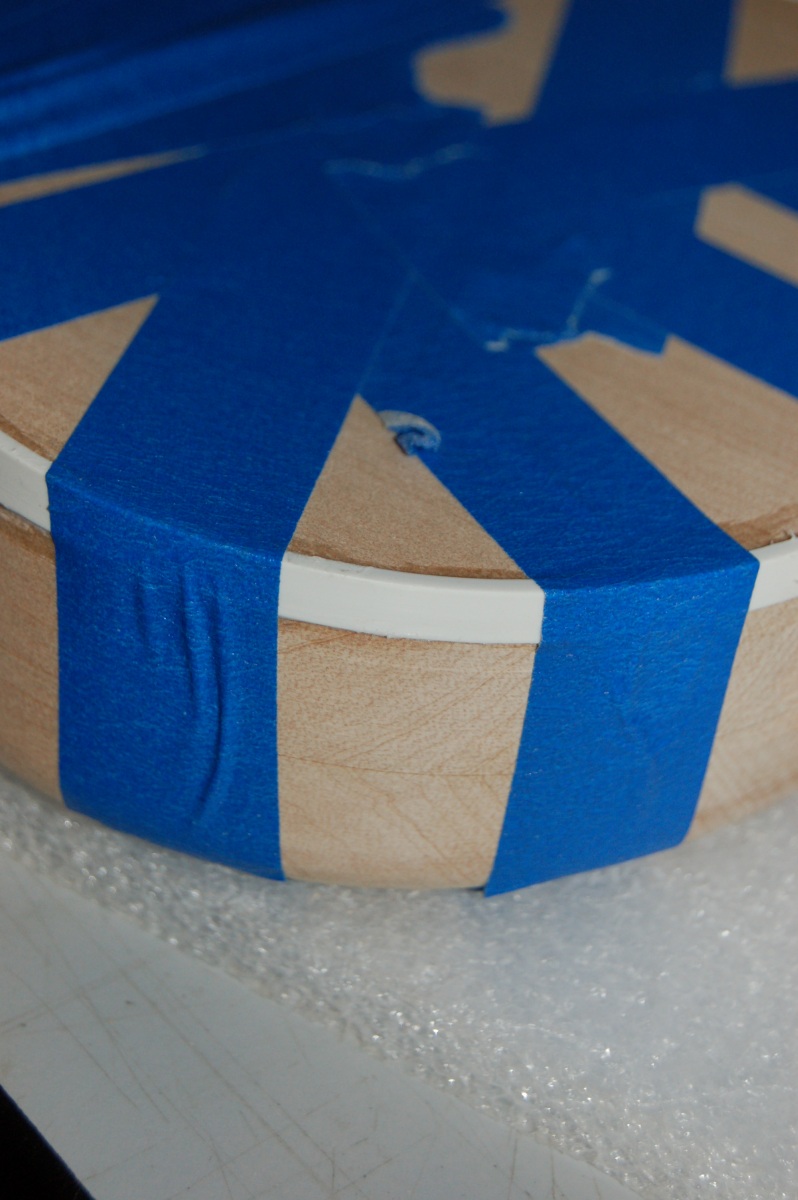
After the glue had a chance to dry, I took the tape off and found that the binding had sprung away from the body in the cutaways near the neck. Because I’d used PVC solvent glue, the joint was still a little ‘soft’ and the binding could be slowly pulled back into position with clamp pressure. I don’t think I could have done this if I had used Superglue like I almost did (but then the binding may not have sprung away if I had??).
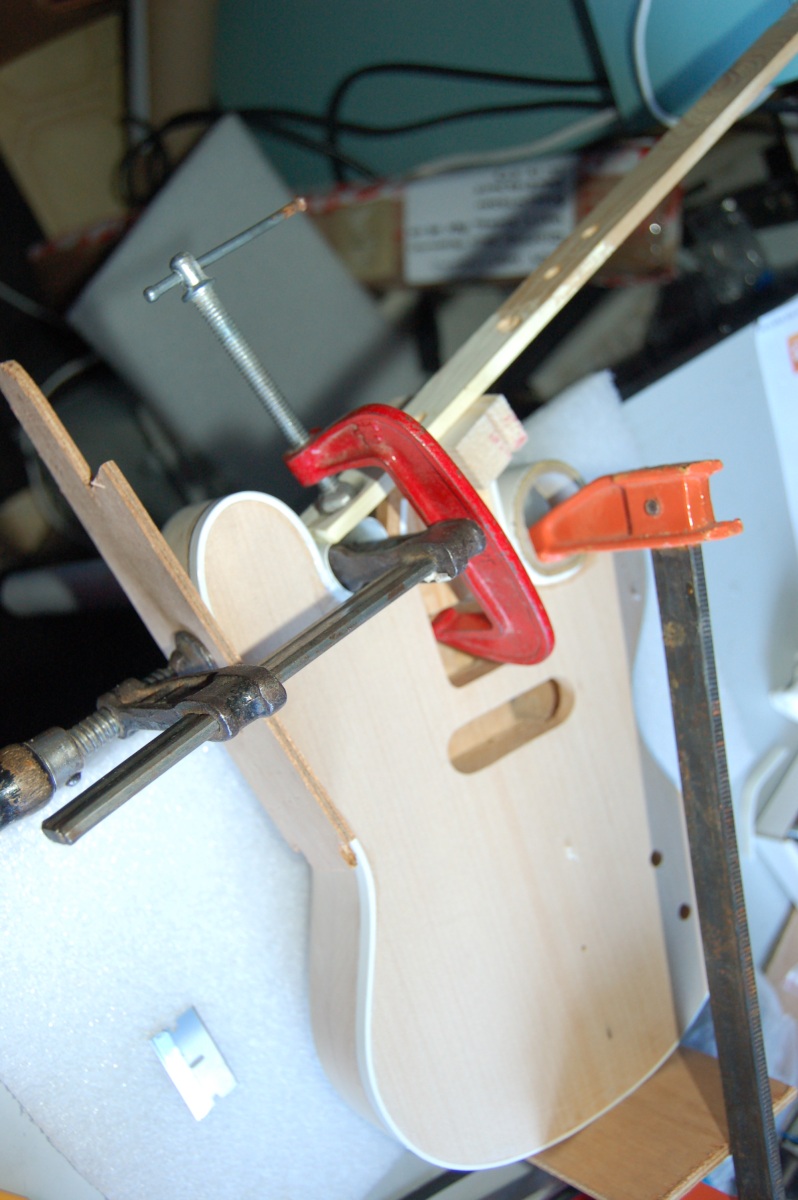
I couldn’t quite rescue the area around the upper cutaway, but the rest of it was OK:
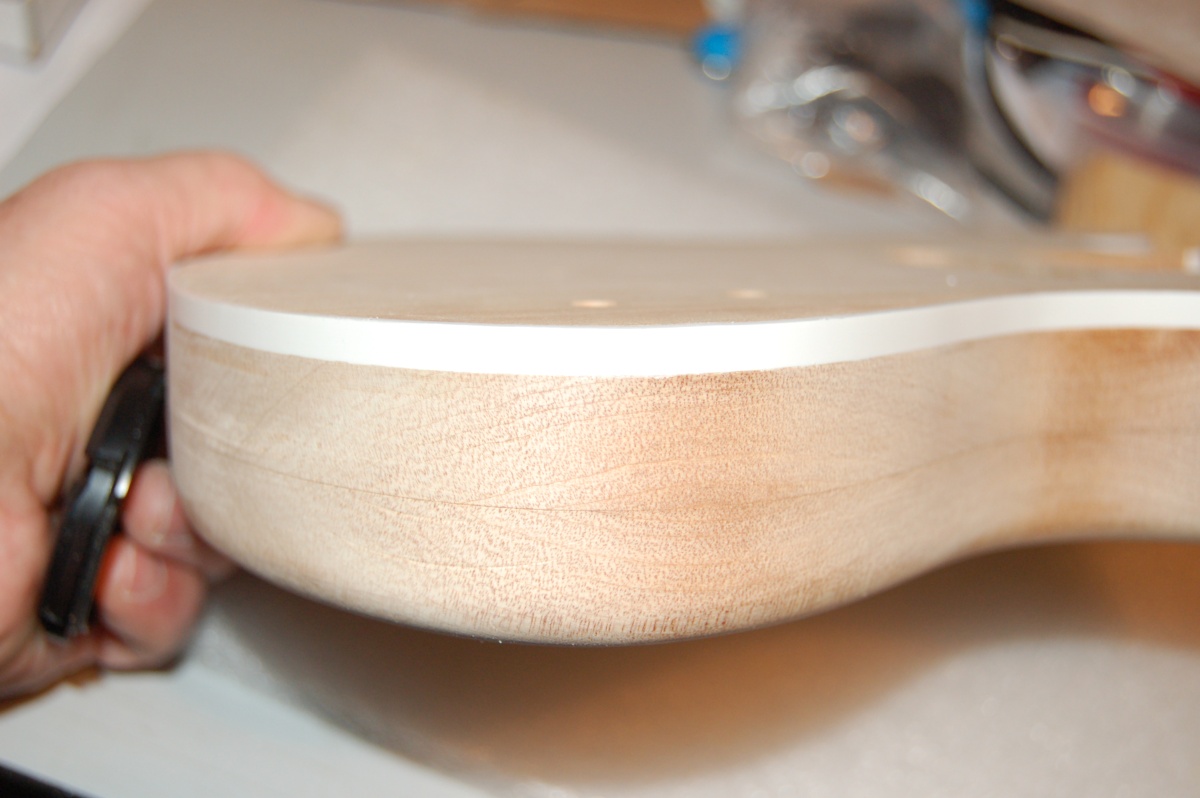
Using the solvent glue means that the binding really moulds to the wood, and gives a most pleasing joint when it has been scraped smooth:
I used single edged razor blades for the scraping with the edge ‘wiped’ across a steel to turn it into a tiny hook. It took a long time to scrape the binding back, but it was strangely satisfying work . It also gave a *lovely* finish to the end grain on the sides of the body:
Fitting the jack socket
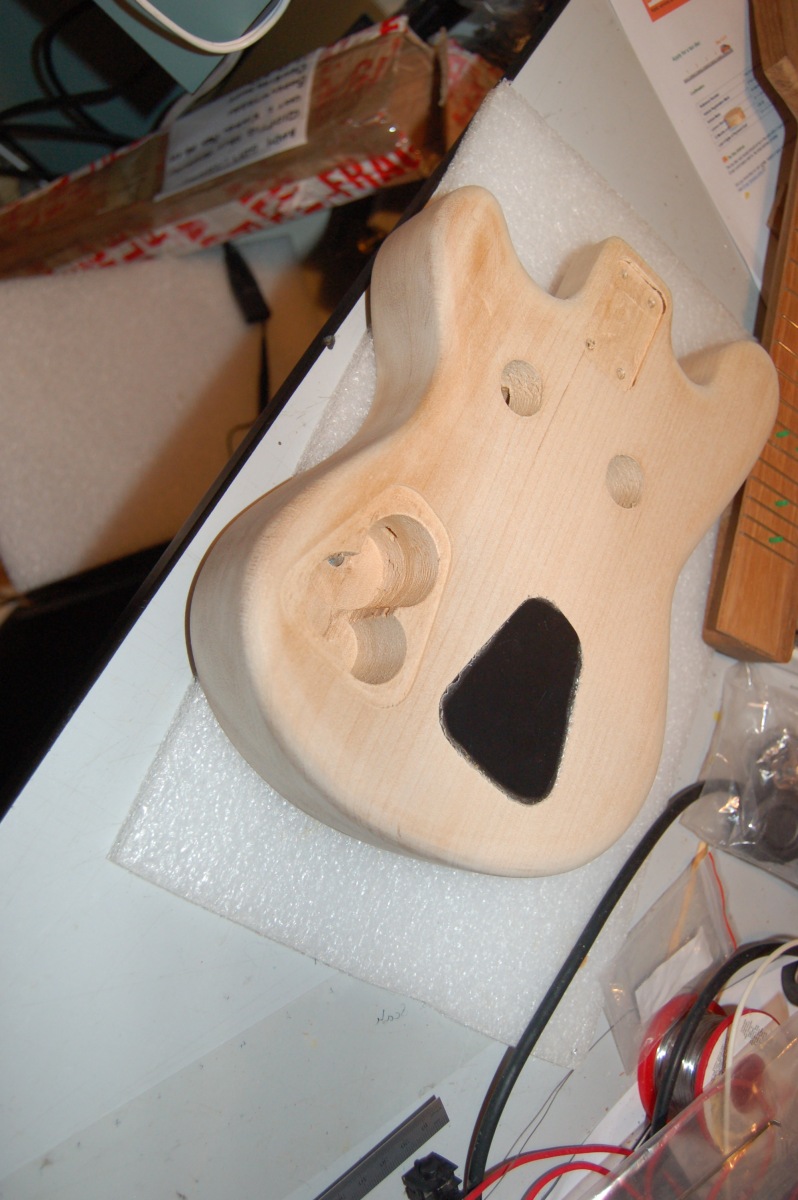
With the binding done, I could drill the hole for the jack socket:


At this point, the body feels *gorgeous*, and all I want to do is sit in a darkened room and run my fingers over it!
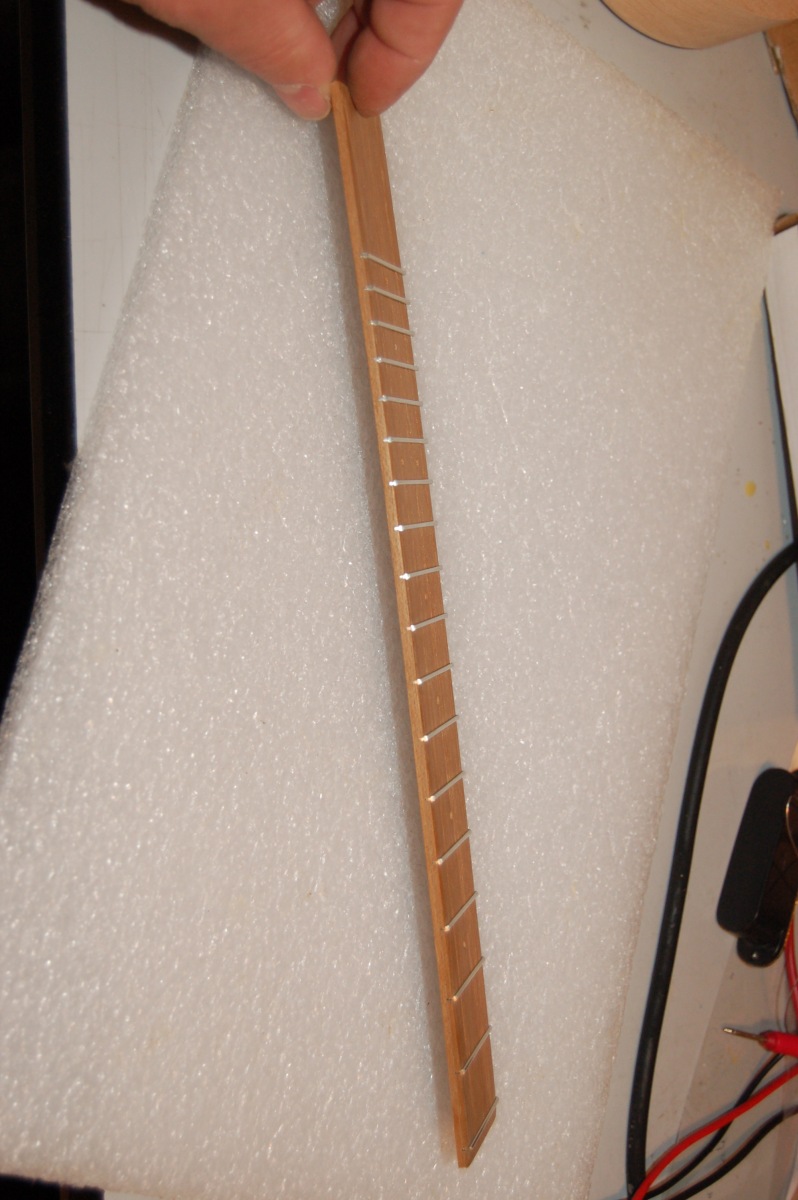
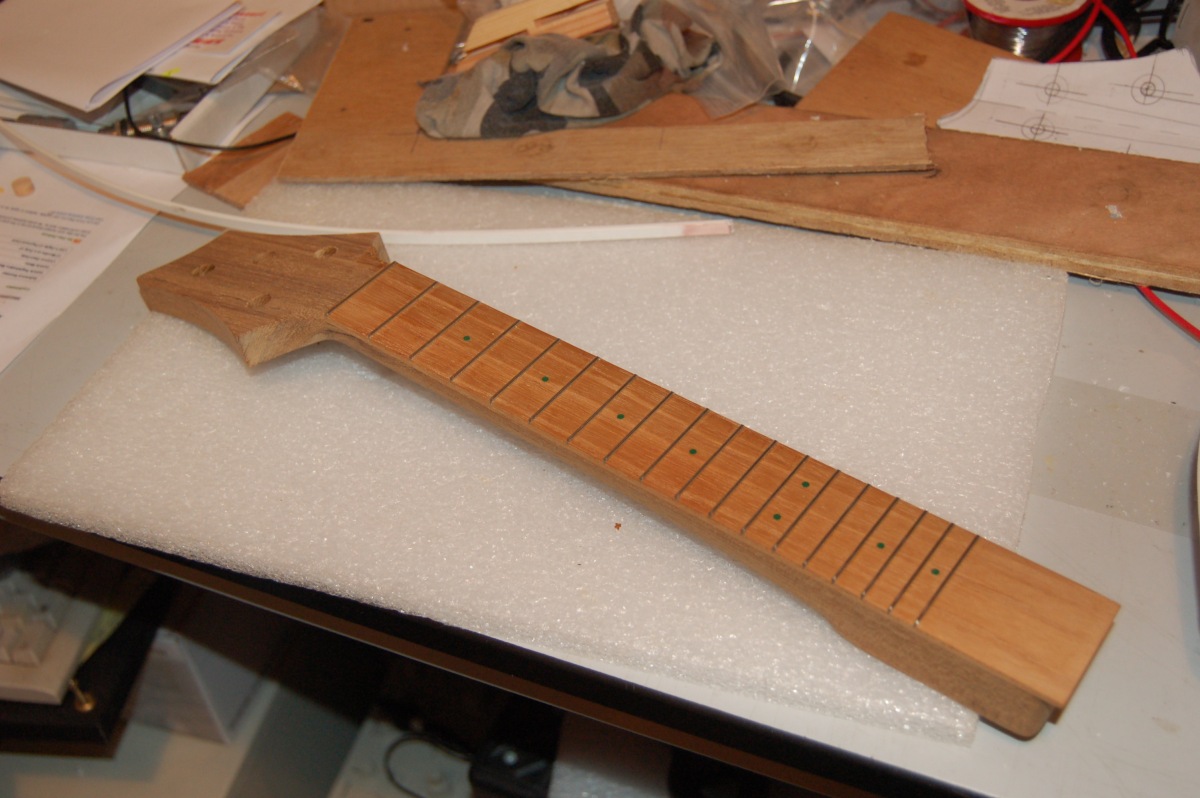
Fretting
Right, back to the neck… I thought about putting a radius on the fretboard, but it seems most ukes don’t have one, and it would make life a bit more complicate for me, so a flat fretboard it is. The face of the neck and the back of the fingerboard had already been planed smooth and then sanded flat with abrasive paper on a sheet of glass to get them to fit nicely together. A flat fretboard meant I could sand the face of the fretboard in the same way to get it as true as possible.
The tuners still hadn’t arrived, and I was getting itchy to carry on. I wanted to shape the neck, but I also wanted to fit the frets while the back of the neck was still flat to provide a solid base. I decided to fit the frets before gluing the fretboard to the neck (having seen some youtube videos of people doing it this way).
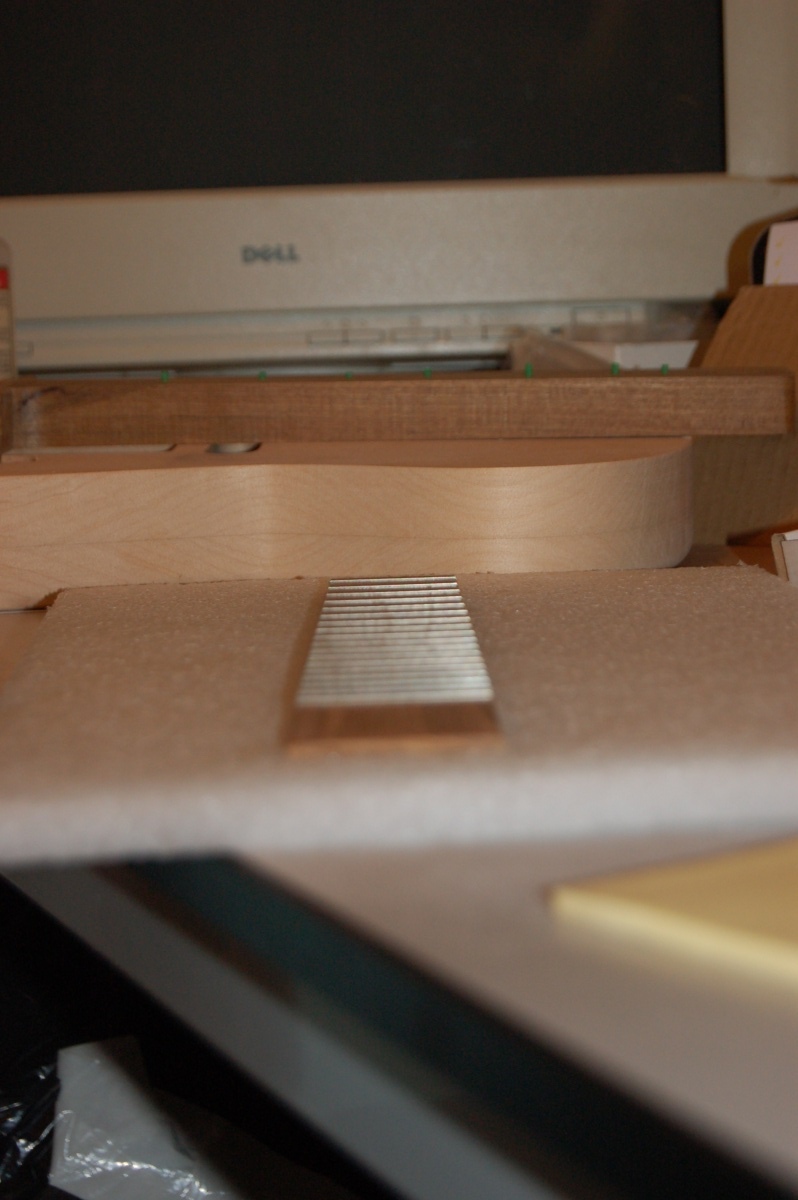
I tried hammering some lengths of fret wire into some test slots, and it was, frankly, barbaric – dents and kinks in the fret wire, and divots out of the wood where the wire slipped over rather than hammering in. Then I came across a youtube video of someone pressing the frets in using a dowel in a (stationary) drill press. Bingo! This is the technique I used (although the photo is from later on – all will be be explained…):
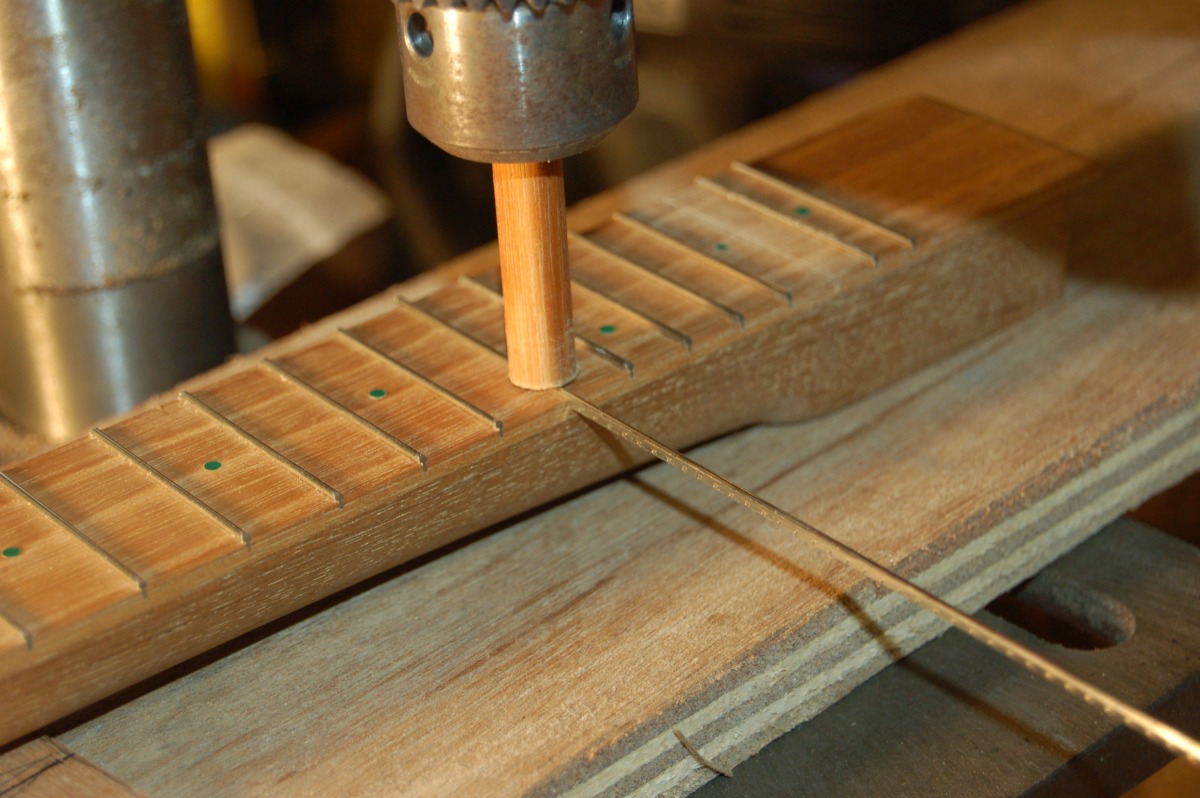
NB The drill is NOT running!
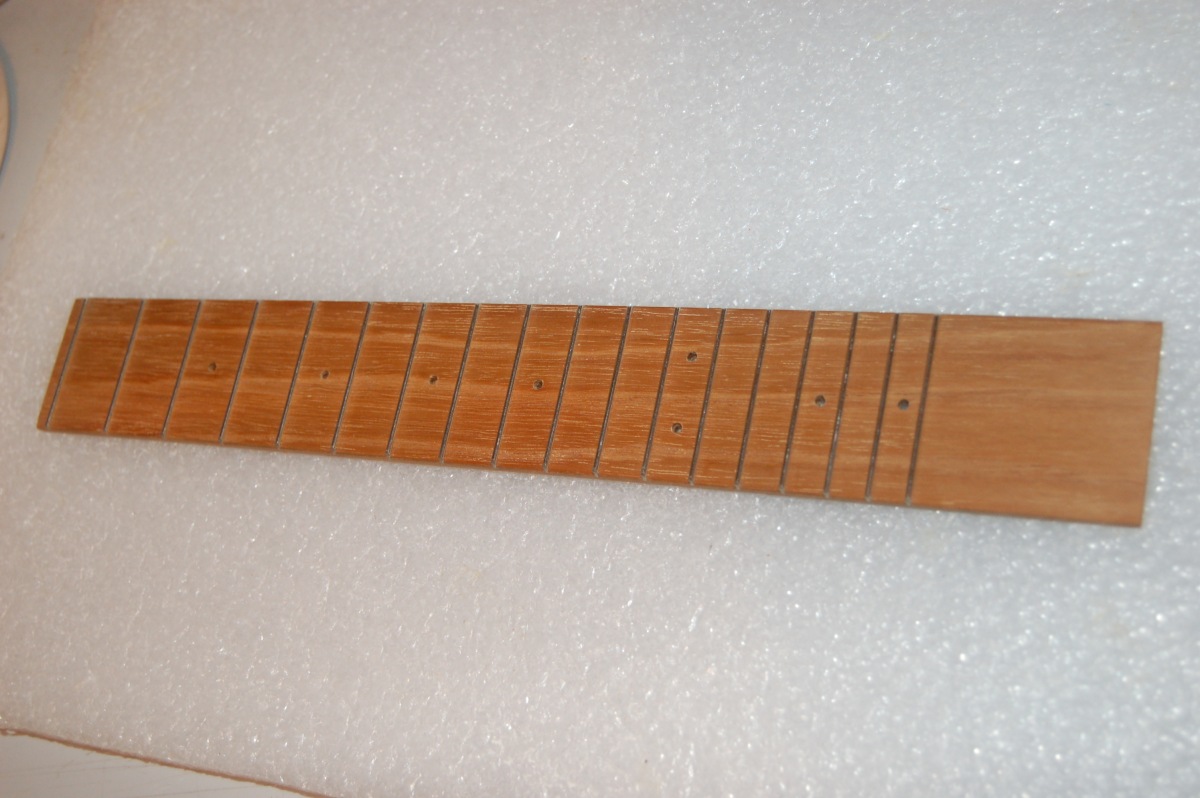
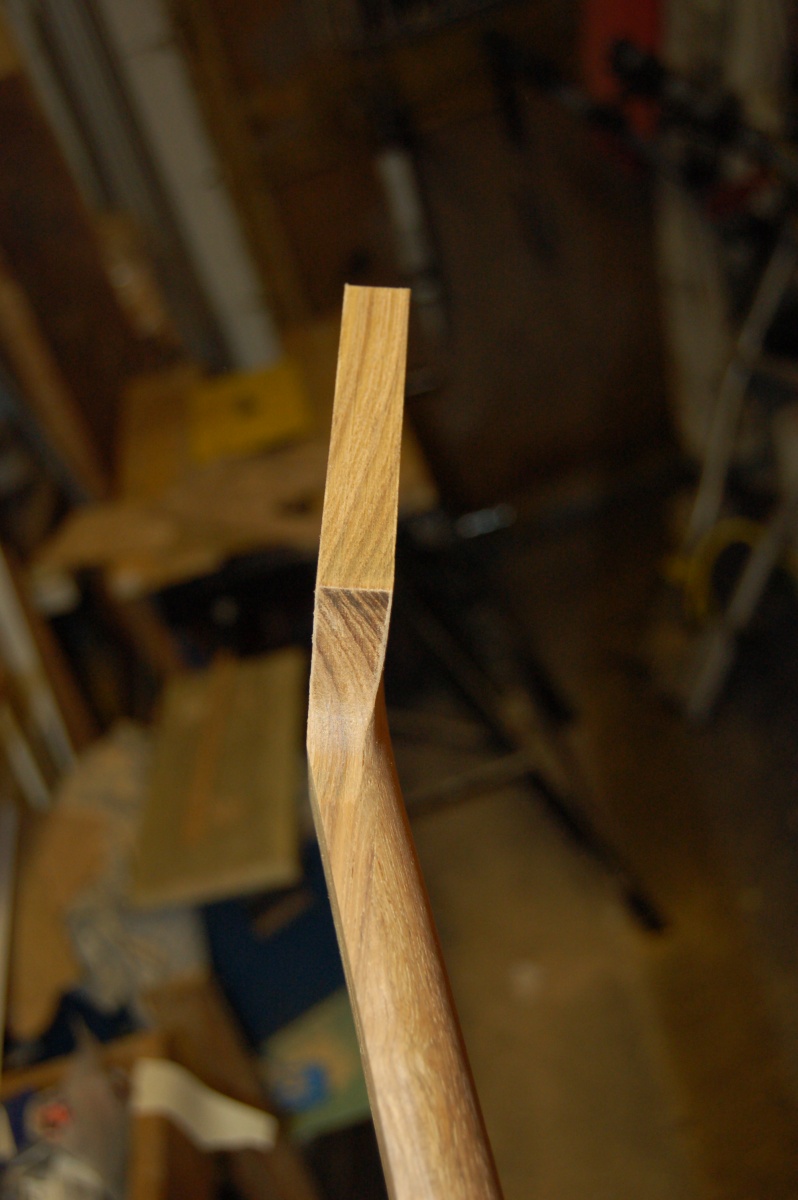
I quite liked the idea of having a fretboard with a ‘zero’ fret, so I thought I’d try for that, and if there were problems I’d just trim the fretboard at the zero fret position and fit a conventional nut, instead. The zero fret went in OK, so I carried on with the rest:
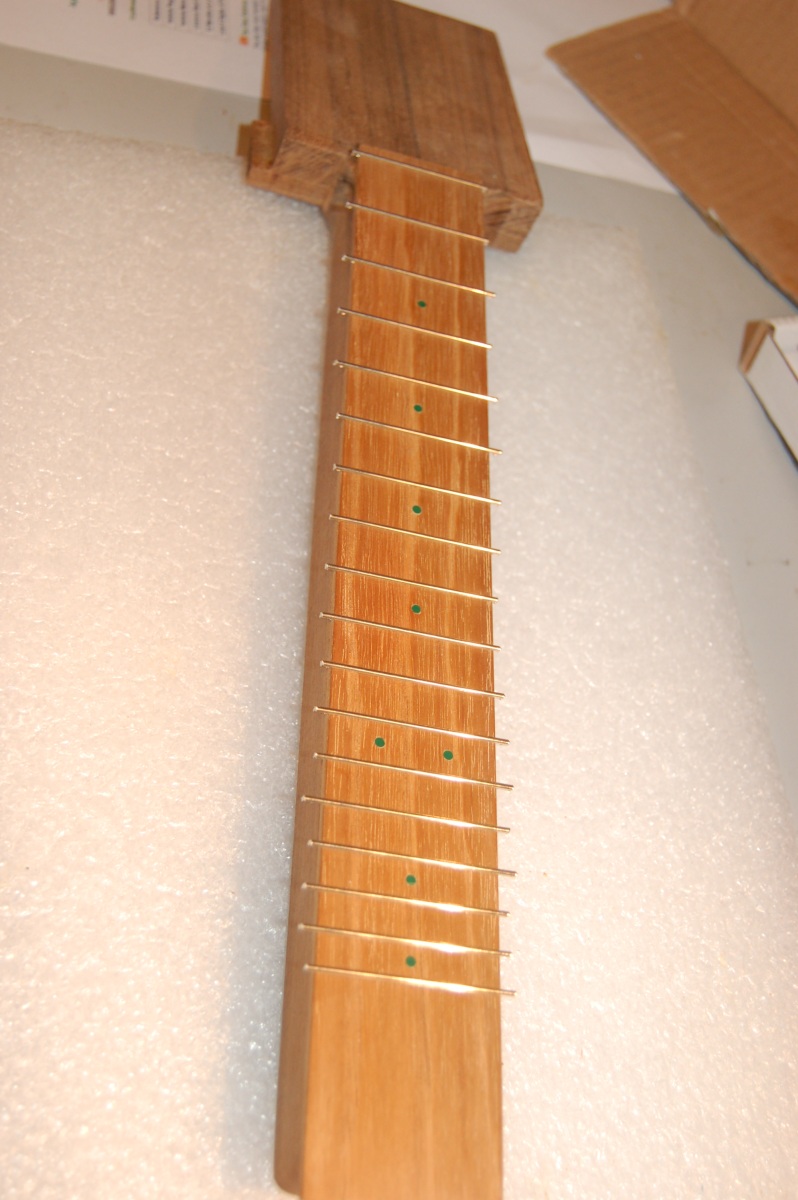
I clamped the whole neck between two boards to press the frets home and hold them in place while I filed the cut ends of the fret wire off.
Notice how the act of pressing the frets in has put a curve in the fretboard.
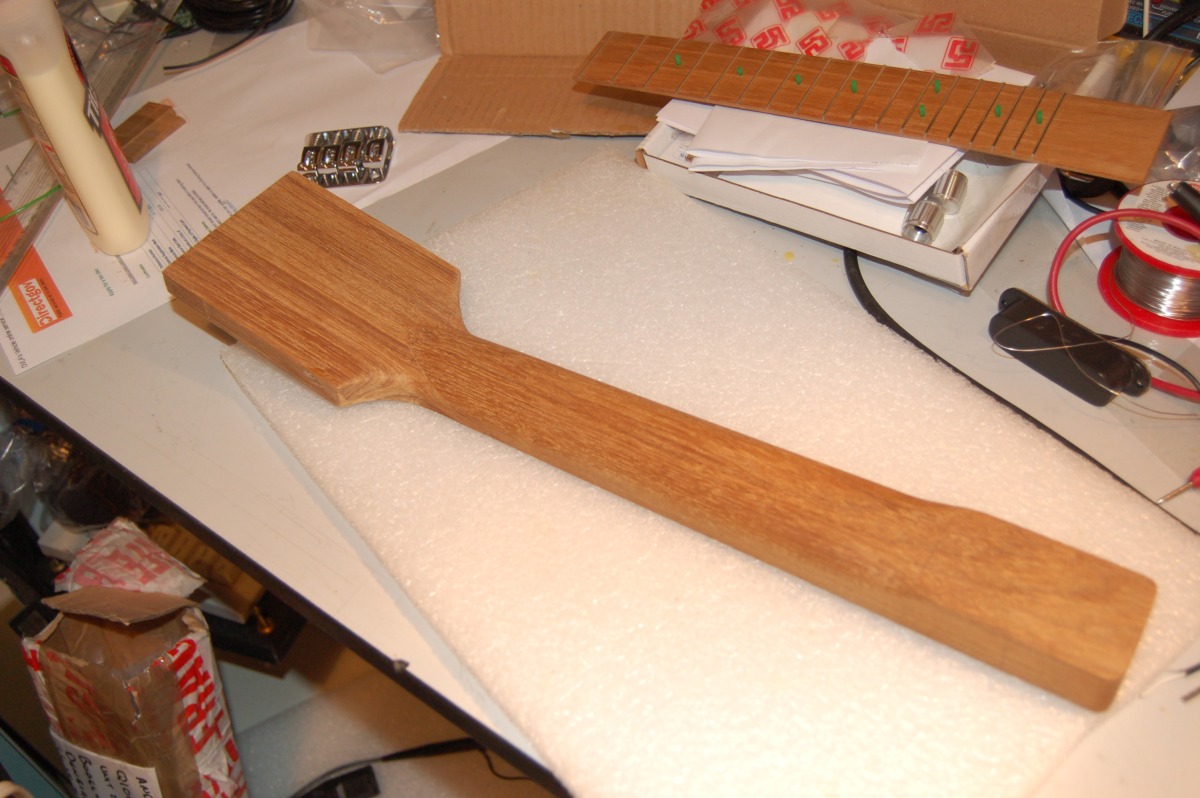
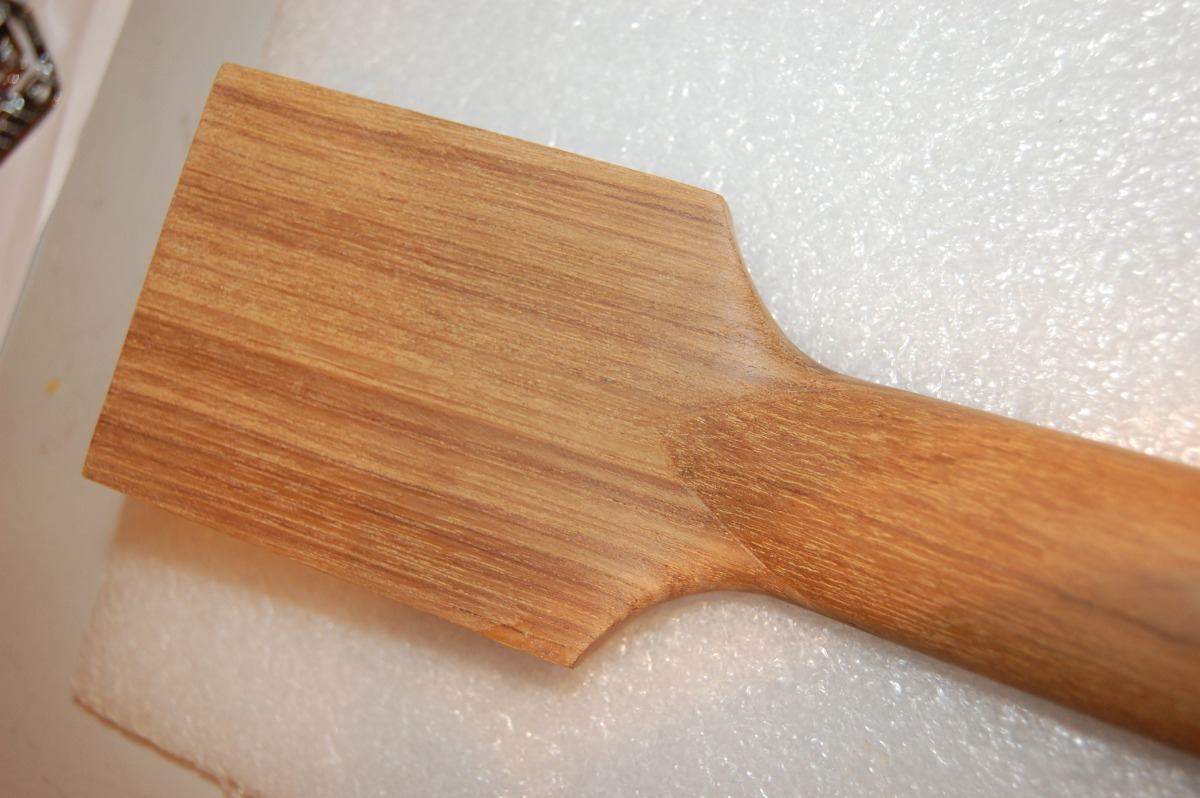
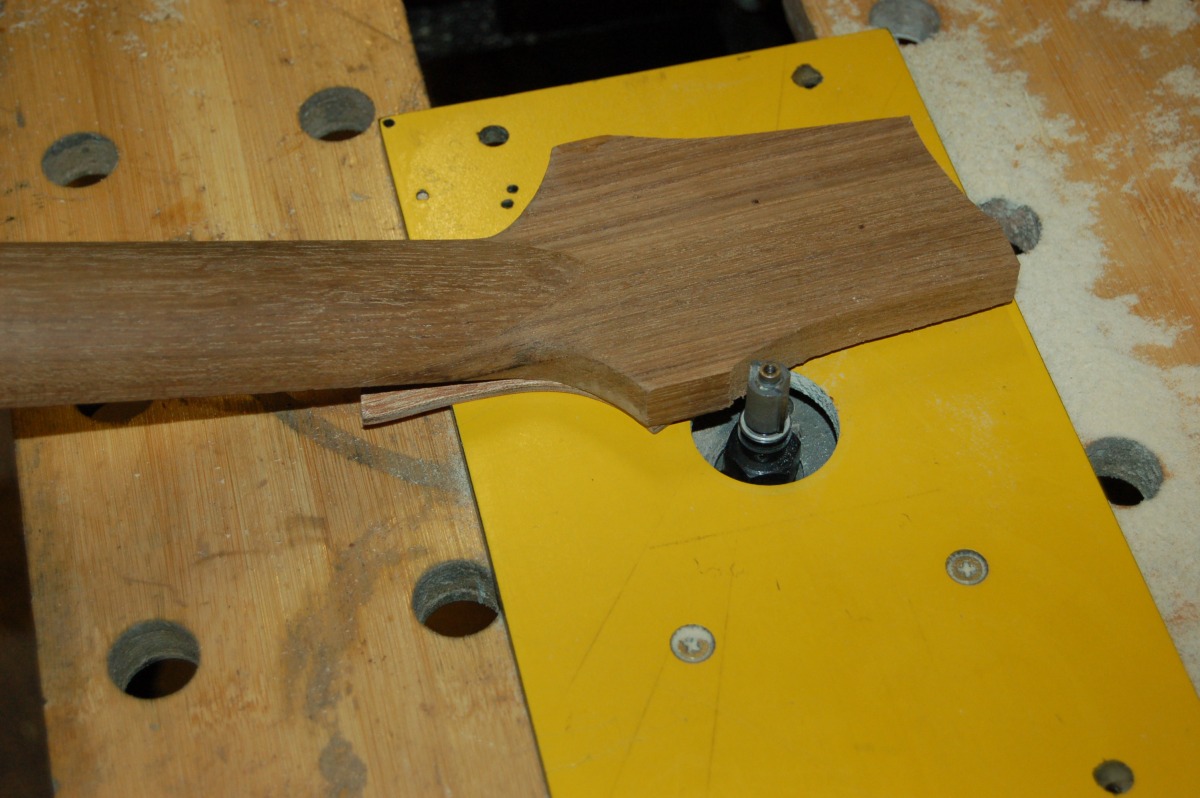
Shaping the neck
With that done, I thought I’d have a go at shaping the neck… …with the belt sander!
BAD IDEA.
I’d already used the router to round over the edges of the back of the neck, but a lot of material still needed to come off. I tried coarse sandpaper. Too slow. I tried a rasp. Too slow. Belt sander! … Too fast! I ended up running the sander off the end of the neck and over the headstock, carving a deep groove in the back of it . It needed a lot of careful sanding to get this out and make the back of the headstock flat again. When I’d finished, the headstock was barely 12mm thick. Aesthetically, it looks good, but I just hope my tuners will fit to so thin a headstock.
I’m not done with the neck yet, but this has made me more cautious, and I’ll wait until the fretboard has been fitted before carrying on.
The bridge
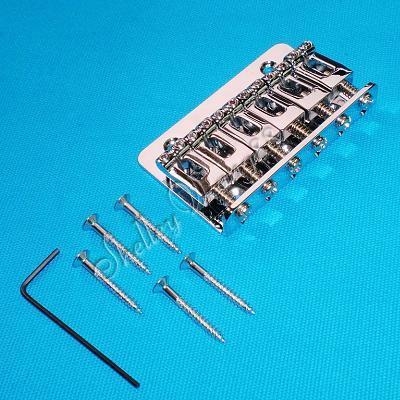
Back to metalwork for a bit. I bought a cheap hard-tail strat-style bridge on ebay with the intention of modifying it somehow:
I wanted to cut it down and re-drill the holes for the correct string spacing, but: a) it was chromed steel, so the cut edges would show and/or go rusty; and b) none of the dimensions really worked out. I decided I could make a new base with the correct string spacing and re-use the saddles, screws (and allen key )
Hacksaw time:
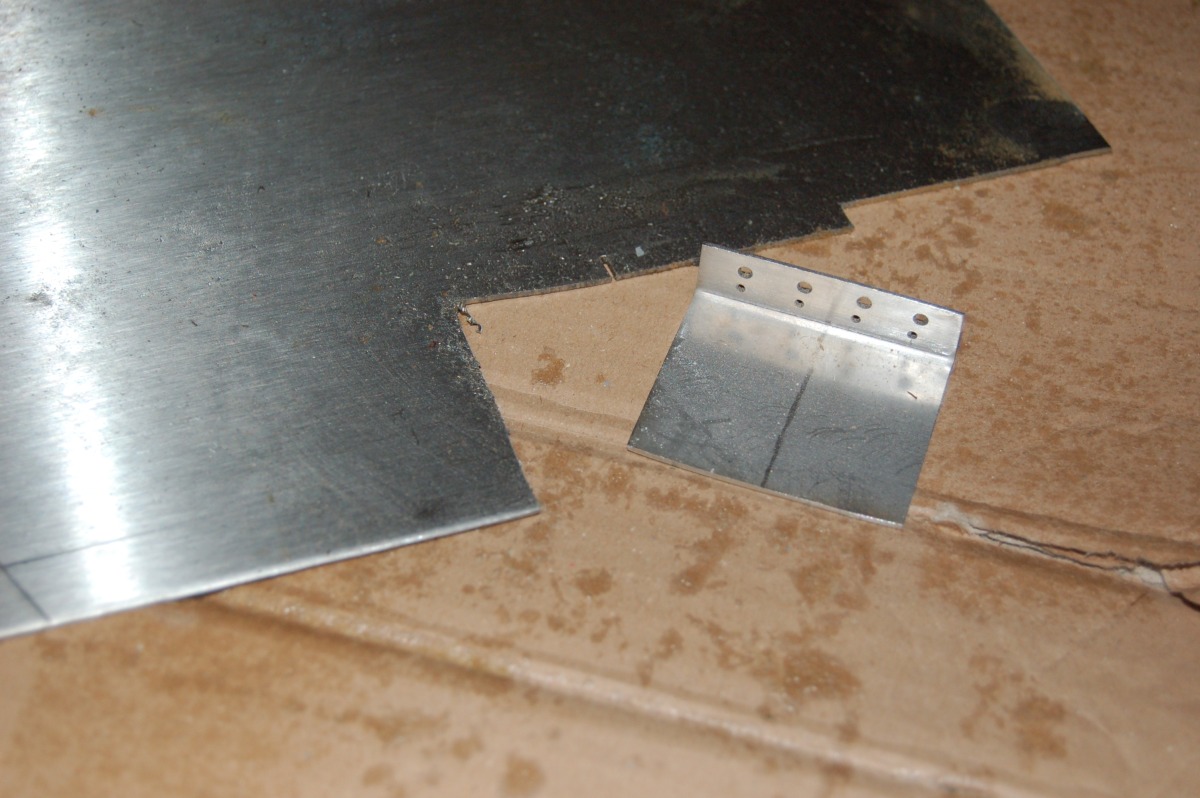
This was MK 1 – I tried to drill the holes in this after bending it, and they ended up well out of line as you can see:
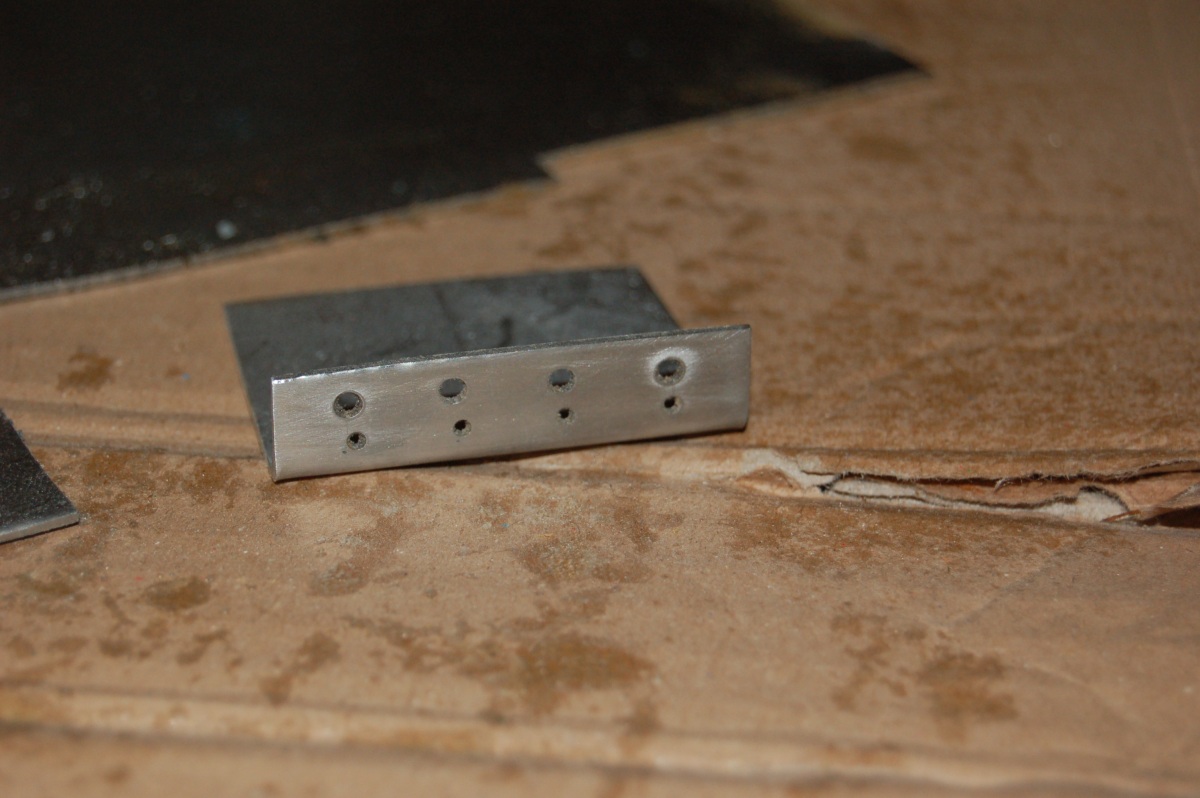
Mk – II was drilled while flat, then bent up and polished:
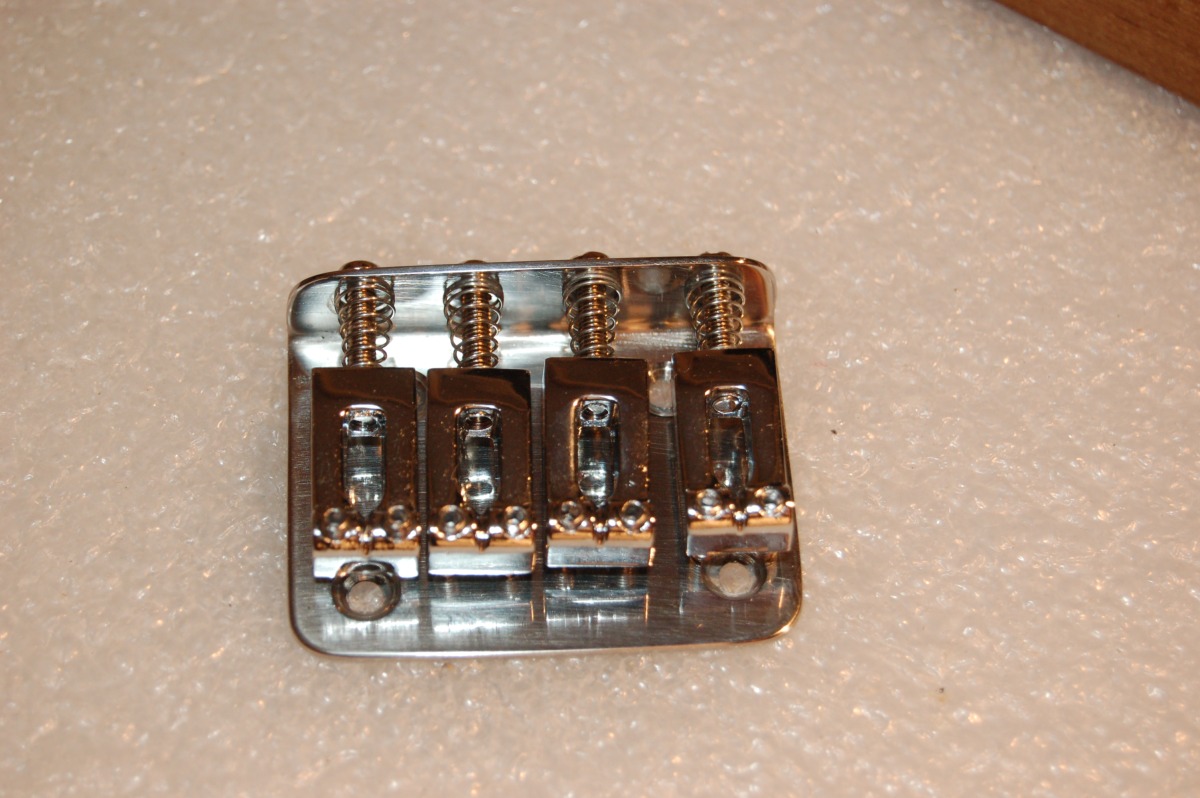
Still not perfect, but I was pleased with that. The polished stainless matches the chromed saddles quite well.
Headstock and Tuners
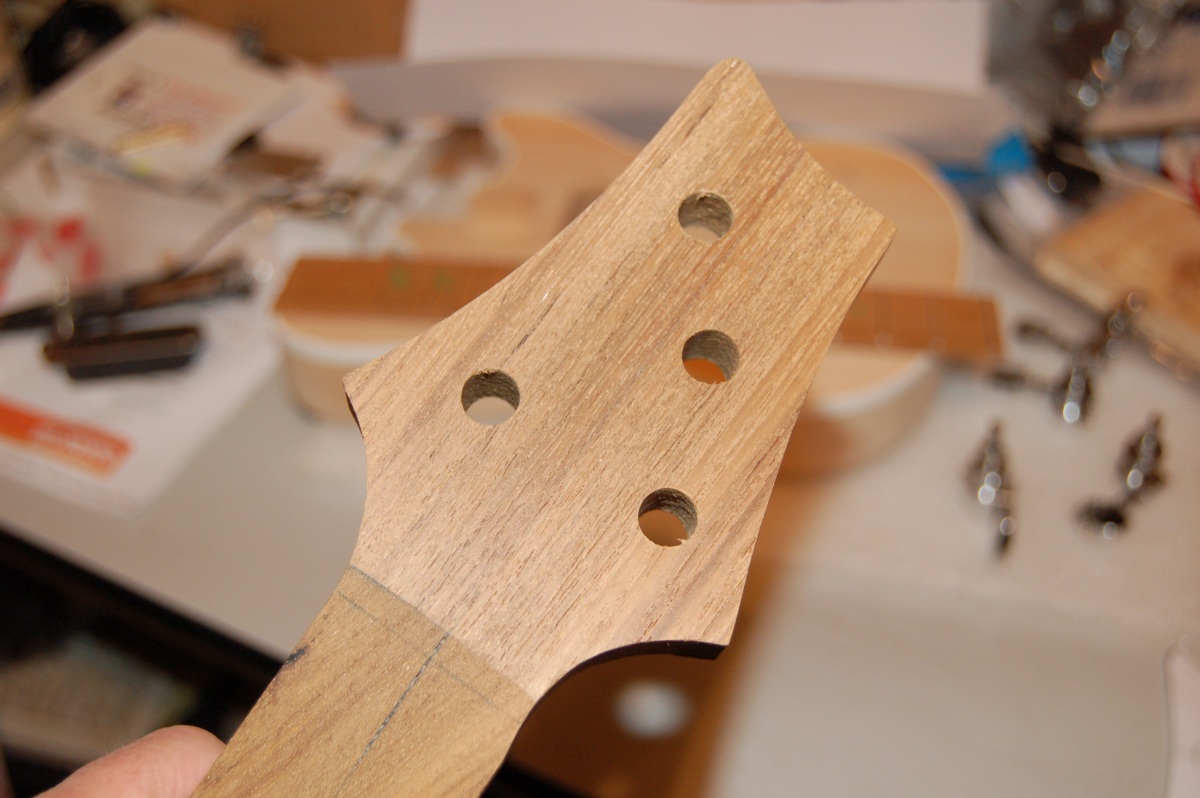
Yay! The tuners finally arrived so I could finish the headstock, but what shape to make it? I put “guitar headstock” into a google images search and picked out the ones I liked. It turns out that I like: Roughly symmetrical; Concave sides; Narrower at the top than the bottom; If the top is sloping, then it must slope down to the right. It’s an interesting exercise if you’ve got a few minutes to kill (I seem to share some tastes with a certain P.R. Smith, but his are too pointy).
I traced the headstock outline of the blank onto some paper, drew in the strings, and then sketched some different possibilities. Turns out I couldn’t get a straight pull on the middle two strings, as the tuner bodies wouldn’t fit close enough together.
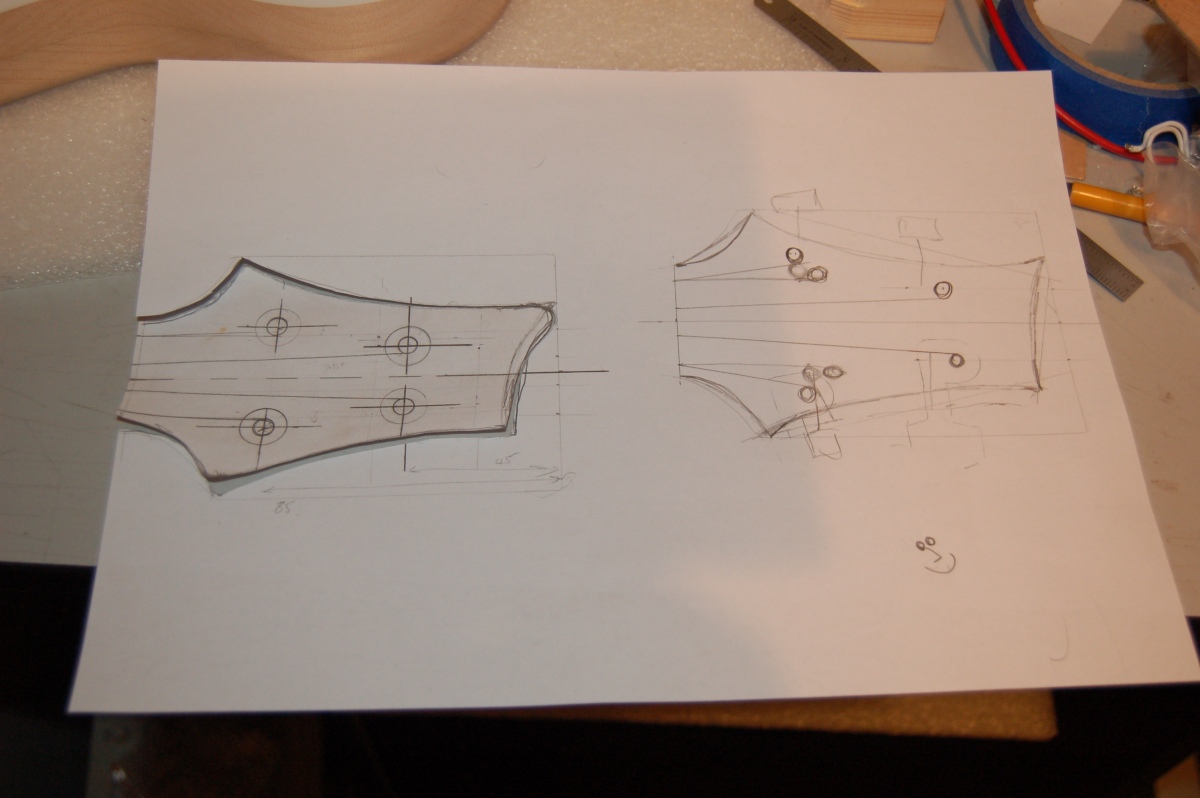
This is what I came up with, and the template from it:

I saw one ukulele build blog where the poor unfortunate had drilled all their tuner holes in the wrong place. I was keen to avoid that, and to make sure that the tuners didn’t foul each other, so I made a dummy headstock out of some scrap to check it out.
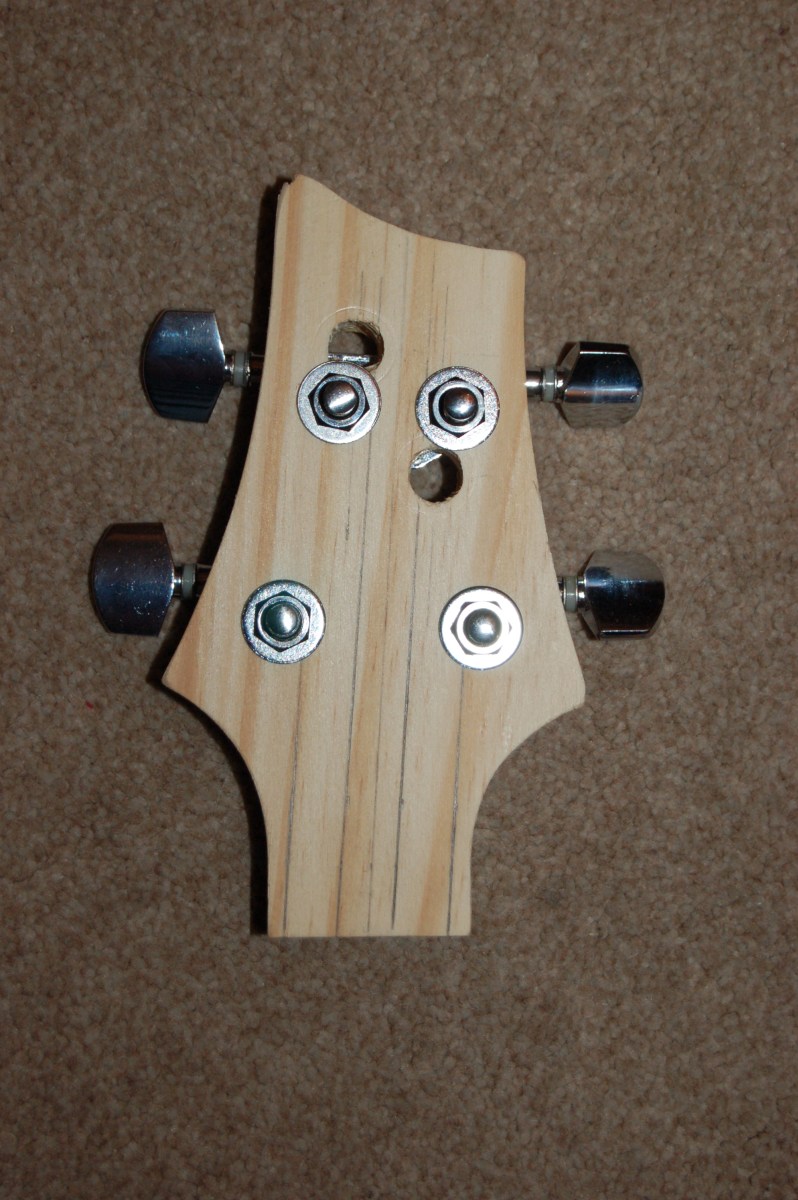
It was OK, but kept reminding me of the comedian Lee Evans (Maybe it’s just me…)
By chance, I’d taken the tuners out and left them on top of the paper template. The layout caught my eye, and I thought “that doesn’t look too bad…”. Bye bye Lee Evans, hello straight pull:
(These holes are already there in the first picture, but only because I put the tuners back in the old position to take the photo.)
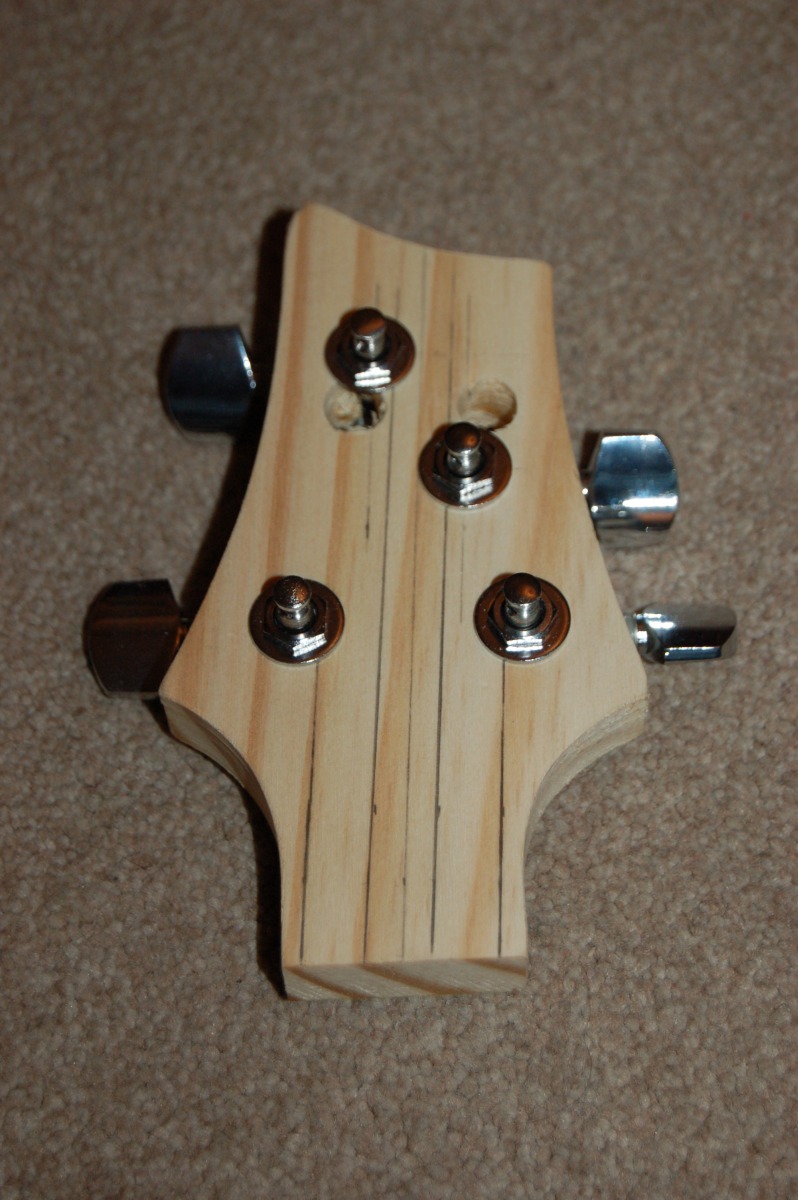
Once I knew where the holes for the tuners were going, I could use these locations to fasten the template to the headstock, trim away the excess and rout away.
The only thing I had to remember was that the template was a little under size where the headstock ran into the neck on the right hand side. No problem, all I needed to do was stop just a little shy of the neck at the end of the cut…
Bugger! I confused myself by turning the neck upside down – that should have been the beginning of the cut!
You can see where there is a little too much cut out on the right hand side (now it’s back the right way up! :-[

A bit of sanding and some tuner holes:
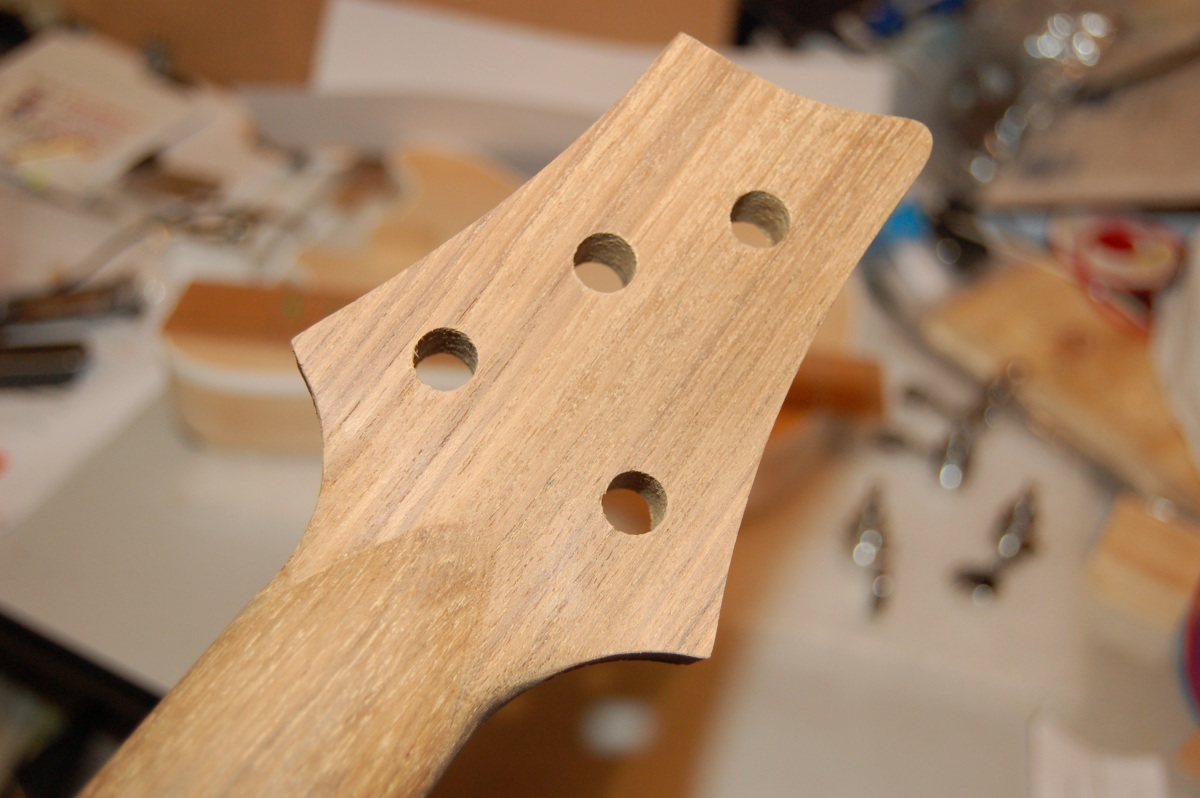
I think it looks killer with the tuners in:
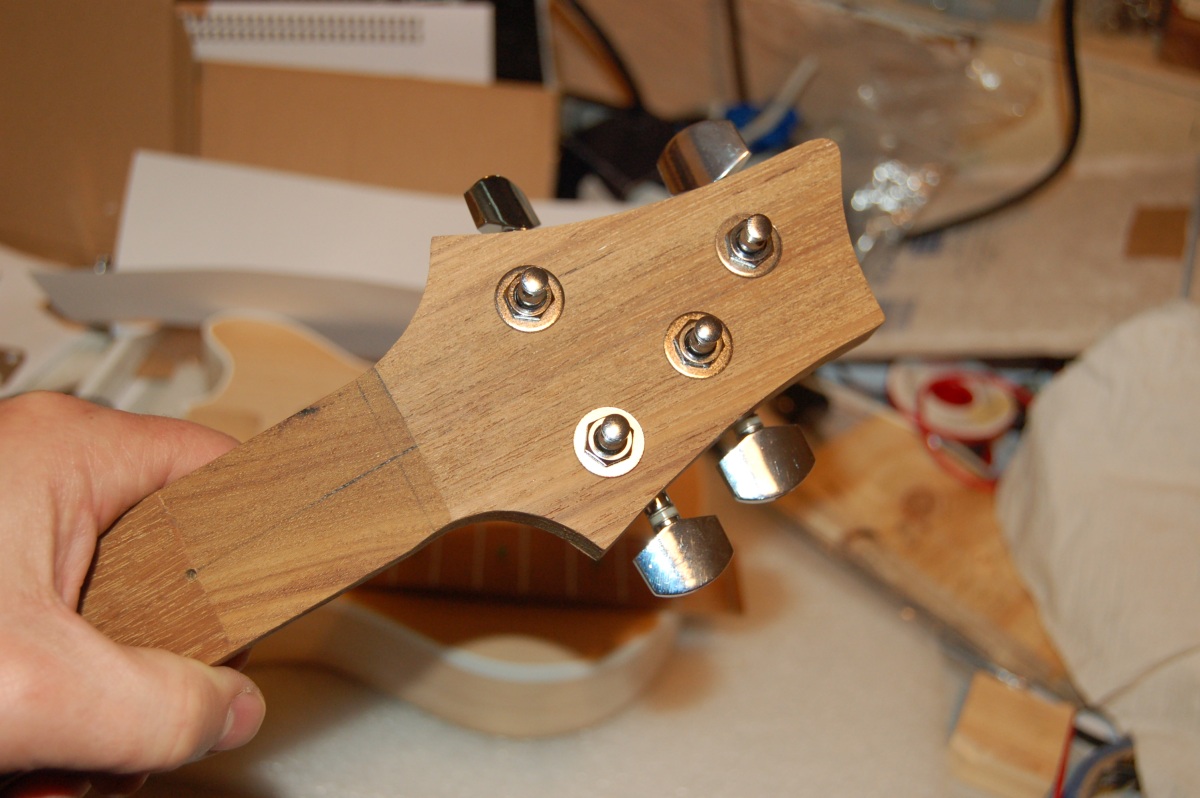
They *just* fit the thin headstock – the bush on one of them bottomed out before tightening up, and another one felt a bit rough when the bush was tightened, so I trimmed a few mm off all the bushes and all is well.
Finishing the neck
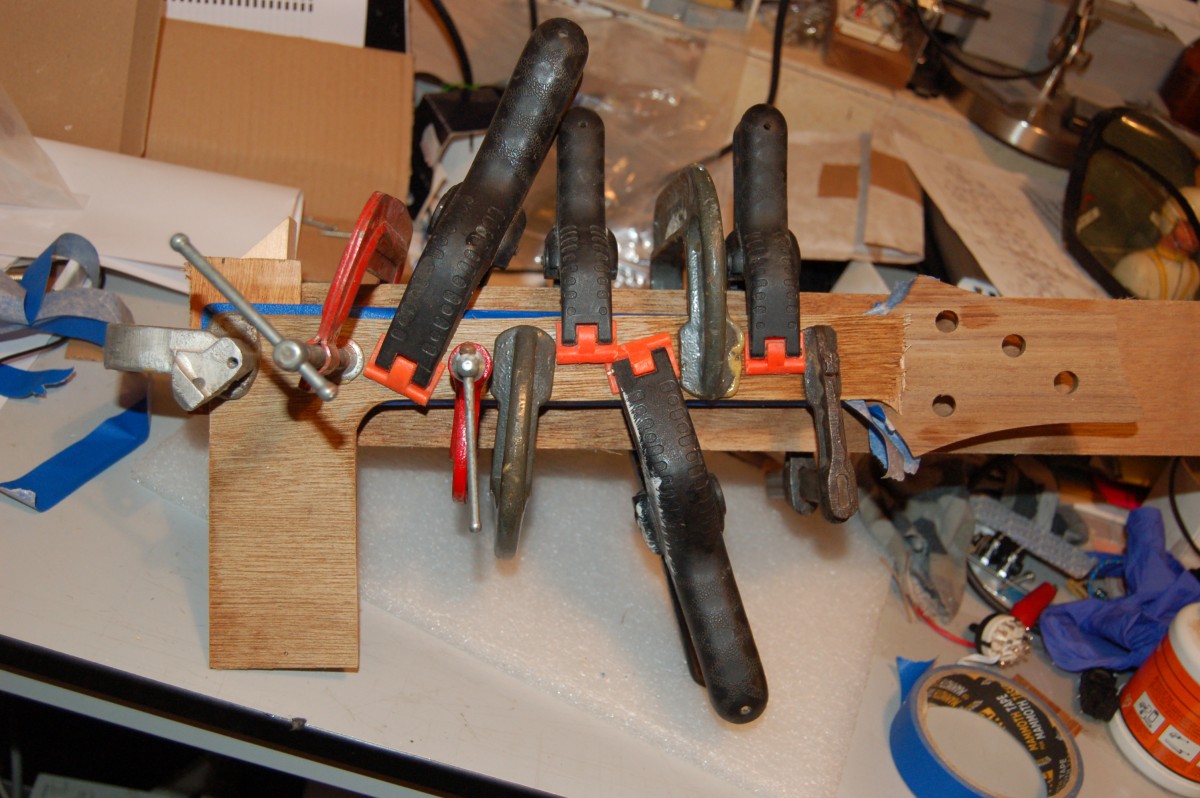
FINALLY I can glue the fretboard on (it’s the clamps again):
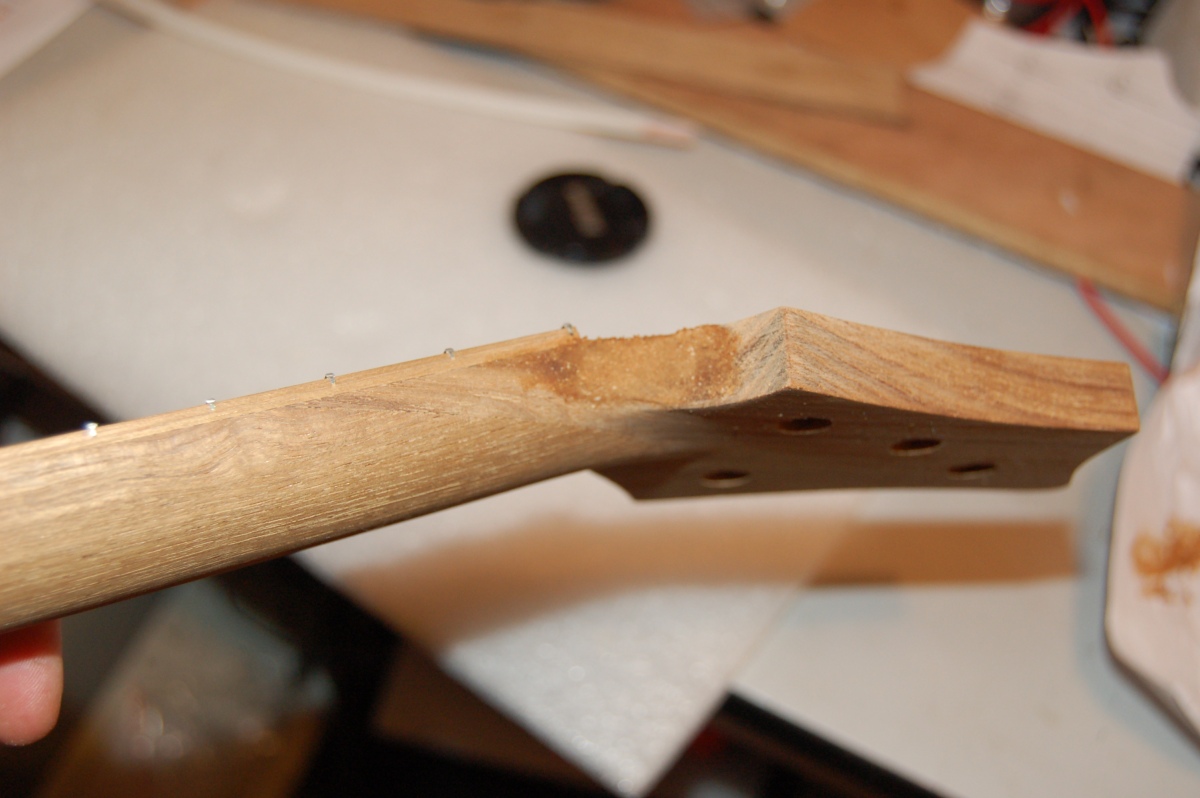
With the fretboard in place, I used the ‘glue and sawdust’ trick to fill in the gap where I over cut the headstock:
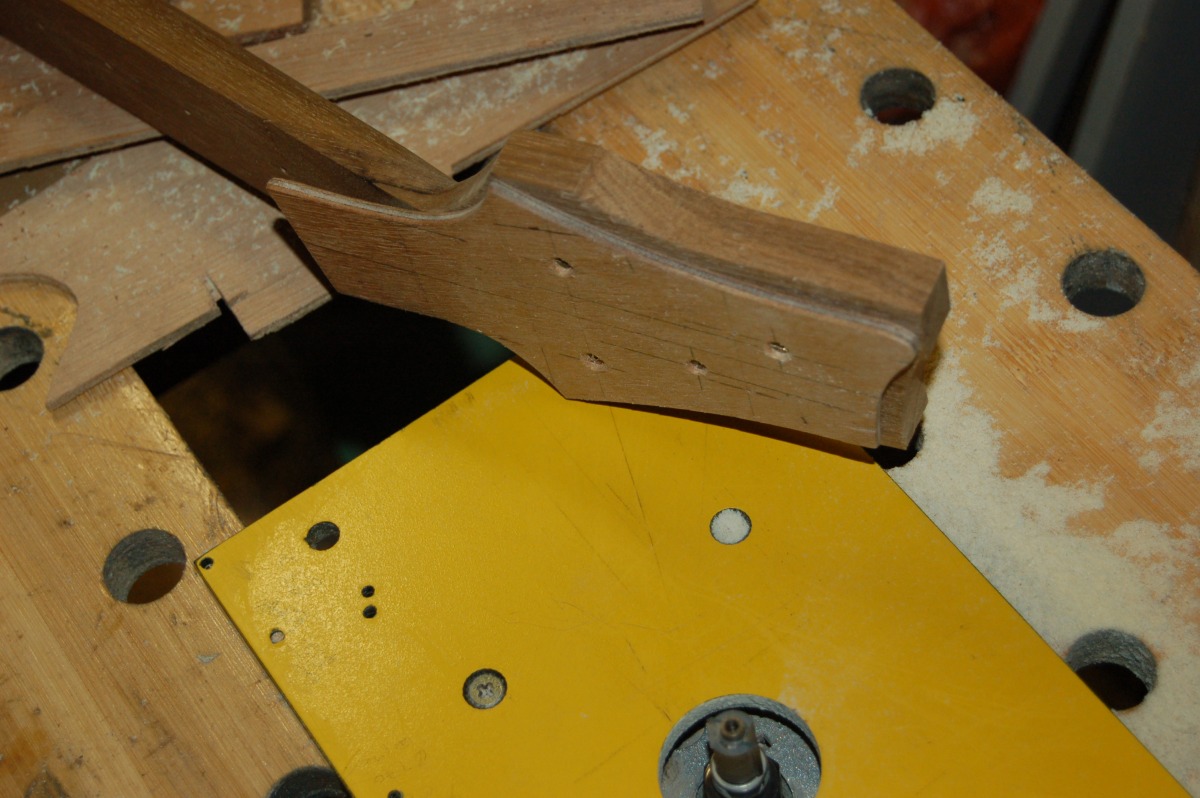
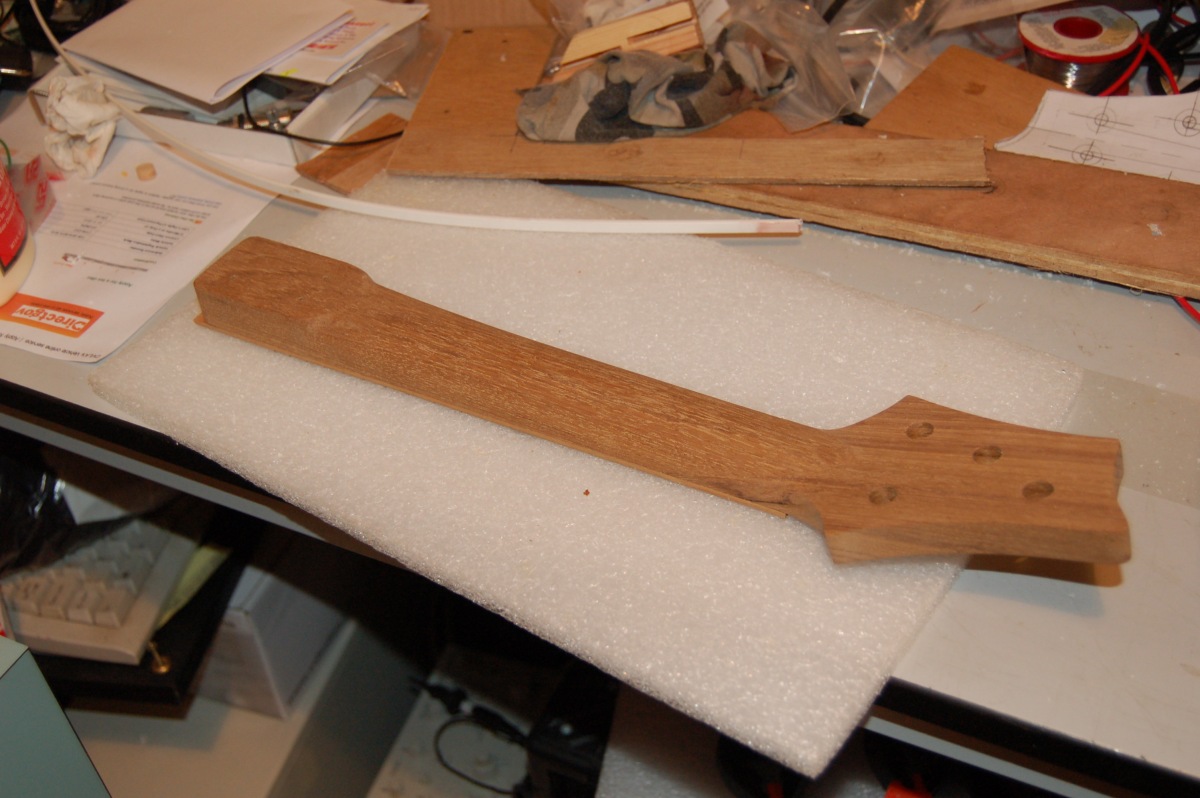
And finish shaping the neck:
At this point it feels like a poker game, where the stakes just keep getting higher and higher. We were really excited, and couldn’t resist fitting the neck to the body and stringing it up. If nothing else, to check that the thing didn’t explode when the strings were tensioned.