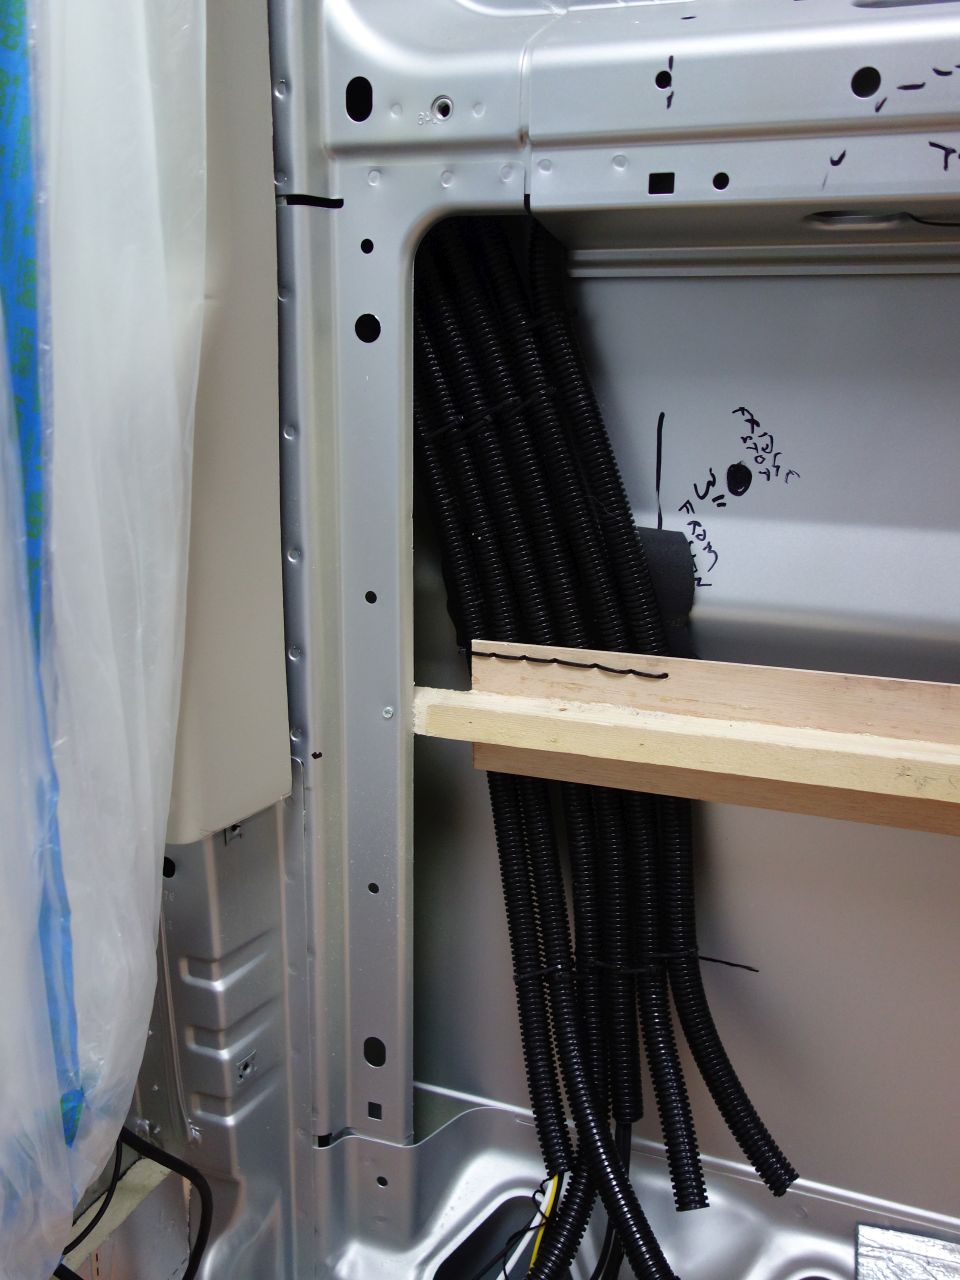
There is a growing amount of wiring installed. All the time I was running conduit from ‘electrics corner’ to various places. I couldn’t believe how much of the stuff disappeared into the van – I reckon there’s over 25 metres of it in there somewhere! The water pipes for the toilet also run in conduit through the ‘C’ pillar and structural ribs into the ‘garage’ part where the water heater will be.
Electrics Corner:
Before I fitted the front wall of the toilet, I wanted to insulate and line the section behind it – which meant fitting the first window – and get the flooring down.
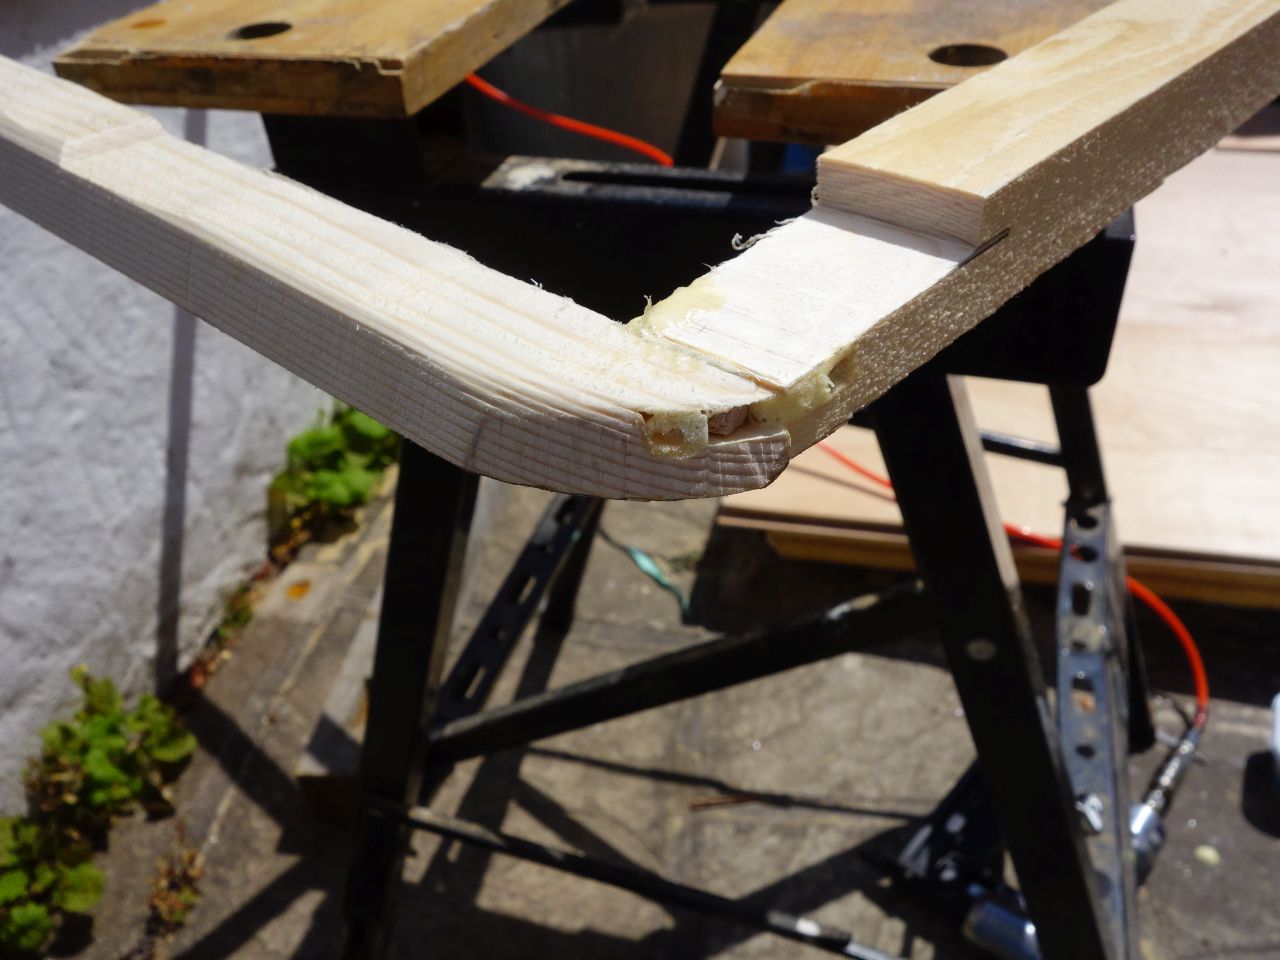
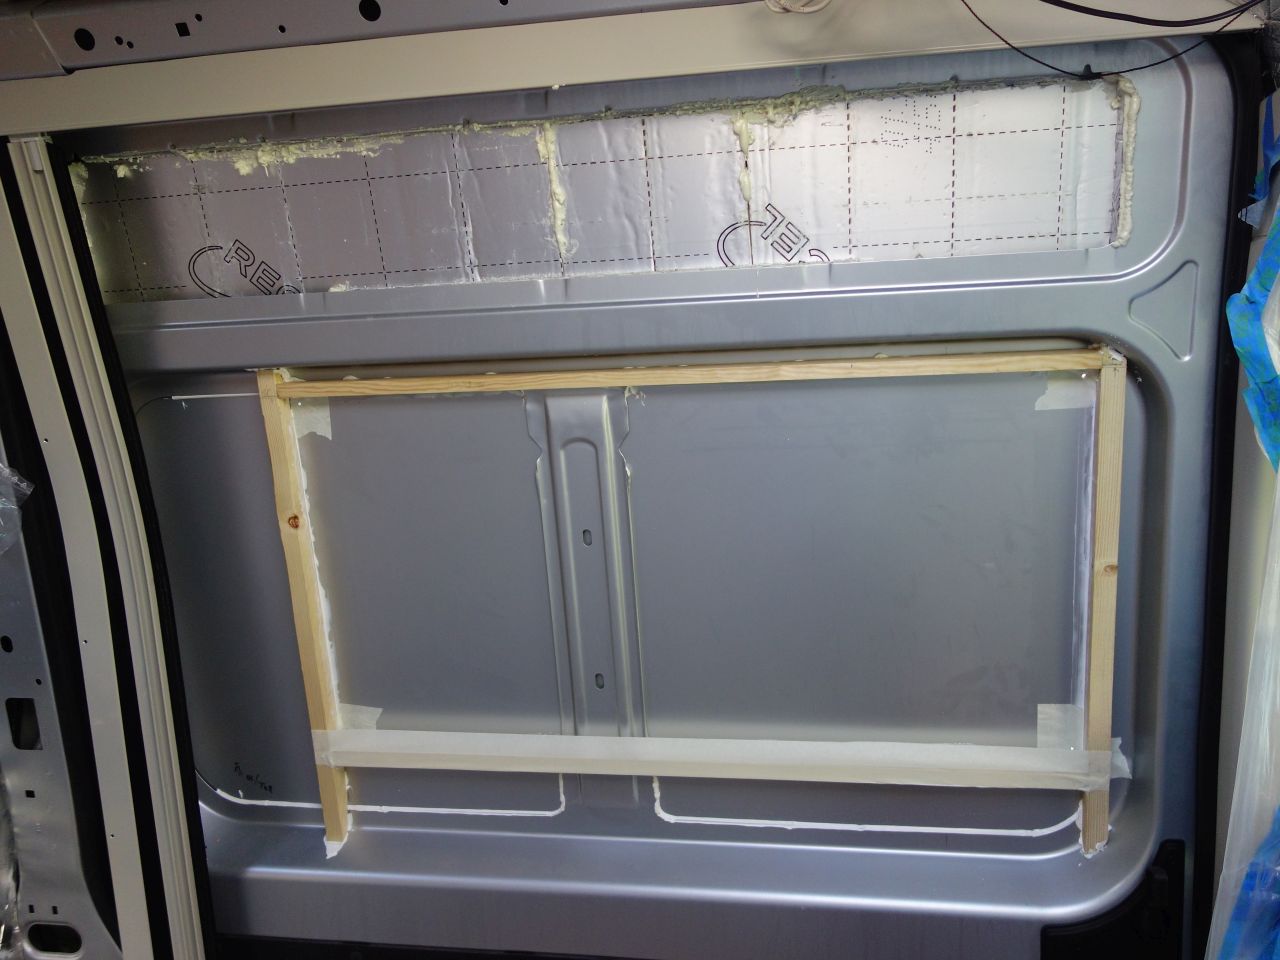
Because I’m trying to keep as much space in the van as possible, I framed out the inside of the large panel to take a 25mm thick sheet of Celotex. The anti-drumming support in the middle of the panel was about where I wanted to fix the toilet wall, so I removed it and fitted a batten to the frame that I could fix the toilet wall to with pocket hole screws. Cutting the frame to fit was a right royal PITA! It needed to be cut away for the flanges on the structural ribs, etc. and the curved corners, and nothing was actually square! I ended up using biscuits to hold the corners of the frame together long enough to get it glued in place. It’s this sort of thing, with a lot of trial fitting and trimming that just swallows time…
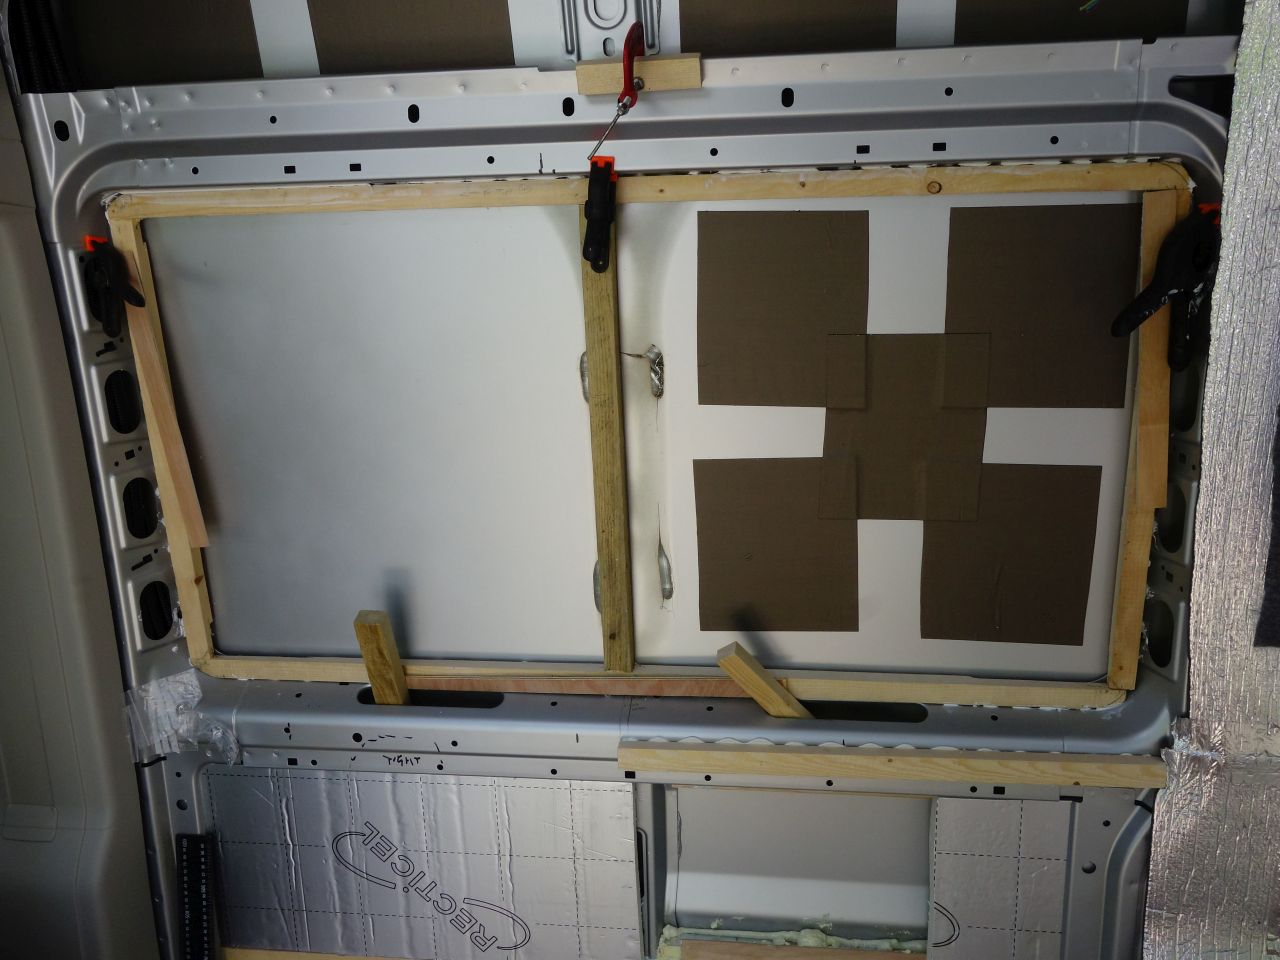
The frame is flat, but the van sides curve slightly – I used some big gobs of non setting mastic to serve the same purpose as the anti-drumming strip, but hopefully not distort the outer skin:
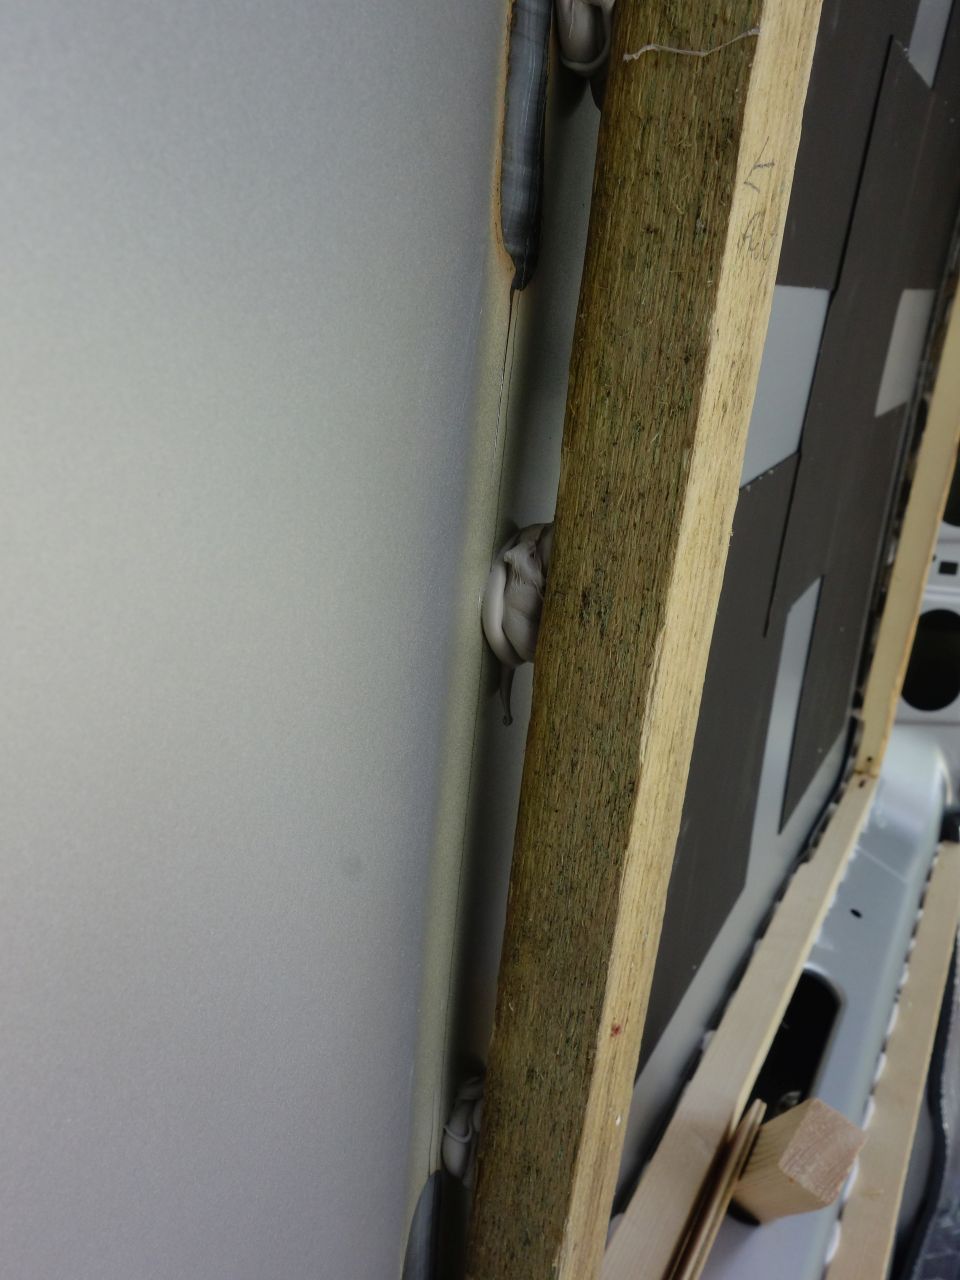
It did end up just the right depth to take a 25mm thick insulation board though
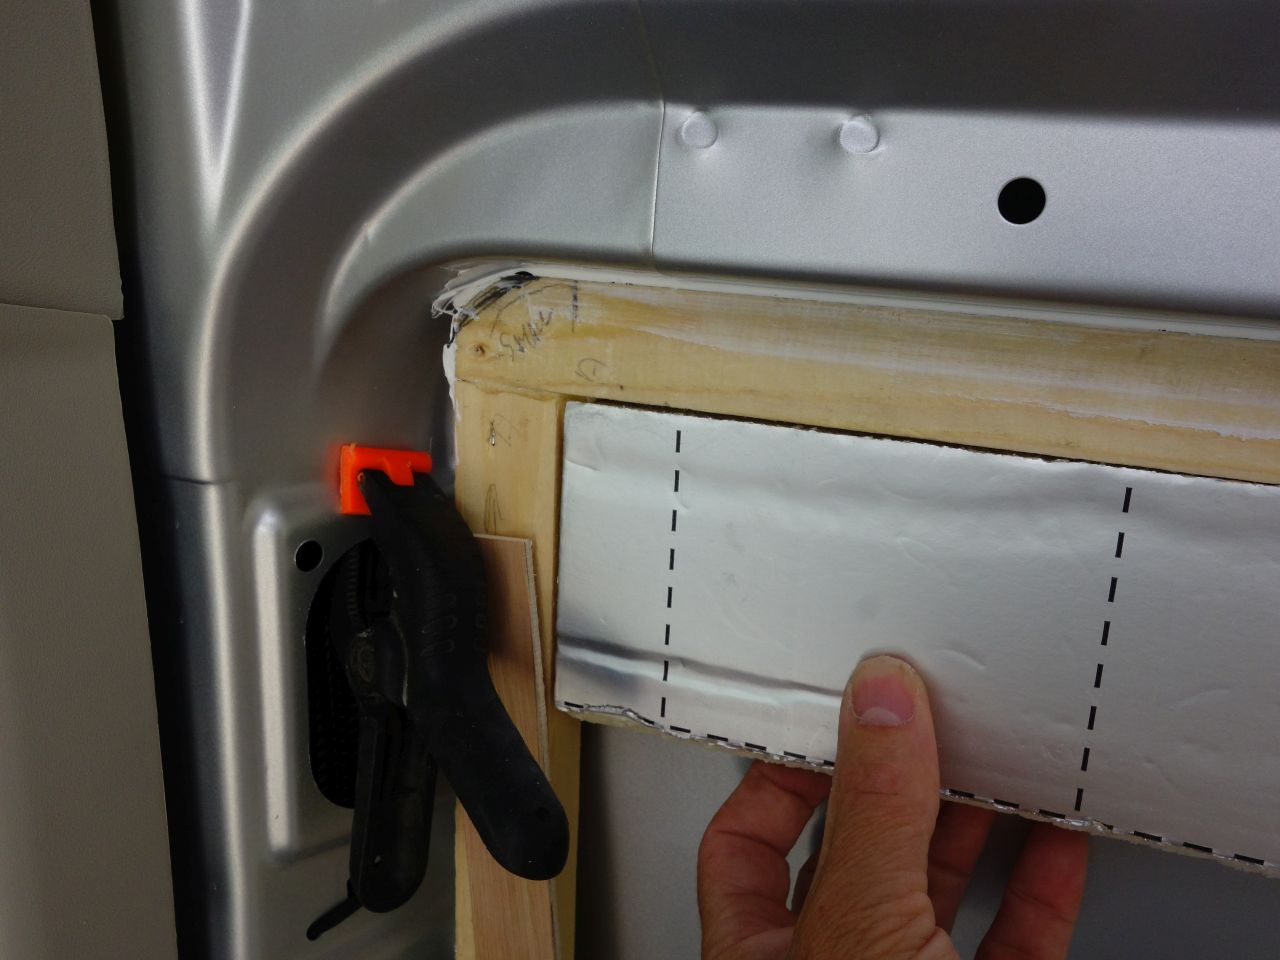
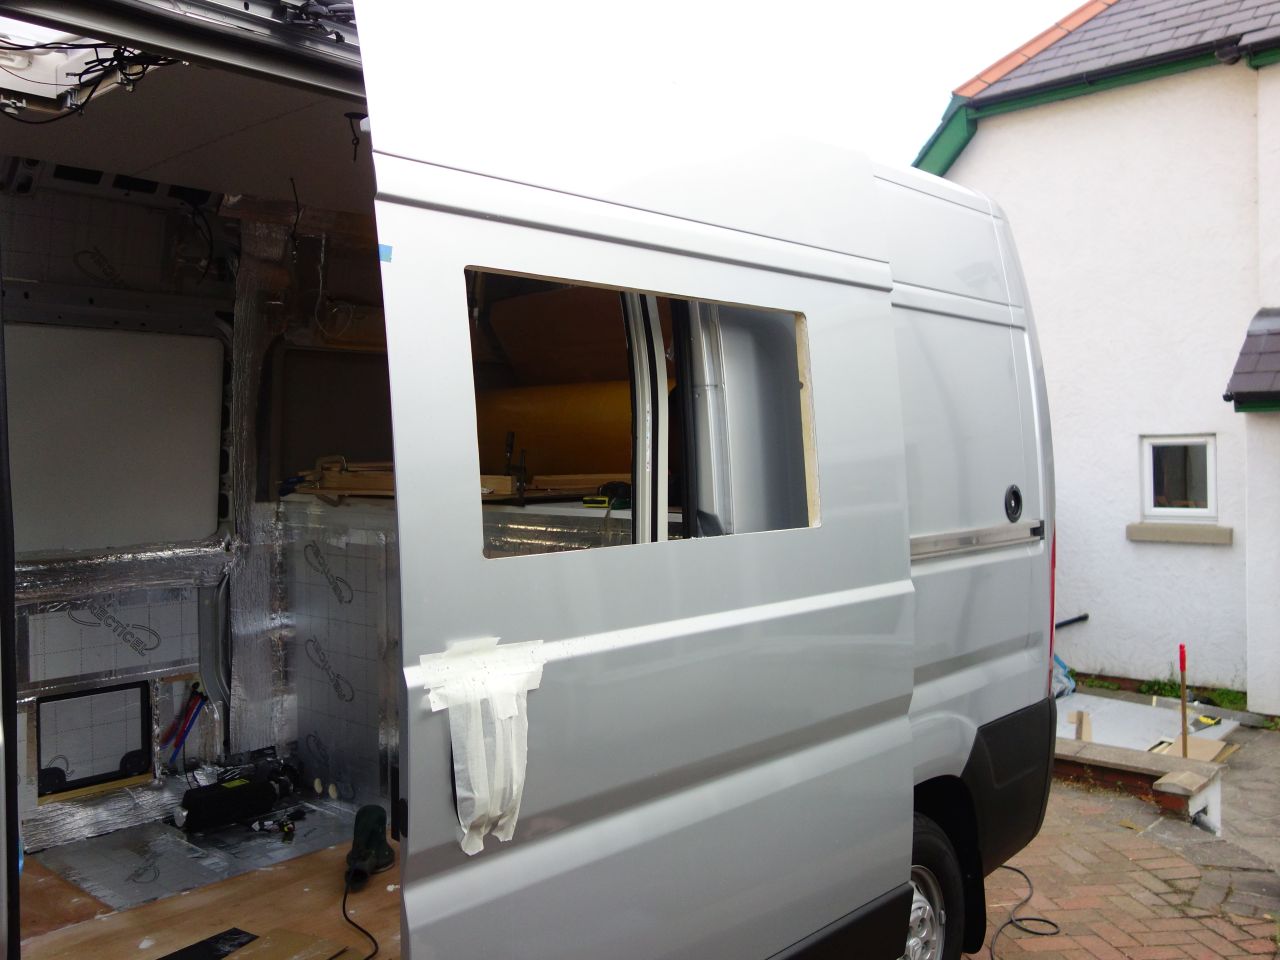
There was another frame for the window opening which is scribed to the shape of the van’s side before cutting the opening for the window and then gluing the frame in place. (I think that the body panels can get a bit ‘baggy’ after the hole is cut, so you might not get a true curve if you were to try and scribe the frame after cutting – YMMV )

All the gaps were filled with Celotex, joints taped and covered with an off-cut of ceiling ply. (I should have thought this through a bit better and wrapped the structural ribs with insulation before covering the panel, as it makes for an awkward and difficult to seal joint trying to do it afterwards.)
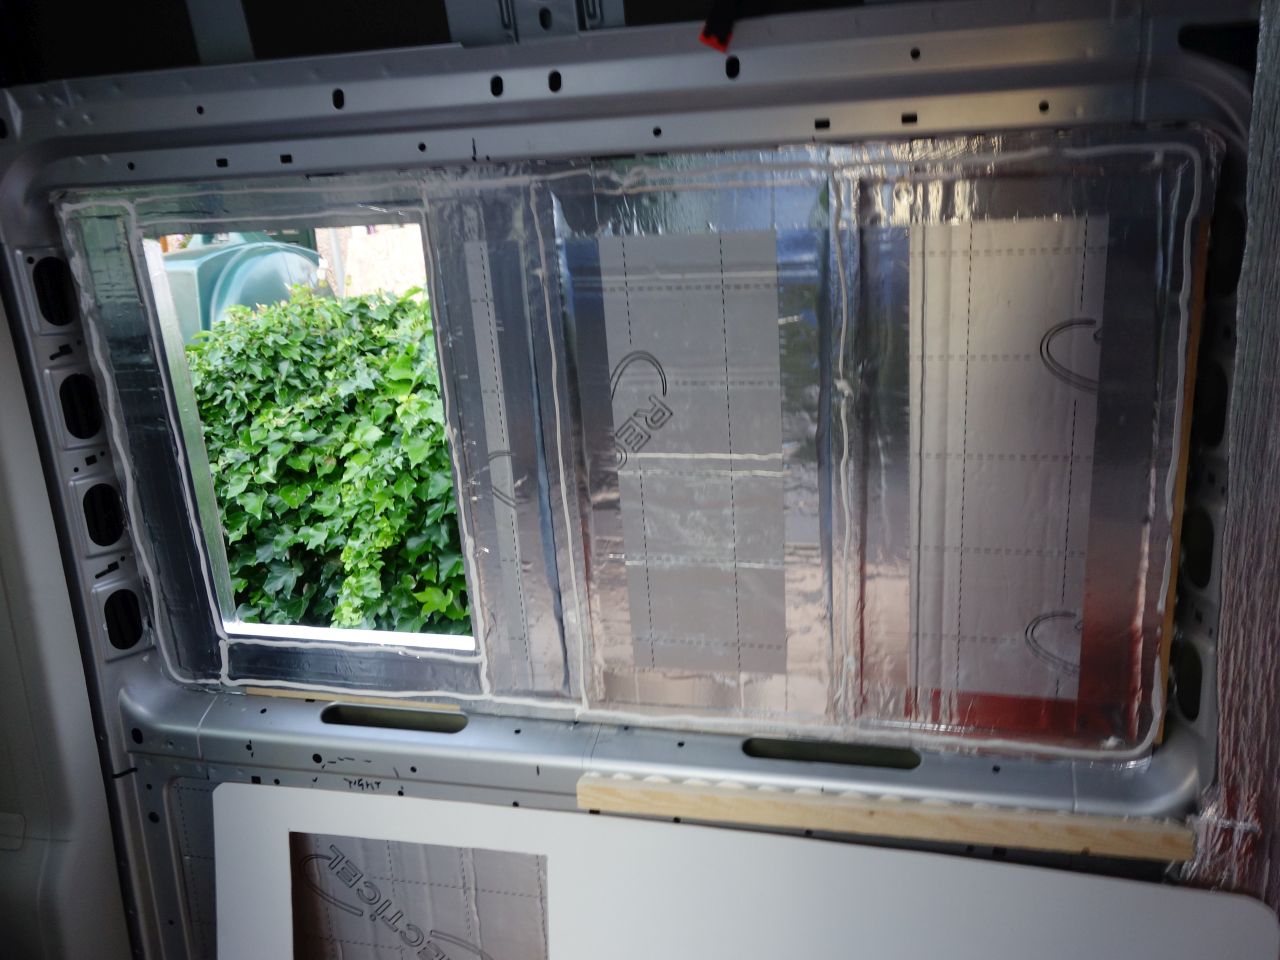
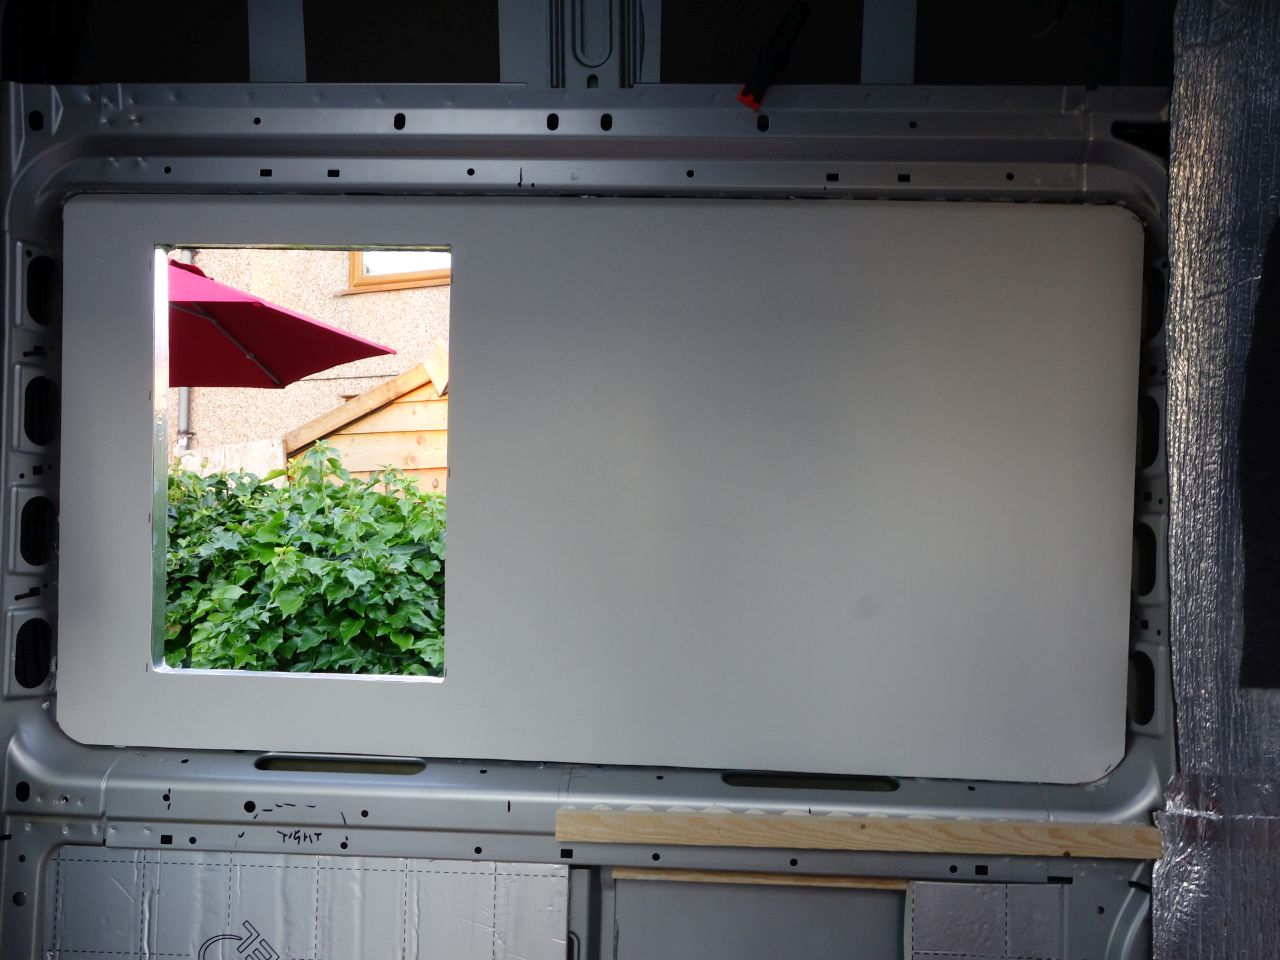
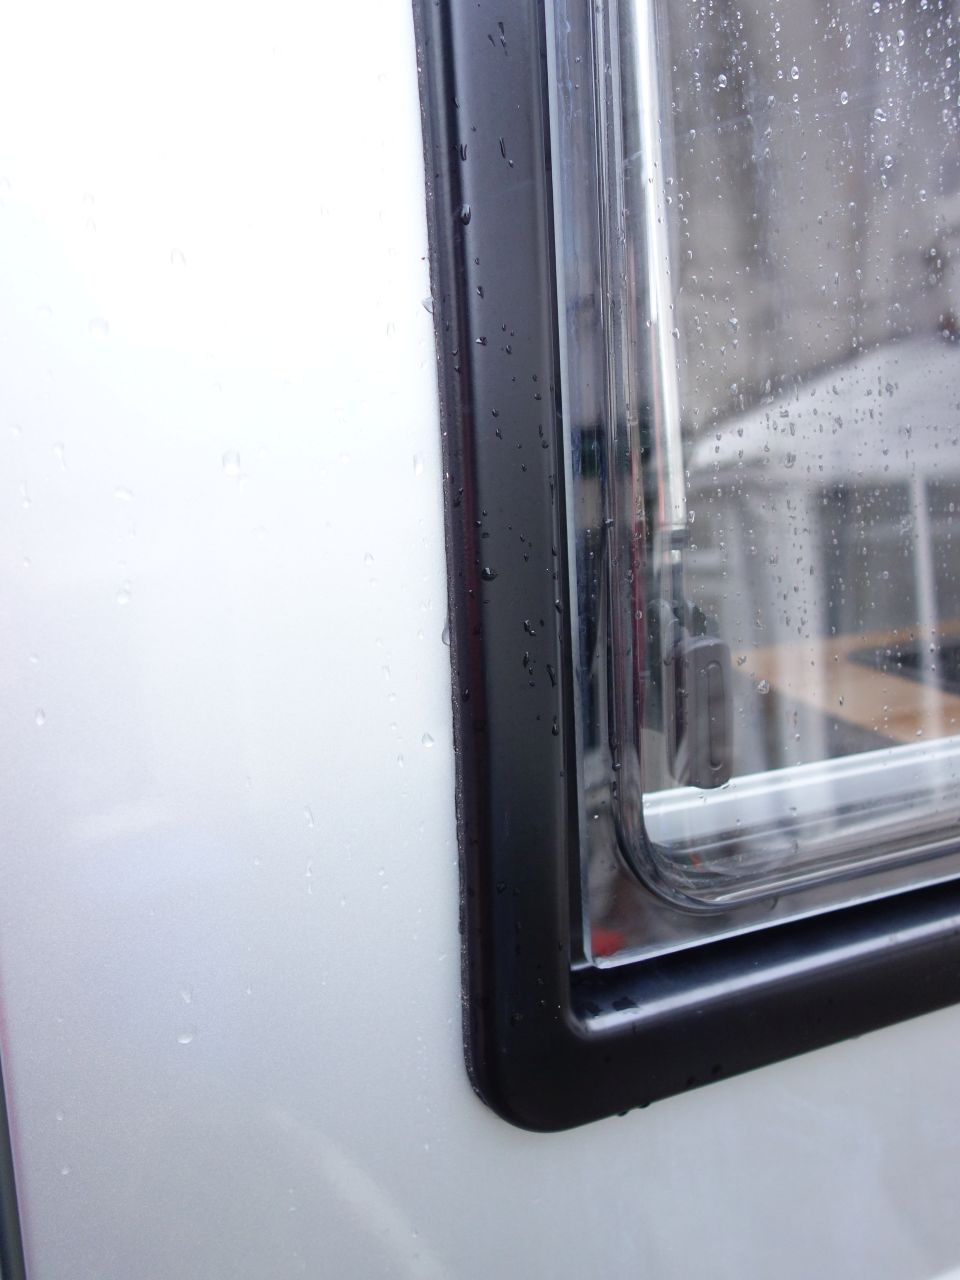
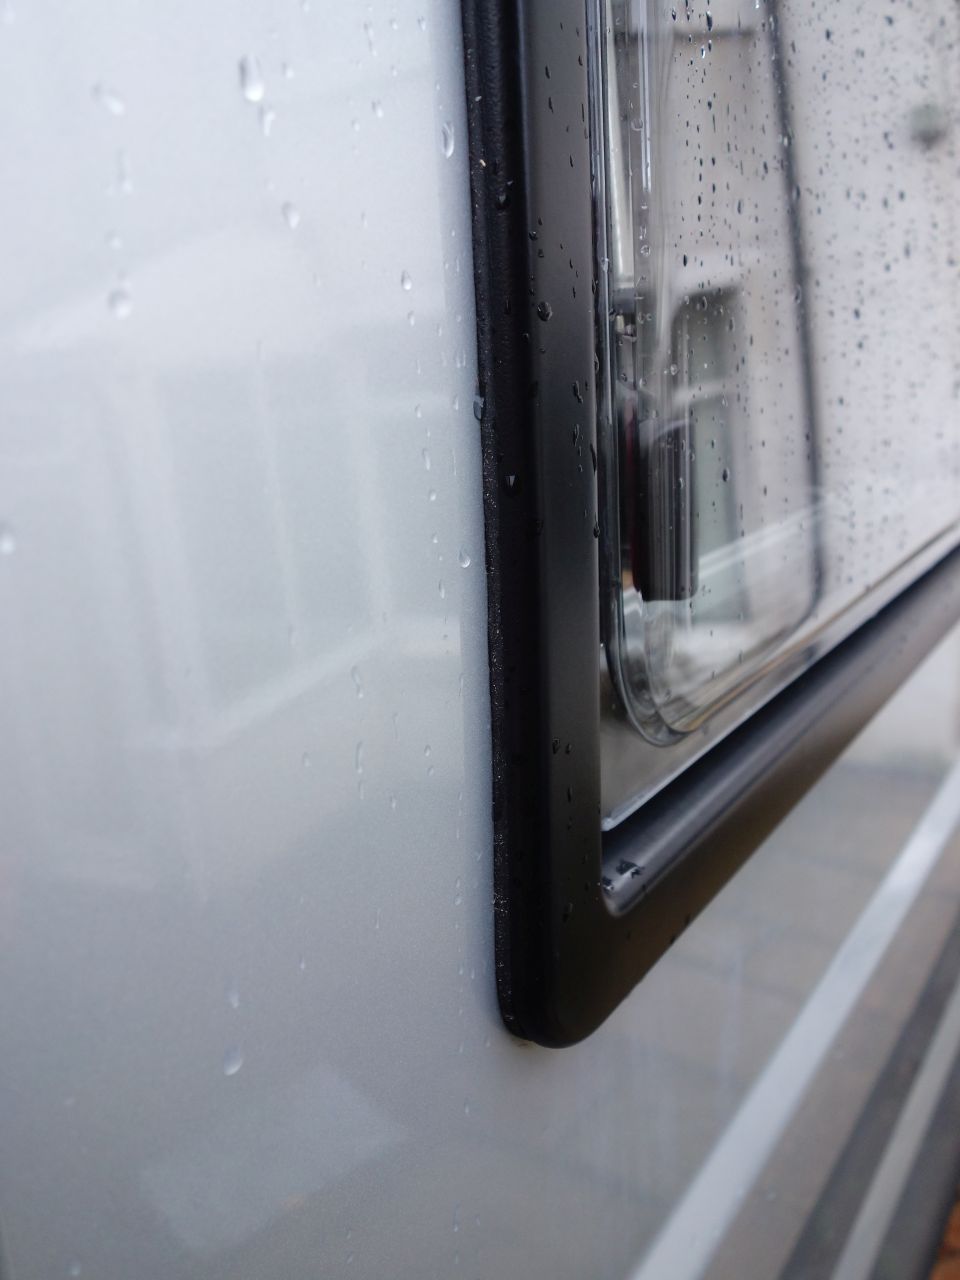
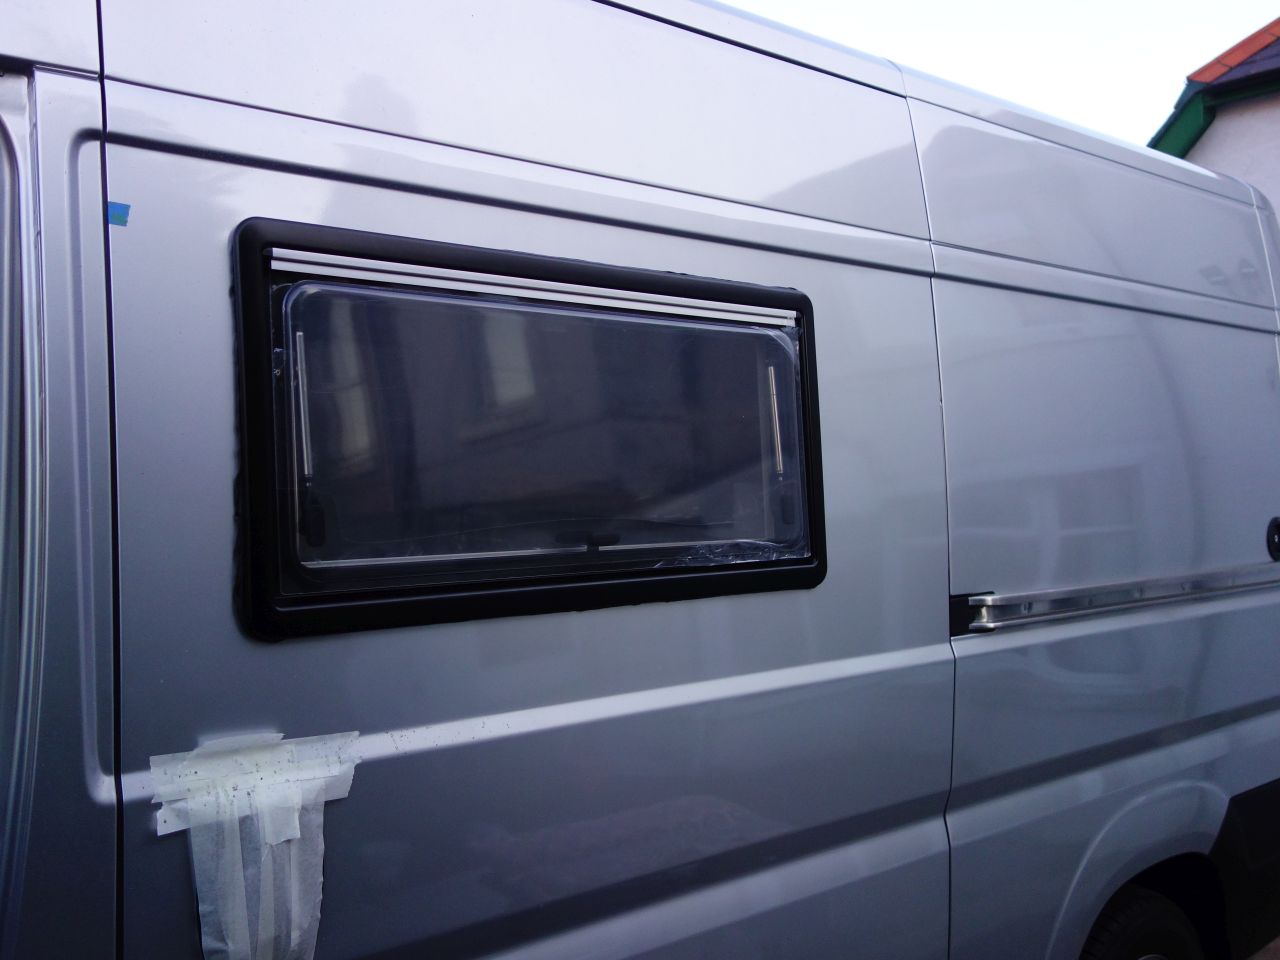
The window is a 350 x 500 Seitz S4:
It’s bedded on non-setting butyl mastic tape (Arboseal GZ) which you can see oozing out around the frame. I let this settle for a couple of days, then trimmed it flush with the frame with a guitar pick and soapy water (spray the mastic with soapy water, then slice through it with a thin guitar pick and gently pull the excess away from the panel – works a treat.
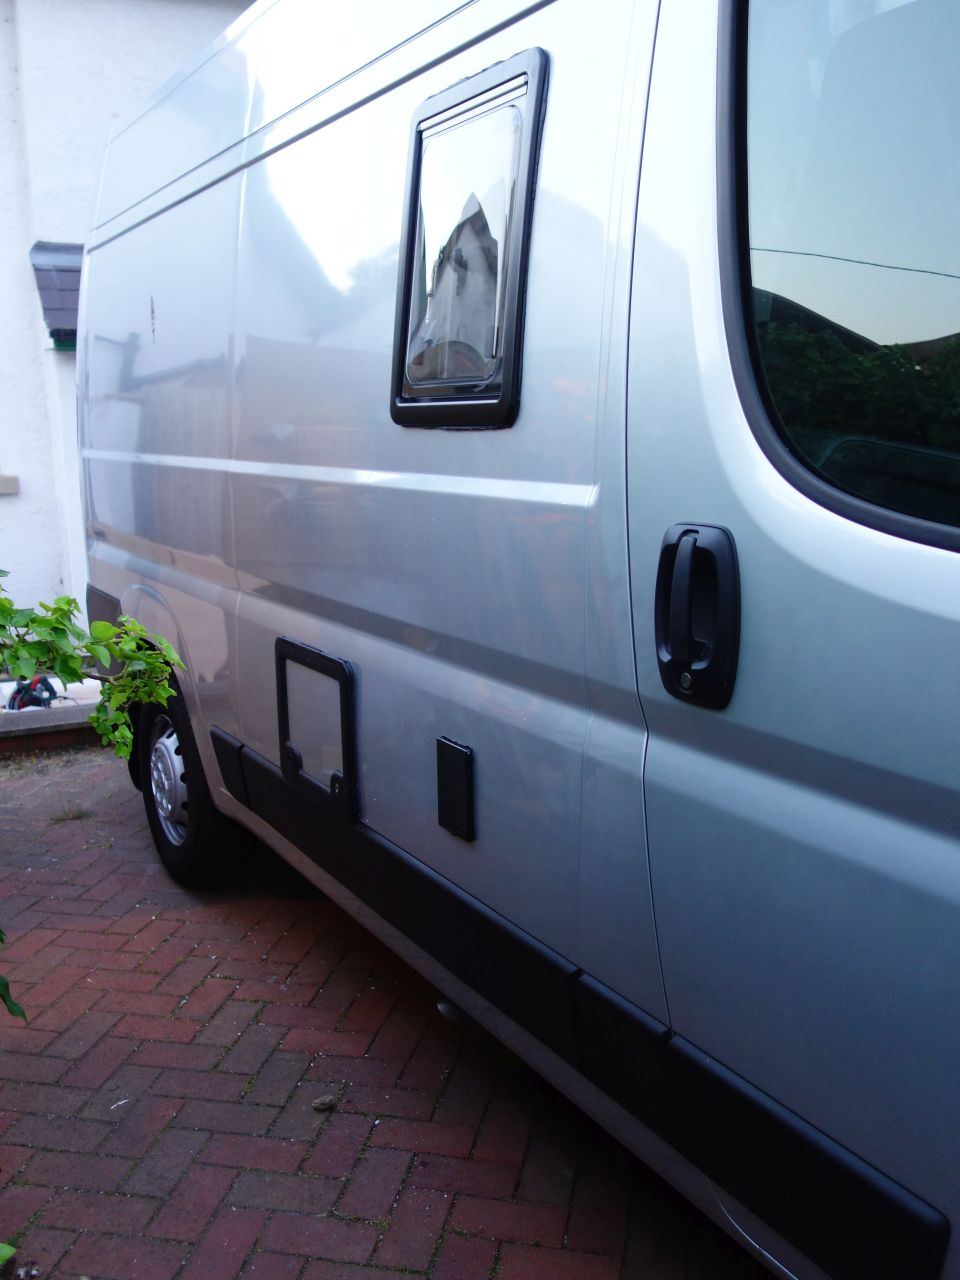
The window in the side door (a 900 x 450 Seitz S4) was done in the same way..
A wooden frame scribed to fit the door skin and bonded into place with Stixall:
To get the window as far forward and as high as possible, the frame was pared to the minimum at the front, top corner:
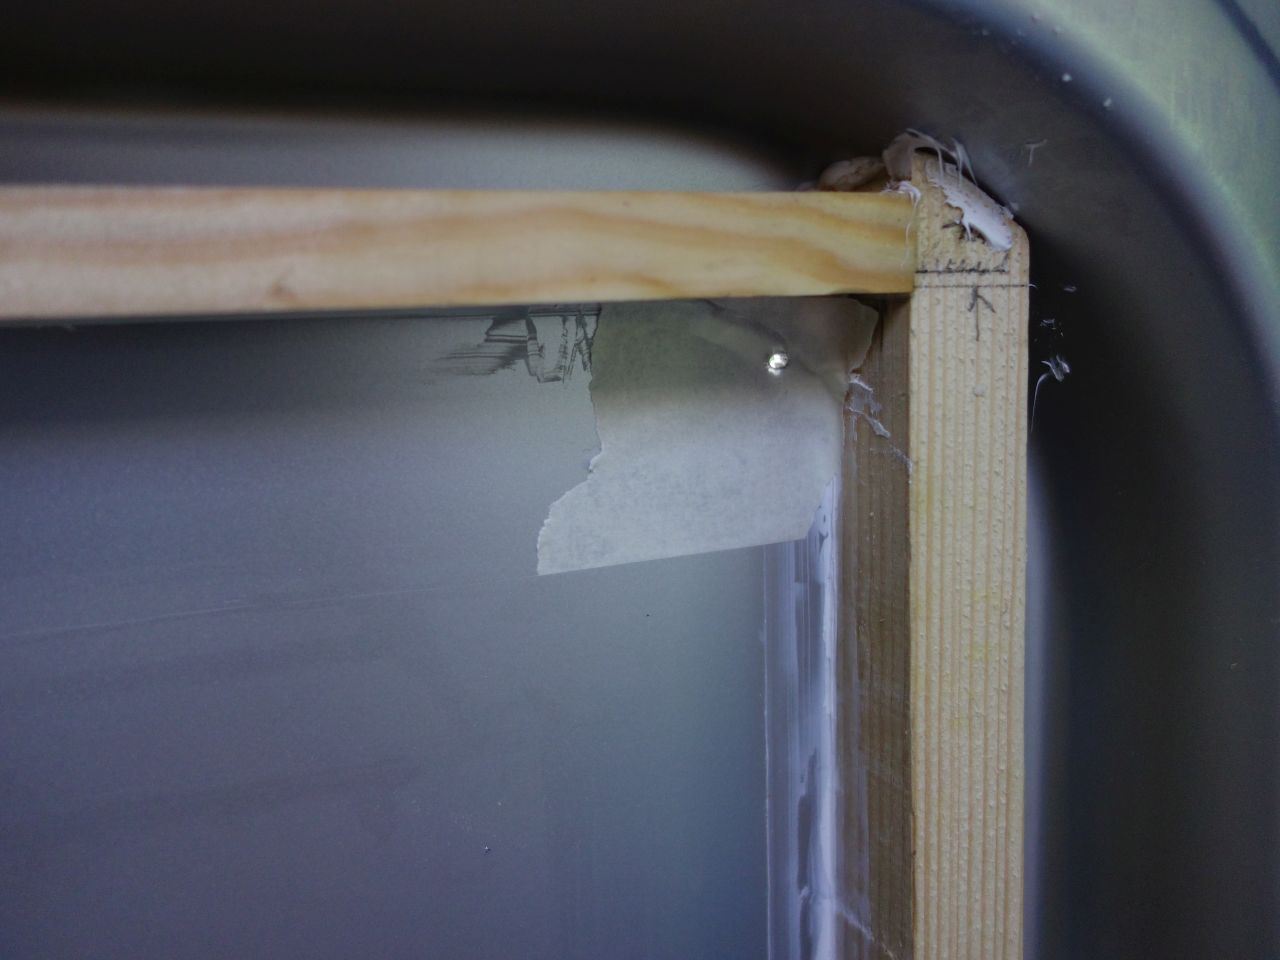
I cut the hole with a jigsaw, following the line of the frame inside. (The outside was protected with a lot of masking tape when I did this, and I taped card over the wooden frame to keep the swarf out of the van.
The window was bedded using Arboseal GZ again
The inner frame was packed out with thin ply as I intended to use some some vinyl faced ply to trim the inside of the door later.

After trimming the mastic back, I think it came out quite neatly: