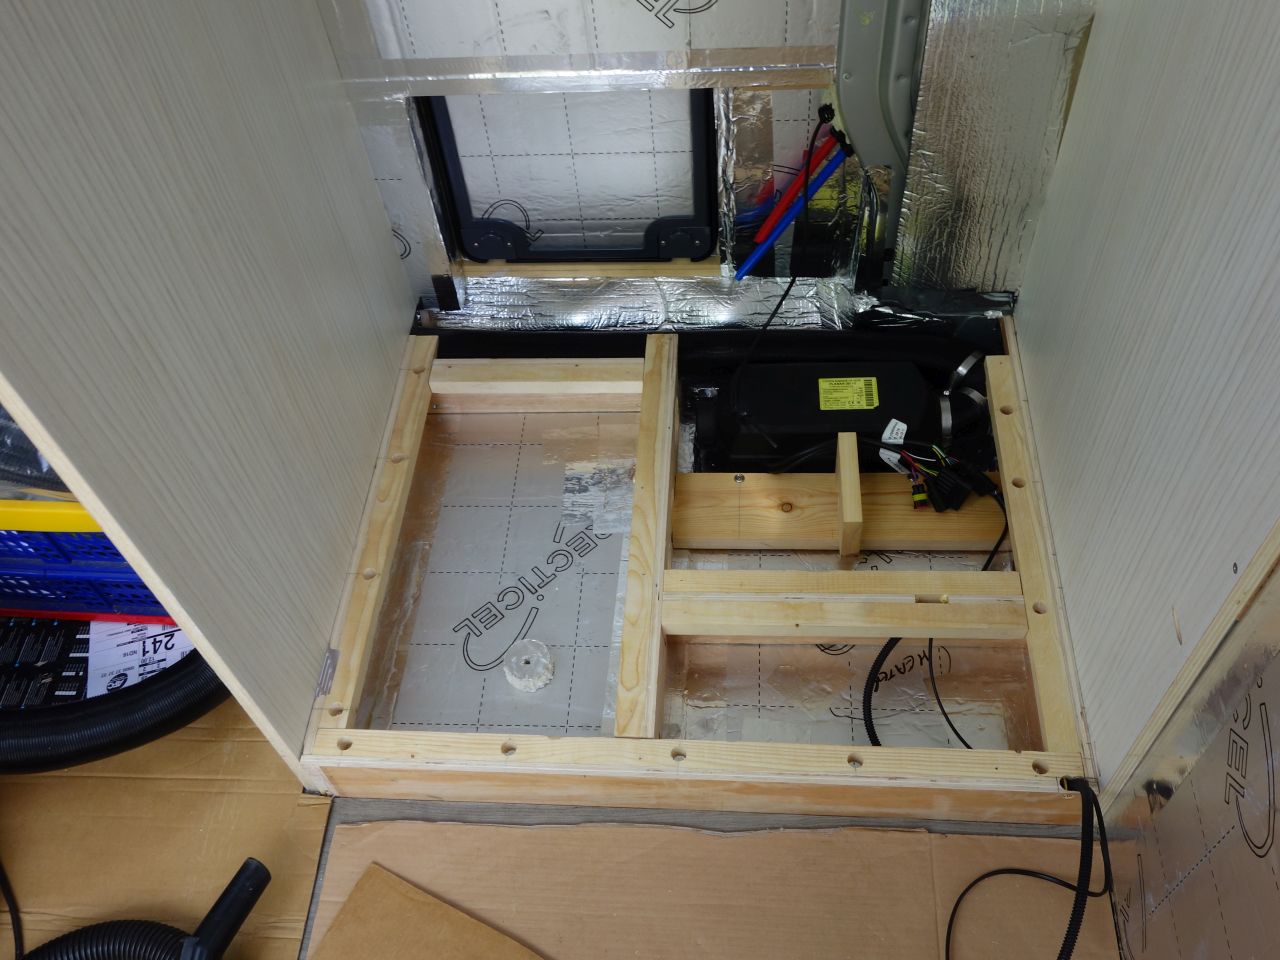
Inside, with the fridge cobbled into position and bathroom floor #3, I think (I made #1 in several pieces which turned out to be a bad idea, so I made #2 as a single piece, but it warped like a mad thing. I think this is the replacement.)
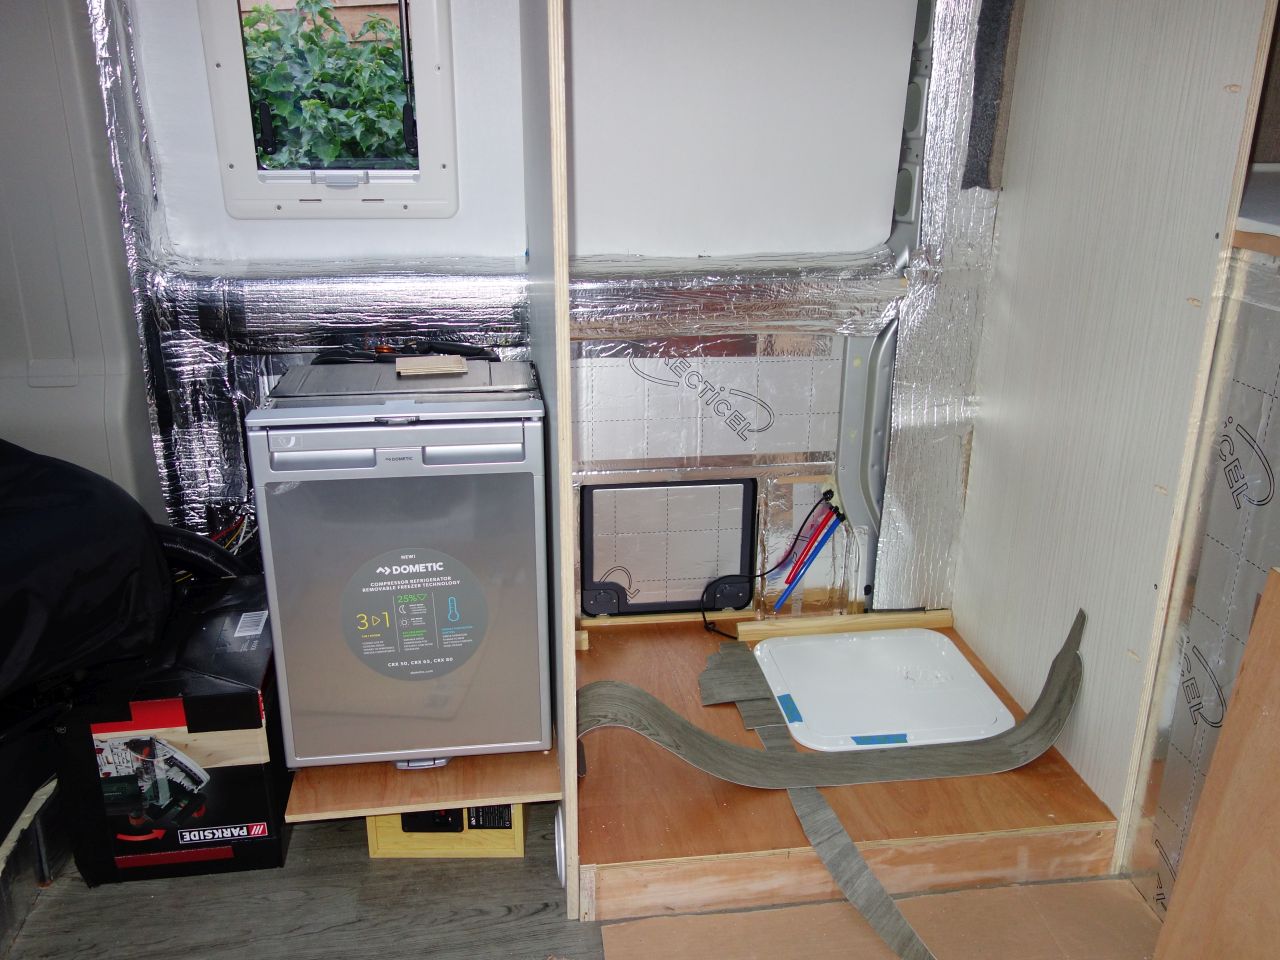
The fridge was originally going to be slightly higher, with the leisure batteries underneath, but moving the batteries forward of the fridge meant that it could be dropped down slightly and pushed further back, under the horizontal body rib.
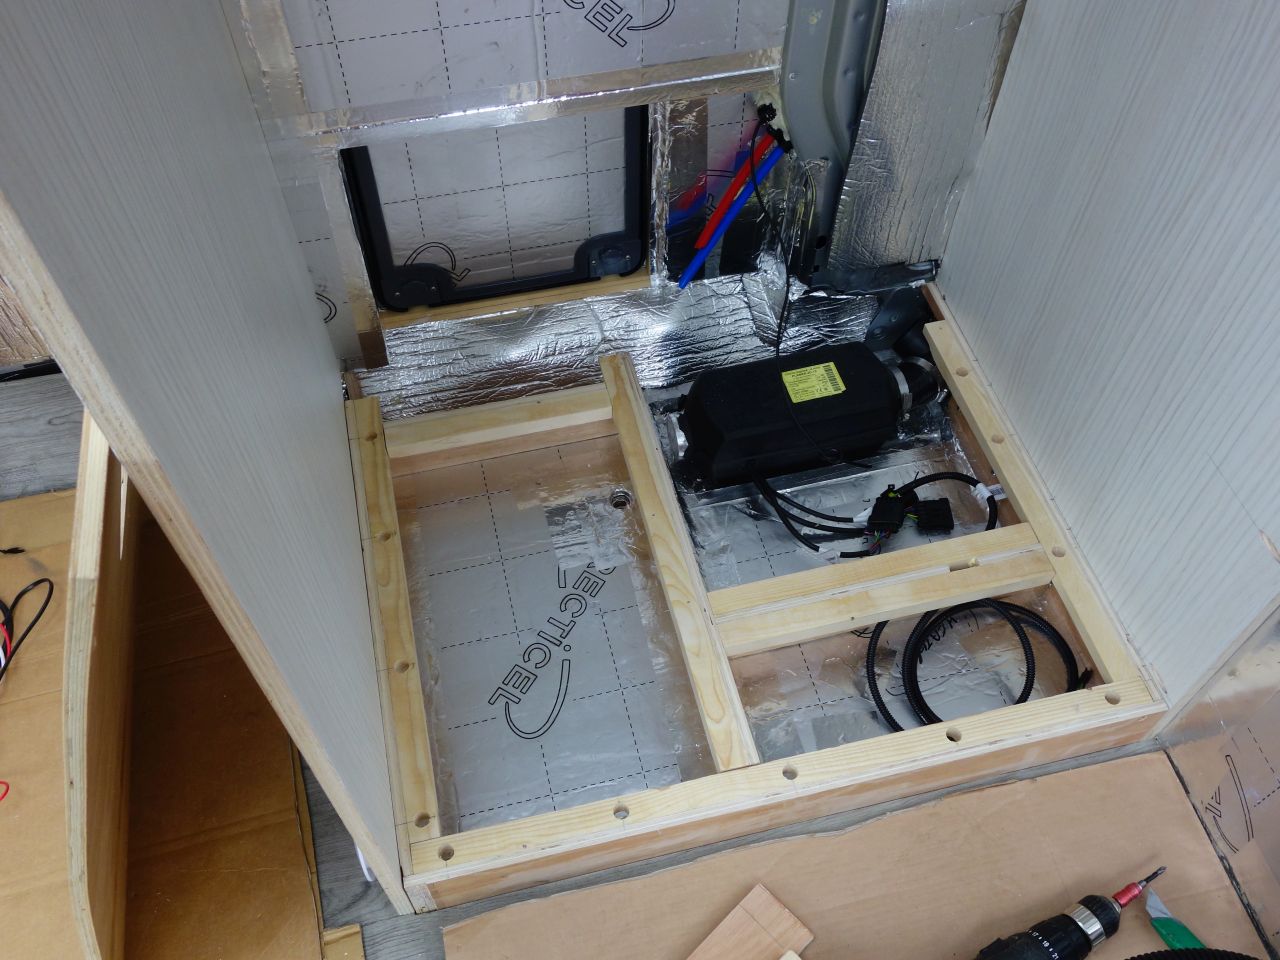
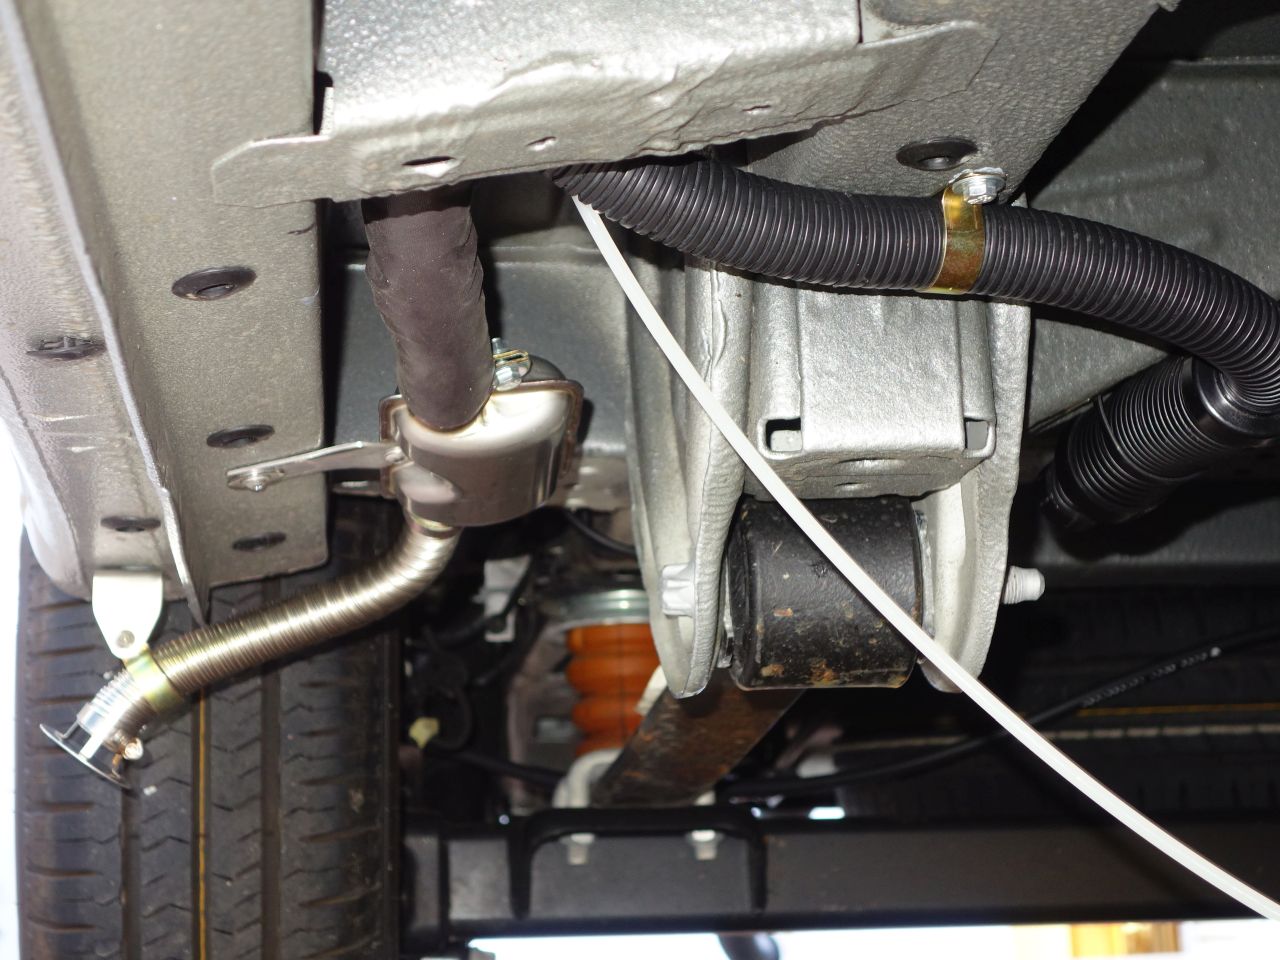
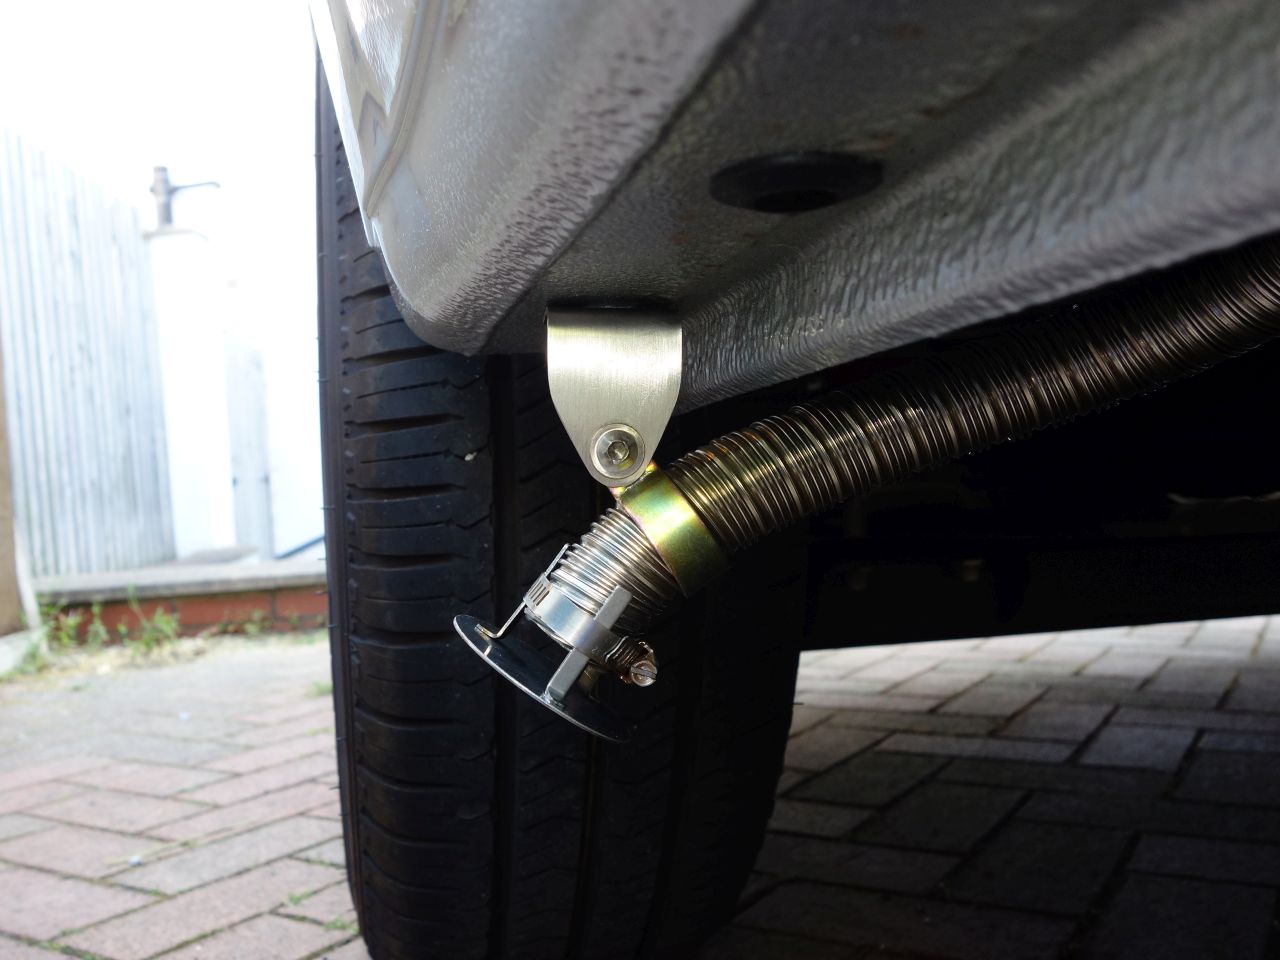
Before finishing the toilet compartment I needed to finish installing the Planar 2D diesel heater – inside:
and outside (which meant making up a few stainless steel brackets).
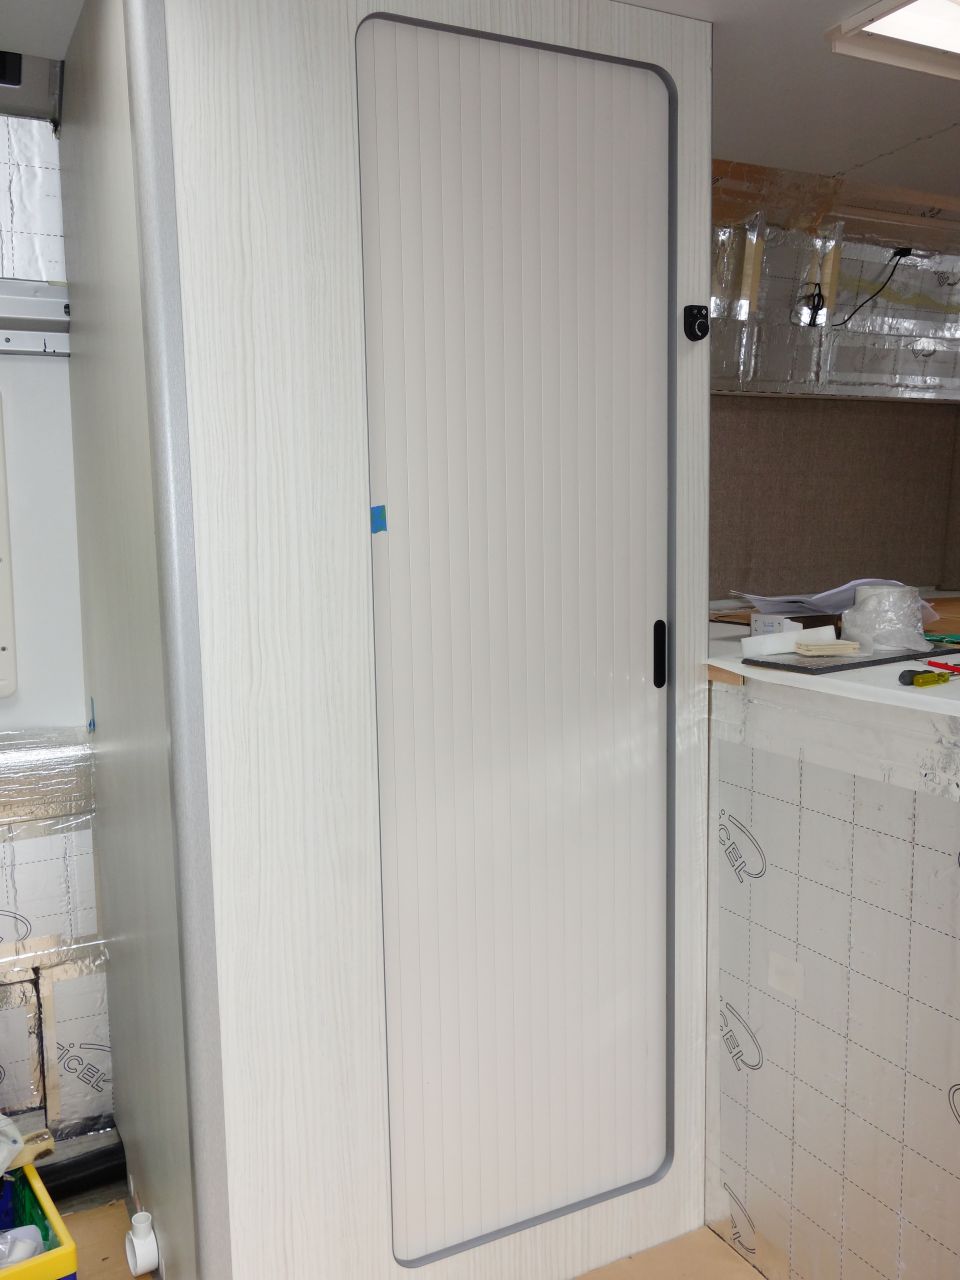
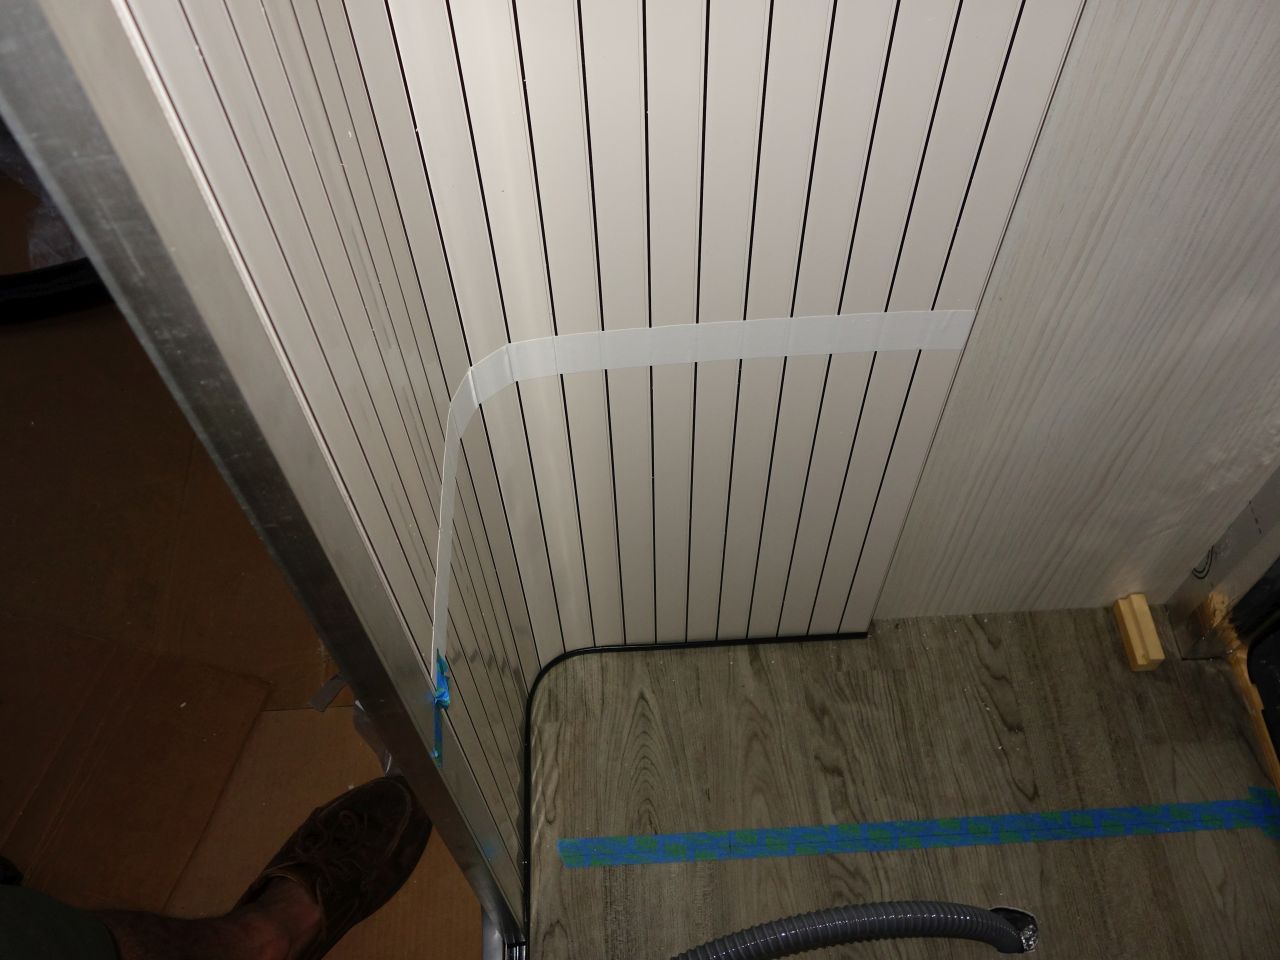
I wanted the controller on the outside of the toilet wall, where it would be convenient to reach, but wanted to hide the wiring so I made the door “frame” just wide enough to fit some mini trunking behind. This took the wires for the heater controller and also acts as a mounting for the magnetic door closing strip.
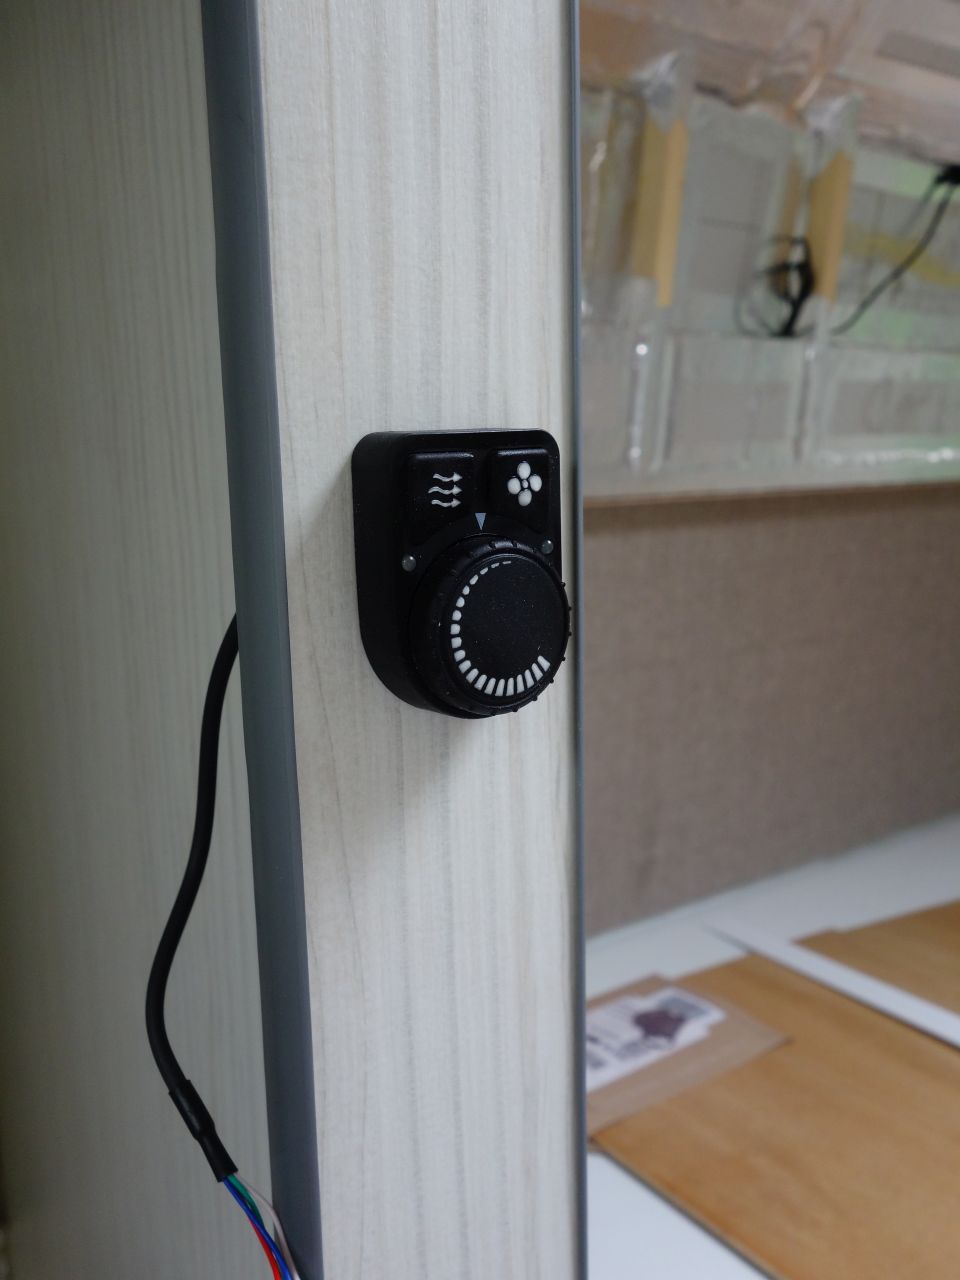
(Incidentally – that controller is great. I had the PU22 originally (the non-timer, digital version) and while it was very versatile, it was a real faff to use. In fairness, PF Jones swapped the controllers for me FOC several months after I bought the heater from them – very pleased with their customer service. The controller does need the room temperature sensor for it to act as a thermostat which isn’t expensive, but there is a very cheap DIY alternative.)
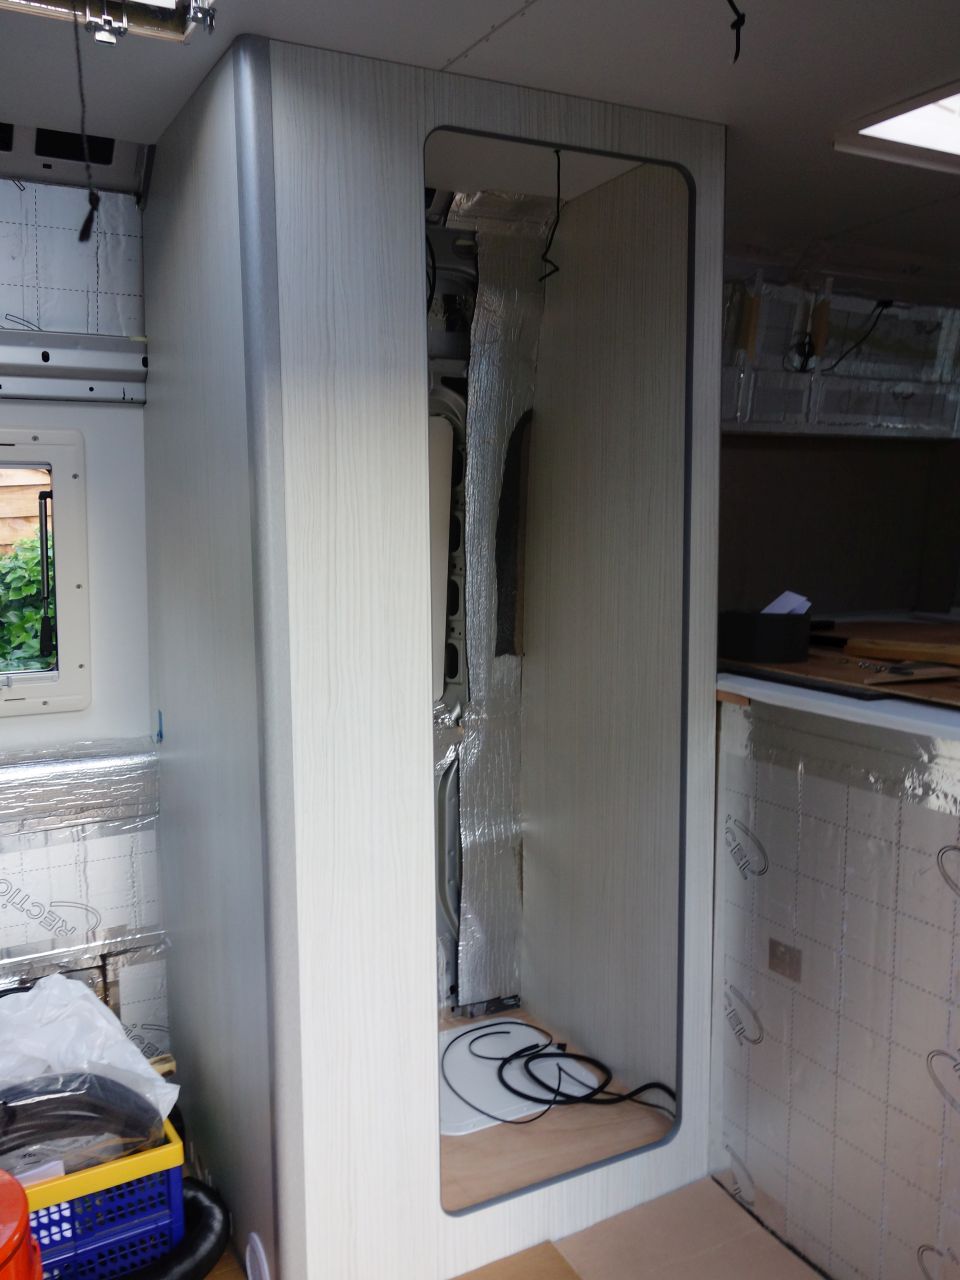
The conduit is a single length running floor to ceiling and once the cover is snapped on, it’s very unobtrusive.

The door cut-out was made was cut using a router with a full size ply template to finish the edges

Fitting the front (side?) to the toilet compartment made it feel like I was getting somewhere.
I used a marine hatch to provide access to the heater. It’s not as firm under foot as I would have liked, so I’ve added a central support underneath it which still allows access to the heater, wiring, etc. but would need to be unscrewed and removed to remove the heater for servicing.
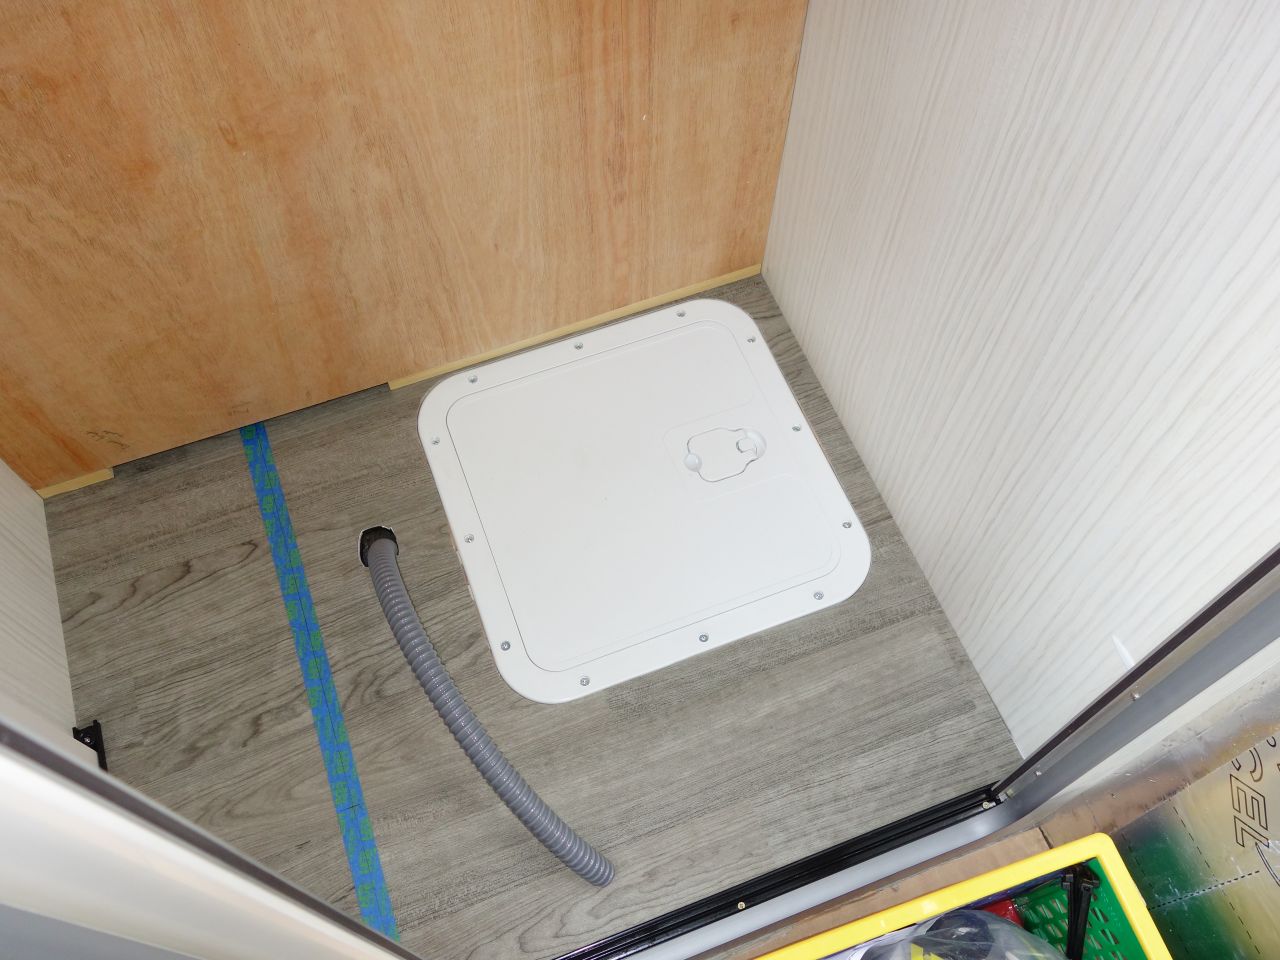
You can see the bottom track for the tambour door in the photo above – this came from Tambourline in St Helens. It’s a fantastic space saver and I’m pleased with it despite a bit of a cock-up: I hadn’t realised that tambour doors normally leave some of the door on the curved part of the track to stabilise them. Mine doesn’t – when it’s fully closed, all the slats are on the straight part of the track, and if you take the tapes off the back, the whole thing just falls over sideways . It’s not a huge problem – I just need to have tapes on the back – but I wish I’d known – I might have been able to make the ends of the track longer to accommodate more door slats, or have had the door sliding from the other side. The issue with either of those is that the door can’t be as tall due to the ceiling height reducing closer to the side of the van.
Looks good from the outside, though!