
The plan is to make a two berth camper with internal storage for a couple of mountain bikes in a MWB (L2H2) Citroen Relay. The various iterations of planning led to this layout:
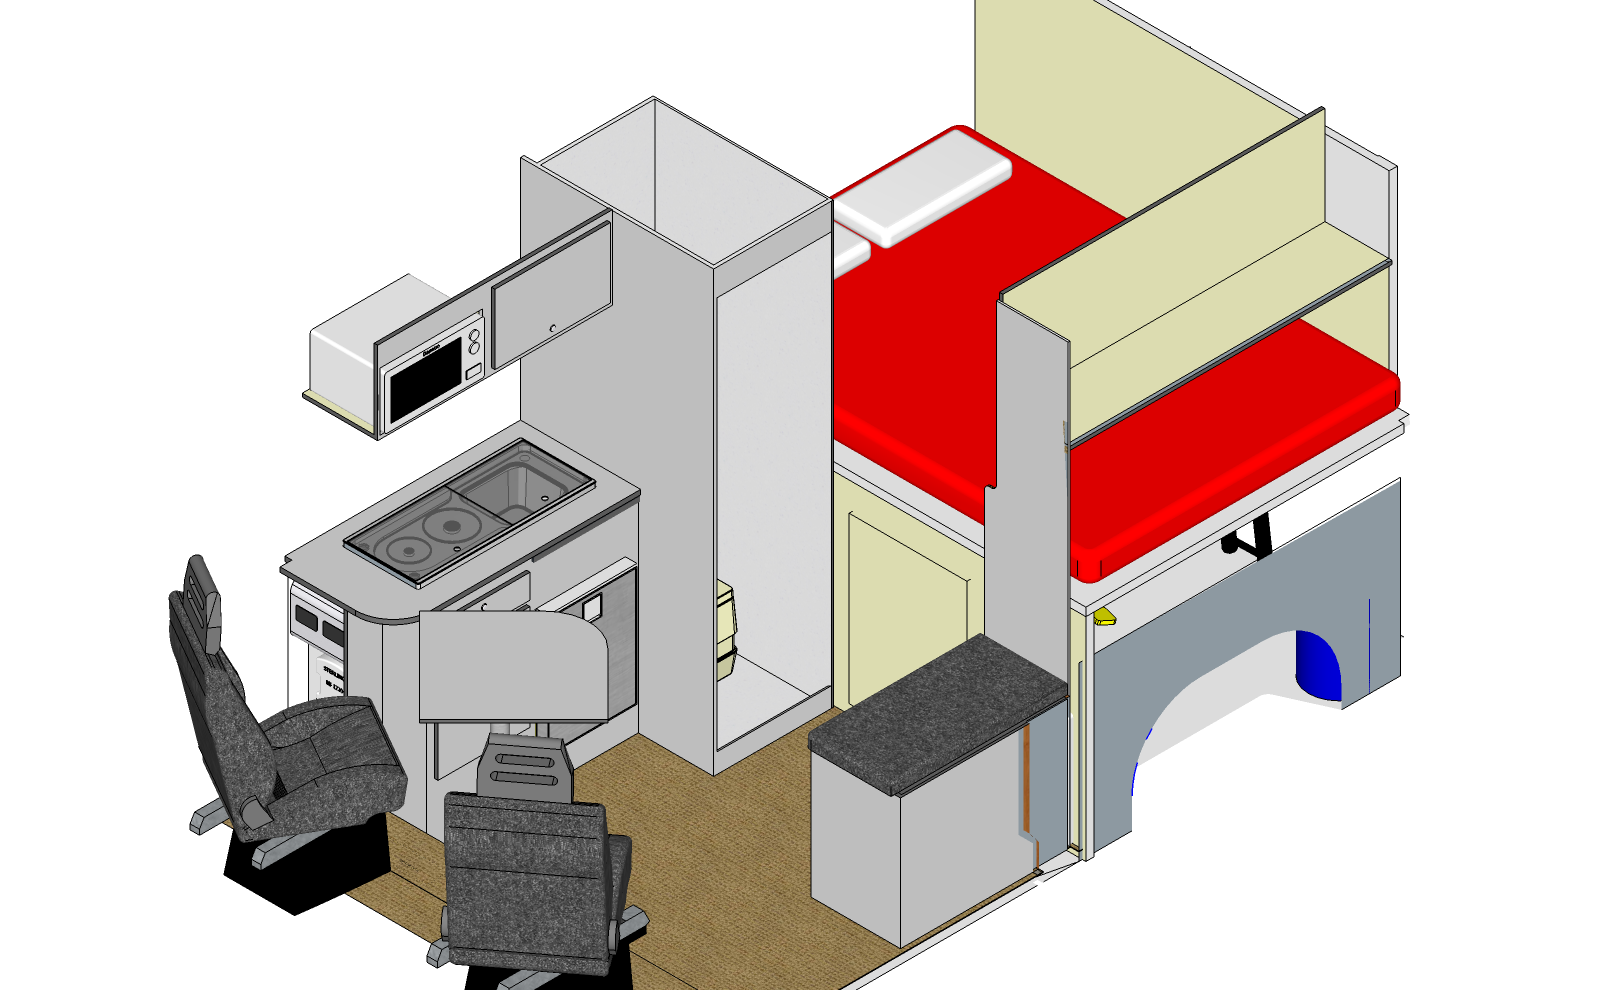
There is a raised transverse bed at the rear (with room for bike storage underneath), a small washroom / toilet compartment and a kitchen unit. The only seating is the swivelled cab seats. This allowed us to fit what we wanted into an L2 van.
Here’s a little animation of it:
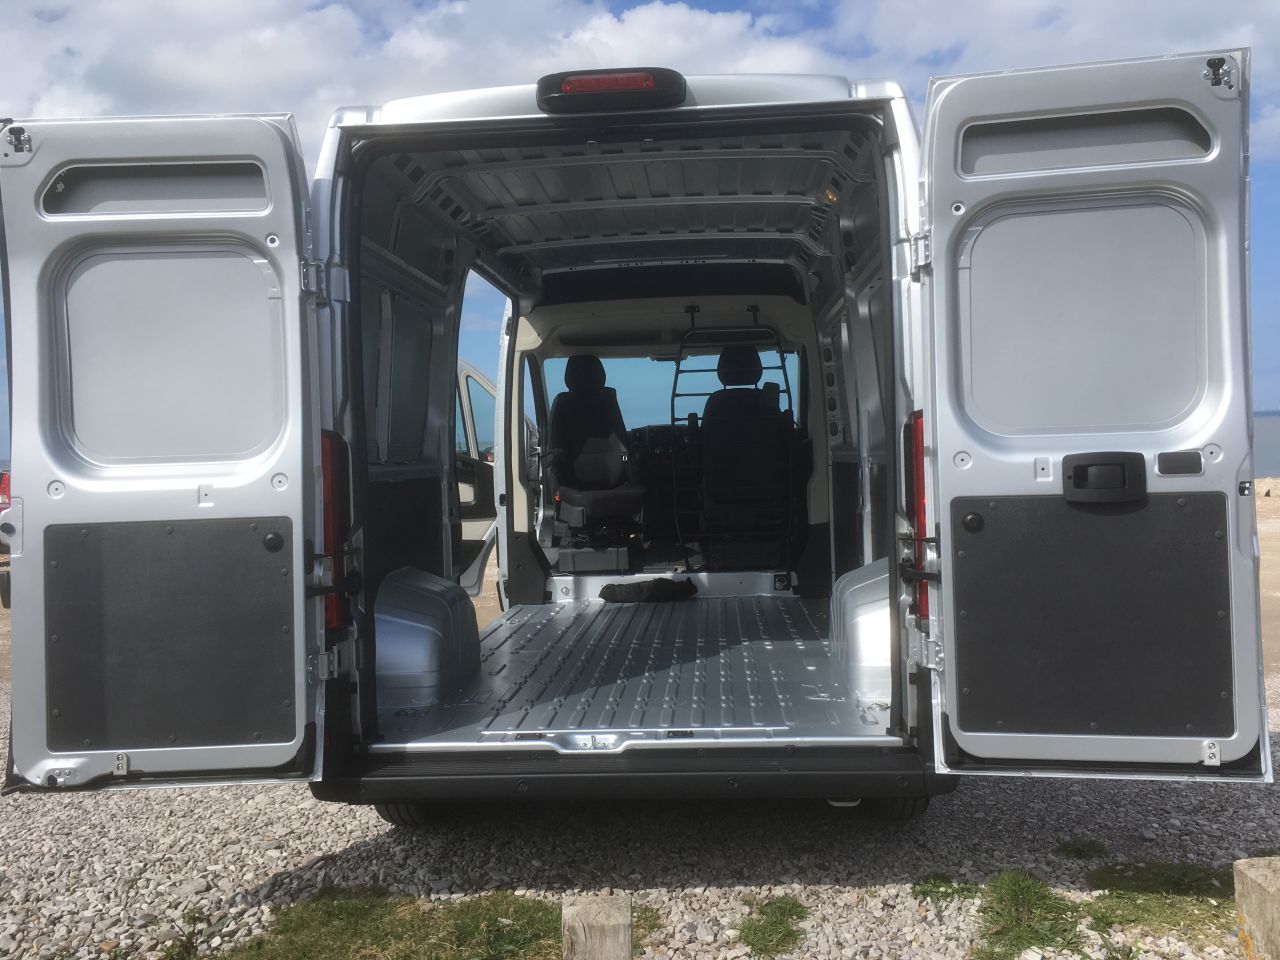
We decided to order a new van with single passenger seat and factory fitted swivels. This gave us a passenger air bag and meant we didn’t have to worry about increasing the seat heights by fitting after-market swivels, or disabling seatbelt pre-tensioners, etc.
Citroen didn’t offer the option of ordering without a bulkhead, but did offer a ‘ladder bulkhead’ so the van came with all the trims to finish off the ‘B’ pillars where the bulkhead is normally fitted.
After a long wait (during which the dealer we bought through went bust! the van eventually turned up in April 2018
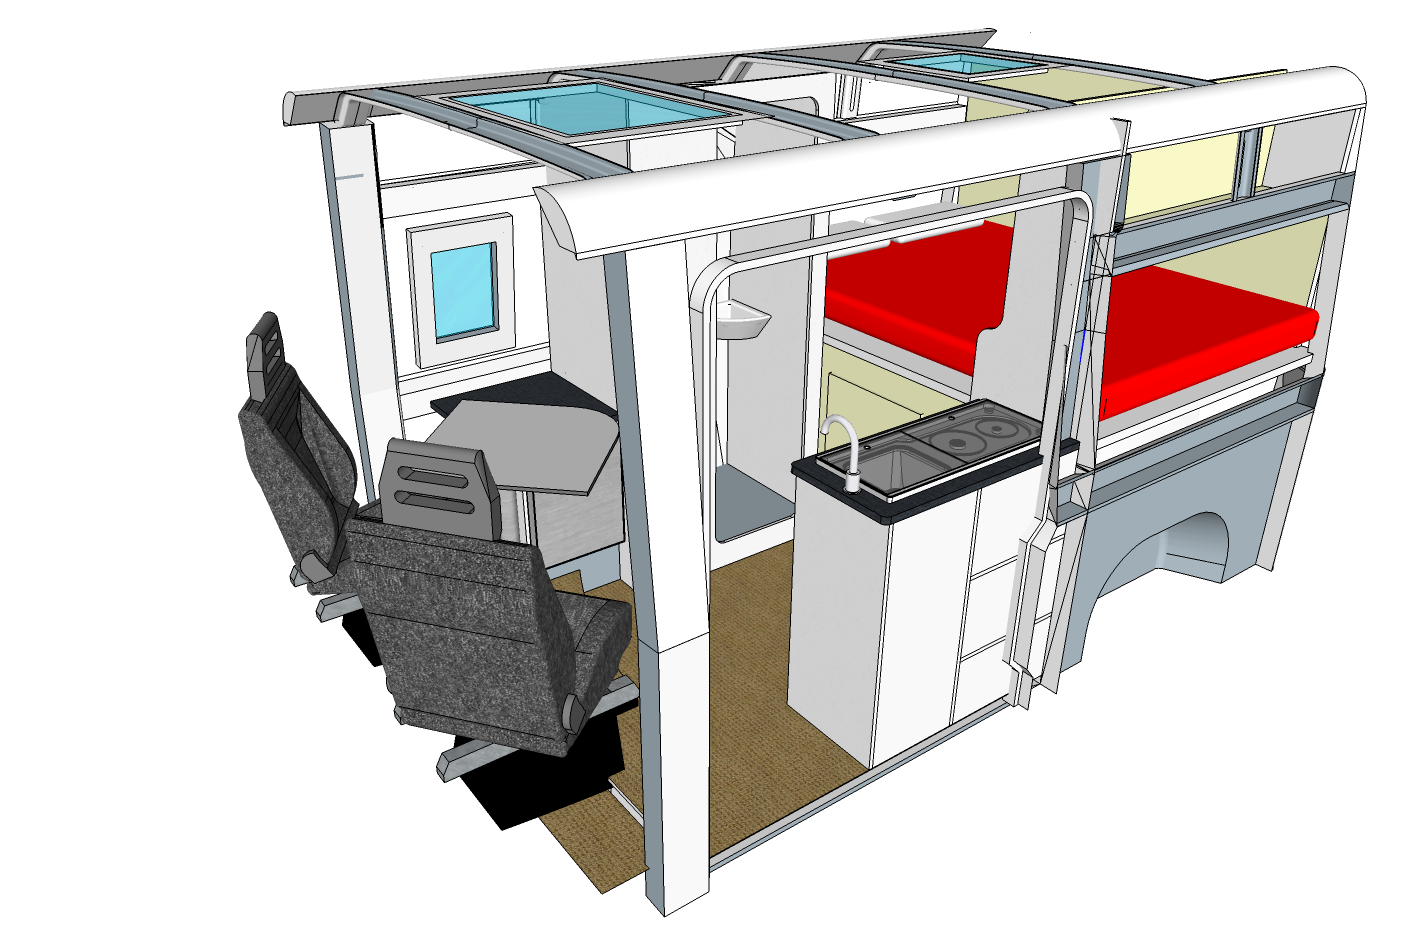
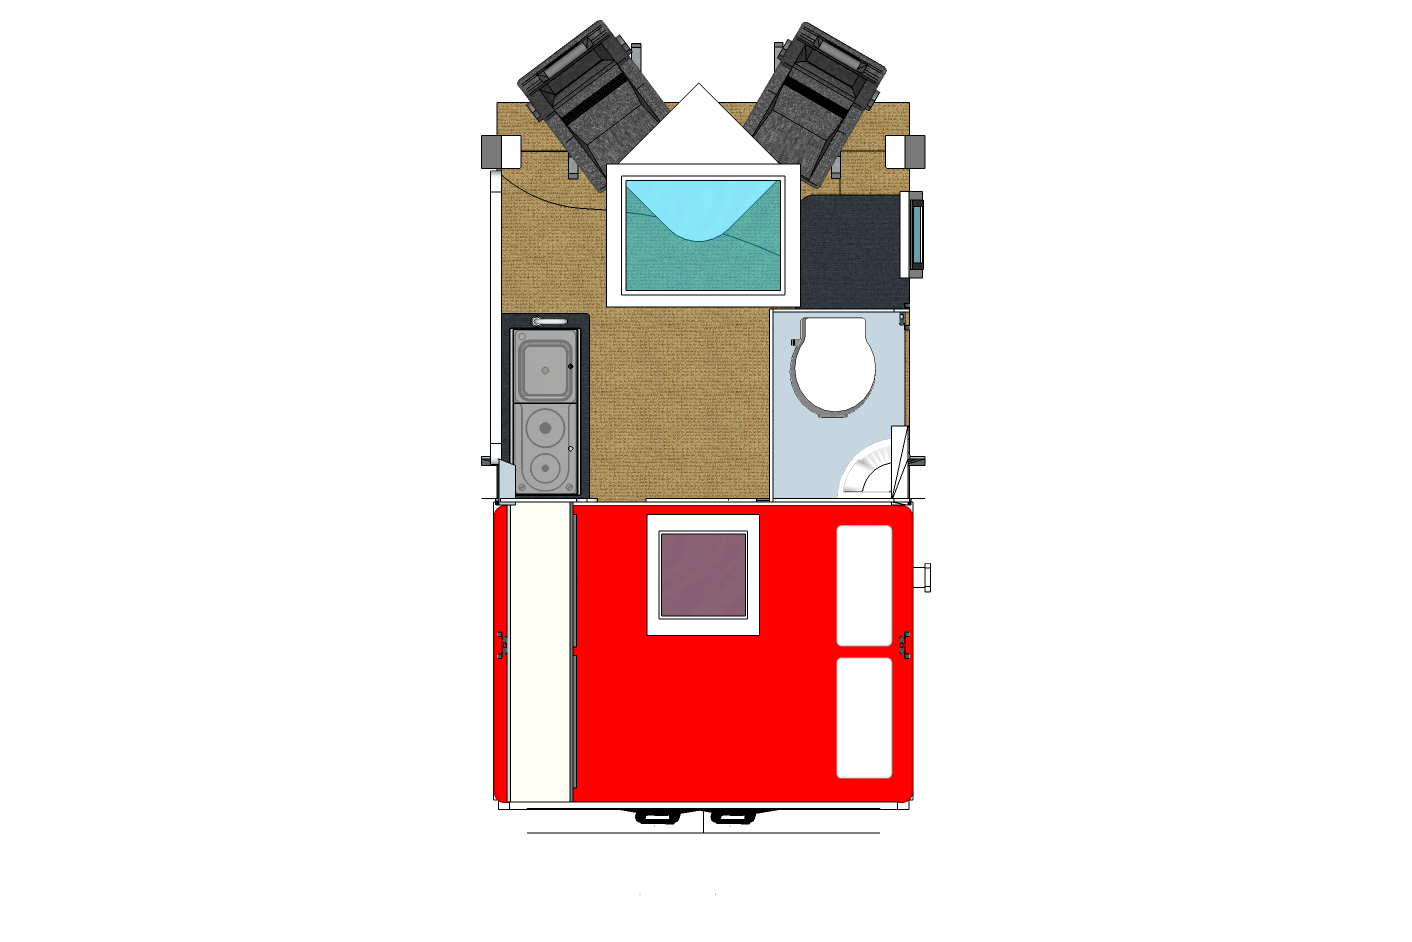
We realised that the seats, when swivelled, protruded slightly further into the load area than we had thought, which put the hob burner in the above layout a bit too close to the elbow of the person in the driver side seat. On seeing this, my wife dropped her long-held objection to having a unit part way across the sliding door, so we’ve moved the kitchen over there. This, in turn has allowed me to turn the toilet compartment through 90 degrees so it doesn’t cut across the van as much, and gives the option of fitting a cassette toilet rather than the Porta-Pooper we were planning.
We also moved the water tank to above the wheel-arch which means some tricky work to fit the filler (I don’t want a ‘bottom fill’) – it looks do-able, but it very tight on positioning!
So the layout now looks something like this (the Sketchup is getting a bit rough, now…)
The van actually worked for its living very briefly – to pick up about £400 worth of ply, insulation board and roofing batten.
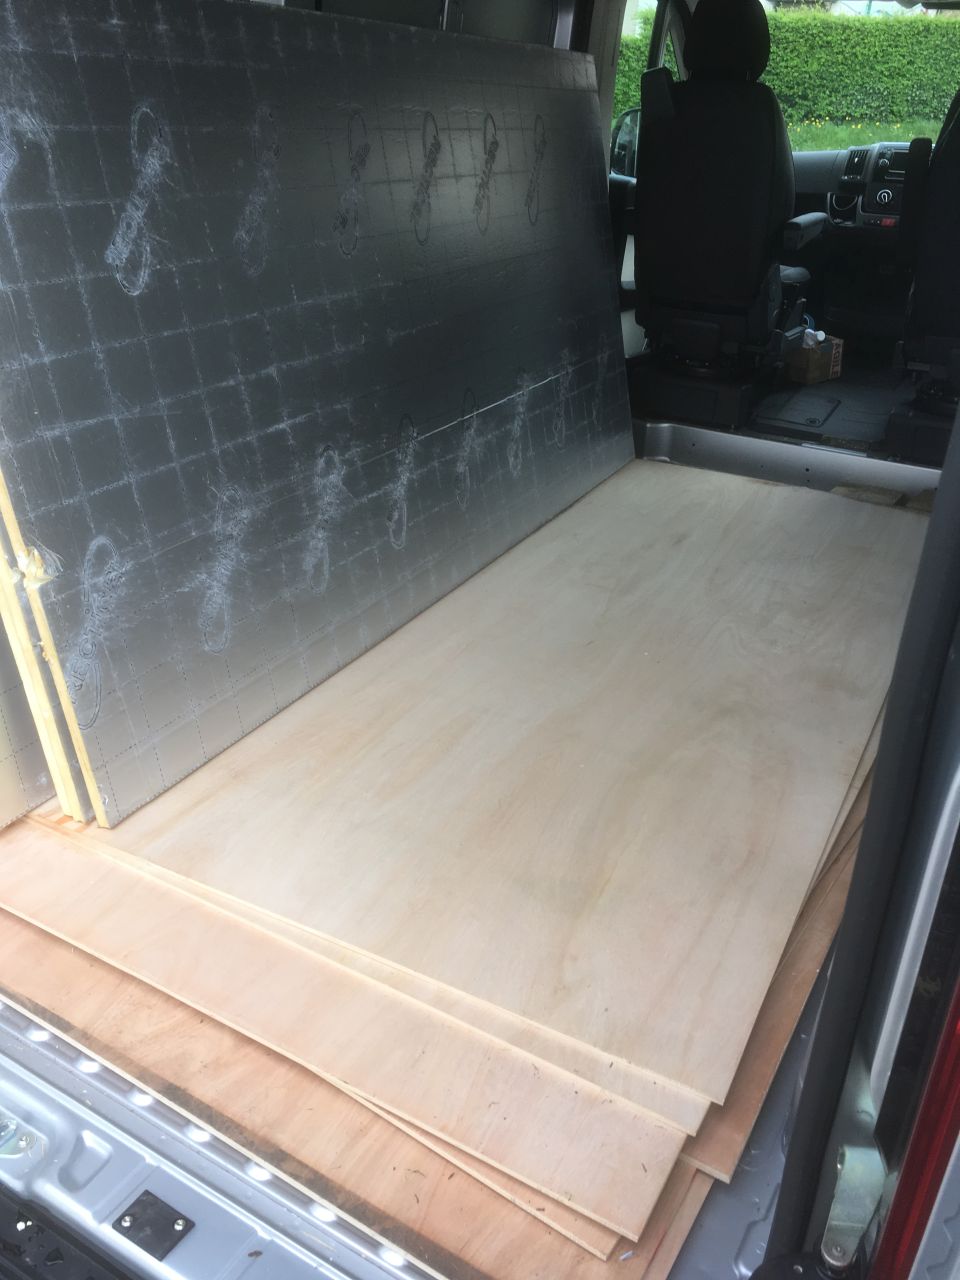
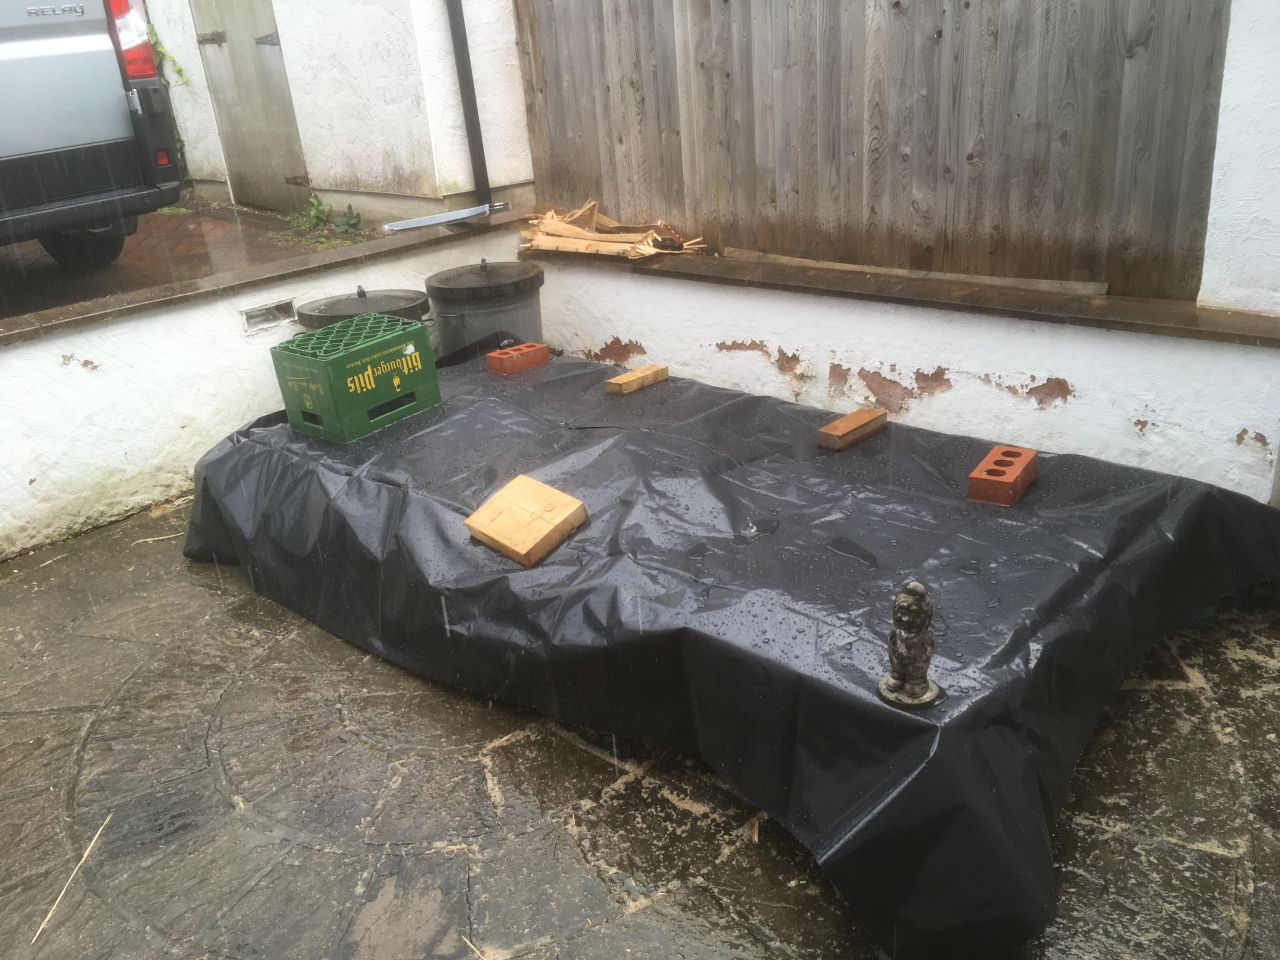
I had a few days off work and managed to make and fit the mid way and rear half-bulkheads and half the bed base before rain stopped play (I’m working outside, and need to store the 8×4 sheets outside).
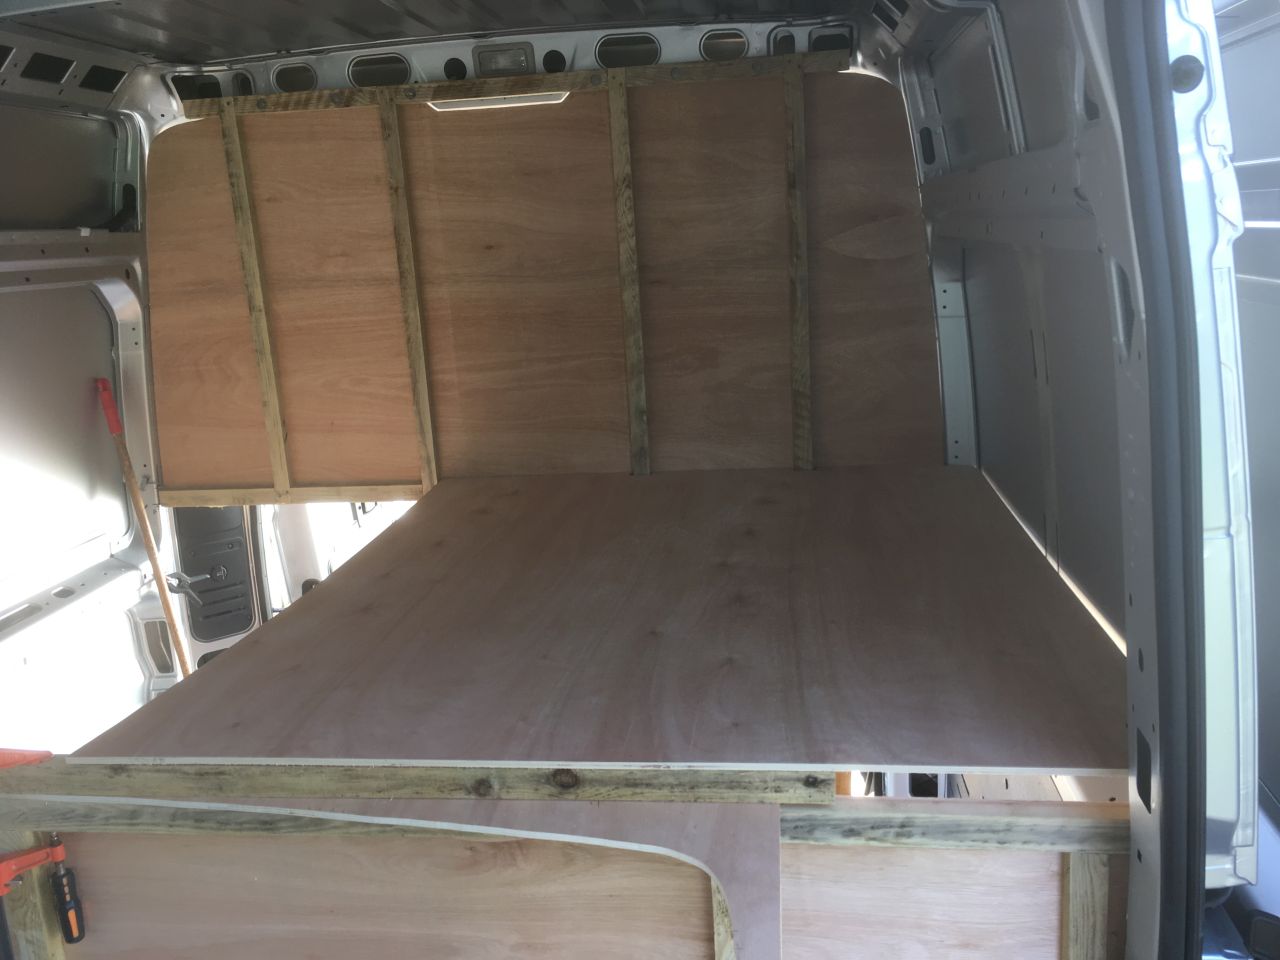
The bed base hangs from the rear bulkhead and sits on the mid bulkhead as a self-supporting, insulated panel spanning over the ‘garage’. The bulkheads will be lined internally with 25mm board and a cosmetic panel.
The rear bulkhead is 9mm ply and is held using bolts into riv-nuts set into the arch over the rear doors. (There’s unfinished business here – I cross threaded one fitting the bolts and spun it loose, and another one ‘picked-up’ on the bolt as I tried to remove it, and also span loose . I’ll have to saw the bolts off and fit couple of new nuts – my fault for using stainless bolts ‘dry’ and being ham-fisted.)
The rear bulkhead is stiffened with 25×38 roofing battens lap jointed together:
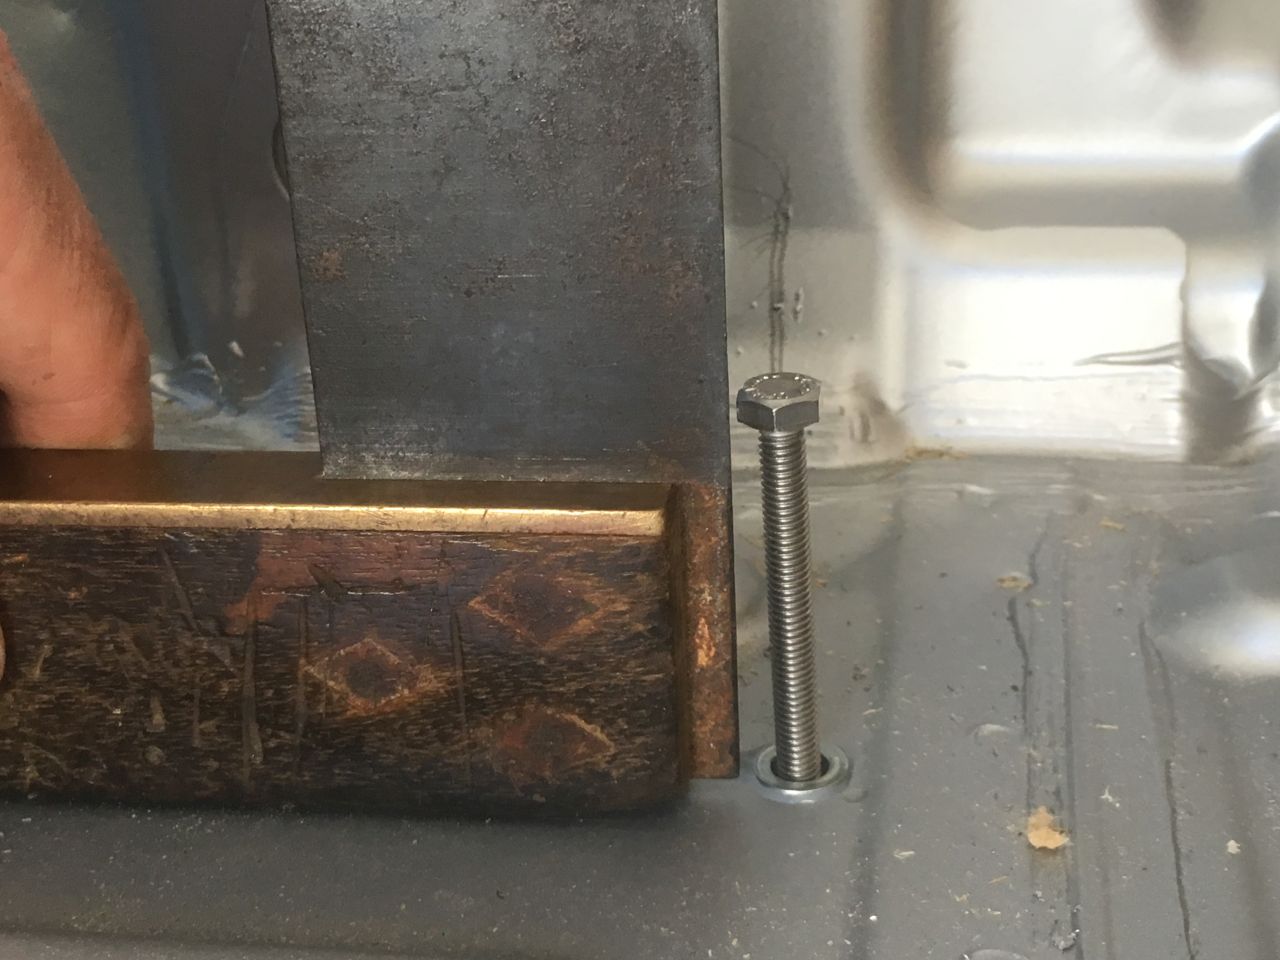
The mid bulkhead is also 9mm ply, but the stiffeners will just be screwed and glued to this. It’s fitted with riv-nuts through the van floor. The riv-nuts are galvanised, they were dipped in zinc primer when fitted to seal the hole, and I’ll be using galvanised bolts, so hopefully there won’t be any corrosion issues down the line… (the van body is also galvanised).
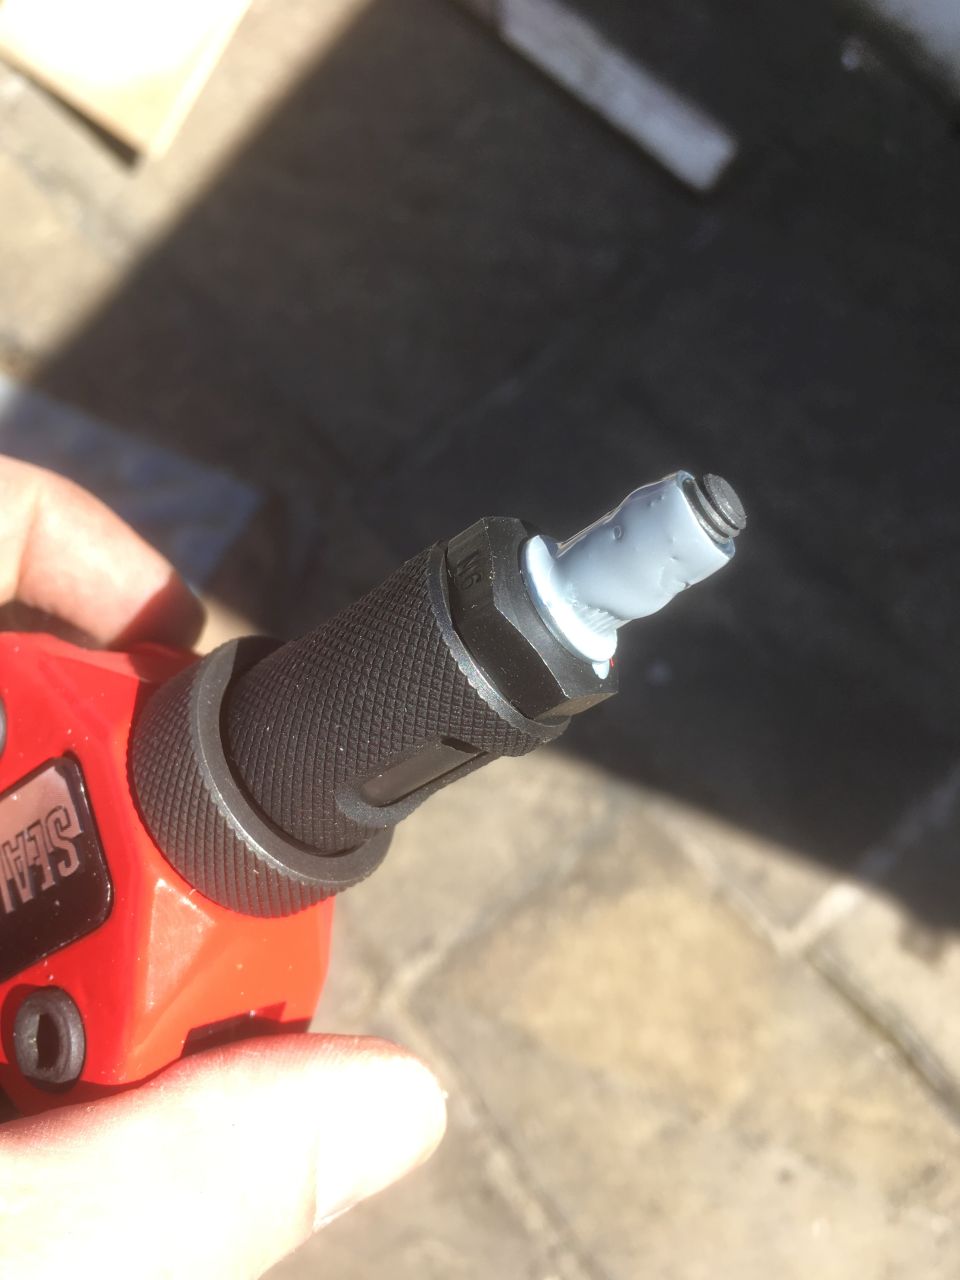
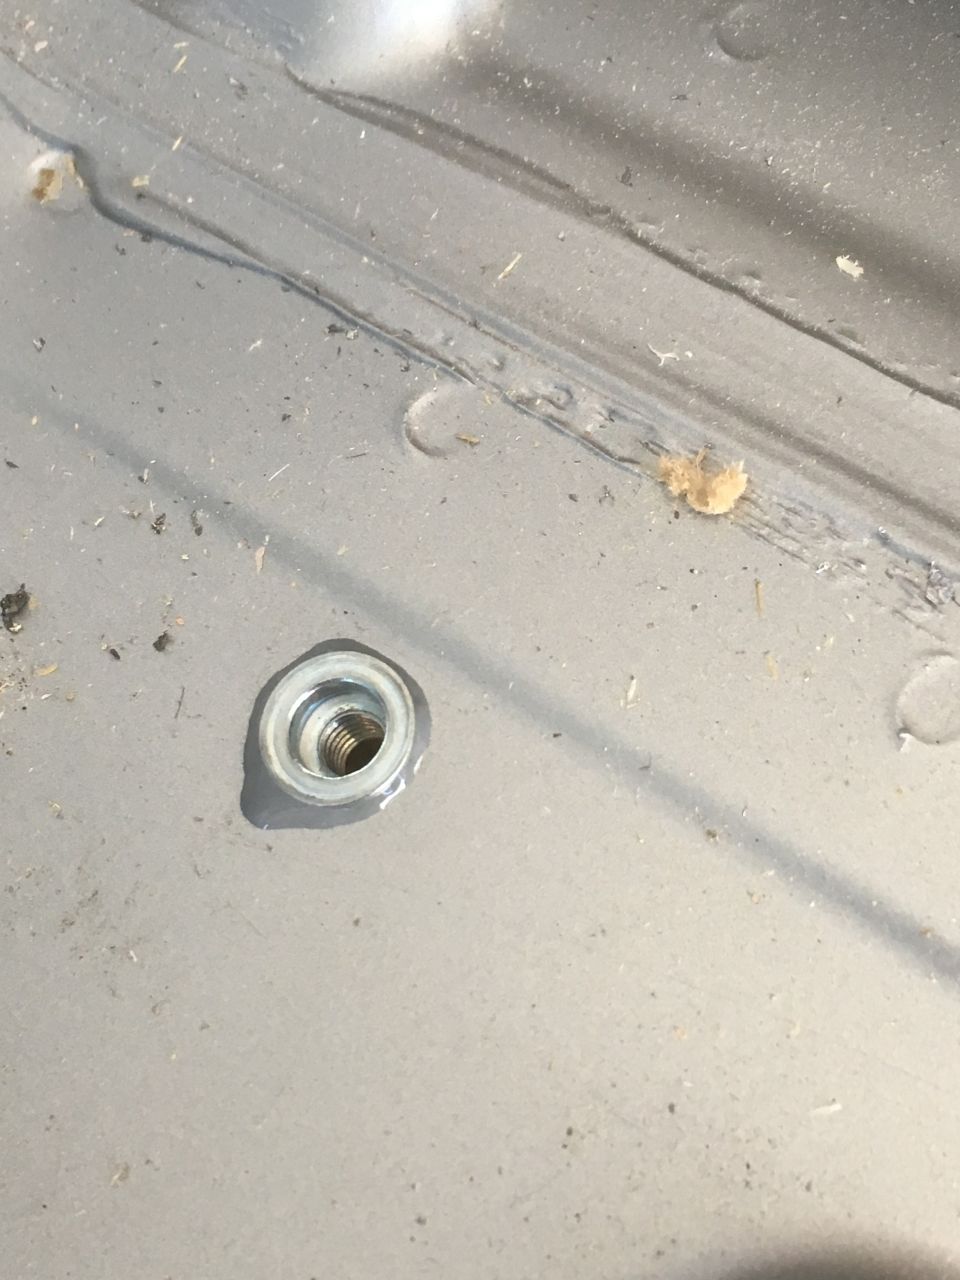
I also learnt from my previous mistakes and squared them up after fitting and oiled the threads.
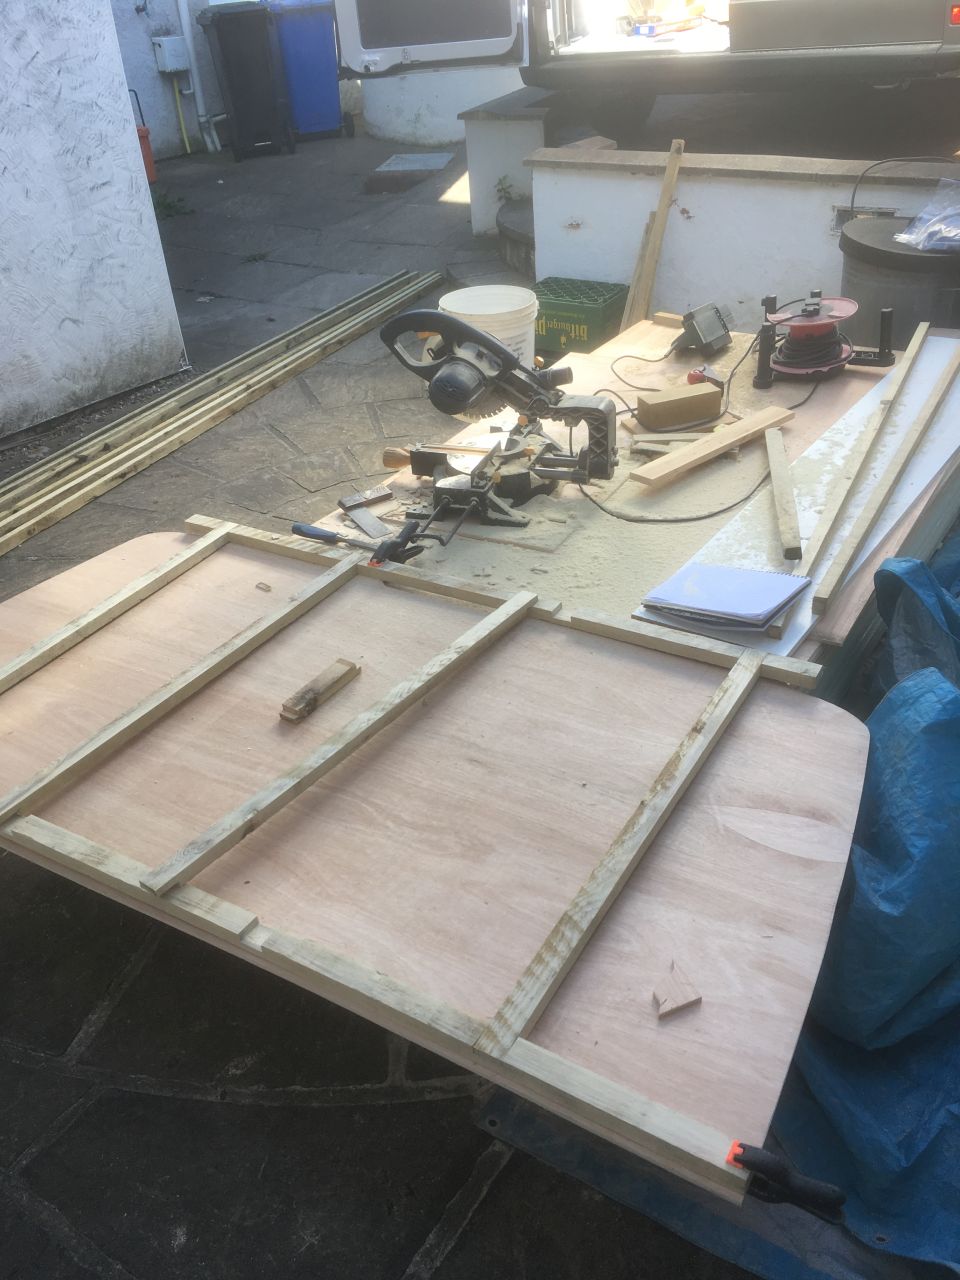
The hollow bed base is 9mm ply top and bottom with 25x38mm (1″ x 1.5″) roofing batten set on edge running across it, and insulation between them. It needs to be made in two pieces in order to be able to slot it into place between the structural members of the van – we’re taking the bed out to the full width of the van.
This is the first (big) half just before fitting the second layer of 9mm ply
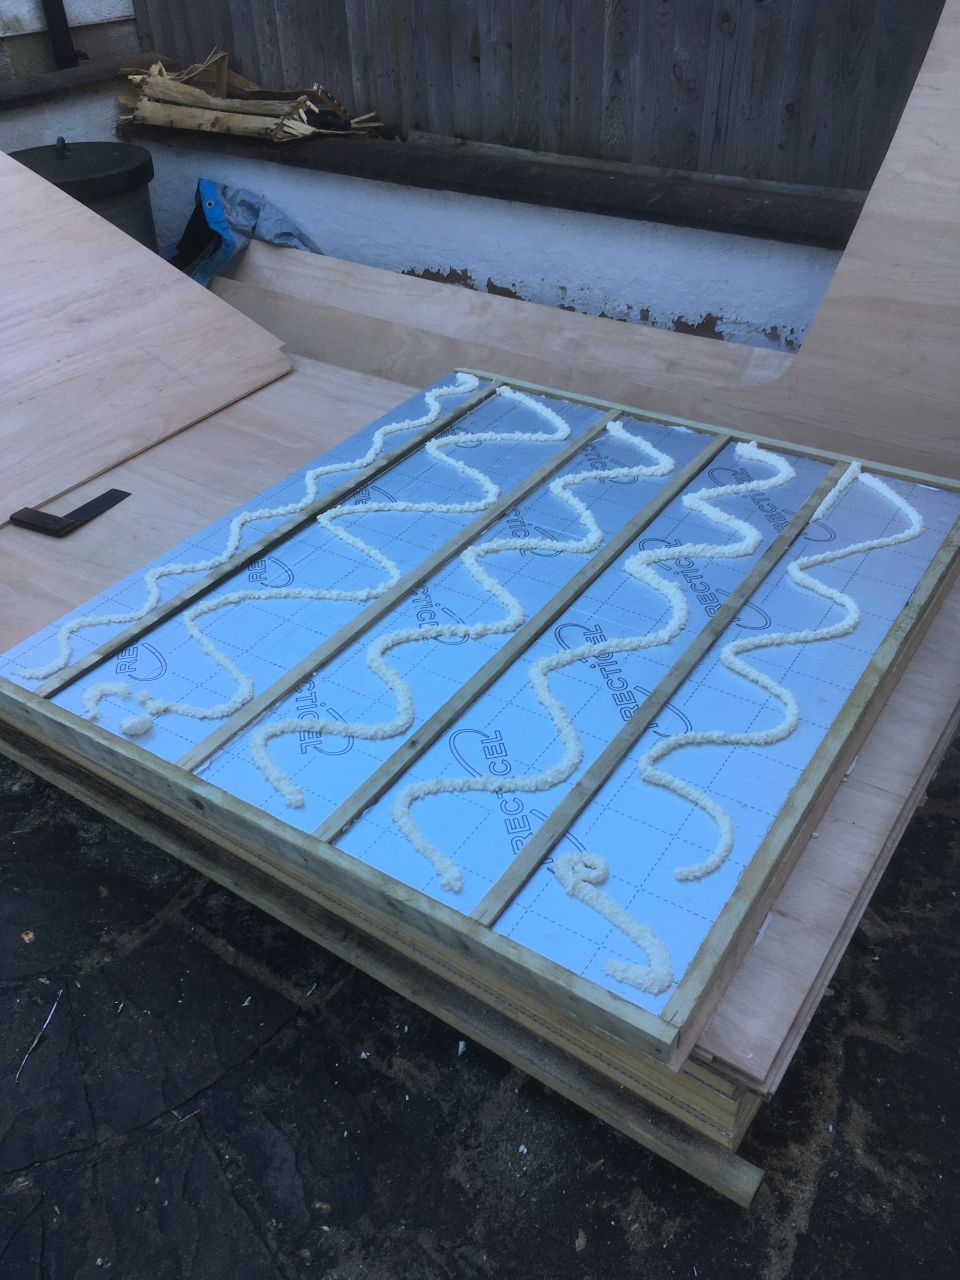
I added a quick squiggle of foam before gluing and screwing the ply in place, just to try and stop the insulation working loose and rattling.
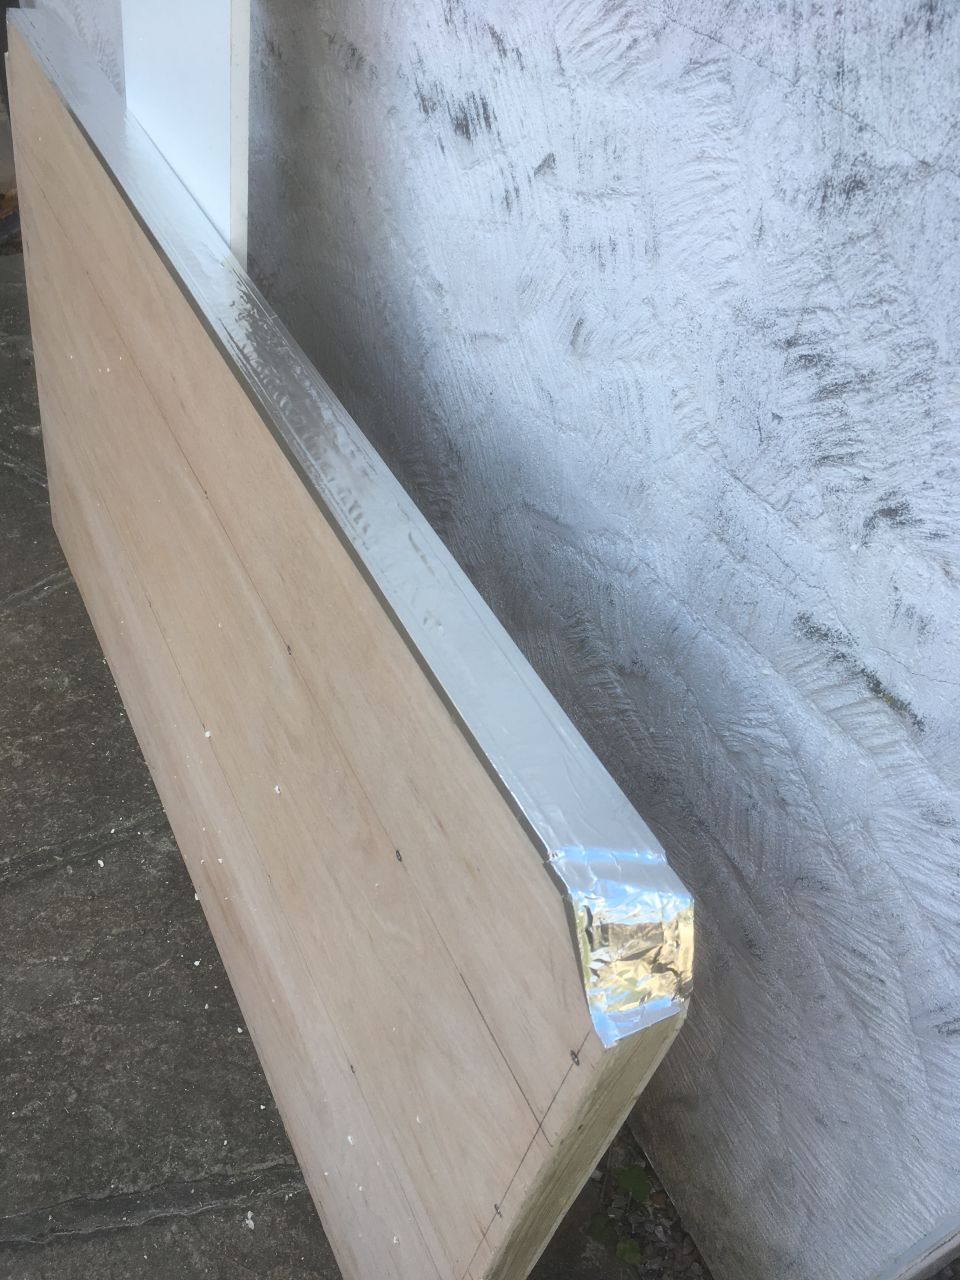
This is the second (small) half with the open edge sealed with aluminium tape. The top of the bed base will eventually be covered with waterproof vinyl to form a vapour barrier.
I spent a looong time fitting parts, then taking them out again for adjustment, trying to make sure that everything was true and square, and nothing was rubbing on the metalwork of the van.
The bed base and bulkheads are in their final positions now, but still only bolted in. Once I have finalised the furniture design, and decided how many kidneys much furniture ply I need, I’ll take them out again to go and collect the ply from Morland.
I was a bit nervous the the bed base would be strong enough, but it is (literally) as stiff as a board – even with both of us on it, bouncing up and down (steady!) there’s no ‘spring’ or feeling of flex to it.