
I thought a lot about how to fit the ceiling. I’ve been looking at the Magnum Motorhomes display van construction on their web site: they favour a flat ceiling, and I can see the advantages, but this would lose me about 25mm of headroom in the middle of the van, just where I need it most to be able to climb into the raised bed. So the ceiling would have to follow the curvature of the roof. I think this will help give it some stiffness to the ceiling panel, too.
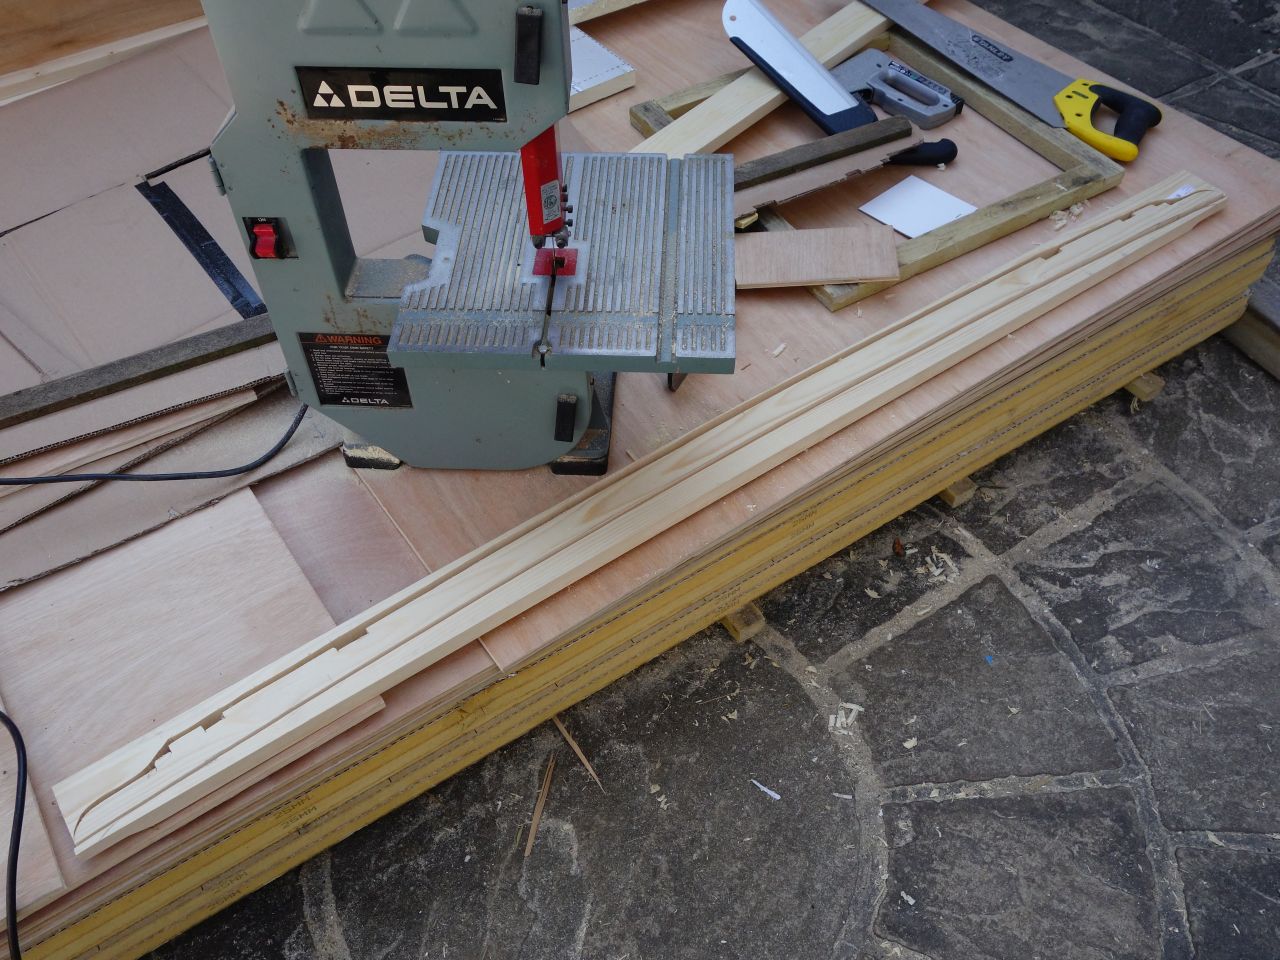
I spent ages wondering if it was better to fit wooden beams to the side or bottom of the metal roof ribs (to hold the ceiling), or whether to keep them completely independent. I was concerned at creating cold spots by fixing directly to the metal ribs, and eventually decided to glue 25mm wide x 9mm ply strips over the metal ribs and fix the ceiling to that. It would give a solid fixing for the ply and provide something of a thermal break.
25mm insulation board fits nicely against the roof between the ribs and the plan was to use 7mm closed cell ‘Thermoliner’ foam to insulate the remainder of the rib (alongside the ply strips) and seal to the insulation board to maintain a vapour barrier.
I also wanted there to be support under the joins in the roof lining, which would mean installing some extra roof beams. I had intended to use 6mm ply panels with Morland wall board glued to it, both of which were 1220mm wide, so I needed 3 sheets (2 1/2, actually) to cover the area: 2 joints. I also wanted to avoid joints across the roof-light holes, so with a bit of jiggling, I decided that I could put a (roughly) 1/2 width board at the back and one joint would fall on an existing roof rib, but I’d need to add beams for the rear edge of the ceiling and the other joint. (I didn’t bother with the 6mm ply layer in the end, and just glued the Morland board to the roof battens.)
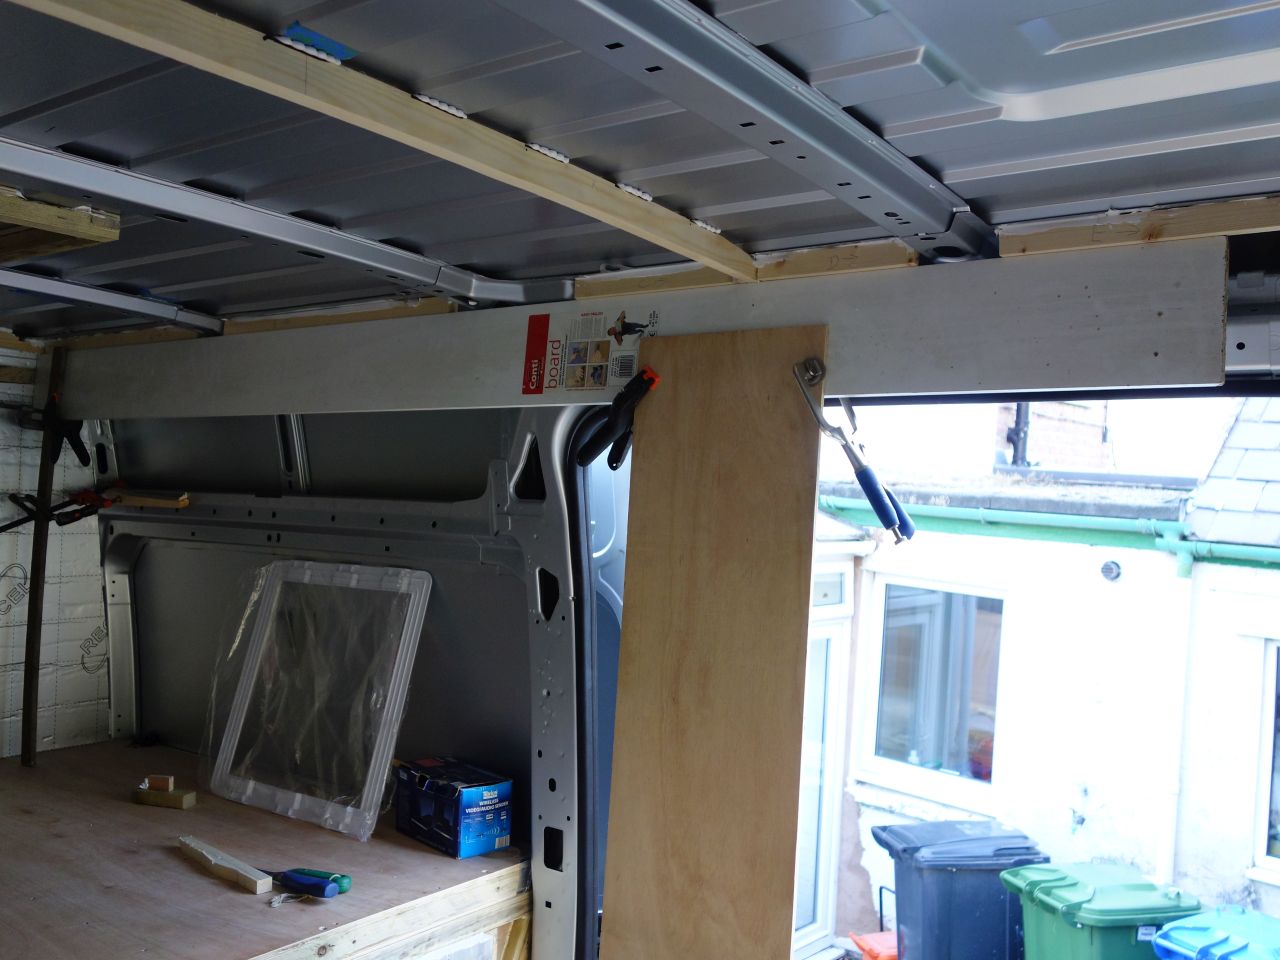
With the ceiling height decided by the 9mm ply over the ribs, I could make templates for the two extra roof beams and cut them out of 25mm thick board:
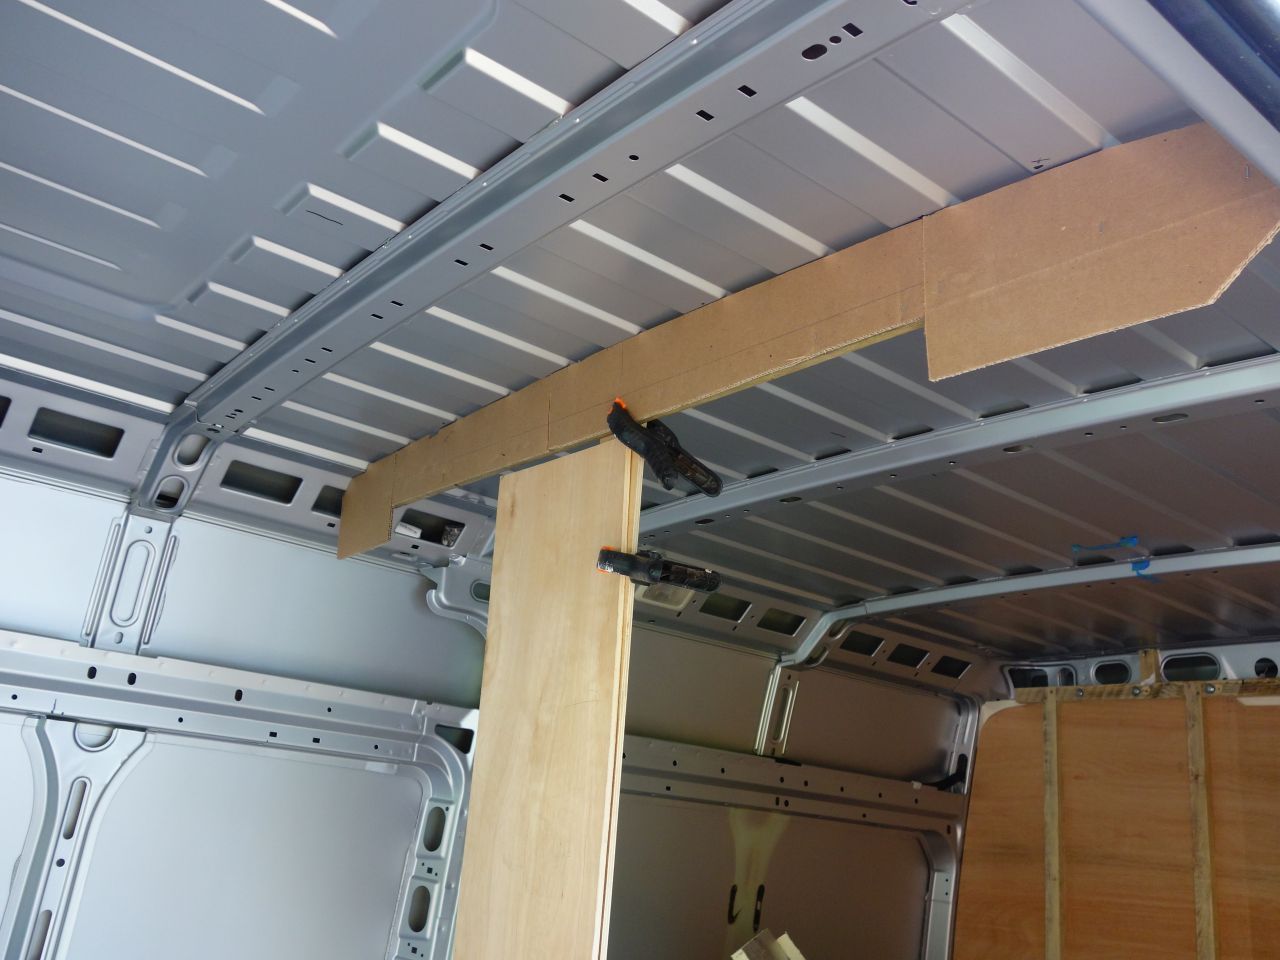
The rear beam needed to be rebated and cut away to fit over the metalwork over the rear doors. It took pretty much a whole day to cut one piece of wood!
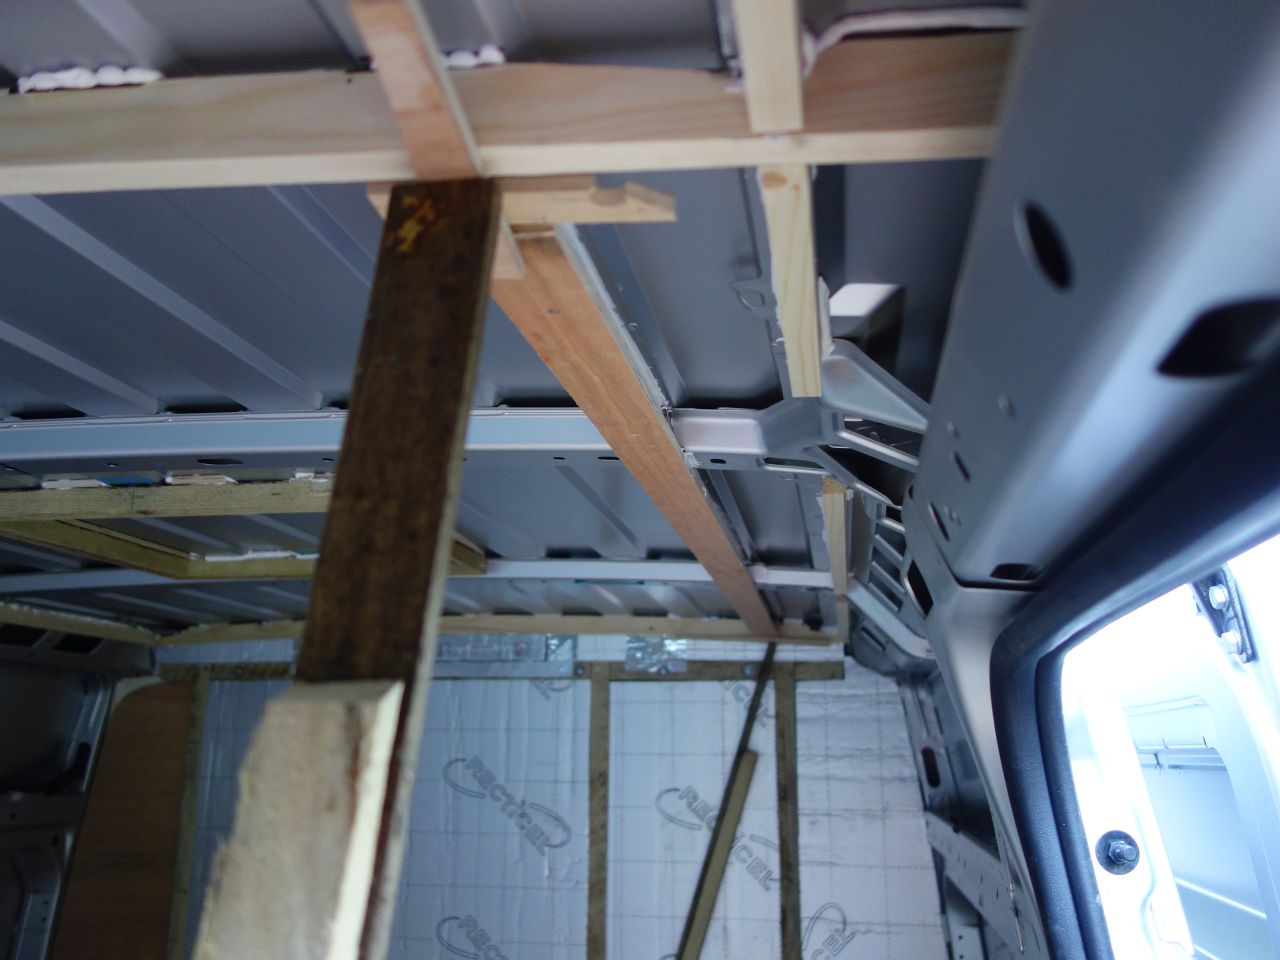
There was a lot of measuring, re-measuring, tea drinking and checking to try and get the beams square across the van and level front to back. The beams were glued to the roof using Stixall – The holes in the van frames provide a convenient place to rest another bit of wood so that the beams could be held in place with packers while the stixall went off. I’d made a frame for the Mini Heki skylight, so fitted that the same way.
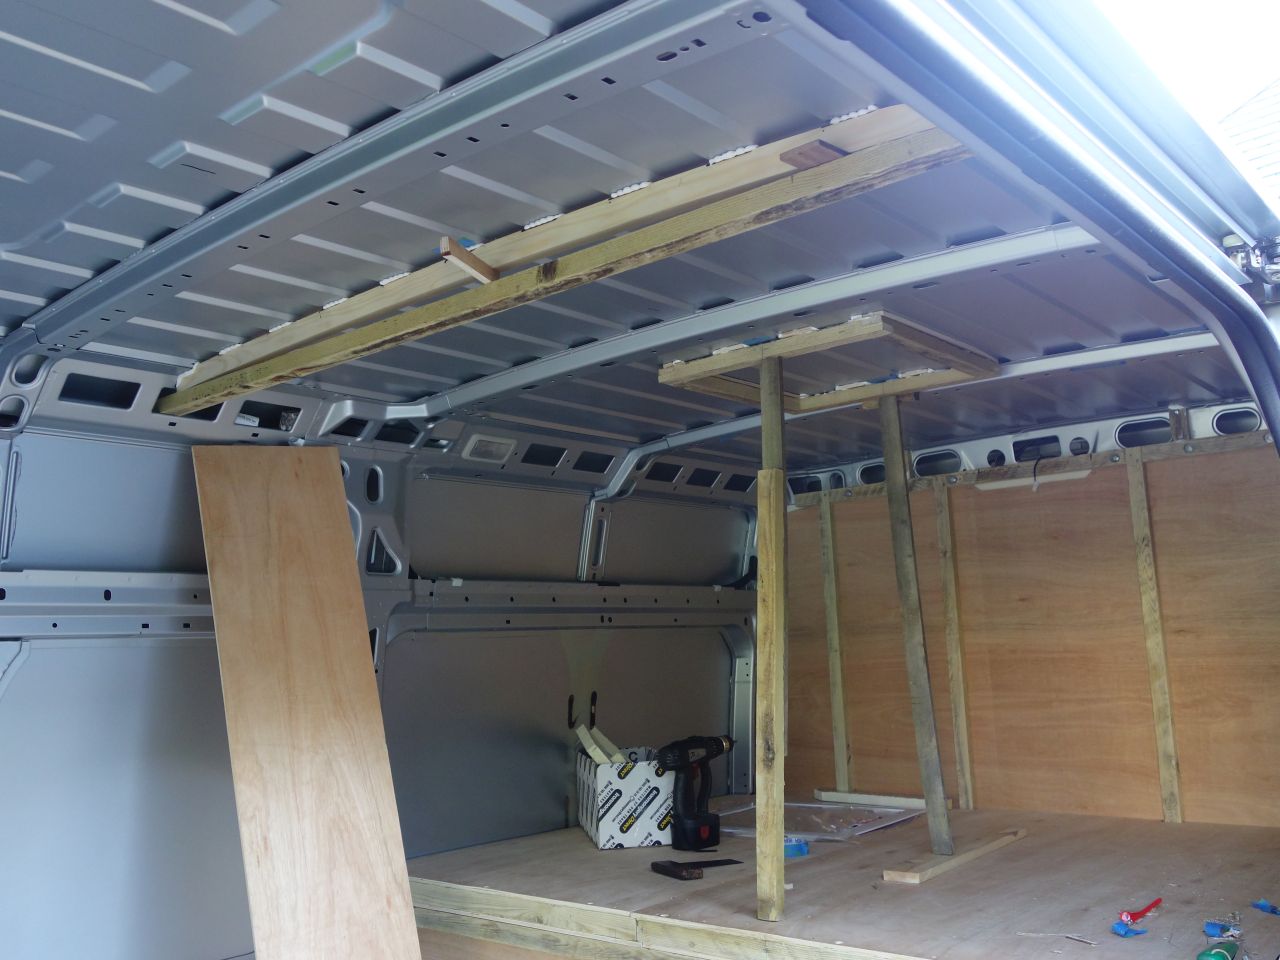
I fitted lengths of timber along each edge of the roof to support the edges of the ceiling, wedging long straight-edges under them to try and get a nice, level run from front to back.
I also added battens to the roof where I thought the top lockers and toilet walls would be in the same way. I didn’t know exactly how far in from the edge of the roof that the lockers would be, but took a guess at it and fitted strips of ply onto these battens to give a bigger target for fixing into without having to bond large pieces of wood to the roof.
The positions of these were measured as accurately as possible before fitting the ceiling so I could (hopefully) find and fix into them when fitting the lockers.