
I’d bought adaptor frames for both the mini and midi Heki roof lights that are specific to the X250 / X290 Sevel vans. They match the roof profile to leave a flat surface for mounting the roof light. There are two adaptors for the midi Heki; one that matches the castellated roof profile for installing the roof light in the back part of the van, and one that’s sculpted to fit around the ‘sunroof’ pressing just behind the bulkhead of the van -which is what I wanted.
I bought mine from Germany via ebay (seller wwwcarlinegmbhcom).
Because of the way that the front adaptor is shaped to the bodywork, it will only fit in one place. I couldn’t continue framing the ceiling until I knew where this was, but the adaptor only fits properly on the outside, so it would either mean some fancy measuring to transfer the measurements to the inside of the roof, or biting the bullet and cutting the hole!
I’m not good at fancy measuring.
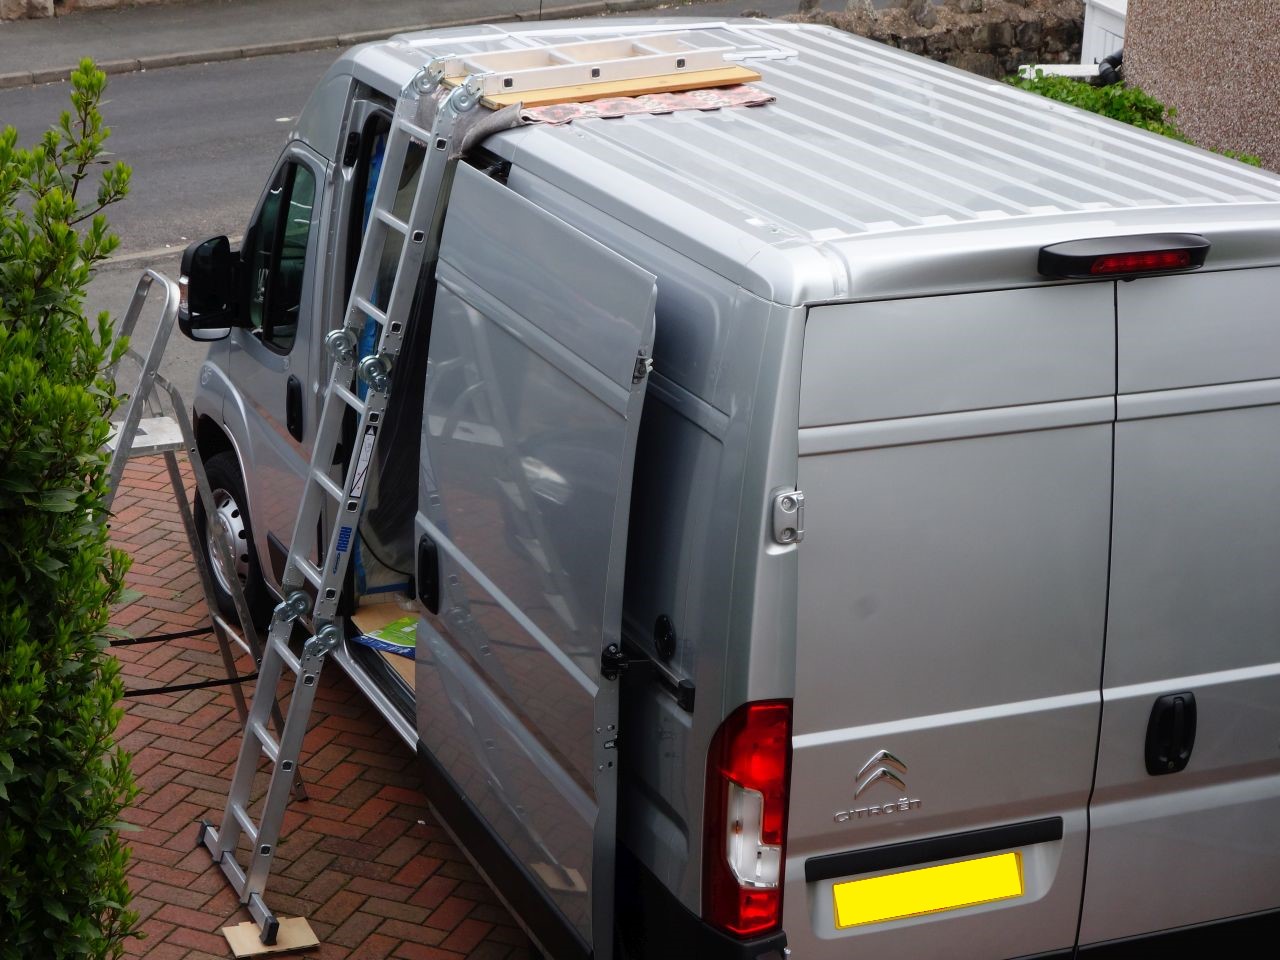
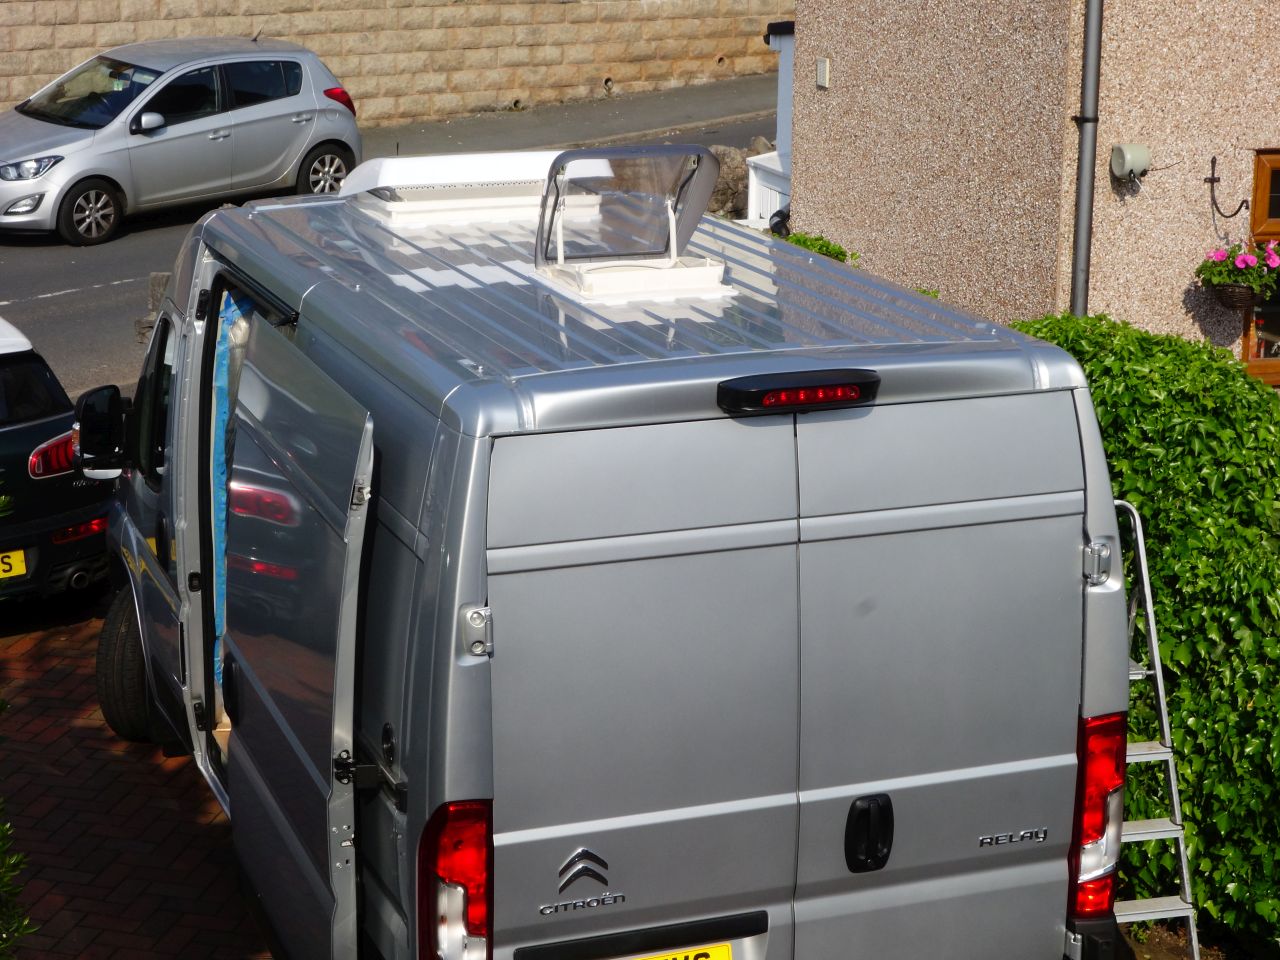
The first hurdle was actually getting to the roof! Our step ladders were too short; and the ‘big’ ladders were too, erm… big.
A quick trip to Argos found the ‘Abru’ 10 way ladder on special offer that was perfect for the job (Argos 428/7458). It’s the perfect height for a H2 van, and the angled end matches the slope of the roof:
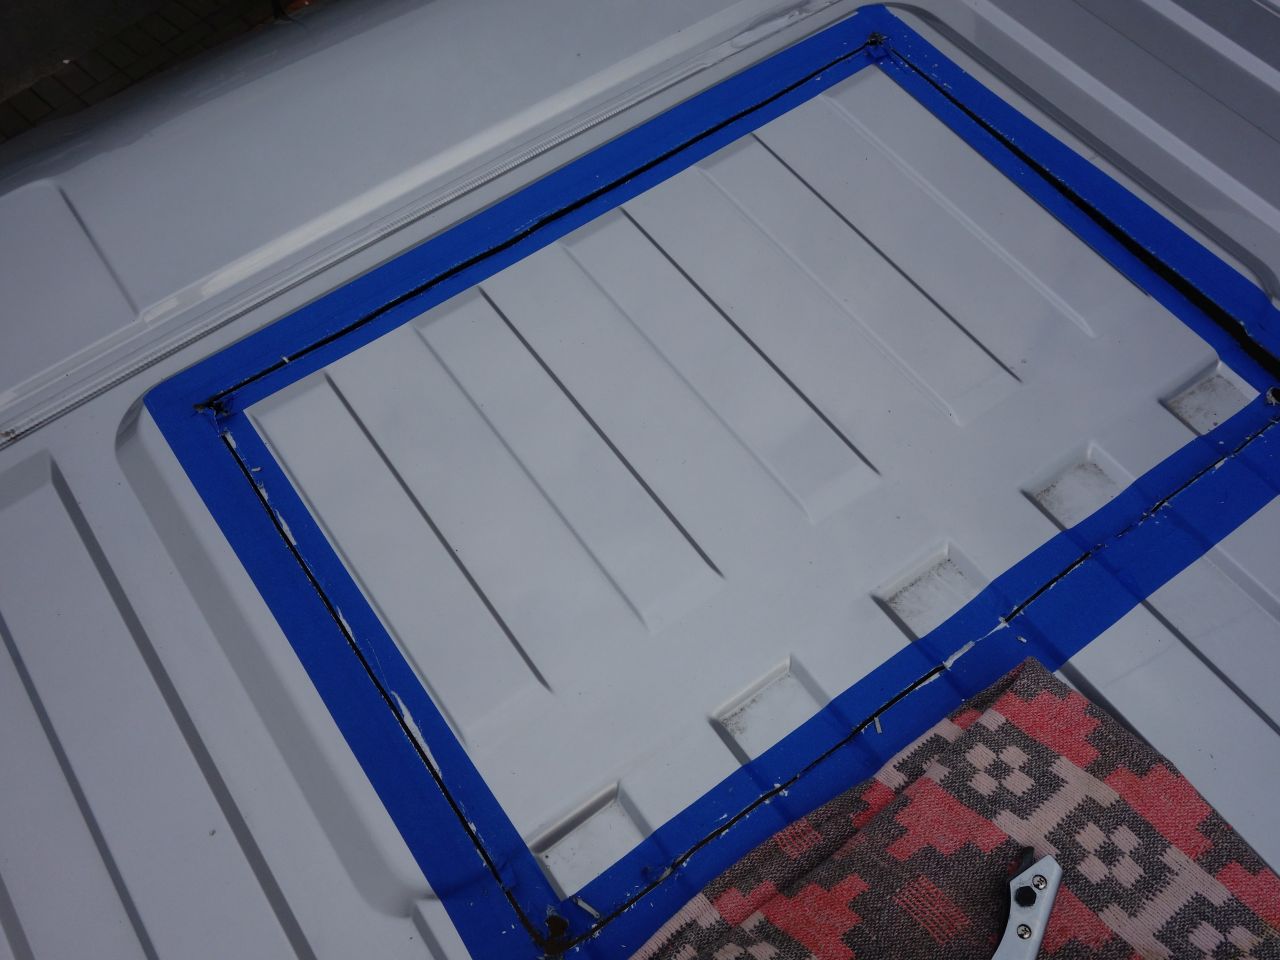
Just needed to lay the adaptor on the roof, draw around the hole and cut it out. I used a hand nibbler to cut the hole, which worked well enough, and was a bit less antisocial that the jigsaw.
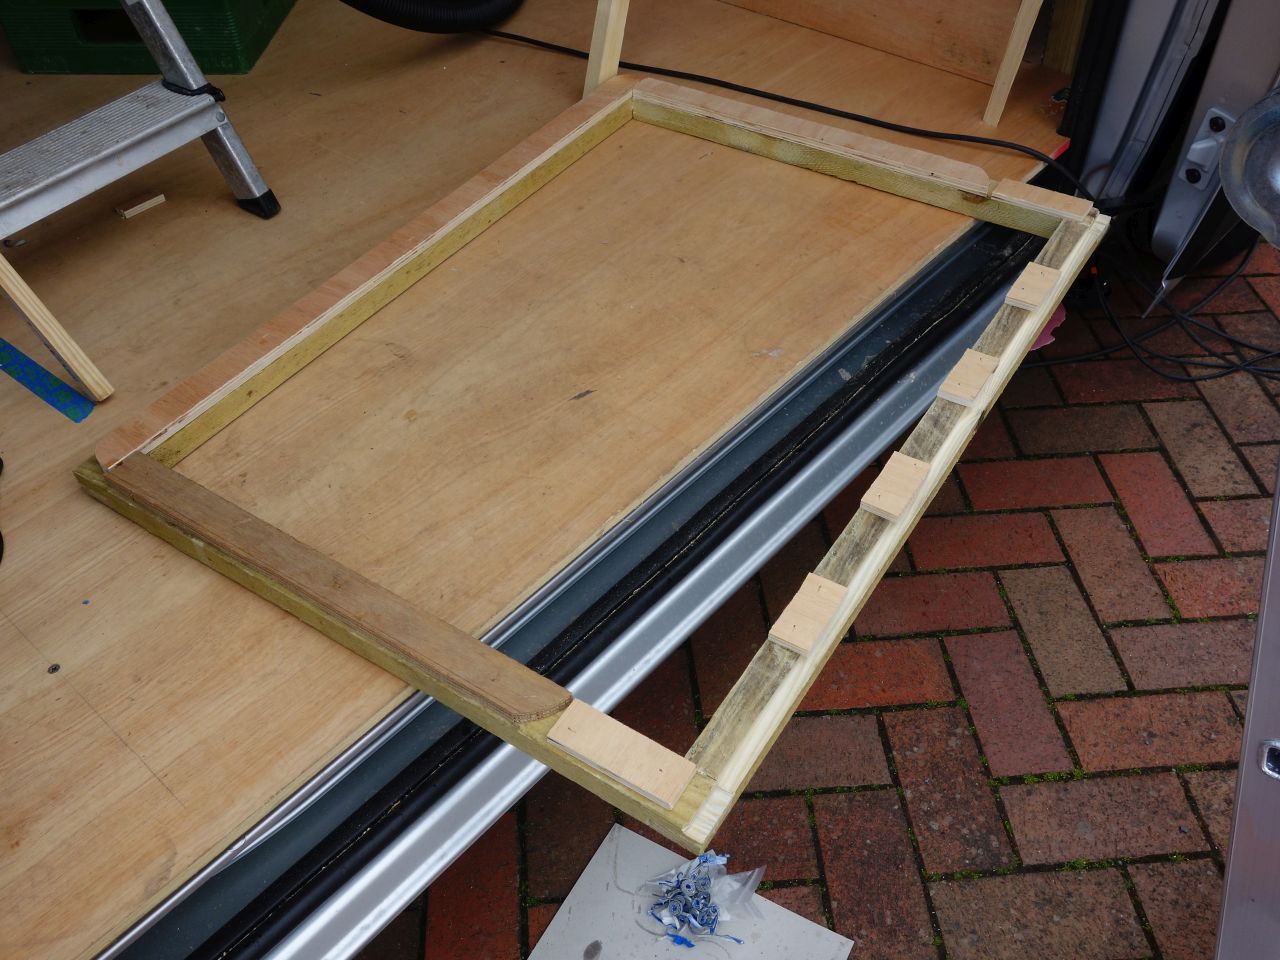
I’d made the frame previously, but it needed a few packers adding so that it sat properly inside the hole:
I cleaned up and primed the cut edges, stuck the frame to the inside with stixall and used Sikaflex 710 non-setting mastic on the plastic adaptor. It is horribly sticky, stringy stuff!
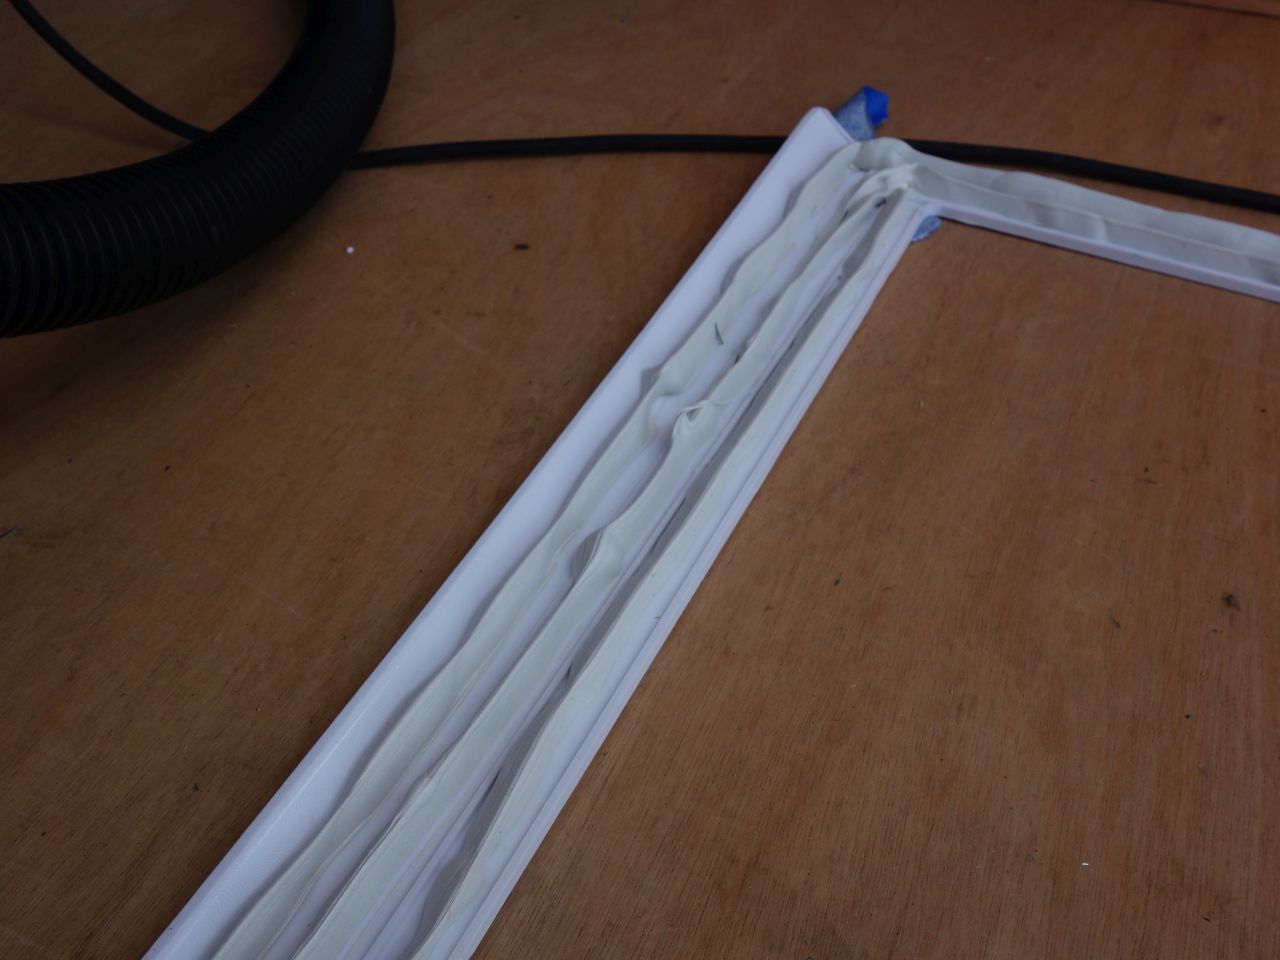
I used Arboseal GZ butyl mastic tape between the roof light and the frame – I’ve used it before for boat windows and found that it is very easy and clean to use and forms a good, long-lasting seal. (fingers crossed). A couple of layers seemed about right:
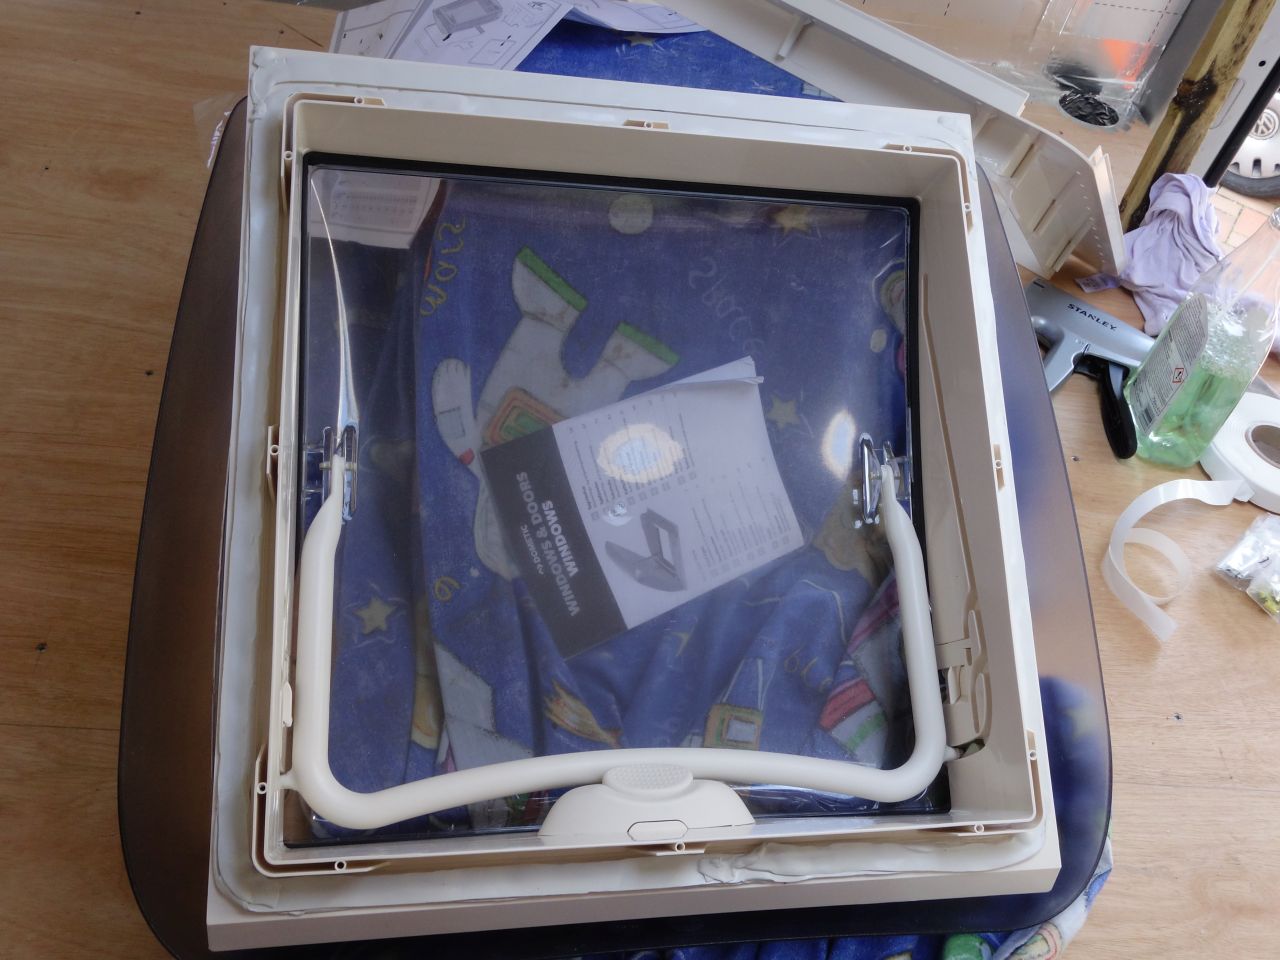
(photo from fitting the mini Heki, as I didn’t take many photos when fitting the midi heki – mixture of needing to crack on, and stress!)
And then it was in!

The forecast for the next day was a bit dodgy, so I decided against trying to fit the back roof light (a mini Heki), but to do the cassette door instead.
A *lot* of measuring later:
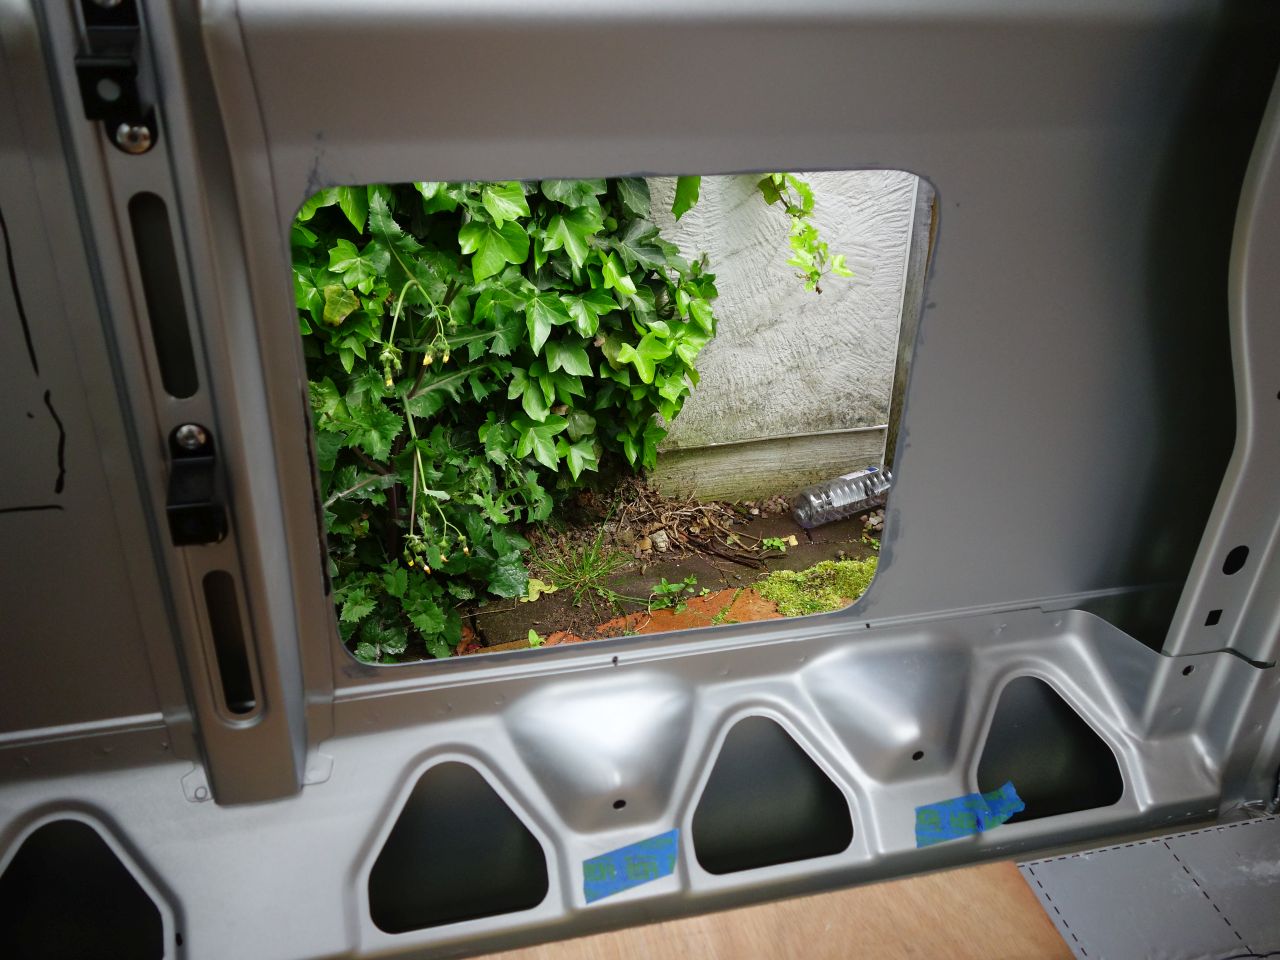
Cut using the jigsaw, as I needed to preserve the cut-out panel to fit into the door frame. I found it far more disconcerting to have a hole in the side of the van that I could see the ground through than I did having a hole in the roof that I could see sky through.
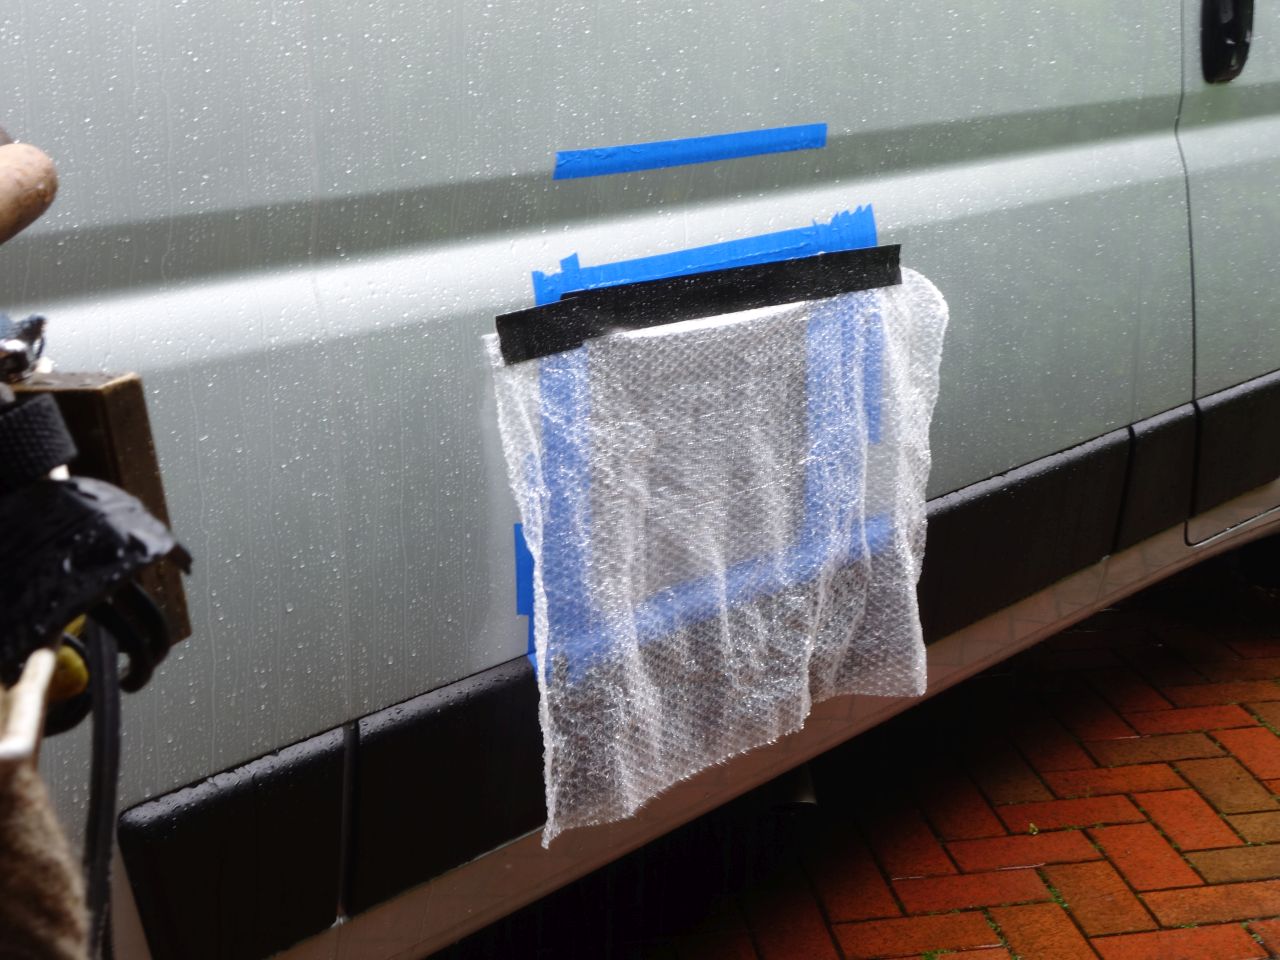
Sure enough, as soon as I finished cutting the hole, the heavens opened. Rain stopped play again:
The bottom of the hole was 16mm above the top of the plastic trim on the outside which allowed the door to *just* fit between the trim at the bottom and the horizontal swage line in the bodywork at the top.
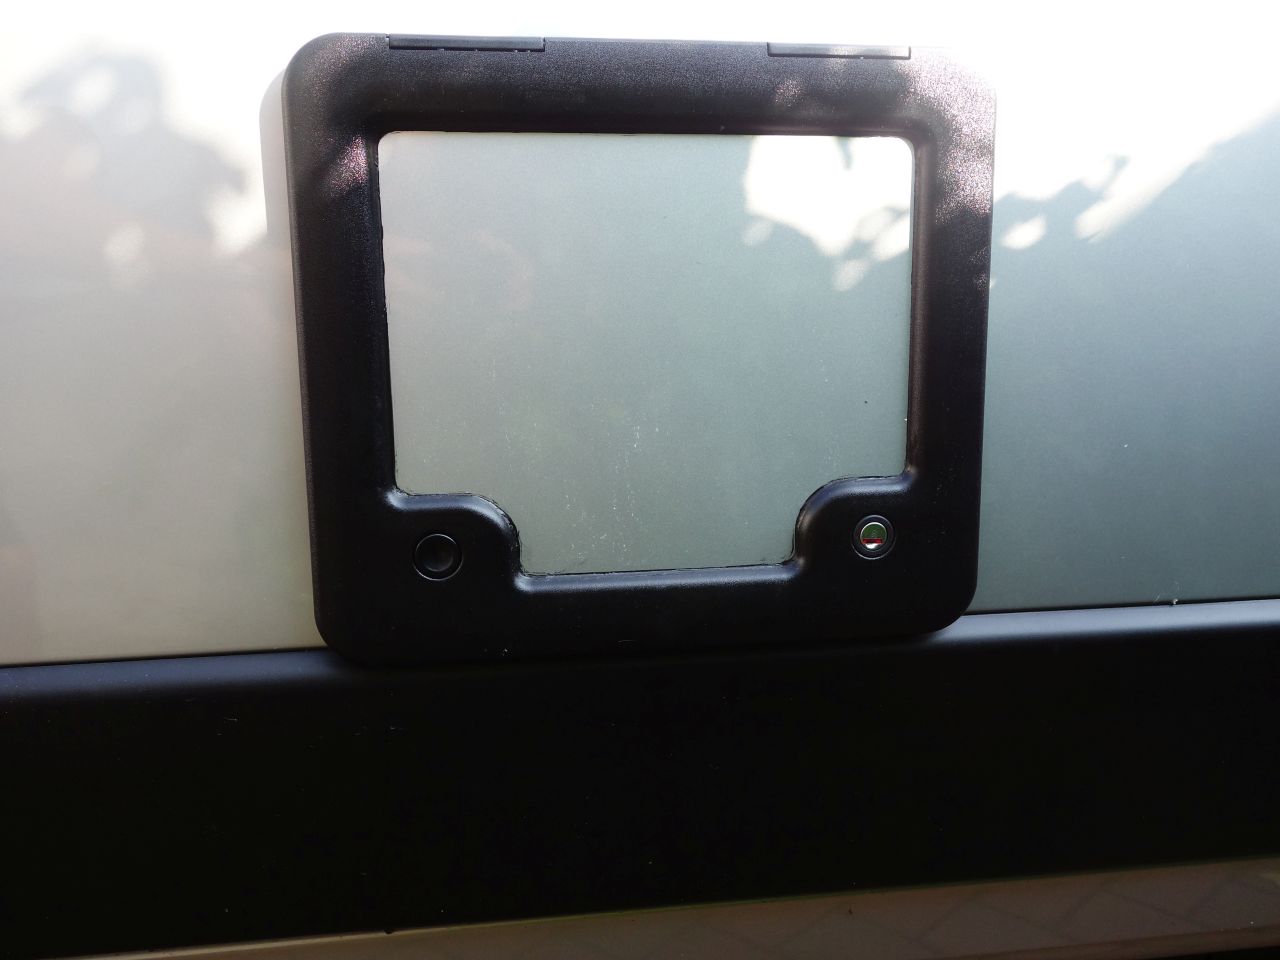
I used Arboseal GZ tape again to seal the frame to the van (black this time), adding a few layers top and bottom where the bodywork curved away from the door frame. Quite a bit of it oozed out over the next day or so, but because it doesn’t set, it’s not too bad to clean this up. The door panel is bedded into the frame with black silicone.
The rear roof light went in the day after – had to use the jigsaw to cut this hole, too as the nibbler couldn’t be used from the inside due to the wooden frame (you need to work from both sides to get up/down the corrugations). On balance, the jigsaw is easier – I’d got some extra fine tooth blades (Bosch T118G) which I think helped.
I could crack on with finishing framing and insulating inside the roof now and fit the ceiling.