
I wasn’t going to do anything specific about sound deadening. I figured that once the van was lined out that panel vibrations would be fairly well damped, and with our design of completely isolating the rear wheel arches and doors, I thought that it would be pretty quiet without having to add any additional sound deadening. However I hadn’t considered rain noise – I was working in the van one day when it started raining – what a bloomin’ racket! It was like someone had emptied a bucket of ball bearings over the roof from a great height, and it wasn’t even very heavy rain! So things took a diversion while I resolved what to do.
I’m sure that the proper stuff is very good, but I found that Flash Band made a very noticeable difference (see my experiment).
I used 225mm wide Flash band from Toolstation. Two rolls has done the whole roof and enough of the side panels, and at £19 a roll is much, much cheaper than proprietary sound deadening mat. (I did get some Silent Coat to put around the door speakers, and while it’s a bit heavier than the Flash Band, it isn’t *that* much different. Much later, I also used Silent Coat to soundproof the cab.)
I put a few strips of Flash Band on the roof, rolling it into the corrugations before fitting insulation board flush to the roof between the ribs.
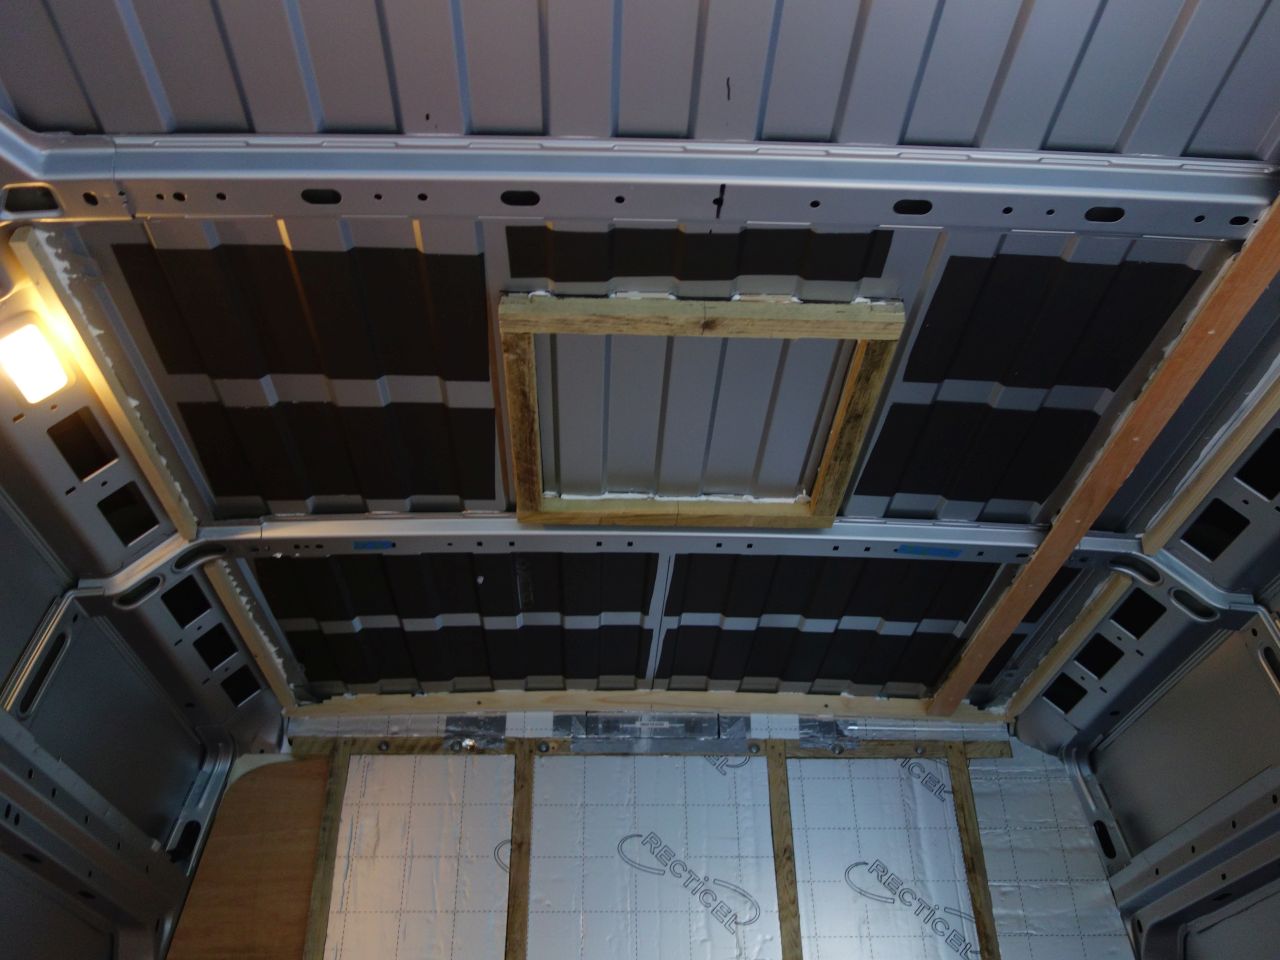
The insulation board was stuck to the roof beams and battens only with Soudal low expansion foam – it seemed to work very well. (The insulation on the rear bulkhead was just wedged between the battens with foil tape to make a vapour barrier.)
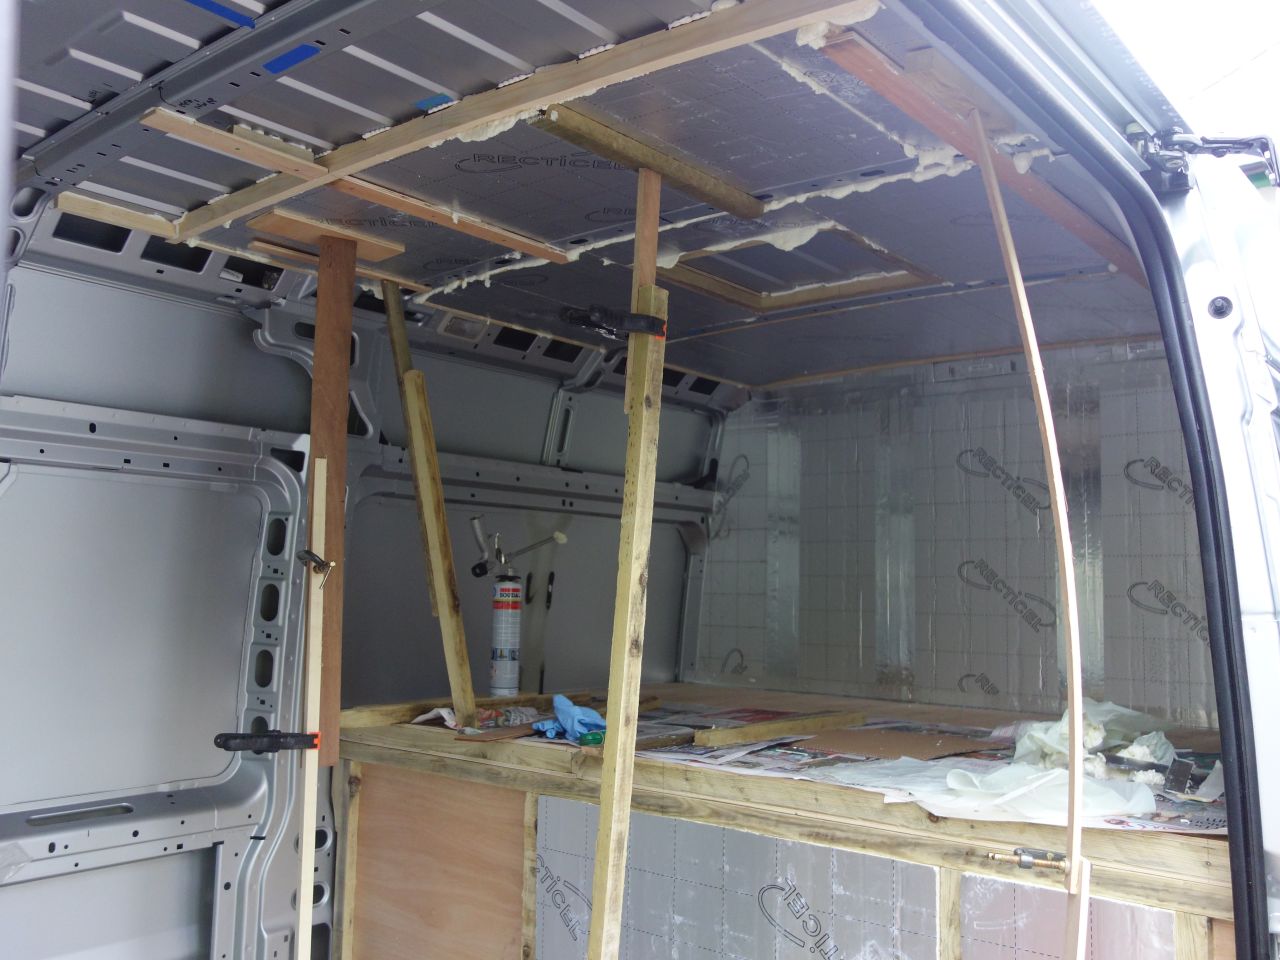
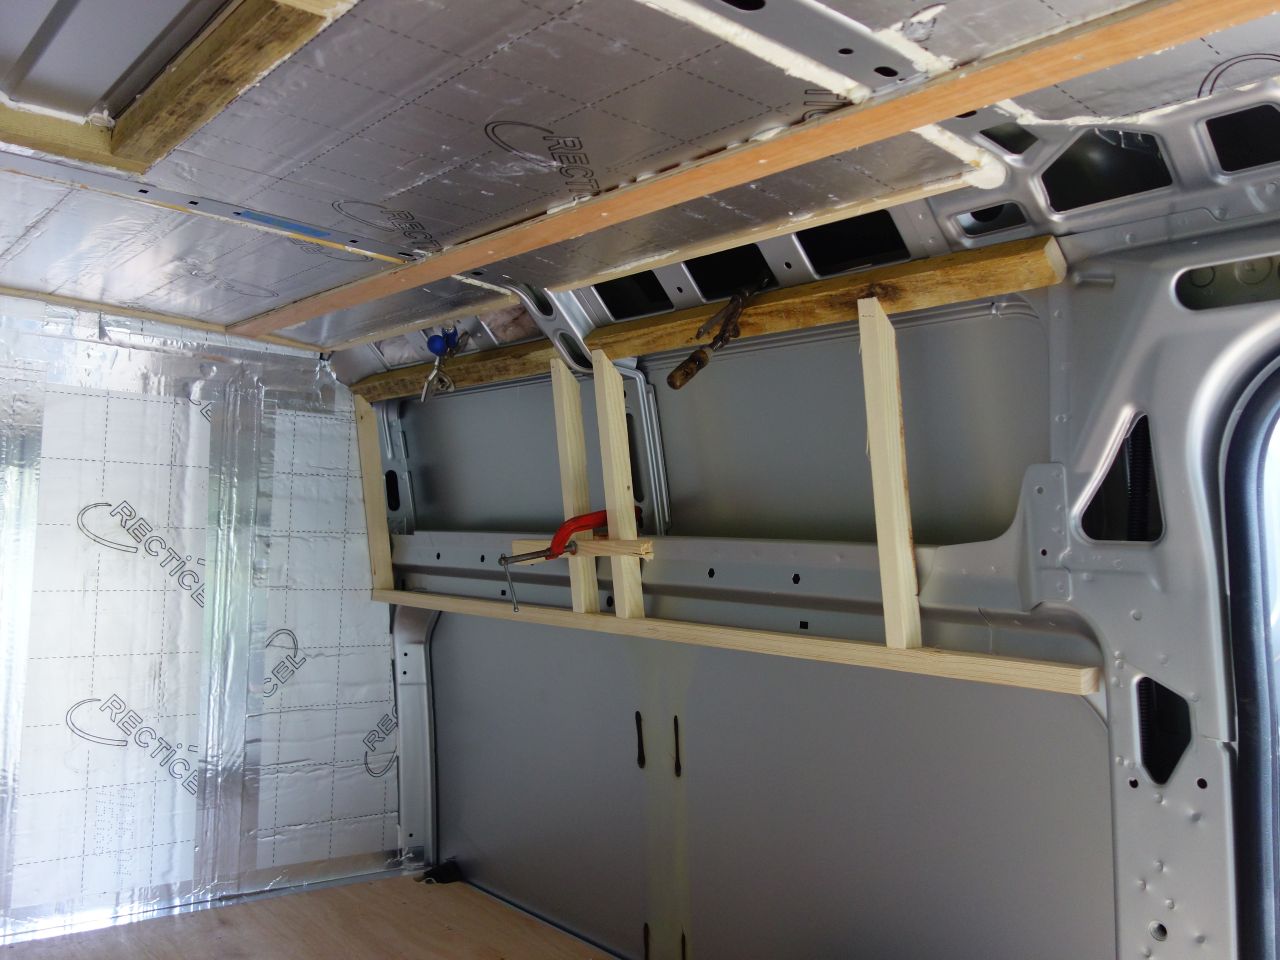
While the foam set, everything was held up by lengths of wood sprung between the roof and the floor – mostly I got the right length by clamping two shorter battens together – fully adjustable!
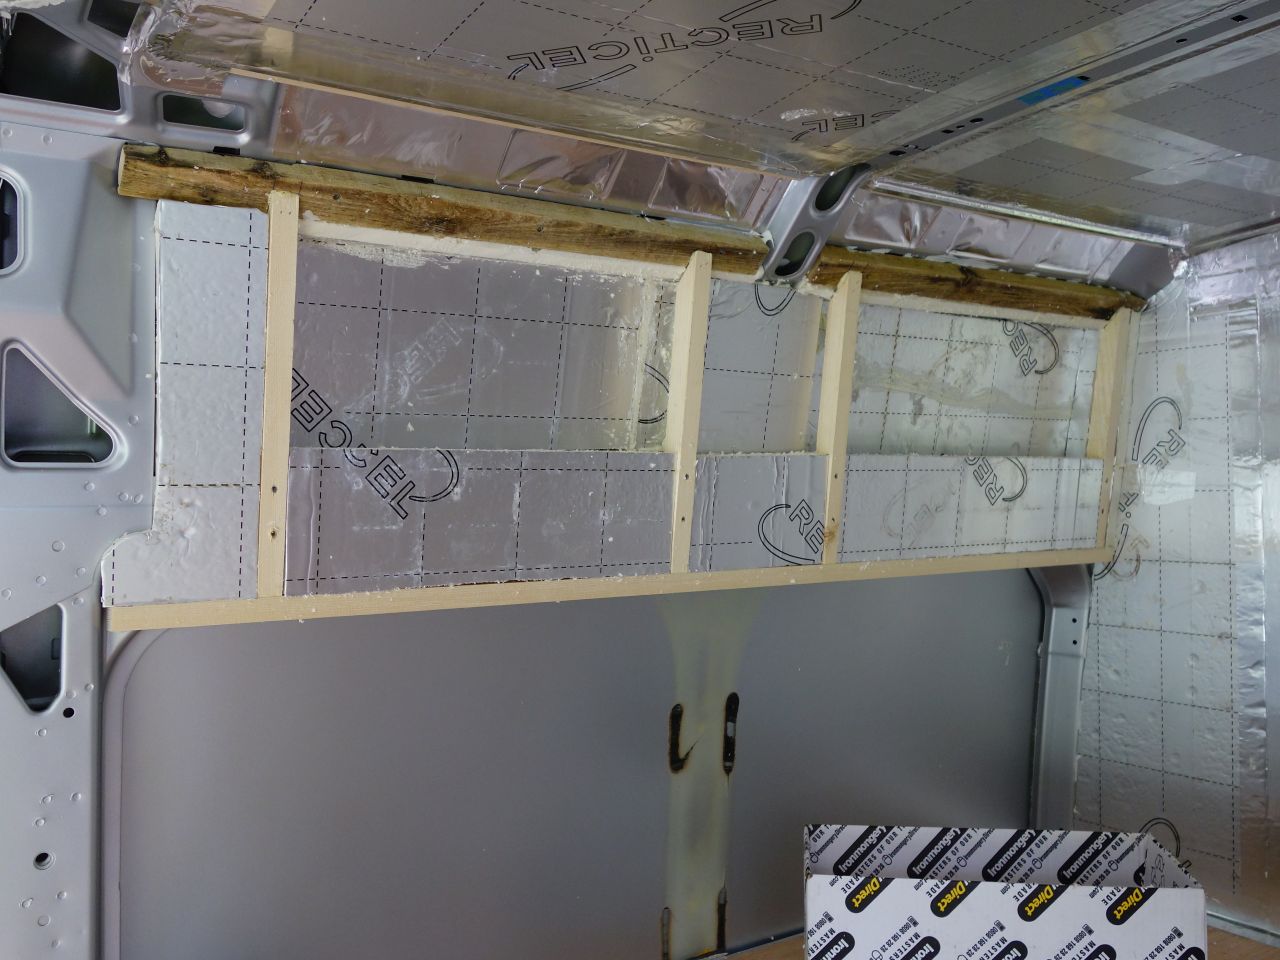
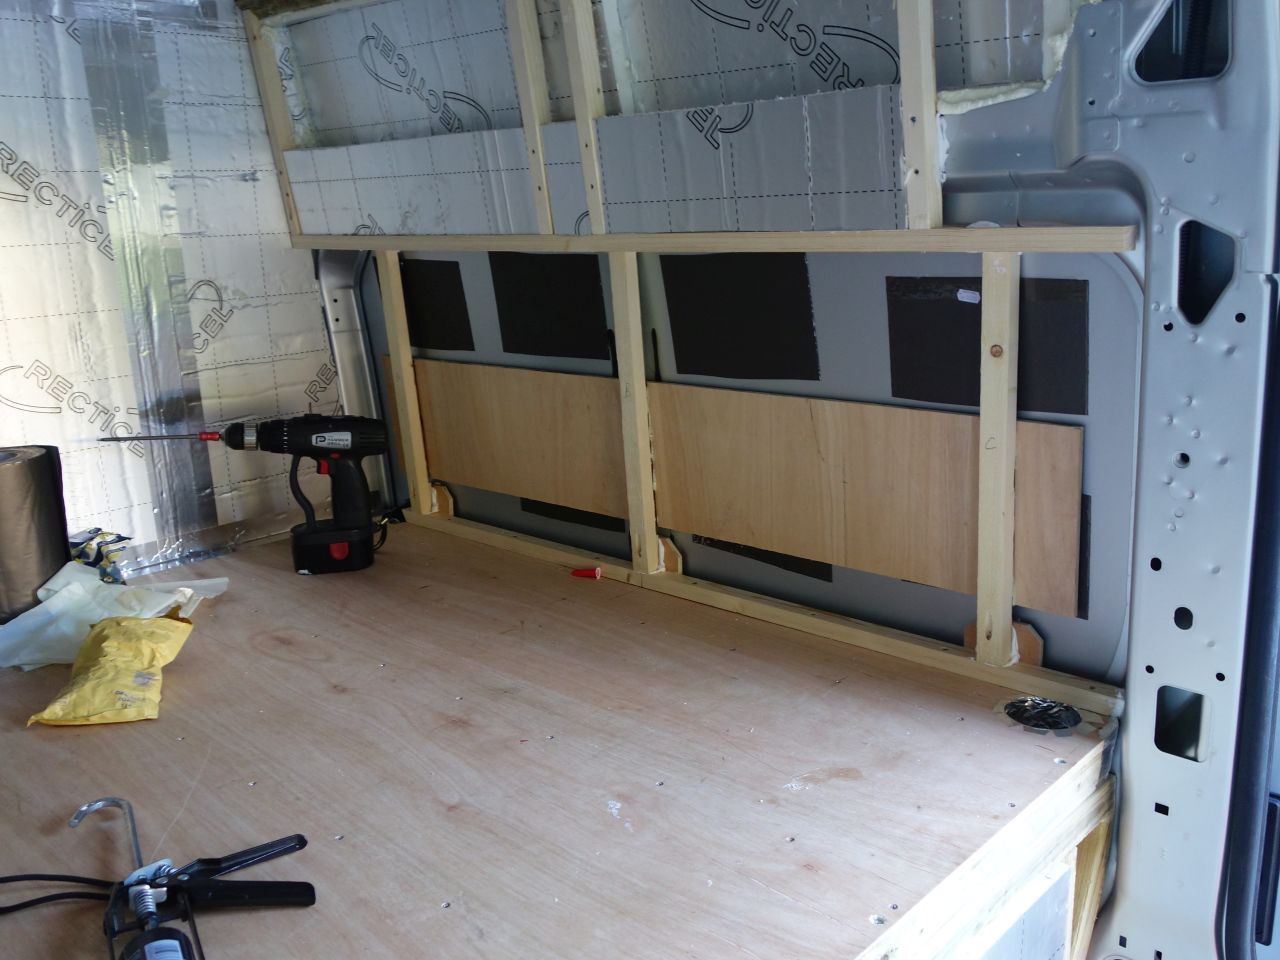
The sides of the van at the head and foot of the bed were framed out and clad with insulation board. I followed the contour of the van as much as possible so that I could fit cubby holes at the ‘head’ end and maximise locker space at the ‘foot’ end. The insulation is stuck to the framing, rather than the skin of the van because I wanted to avoid the possibility of creating visual distortion on the outside of the van (well, any more than it comes from the factory with, anyway!).
The ‘corners’ between the roof and sides were stuffed with recycled bottle insulation inside polythene bags. The thermal benefit is nil, but it helps prevent sound travelling along these channels so helps with soundproofing.
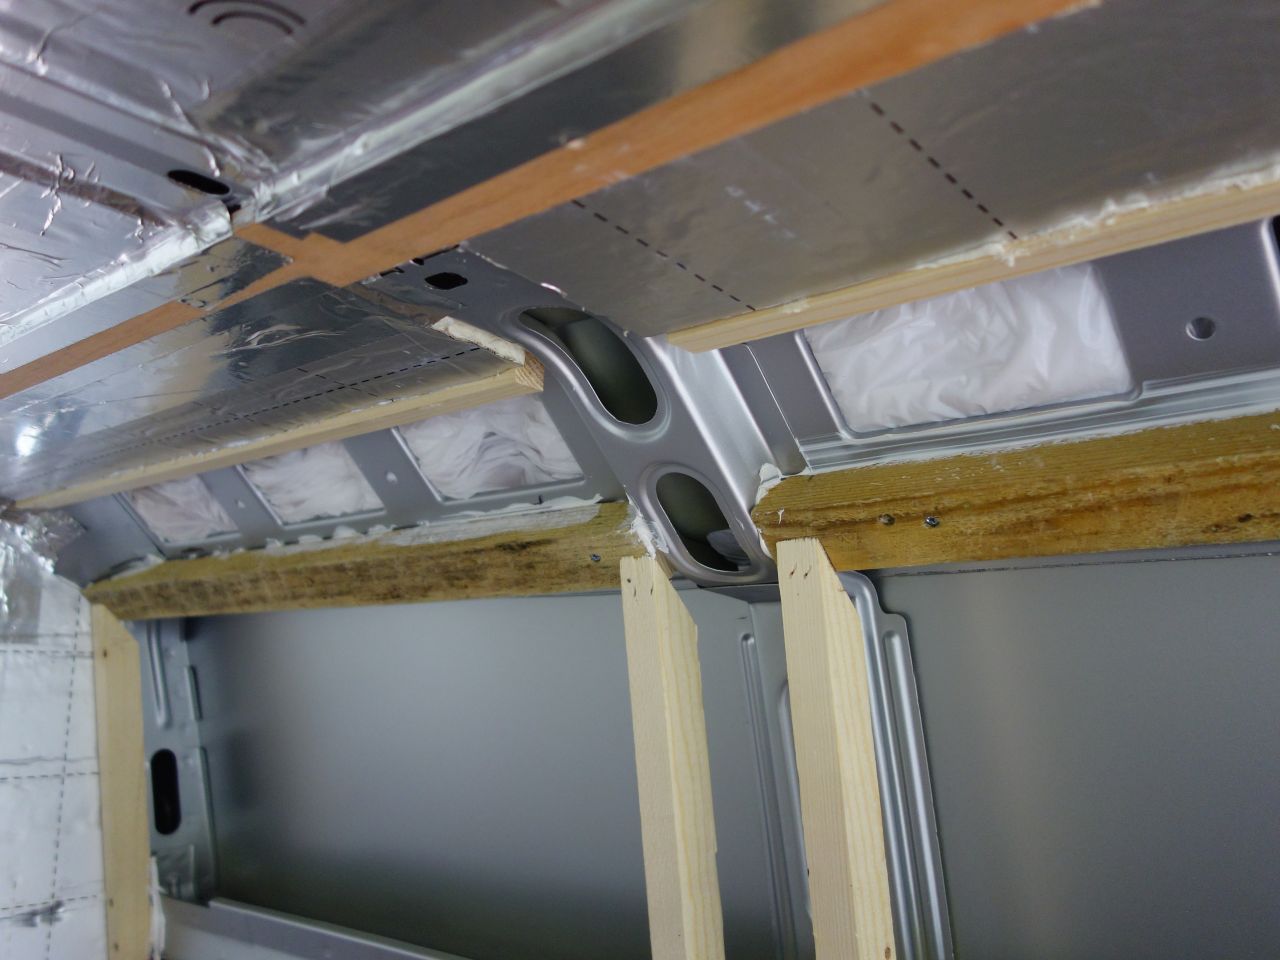
The rectangular holes were sealed with foil tape as a ‘belt and braces’ vapor barrier before the whole section was insulated with 25mm board sealed to the rest of the interior with more foil tape.
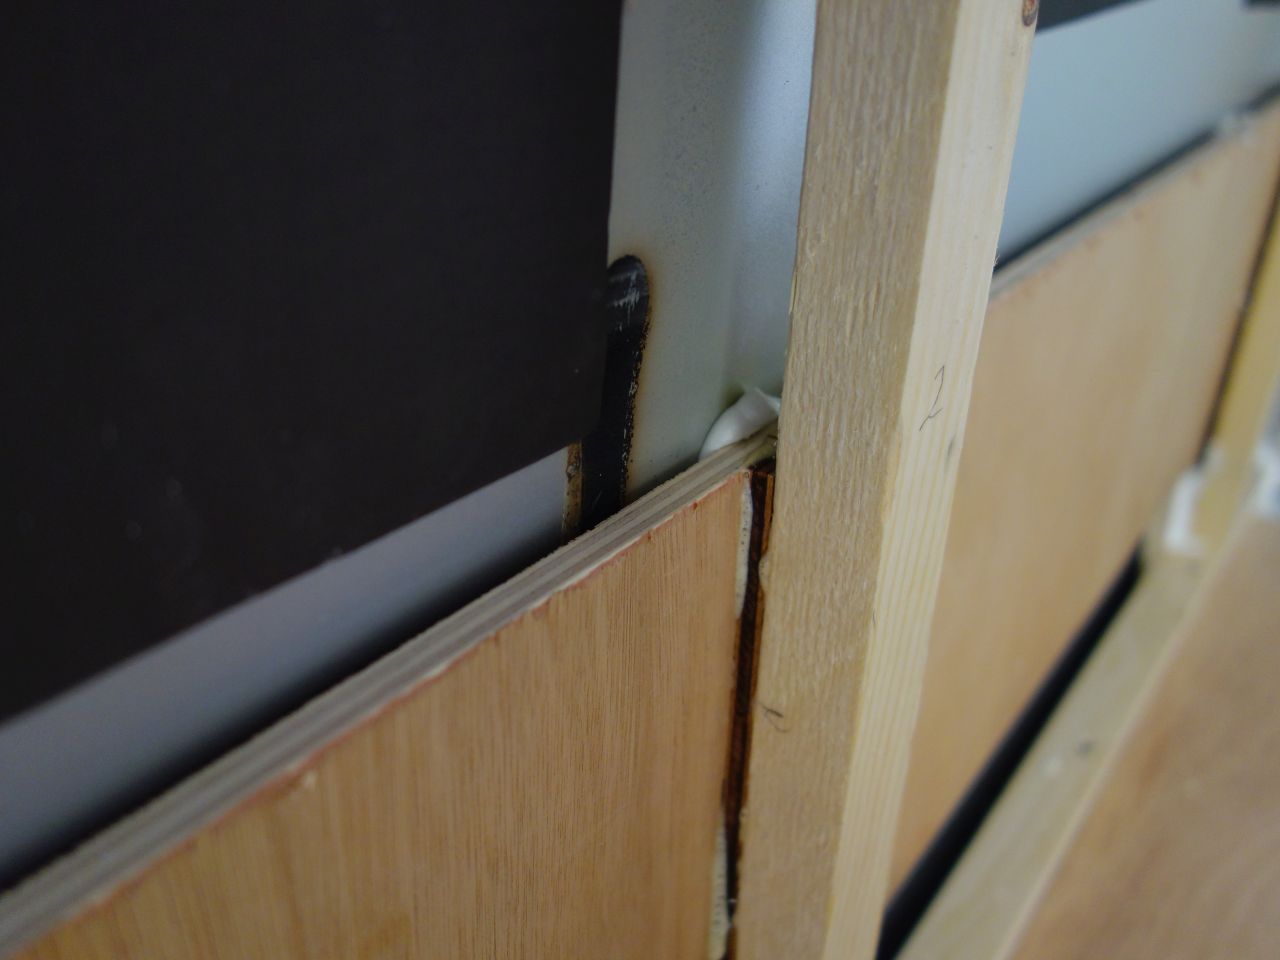
I wanted to minimise the thickness of the lining at the head and foot of the bed to get as long a bed as possible, so the ‘anti drumming’ bar was removed by drilling through the spot welds, and framing fitted to carry 25mm insulation board.
Note that the wood is not connected to the skin of the van except for a few generous blobs of non-setting mastic to give the same effect as the anti-drumming bar.
I needed to run some cables for the lighting in the bed area before I could finish lining everything with 25mm insulation board and taping all the seams.
It ended up looking like this:
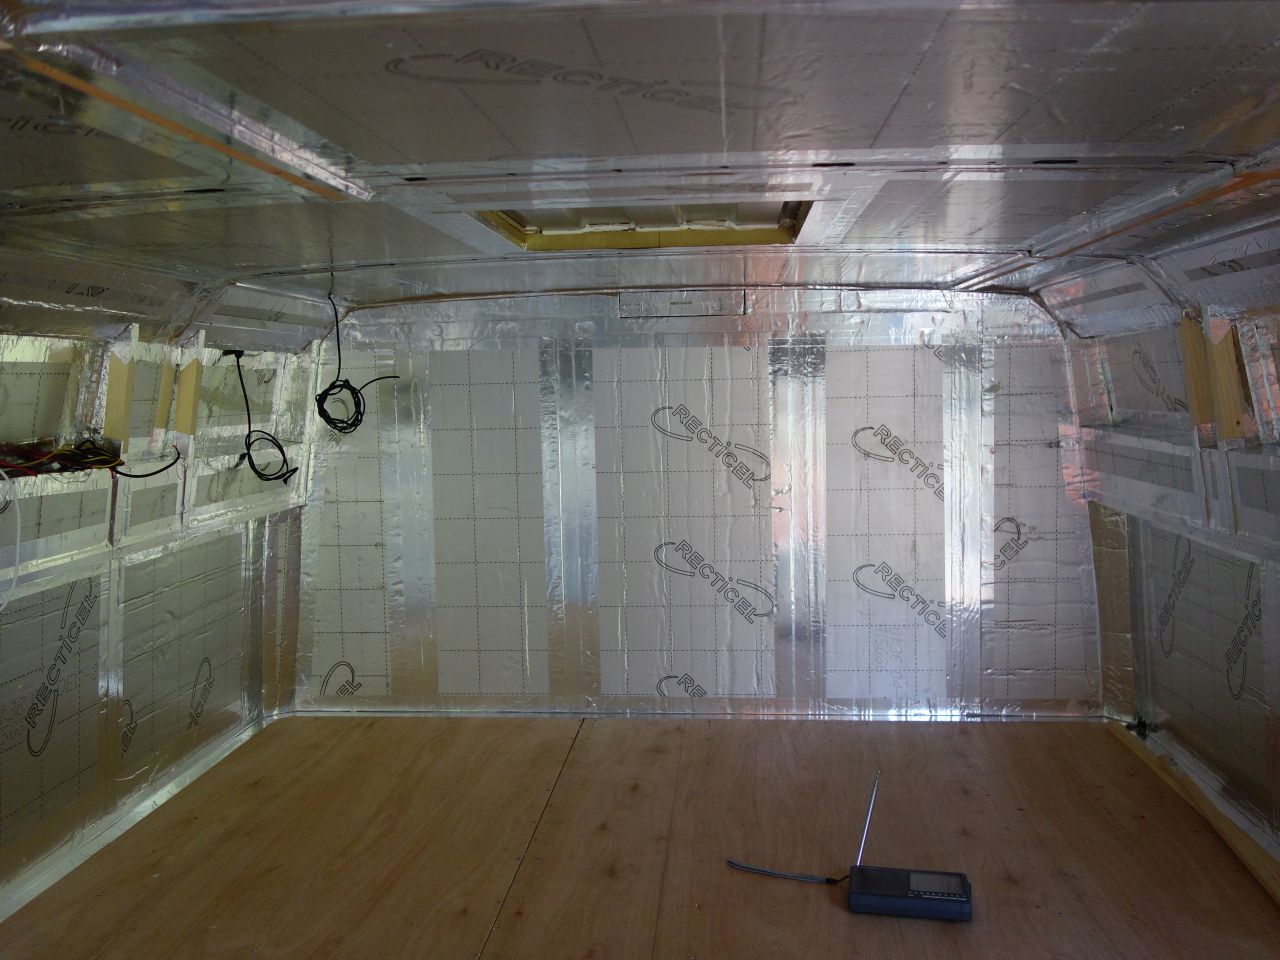

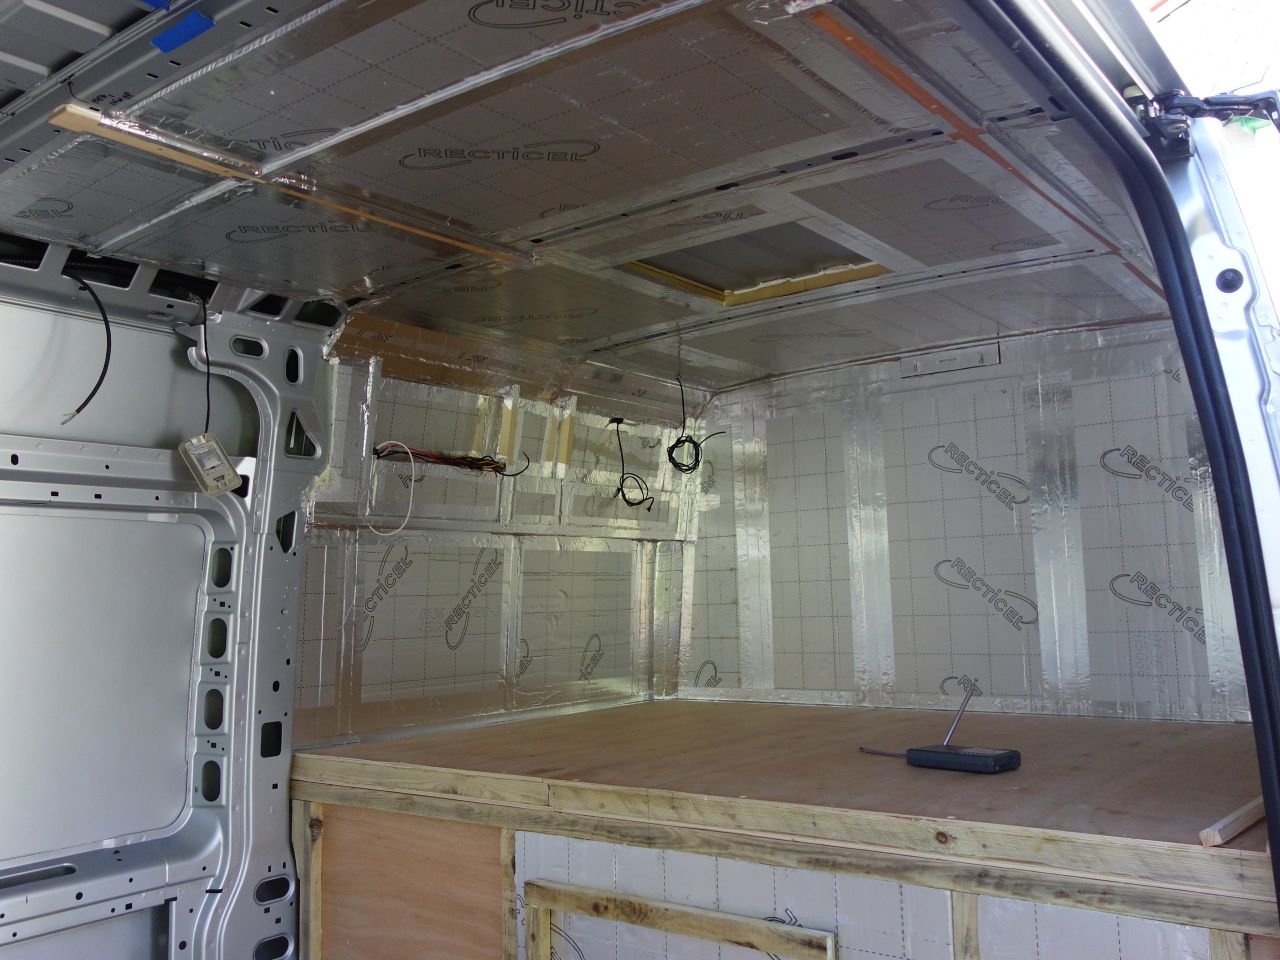
Note the removable section for access to the high level brake light / reversing camera. I want to have a single panel lining the whole of the rear bulkhead, but will make this removable. That’s the plan, anyway.