
Leisure batteries: Plan A was to fit a pair of Trojan 105 deep cycle batteries storing 225AH to cope with the compressor fridge. (I couldn’t find a place to put a gas fridge that we felt didn’t compromise the layout too much when I was originally planning.)
That didn’t appear to work out due to lack of space, so plan B was to fit a couple of AGM batteries under the fridge. We have the factory fitted swivel seats and there isn’t room for much underneath them – certainly not a battery.
When I came to build the van, I realised that the front wall of the toilet compartment would interfere with the inner frame of the rooflight (I’d only considered the size of the hole when measuring things up) so I had to move the front wall of the toilet compartment back by about 50mm.
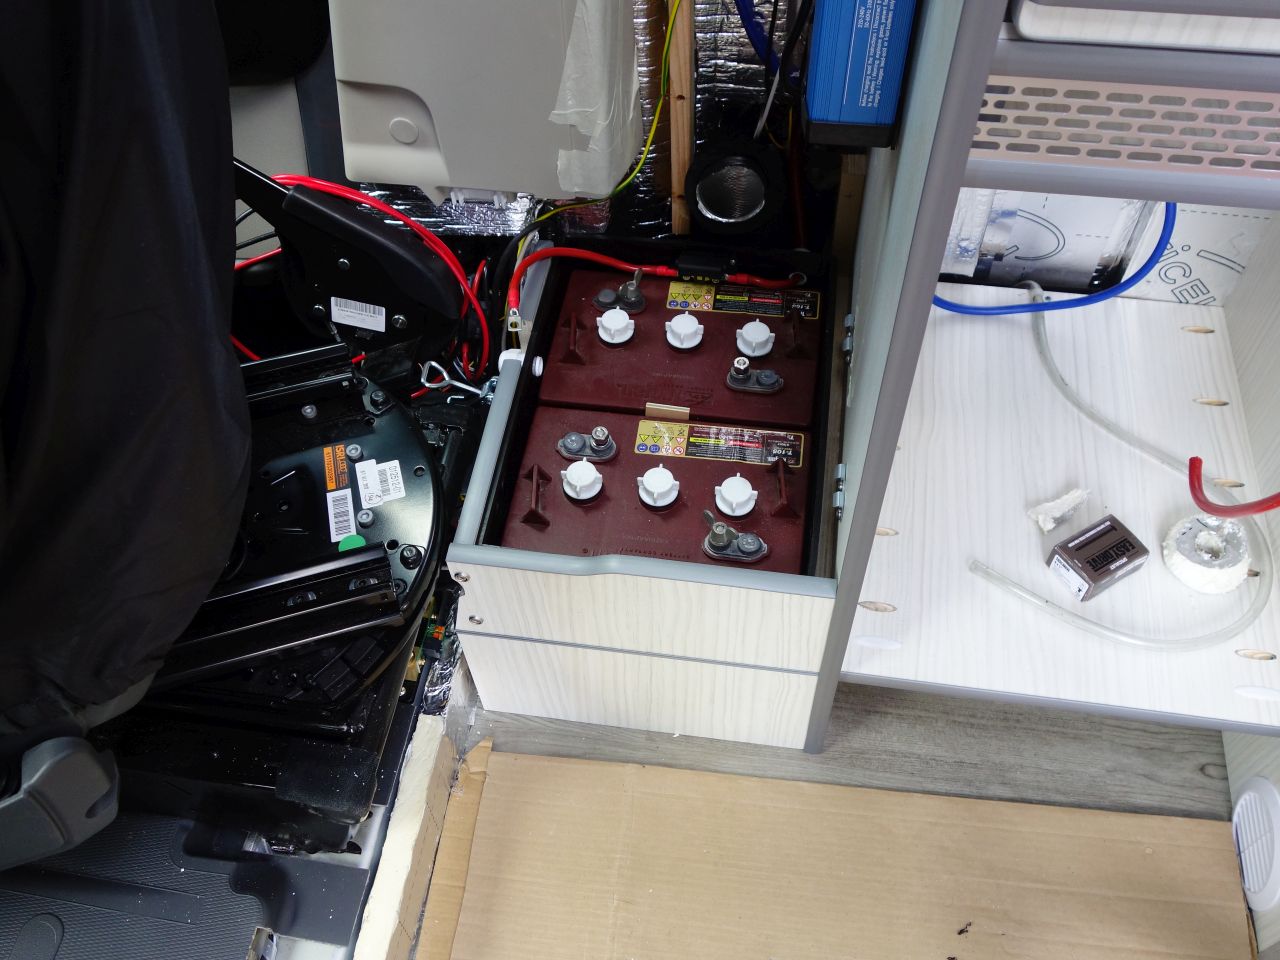
This created *just* enough space to fit a pair of T105s between the fridge and the driver’s seat.
Unfortunately, it made ‘electrics corner’ very crowded.
The shunt for the battery monitor went under the driver’s seat with a convenient earthing point where the tie down ring was.

This left just enough room for two T105s in a close fitting battery box. I looked everywhere for a ‘close fitting battery box’, and while there are several available in the USA, I couldn’t find one in the UK (plenty of bulky, expensive ones). In the end, I got one made by Shaun Barratt (Barratt tanks) for not much more than the cost of the ones from the USA.
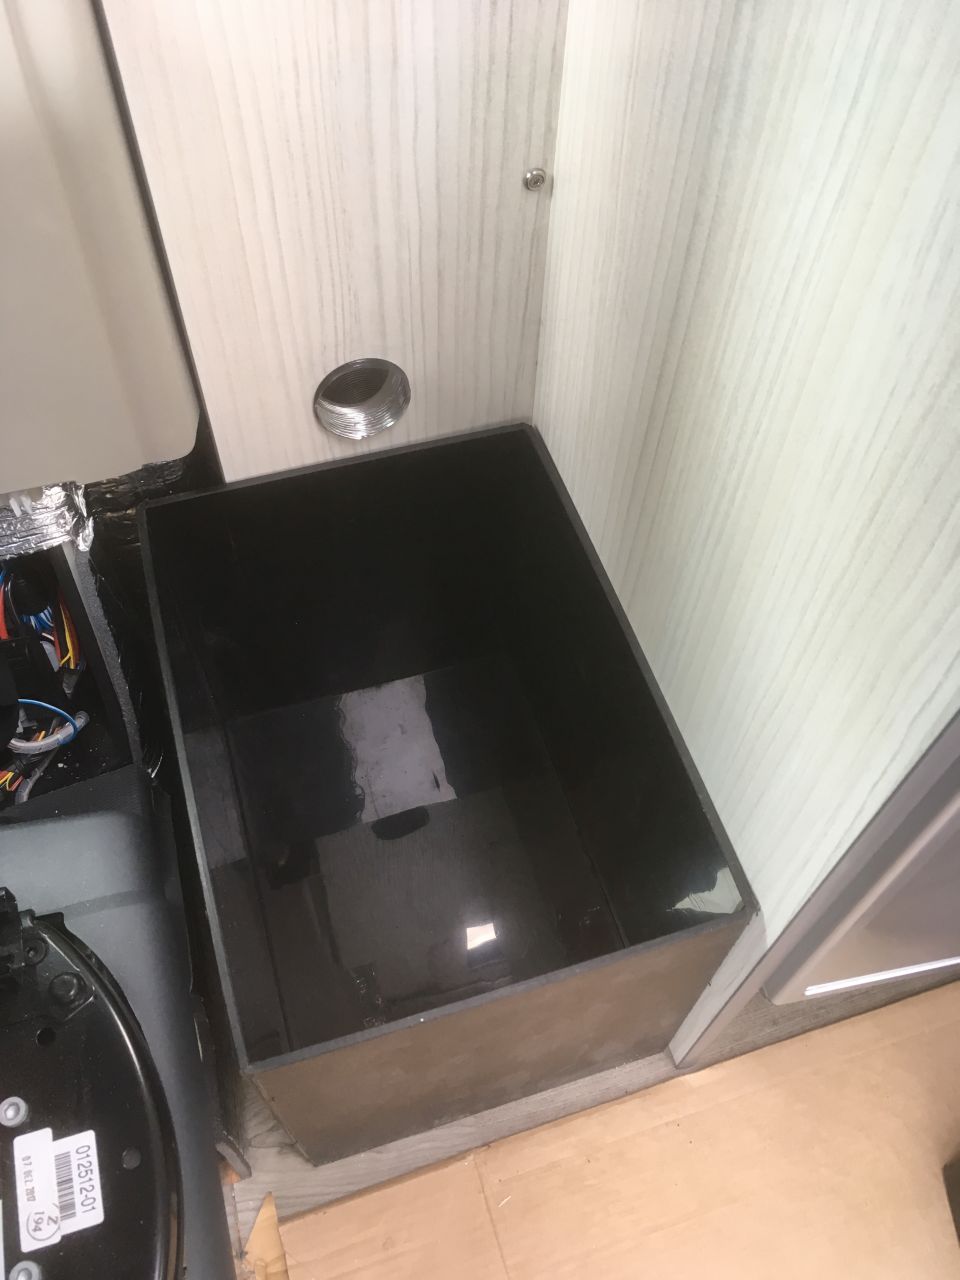
Given how deeply they were buried in the furniture, I felt quite strongly that I wanted the batteries in an acid proof box. Open batteries seem to make everything around them corrode. I wouldn’t have gone to this trouble for AGM or “sealed” lead acid with a vent tube.
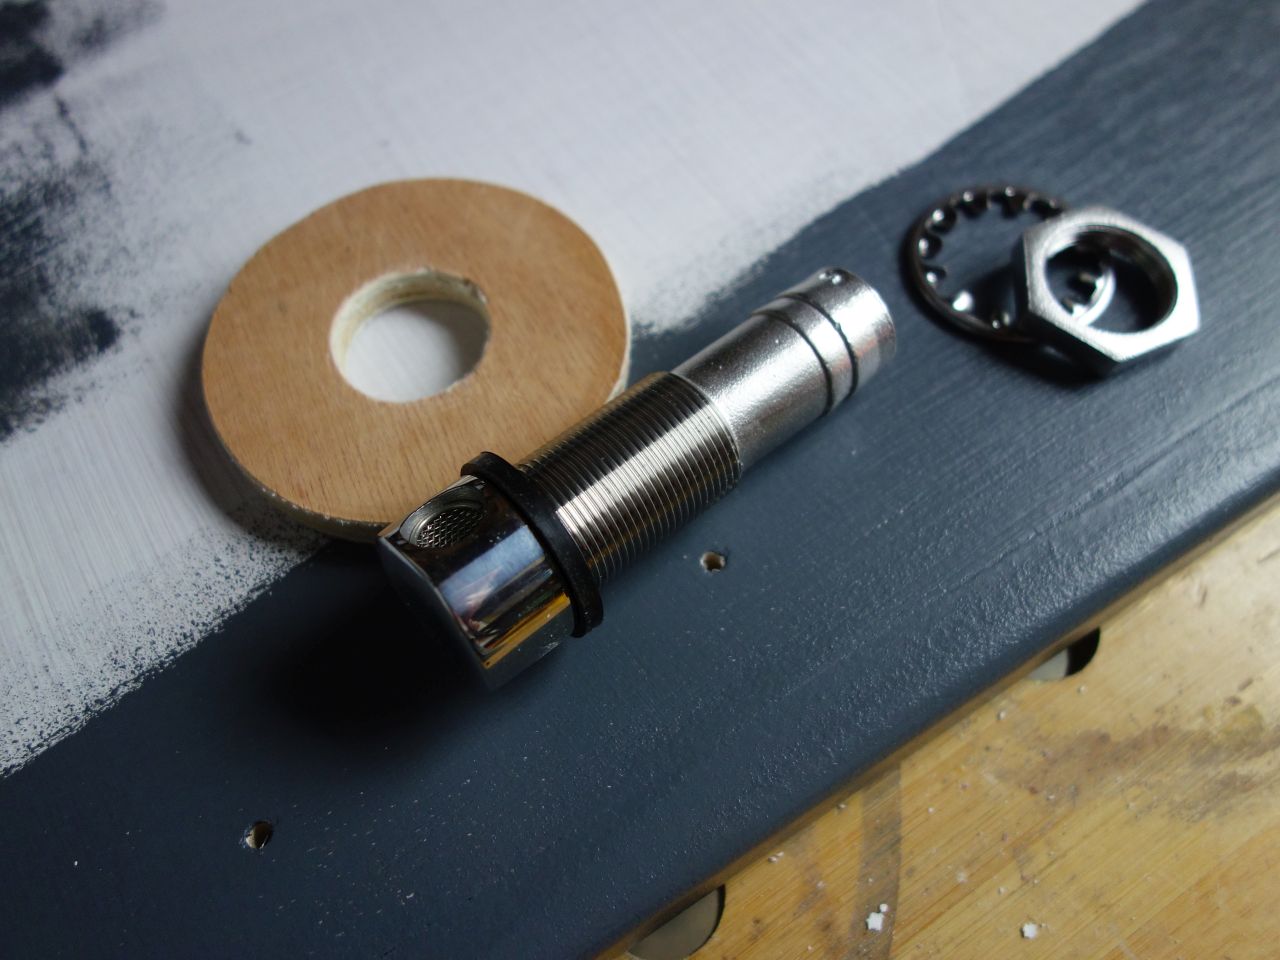
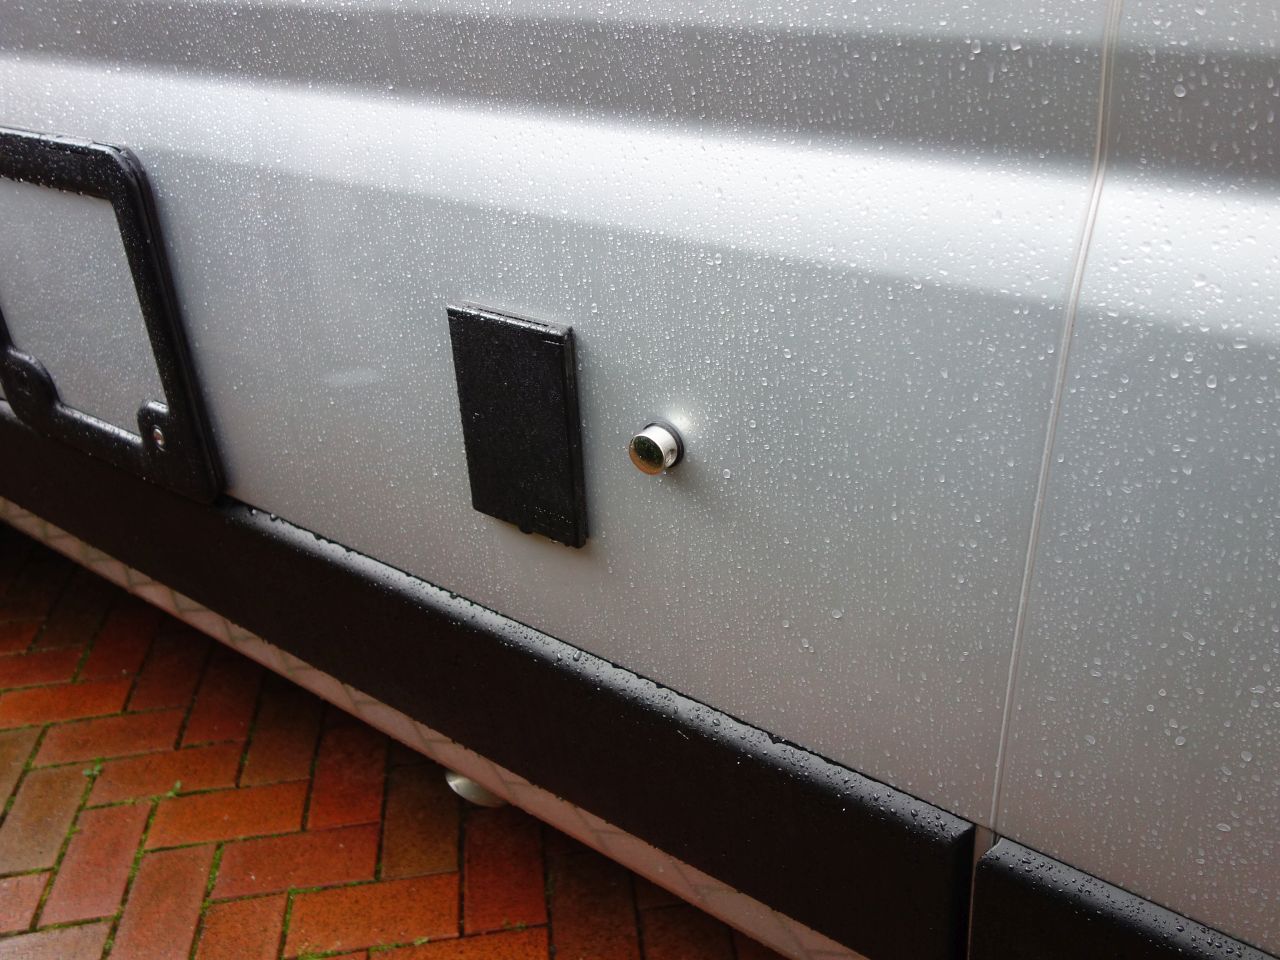
The box does need to be vented, so I fitted a stainless steel marine fuel tank vent (with spark arrestor gauze, etc.) into the side of the van where it could be linked to the box.
We used to have a sailing boat and everything inside had to be secure against inversion. I sometimes find it difficult to shake this mentality off when working on the van!
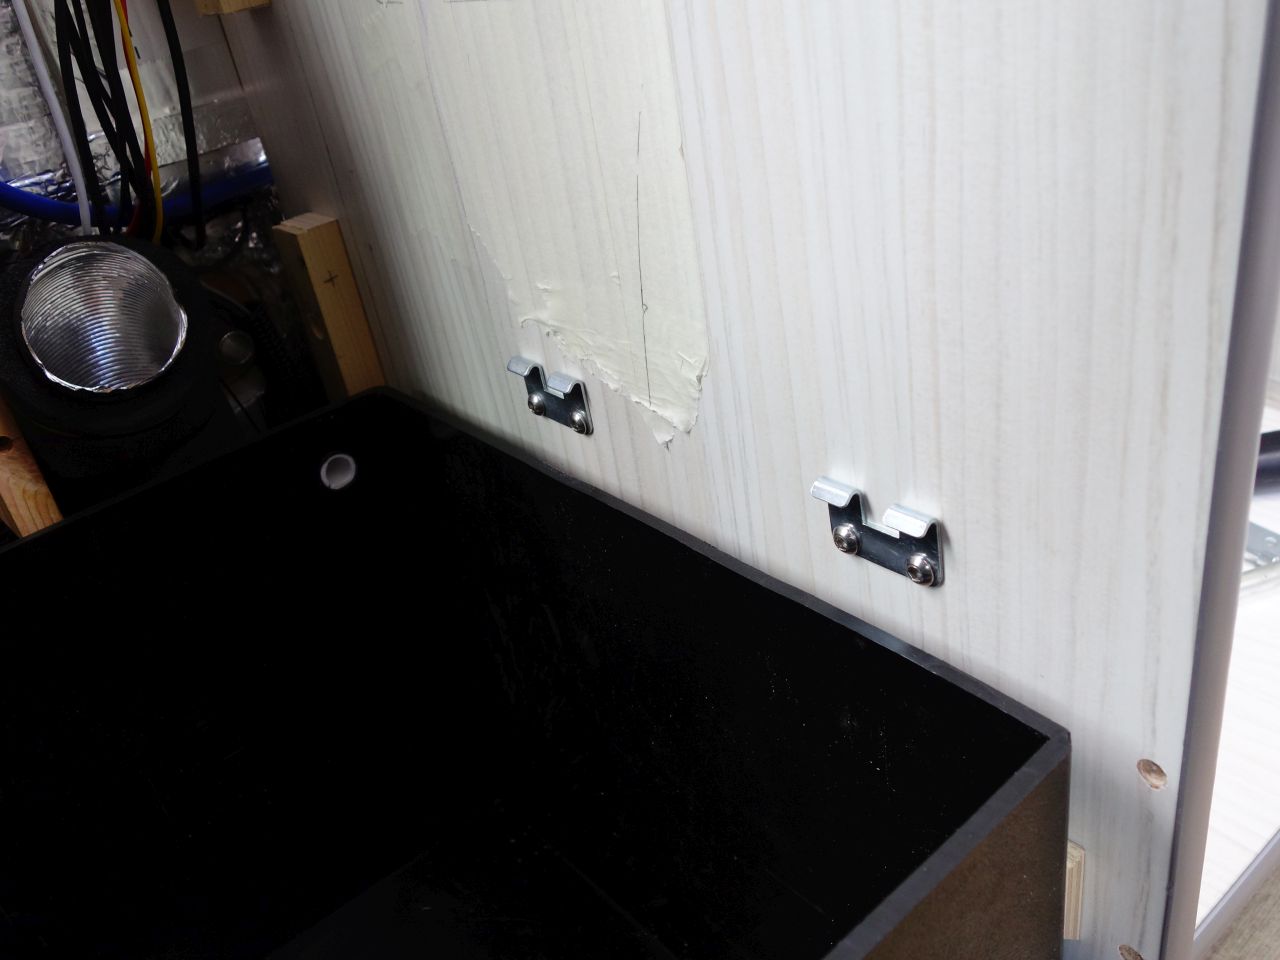
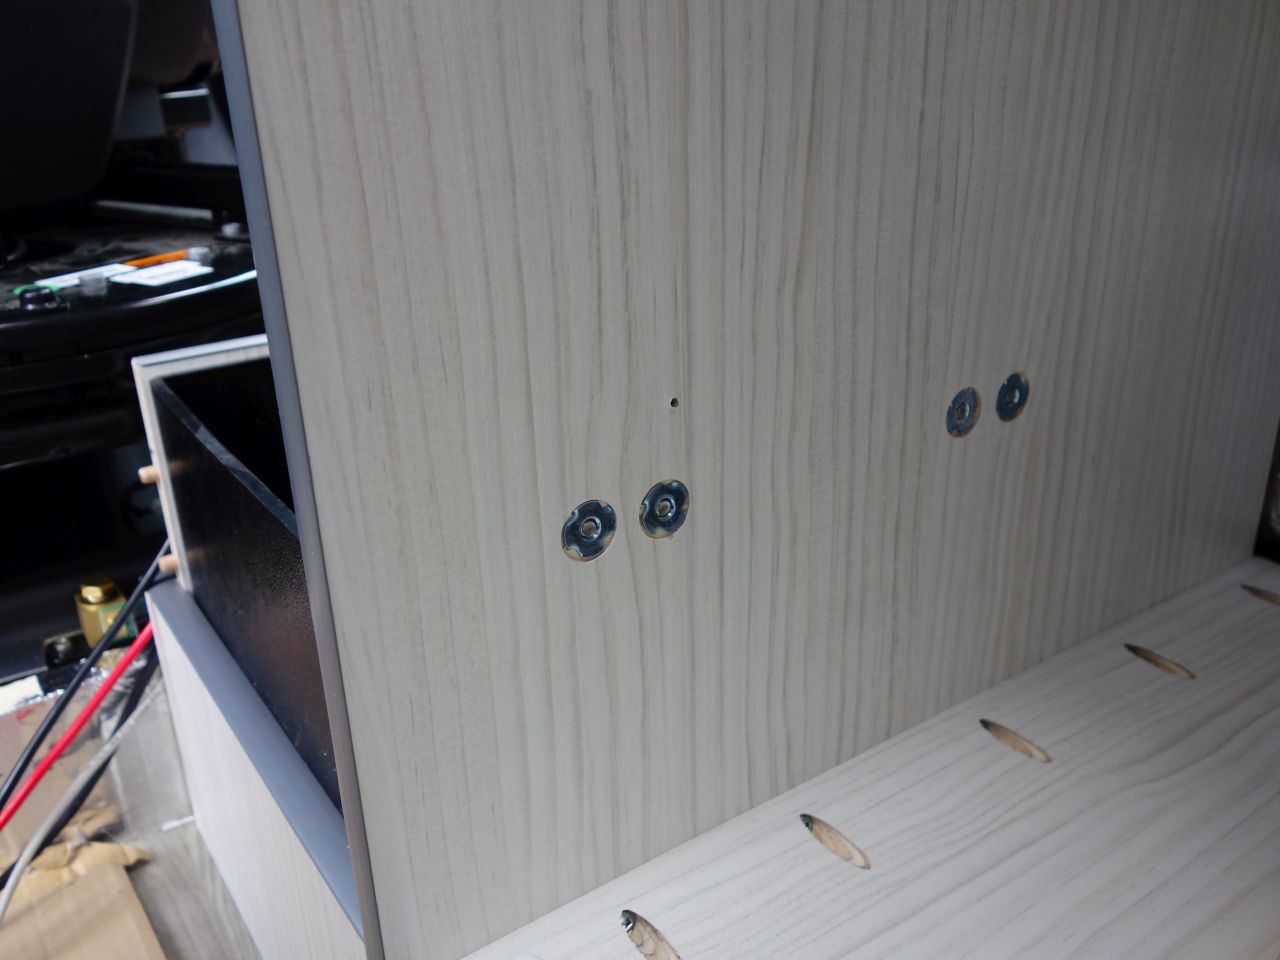
The front of the battery box is bolted to rivnuts fitted into the step behind the seats.
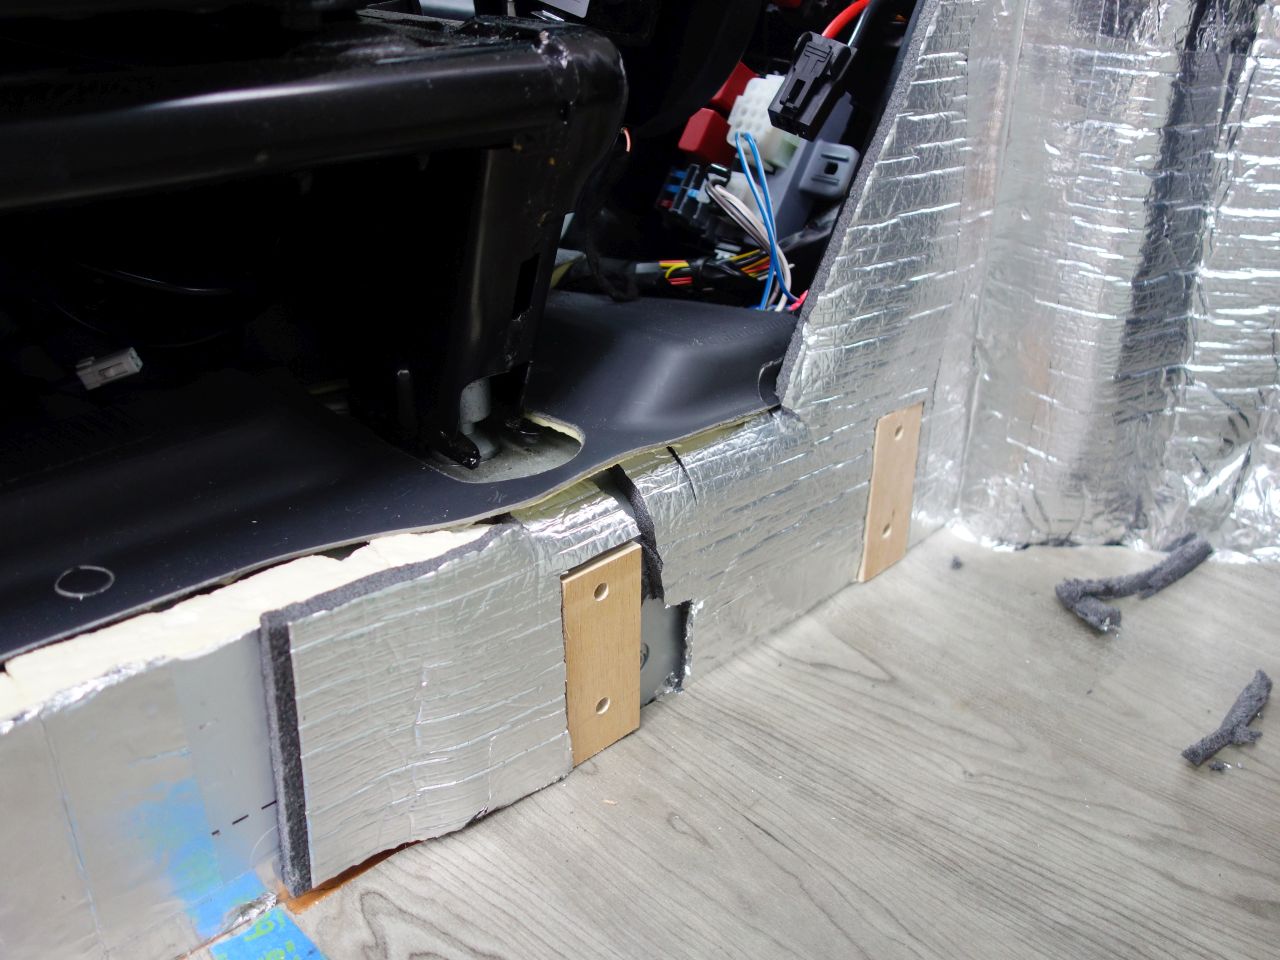
(I stripped off the PIR board and replaced it with the 8mm closed cell foam in this area in order to fit the battery box in. The ply packers are to stop this being compressed when the bolts holding the front of the box on are tightened).
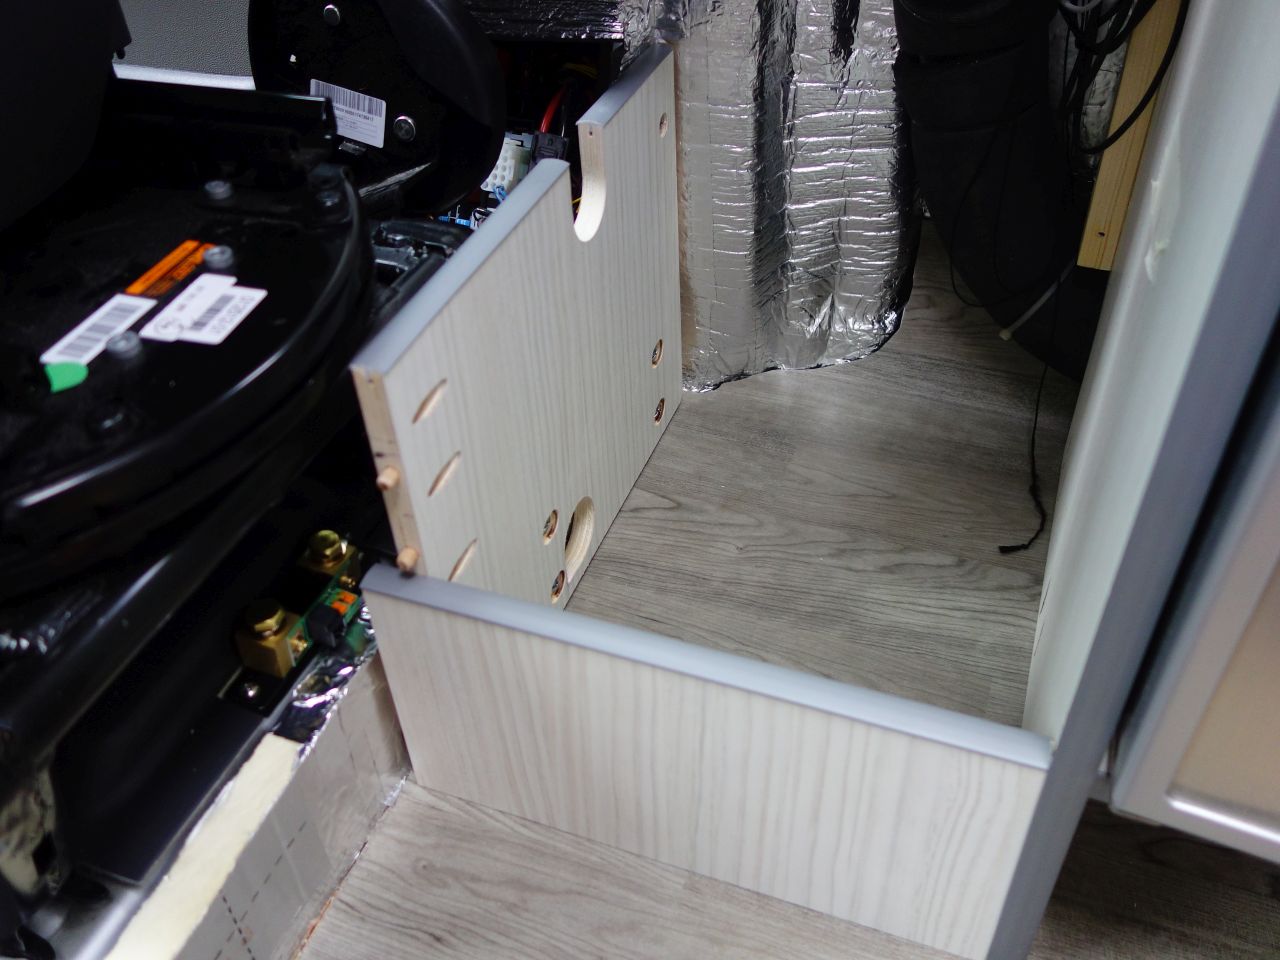
The side wall was originally full height, but I couldn’t get the plastic box in! That’s why it is now half height.
I was originally intending to have the heater duct blowing forwards towards the driver’s seat, but with the batteries there now there was no way through, so as something of a compromise, the duct pops up and will blow across the top of the battery box lid. I thought that, on balance, this was better than not having any heating outlet here.
I fitted a conduit junction box to the lid of the box and drilled through to make a vent.
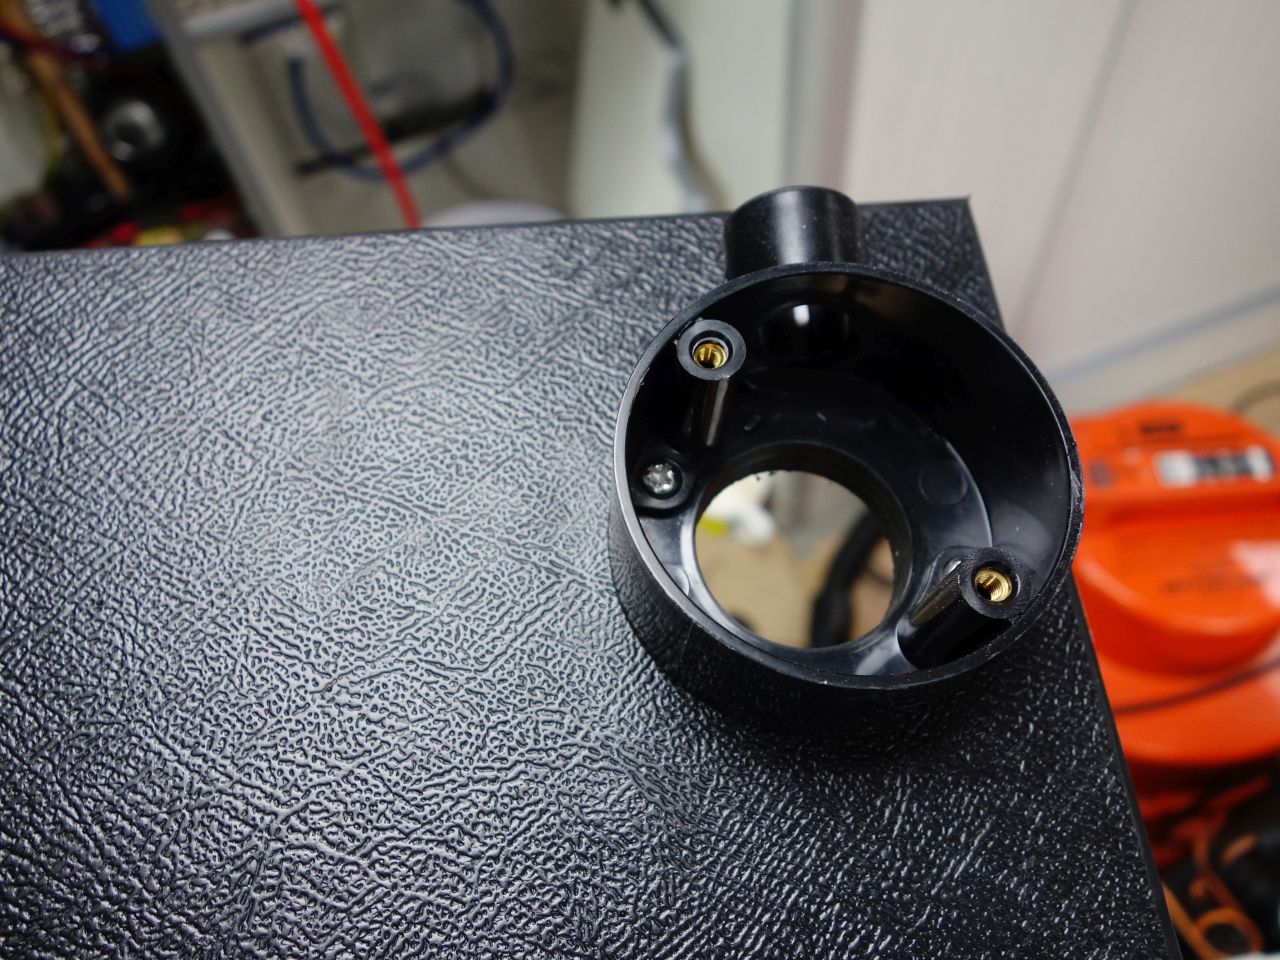
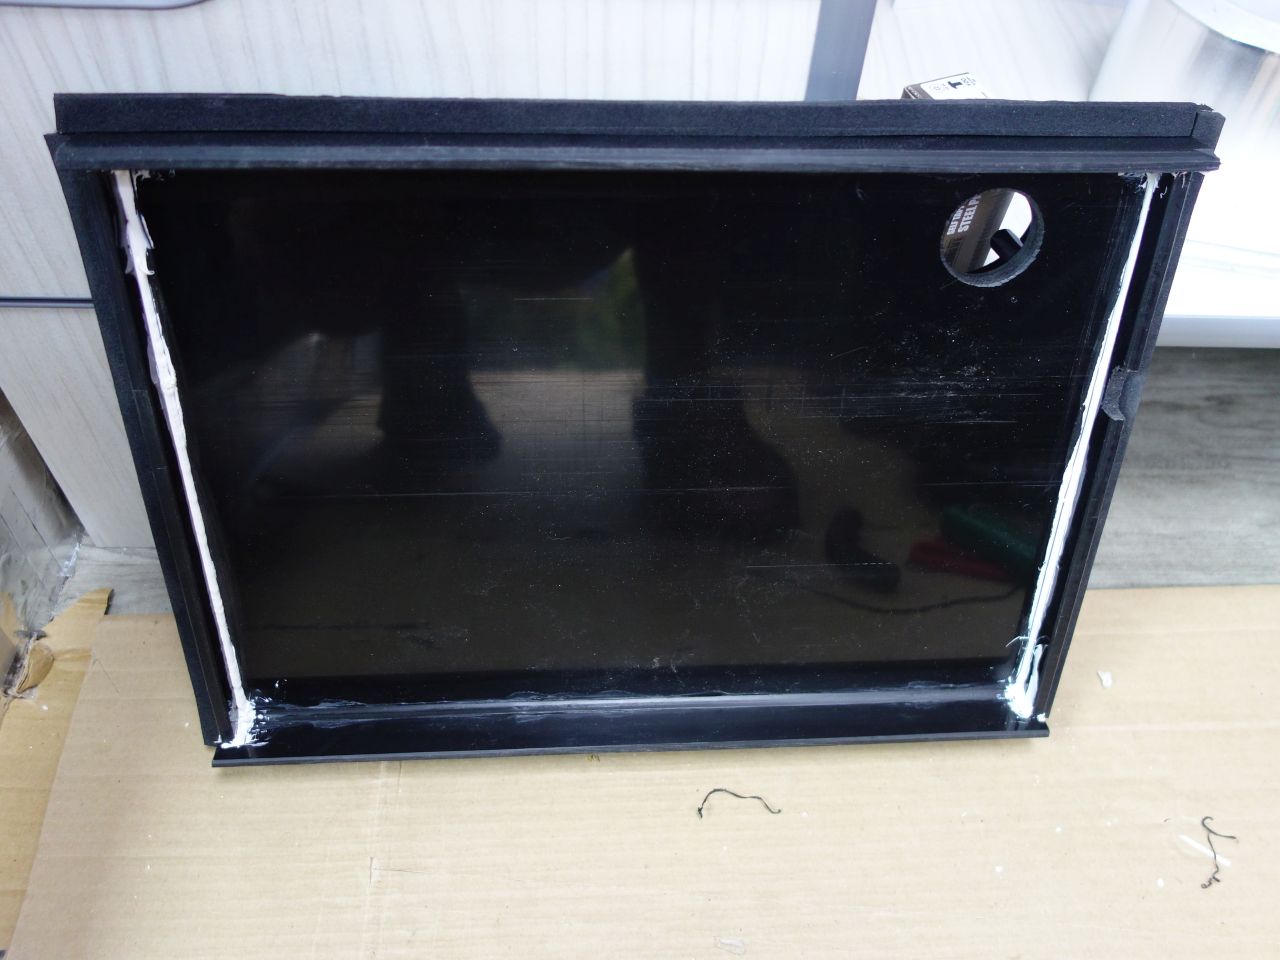
The vent pushes onto a short section of hose leading to the vent in the side of the van when the lid is fitted.
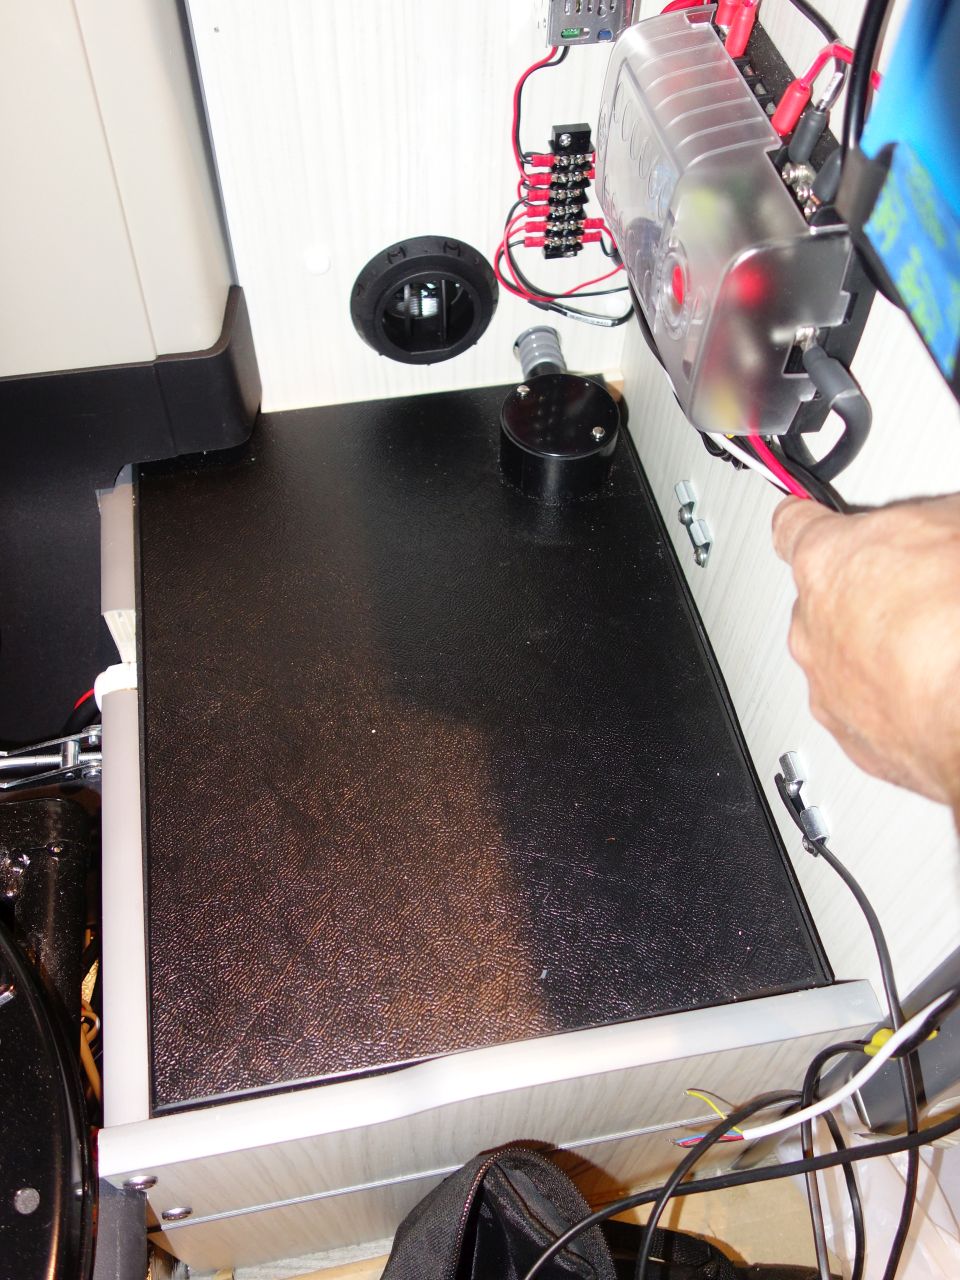
In order to hold everything in place (the boat thing) there’s a ply lid over the top of everything. It’s held by flight case hinges at the back, and a toggle clamp at the front. Both the hinges and the clamp fittings are bolted through to captive nuts on the opposite side of the ply.
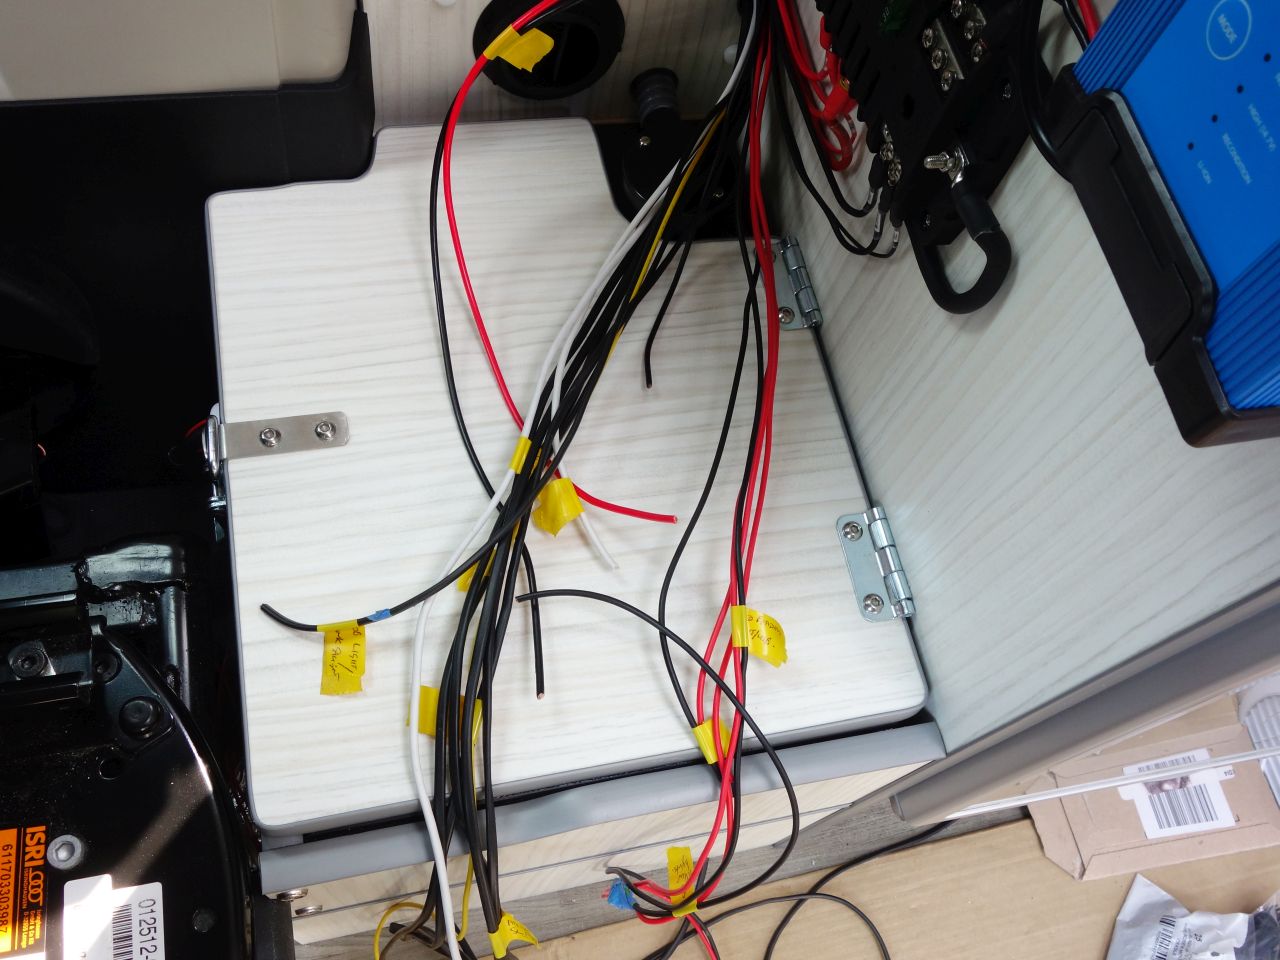
The ply lid unclips and lifts away allowing the plastic lid to be lifted off for checking the batteries. There’s enough clearance to be able to lift the batteries out like this, too, but if the box itself needs to come out, it will be necessary to unscrew the top part of the side of the ply box.