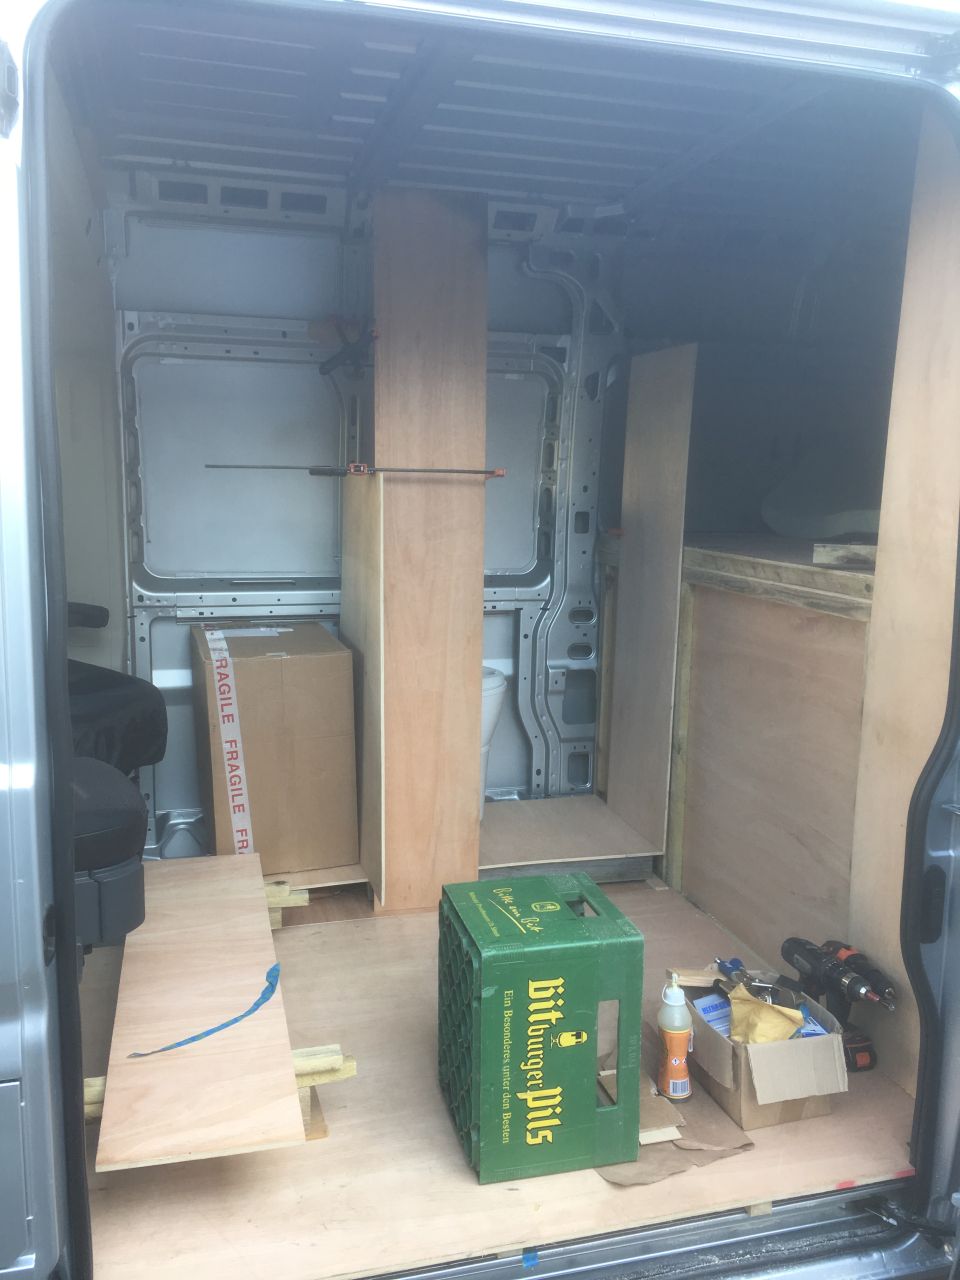
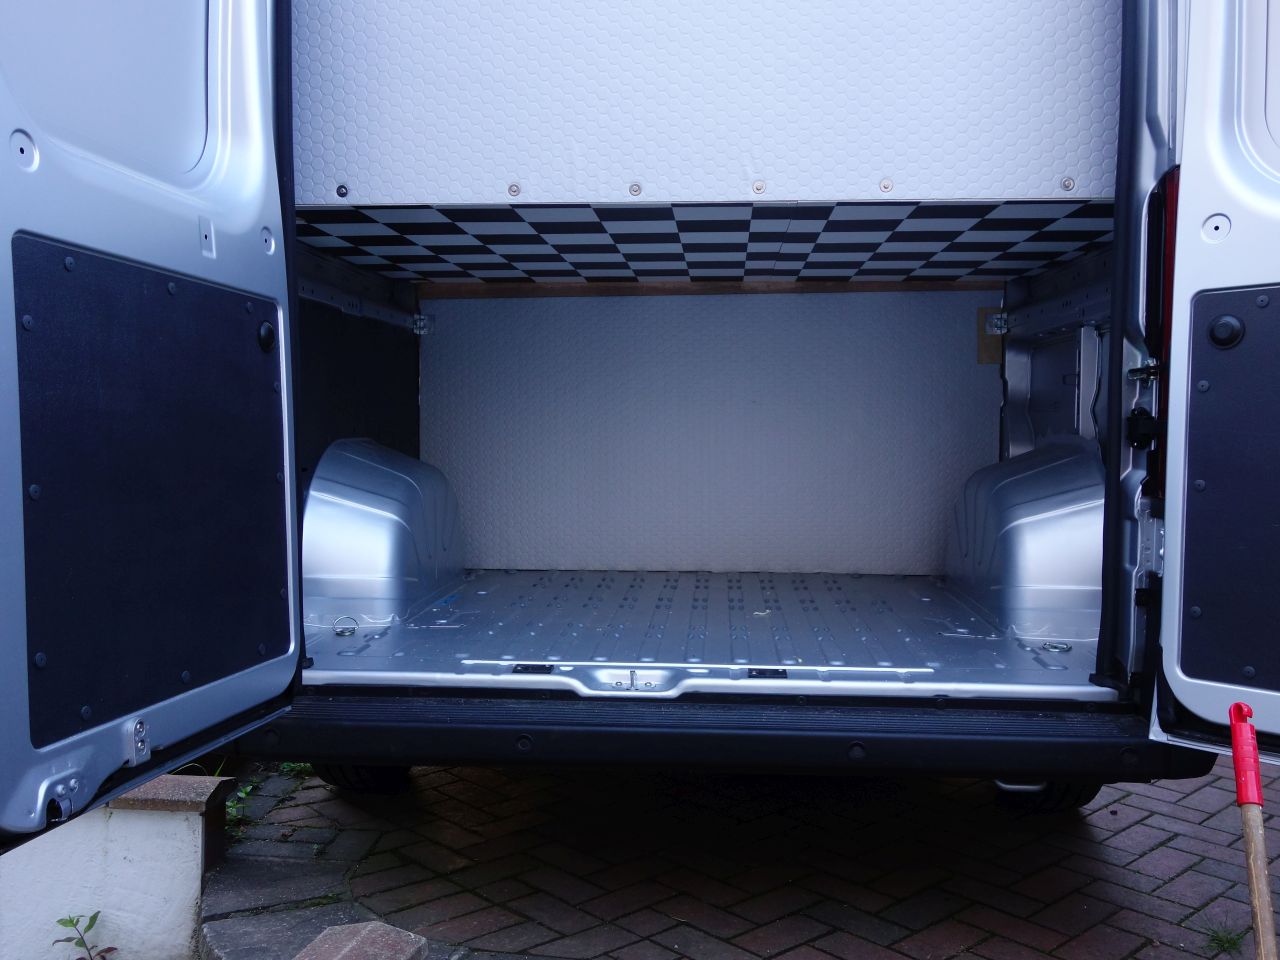
I got the bed base, the rear bulkhead and the central divider made and fitted temporarily:
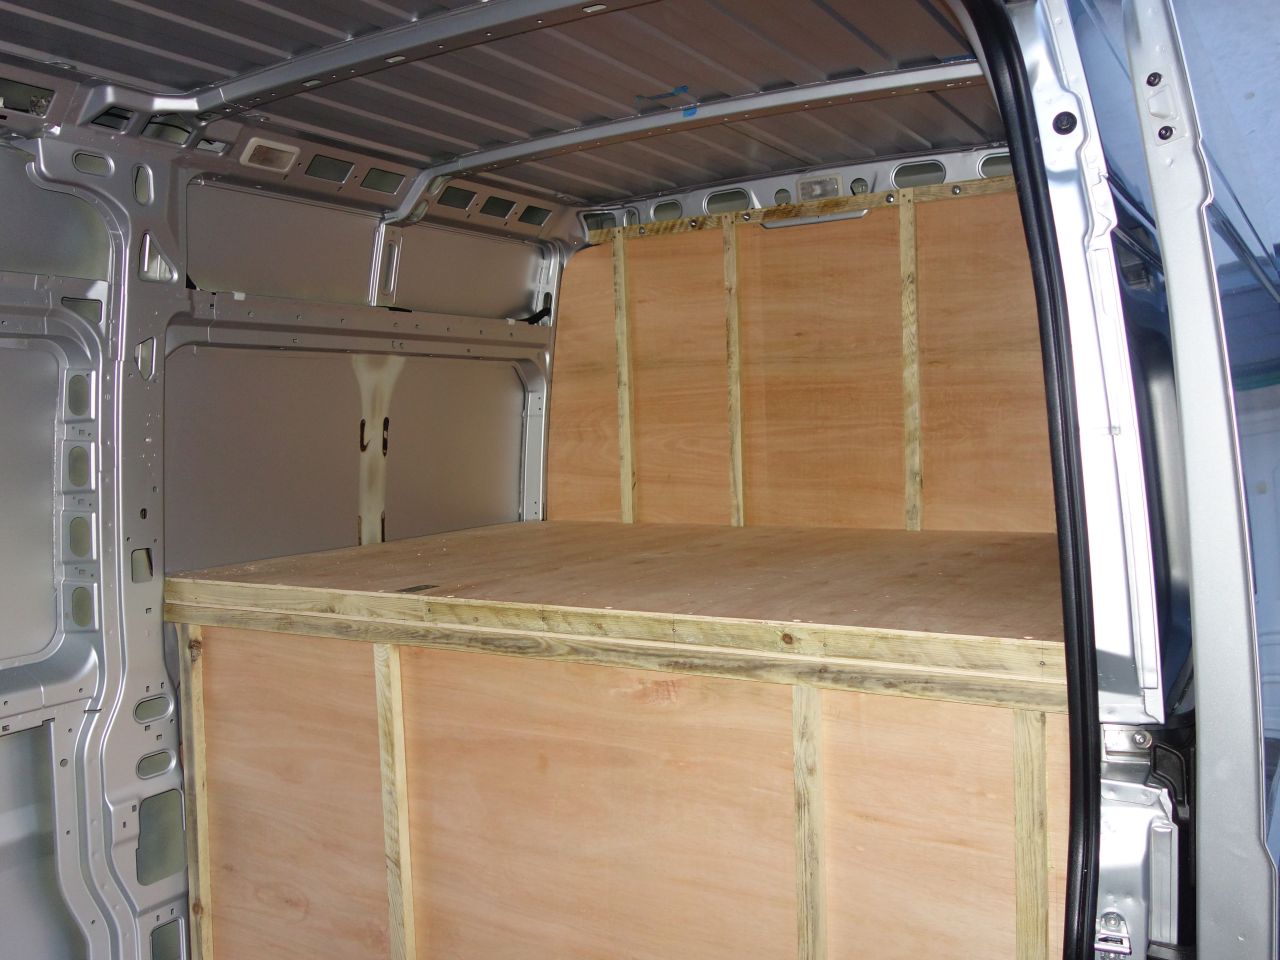
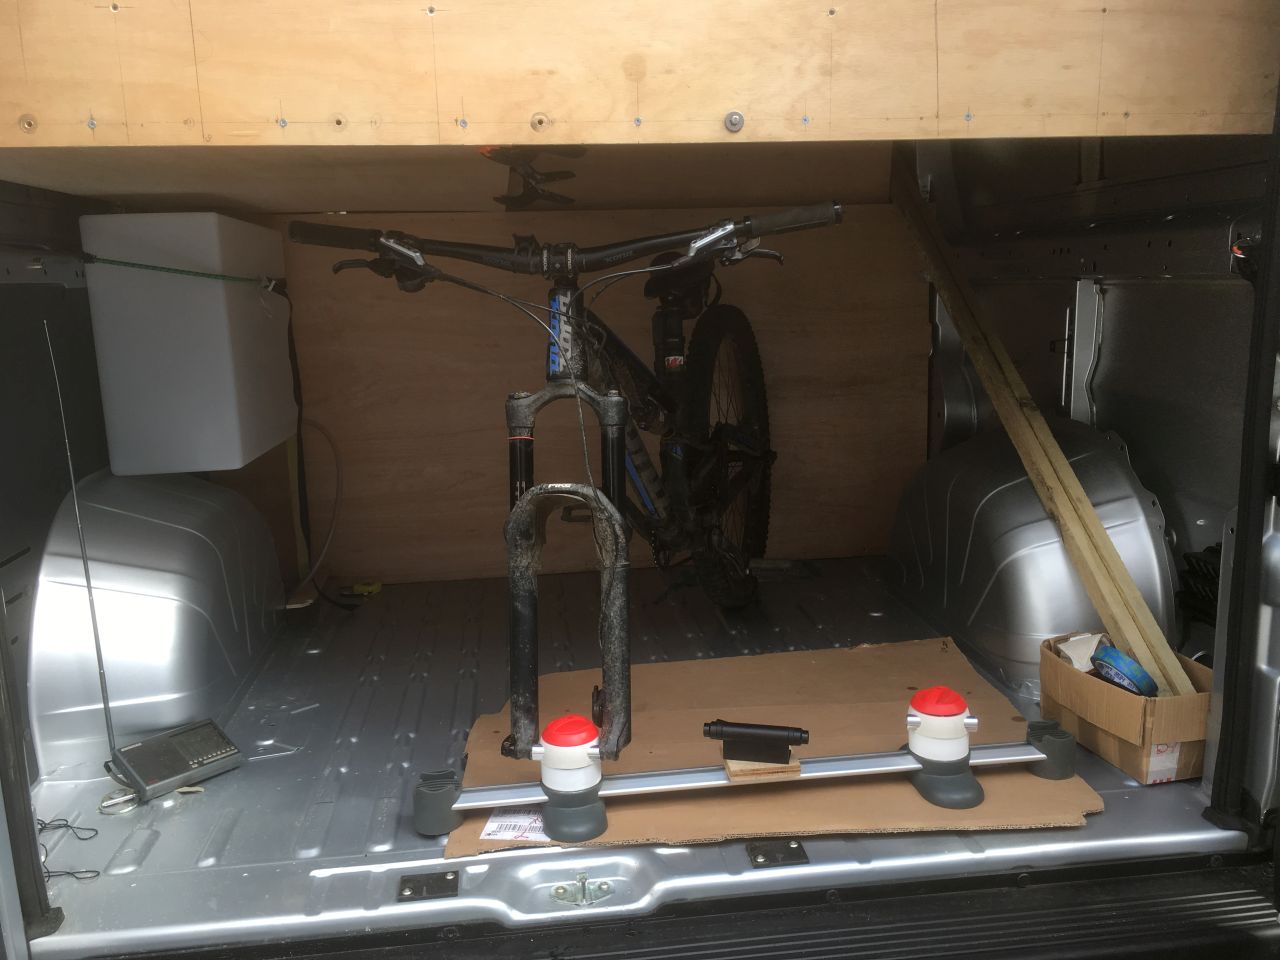
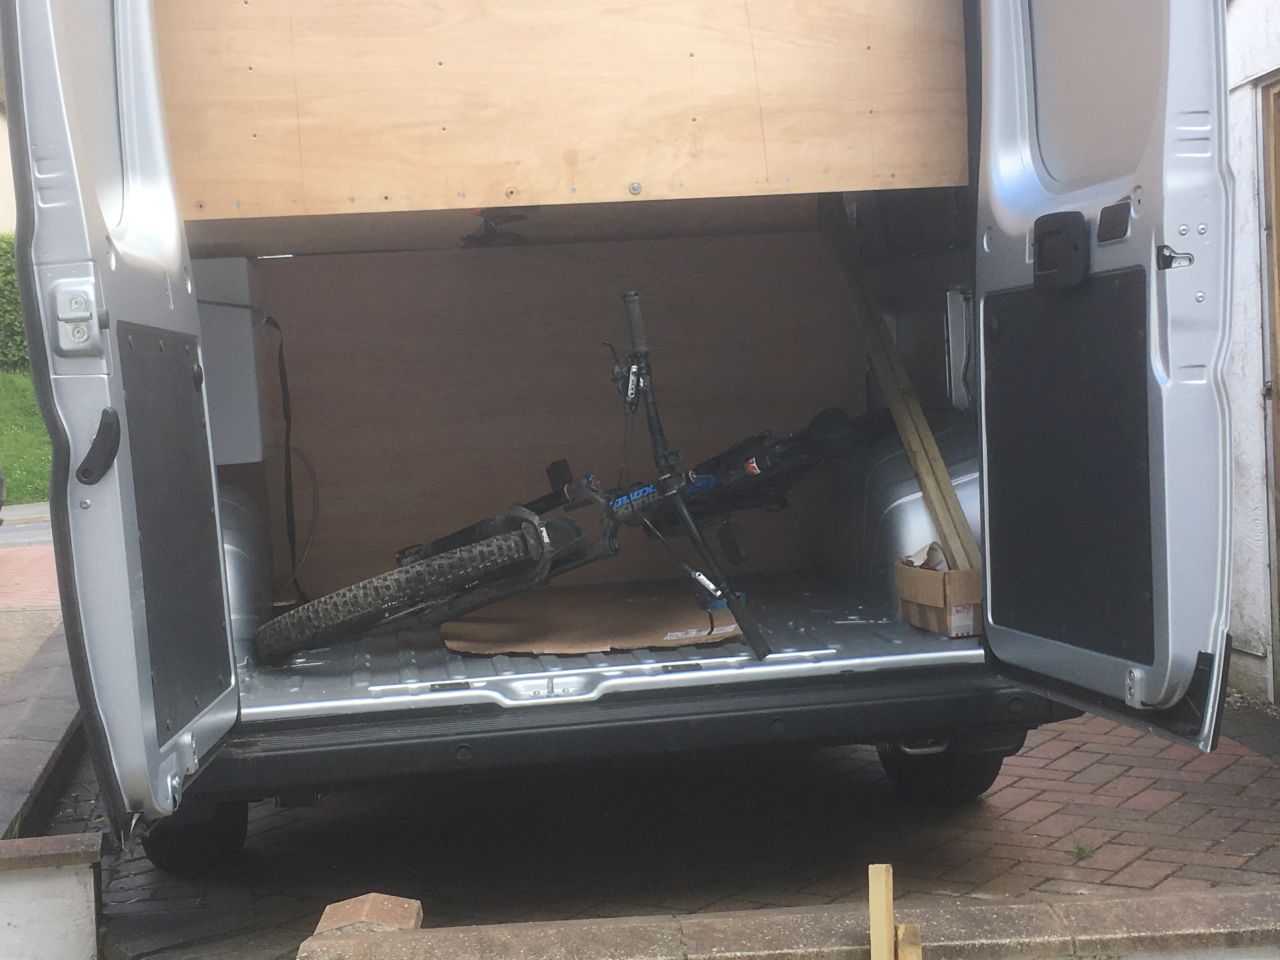
I checked the bike garage for size, and it’s OK. There’s enough height to take the bikes standing upright on fork mounts, and enough floor space to be able to quickly throw a single bike in without having to take the wheel(s) off. I also realised that I can tuck the water tank in above the wheelarch which will keep it out of the living area.
It’s quite a big space!

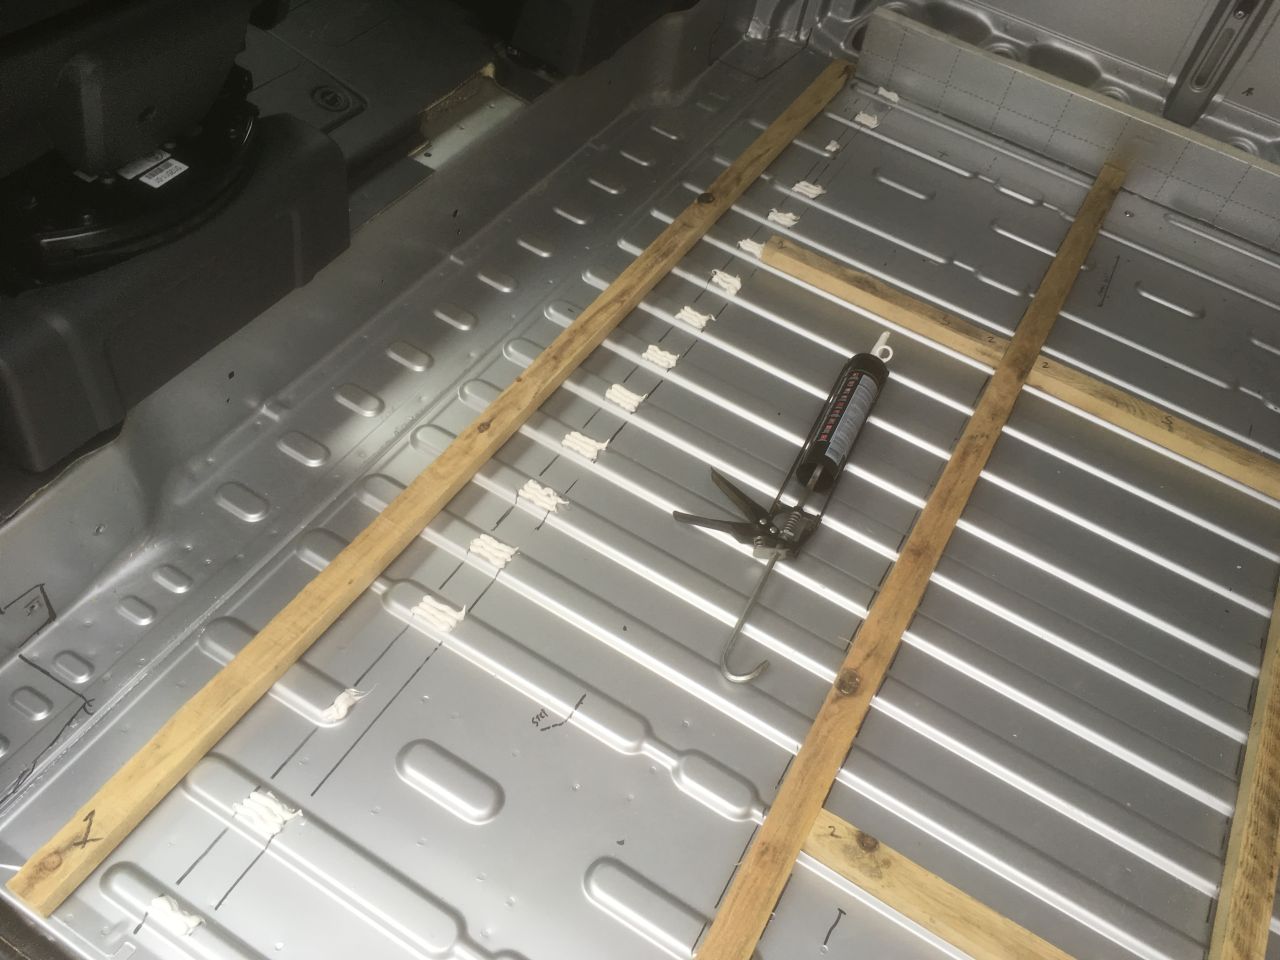
I cut the living area floor to size then spent a whole day mocking up the layout of the living area, deciding where everything would go and making sure that it would fit so that the position of the floor battens could be finalised:
I’d thought about putting the (diesel) heater under the raised plinth behind the seats, but all the Euro 6 gubbins is mounted under the van here now (adblue tank, electronics, stuff and…. gubbins…). I could have put it against the bulkhead in the garage, but it would have been in the way there. I could just about get the exhaust through the floor about a foot behind the driver’s seat, but then the batteries woudn’t fit :-/ I’m sure it’s a familiar tale… In the end, the “best” place for it seems to be under the raised toilet floor. This will mean an access hatch in the floor, but it’s not a wet room, so needs must. I can live with that.
Floor battens were bedded on Stixall. The floor of the van wasn’t very flat (it had a rise either side and a ‘bubble’ in the offside rear half). I’d picked the best of the roofing battens to cut the floor supports from, and luckily they were very true, so I just needed to bed them down with a straight edge on top (a length of Conti Board) to get them level across the width and with each other.
I did the normal thing and filled them with 25mm PIR (“Celotex”, etc.) insulation board.
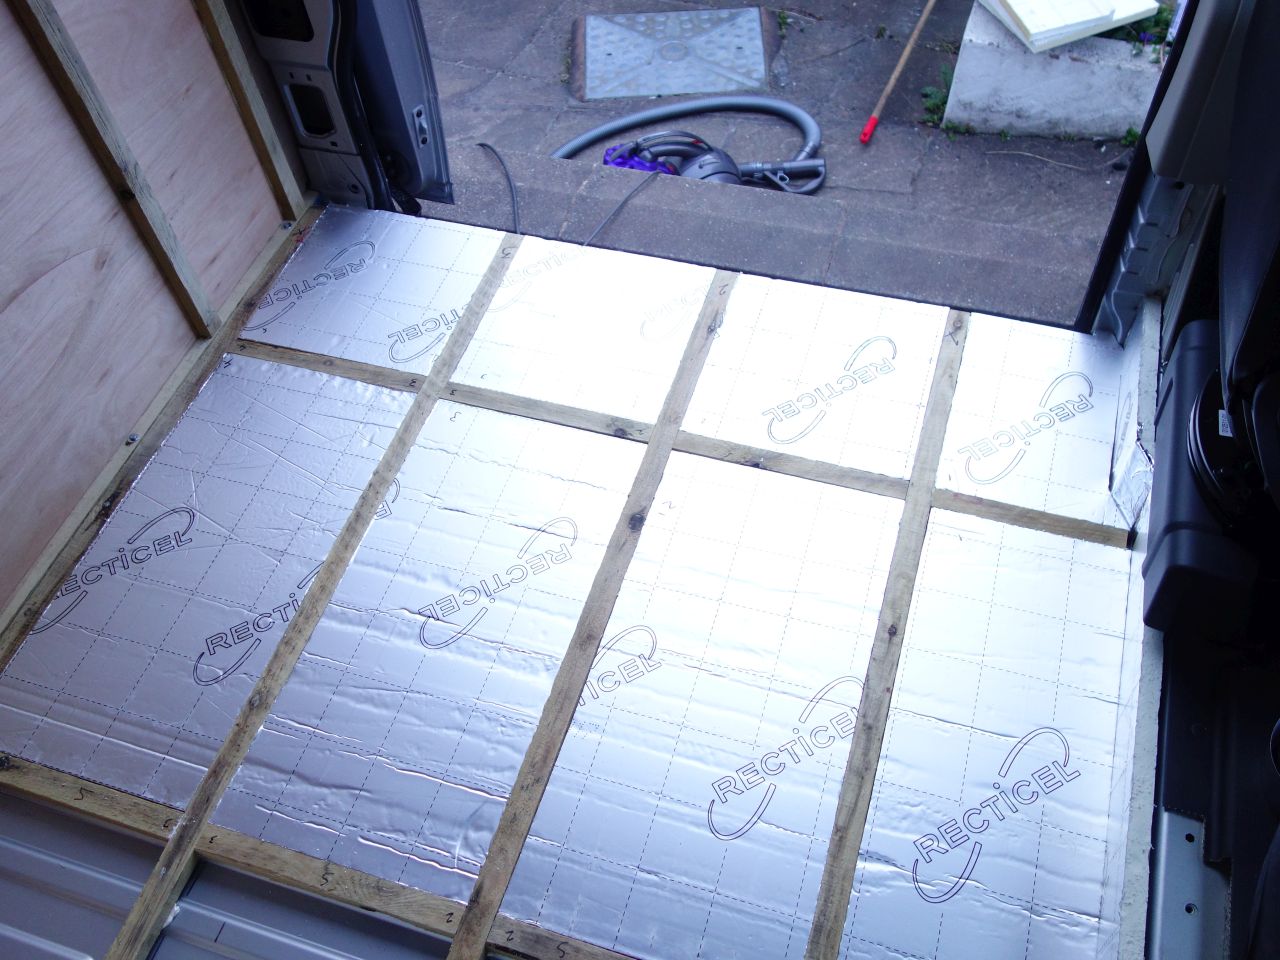
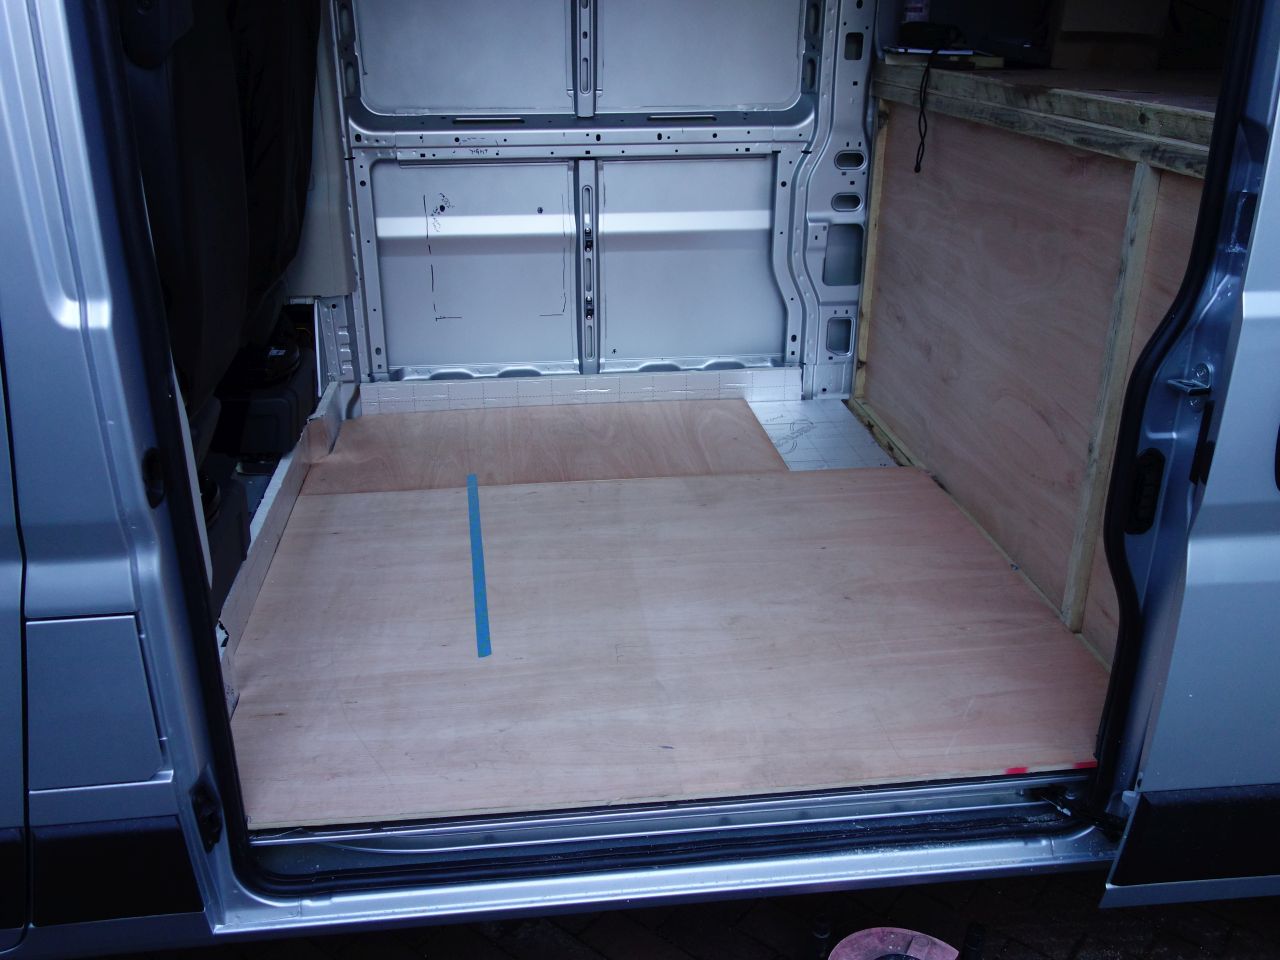
I will tape over the joints once the insulation on the central bulkhead has been fitted so I can get a continuous vapour barrier between this and the floor. In the mean-time, I fitted the floor temporarily.
We’ve been planning on using laminated furniture ply for the living area to try and get a as good a finish as possible in a reasonable timescale. Having “finalised” the layout, I went through the panels that I think we’d need to construct the furniture and fed it all into ‘Maxcut’. Previously, it had all fitted onto 4 sheets of ply (3 Hacienda White, 1 Grey Beige Zebrano). With the layout changes we’d made, it spilled onto a 5th sheet. Try as I might, I couldn’t save the extra sheet.
I still wasn’t sure what to do with the ceiling (carpet, headlining or wall-board), but with a trip to Morlands imminent, I decided on wall-board over 6mm ply.
So with the credit card reeling from the shock of spending more on a few sheets of plywood than I’ve paid for whole cars, I stripped the bed base and bulkheads out of the van and headed off to Morlands in Welshpool.
Once I’d unloaded the furniture board and stacked it on edge in the house (I didn’t feel like leaving it under a tarp!), I could permanently fit the bed, etc.
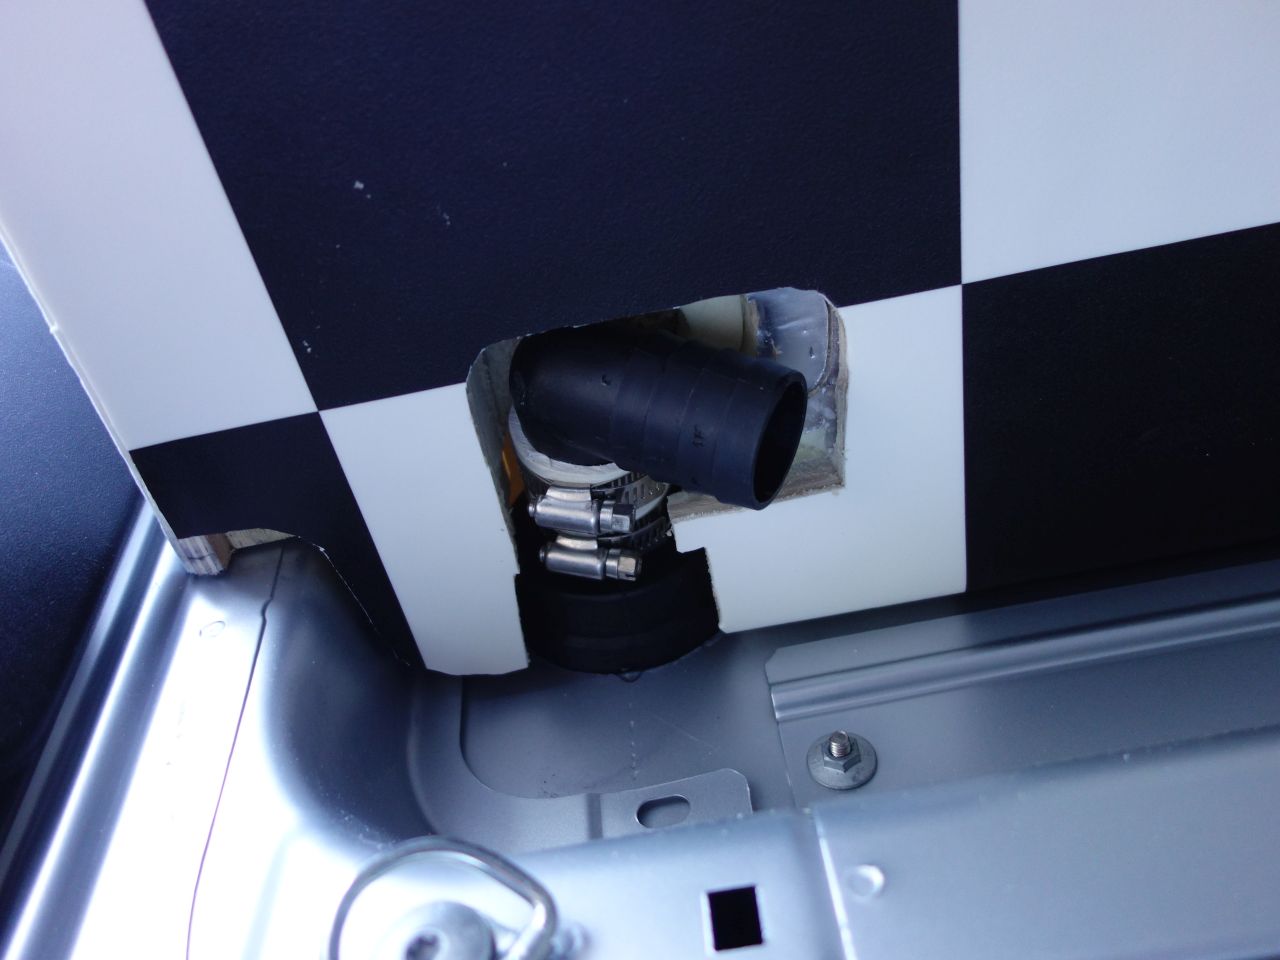
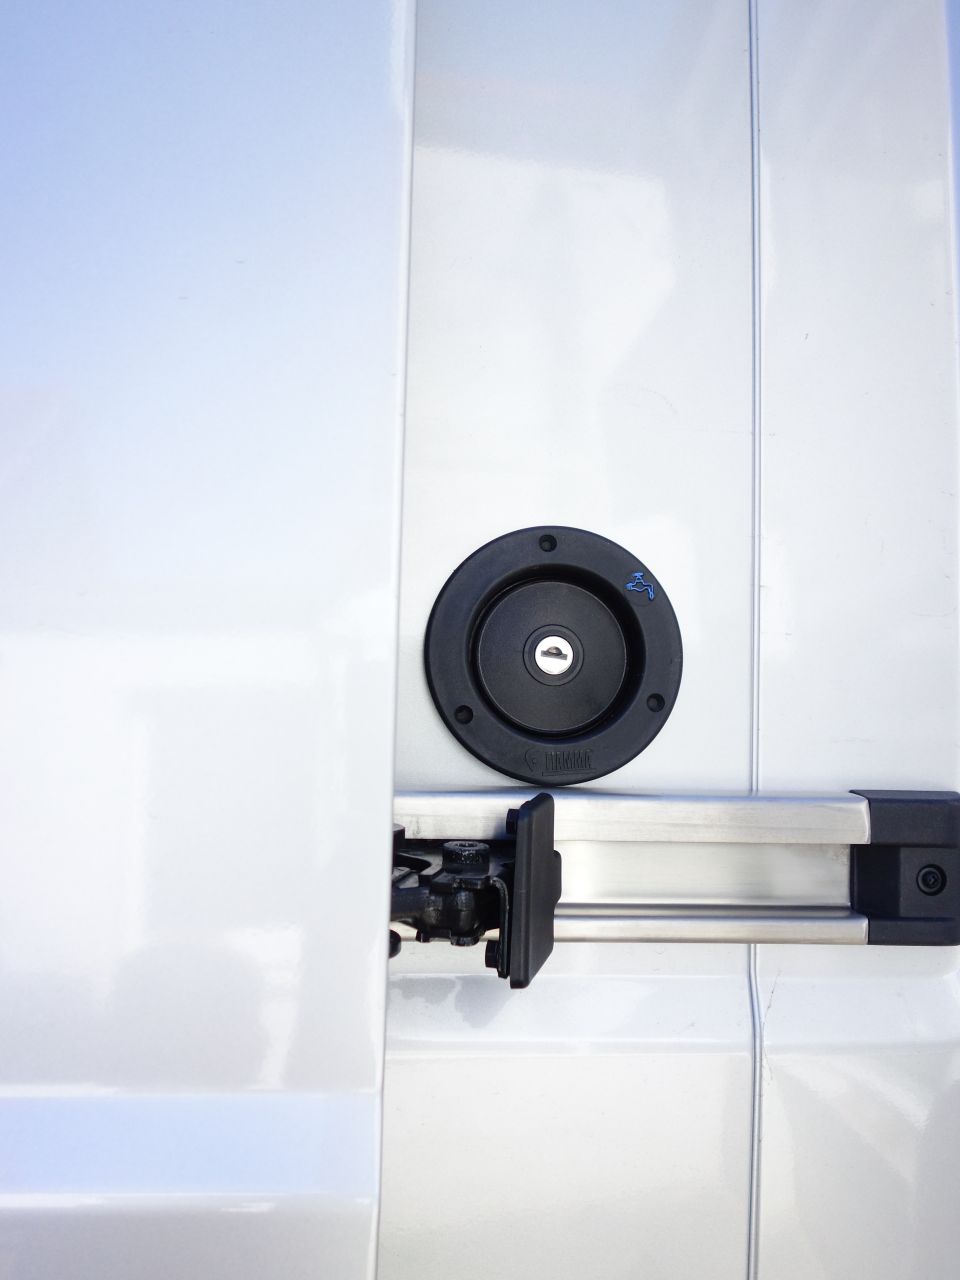
One of the compromises from moving the water tank to above the wheel-arch was that the water filler would come in at the same height as the bed base – it couldn’t go lower because of the sliding door track (and it needs to be above the tank), and it couldn’t be higher without intruding on the bed.
After a lot of contorted measuring, trying to tie up features on the inside and outside of the van, I convinced myself that the water filler would fit. and drilled a pilot hole in our lovely new van.
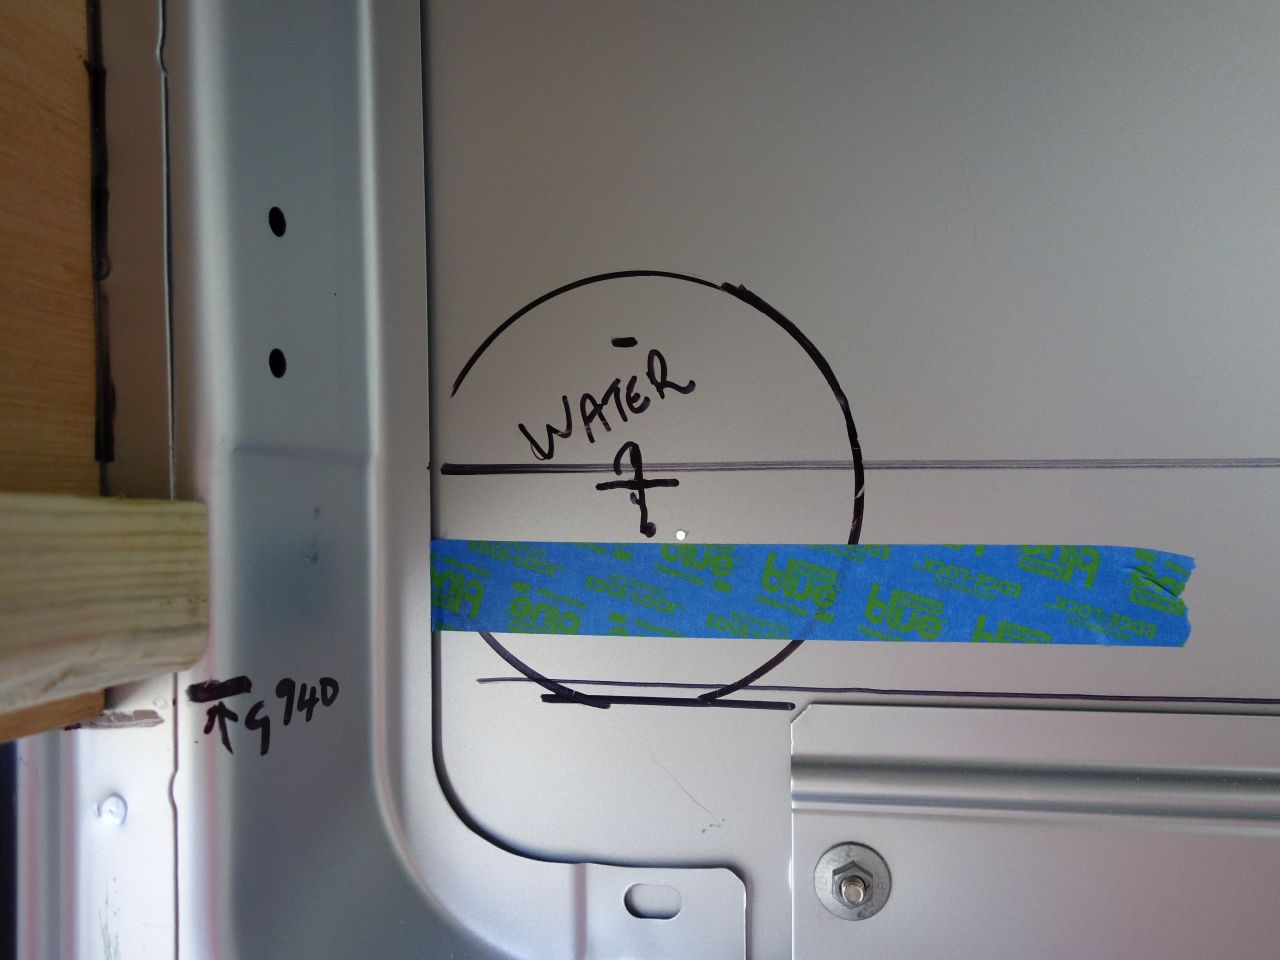
The ‘G 940’ on the pillar represents the top of the garage and the underside of the bed platform. The marker pen line above the masking tape is the top of the bed platform (the other marker pen was a rough guess at where the filler might go).
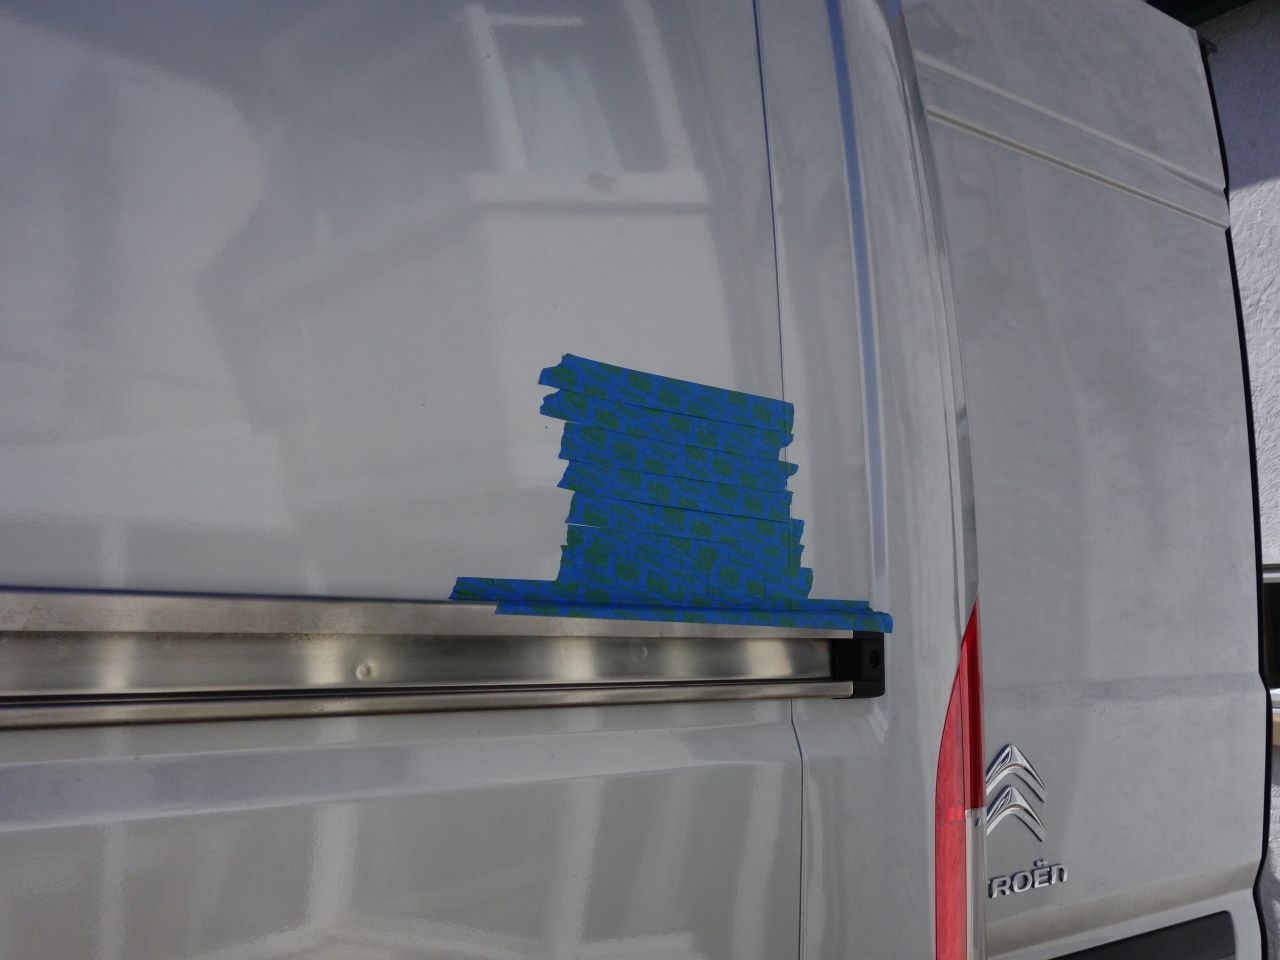
The outside of the van with masking tape where the hole will be, both for ease of marking out and to protect the paintwork.
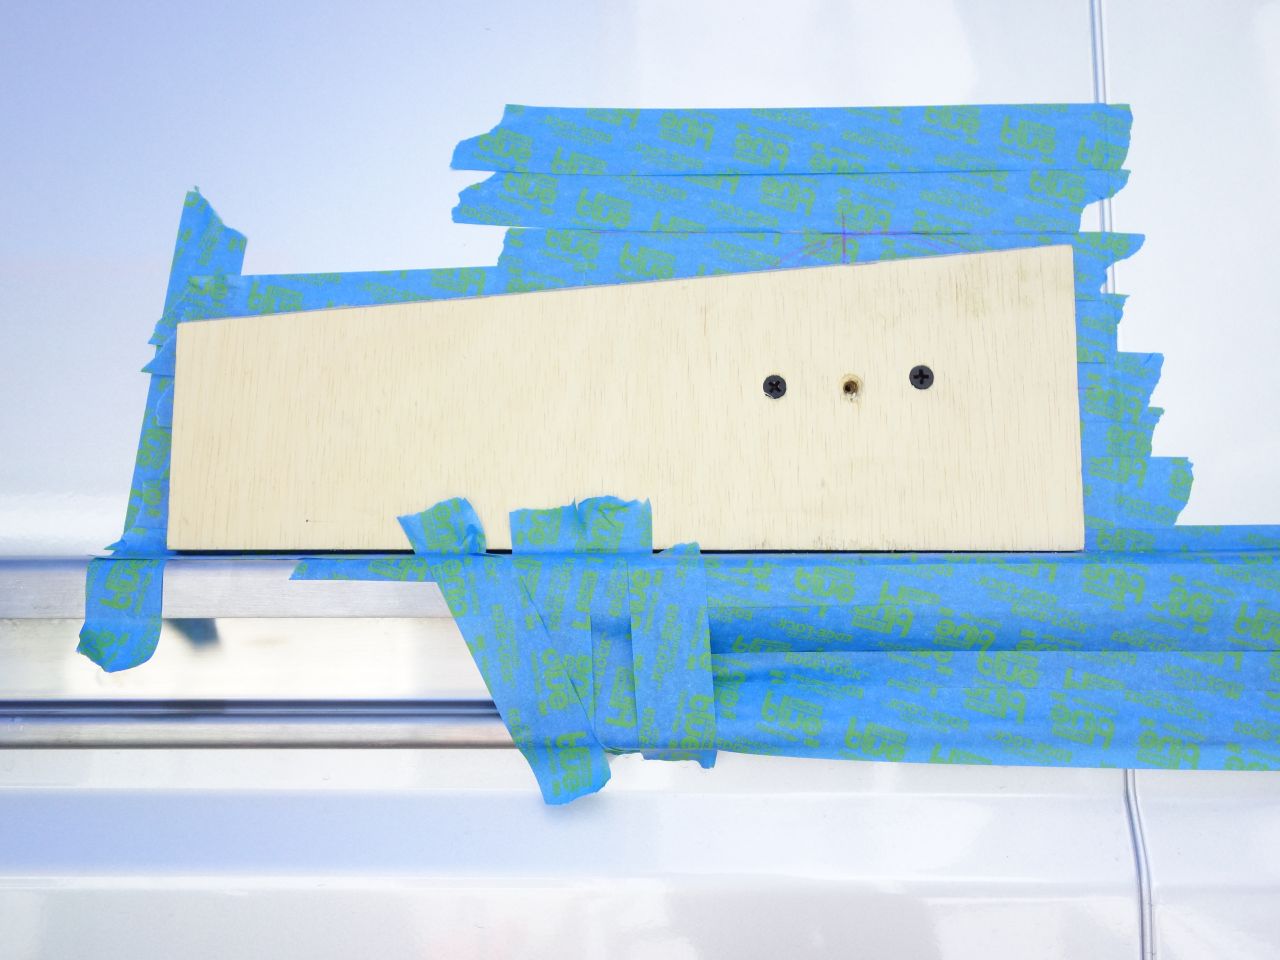
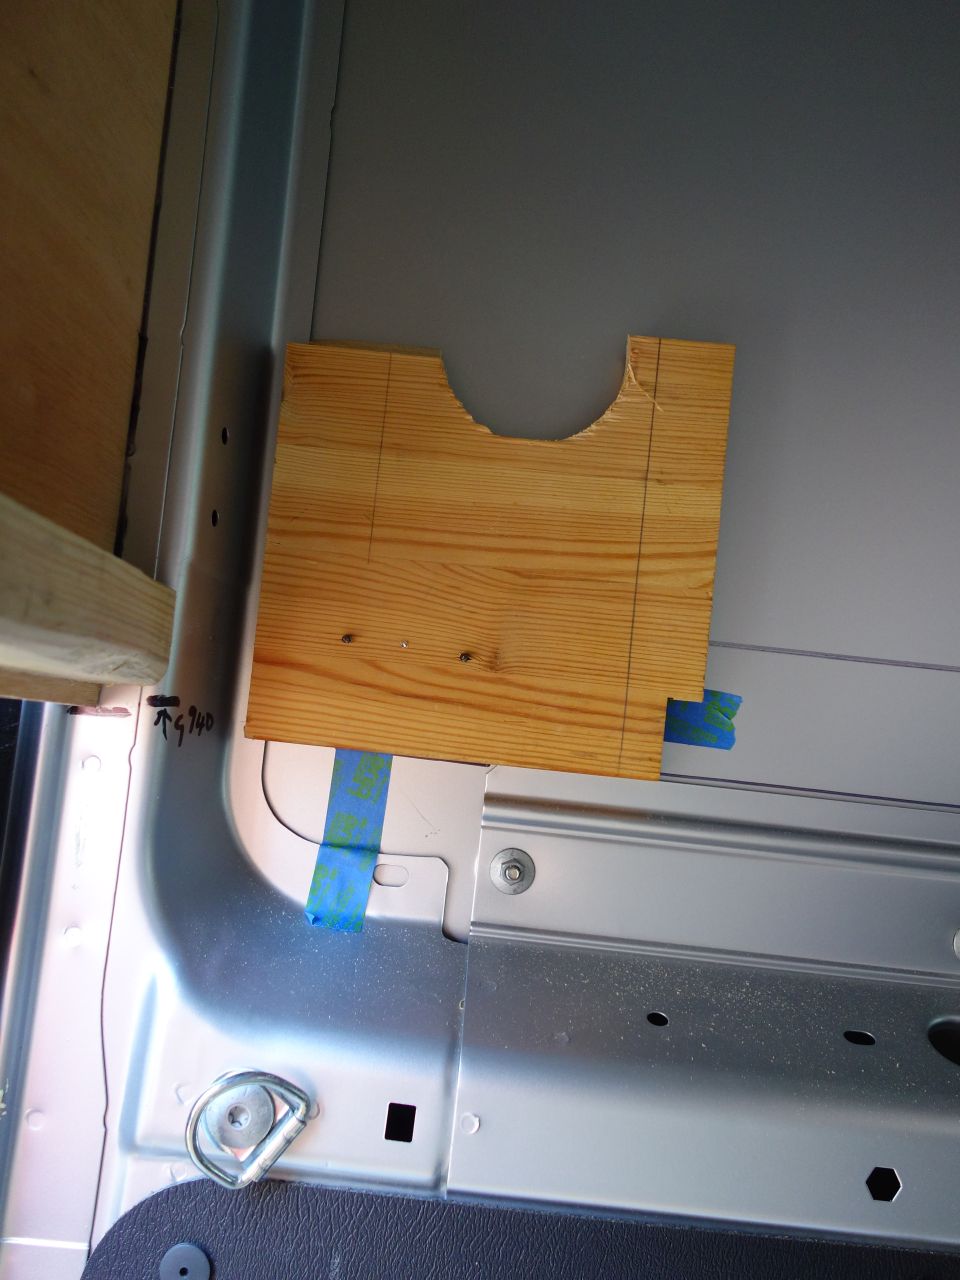
Next I had to attack the poor van with a hole saw (I hate the things). To stop the cutter skidding around, I screwed some scrap wood screwed through the side of the van and into another piece of scrap wood inside. The screw holes are inside the area that will be cut out. There’s extra masking tape to stop the wood damaging the paintwork and to try and stop swarf getting lodged between the body and the sliding door track.
Inside the van
The implement of destruction:
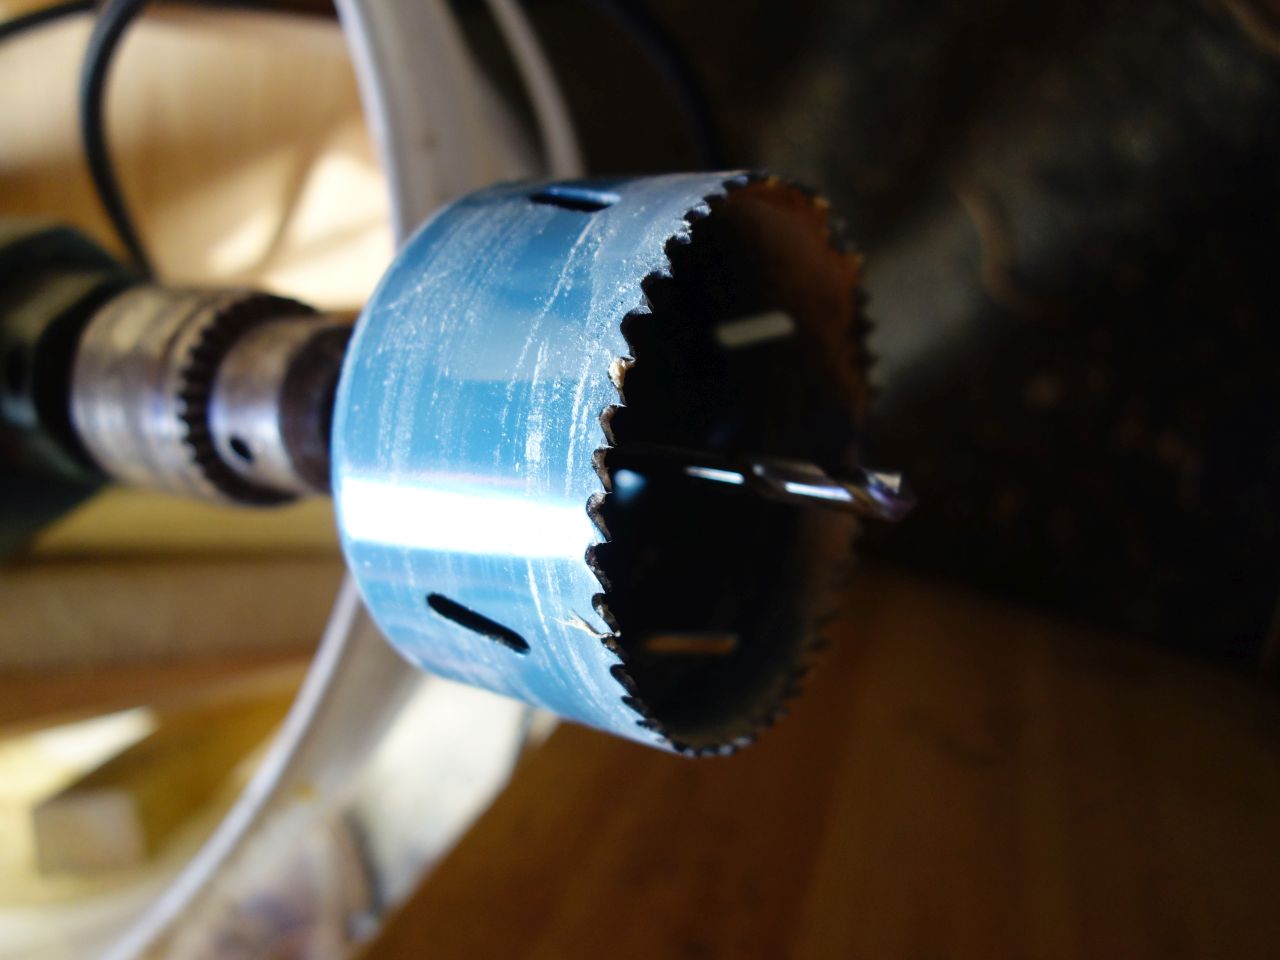
Just an Erbauer branded holesaw from Screwfix. They’re not as long lasting as the likes of Starrett, but the ones I’ve bought have been fine for cutting holes in the van.
I drilled through the whole lot, following the original pilot hole.
The result – a nice, clean hole…
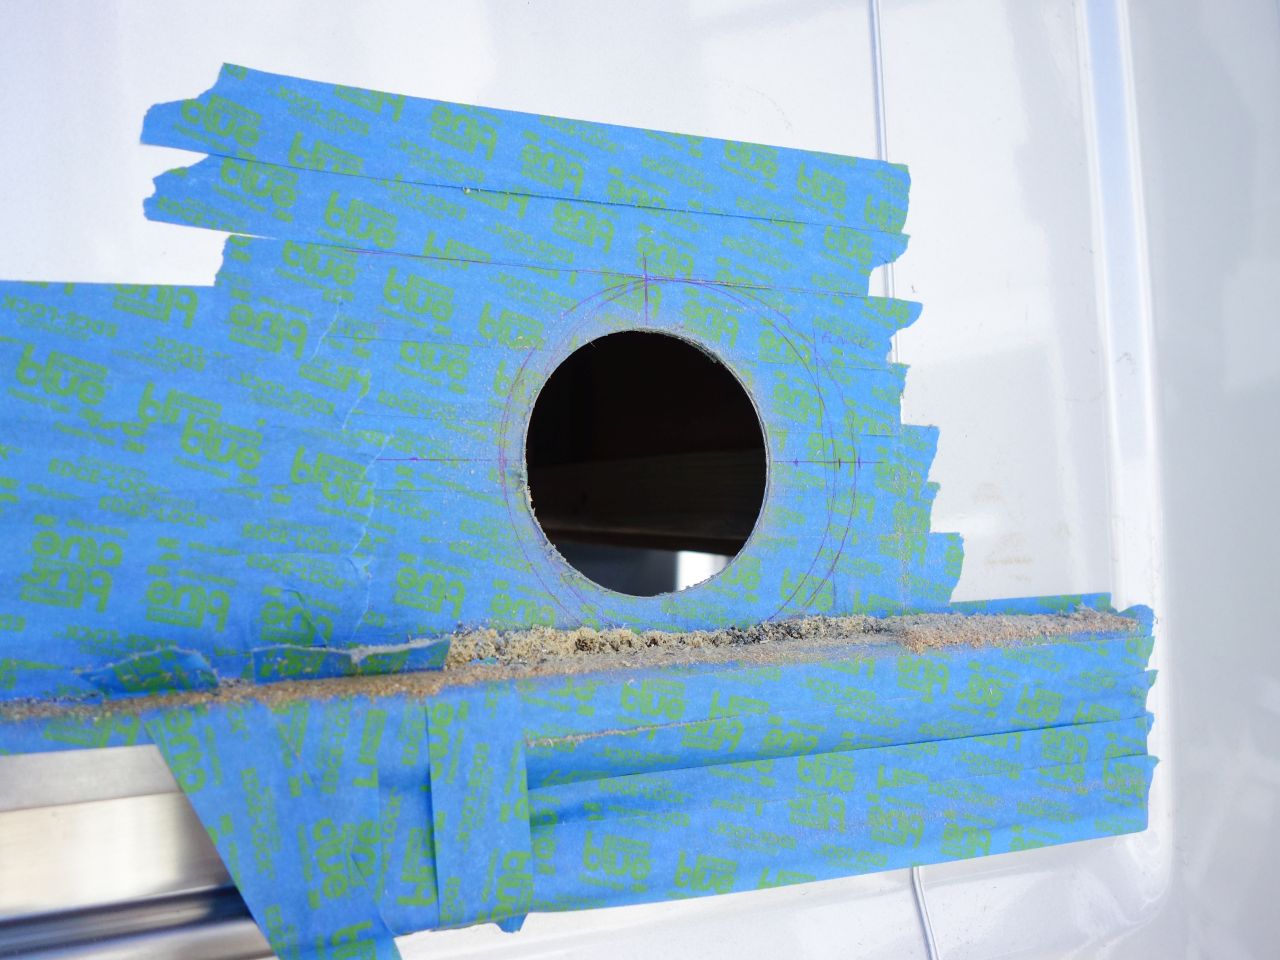
That was luckily in the right place!
I also got to fit two new riv-nuts to secure the rear bulkhead to replace the ones which has spun loose. (I’d drilled pilot holes adjacent to them previously) – I decided that life was too short to try and get the old riv-nuts out and ended up sawing the bolts off.
Lest the gods be offended by perfection:

I covered the ‘garage’ panels with flooring vinyl before they were refitted (I’ll sink the bolts into the surface and fit an aluminium trim over the top sometime).
There was more finicky measurement to cut the bed base away for the water filler – I was pleased with the way it ended up: