
I don’t plan on having lockers both sides all the way down the van, so the visible ceiling is wider than a standard ceiling board (1220mm), and is longer than a standard board (2440mm). I thought that the most acceptable way of covering it was to run the boards across the van. I would use three boards ,so two visible transverse joints.
We planned on having LED downlights in the ceiling, but I had only the vaguest idea of where the lights would be. The original plan was to run cables in roughly the right place above the ceiling, and once the interior was more advanced, and we’d decided where the lights would be, I could drill holes for them and go fishing for the wires.
Hmmm… How would I drill the holes when the ceiling was only 8mm from the insulation and 30mm from the roof? No idea! So I thought I’d better drill the holes for the down lights before fitting the ceiling. I spent a happy few hours trying to decide just *where* the lights needed to be so that they avoided lockers and looked evenly spaced, etc. It’s amazing where the time goes…
I’d intended fixing the ceiling up and using a router to cut the roof light holes ‘in-situ’ as a neat and accurate way of doing it, but then I got to thinking that the edges of the holes get hidden by the roof light frames, which also give a fair margin for error, so why would I want to fill my van / hair / ears with wood shavings by using a router overhead? Instead, I could just measure and cut the openings before the ceiling was fitted.
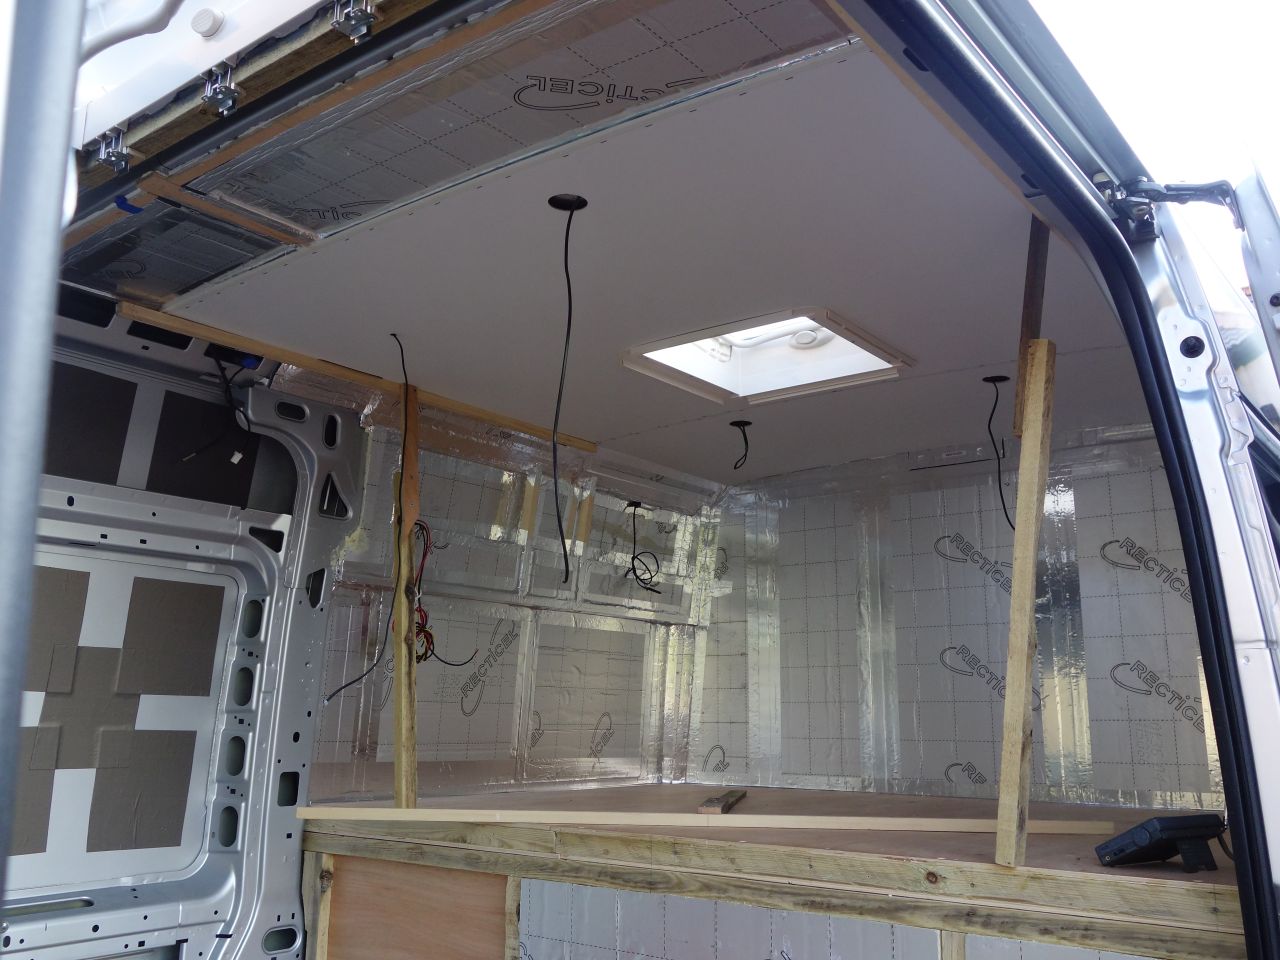
Before fitting the ceiling I measured the positions of all the battens and took a lot of photos so that I had half a chance of being able to locate them through the ceiling whan it came time to fit the lockers etc.
The first board was easy – a simple rectangle. I cut it out, propped it up in position and drew around the roof light hole from above. Took the board down, cut out the hole, drilled for the lights and put it back in position after running a bead of Stixall along all the roof battens. The Stixall held it in position on its own, but I secured the edges with staples into the wooden beams, catching the base of a 2 piece joining strip where the next sheet would join.

The second sheet needed to be cut around the ‘C’ pillars (behind the sliding door). I made cardboard templates for each end of the board and very carefully transferred them to the next sheet of ply. I checked, and double checked that the measurements were right, and trimmed the first end with the jigsaw.
Before committing to cutting the second end, I checked the measurements again – yep, still good. I picked up the jigsaw and lined up the blade with the start of the cut. I was about to pull the trigger and then it hit me. You stupid, stupid pillock!
I was cutting the sheet out upside down! Ply side to the van, vinyl side to the sky! Time for a brew.
As I’d only trimmed a few inches off the board there was enough length left to mark it out THE RIGHT WAY UP!
Installed with Stixall and staples, as before, and the edges of the boards were propped overnight (the long ‘T’ shaped props) to try and make sure that they ended up as true as possible.
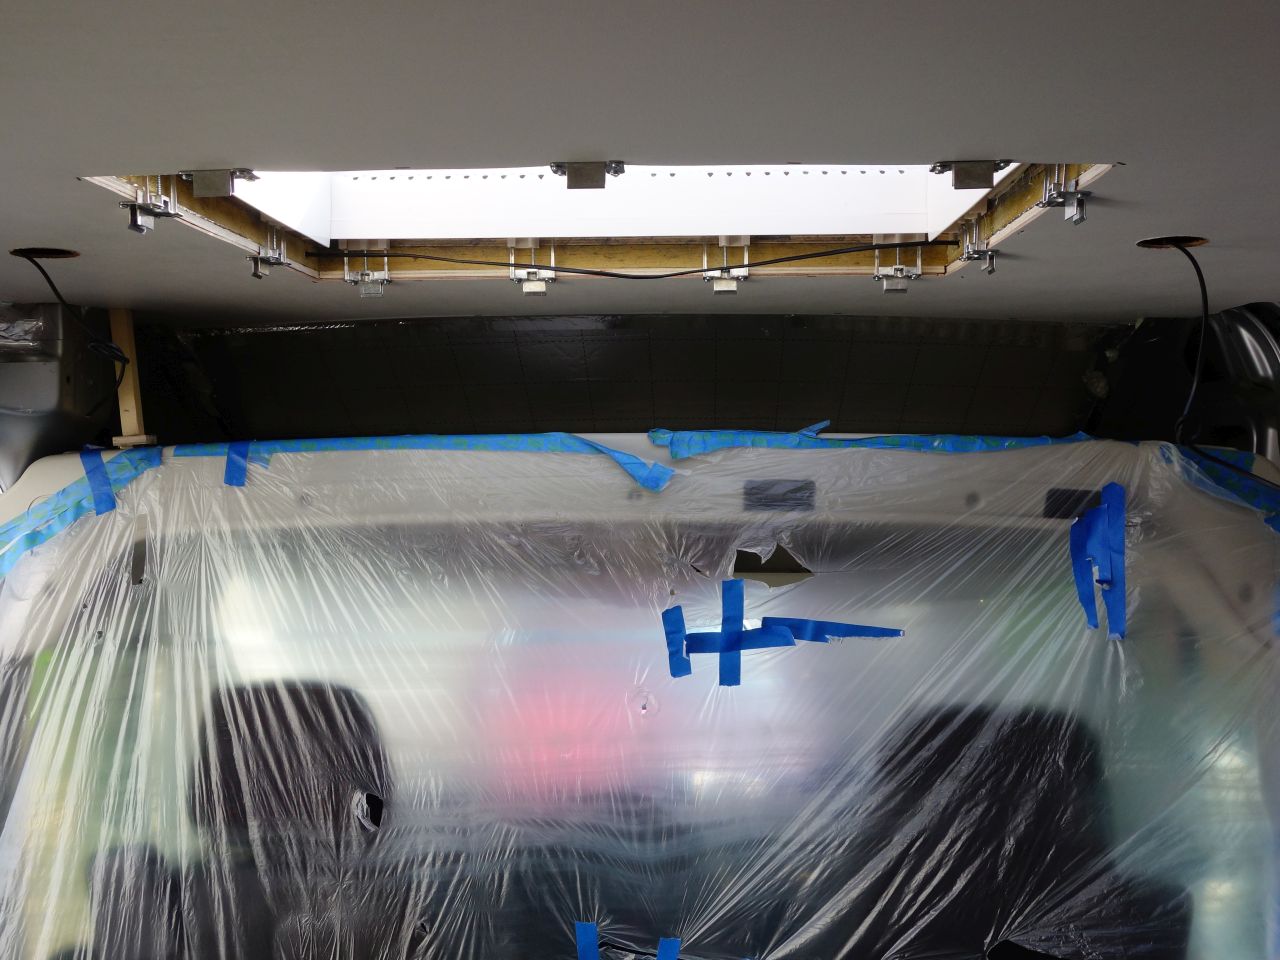
I got a lot of ‘Breaking Bad’ comments from visitors!