
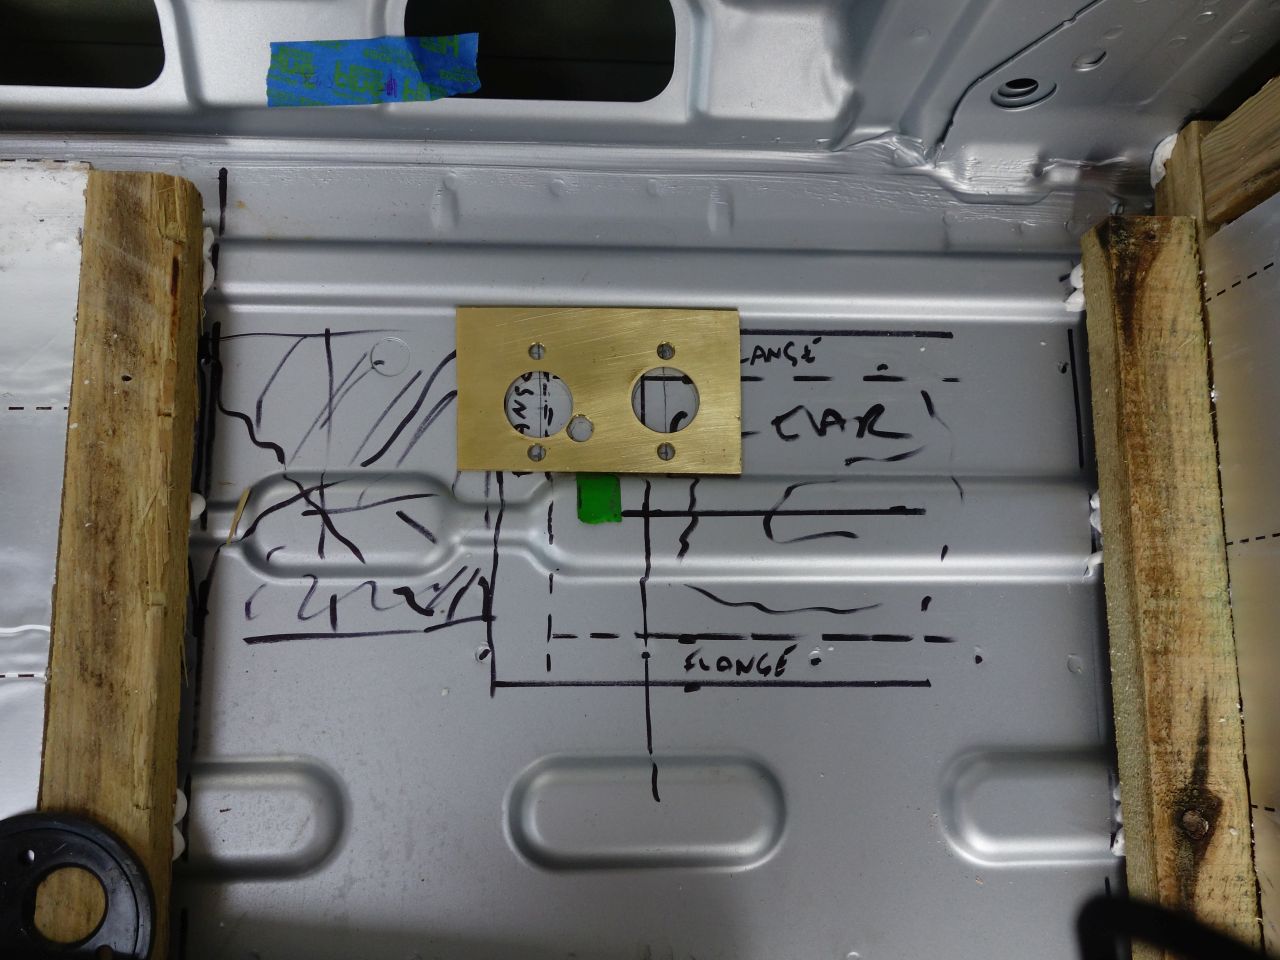
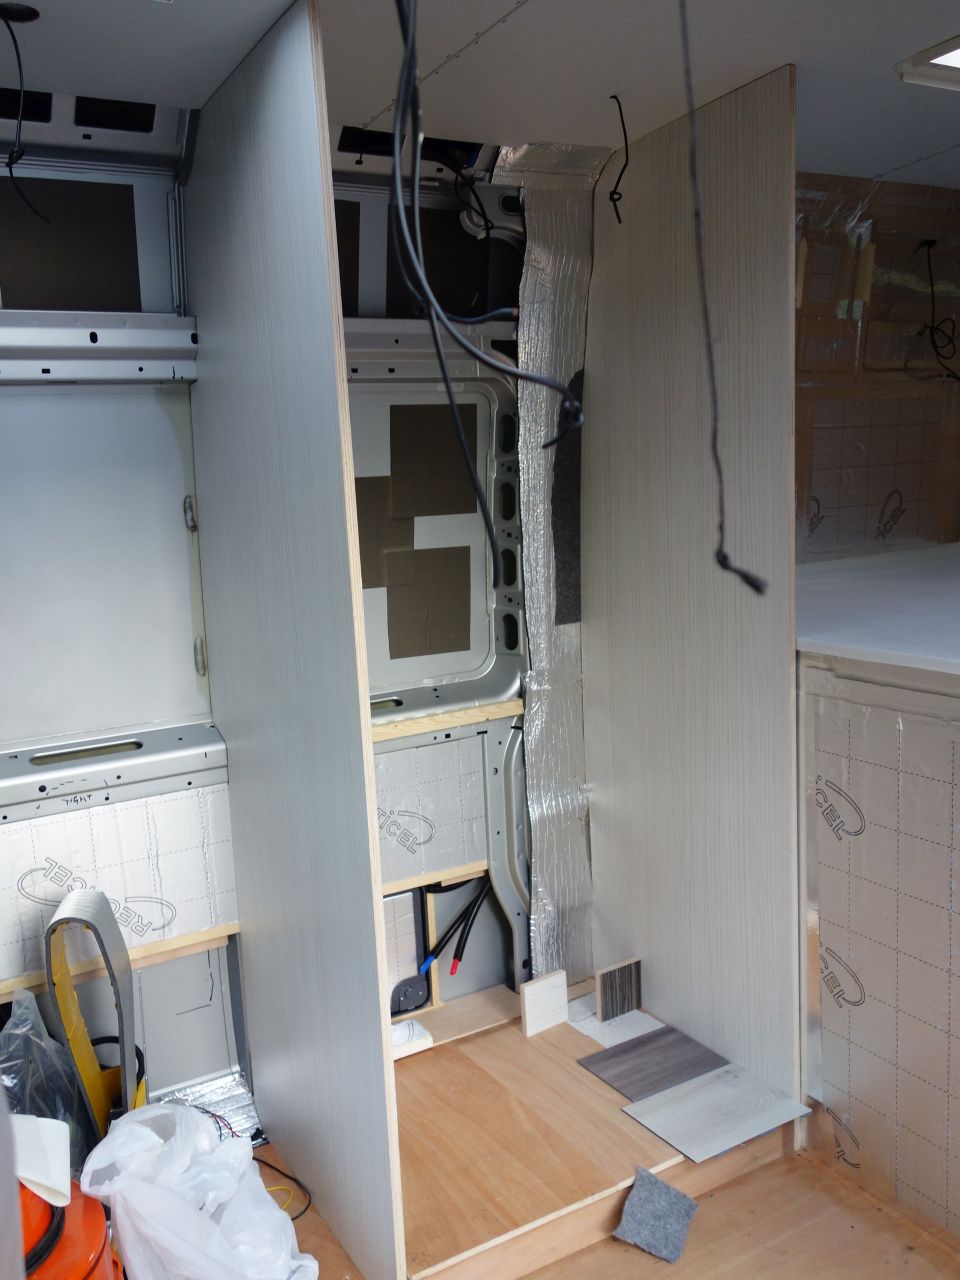
I needed to finalise the floor before going too much further, which meant confirming the position of the diesel heater. The only place left for it was under the raised toilet floor, and it needed to sit on a low part of the corrugated profile (to minimise the height needed under the floor). It was a bit of a puzzle finding a location that gave a clear run for the exhaust and intake under the van and also a decent run for the heating ducts inside. It’s a bit of a compromise, but hopefully it’ll be OK.
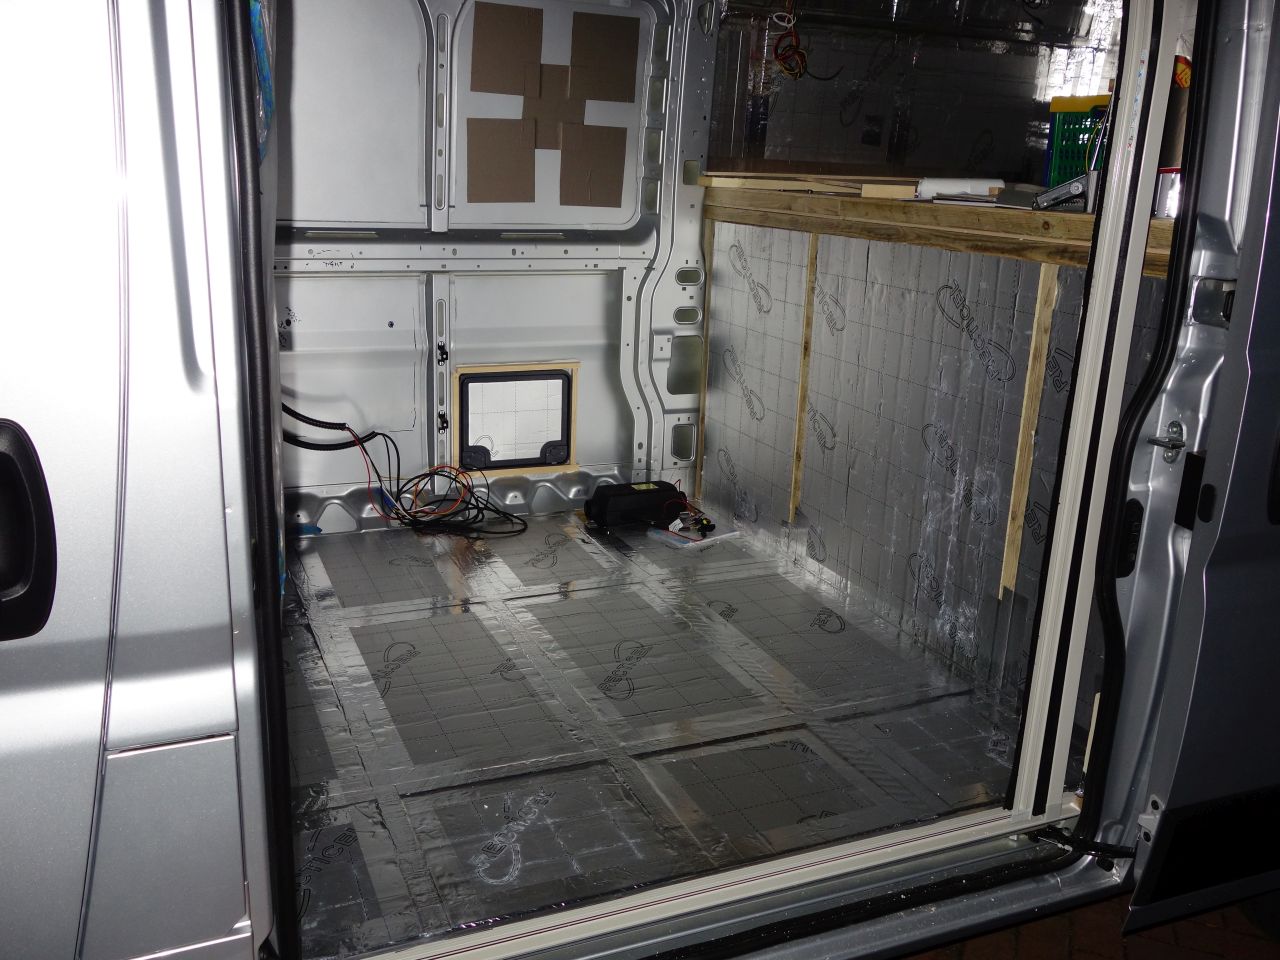
About this time I had a bit of personal news that brought home just how transient our time on this planet is, and I thought ***it! and splashed out on a Dometic fly screen for the side door. I made sense that if I was going to fit one, it should be now, before buttoning the floor down for good.
(Not a particularly good photo
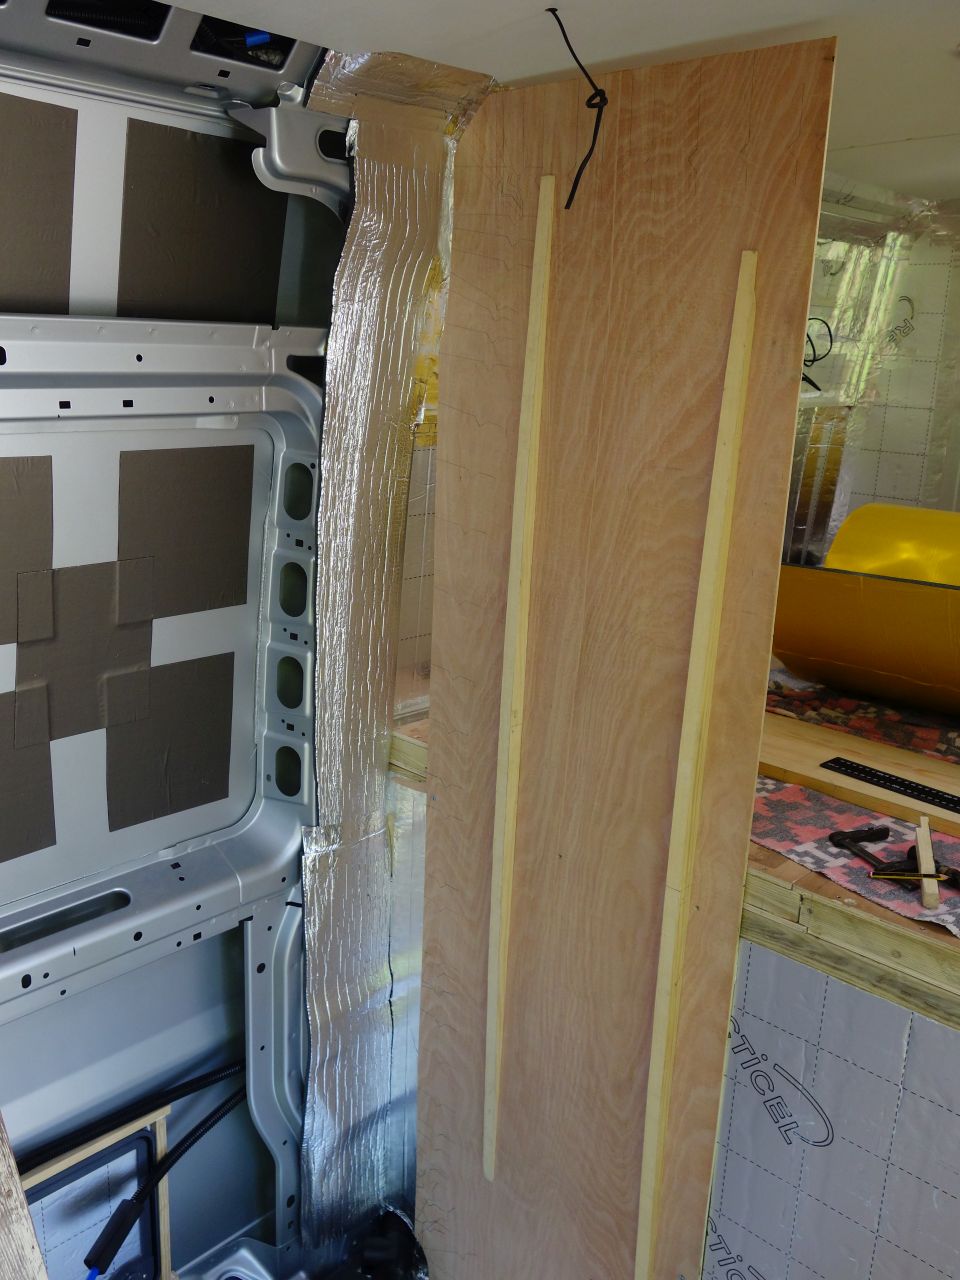
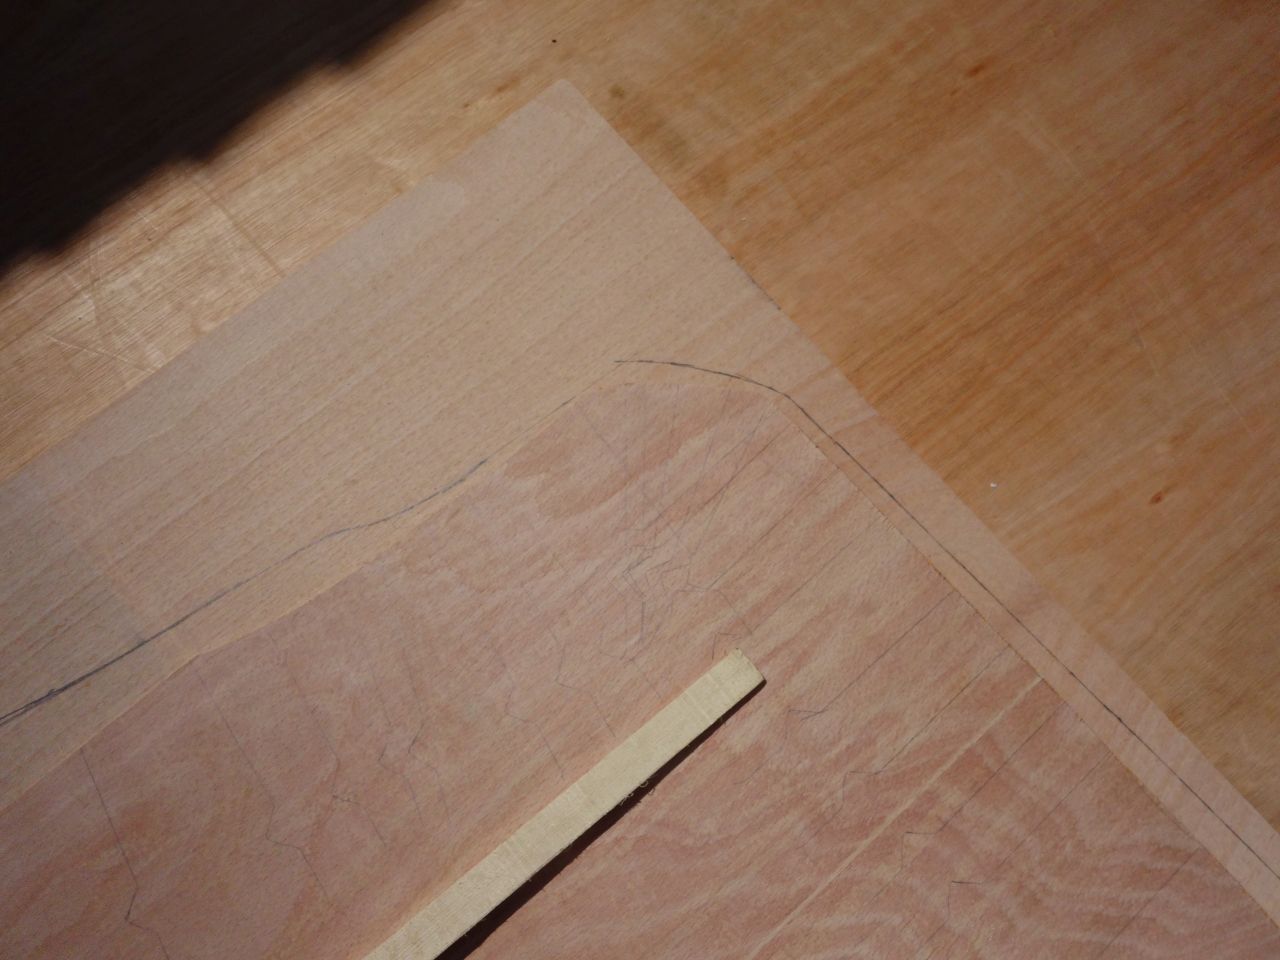
Once the floor was down, I could start on the furniture board. The key piece on each side of the van is the divider at the head and foot of the bed. On the off-side of the van it forms the rear wall of the toilet cubicle. I made a rough panel out of ply and fixed it in position with the edge vertical and in the correct position.
I then used a ‘tick stick’ to record an accurate outline…
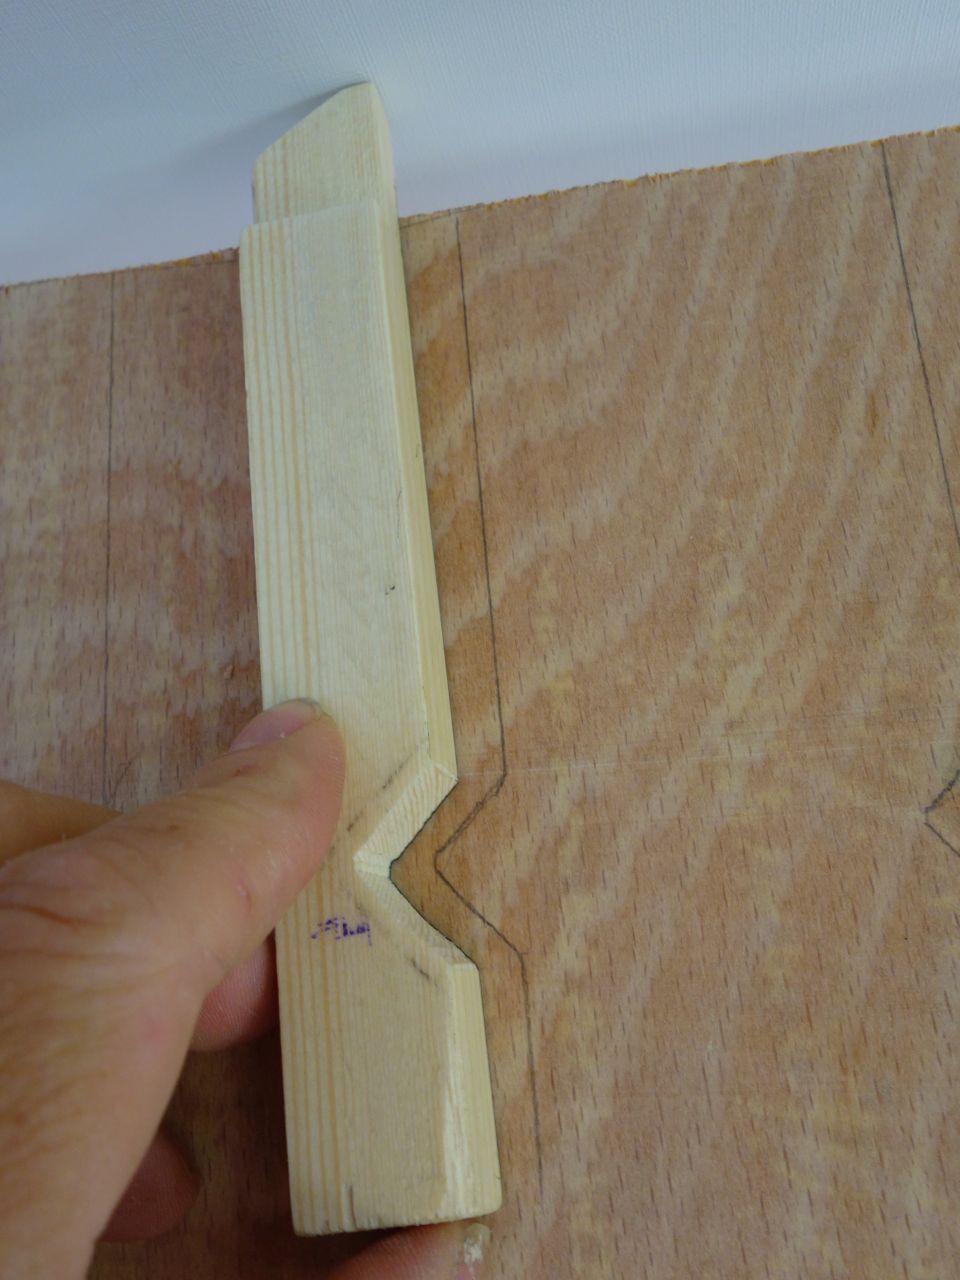
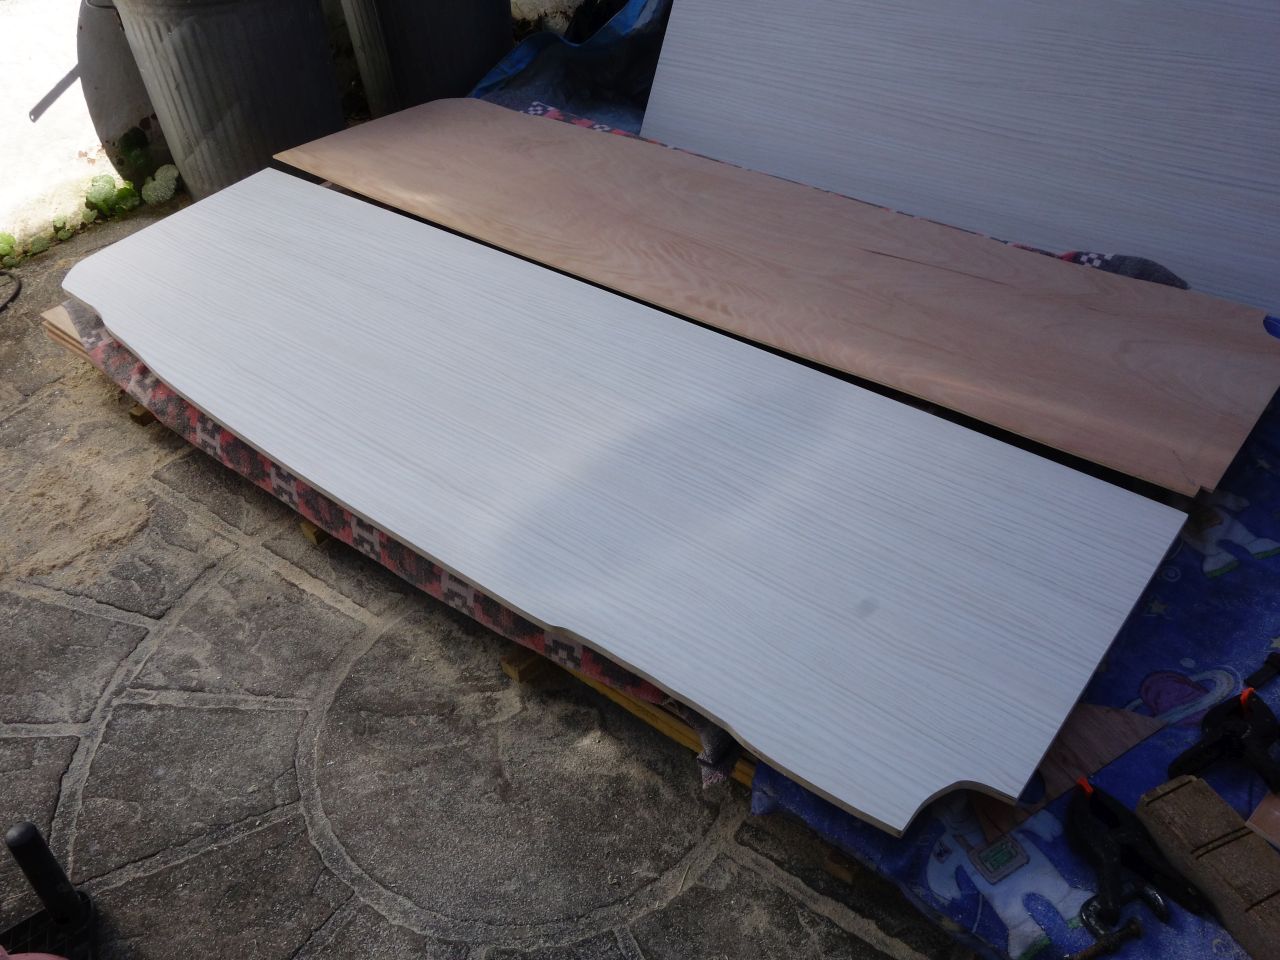
… and transferred this to another sheet of 6mm ply to make a full size template.
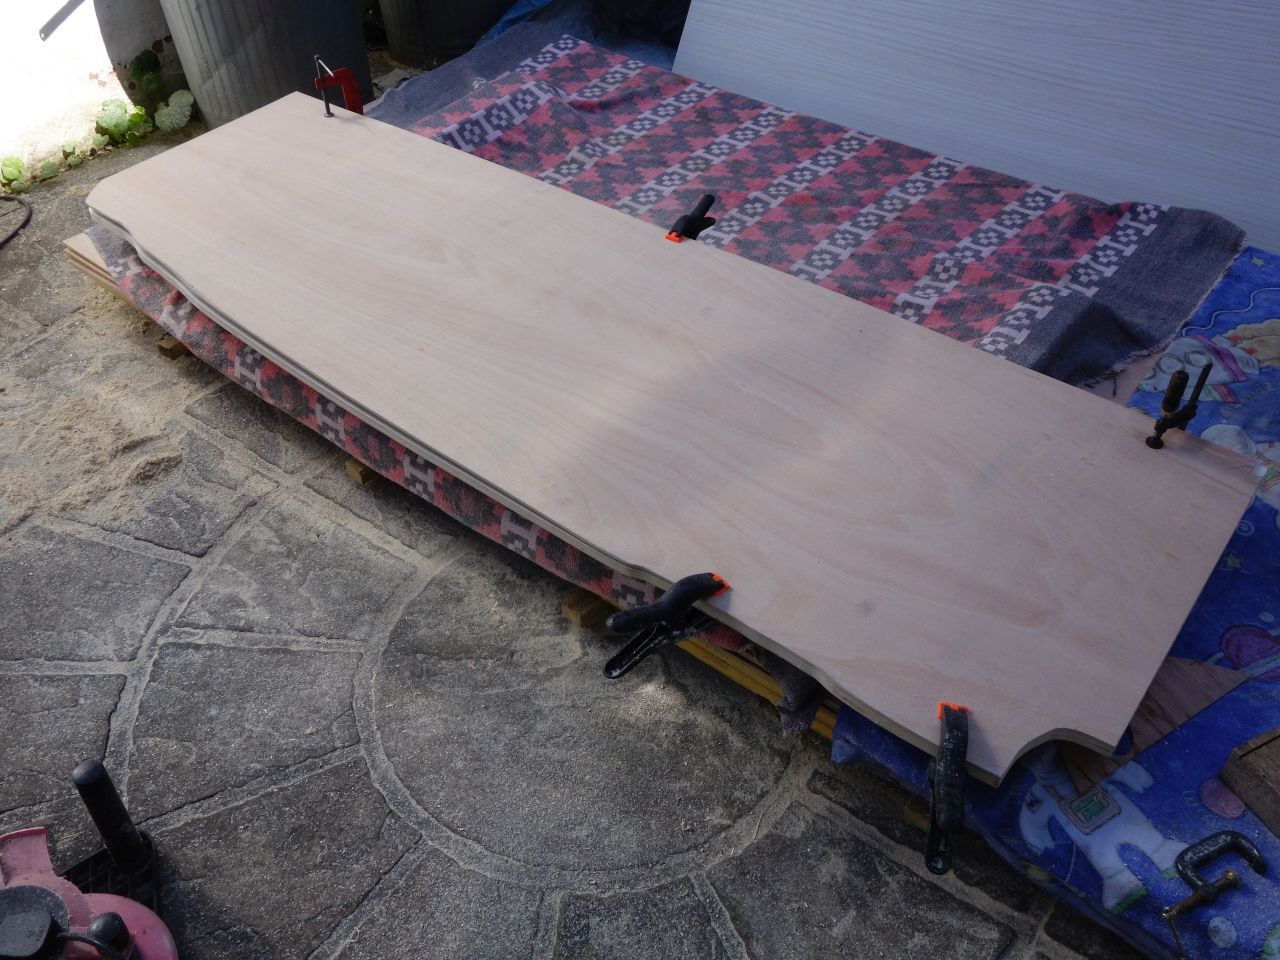
This was checked and tweaked before cutting the horrendously expensive Morland furniture board. I drew around the template to make the rough cut of the furniture board with a jigsaw, then used the template again with a bearing guided router cutter to give a neat and accurate (?) edge on the ply.
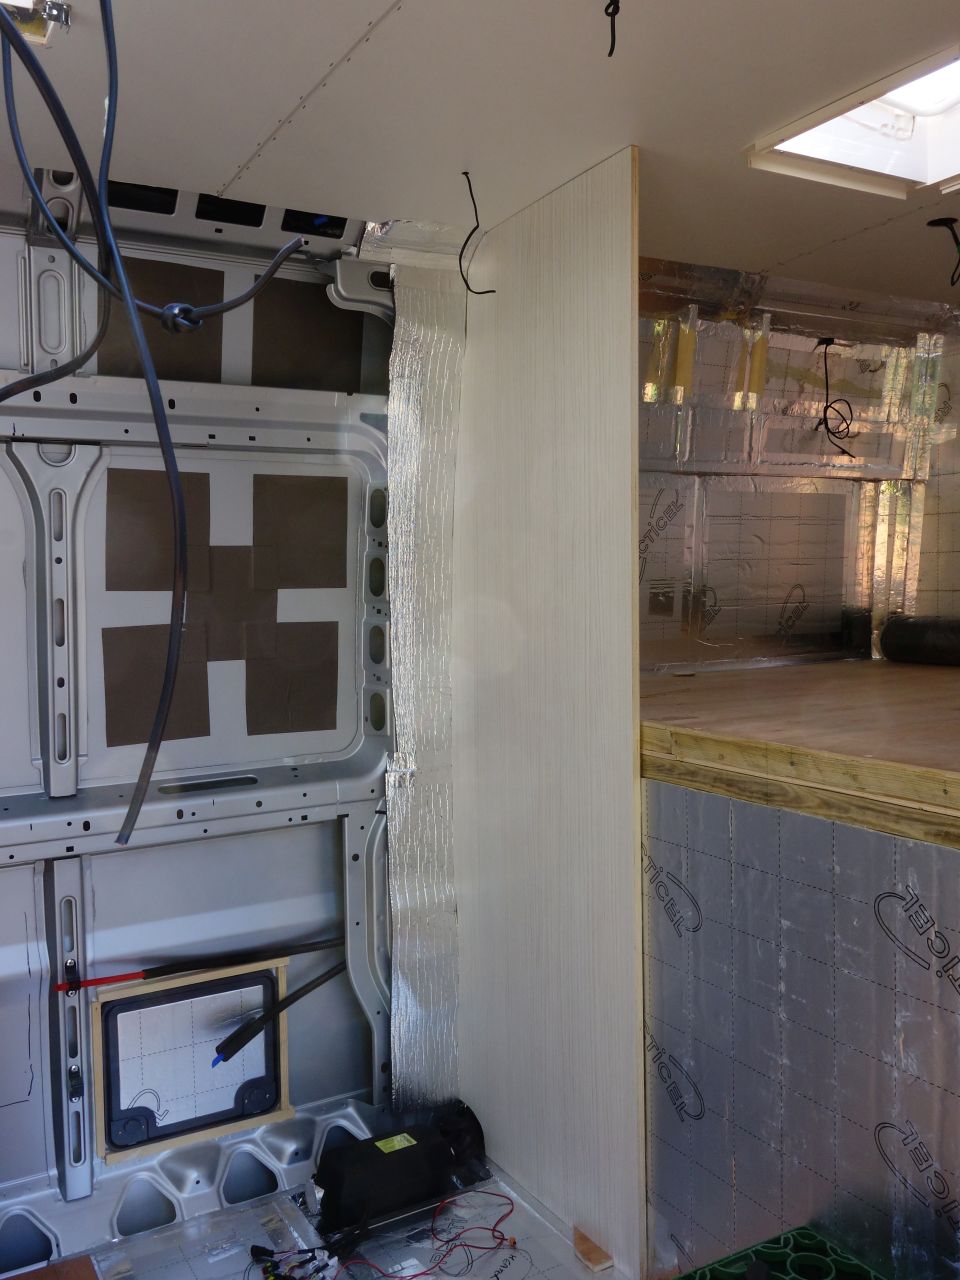
It fits! (sort of – turns out it wasn’t quite in position in this photo. The fit is actually a bit better).
It was about now that I had my first crisis of confidence about the batteries – specifically whether the floor was strong enough. So before I built the toilet compartment on top of it, I took the floor up and put in another couple of battens to strengthen the floor under the fridge where the batteries were intended to sit.
I roughed out the toilet floor (the first of 3 versions to date) and cut the front wall of the toilet the same way as I did the rear one (with a full sized ply template).
As I was intending to put the diesel powered, blown air heater under the floor here, I needed to cut a vent to allow air into the heater. This needed abit of tricky cutting to fit it between the van floor and the toilet compartment floor.
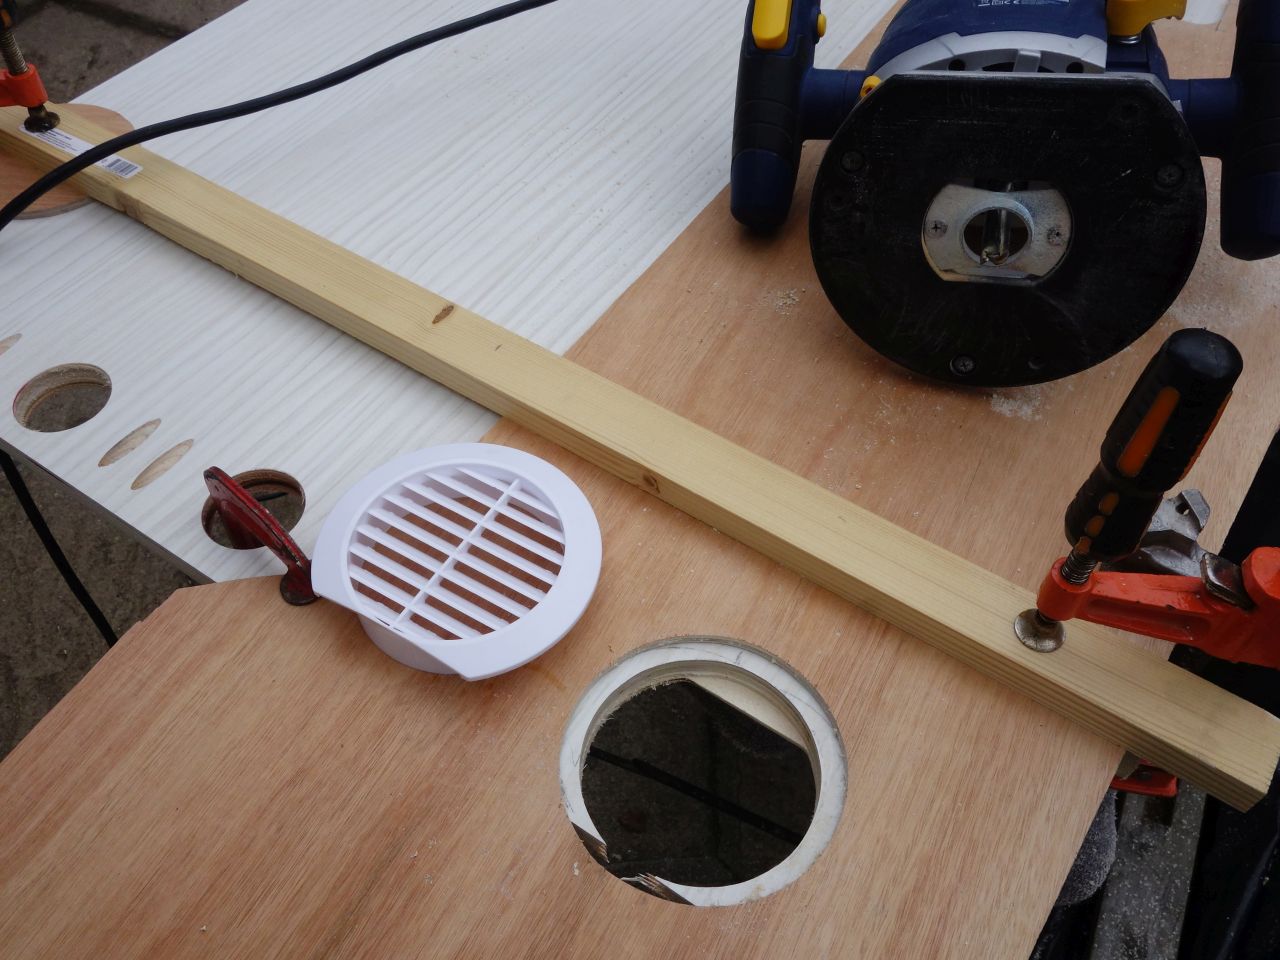
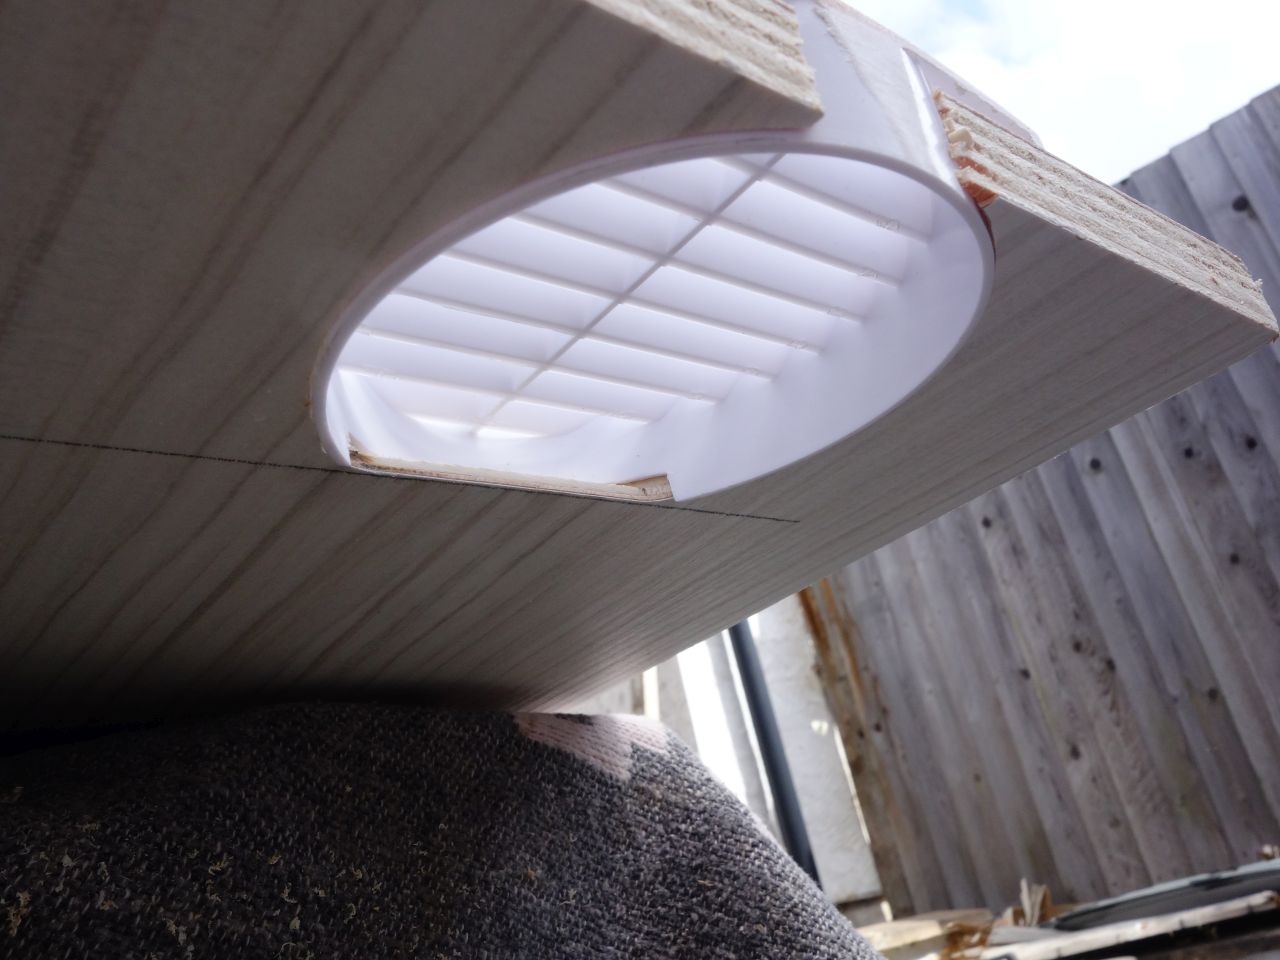
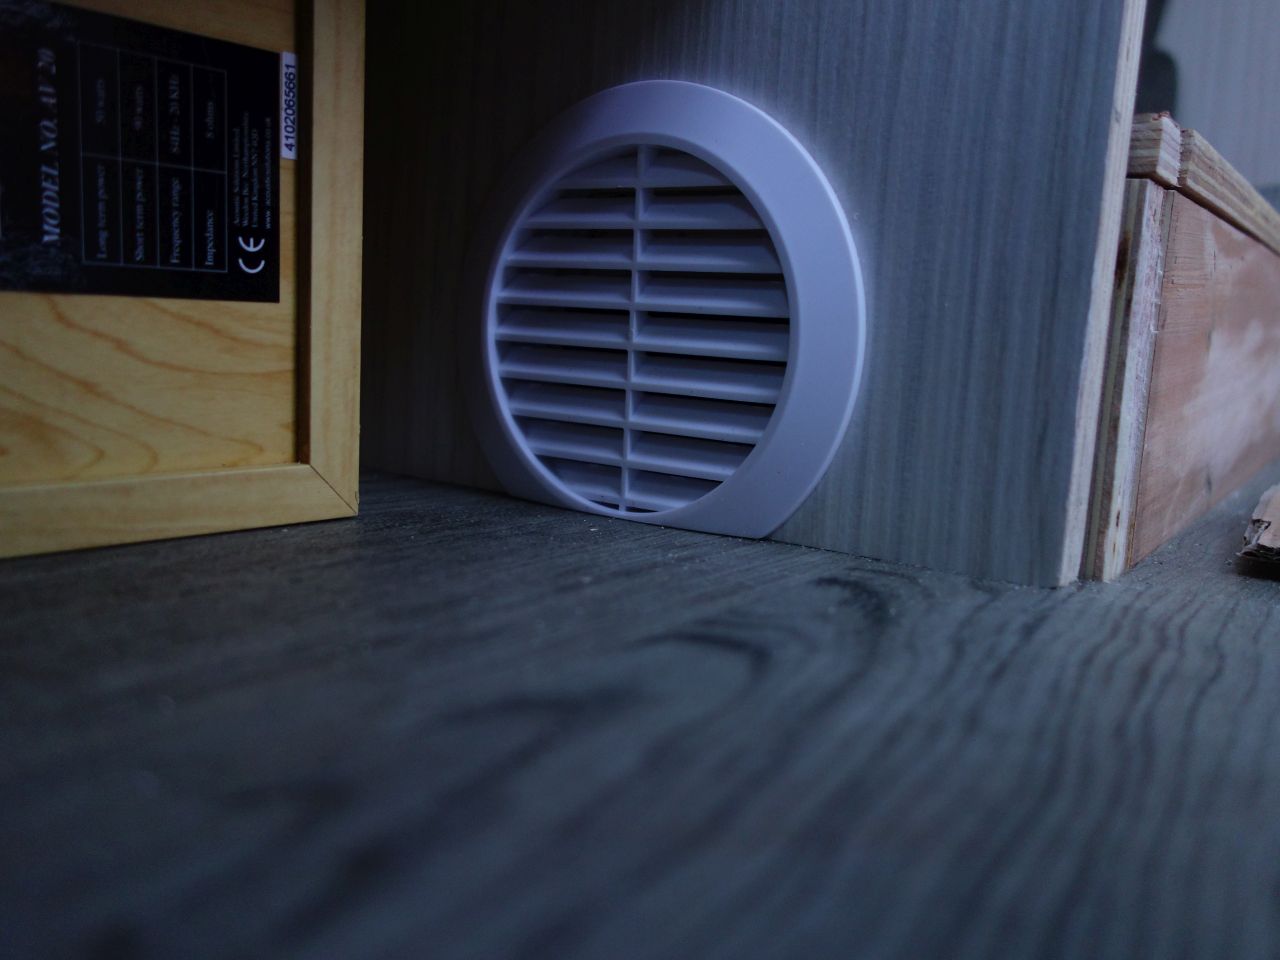
The inlet vent as finally installed.
Getting exciting now!