There is enough room under the plastic trim to insulate the ‘B’ pillars with self adhesive ‘Thermoliner’ foam. The seatbelts in our van are built into the seats, so we could cover the whole thing, just cutting it away where the mounting clips come through.
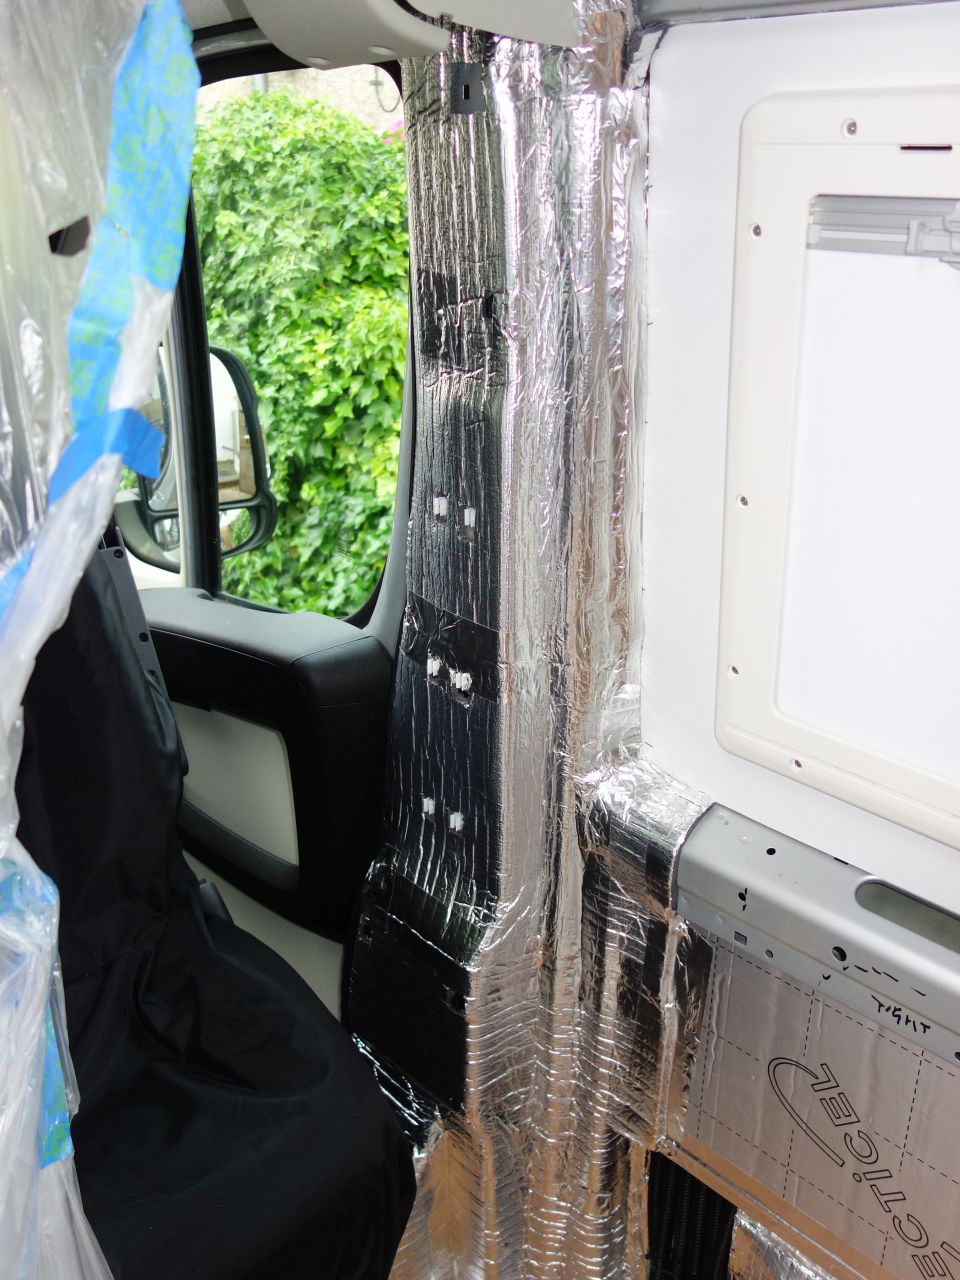
The rest of the metalwork in that area and the tops of the sills were also insulated and everything sealed against moisturevapourwith aluminium foil tape. It would have been easier to insulate the metalwork around the window panel before the panel was fitted. (We live and learn…)
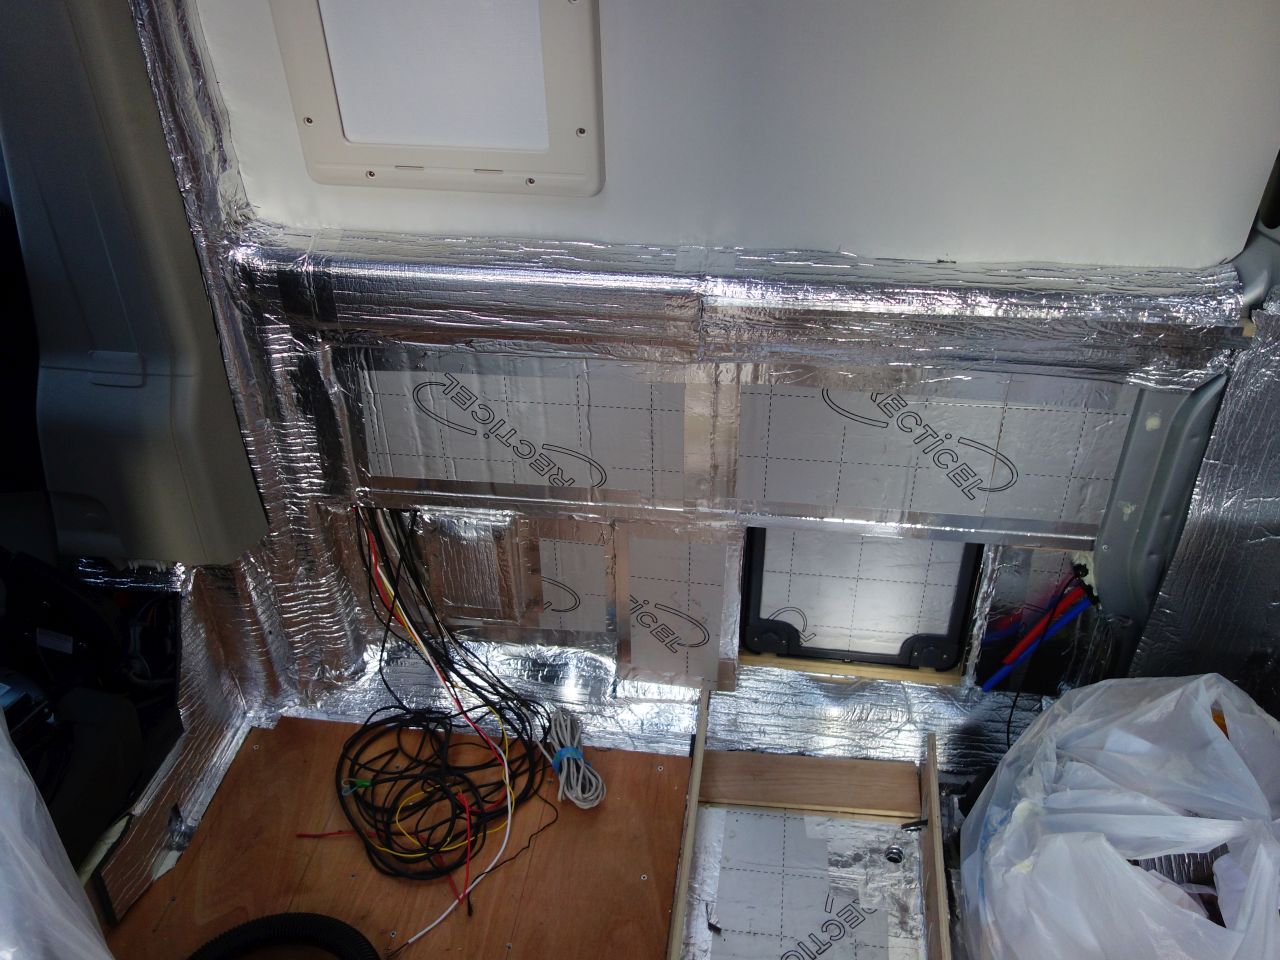
At about this point, I figured out that there was *just* enough room to fit a couple of Trojan 105 deep cycle batteries behind the driver’s seat, rather than smaller, AGM ones, under the fridge (which was where I’d fitted extra battens to support their weight). I really wanted to use the T105s if I could, so I took the floor up again to fit some more battens behind the driver’s seat.
Before I could continue fitting the toilet compartment, I needed to get the flooring down. We agonised for a long time about what flooring to use, and I travelled miles between every carpet / flooring shop in the county (or so it seemed) looking for suitable offcuts. In the end, we bit the bullet and ordered some Altro industrial flooring. Very hard wearing, but also expensive!
The floor was given a couple of coats of varnish each side to seal it and screwed down for the last time. I filled all of the screw holes in case they showed through the Altro.
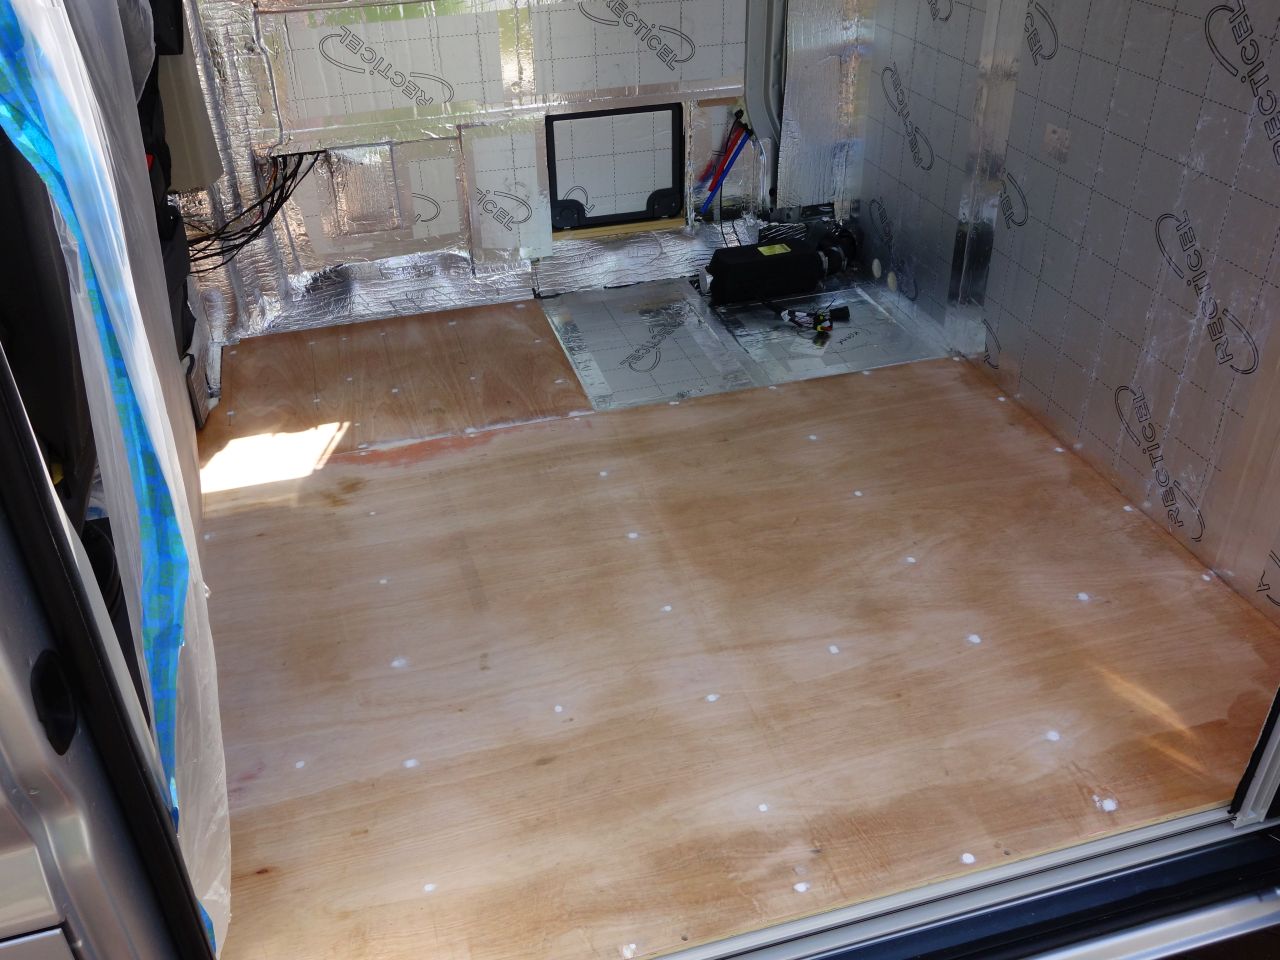
The flooring was cut to size and loose laid in the van and given a few days to ‘rest’.
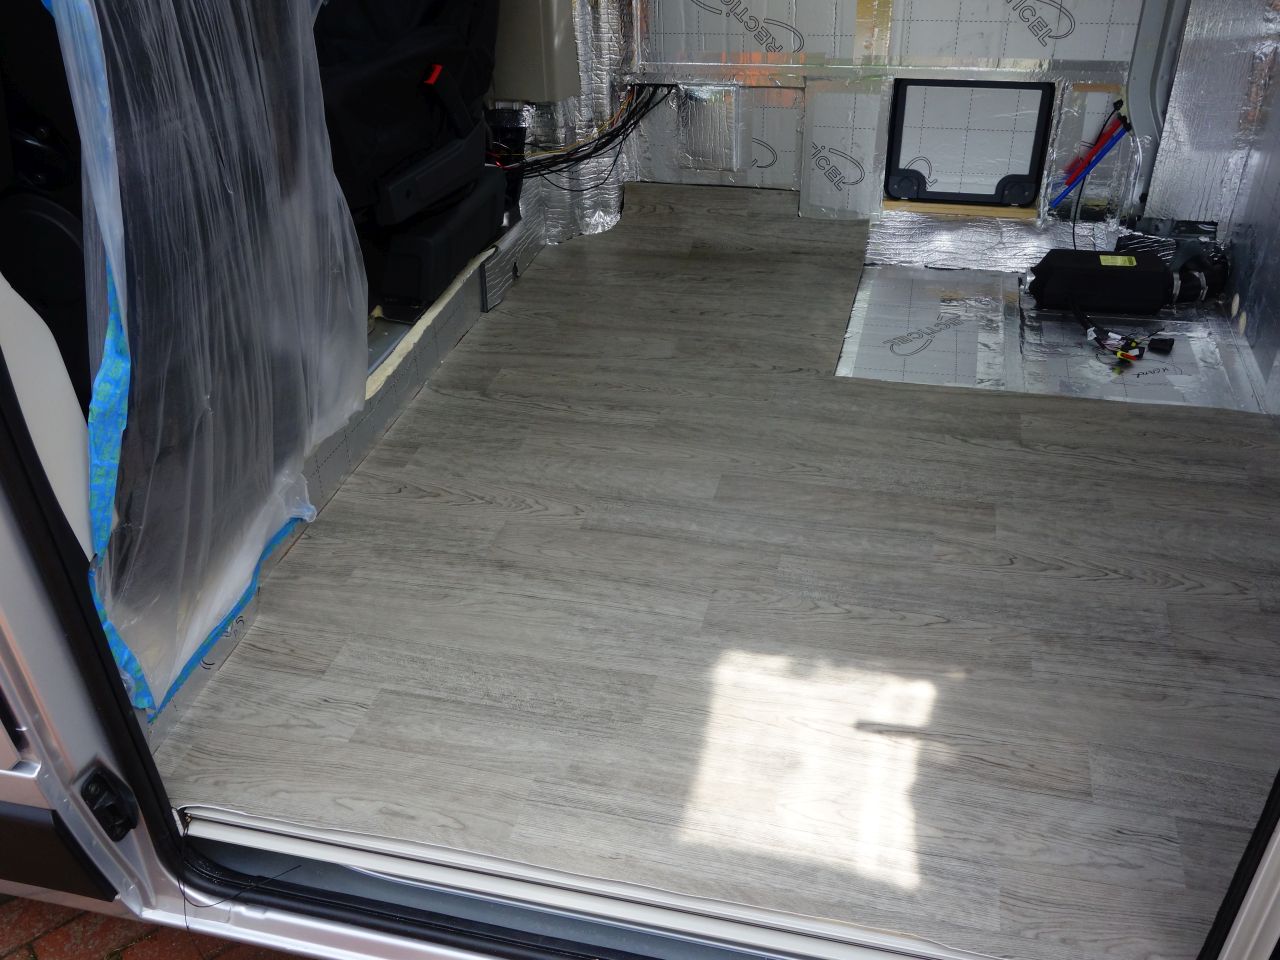
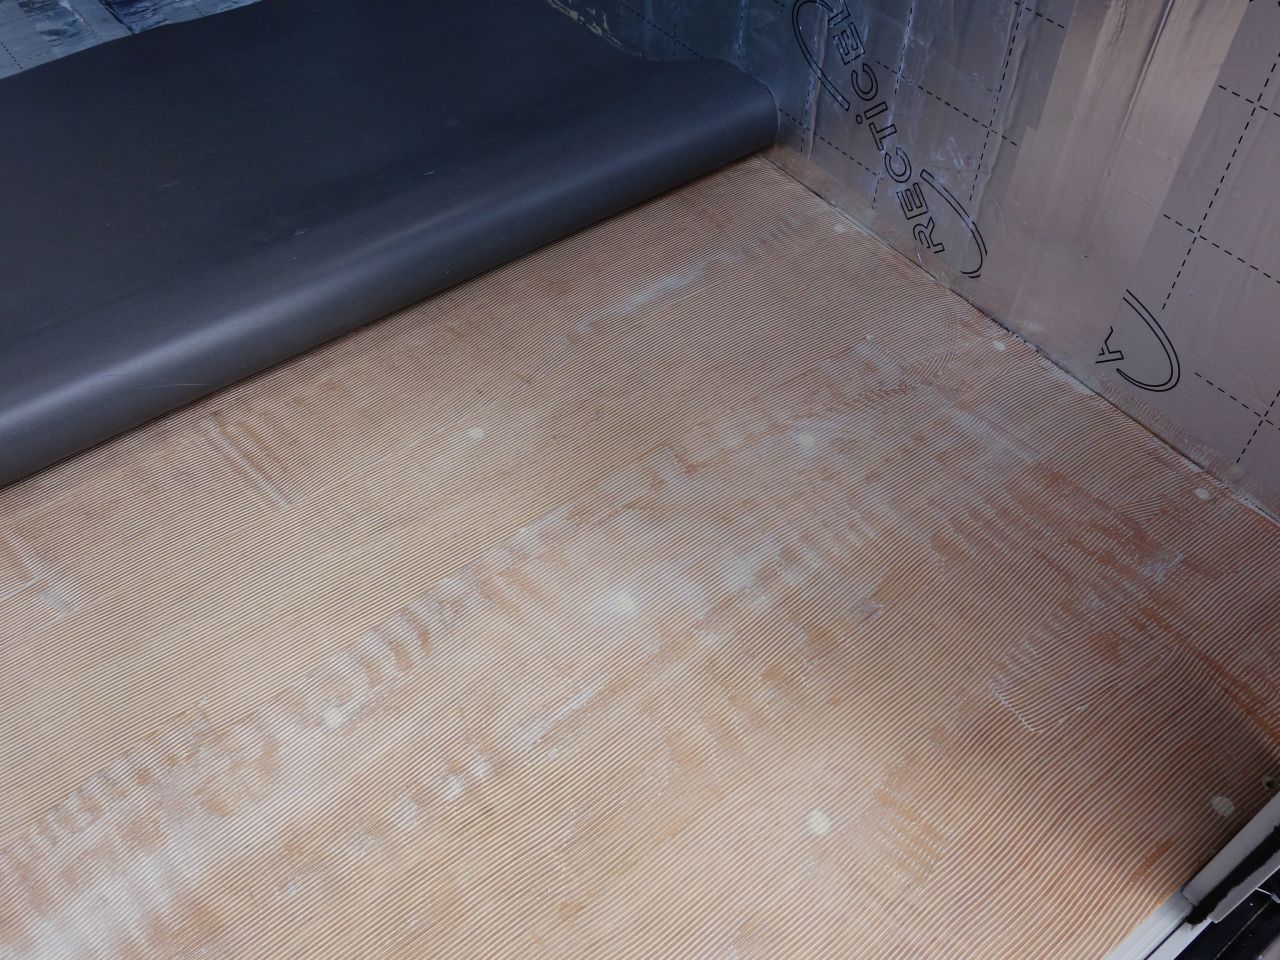
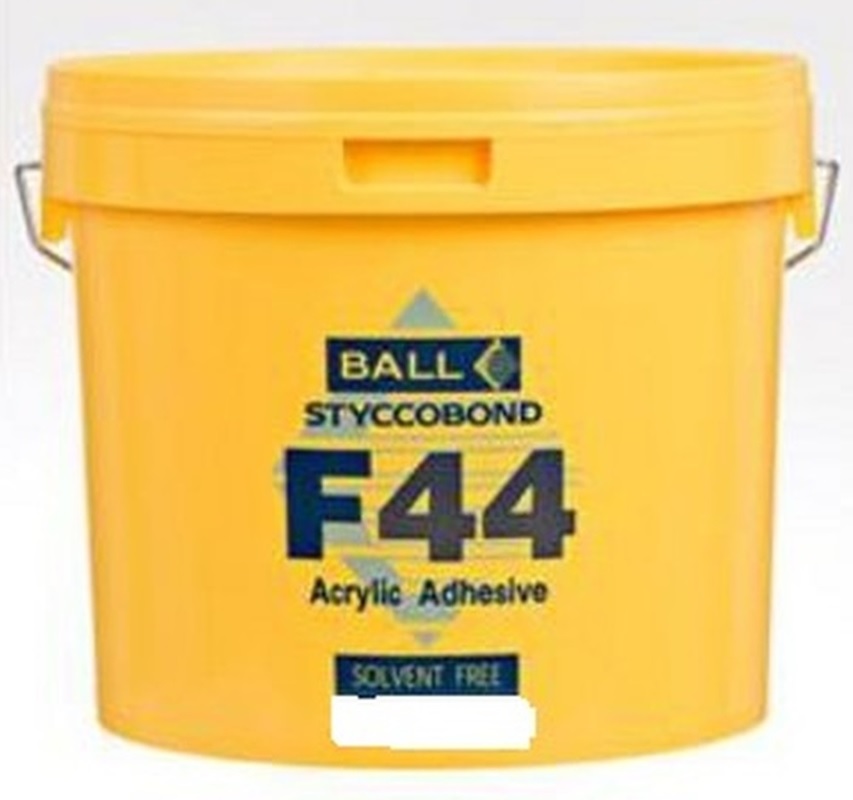
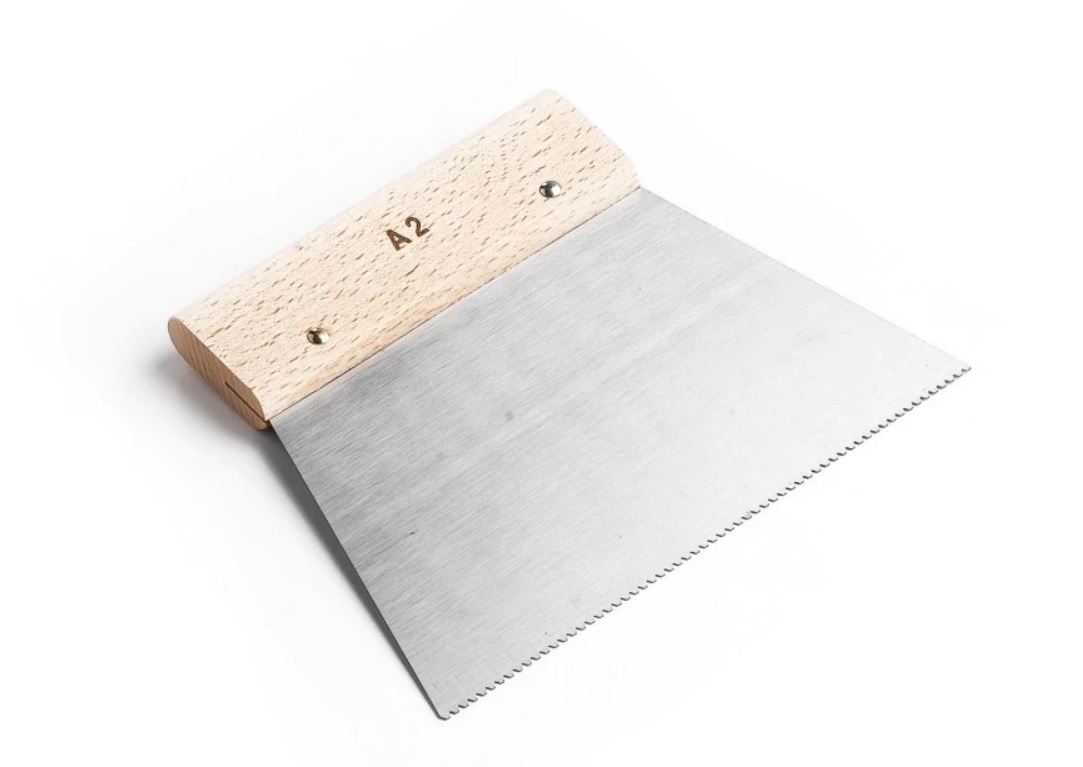
The adhesive recommended was Ball Styccobond F44 (solvent free acrylic), and I was encouraged to buy the correct fine toothed spreader, rather than relying on the little square of notched plastic that usually comes in the tub.
I have to say, that they both worked very well. We folded half the Altro back, spread the adhesive on the floor, and once it had turned clear and gone tacky, just rolled the flooring into place and treaded it down with foot pressure (like a demented space invader working from side to side while slowly advancing down the van!)
Then repeat for the other side: (The adhesive in the photo has just been spread, and needs to dry quite a lot before rolling the flooring down onto it.)