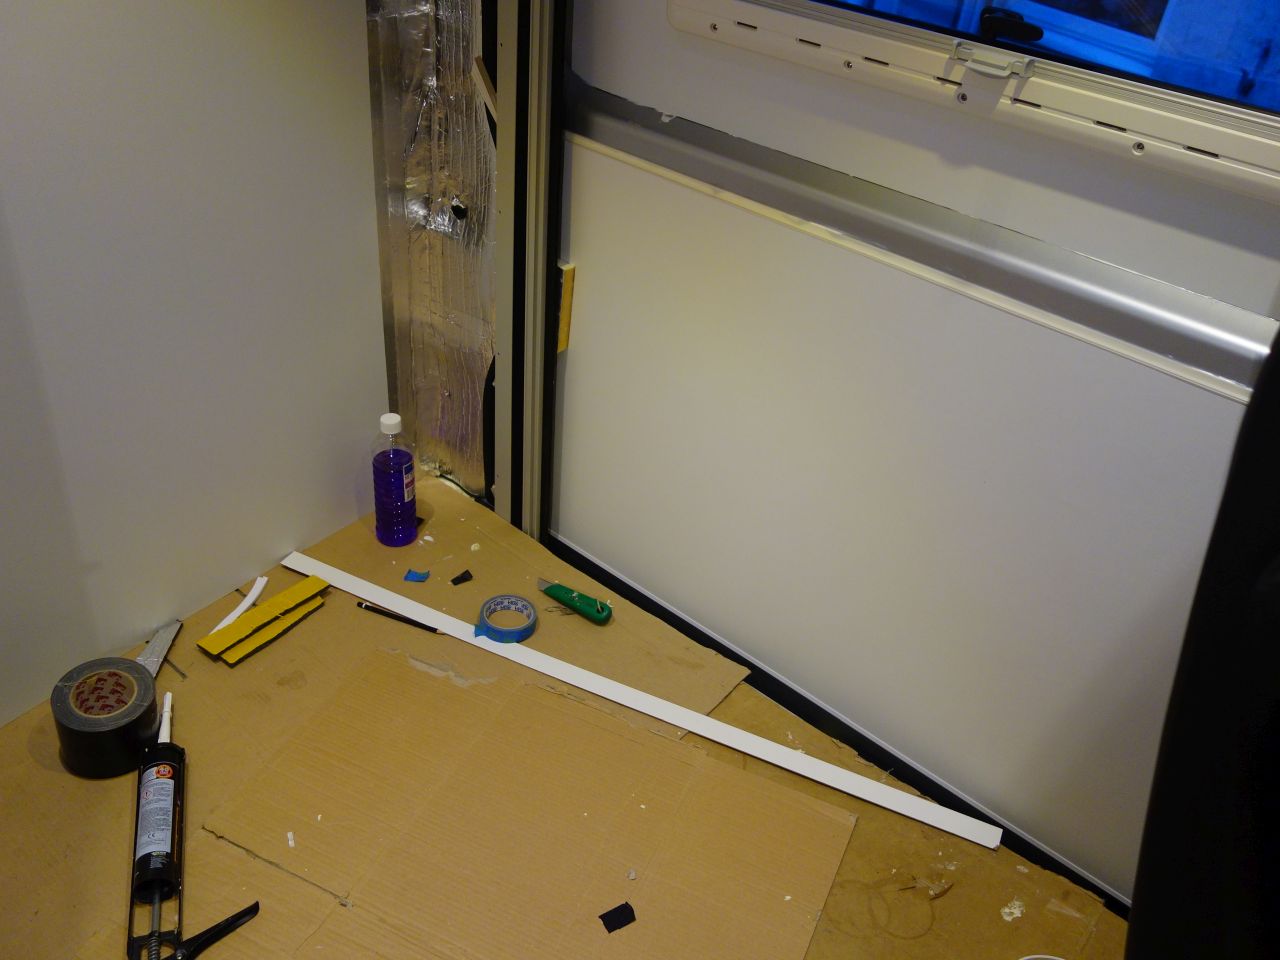
I was looking for ideas for lining the side loading door. The default idea was to cover it in Veltrim, but I wasn’t 100% comfortable with the idea because I was concerned about it getting wet at the top when the door is open, and collecting dog hairs, etc. at the bottom.
I eventually decided to get another couple of sheets of vinyl faced wall board from Morland – it’s not much dearer than plain ply (probably cheaper, once the cost of covering it is added…) and I was impressed with how durable the stuff that I’ve used for the ceiling is (just the extra 2 hrs round trip to pick it up…)
I wanted to cover the whole door but it’s just too wide (by ~100mm) to get out of the width of a sheet, so it needs to be made in two pieces with a join at handle height.
I thought about a continuous layer of foam on the back of it, but; a) I wasn’t sure about clearances; and b) I think it would be more efficient to stick the insulation to the metalwork, as there is already 25mm of PIR board in the door wherever possible and the foam could overlap onto this to completely cover the metal.
The original plan was to put a layer of Thermoliner (7mm closed cell foam) underneath the ply and finish off the edges with 12mm quarter round tile edging.
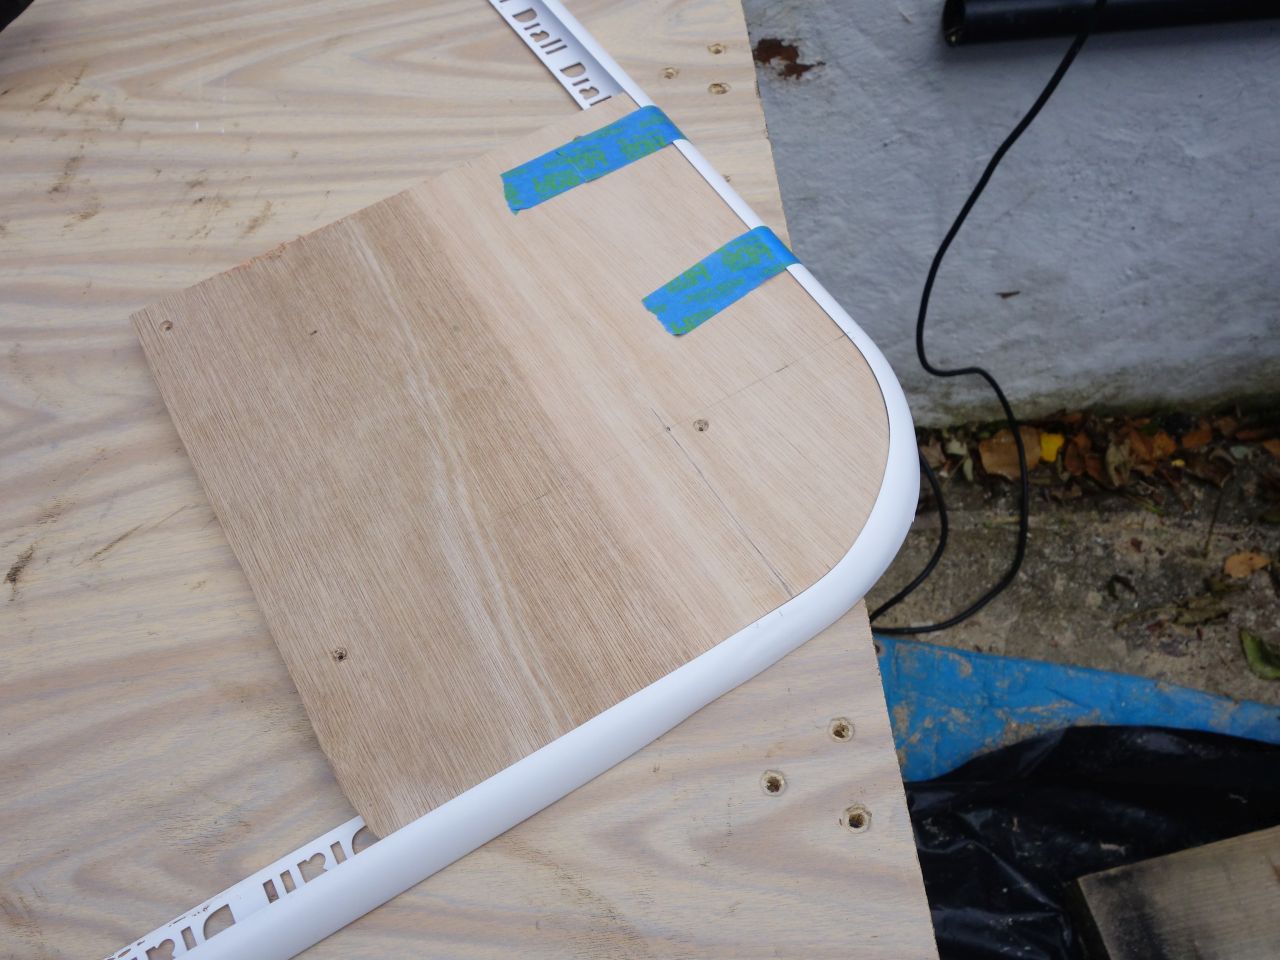
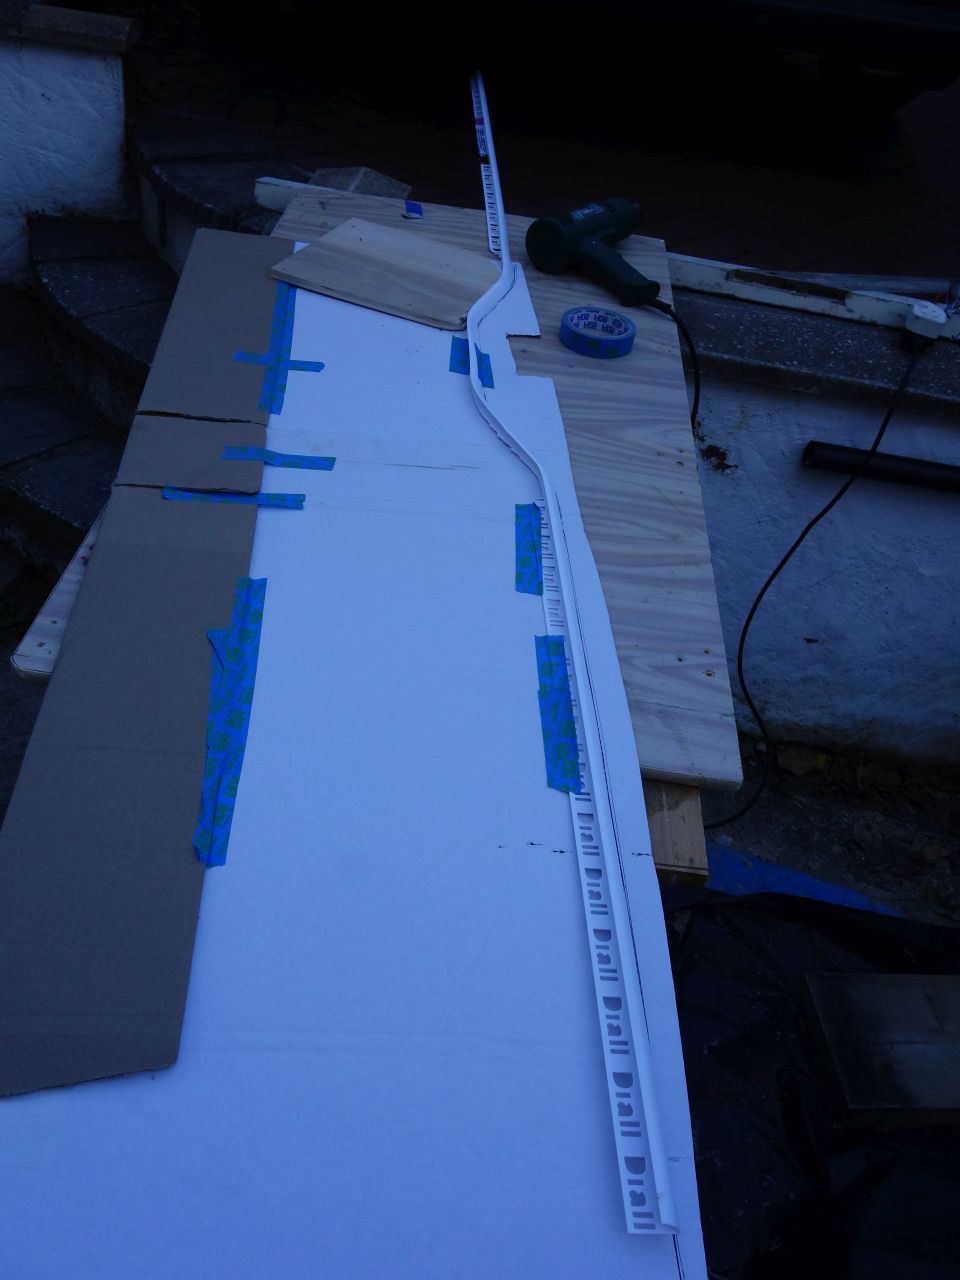
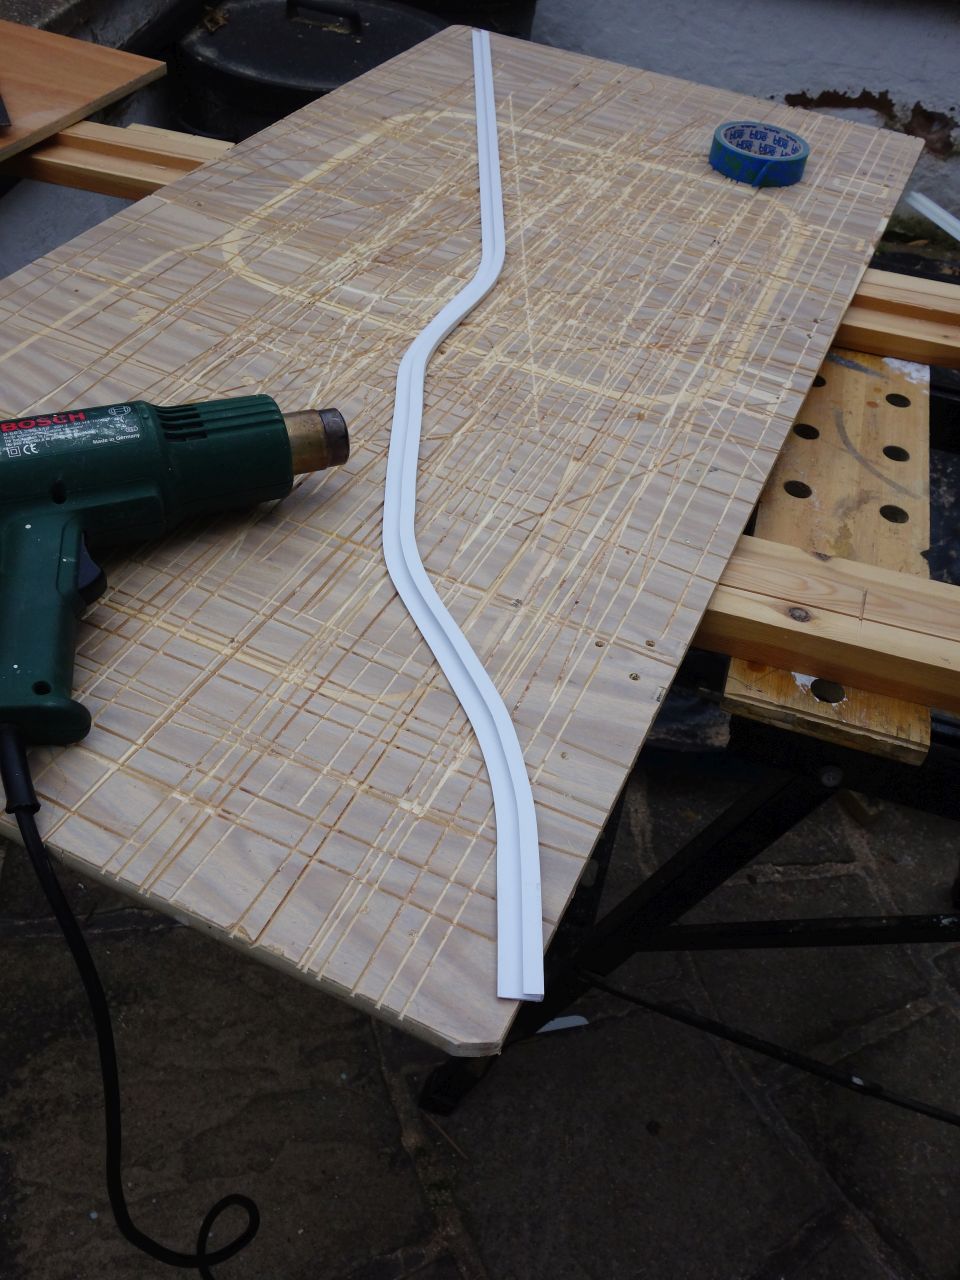
I made a cardboard template of the door opening and then made wooden formers to heat bend the trim around the corners with a hot air gun.
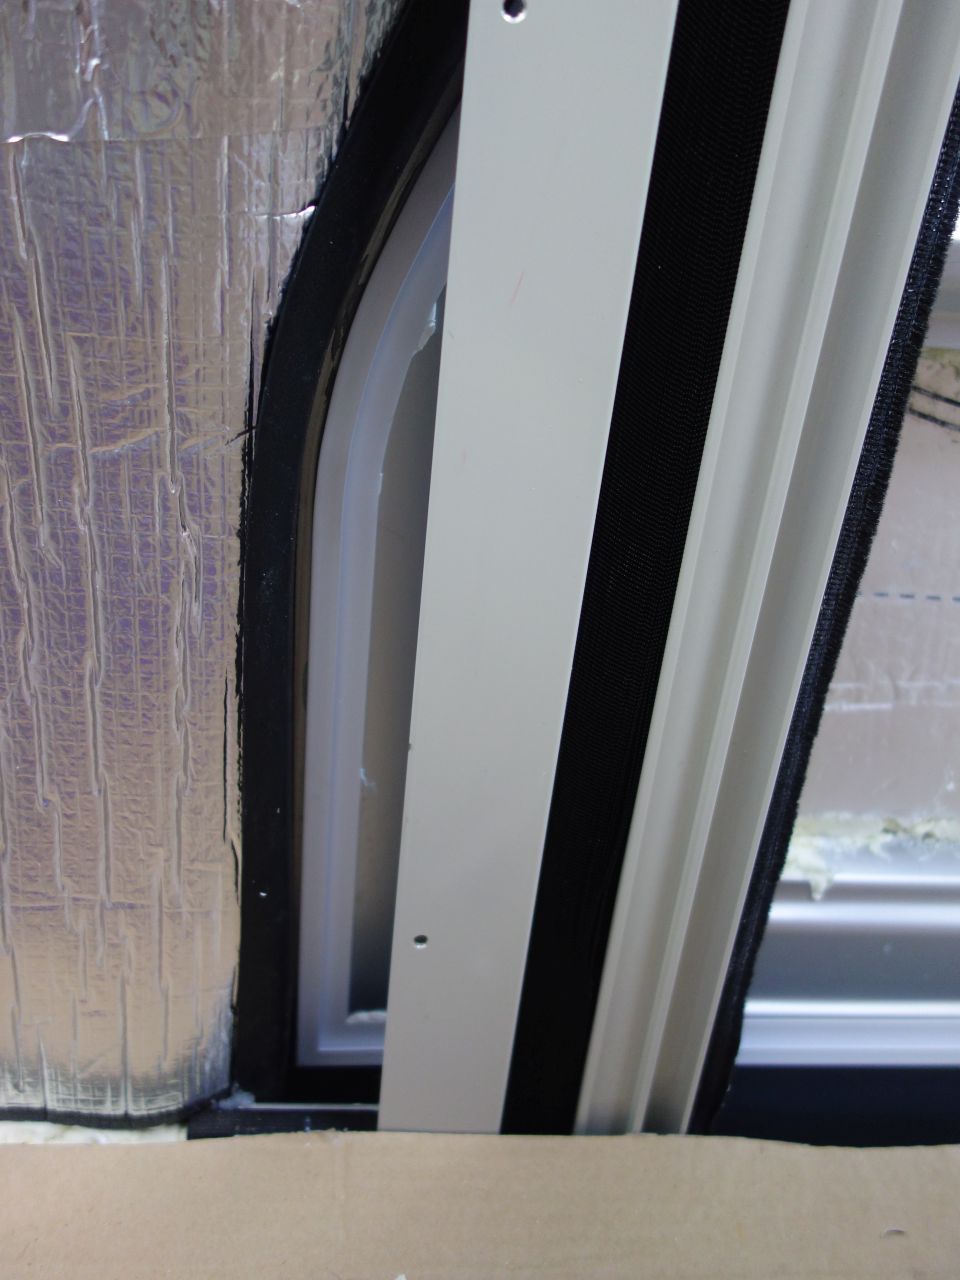
All was looking good, until I tried the ply panel & insulation on the door. Unfortunately, there wasn’t enough clearance between the panel and the screen door that I’d fitted for the door to close!…
Rats!
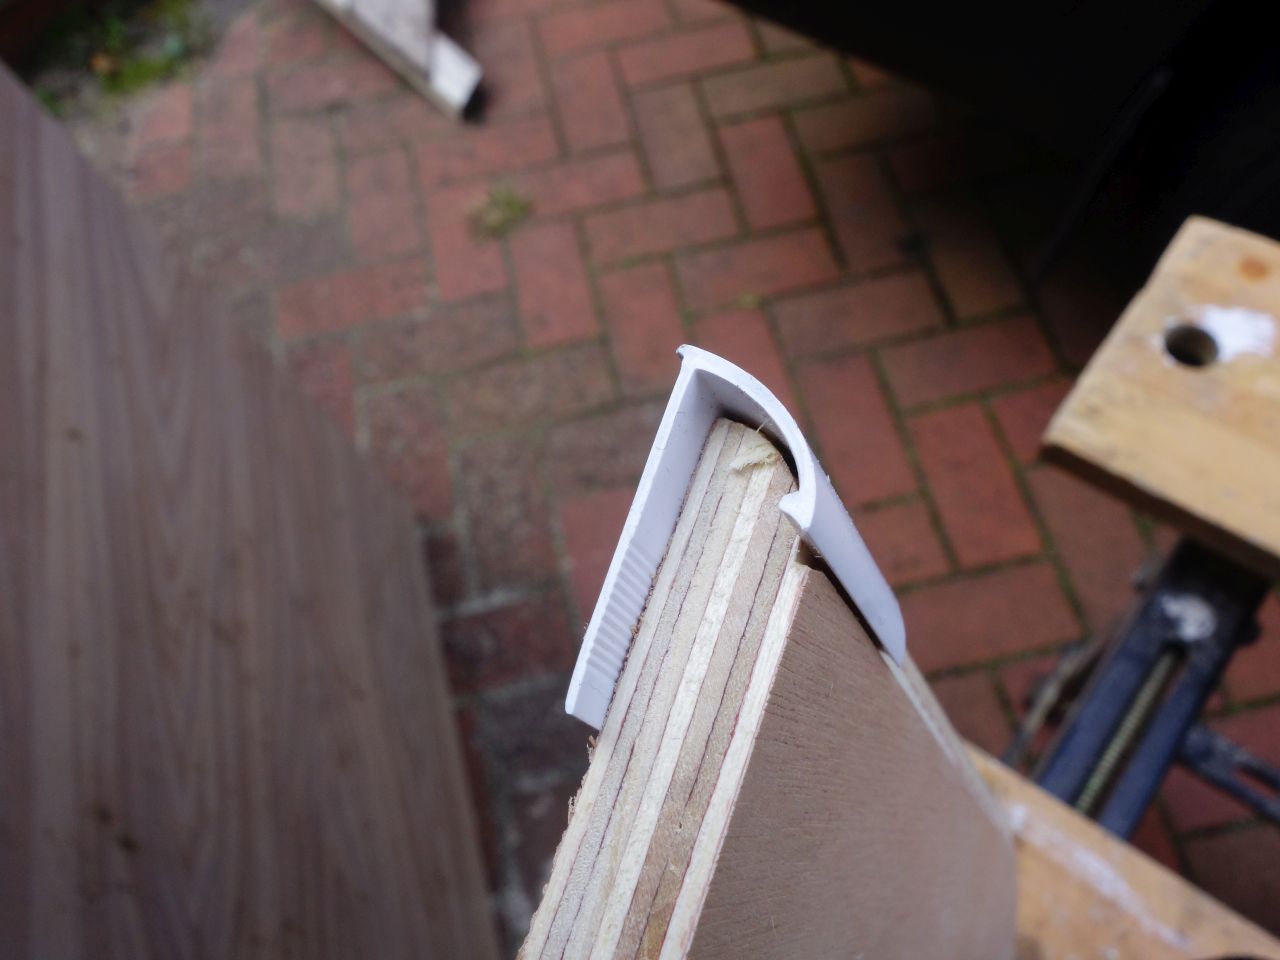
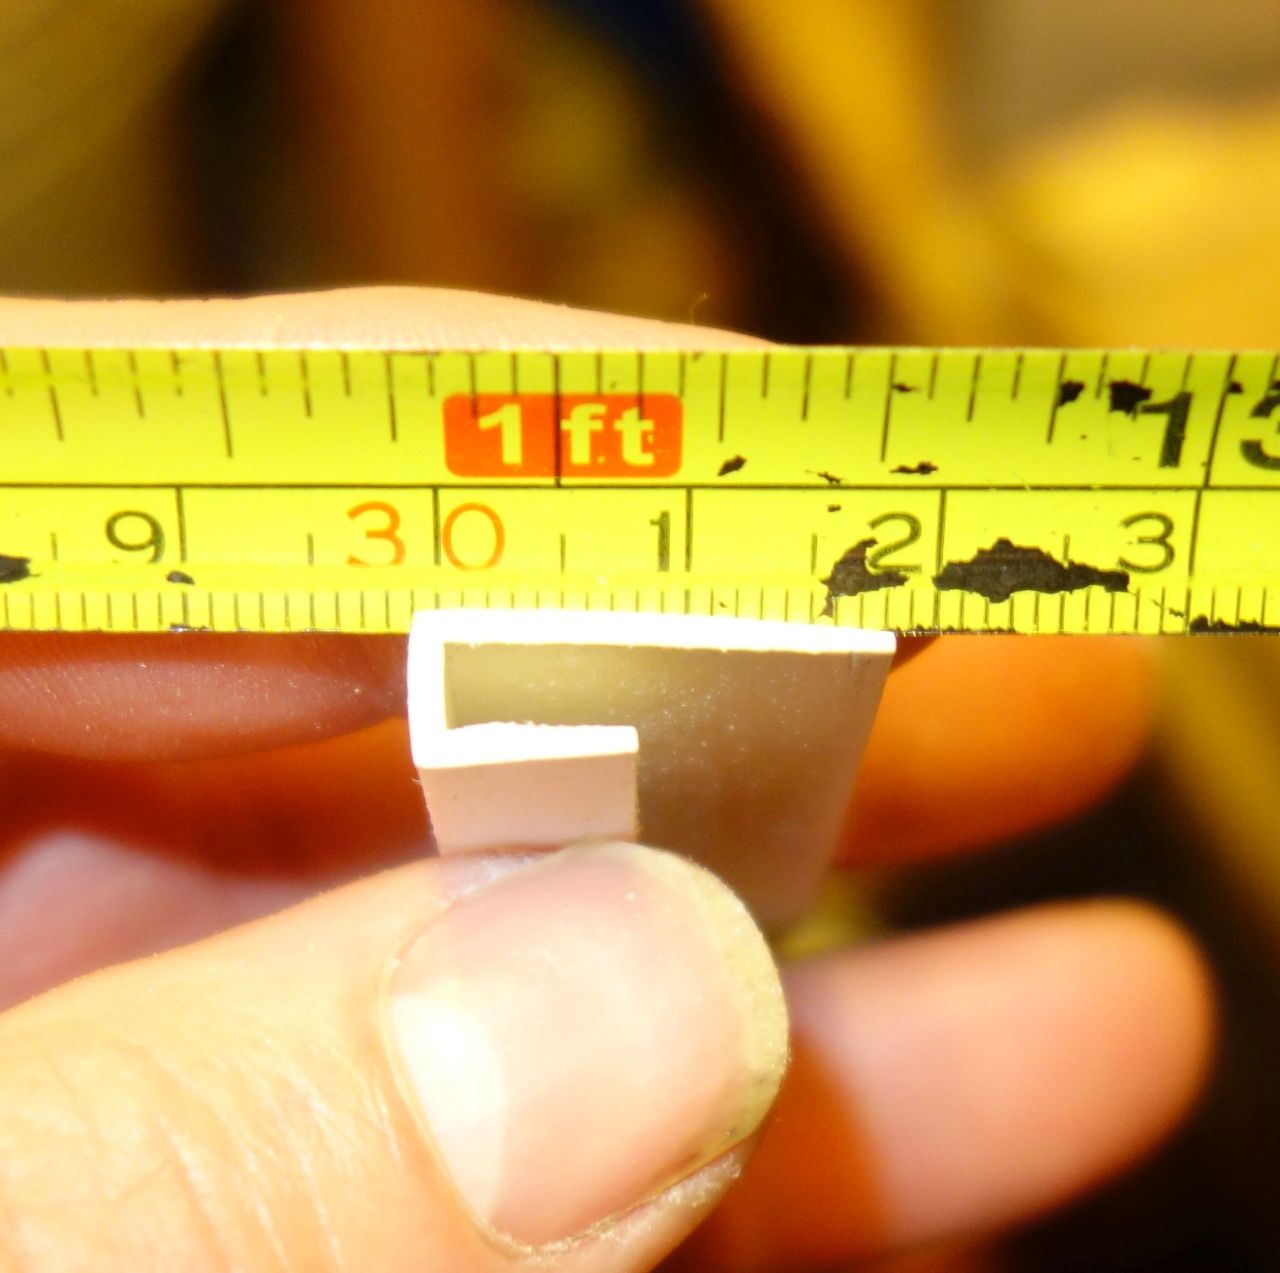
So it was back to square one with a plain ply panel and ‘U’ shaped edging (again, heat formed over (more) plywood templates for the corners).
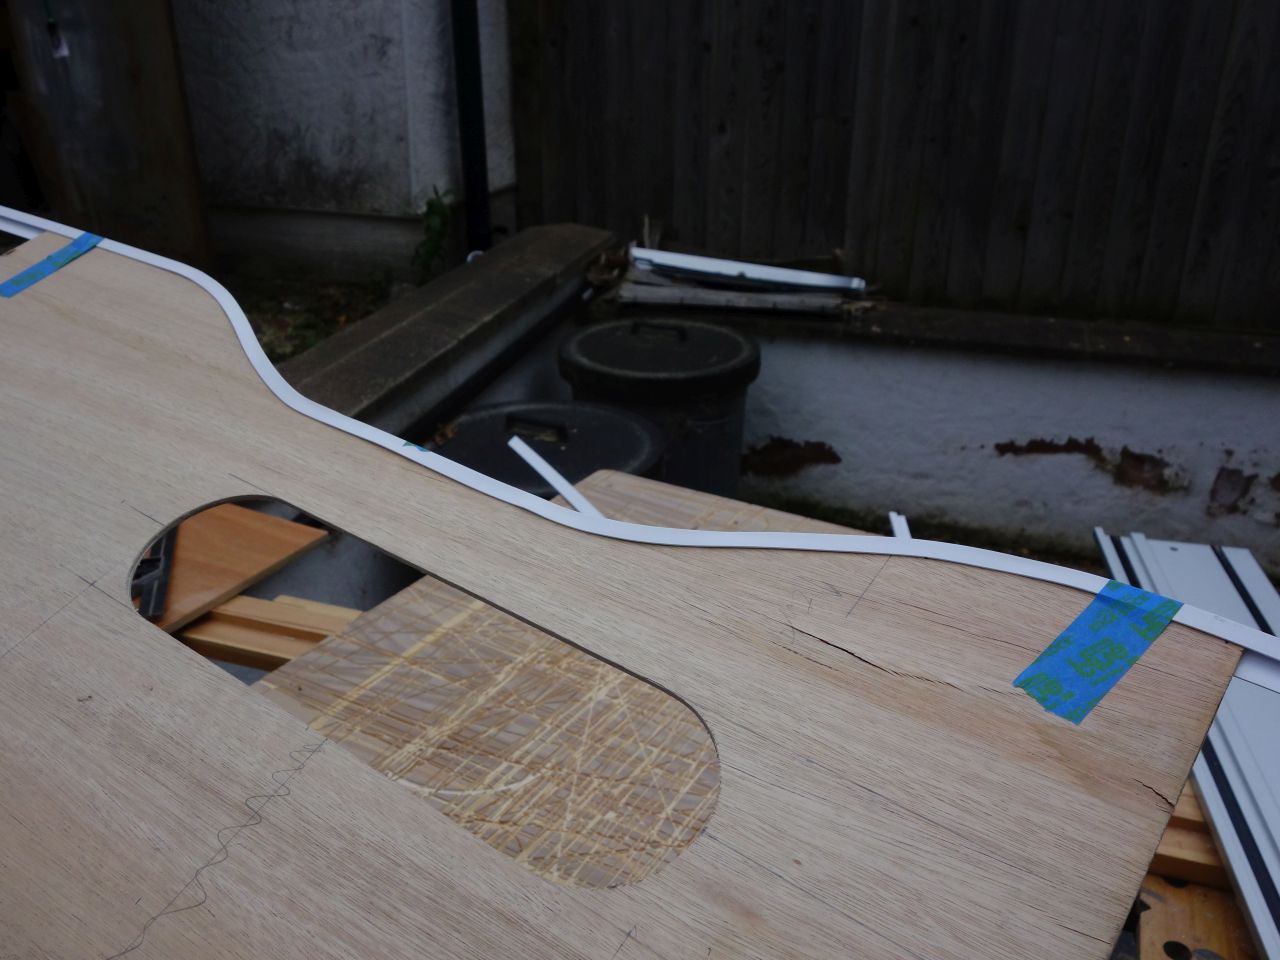
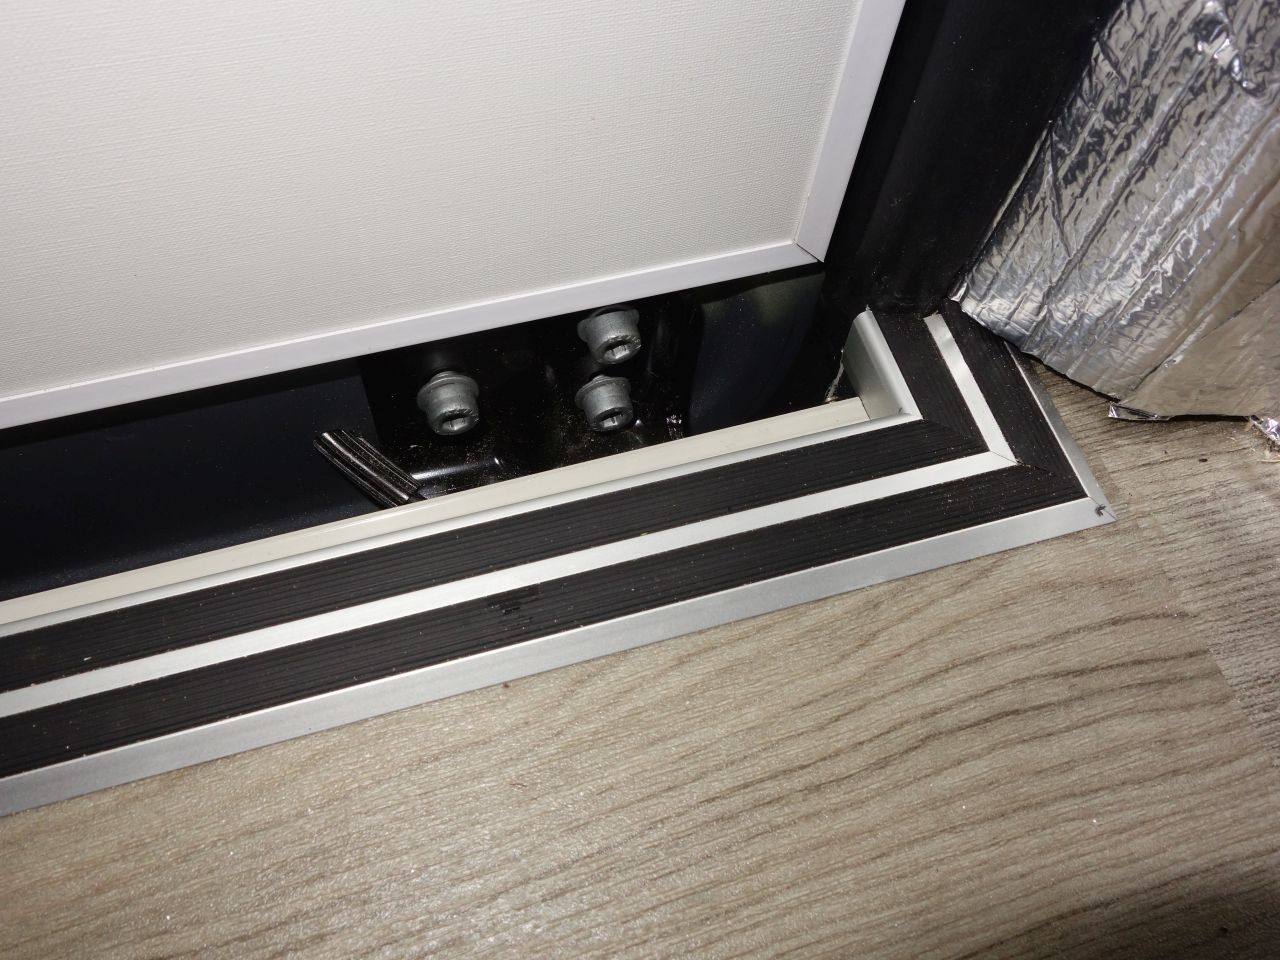
The edging I used came from the local builder’s merchant (about £3.50 per length) – it has one long edge which gives a decent area to glue to the metalwork.
I wanted to make the lower panel removable for access to the gubbins inside the door – I glued the edging only to the door along the back and bottom edges, with a separate piece of edging glued to the front edge of the panel. This allows the ply panel to slot into the edging on the door and be held using the existing door furniture on the front edge and a capping strip (between the top and bottom panels) along the top edge.
I temporarily fixed the edging to the door with duct tape over the inside of the channel, made sure that the panel lined up properly then carefully hinged up the edging and put a bead of Stixall underneath before pressing the edging back down, refitting the panel & cleaning up any excess. The duct tape stopped any squeeze-out sticking the ply panel in place.
To stop the middle of the panel flapping around, I screwed a couple of buttonfix fittings to the door and bedded the panel onto them with Stixall when the panel was fitted.
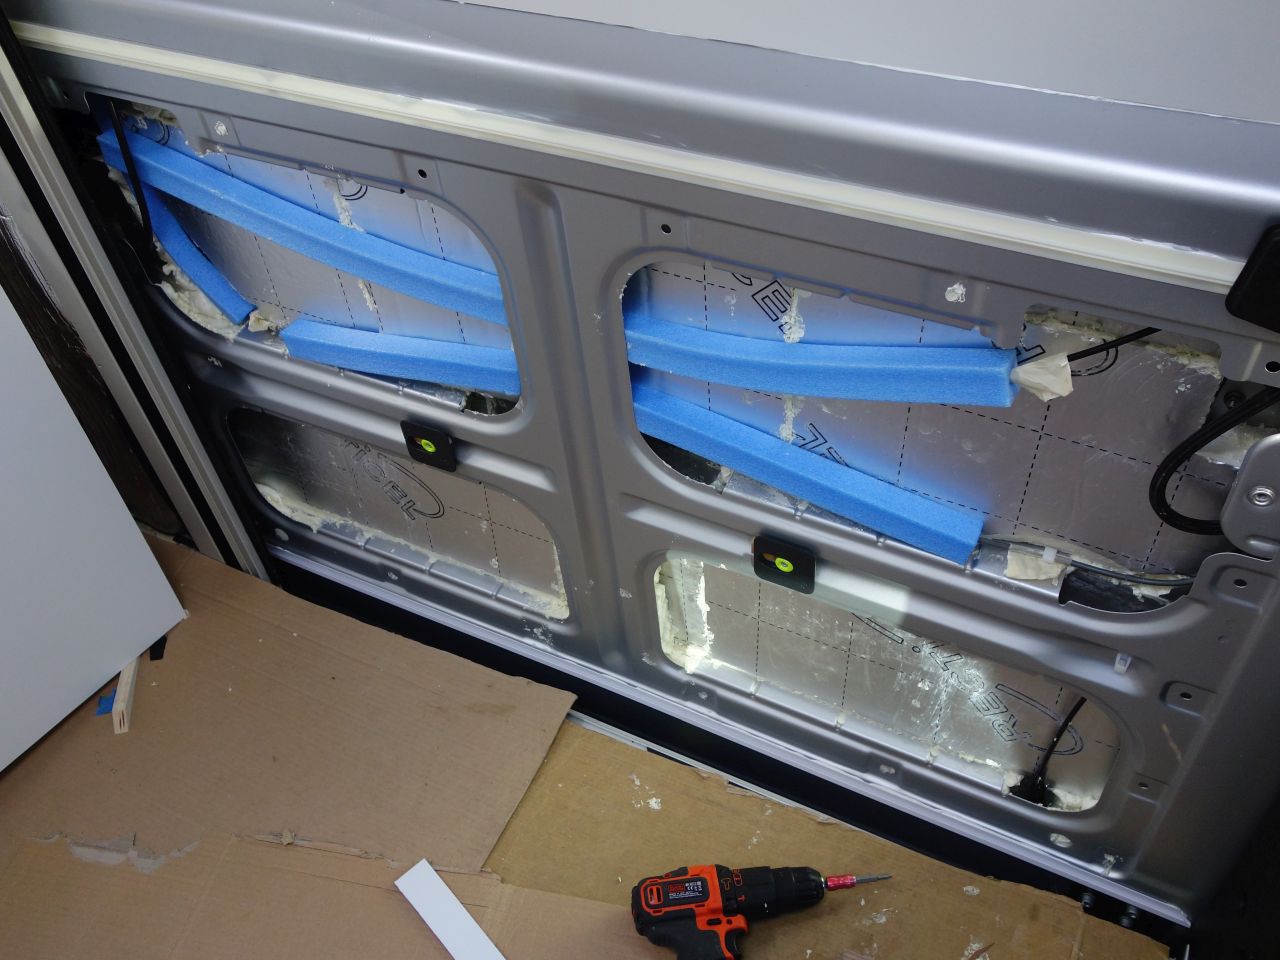
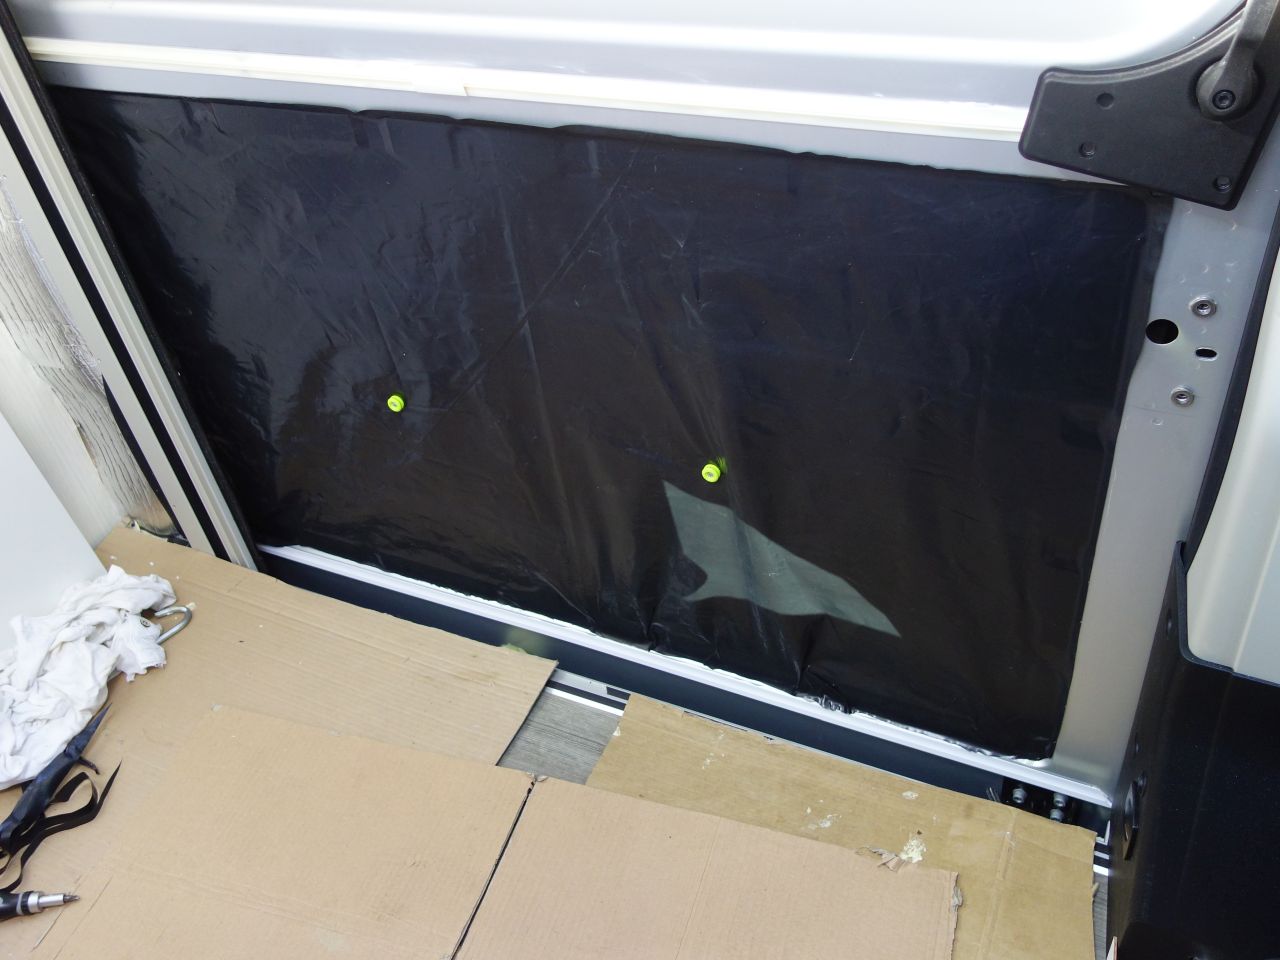
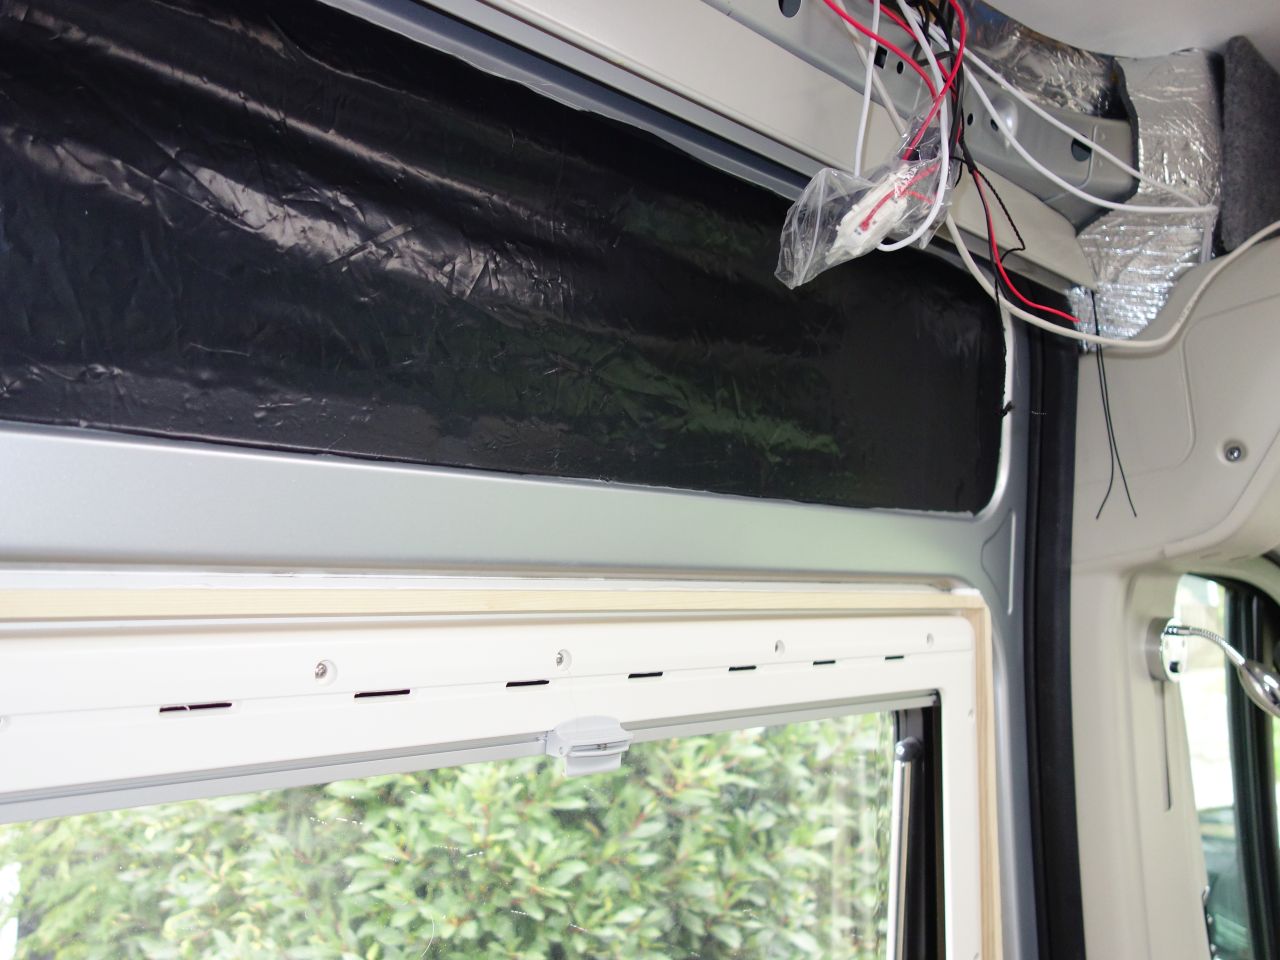
Next day, I could remove the panel and the buttons to fit a vapour barrier over the door opening (fixed with double sided tape around the edges)

I didn’t take the lining all the way to the bottom of the door – I finished it just above the lower door roller which meant that the bottom edge was a nice, straight run, and I could just use mitred corners
More vapour barrier over the top opening in the door:
The upper panel was just glued into place.
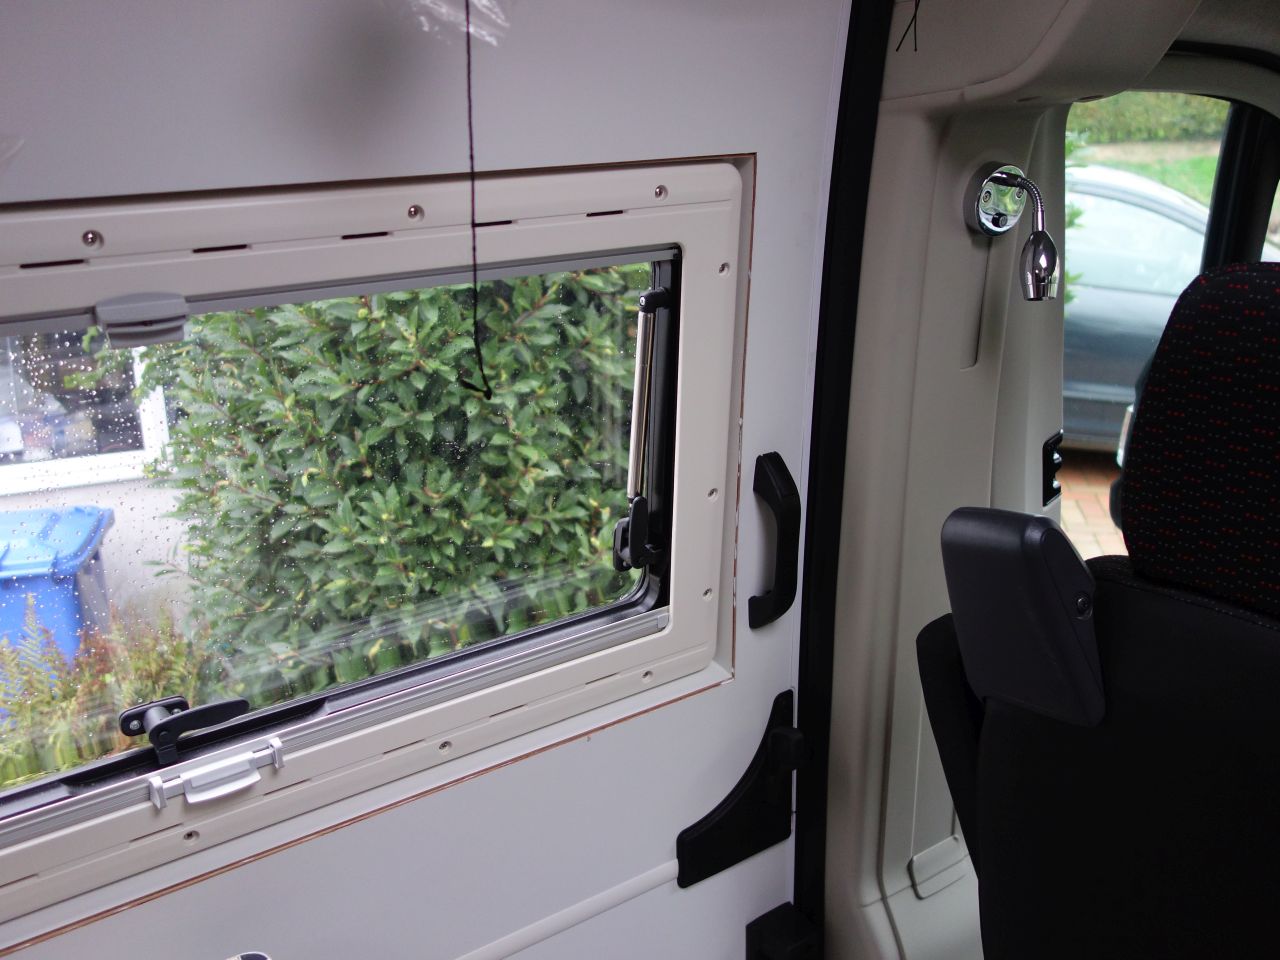
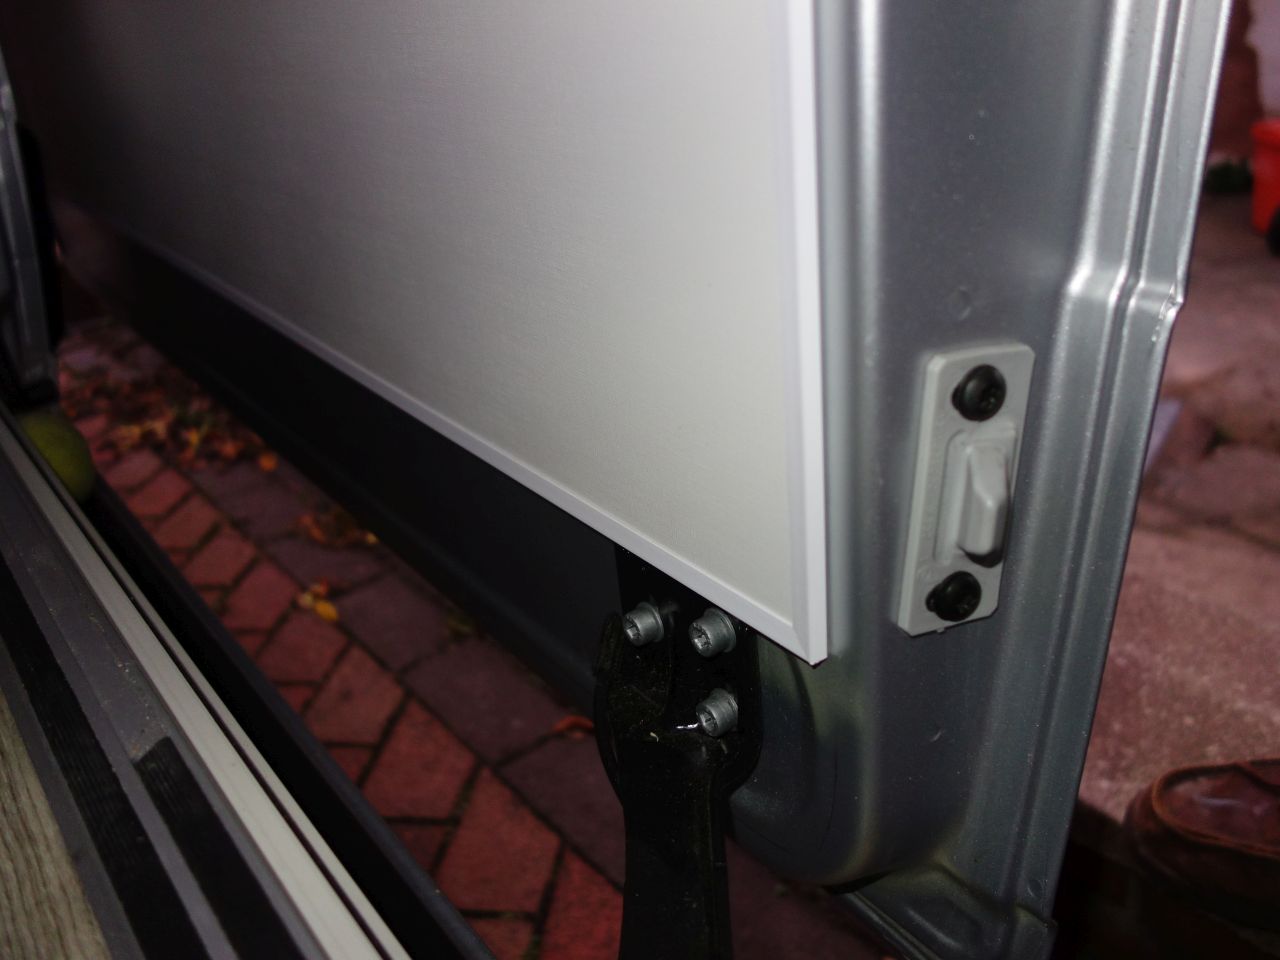
I bonded a block of thick plywood onto the front edge of the door recess. This had threaded inserts in it to take a closing handle from ebay:
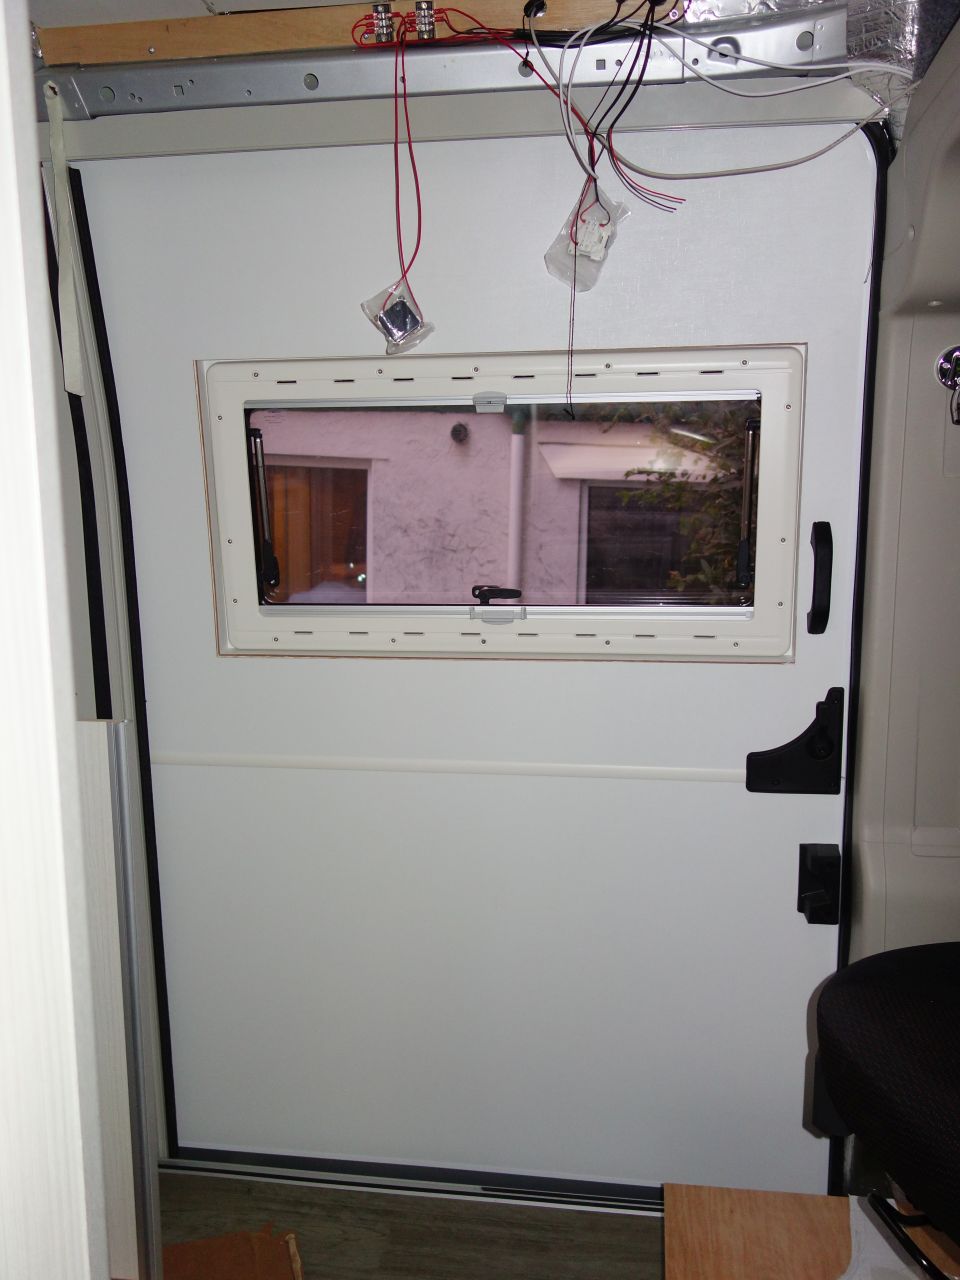
Pic of the whole door: (N.B. edging still needs to be fitted around window opening)