I looked around for something to adapt into the outer casing, but didn’t really find anything. I would have loved to use the a CV470 gas canister with the original markings intact, but it’s not a big enough diameter for this engine. I believe some people use the housing from a Land Cruiser oil filter, but I didn’t have one of them so I ended up rolling my own.
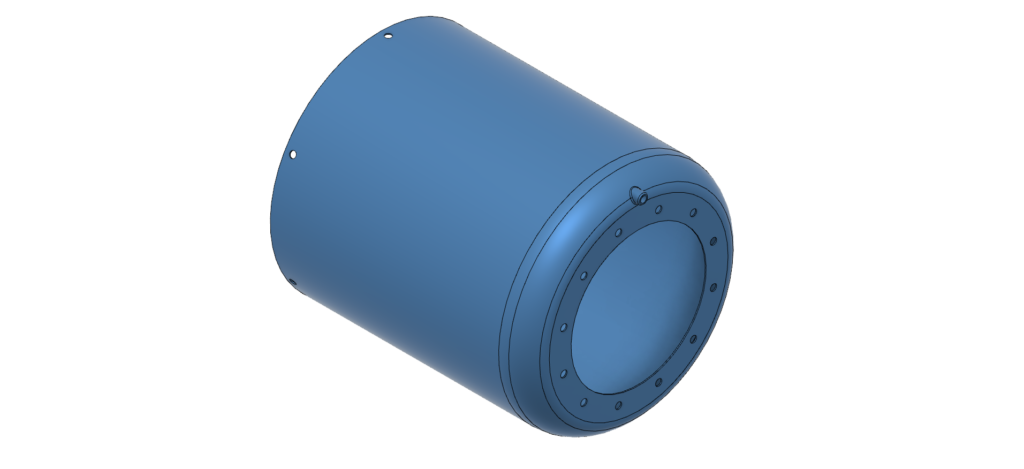
The overall length of the casing is critical as it determines the position of the NGV relative to the turbine. I decided to make the rear, curved section first and then make the front, parallel section to suit it.
Rear Section
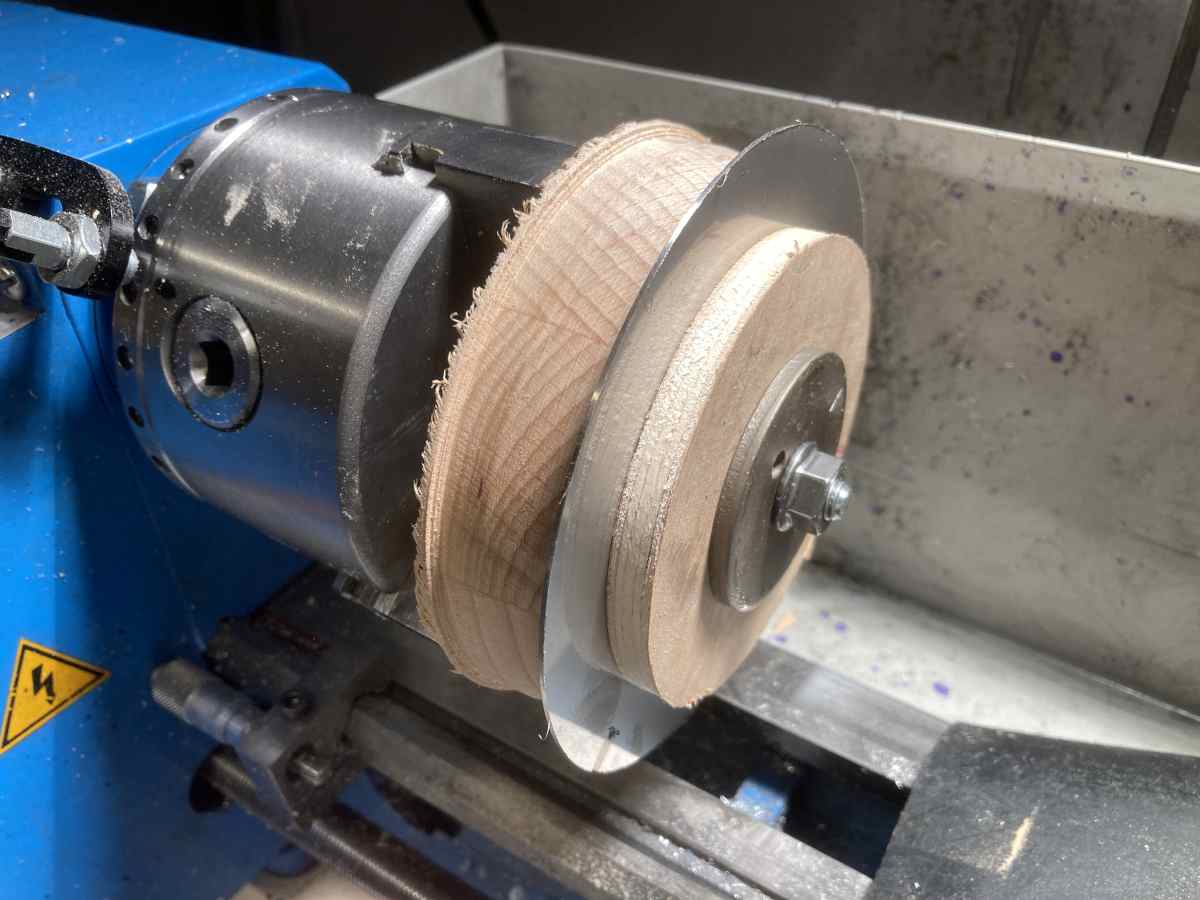
The rear section is 0.5mm 304 stainless spun over a wooden former. Again, I made two, as I let the first one get a little too far out of shape which resulted in it cracking.
The former was made with a flat area large enough the take the NGV flange, with the outside diameter to suit the ID of the casing. Between the two is just free-hand.
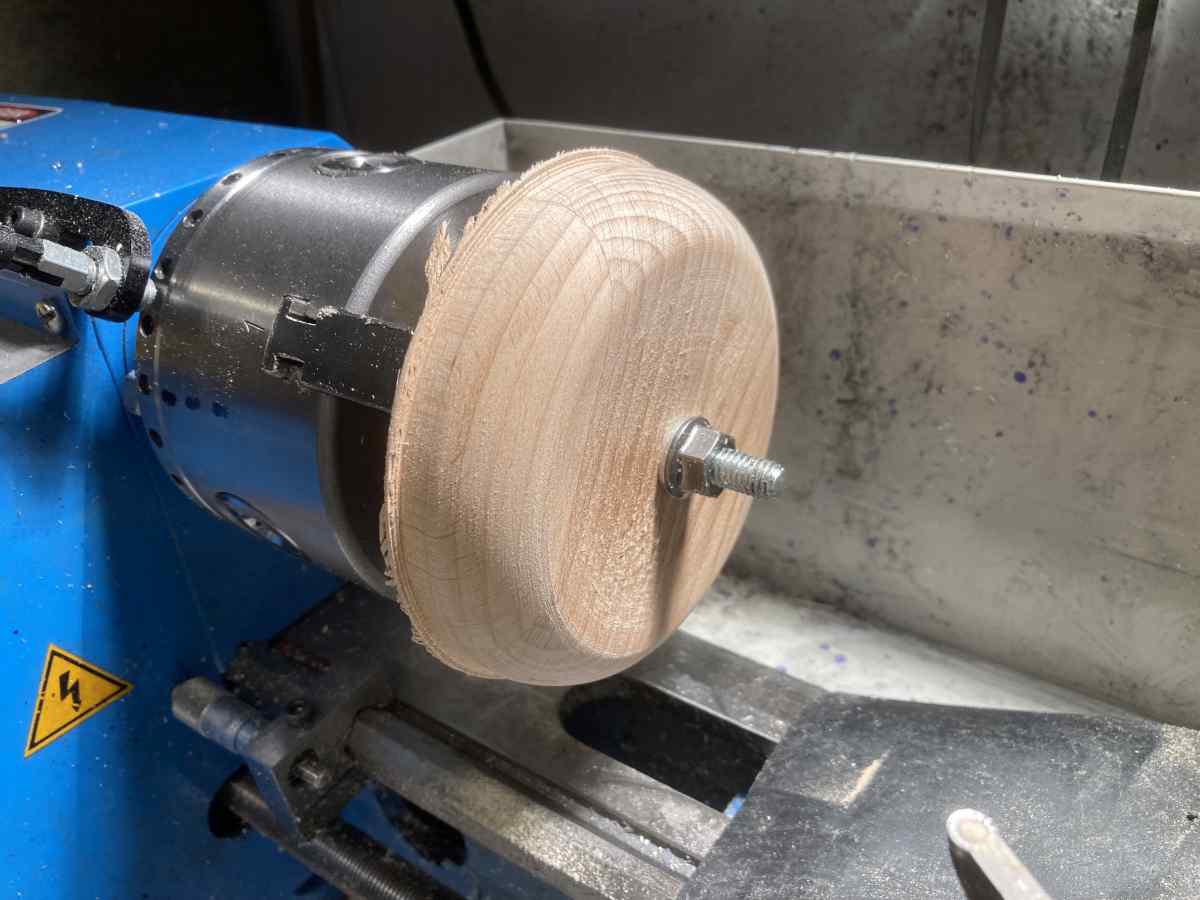
Let battle commence!
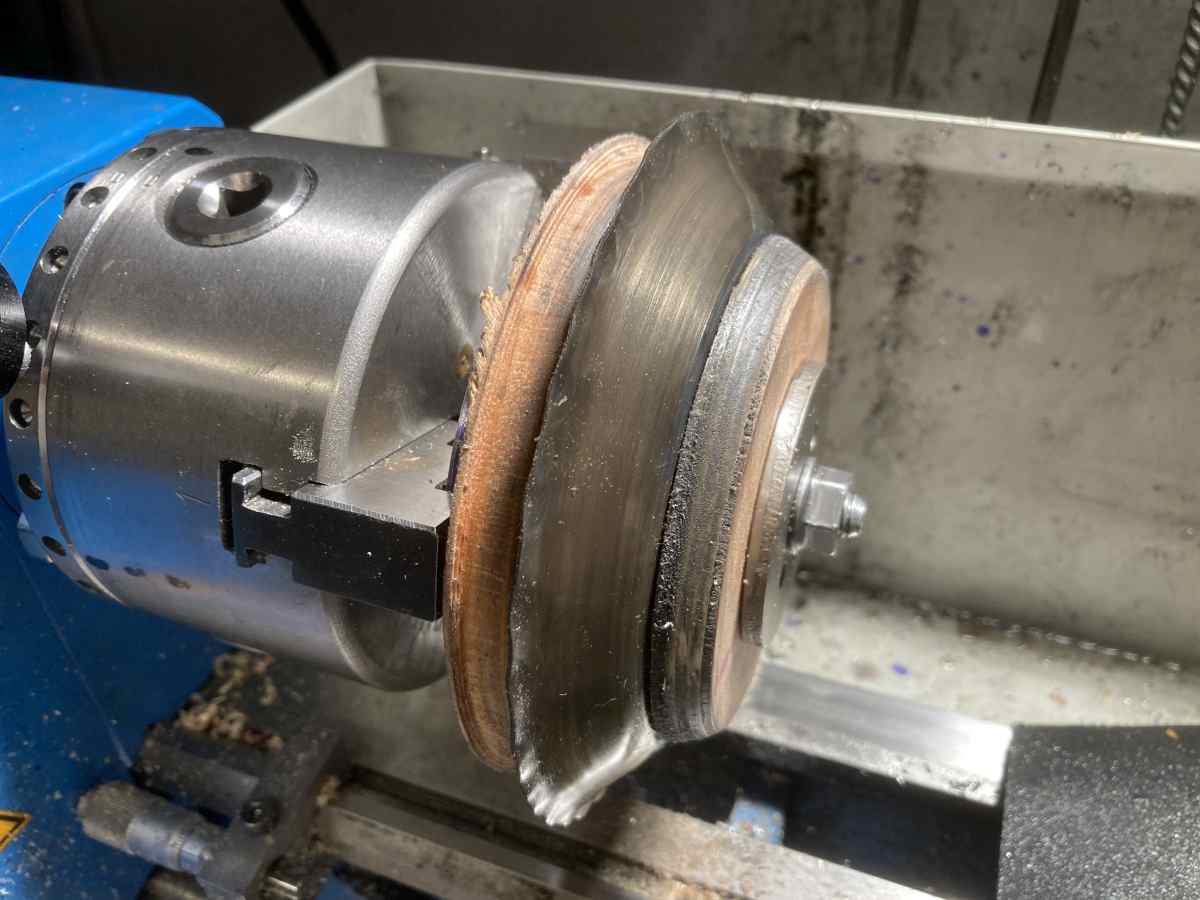
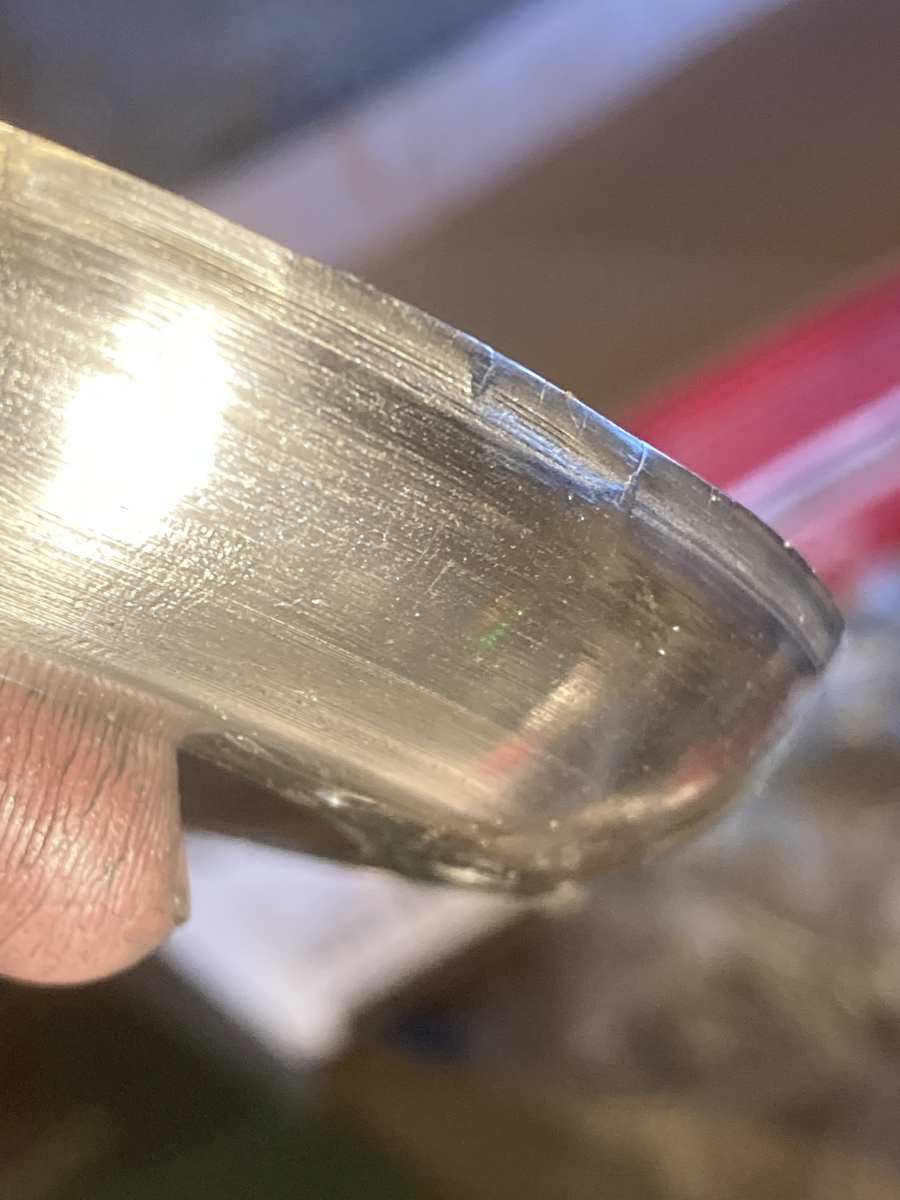
As the shape develops, ripples start appearing on the outside edge:
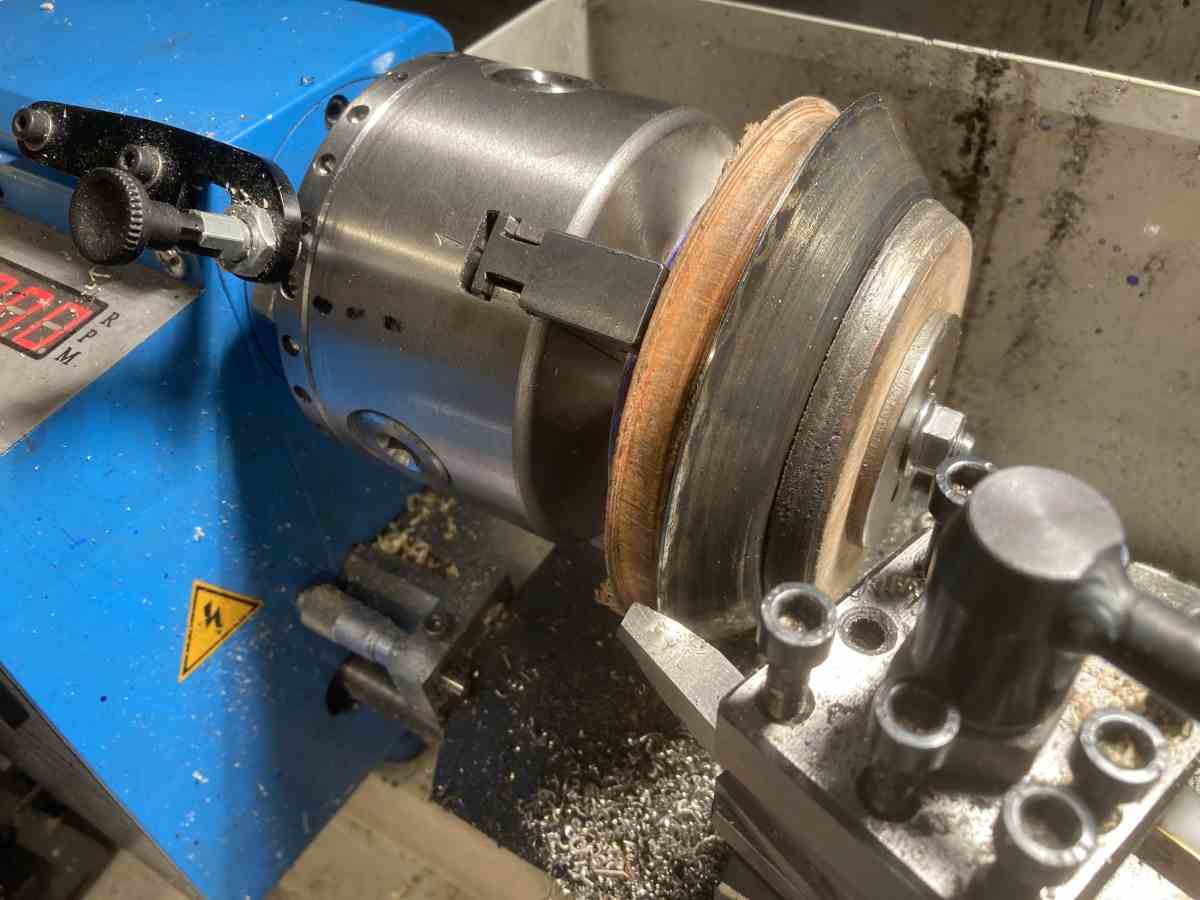
I made the blank a little bigger on the second try and when I got it to this stage, I trimmed the ripples off, rather than trying to flatten them (the lathe is running backwards here, with the tool upside down):
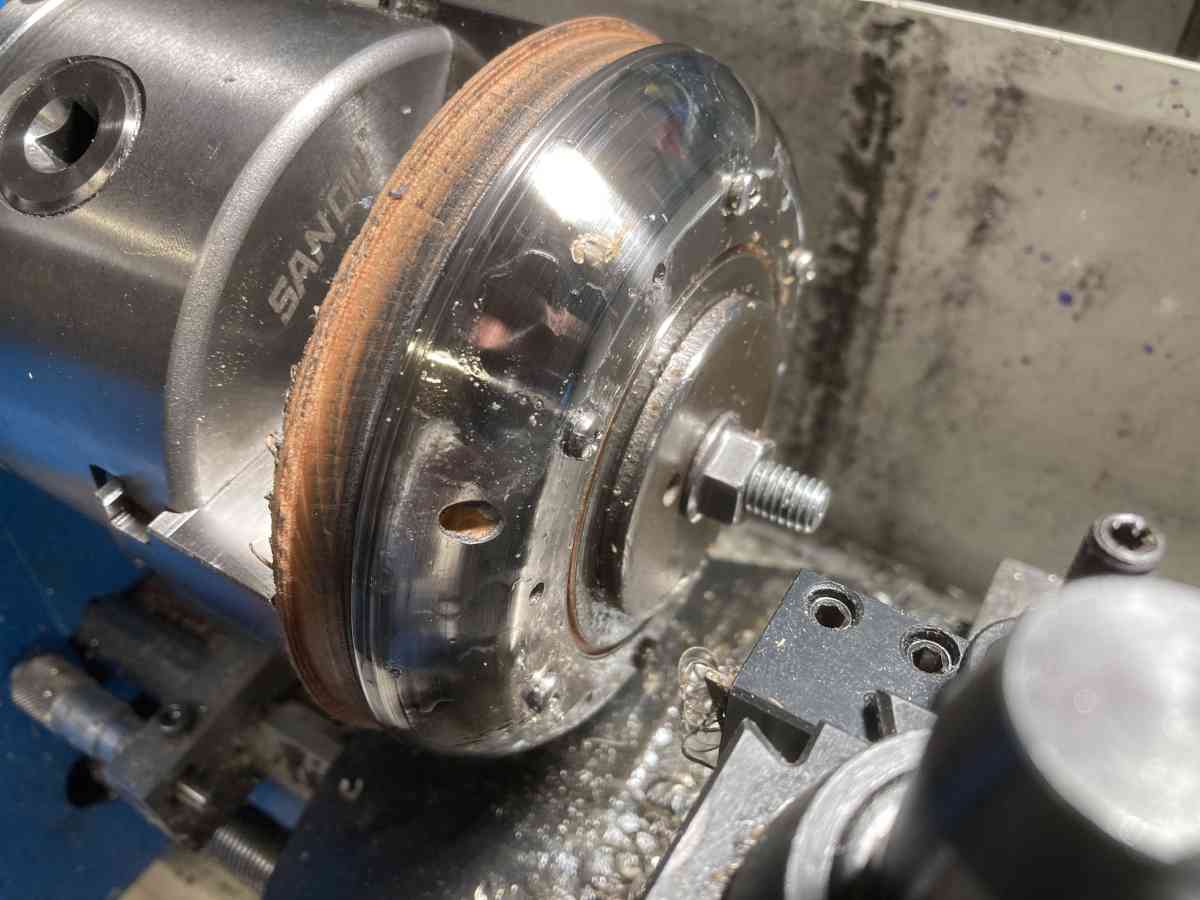
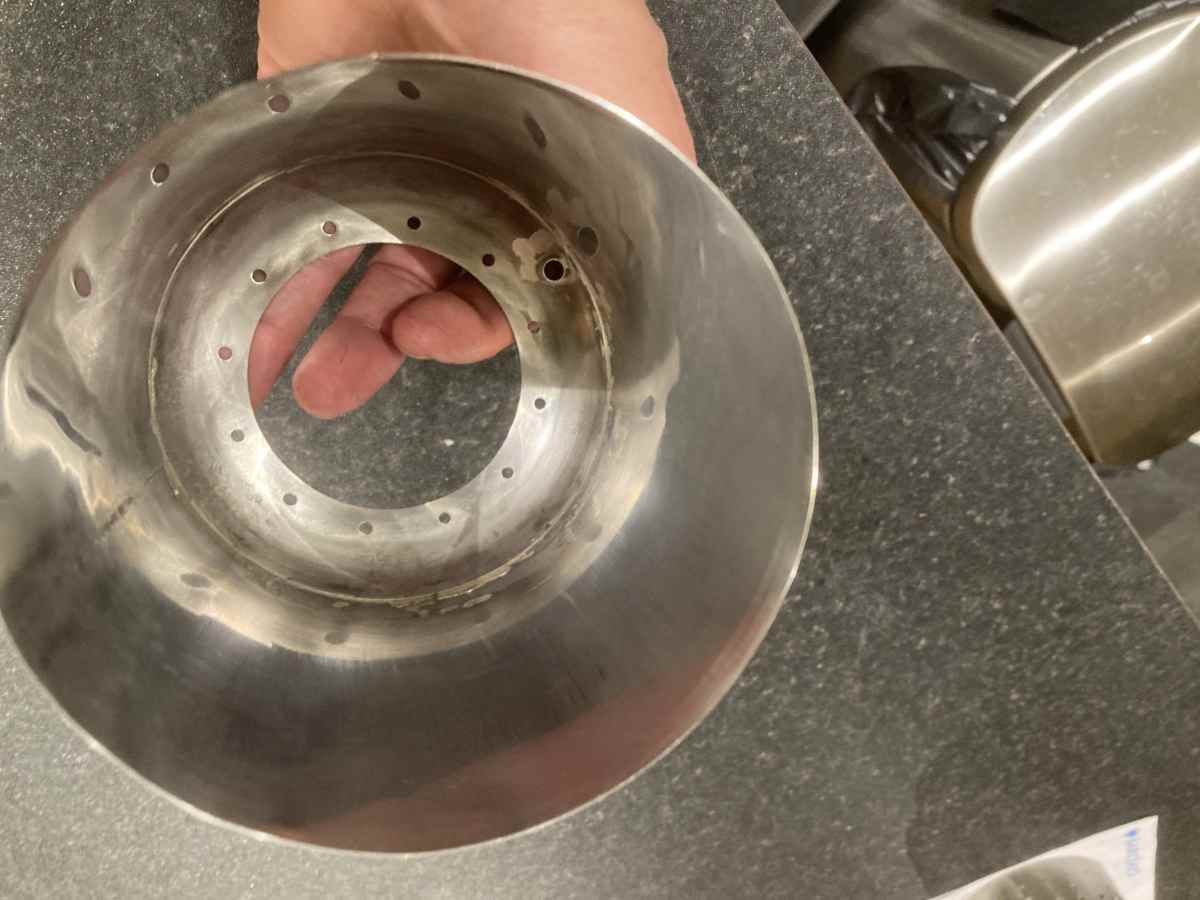
It worked out OK, and I was able to drill the holes for the NGV and use these to secure the part to the former while the central hole was trepanned out. I also made the hole for the fuel feed as per the book (most designs run the fuel feed through to the front of the engine, but Kamps runs his straight through the rear casing).
This was the first try:
This was the second!
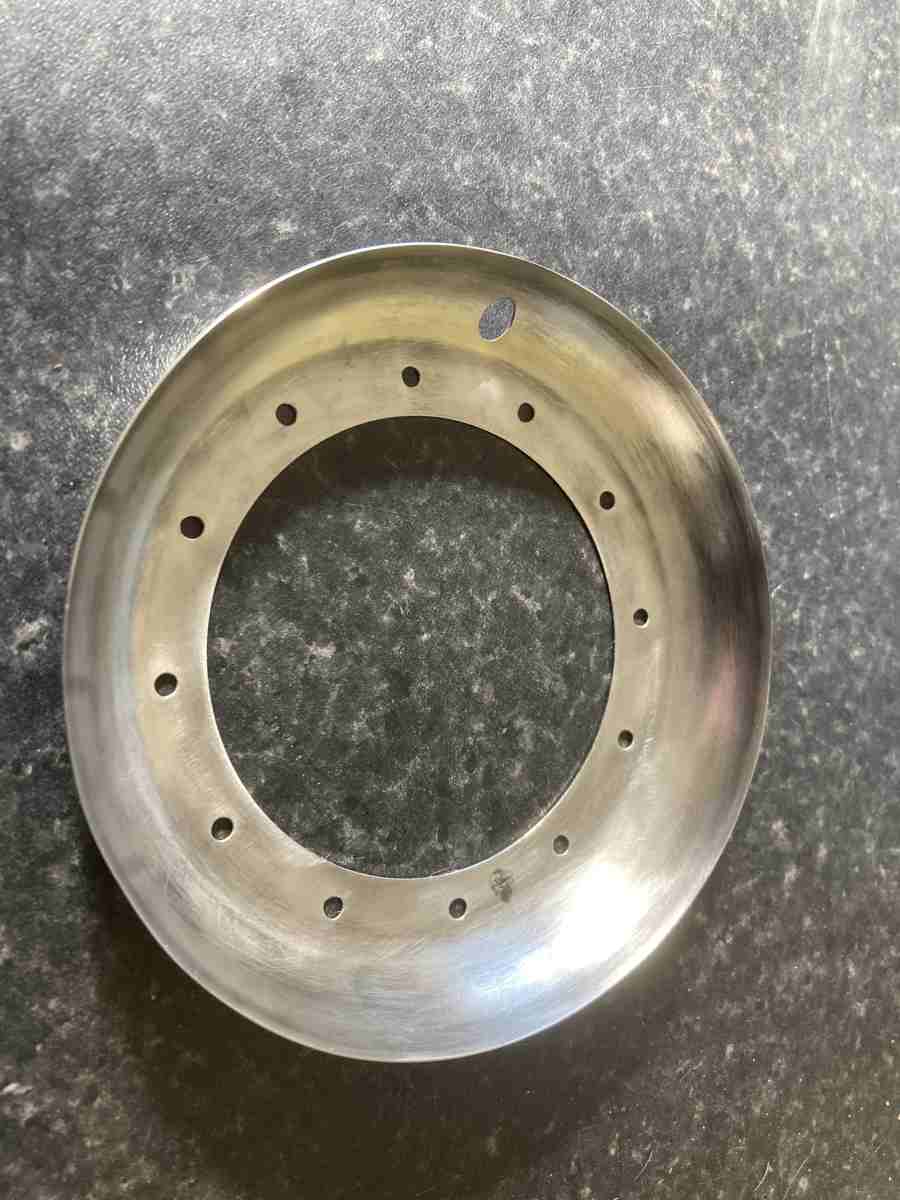
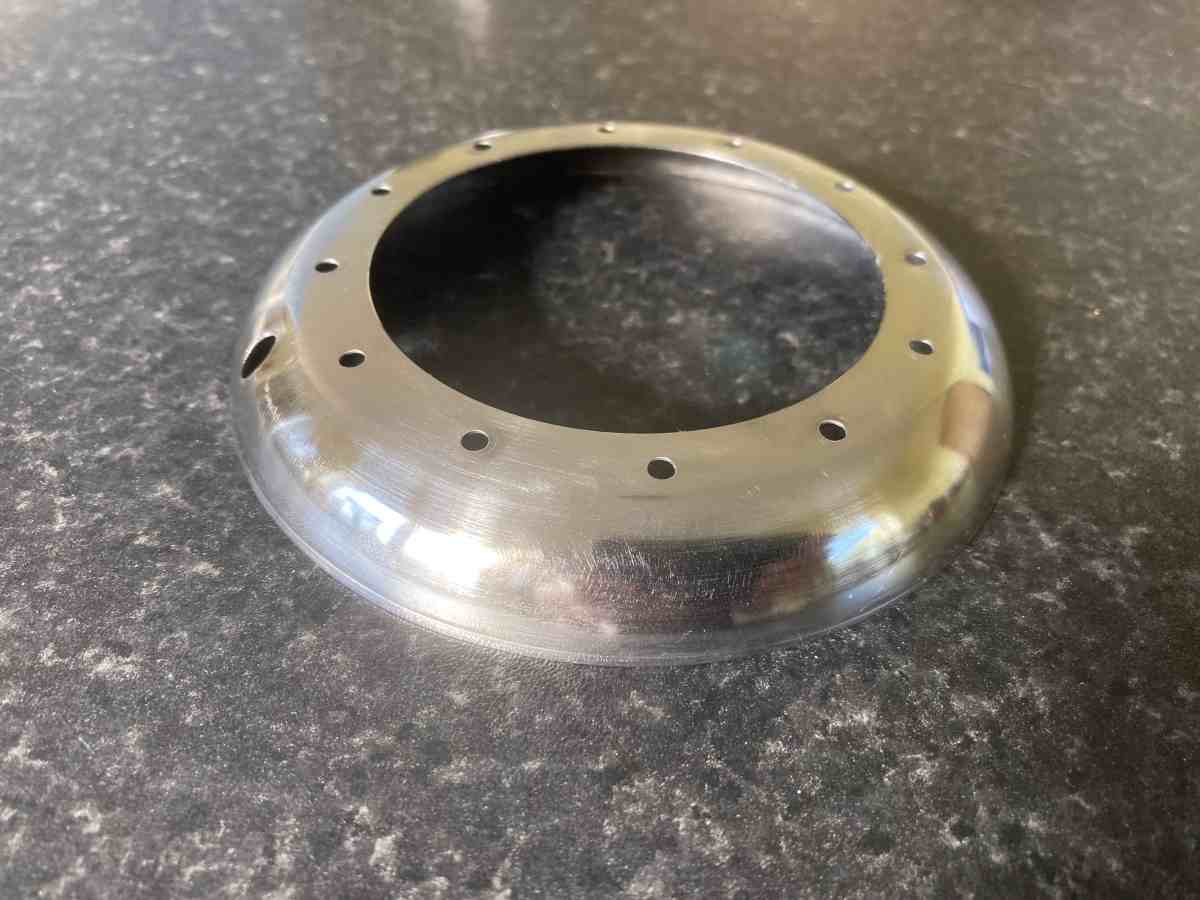
I was very pleased with how it came out.
Front Section
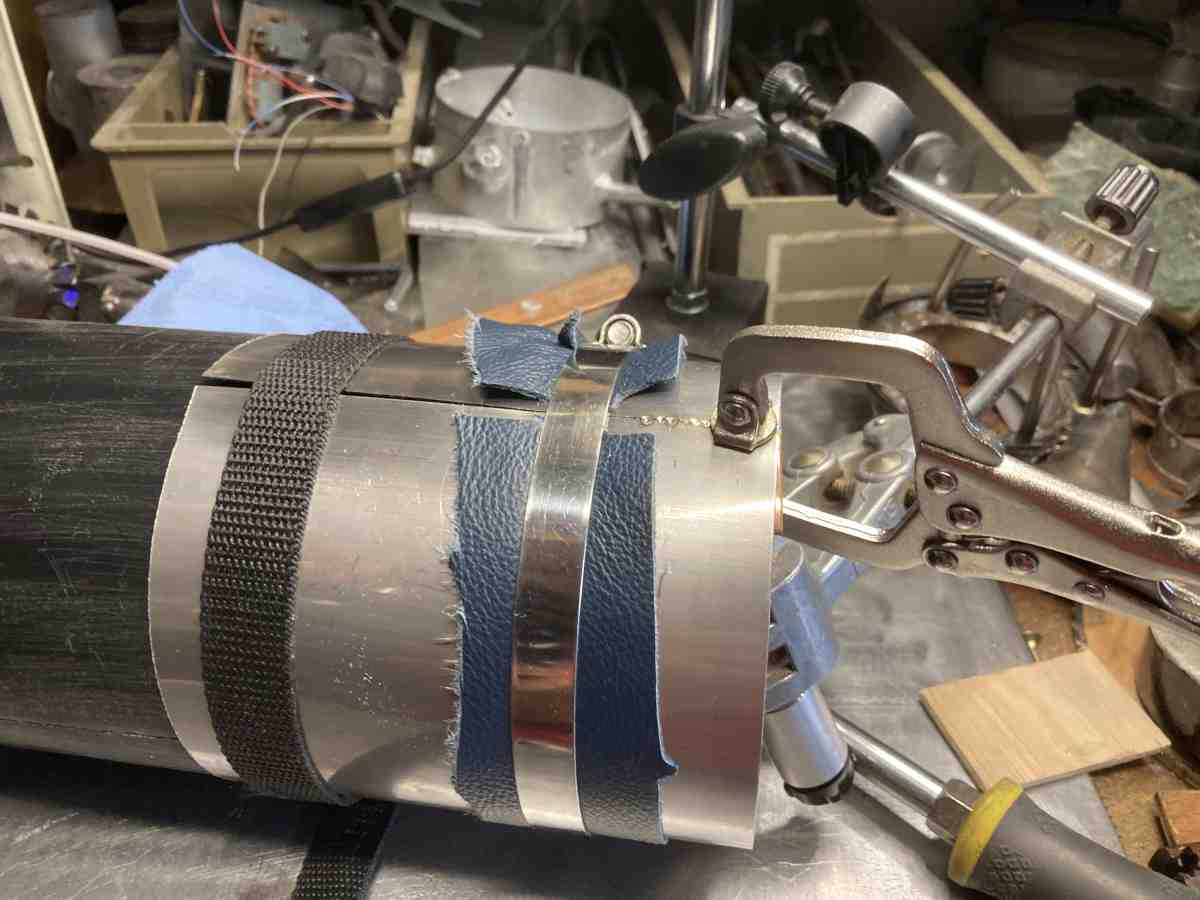
The main section of the casing is 0.5mm 304 stainless sheet formed around a piece of 110mm diameter soil pipe.
The sheet was pulled tight with the hose clamp and tacked just off the end of the tube, then the whole thing was moved along a few mm and clamped again.
After tacking with it clamped tightly around the pipe the casing came out nice and round:
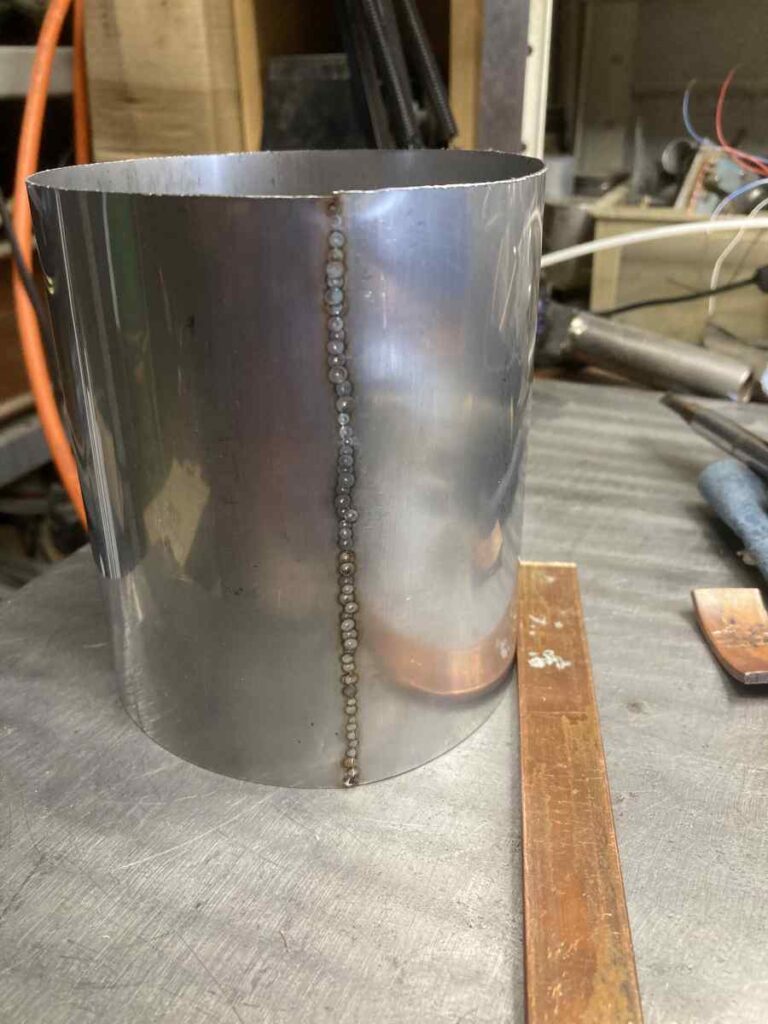
But after I seam welded it, it went ‘pear shaped’ (literally) – I think it was because of the stresses locked in by springing the metal into position to tack it.
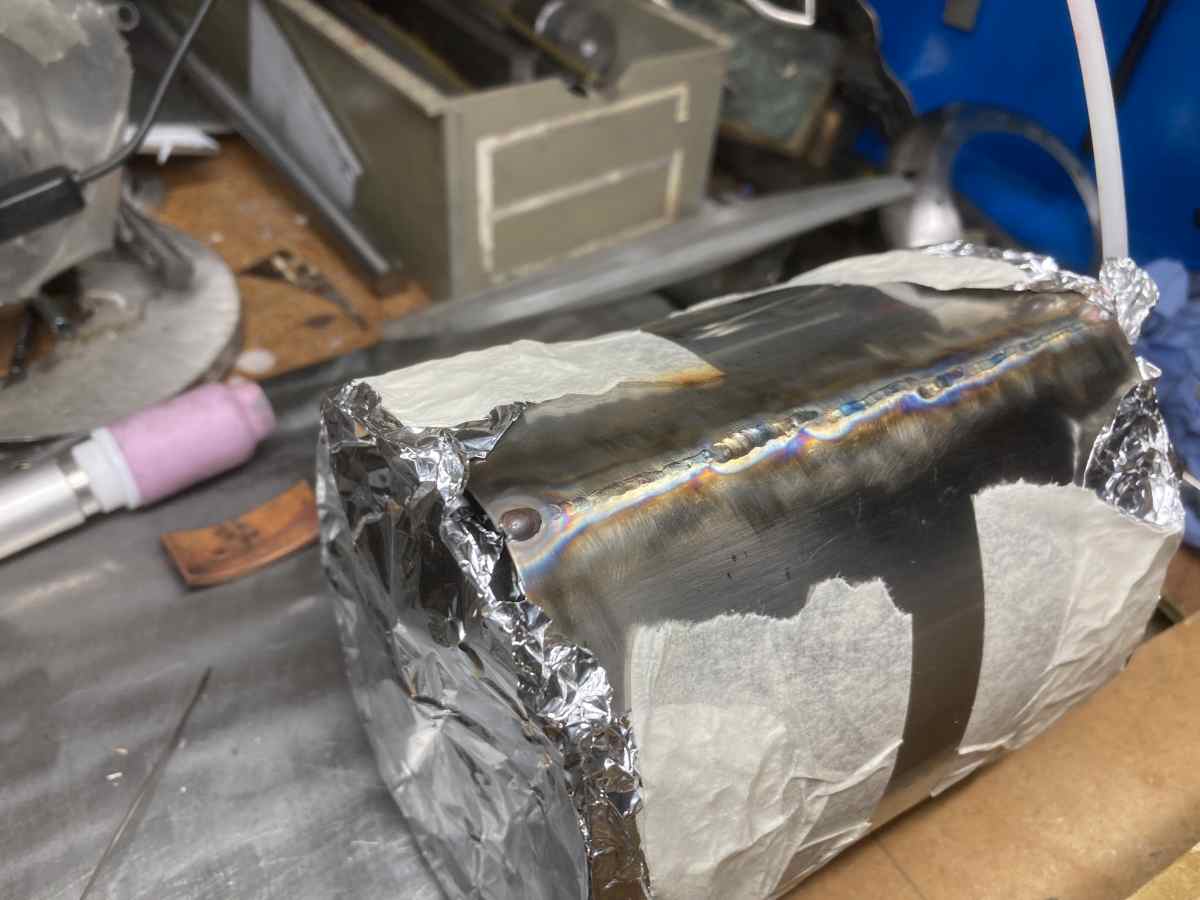
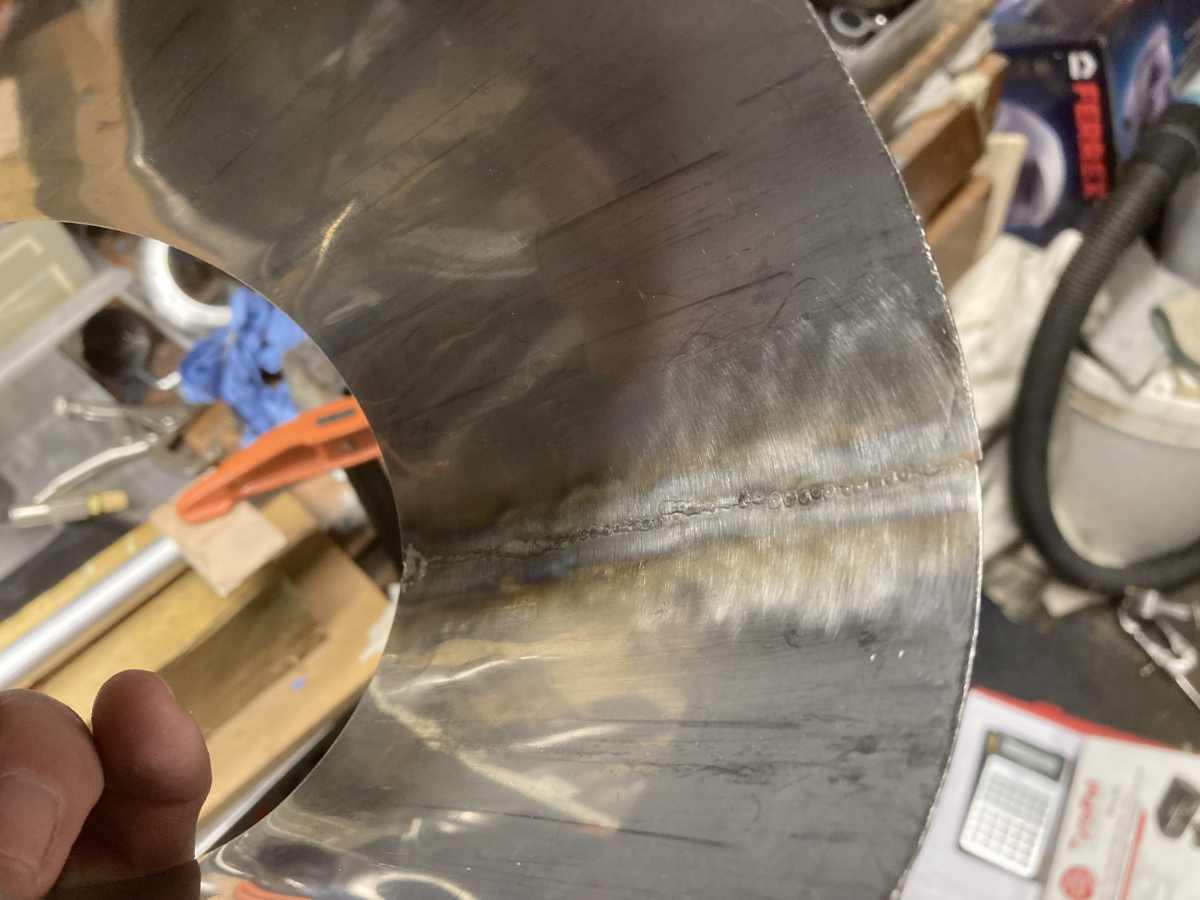
I tried my best to make this seam weld as neat as I possibly could – I set everything up so I was comfortable; I clamped a bar next to it as a rest for my wrist to slide on; back-purged the weld (hence the aluminium foil) but despite this I realised that I’m absolutely useless at trying to weld in straight lines! I did all the practice runs, etc. and all seemed well, but every time I did it for real, I ended up welding in a curve – a bit like someone walking in circles in the desert.
I’d made the casing over length, as I thought I’d end up with a bit of burn back at the end of the seam, but as sod’s law dictates, I managed to make a reasonable job of it this time.
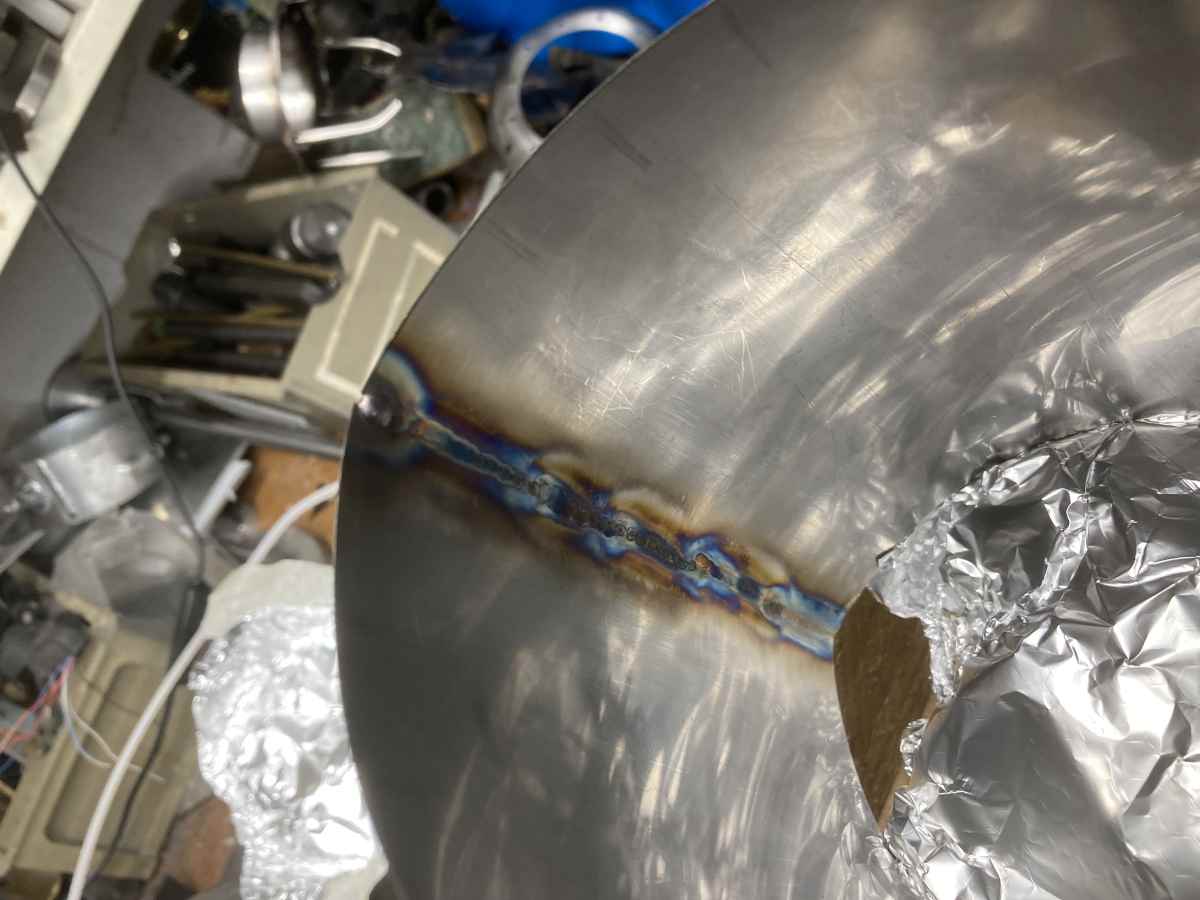
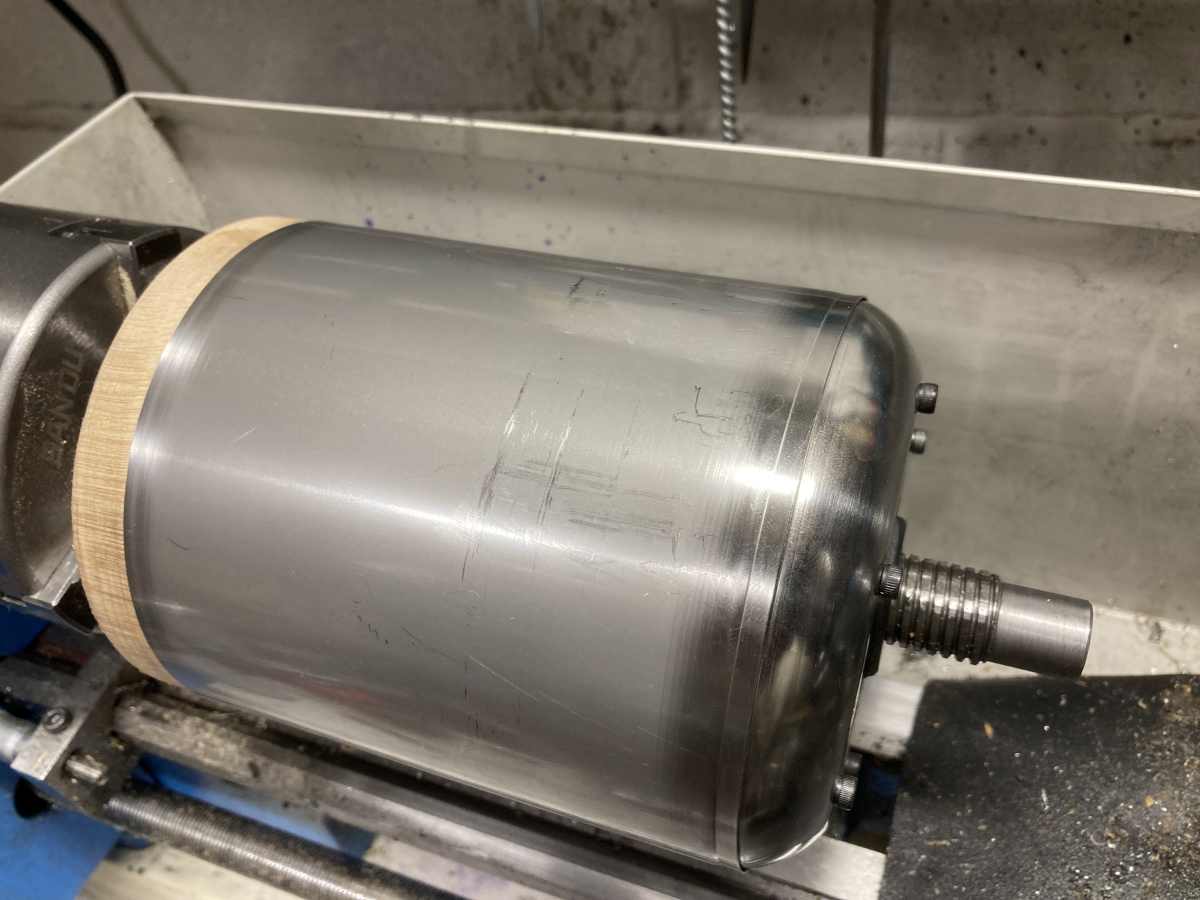
I plannished the weld against a length of 2″ steel tube held in the vice and it came back round again – which was a relief. After cleaning it up with a dremmel:
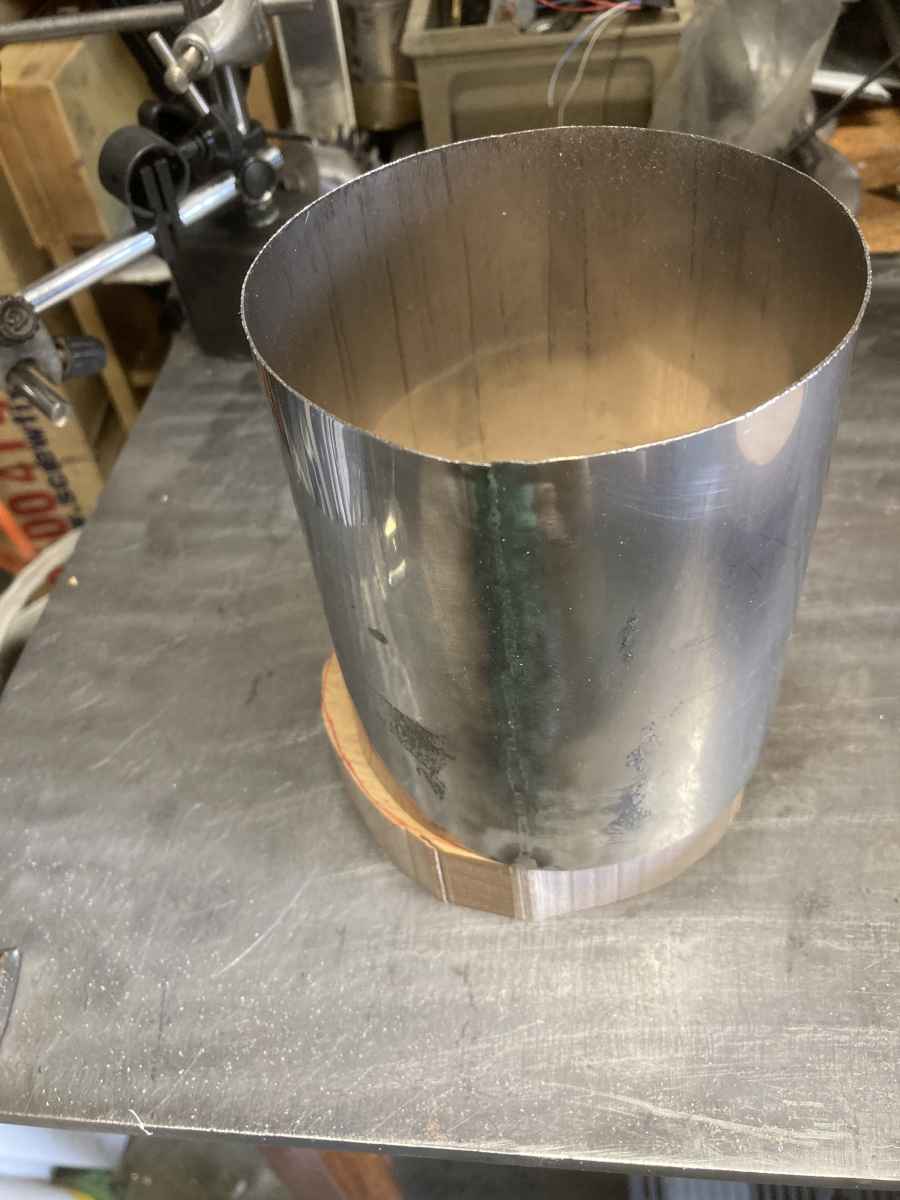
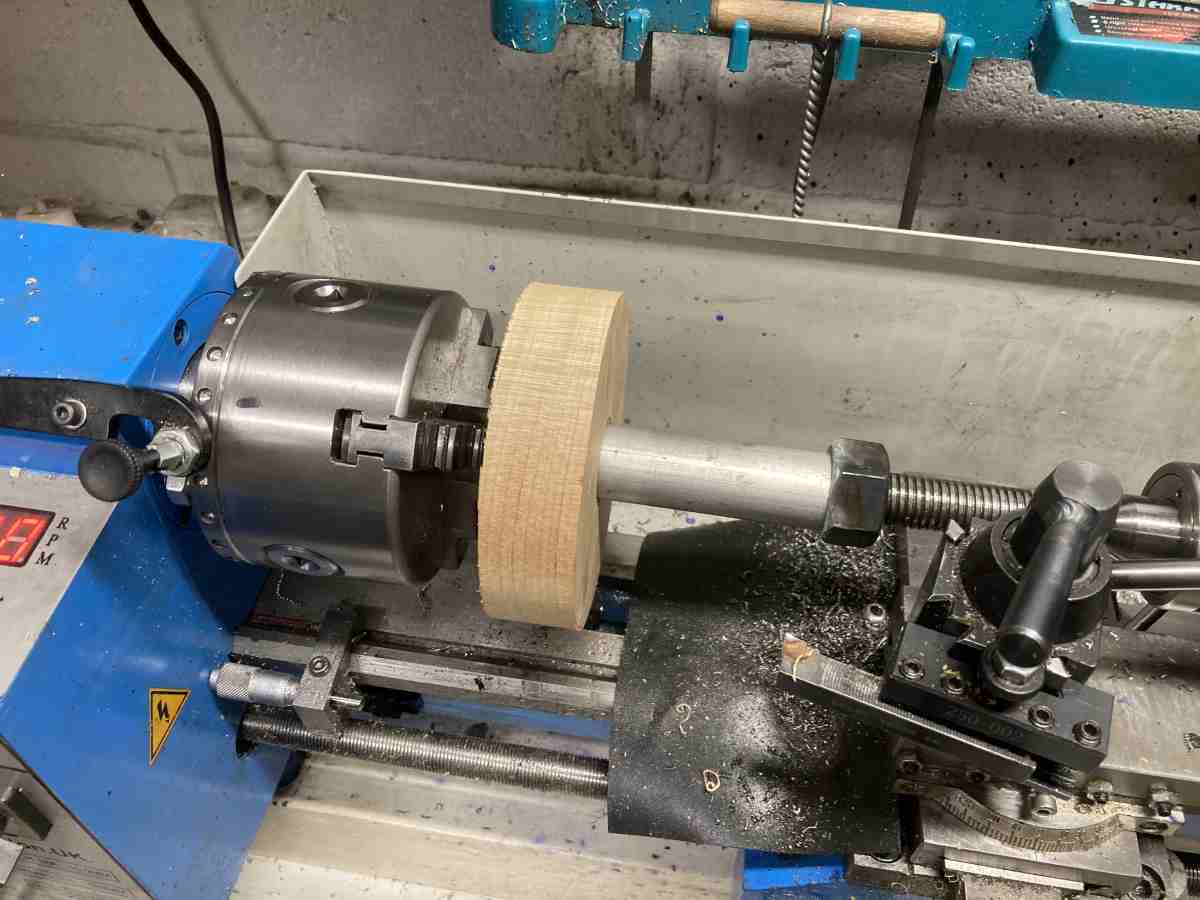
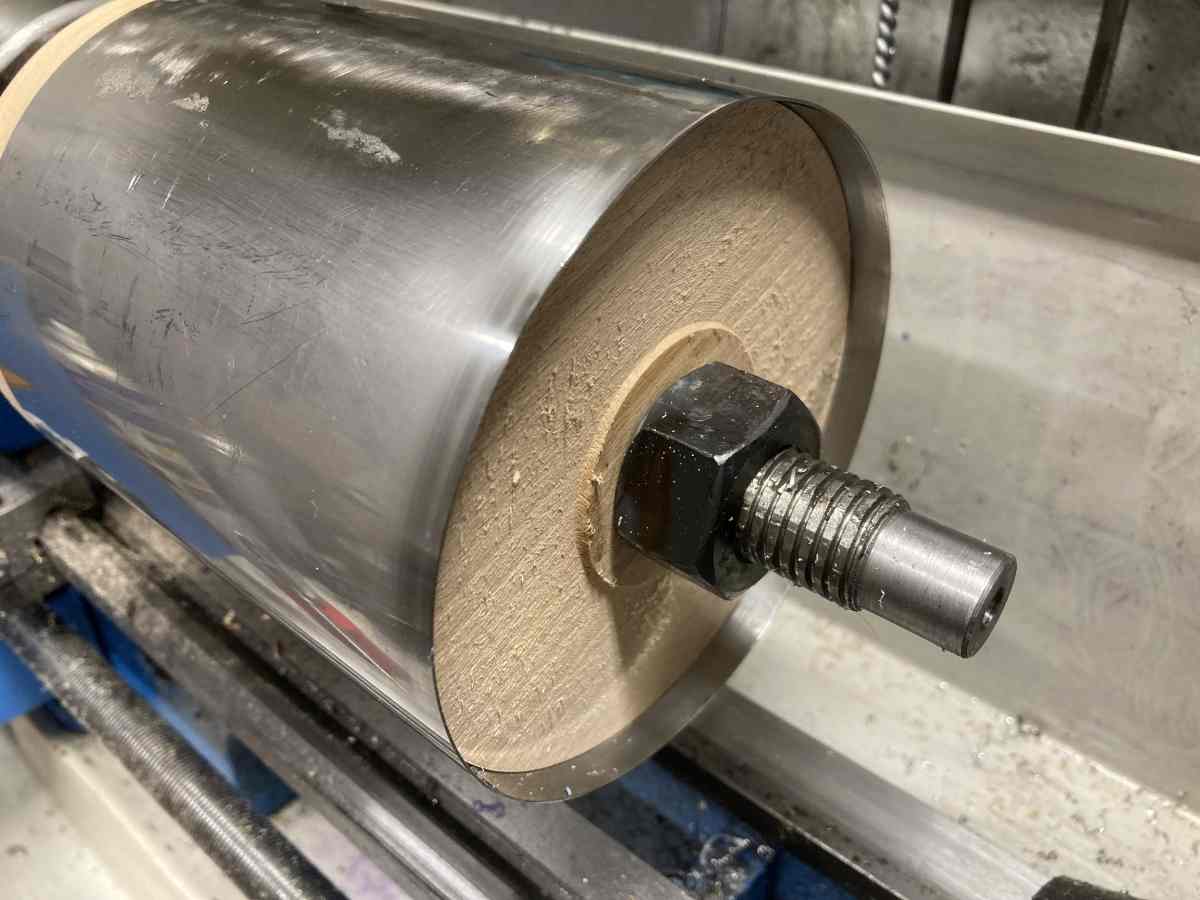
It still needed trimming and truing up, so I made an arbour in the form of a wooden bobbin to keep the casing true.
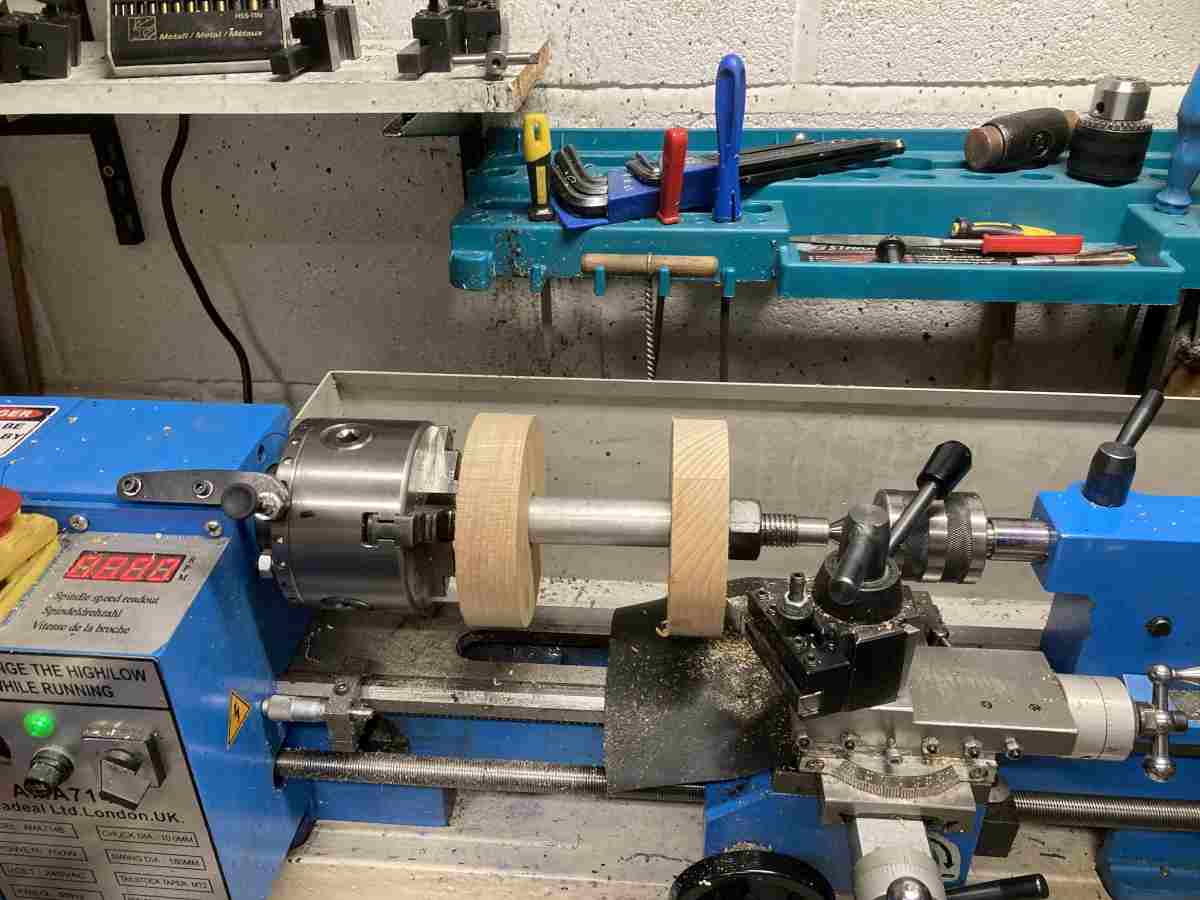
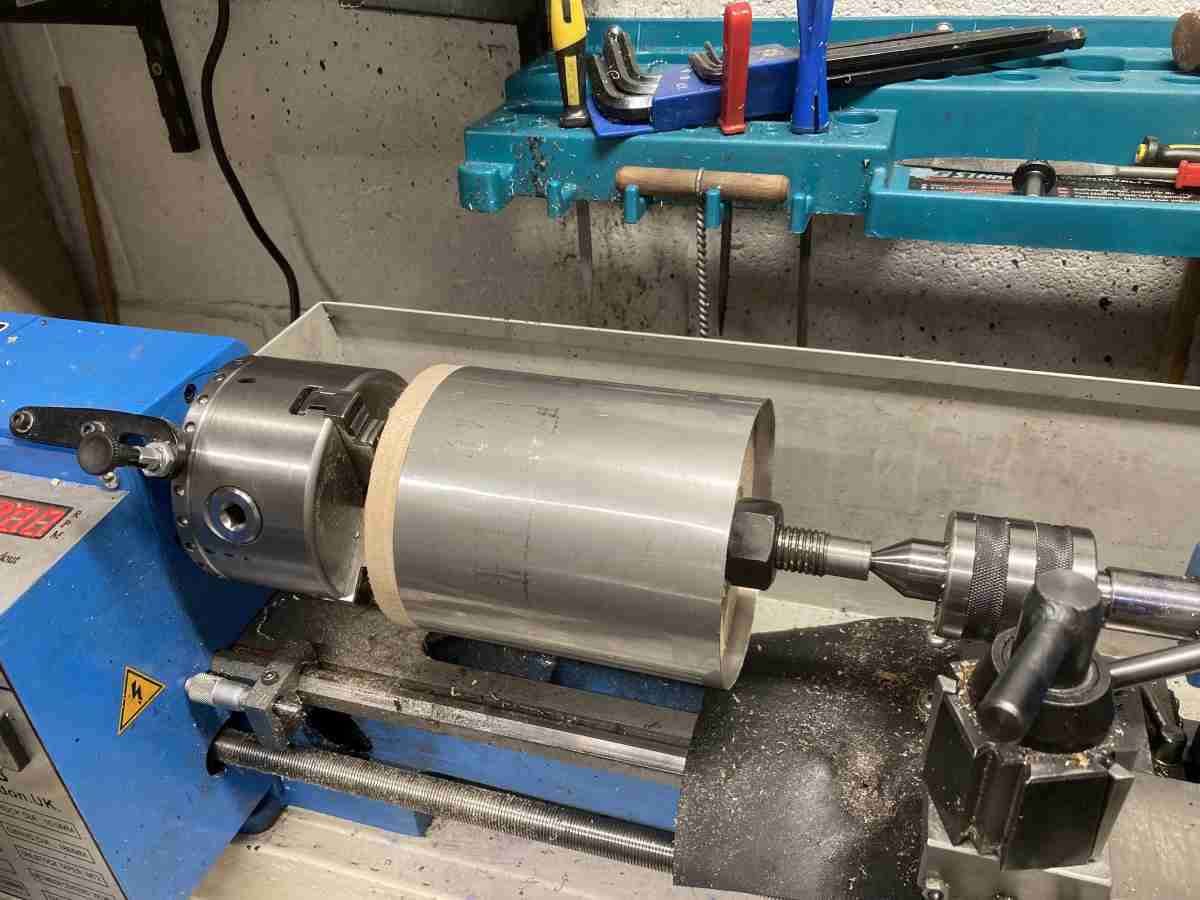
At 110mm diameter, this is too big to swing over the cross slide of my lathe, so the bobbin had to be machined one end at a time.
The casing was a bit of a loose fit on the rear section that I’d made, so after trimming it to length, I used a bearing tool to swage the rear of the casing down until it was a good fit on the rear. I actually went too far and had to open the casing up again a little bit. This had the completely unintended, but very useful consequence, of creating a lip that held the rear section square in the casing.
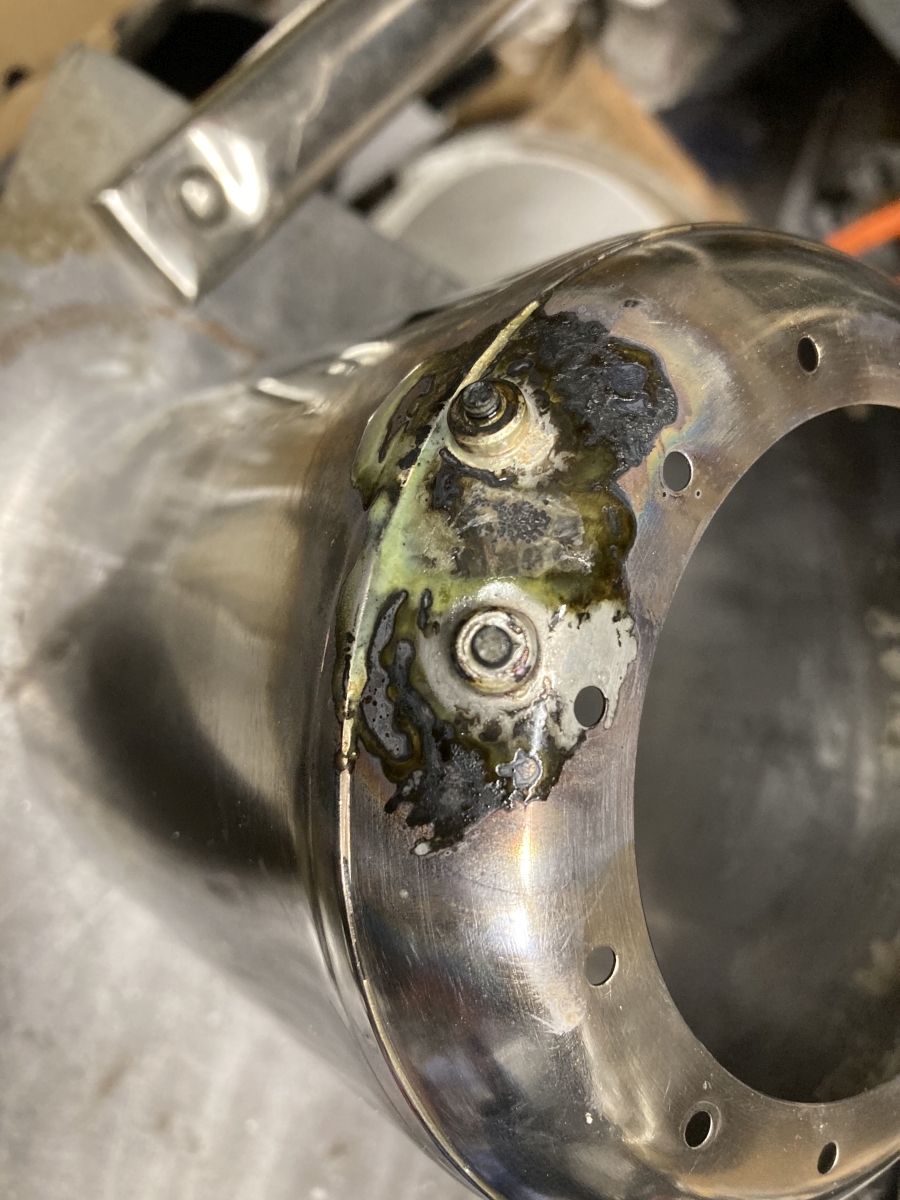
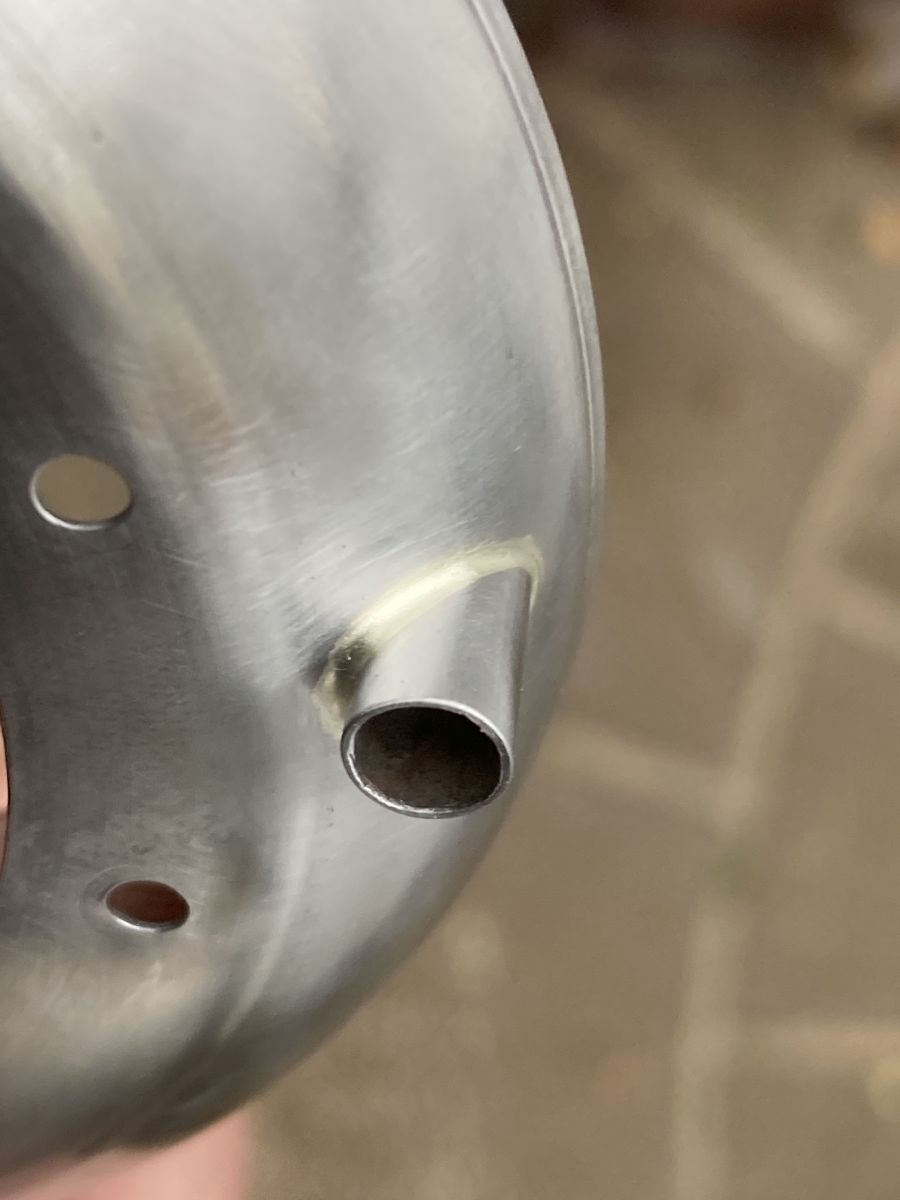
I silver soldered the fuel line boss into the rear section before spot welding it to the casing.

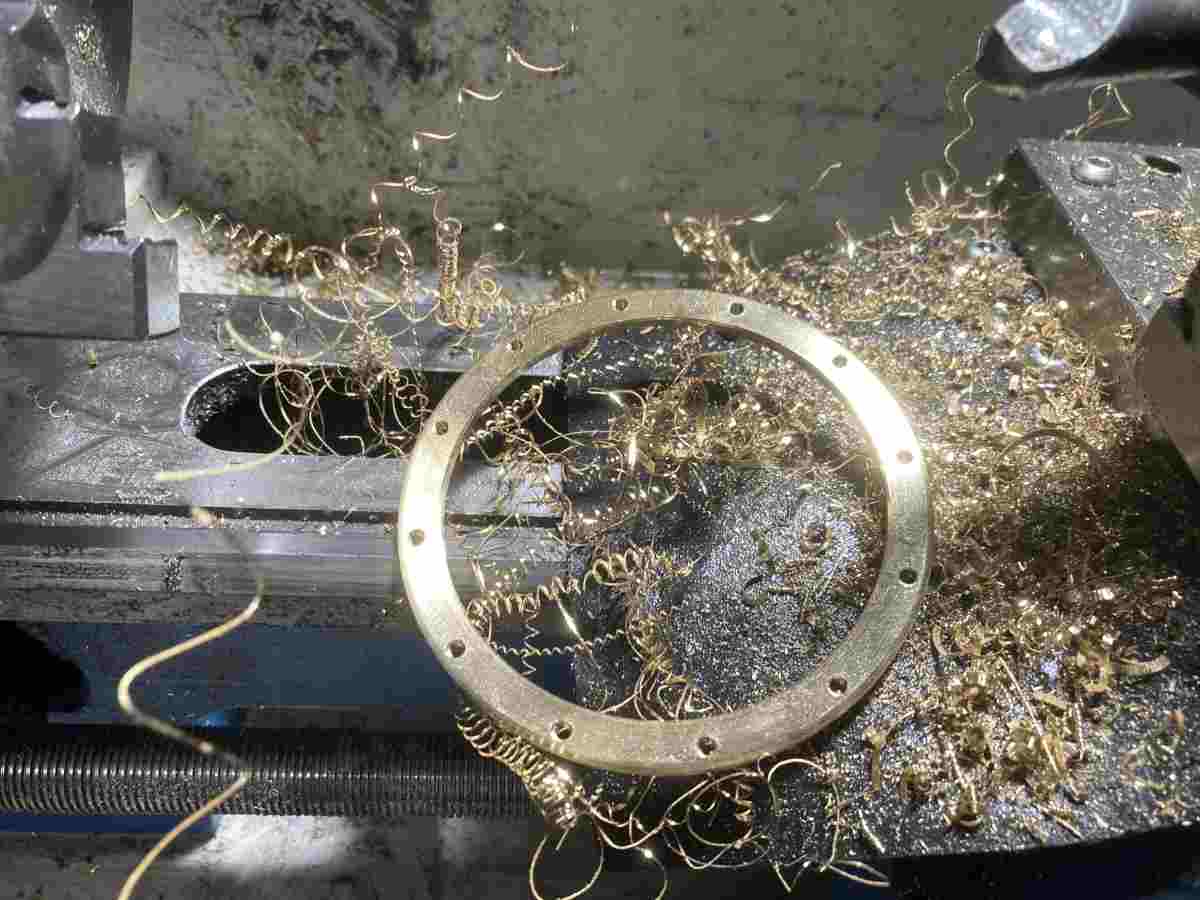
The book seems to imply that the NGV is secured to the casing with nuts and bolts, but I didn’t fancy the chances of something coming loose and getting drawn into the works. I made a clamping ring to fit inside the casing out of [what I’m pretty sure is] aluminium bronze instead – I’ve had several bad experiences of stainless-on-stainless galling which made me want to choose something else for the bolts to thread into.
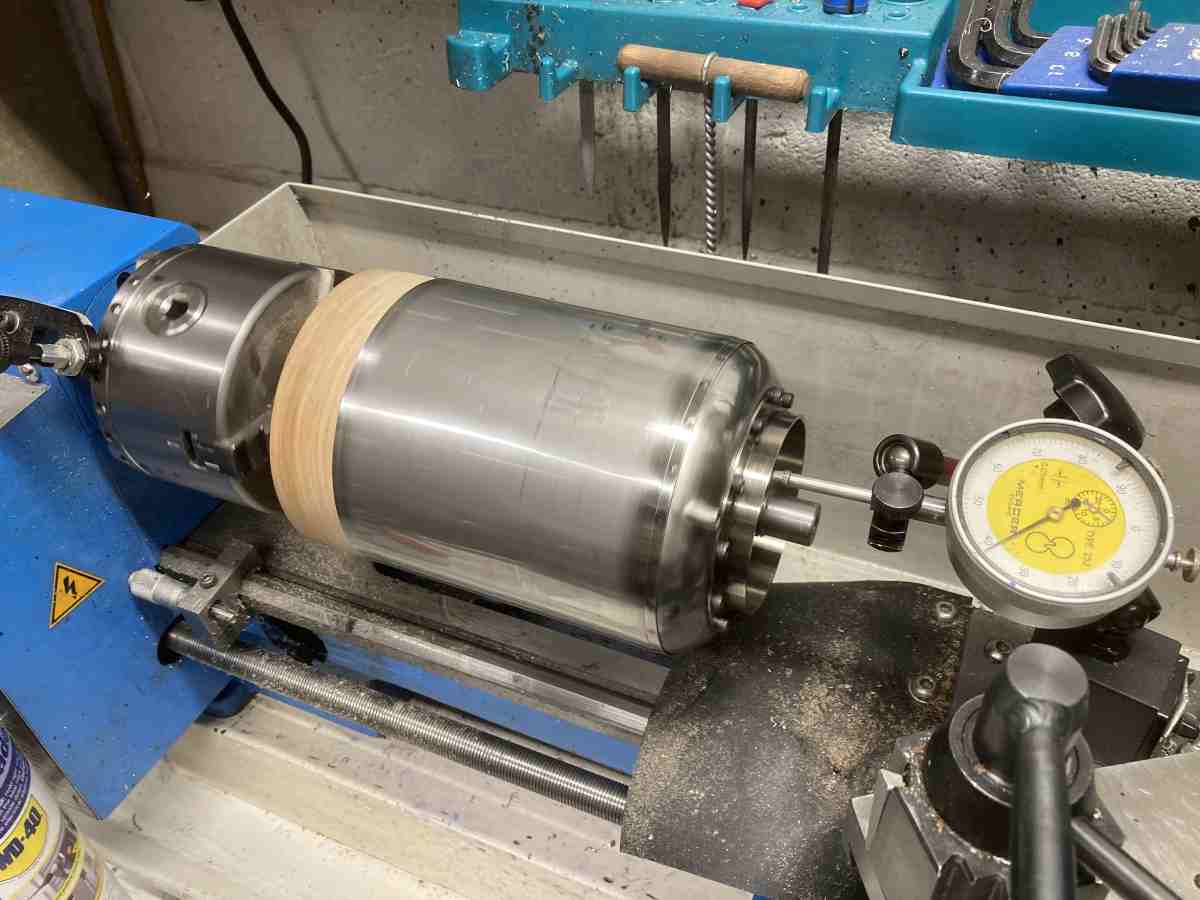
Fitting the NGV and checking run-out. There was 0.1mm TIR runout measured on the inside of the NGV (axial or radial) which I think is pretty good!
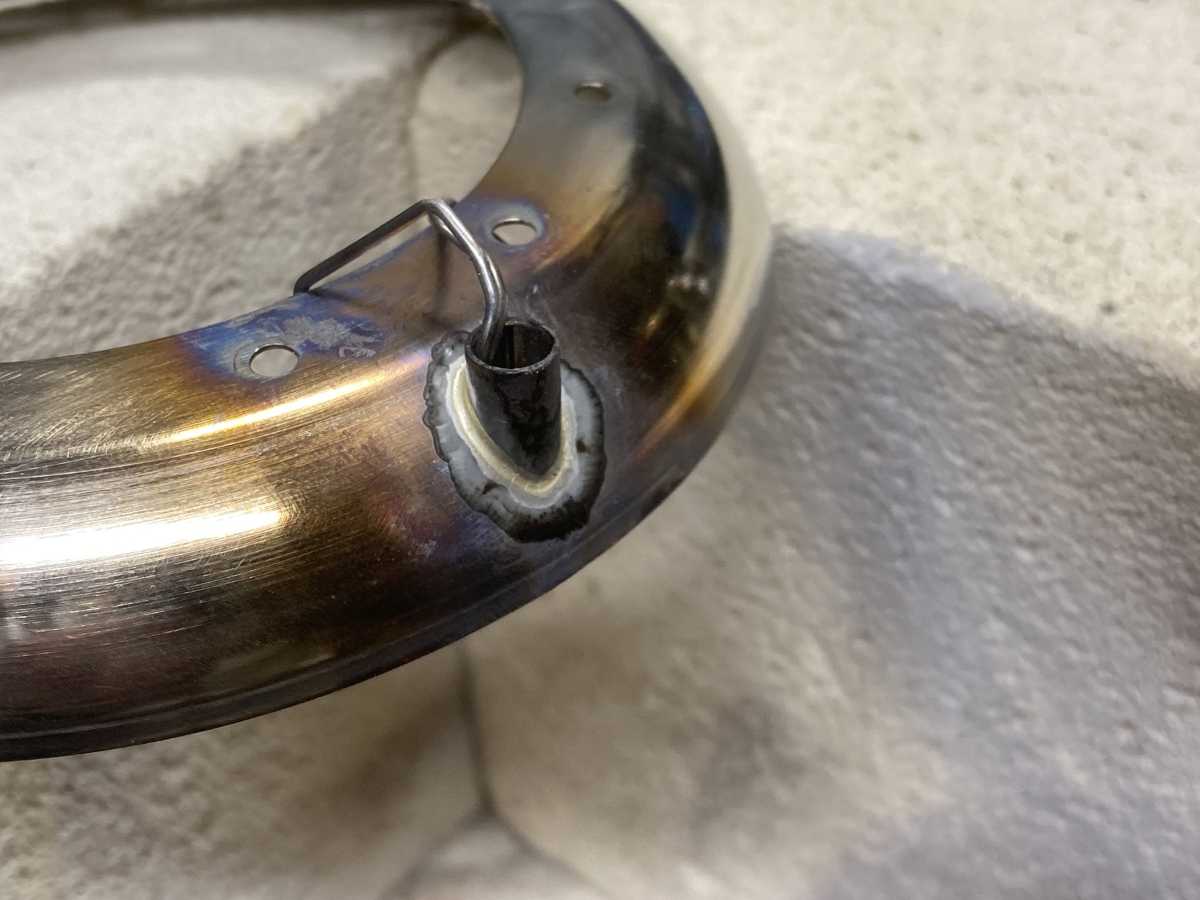
I decided to ‘caulk’ the joint with silver solder. I had envisaged a neat fillet all around the tail end, but as it happened, even though the solder flowed well inside the casing, it didn’t make it all the way around the outside. I did try and clean it up and have another go, but all that got me was another clean-up job.
Can’t be too unhappy though!
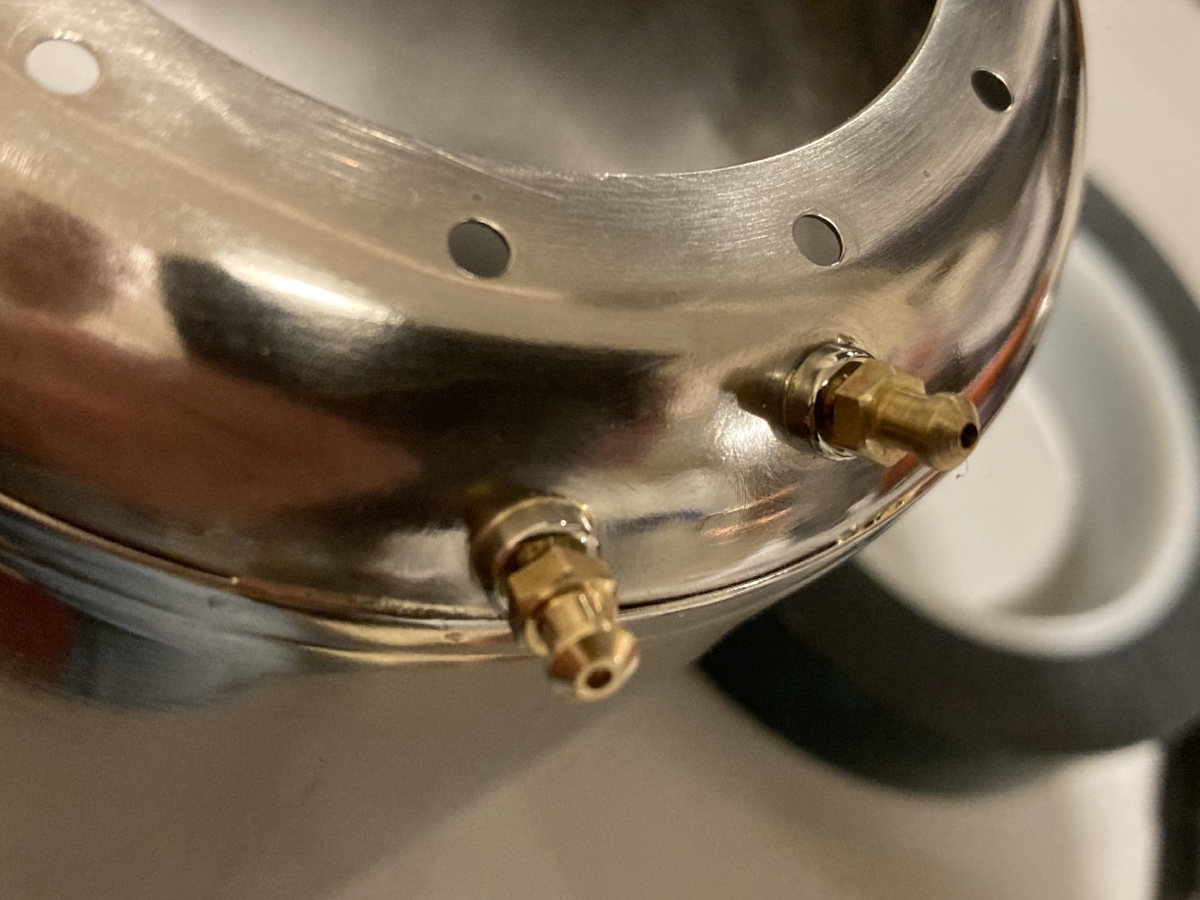
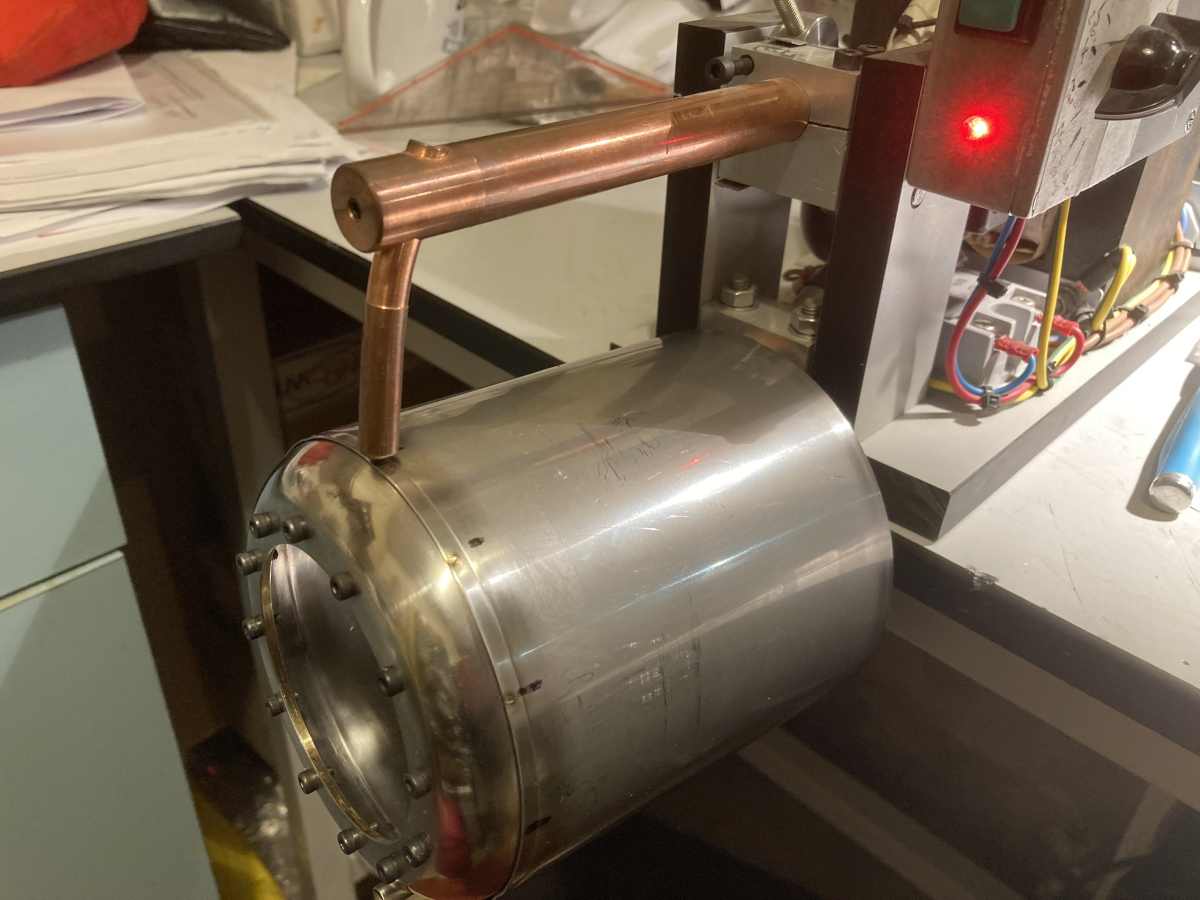
I later silver-soldered a couple of threaded bosses onto the casing: One to take the pre-heat gas injection nozzle; and one as a tapping for the casing pressure gauge: