
The diffuser vanes are fitted into curved slots cut into the solid central “hub”.
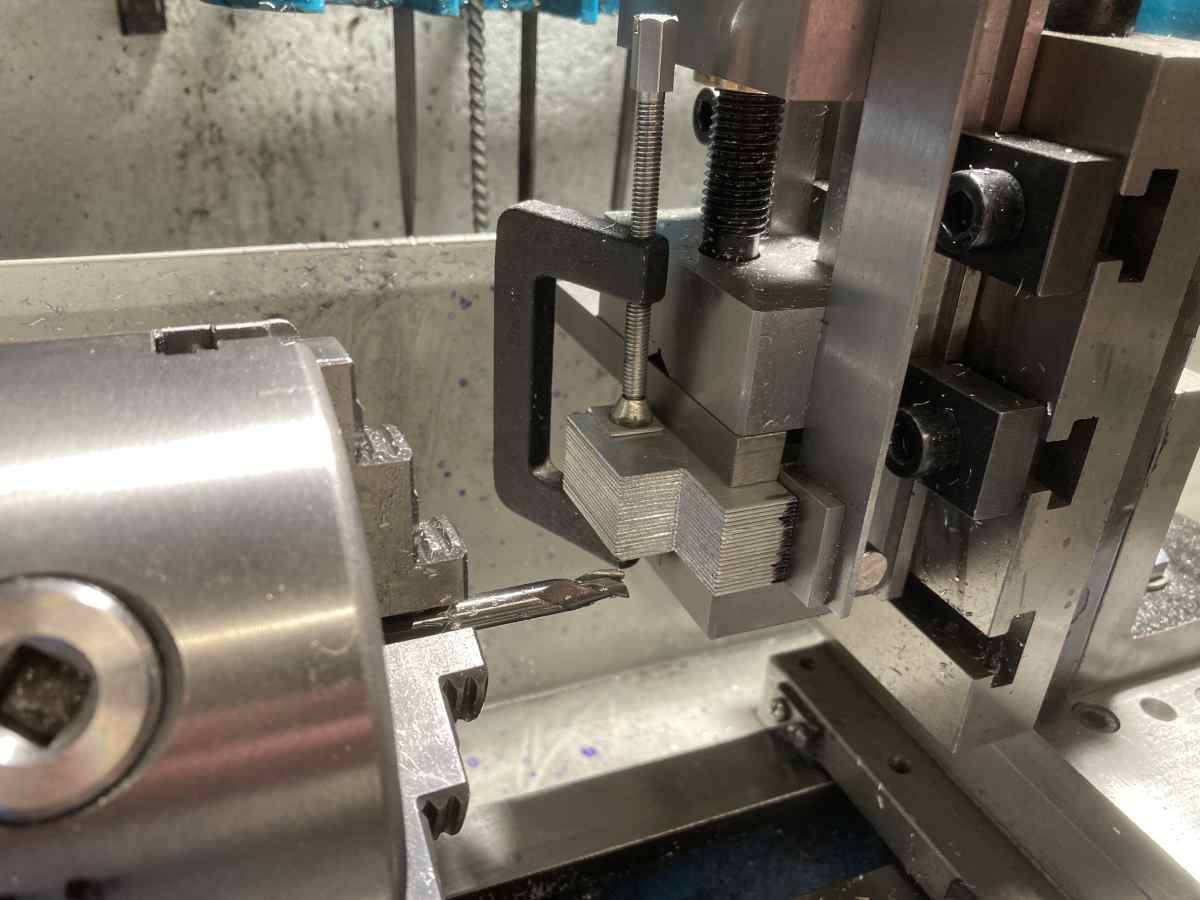
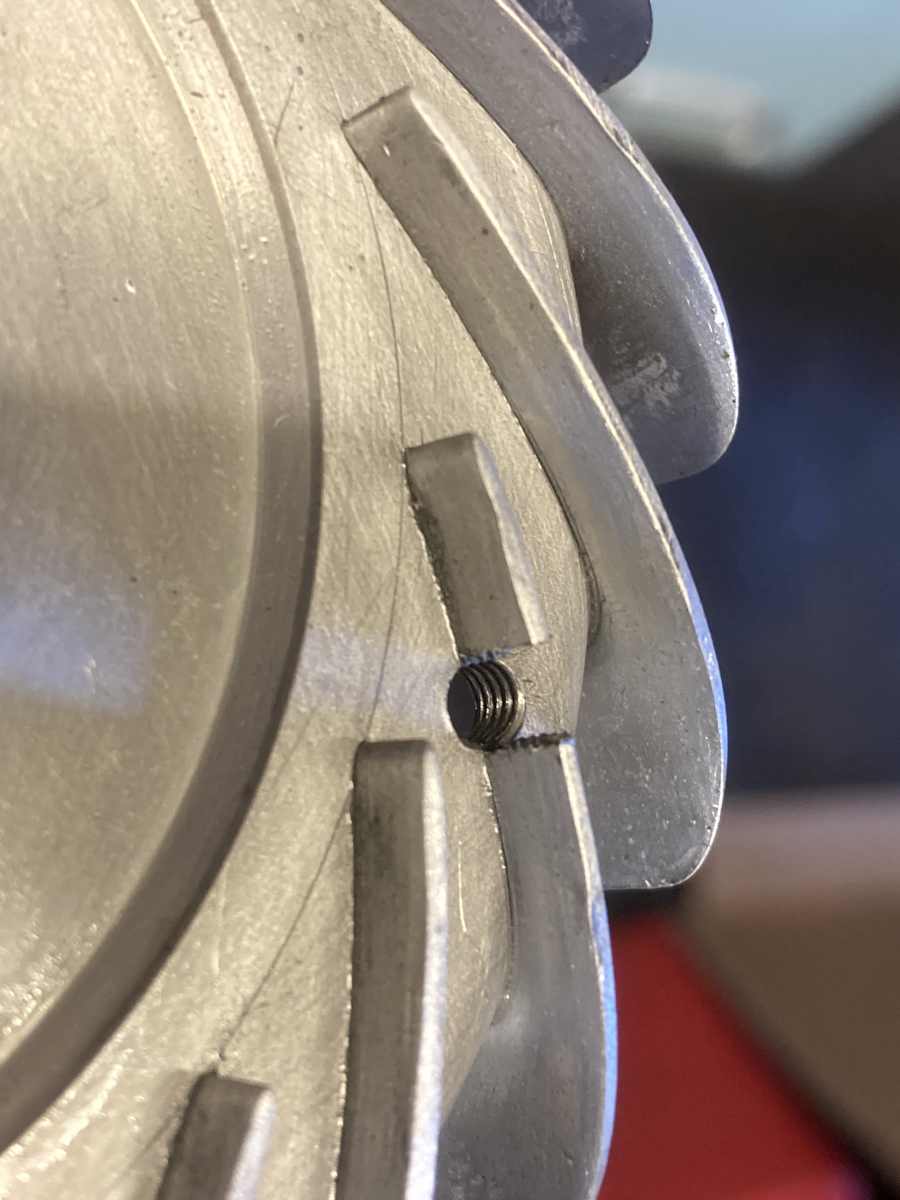
I cut the slots with a simple jig on my hobby woodworking bandsaw. It’s definitely not designed for this, but it worked a treat and produced a kerf that was a lovely fit on the 1mm sheet aluminium vanes:

(The pen is pointing to the metal pin that the top part of the jig pivots on.)

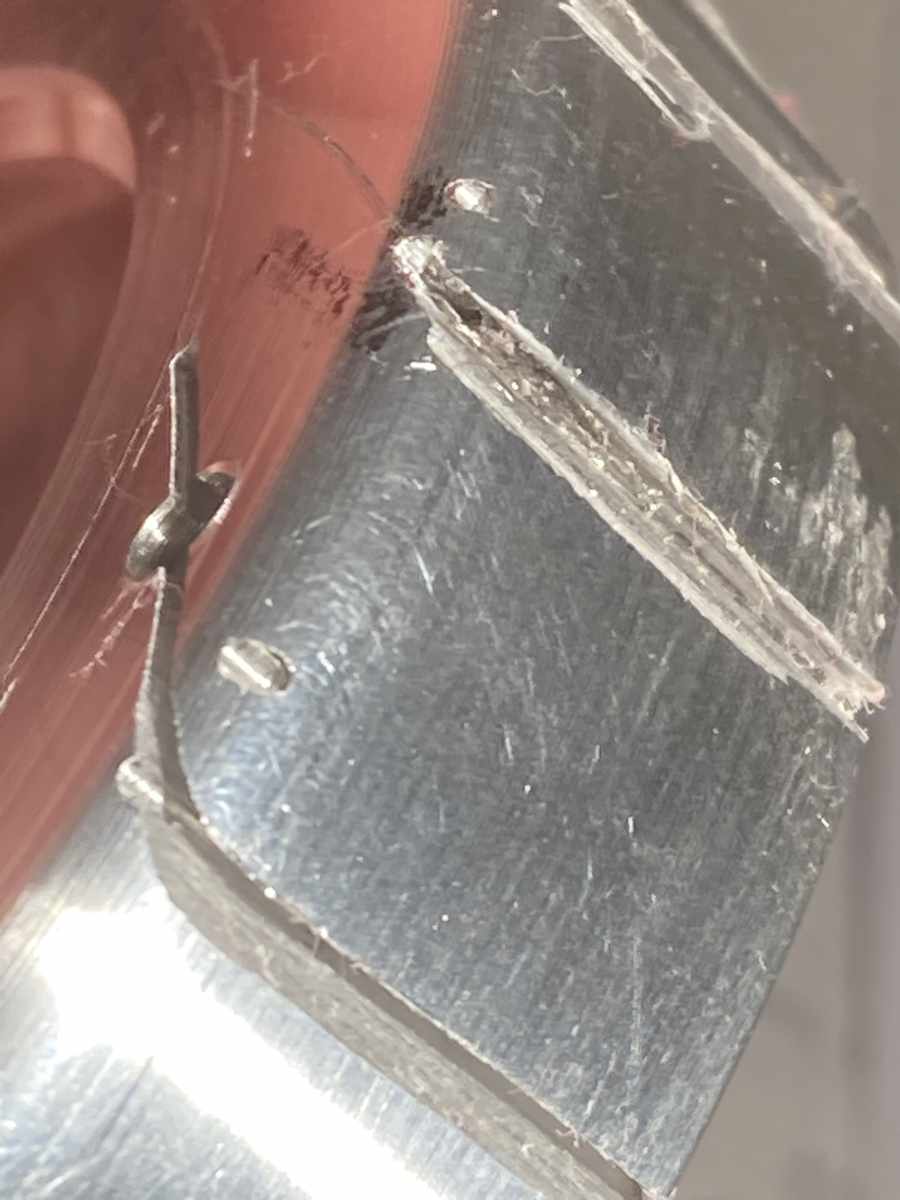
I did find the remnants of my broken 1mm drill bit, which cost me a bandsaw blade.
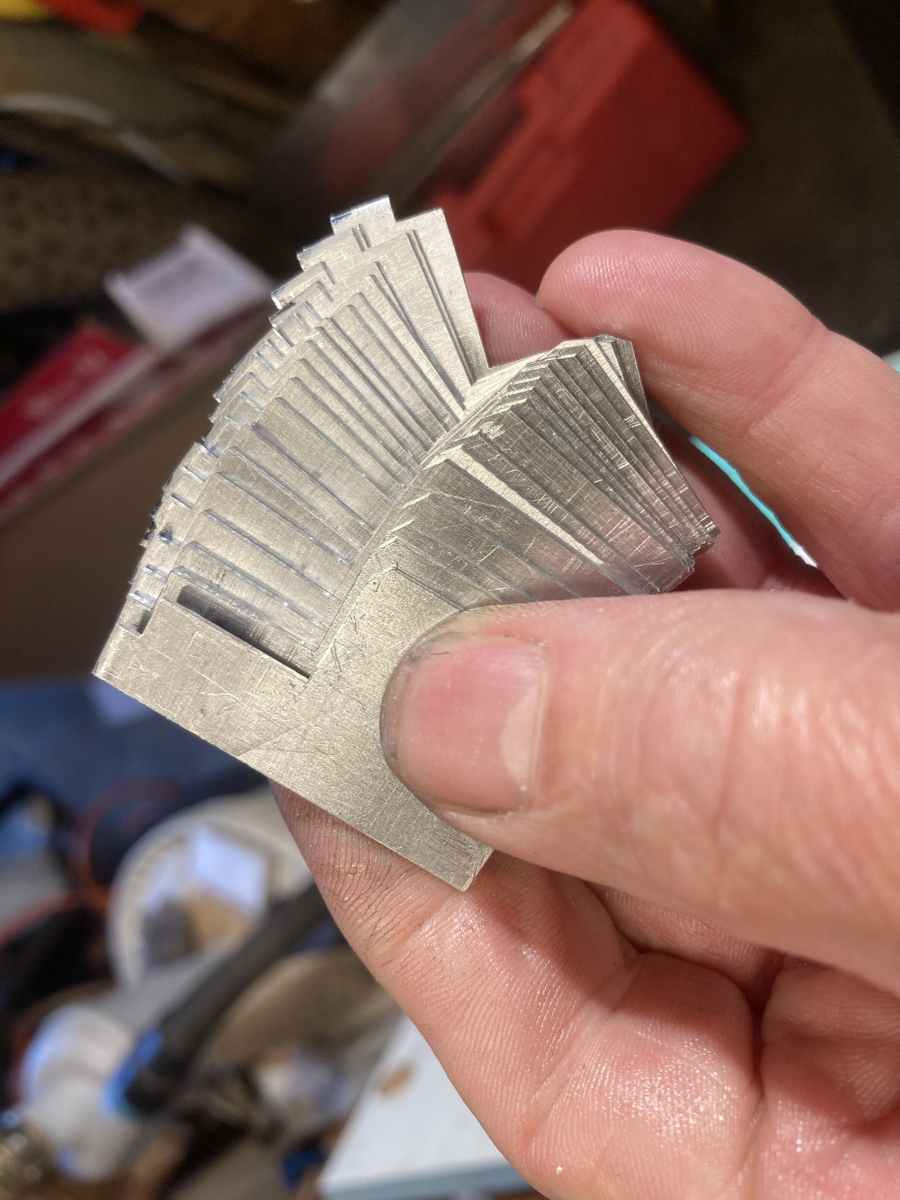
I thought there might have been a piece of it left in the hole, but couldn’t see it or remove it (the drill bit shattered, rather than just breaking in two). Having cut into the hole (and wrecked the blade) I could now see there was a fragment there.
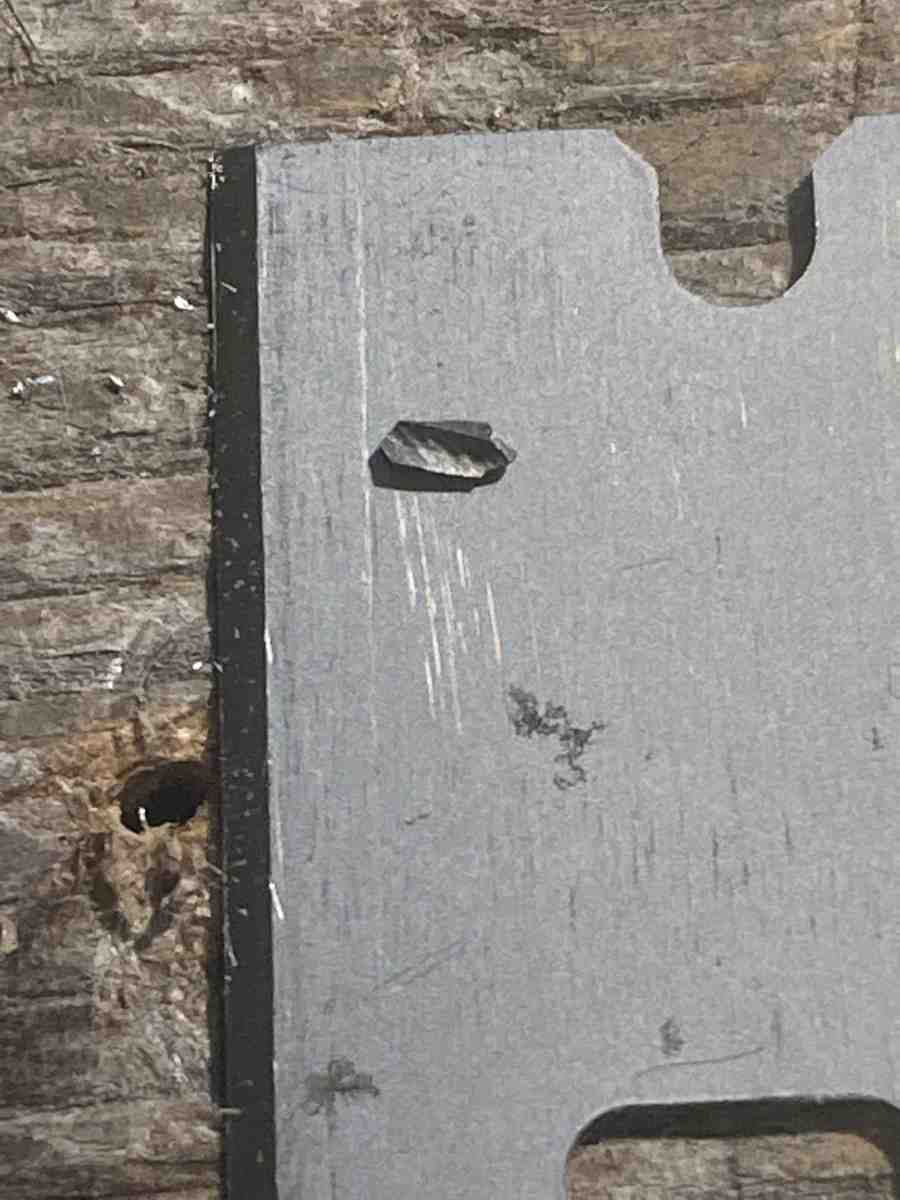
A few hours of boiling the diffuser hub in aluminium sulphate and a lot of picking and fiddling later, I eventually extracted the culprit. This is it sitting on a razor blade (it’s 1mm diameter, remember? – little sod!)
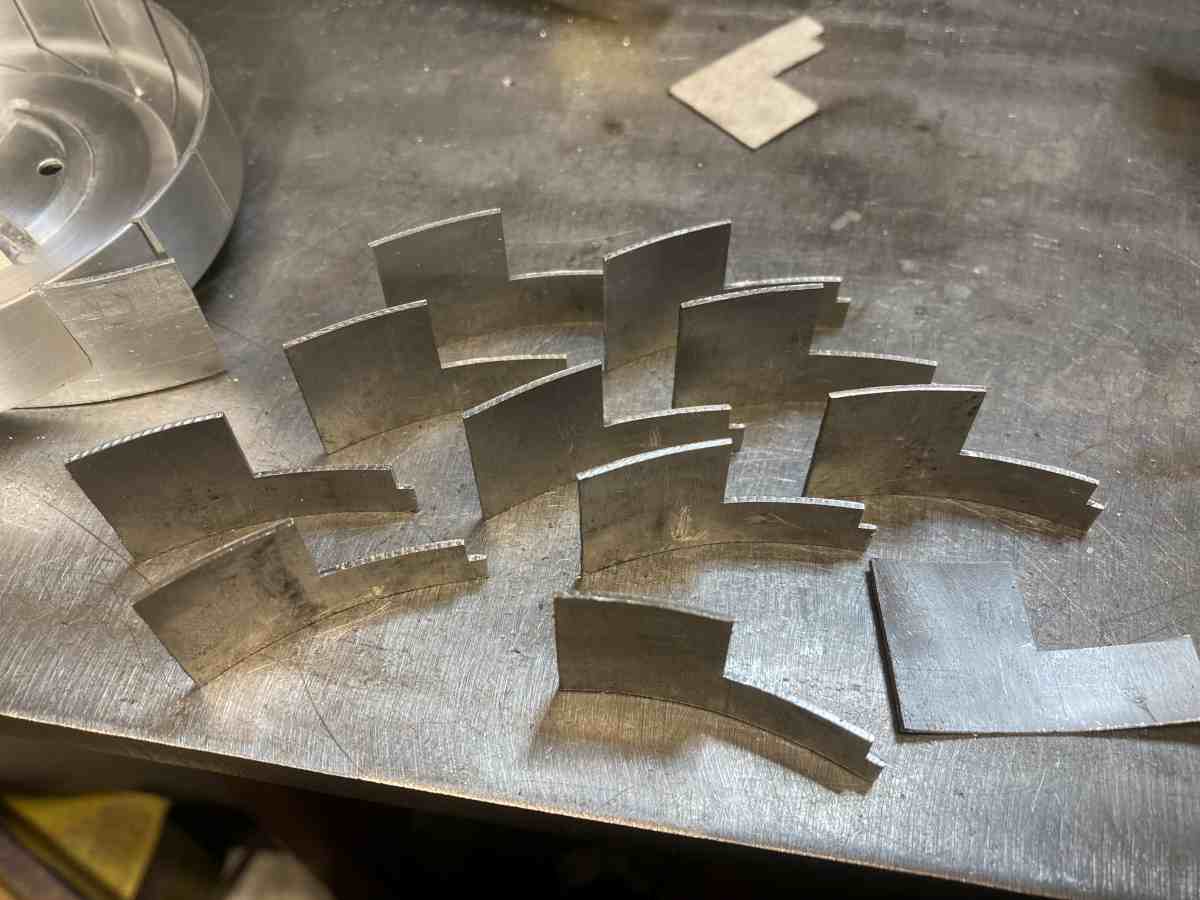
I used the bandsaw again to rough out the vanes, then stacked them up and milled them to size.
To form the curve in them as evenly possible, I used a hose clamp (and a cordless drill) to pull each vane down onto a former – a 4″ diameter tube gave the 80mm radius required for the vanes after they sprang back.
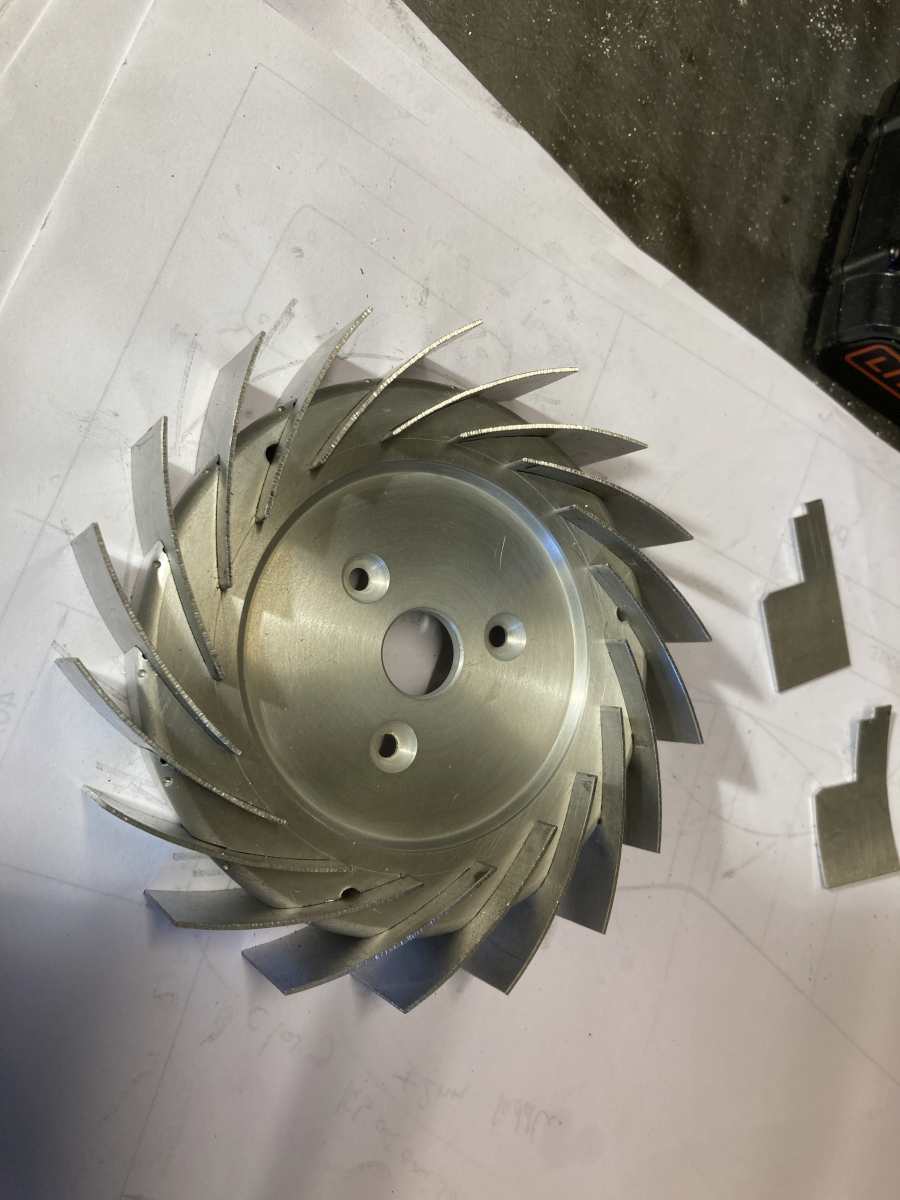
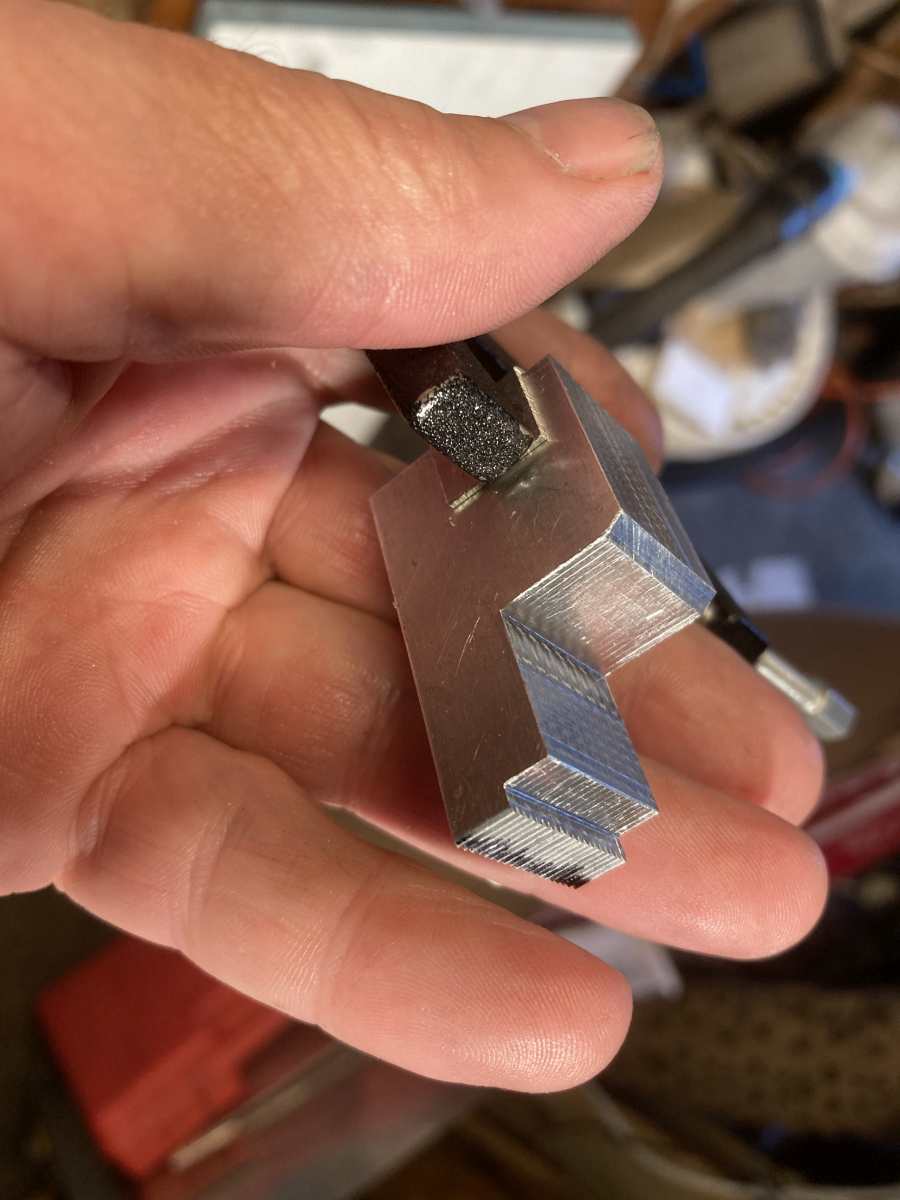
I was sorely tempted to try tacking the vanes in from the rear with the TIG welder, but got worried about the possibility of distorting the ‘hub’ so chickened out and glued them in, as per the book. The problem here is that the diffuser can get to over 100°C, just from the heat generated by compressing the air, so the glue needs to be able to withstand this (the book just says something like ‘use high temperature epoxy’). The front cover clamps down onto the vanes and people have reported the the vanes pushing through the diffuser ‘hub’ due to the glue (possibly standard epoxy) softening. To help avoid this, I had made the vane slots slightly shorter than required, and machined an undercut at the leading edge of the vanes so that this part of the vane gets sandwiched between the diffuser ‘hub’ and the front cover to take the clamping pressure (rather than relying completely on the glue).
I spent a while trying to find a temperature resistant epoxy that didn’t cost an arm and a leg. I eventually went with UHU Plus Endfest 300 epoxy (no I hadn’t heard of it either!) The data sheet gives information on mixing ratios and curing temperature to maximise temperature resistance and gives strength data to 140°C.
Before fitting the vanes, I cleaned out, filled in & faired the redundant holes in the diffuser ‘hub’ using metal loaded epoxy. The vanes themselves were glued in using the Endfest epoxy, cured at ~120°C.
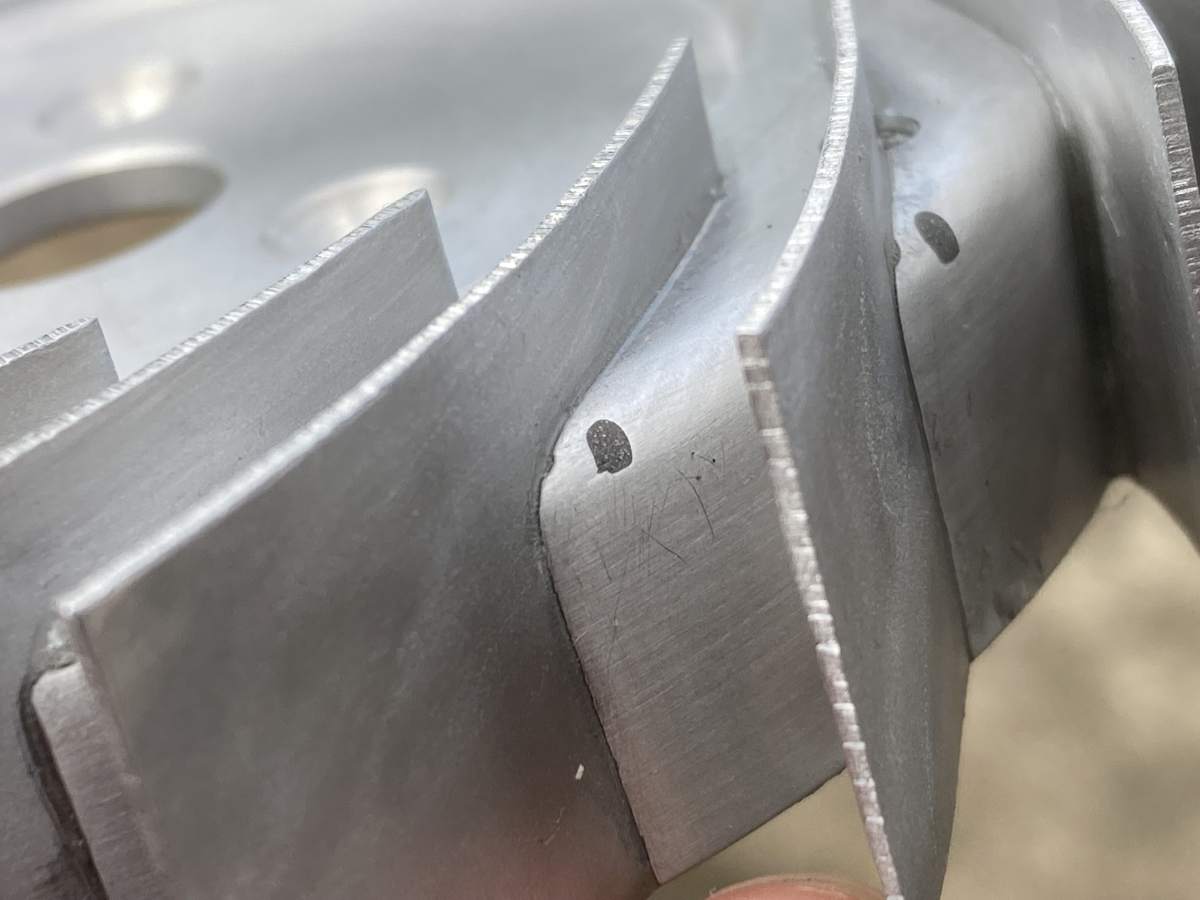
(I see that burr – it will be removed!)
The vanes need cutting down to an accurate height above the diffuser body (to match the compressor wheel tip height); and the outside profile needs to be cut to match the inside of the casing / front cover.
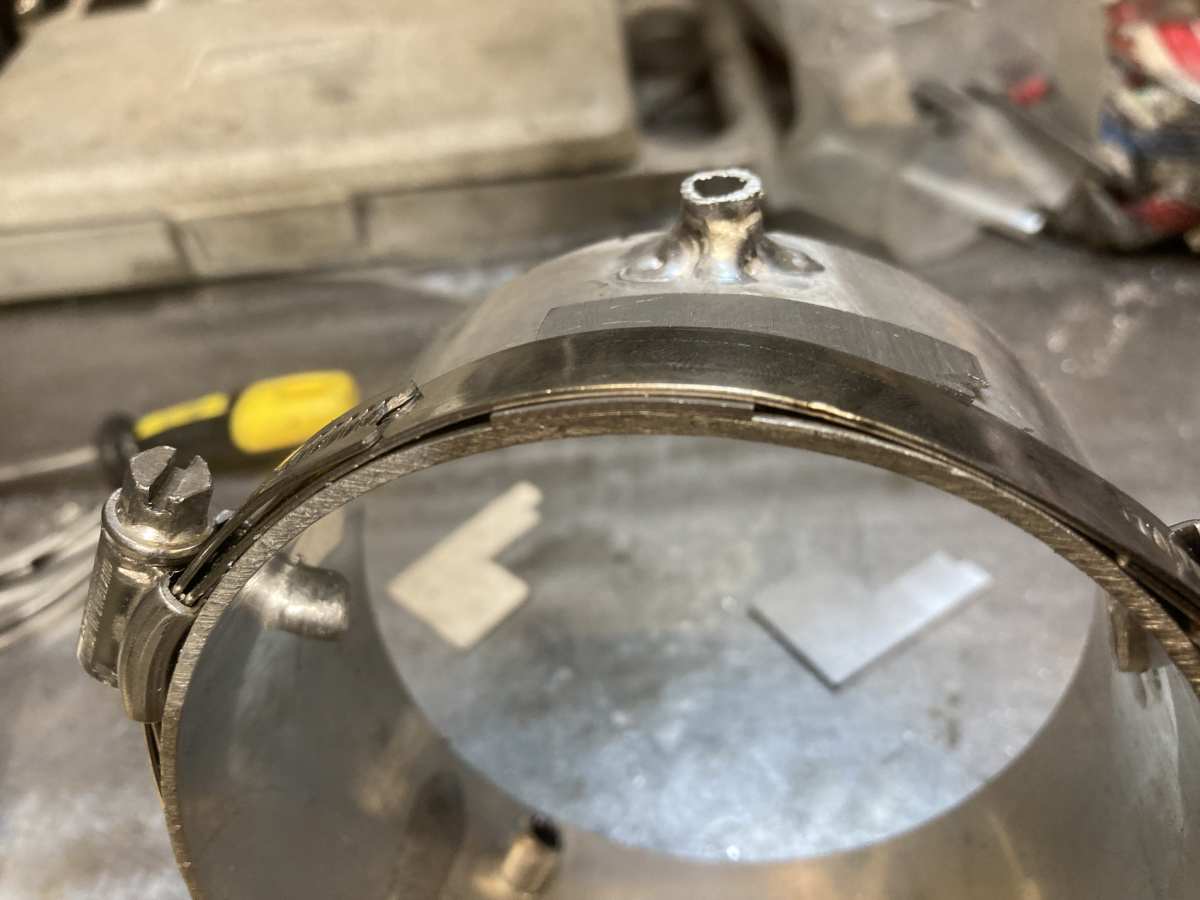
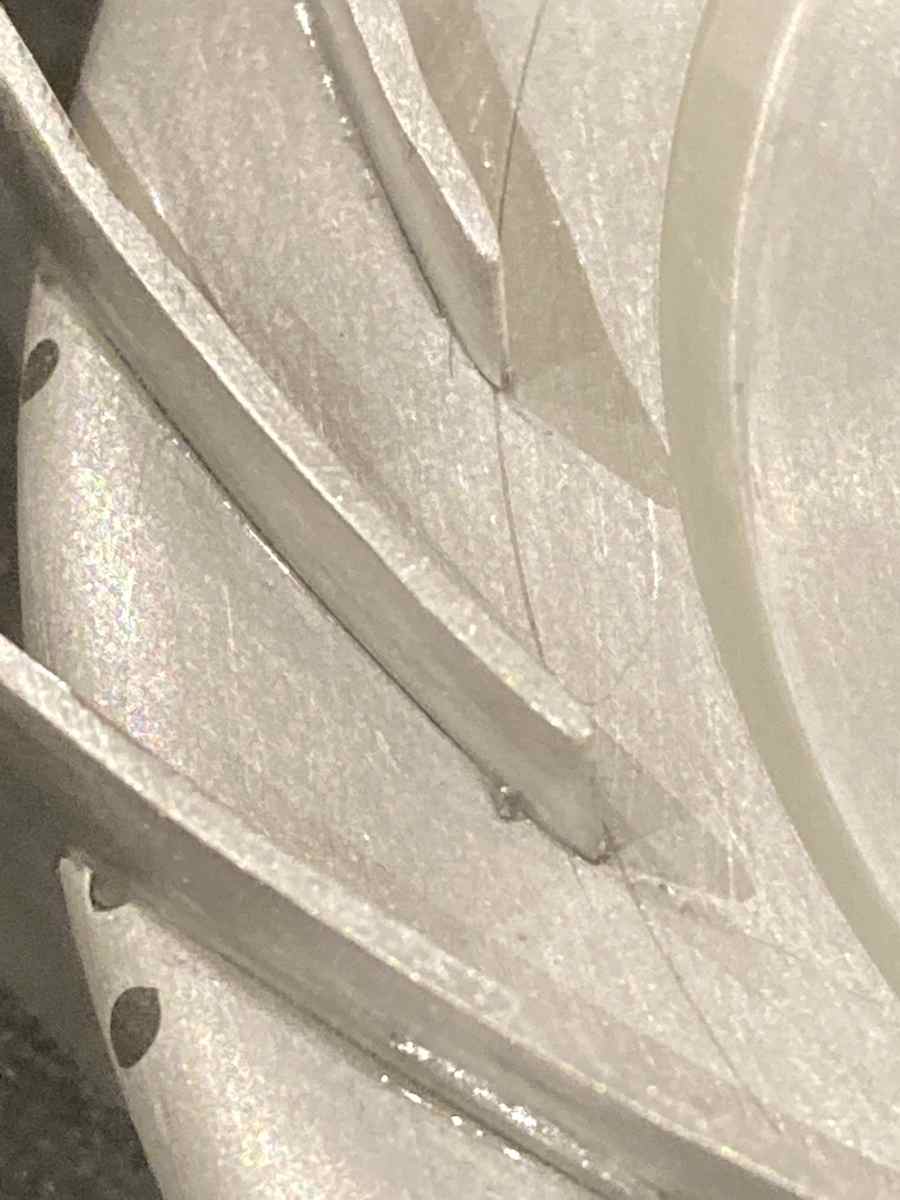
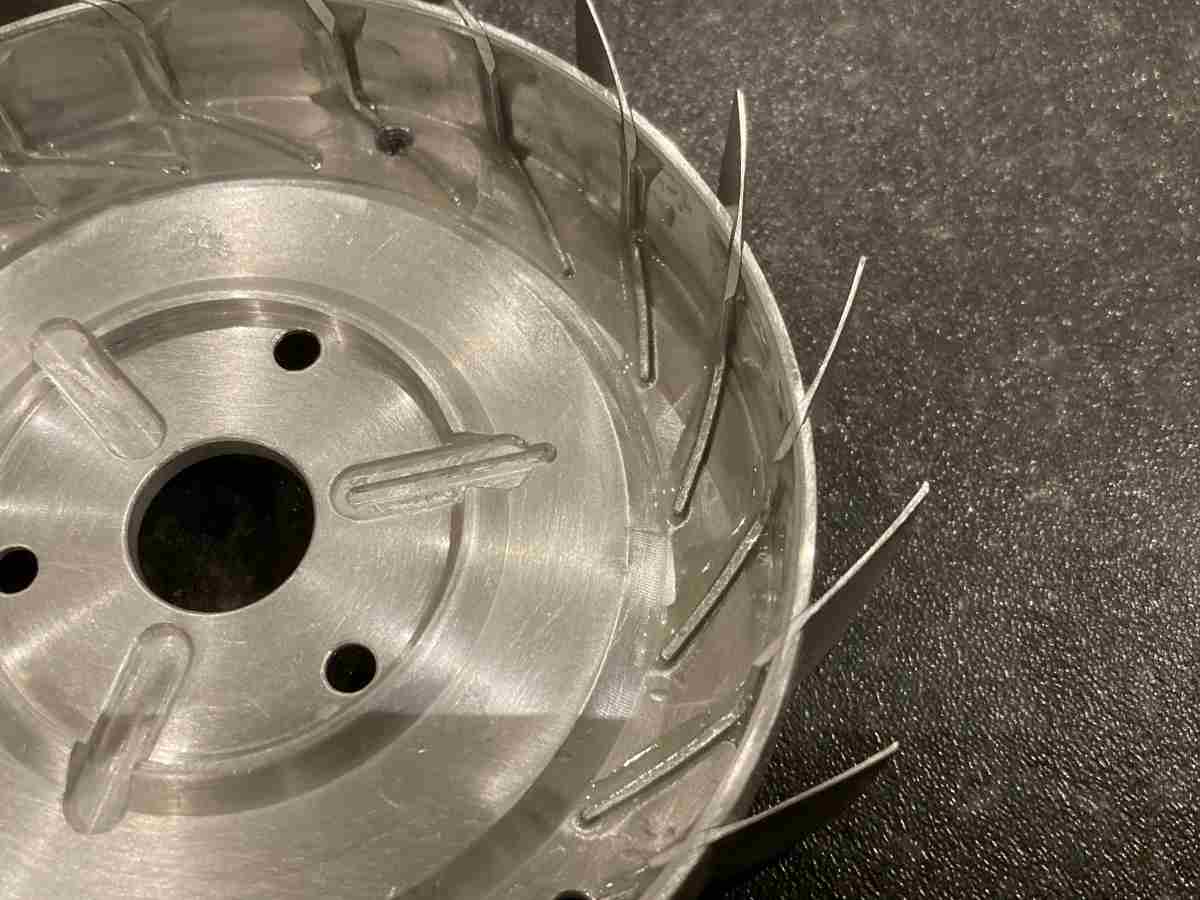
I potted the vanes in wax to stabilise them during machining (mostly paraffin wax, with a bit of beeswax to make it sticky).
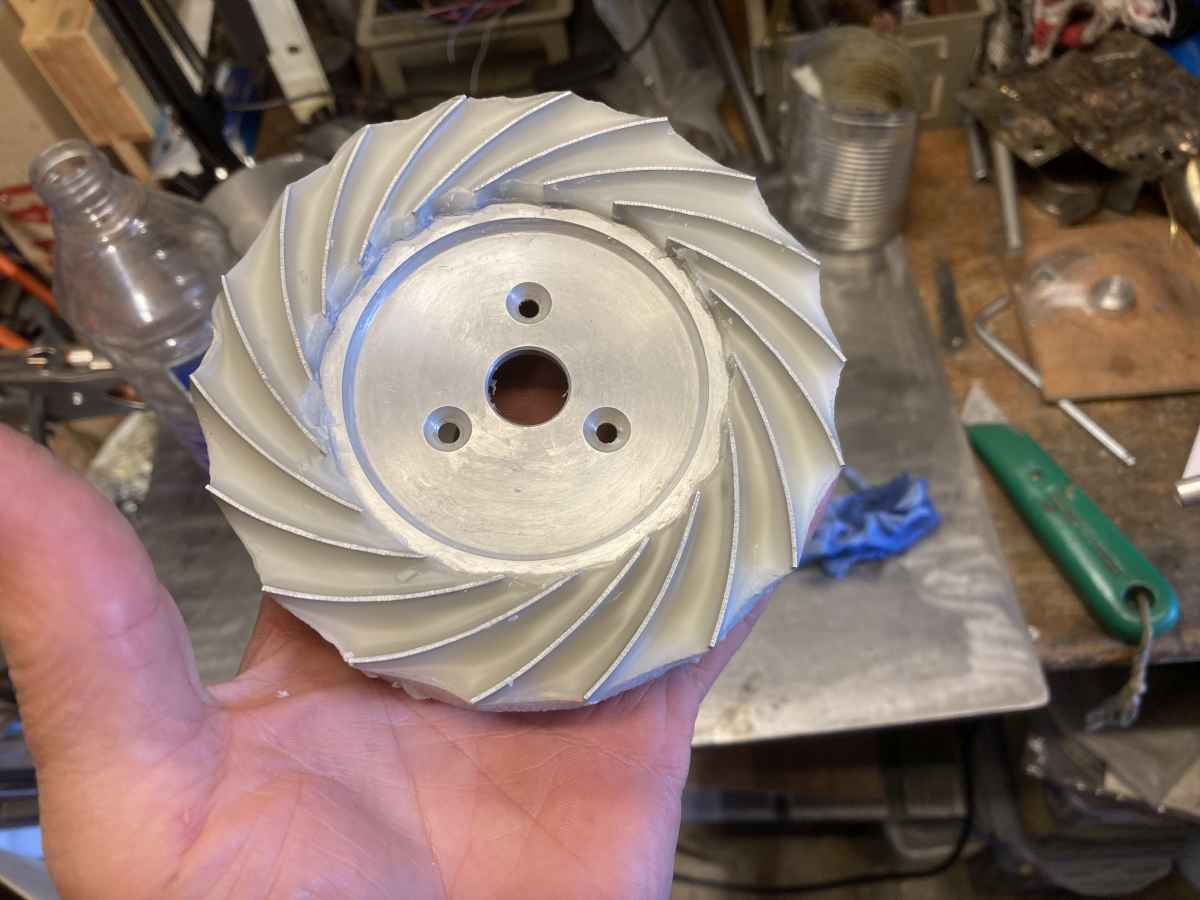
I’d left the mandrel in the lathe chuck from when I turned the ‘hub’ so getting the assembly running true was straightforward. After facing the vanes to the correct height and turning the overall diameter, I used more ‘turning by numbers’ to get the 8mm convex radius needed on the outside edge of the vanes (where the air turns the corner).
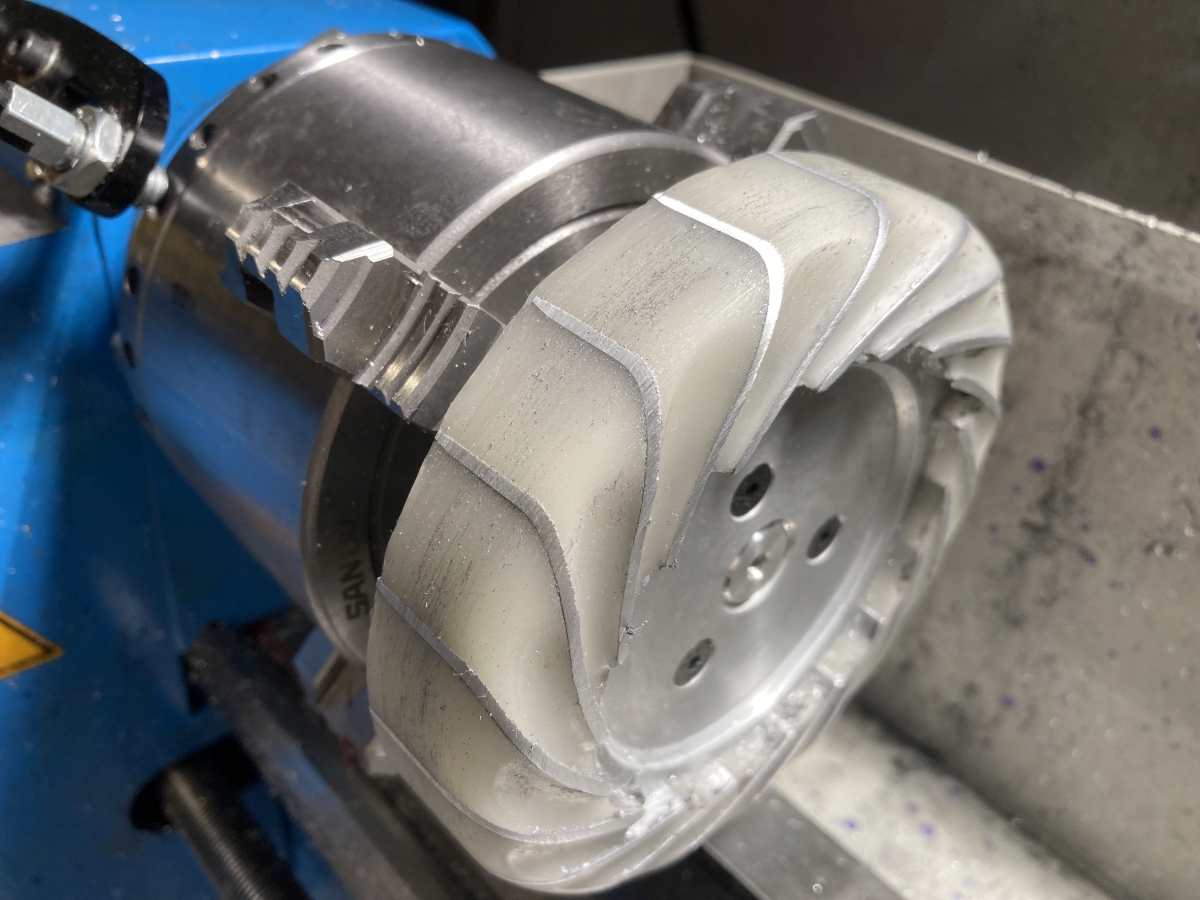
I think the wax shows the way that the size of the gap between the vanes gradually increases really well.
Most of the wax got melted off with a hot air gun, and a scrub in hot water and Fairy liquid got rid of the residue.
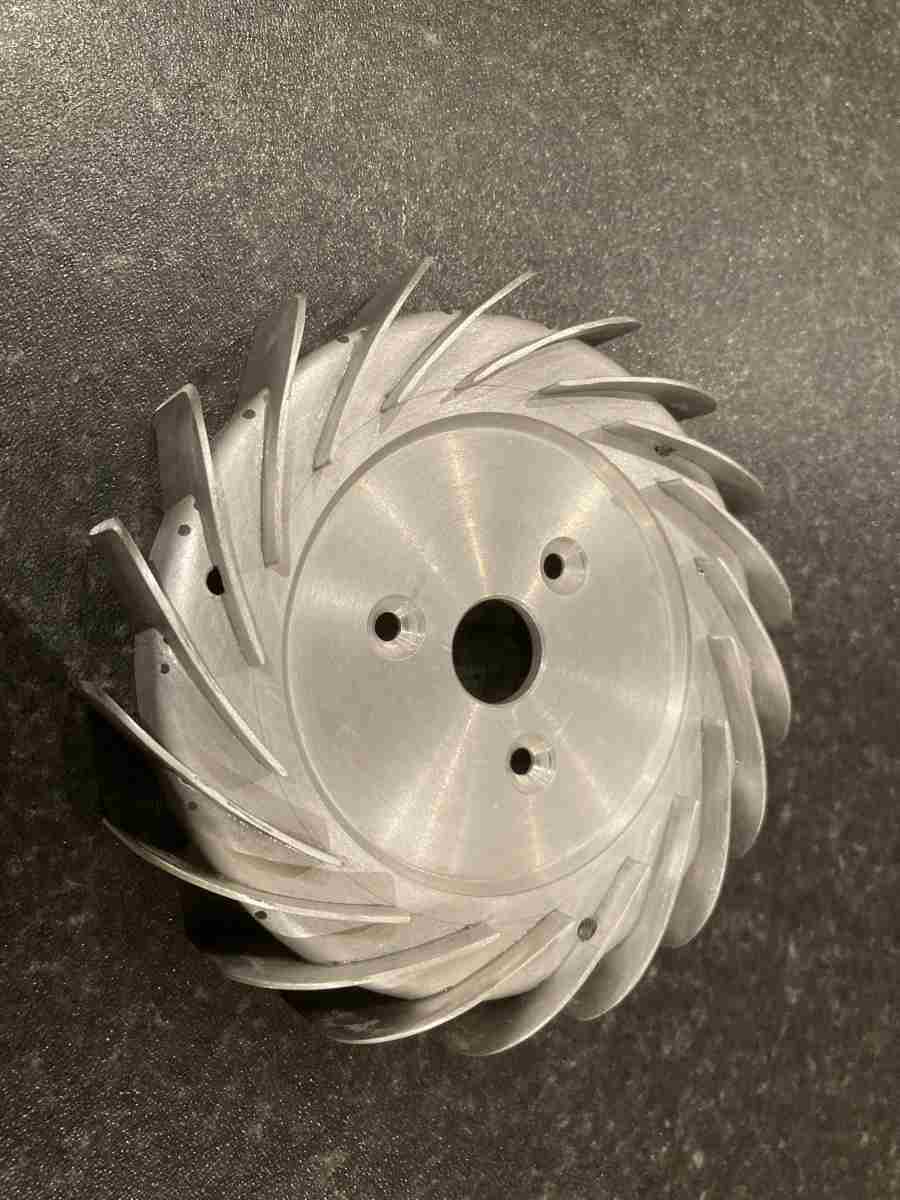
I needed to spot face the back of the diffuser where the front cover securing screws sit, but otherwise, I’m leave the rear of the diffuser as it is – there’s about 0.5mm of vane proud of the surface with a good fillet of epoxy on it – the rear corners of the vanes are cut away so that there is a smooth transition at the edge of the diffuser.
I also thinned down the trailing edge of the diffuser vanes, but I’m not sure how worthwhile that is…
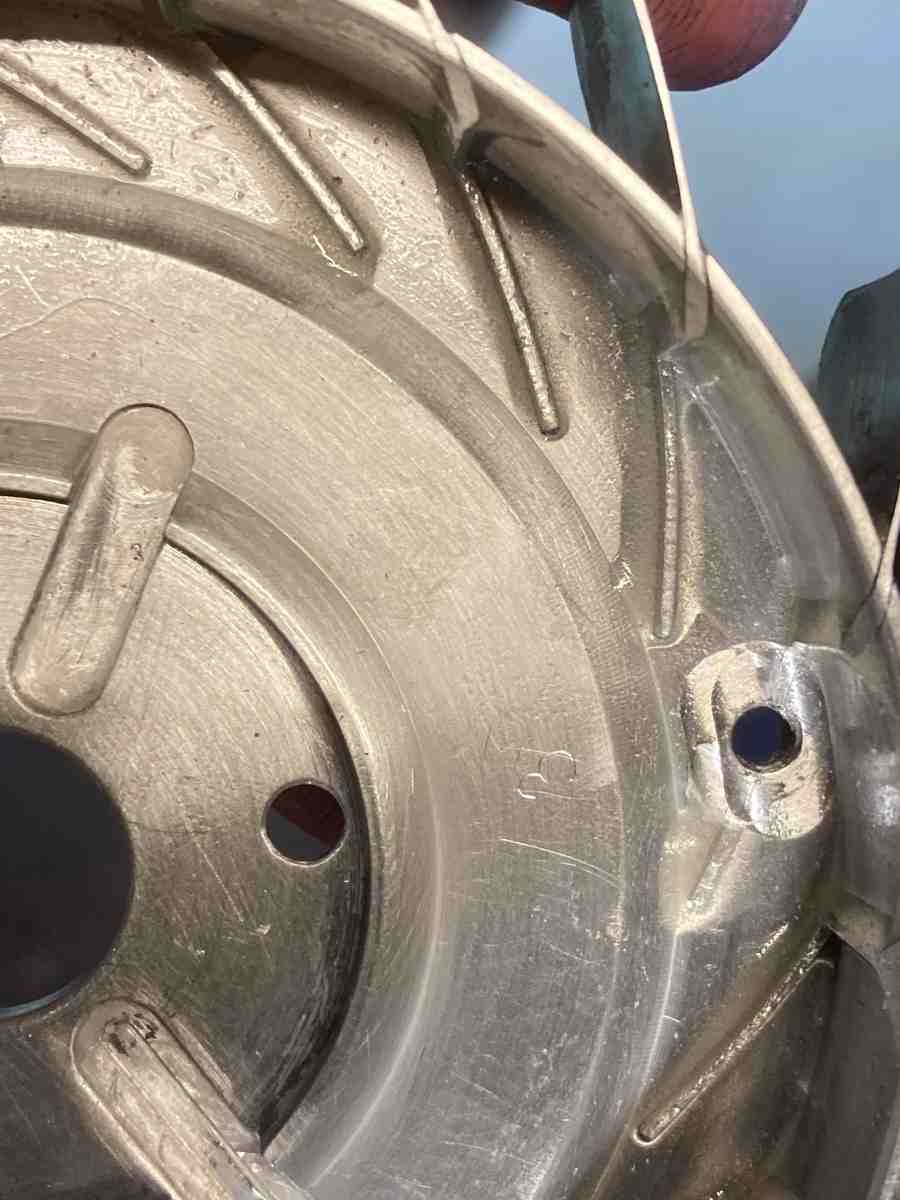
The front cover securing studs pass through 3 of the vanes so I needed to carefully mill away the vanes to match the holes already drilled in the ‘hub’ (I’d partially cut the vane before gluing, but left enough metal to keep it in one piece whilst being glued up).
The securing studs are supposed to be thinned down and faired into the vanes, but I’ll leave that for later!