
Each blade on the turbine blank needs to be twisted to the correct angle and ground to an aerofoil profile.
After procrastinating for a long time, I slowly came to the view that twisting and grinding the blades was more about consistency than precision.
I made a holder to index the disc for the 19 blades and got stuck in with a piece of bar slotted to fit over the blades. I had to hold the bar with my drill press to stop it slipping off the end of the blade while I swung on it with an adjustable spanner.
The bending was done cold, as I found out that the ductility of Hastelloy X decreases with temperature unless you can get it to over ~900°C. I don’t believe that is achievable with a blowlamp, and I don’t have oxy-fuel kit, so cold it was.
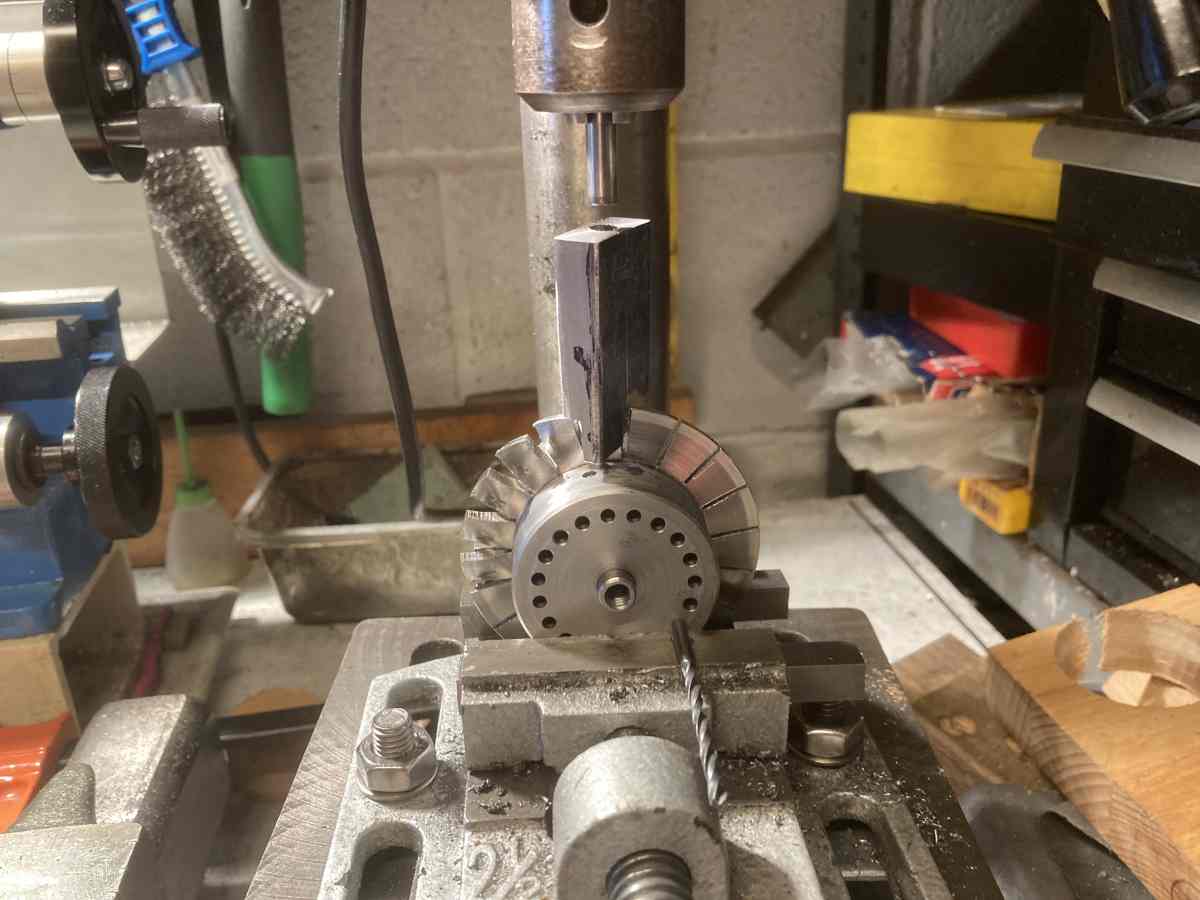
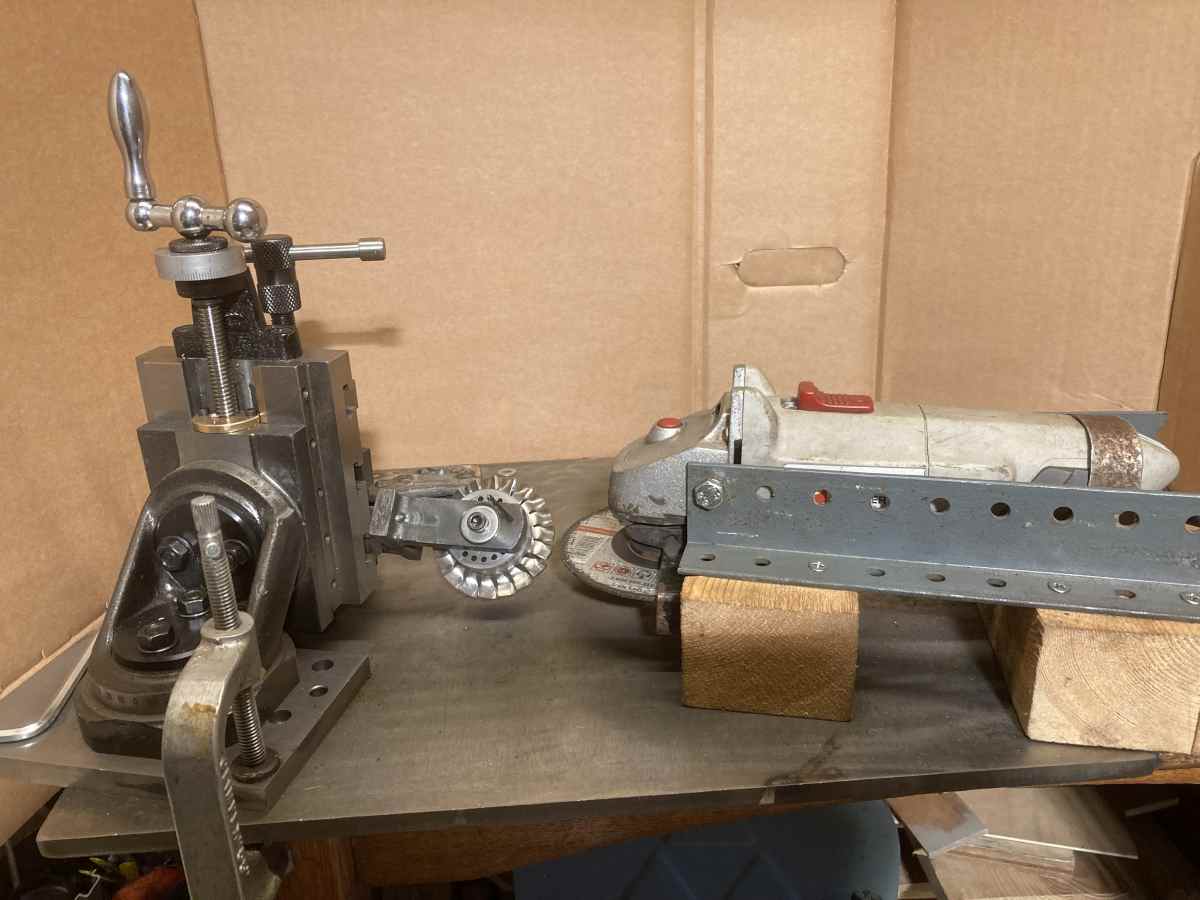
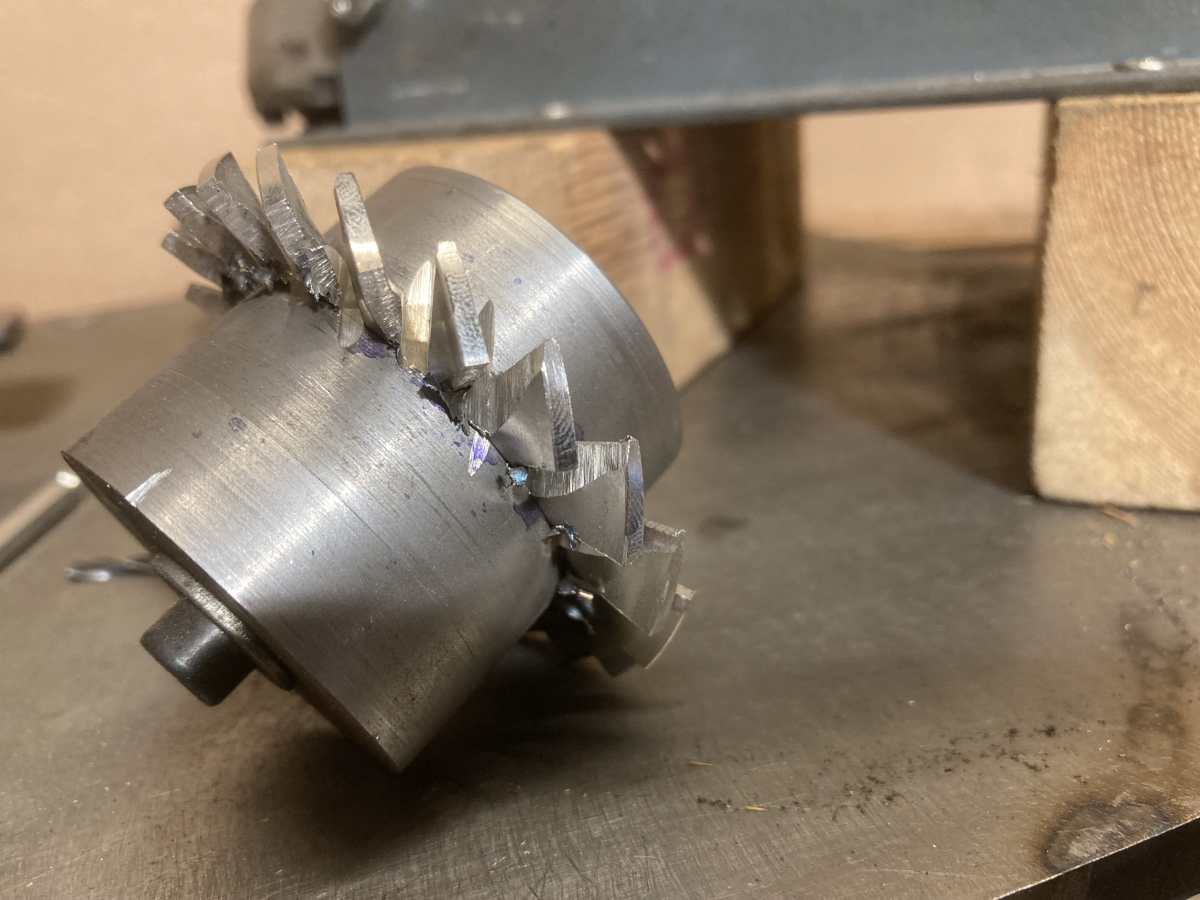
Next, the meat between the blades needed to be ground out. The book doesn’t supply any details. After a bit of thought, I made a holder to mount the turbine blank in the vertical milling slide from my lathe and mounted my angle grinder on a skid to keep the grinding disc at a fixed height above, and parallel to the bench. This meant that I could set the angle and height of the blank and make a controlled cut across the turbine blades. The diameter of the holder acts as a guide for cutting the blades to a consistent depth.
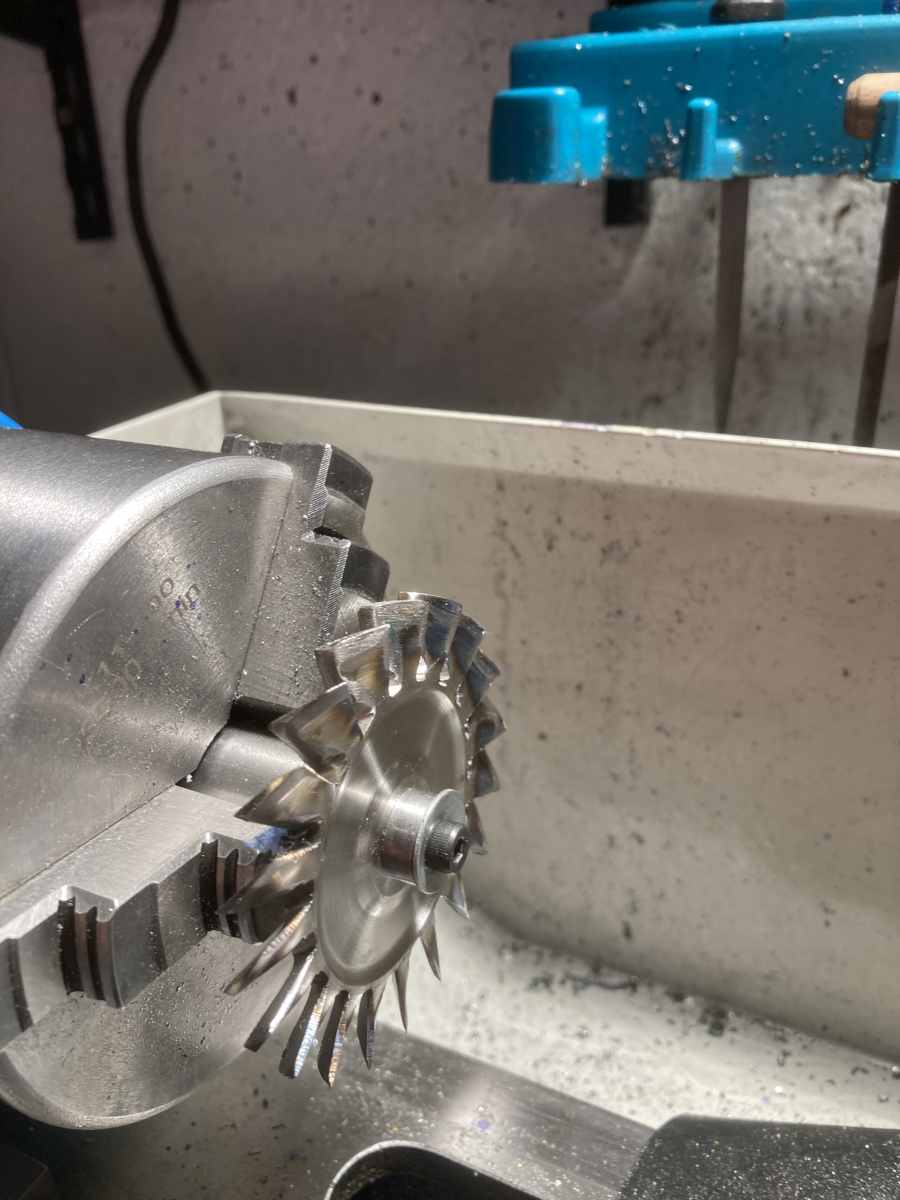
I used a 2.5mm thick disc first to open up the slots:
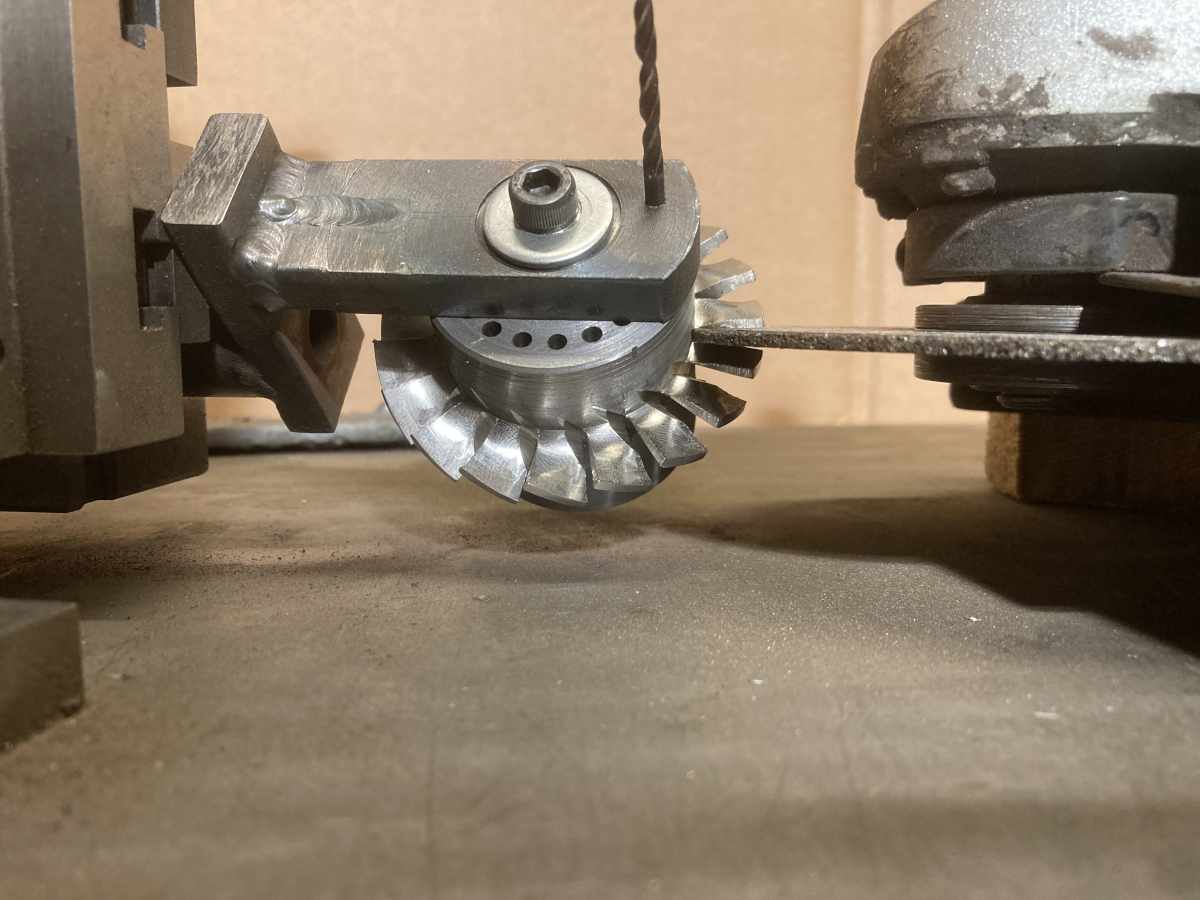
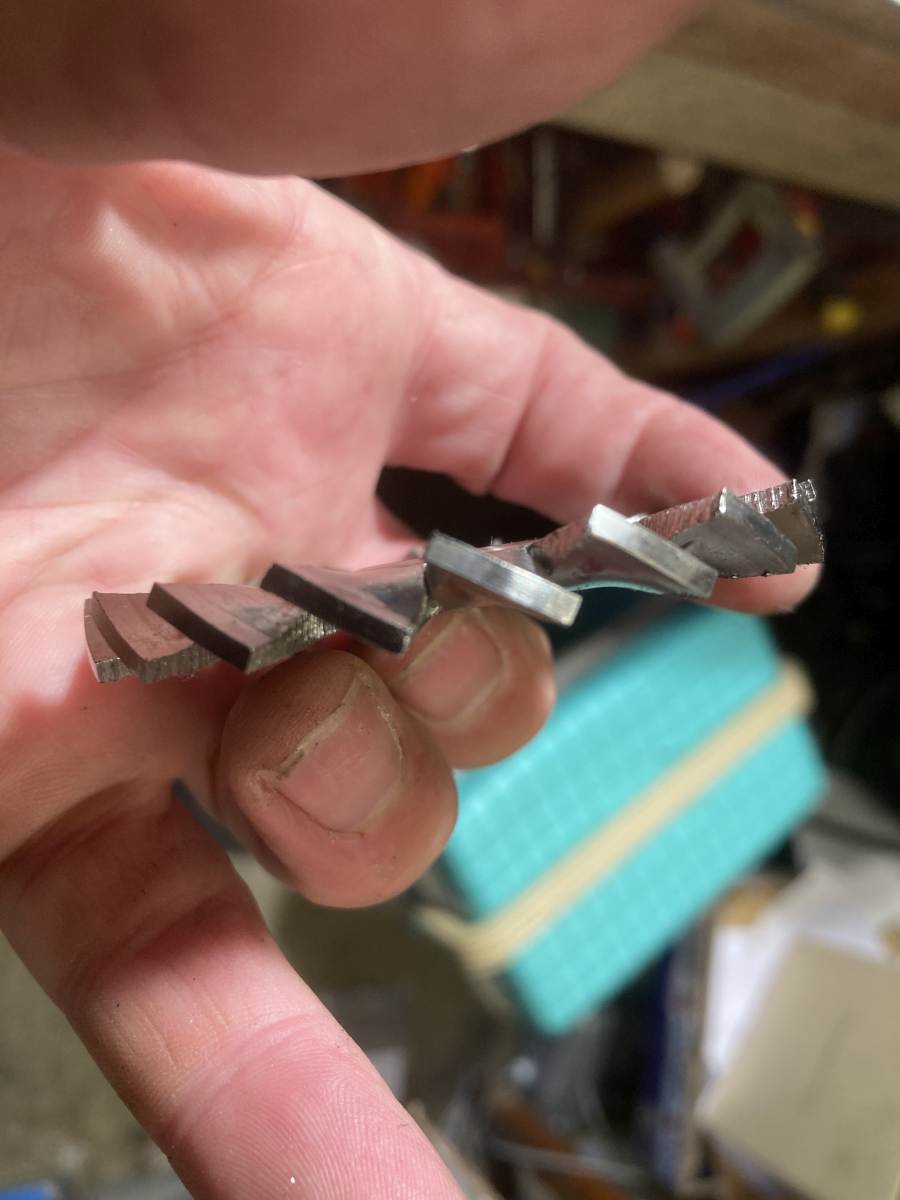
Then a series of facets using a 1mm disc
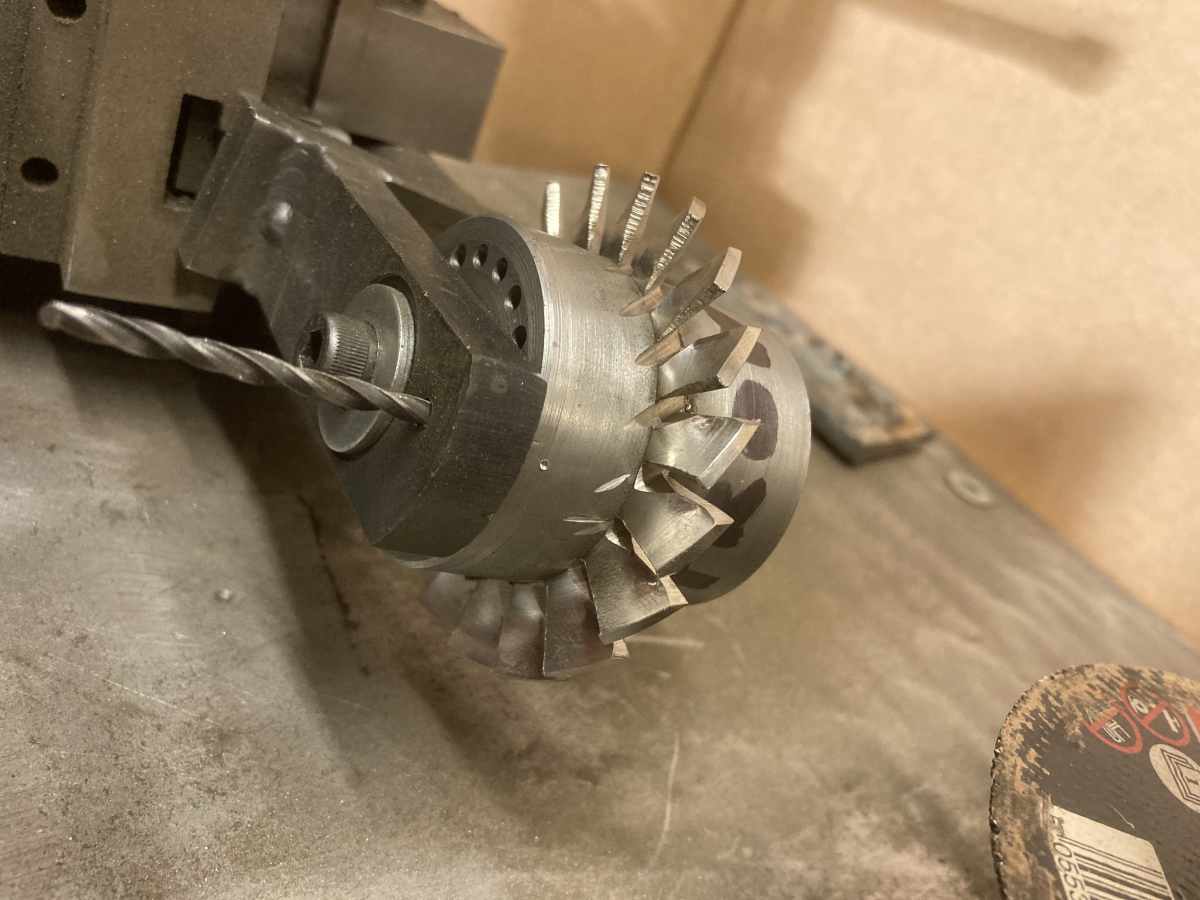
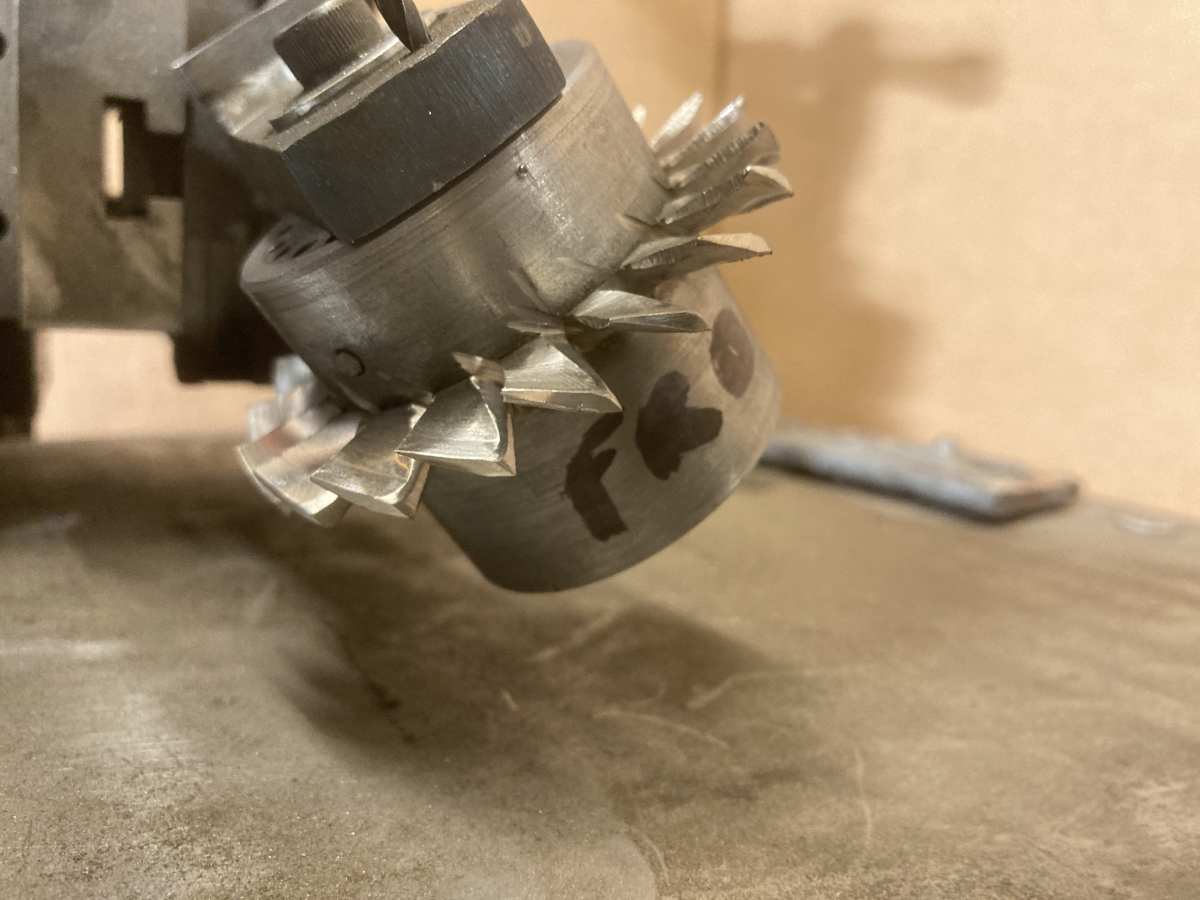
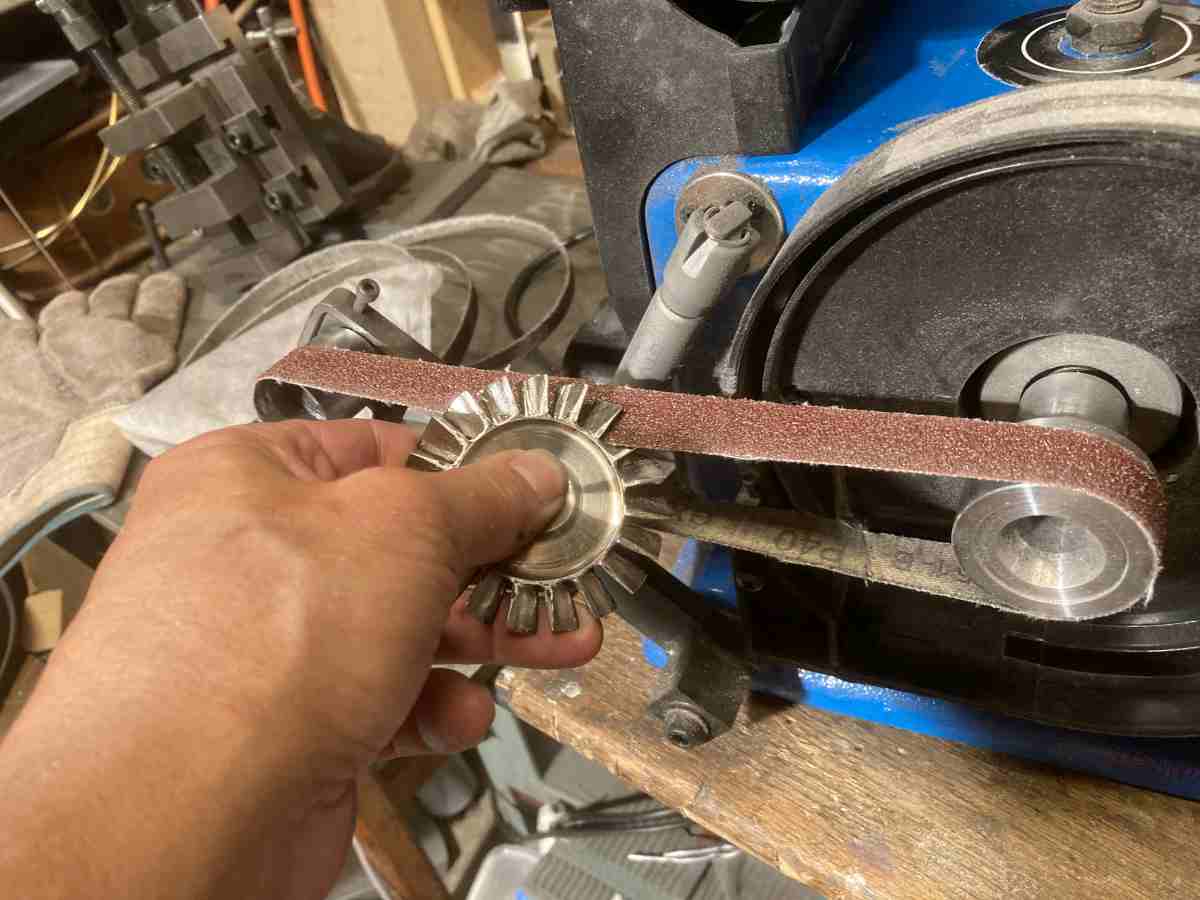
I put the disc back on the arbour and skimmed the tips of the blades to true them up before starting to finesse the shape.
The front face of the blades needs to be ground to a concave shape. I’d convinced myself that I could do this with a hollow roller on a belt sander, so I spent an afternoon adapting my Aldi belt sander to take a narrow sanding belt instead of the sanding disc on the side.
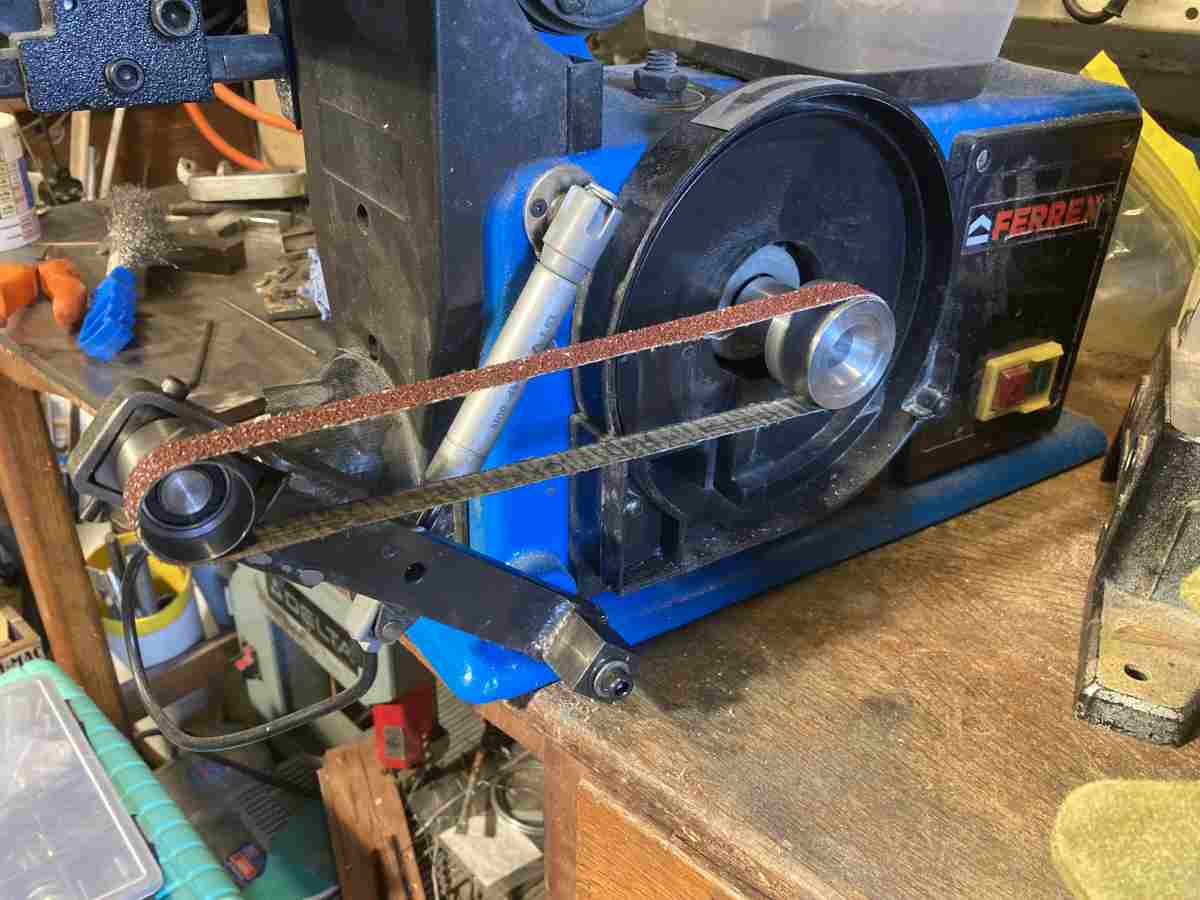
As it happens, while I can grind the front of the blades with this, the angles are all wrong to work it to the required profile.
After trying various small grinding wheels in the Dremel to hollow out the concave face of the blades, I found that a carbide burr was more effective (but the term is relative!).
The narrow belt sander attachment worked well to smooth the convex faces of the blades though.
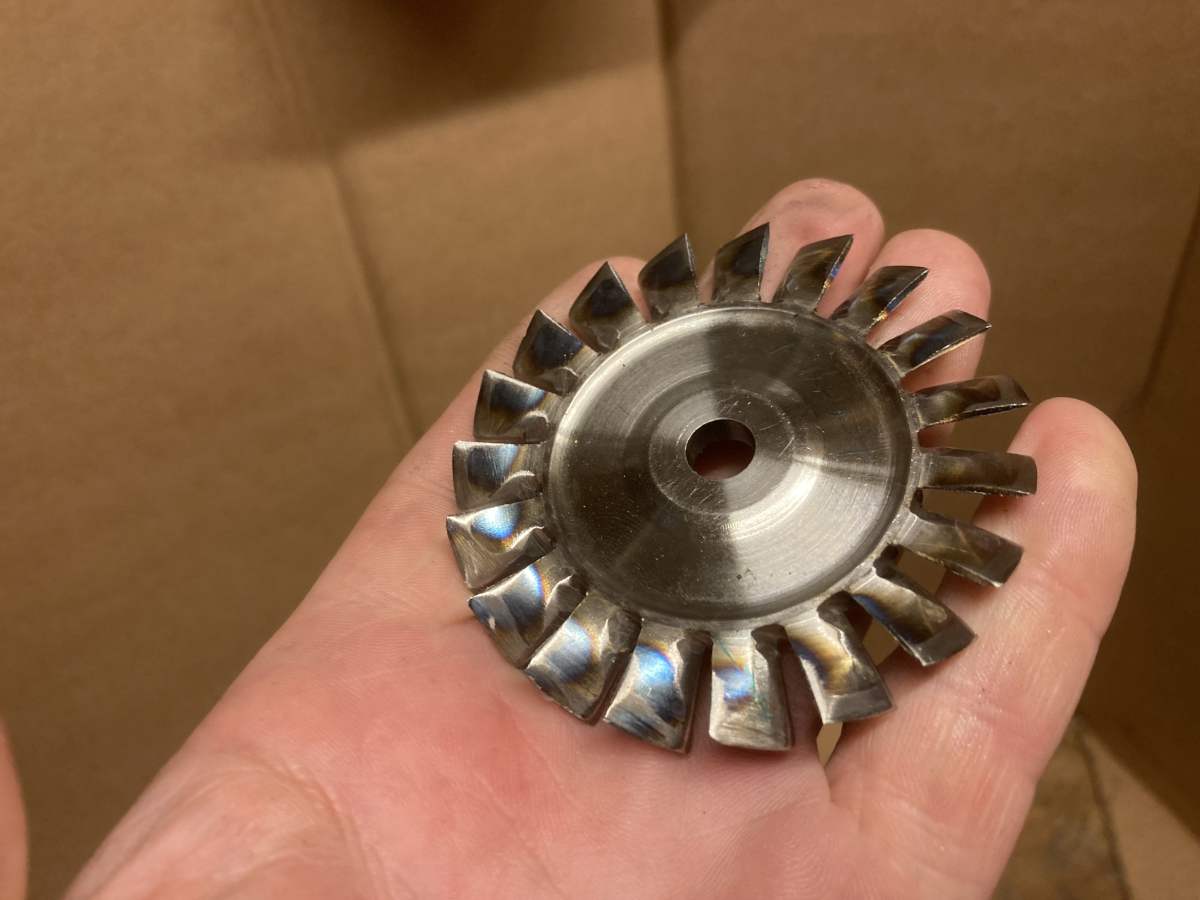
After another afternoon’s work, the upshot was this:

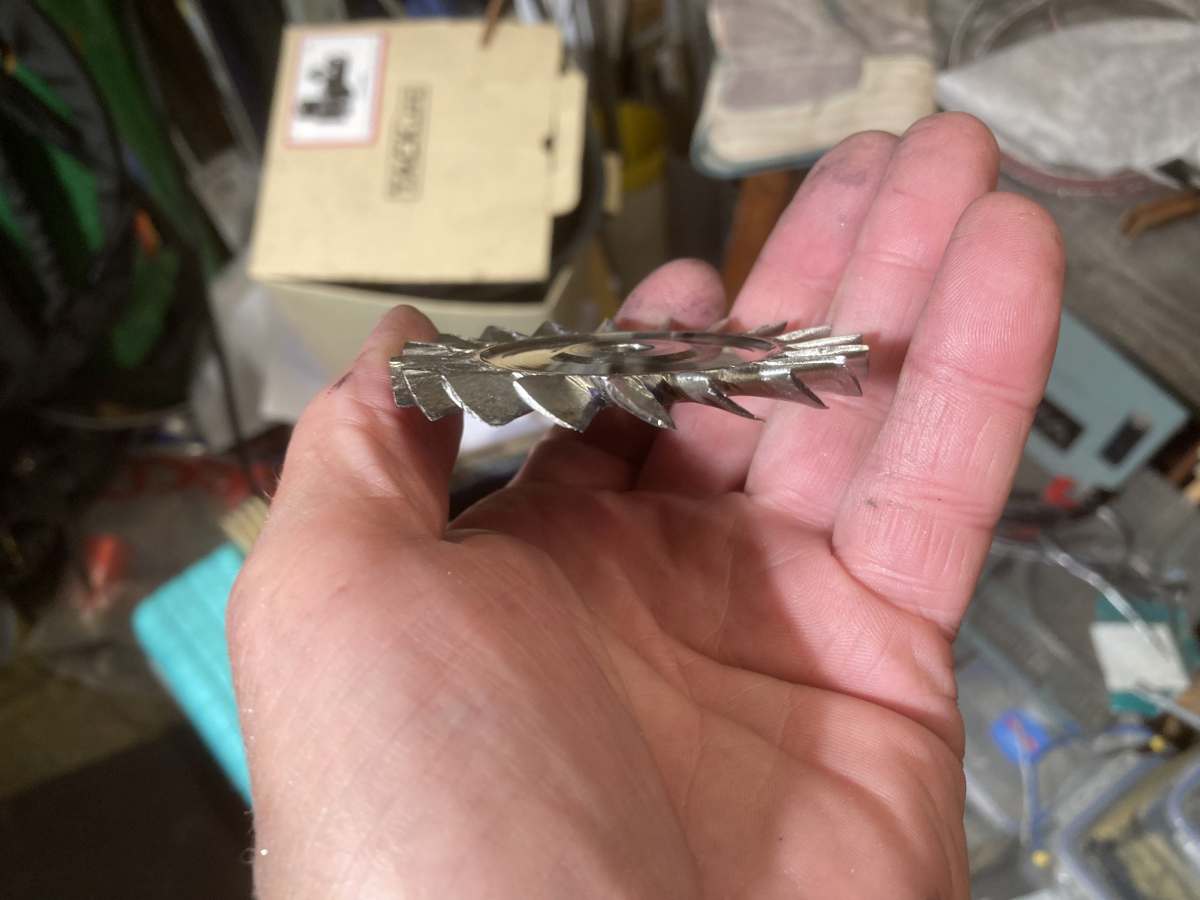
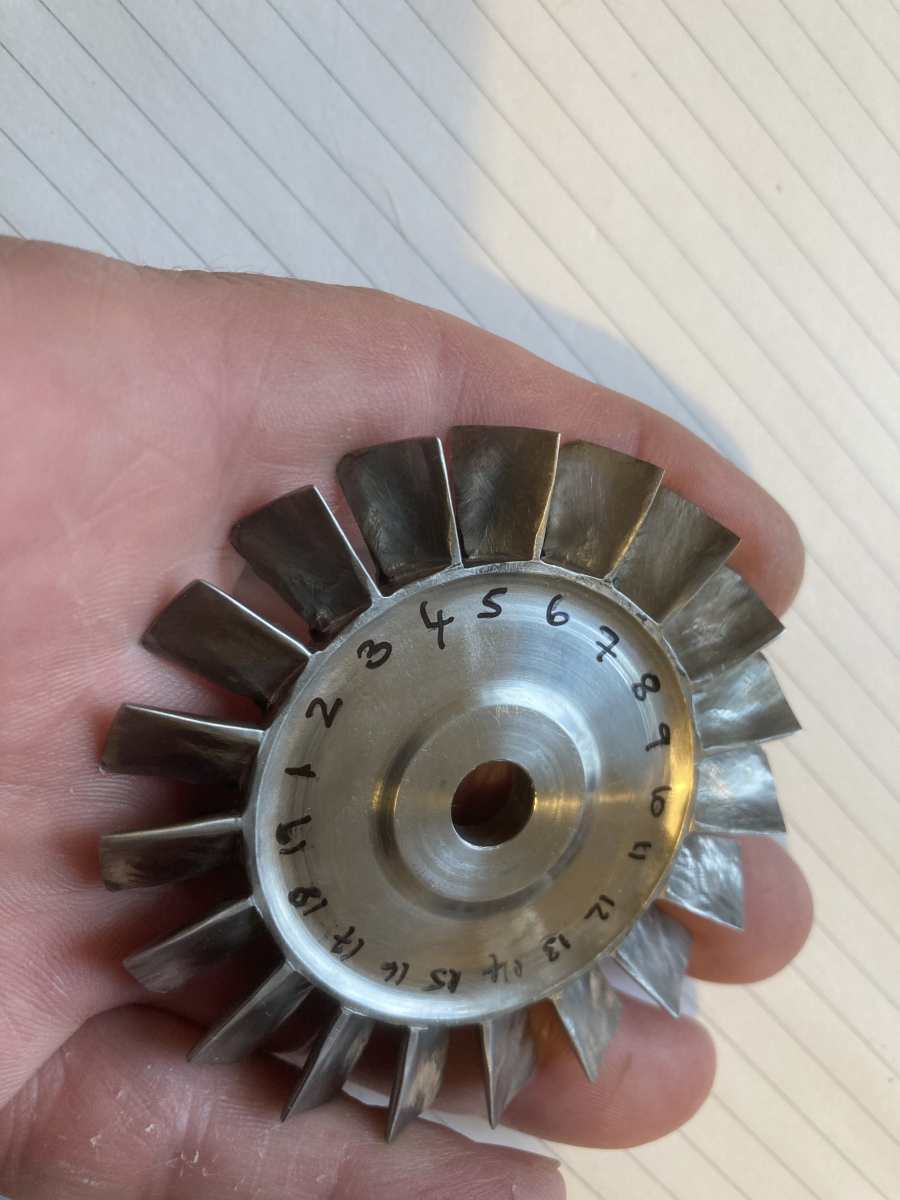
The bevel gauge is at 34° which is the angle specified for the chord of the blade at the exit – close enough?
The trailing edge of the blade is getting quite thin, so I hope I haven’t overdone it. The convex faces aren’t perfect, but I am hoping are good enough – there’s maybe a few thicker spots that could be evened out.
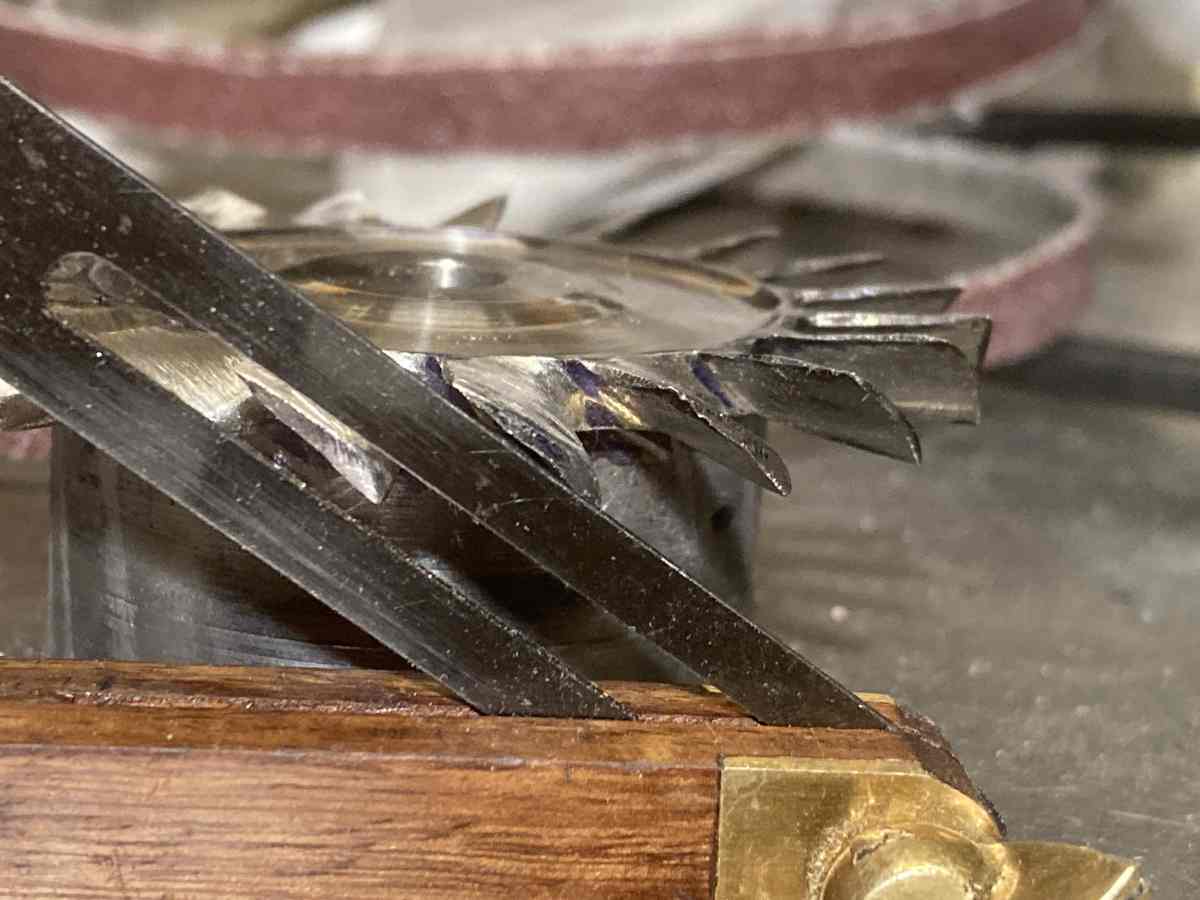
Another few hours of careful grinding tidied it up a lot. An oval carbide burr worked well to blend in the concave surfaces:
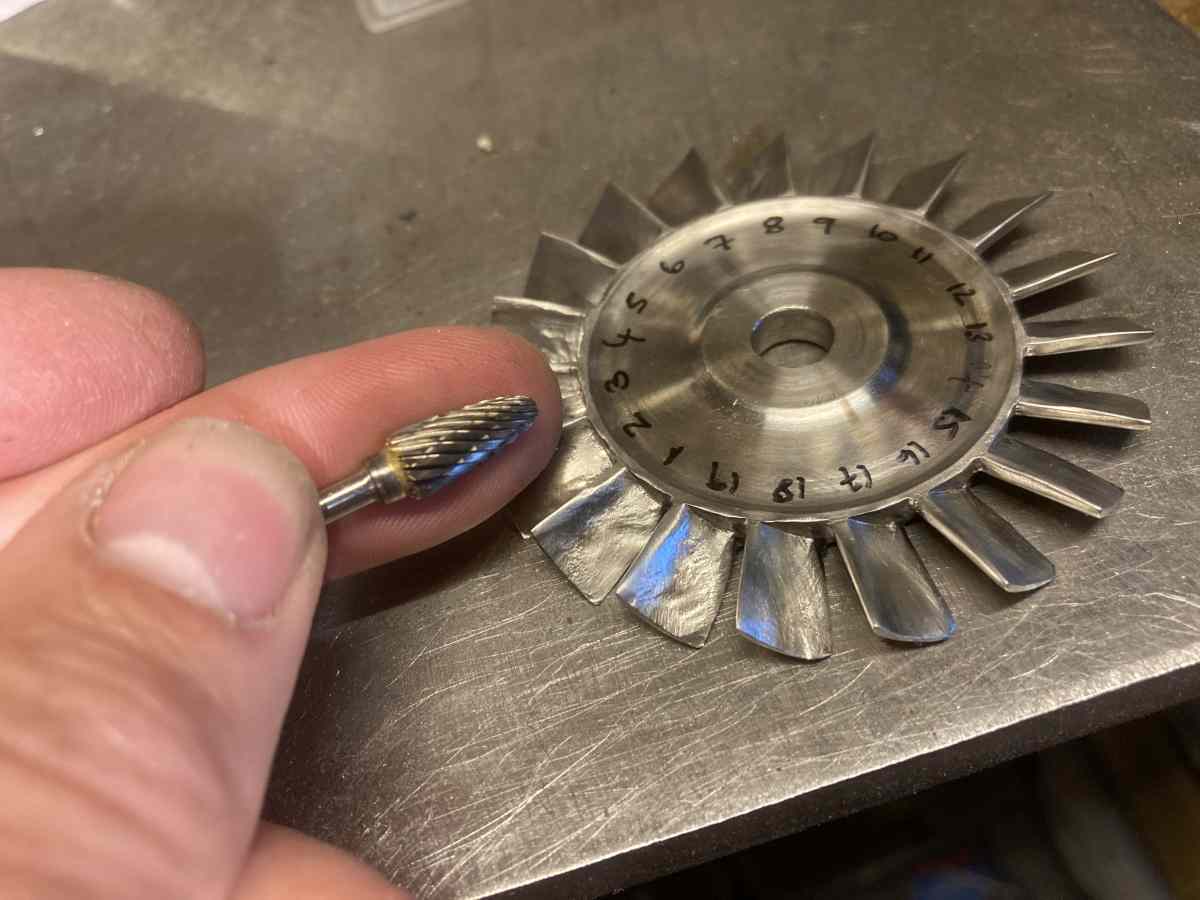
Afterwards I went over it with a small Scotchbrite wheel in my Dremel-alike.
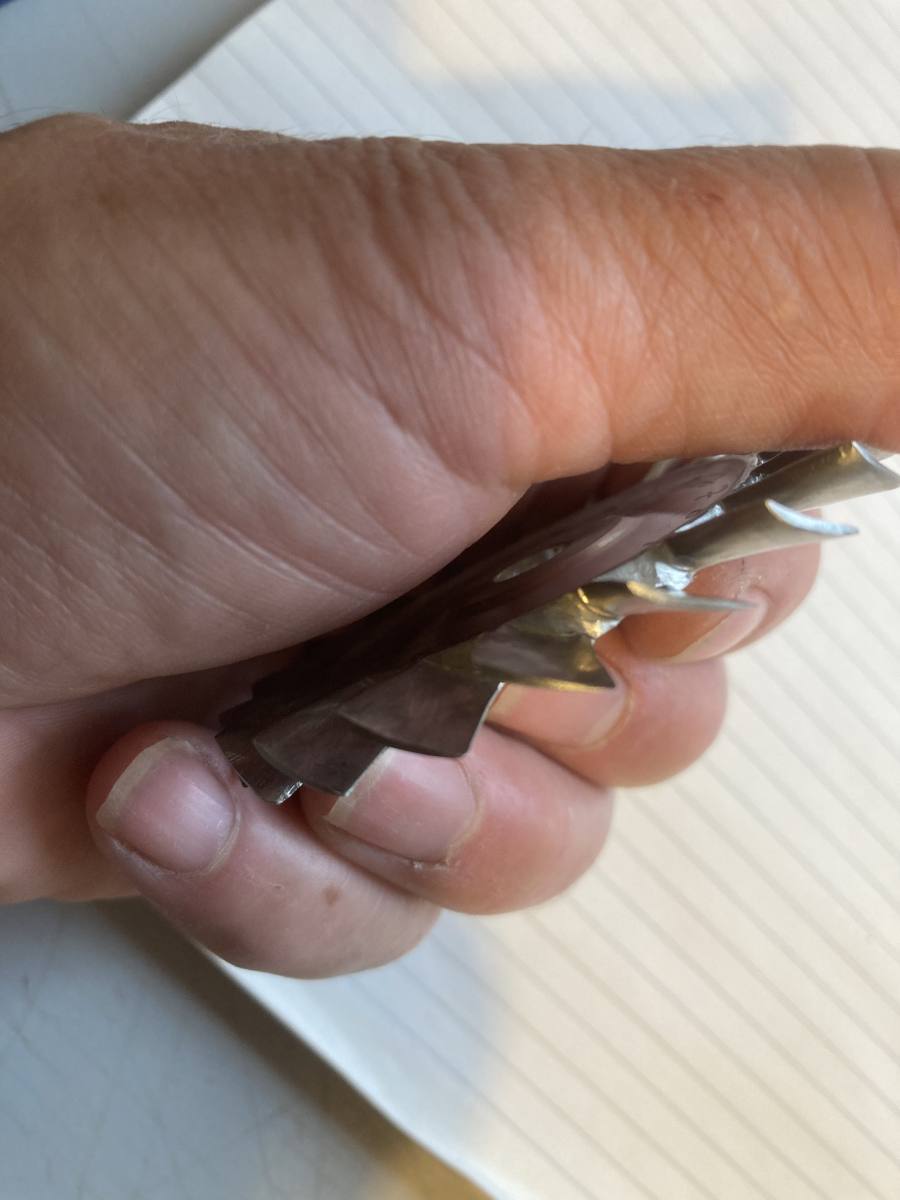
There are small areas near the root on the convex face of each blade which I’ve so far not been able to sand out. At the moment I’m sort of ignoring them – I don’t want to take much more off the blades as it’s difficult to get pressure at the root without also sanding the outer trailing edges (I’ve already lost the very corner of a few blades where the grinding burr snagged them).
This short video gives a better idea of what it’s like:
I’m leaving it alone now until I mount it on the shaft and try and balance it.