Making a stand…. (Not against anything, just a stand.)
If Youtube is anything to go by, a lot of people seem to fasten their engines to a piece of 2 x 4 with some builder’s band or hose-clips for testing. I wanted to try for something a little more elegant and ‘jet engine-ey’.
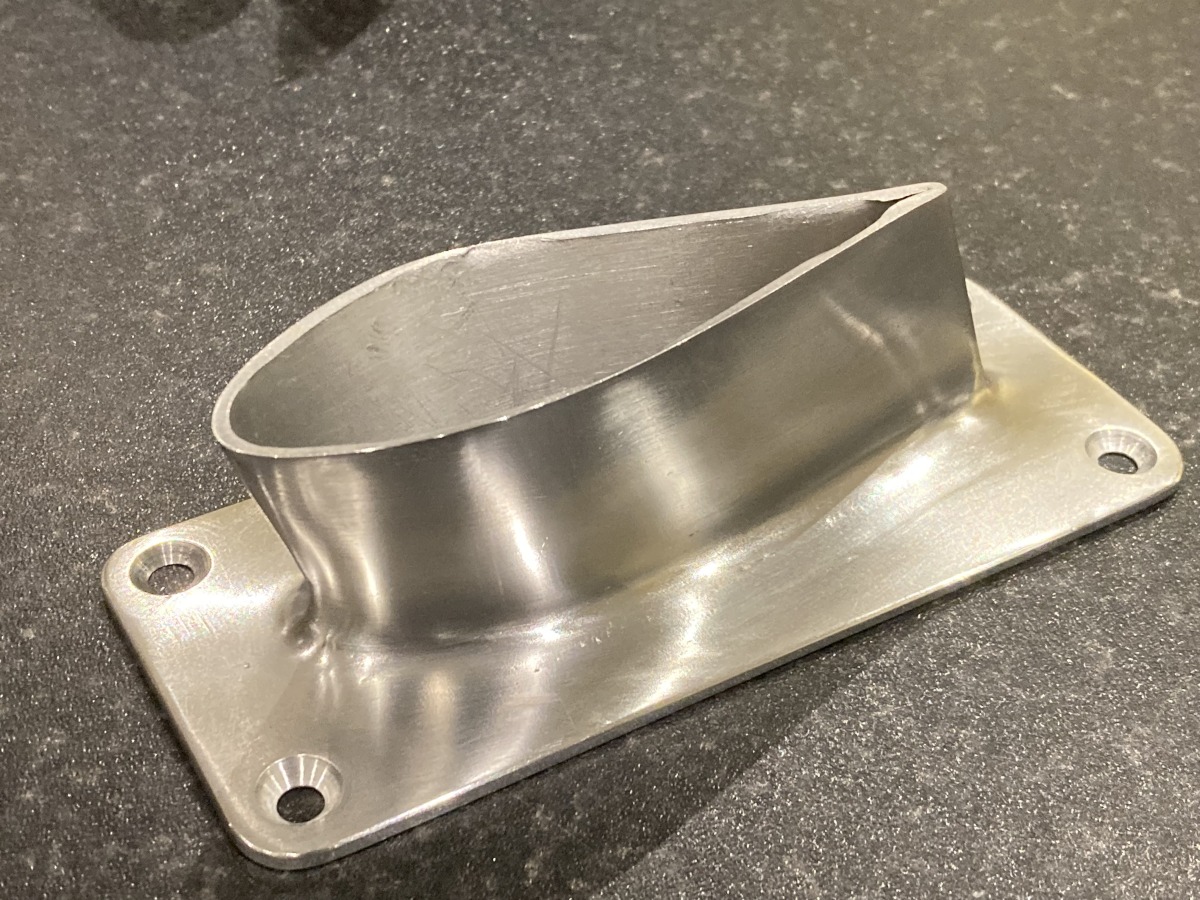
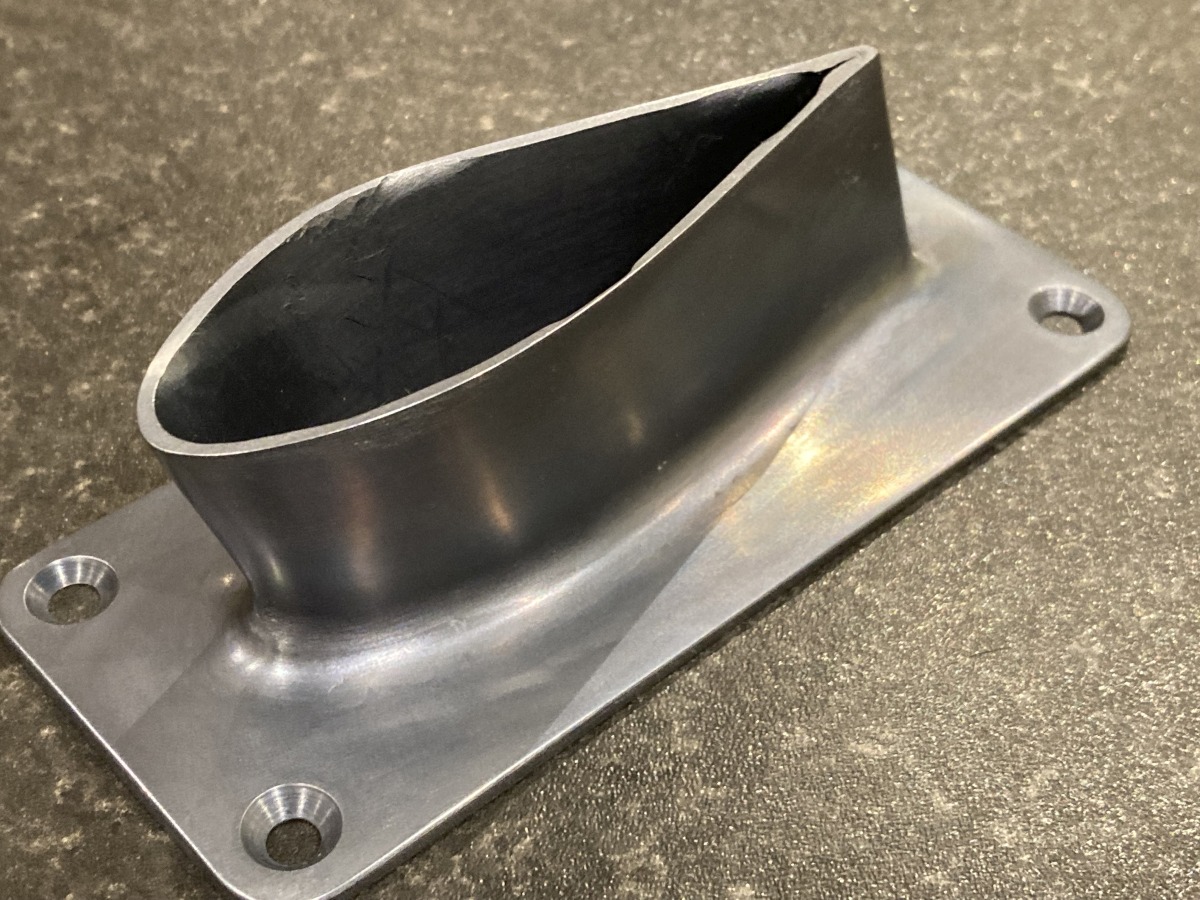
Plan A was an aluminium support with lugs riveted to the outer casing. I abused my little wood bandsaw again to cut out some 2mm 1050 aluminium sheet:

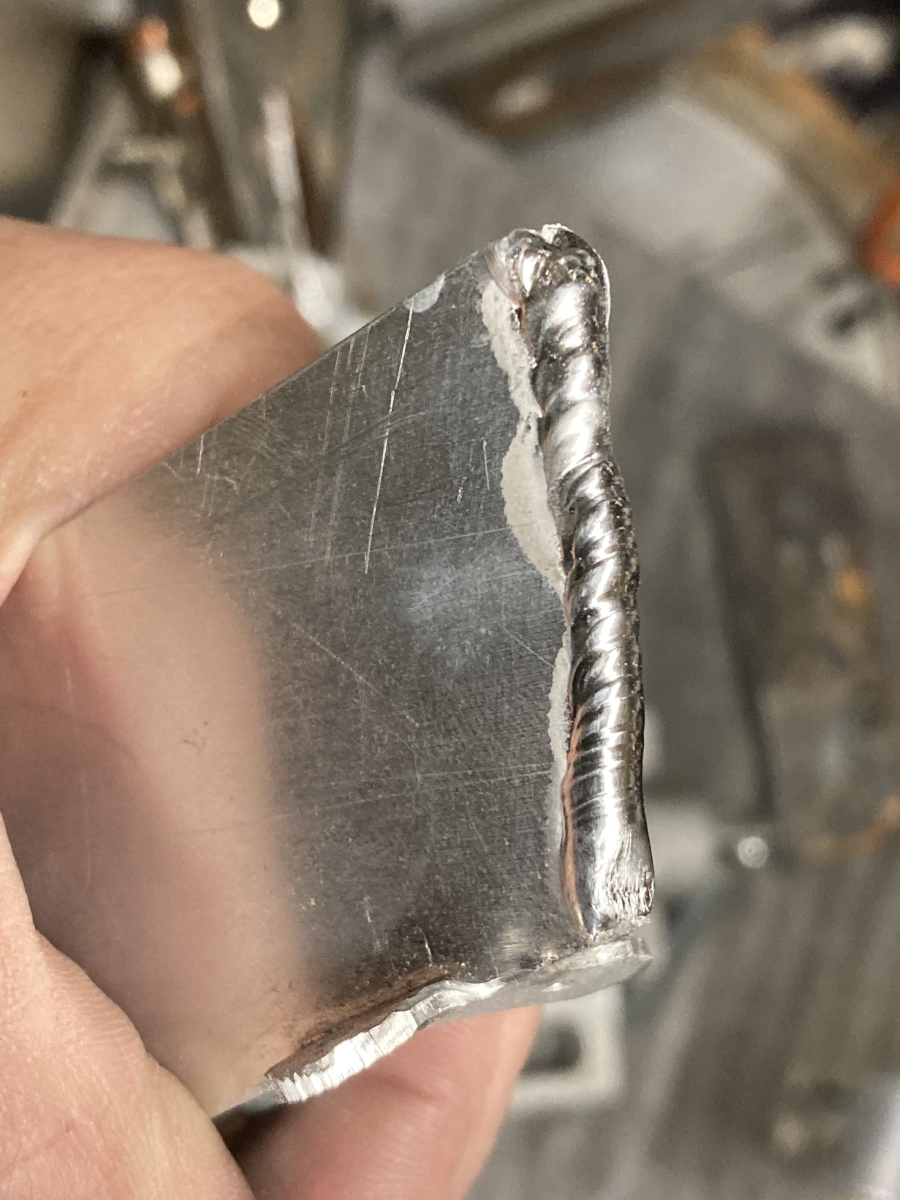
Bent it round and welded the ends together:
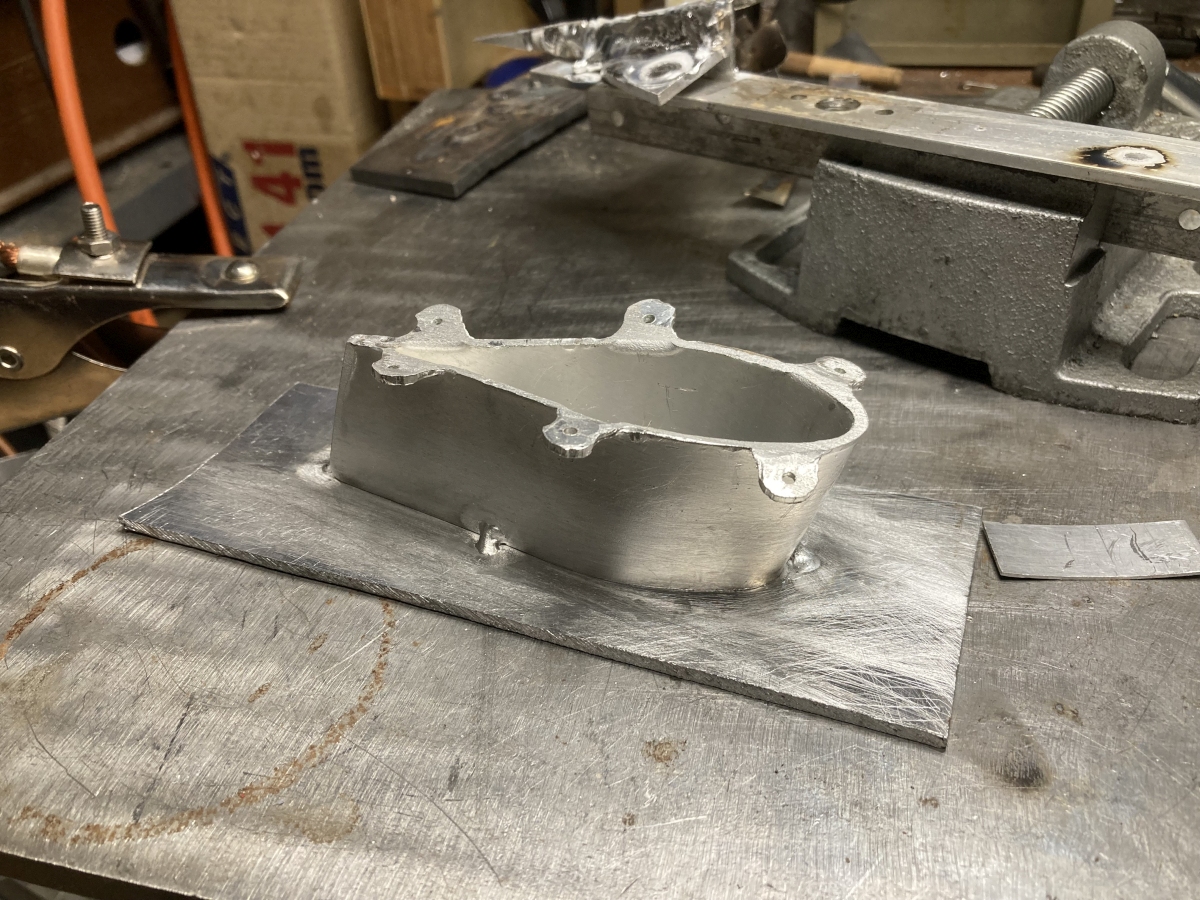
Tacked it to a 1050 base plate:
And fillet welded it all around (using 1050 filler).
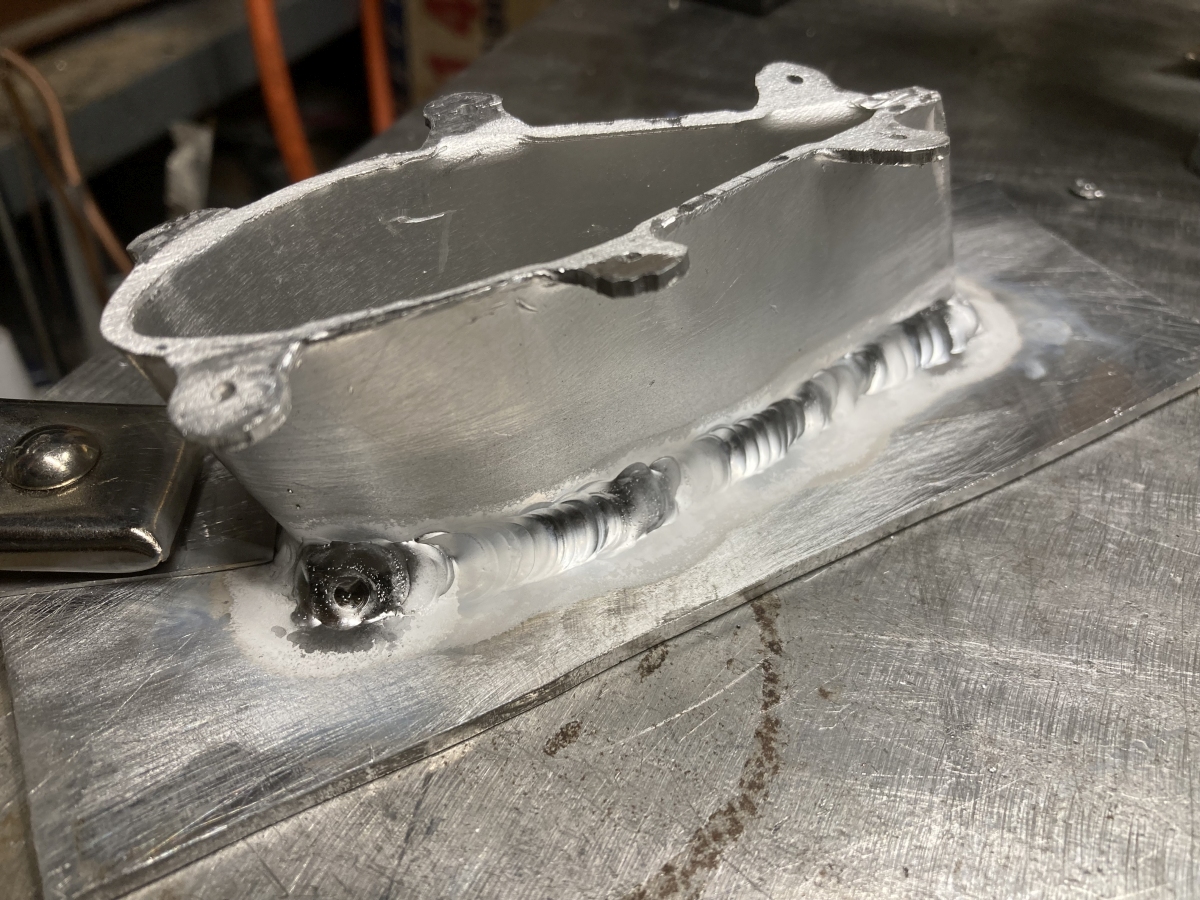

My welding hasn’t reached Instagram standard yet, so I had to hide my shame by dressing the weld back to a smooth fillet. It was easy enough to take the lumps off with a round file, but after messing around with abrasive paper to smooth it out, I bit the bullet and got a soft wheel for my angle grinder (a Norton Rapid Blend fine / medium refining disk ). Not cheap, but it worked very, very well. It didn’t clog on the (very) soft ally and didn’t gouge or dig in either.

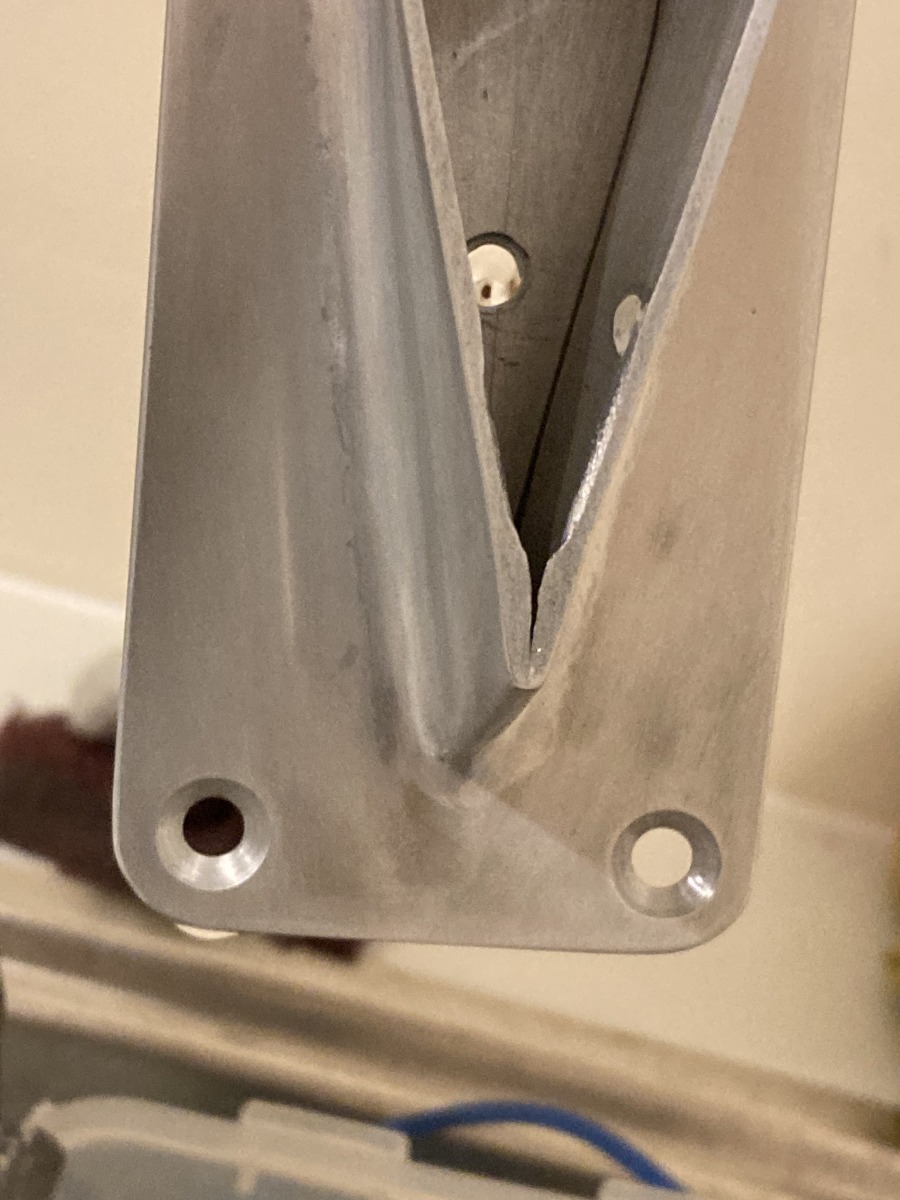
You’ll notice that the lugs have gone – I went off the idea of riveting to the casing, and didn’t want to use nuts and bolts through it. Instead, I made a doubler out of 0.5mm stainless sheet with some M6 nuts welded to it that, in turn, could be spot welded to the casing and used to hold the engine onto the stand.
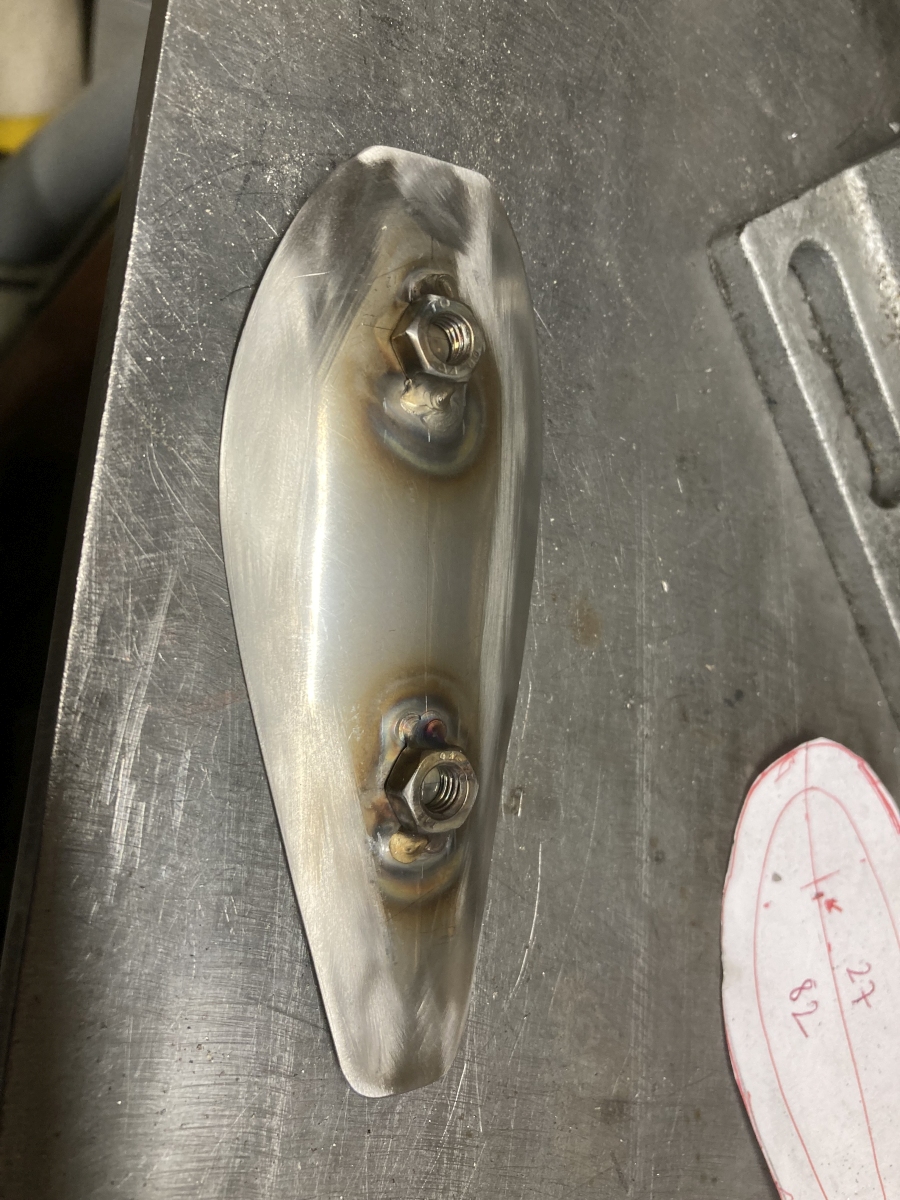
The first time I tried to make this plate, I welded the nuts on before bending the sheet – it went all shapes! It was a lot better bending the sheet first, but it still needed a few taps to straighten it out again afterwards. (I clamped a curved piece of copper under the sheet to when welding the nuts on to act as a backer.)
I eventually got it laying reasonably well against the casing, and, as far as I can tell, square.
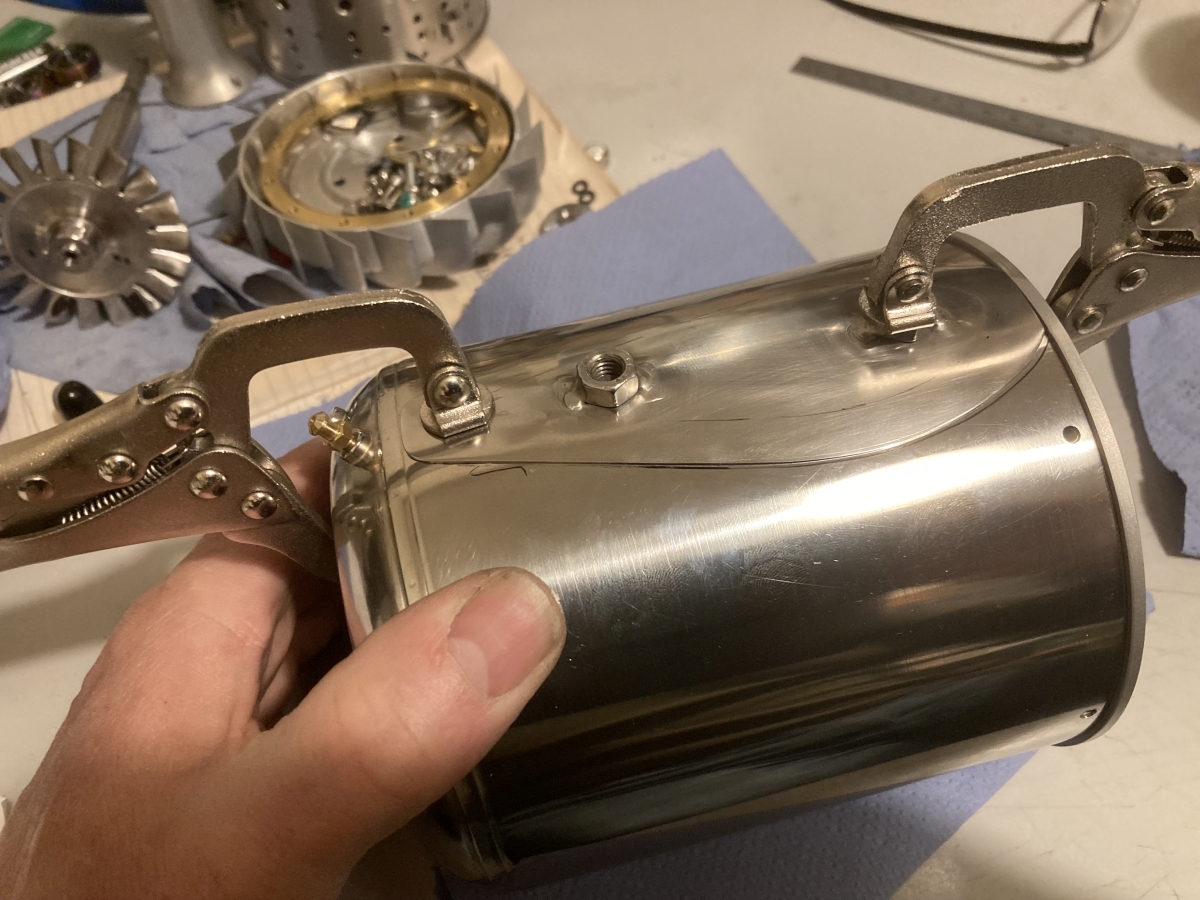
Spot welded in place and buffed up.
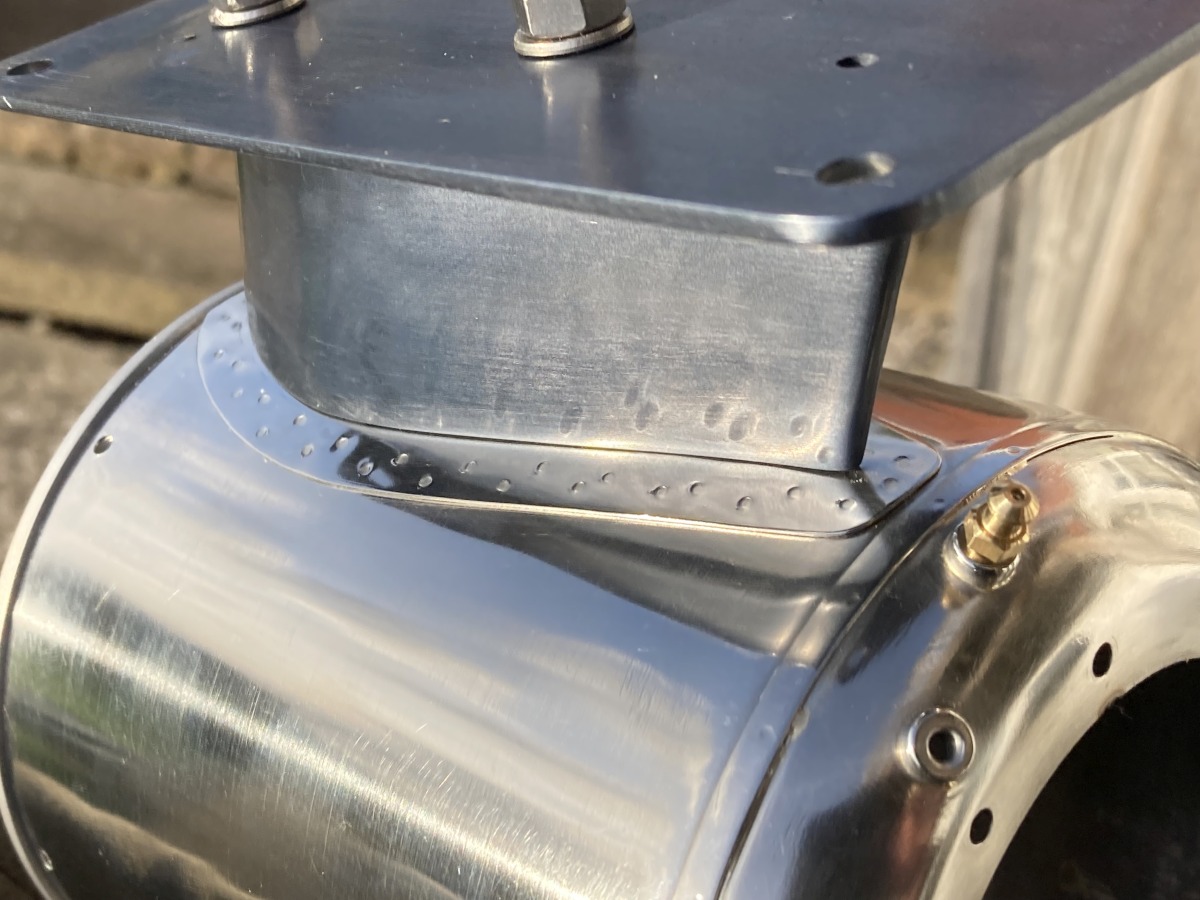
I’d hoped to anodise the stand and leave it natural colour – it was a bit of an experiment as to how the welds would look compared to the sheet. I checked it straight out of the anodising bath and wasn’t really happy with it – There is a little bit of difference between the welds and the sheet, but again there are mottled and grey areas (most obvious on the flat area bottom right). I don’t know why this seems to happen with the 1050 grade (maybe I need to try a de-smutting bath, but I don’t see why pure Al should need that ?)
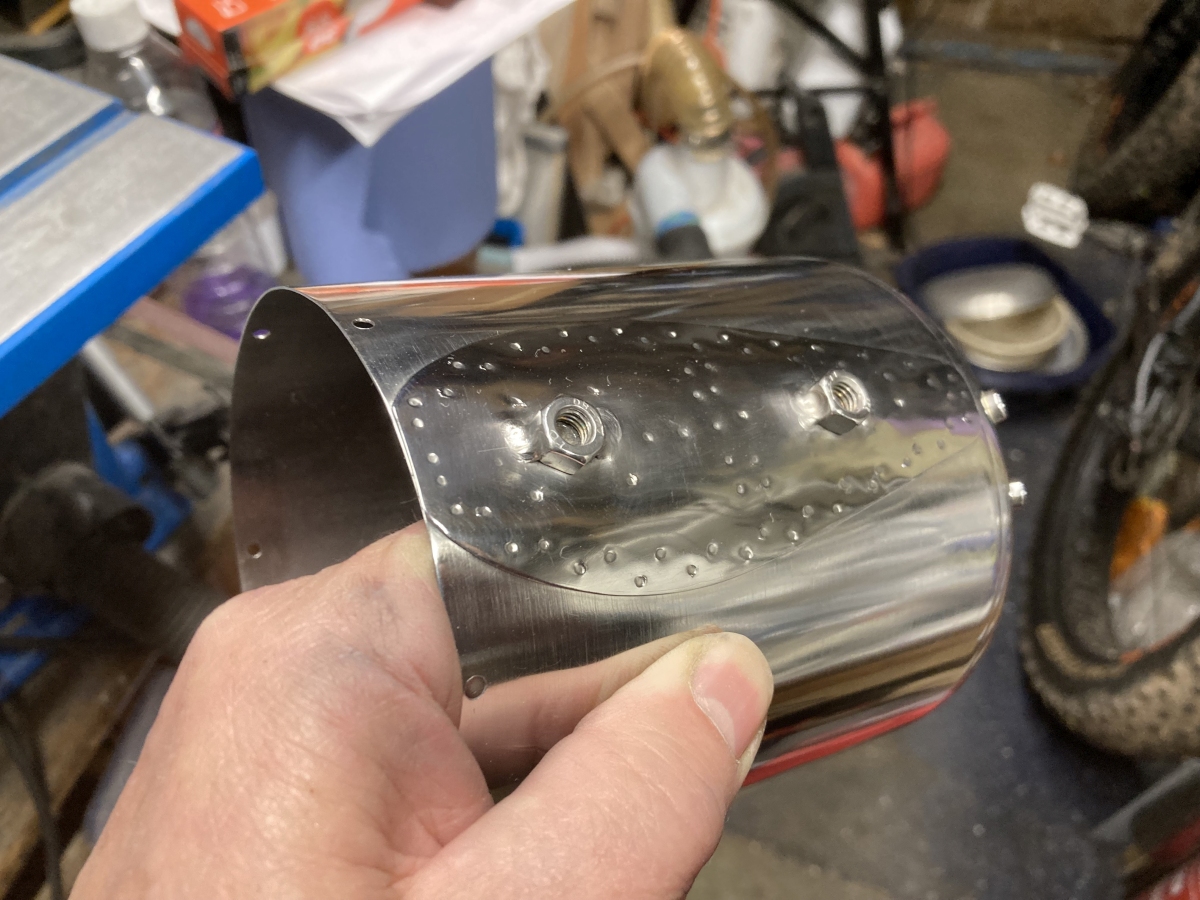
So, as before, I decided to give it a little colour to disguise the unevenness. I thought a neutral grey colour would be best, so thought I’d try my black dye cold (I’ve only ever used the black dye hot before to get a solid black). After two minutes it took on a great ‘gunmetal grey’ colour that I thought would be perfect. Colours normally bleed out a little during sealing, and I didn’t want this any paler so gave it another couple of minutes.
As it happens, it didn’t really bleed at all, and after sealing it came out very dark. Not an unattractive colour, but not what I was aiming for – there’s a sort of blue-ish tinge to it in some lights.

Cosmetics aside, I’m sure it’ll be OK.
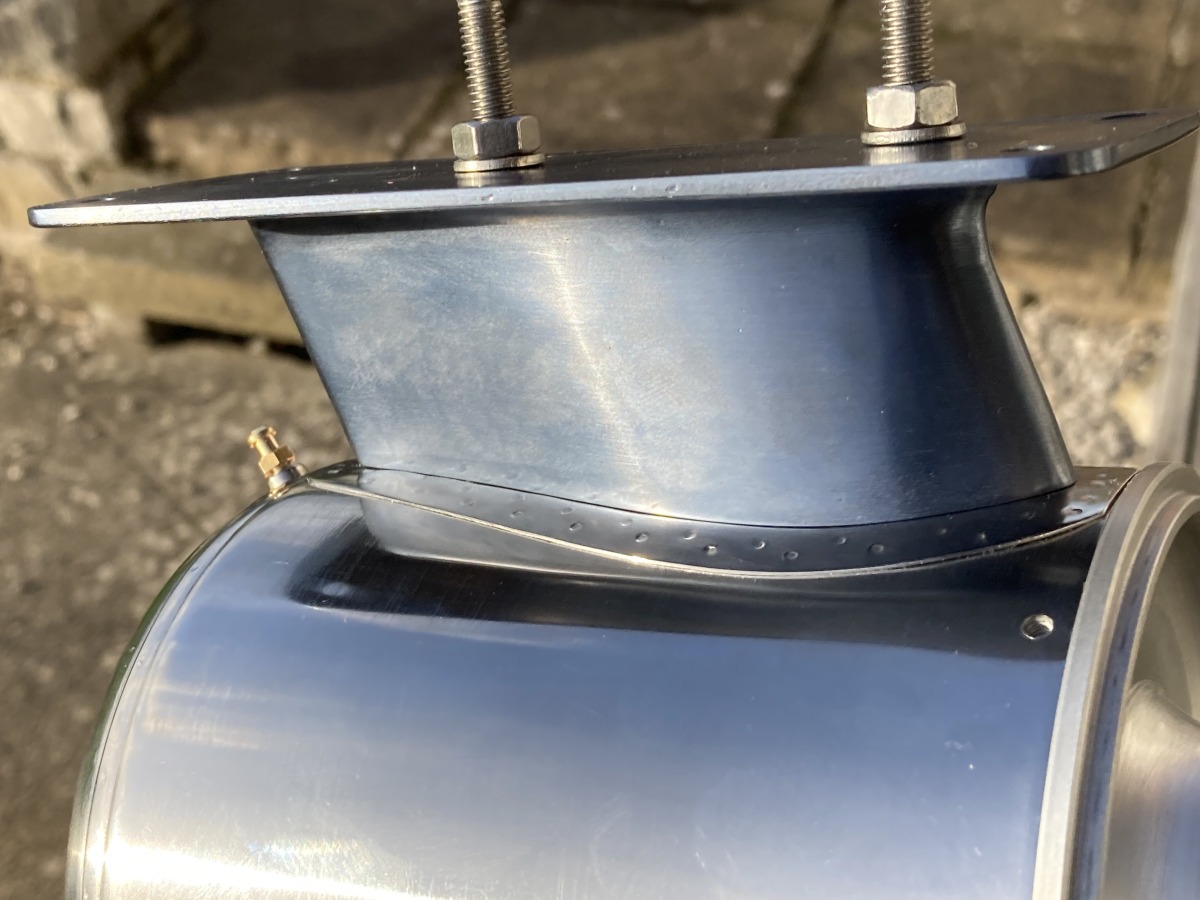
It fits where it touches
Overall, happy with that.
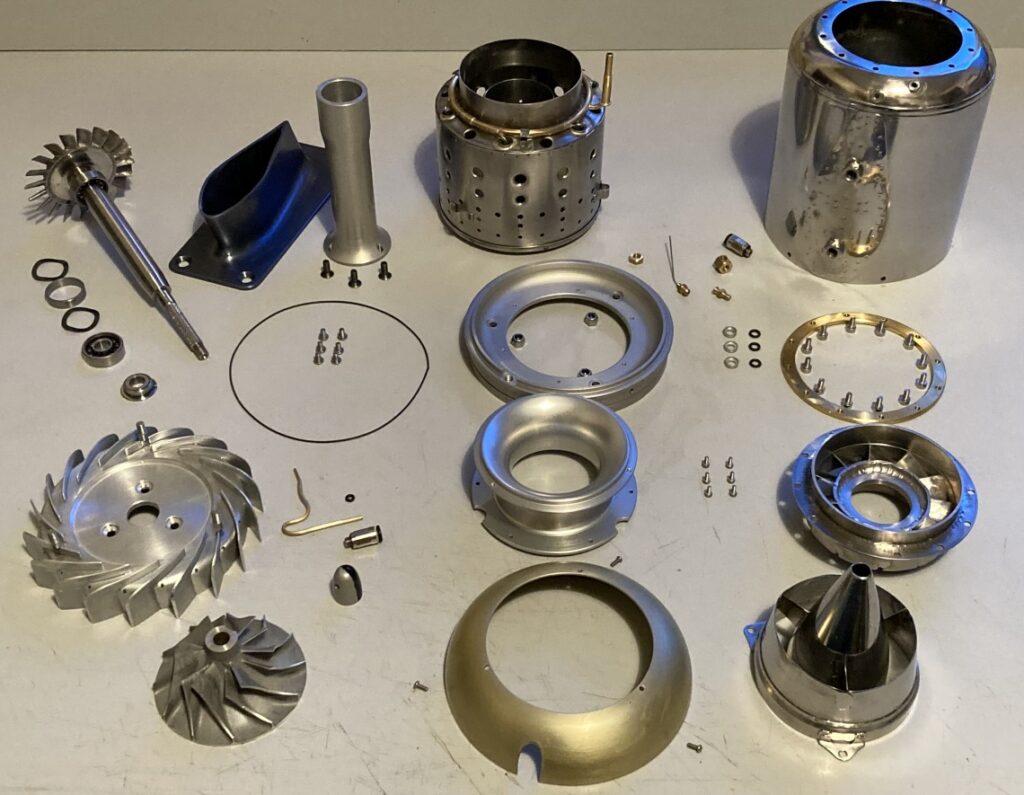
It’s also the last piece in the jigsaw: