
Dearly beloved, we are gathered here today to join together… etc.
There are some odd jobs to finish first, though.
Truss rod access
The nice, new Forstener bit that I had ordered for the tuning machine holes turned up – I think the packaging must have cost more than the bit!
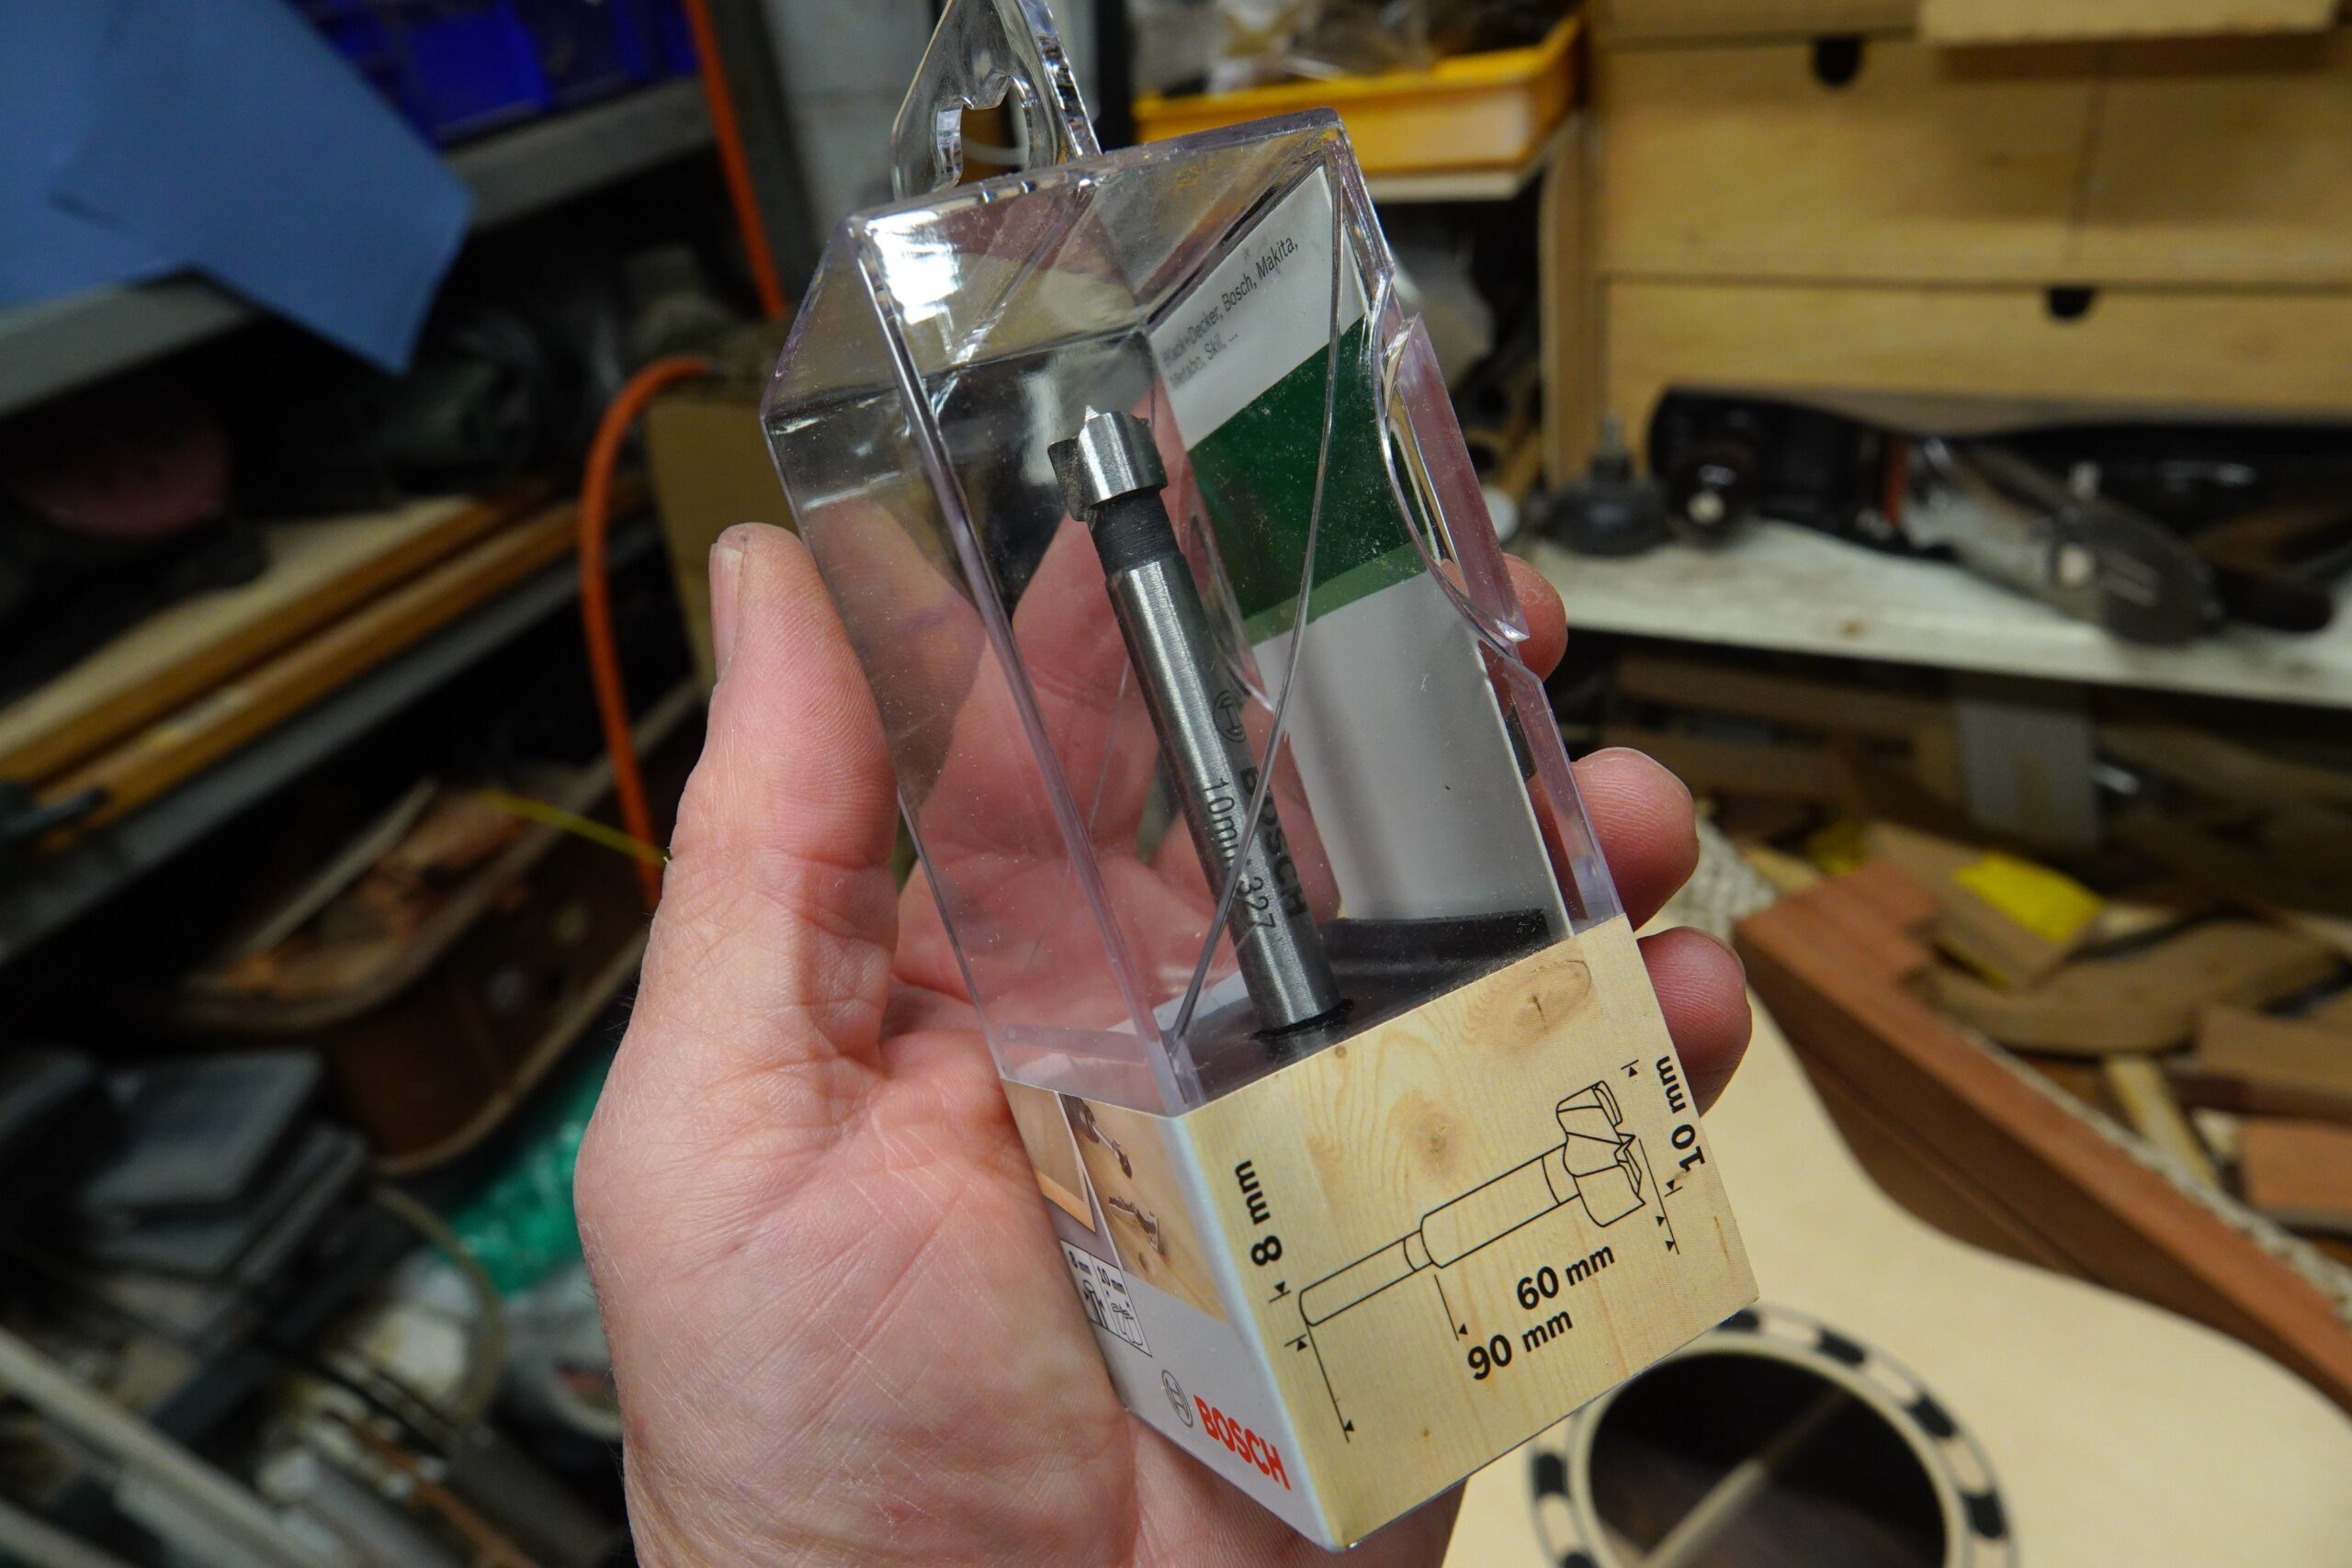
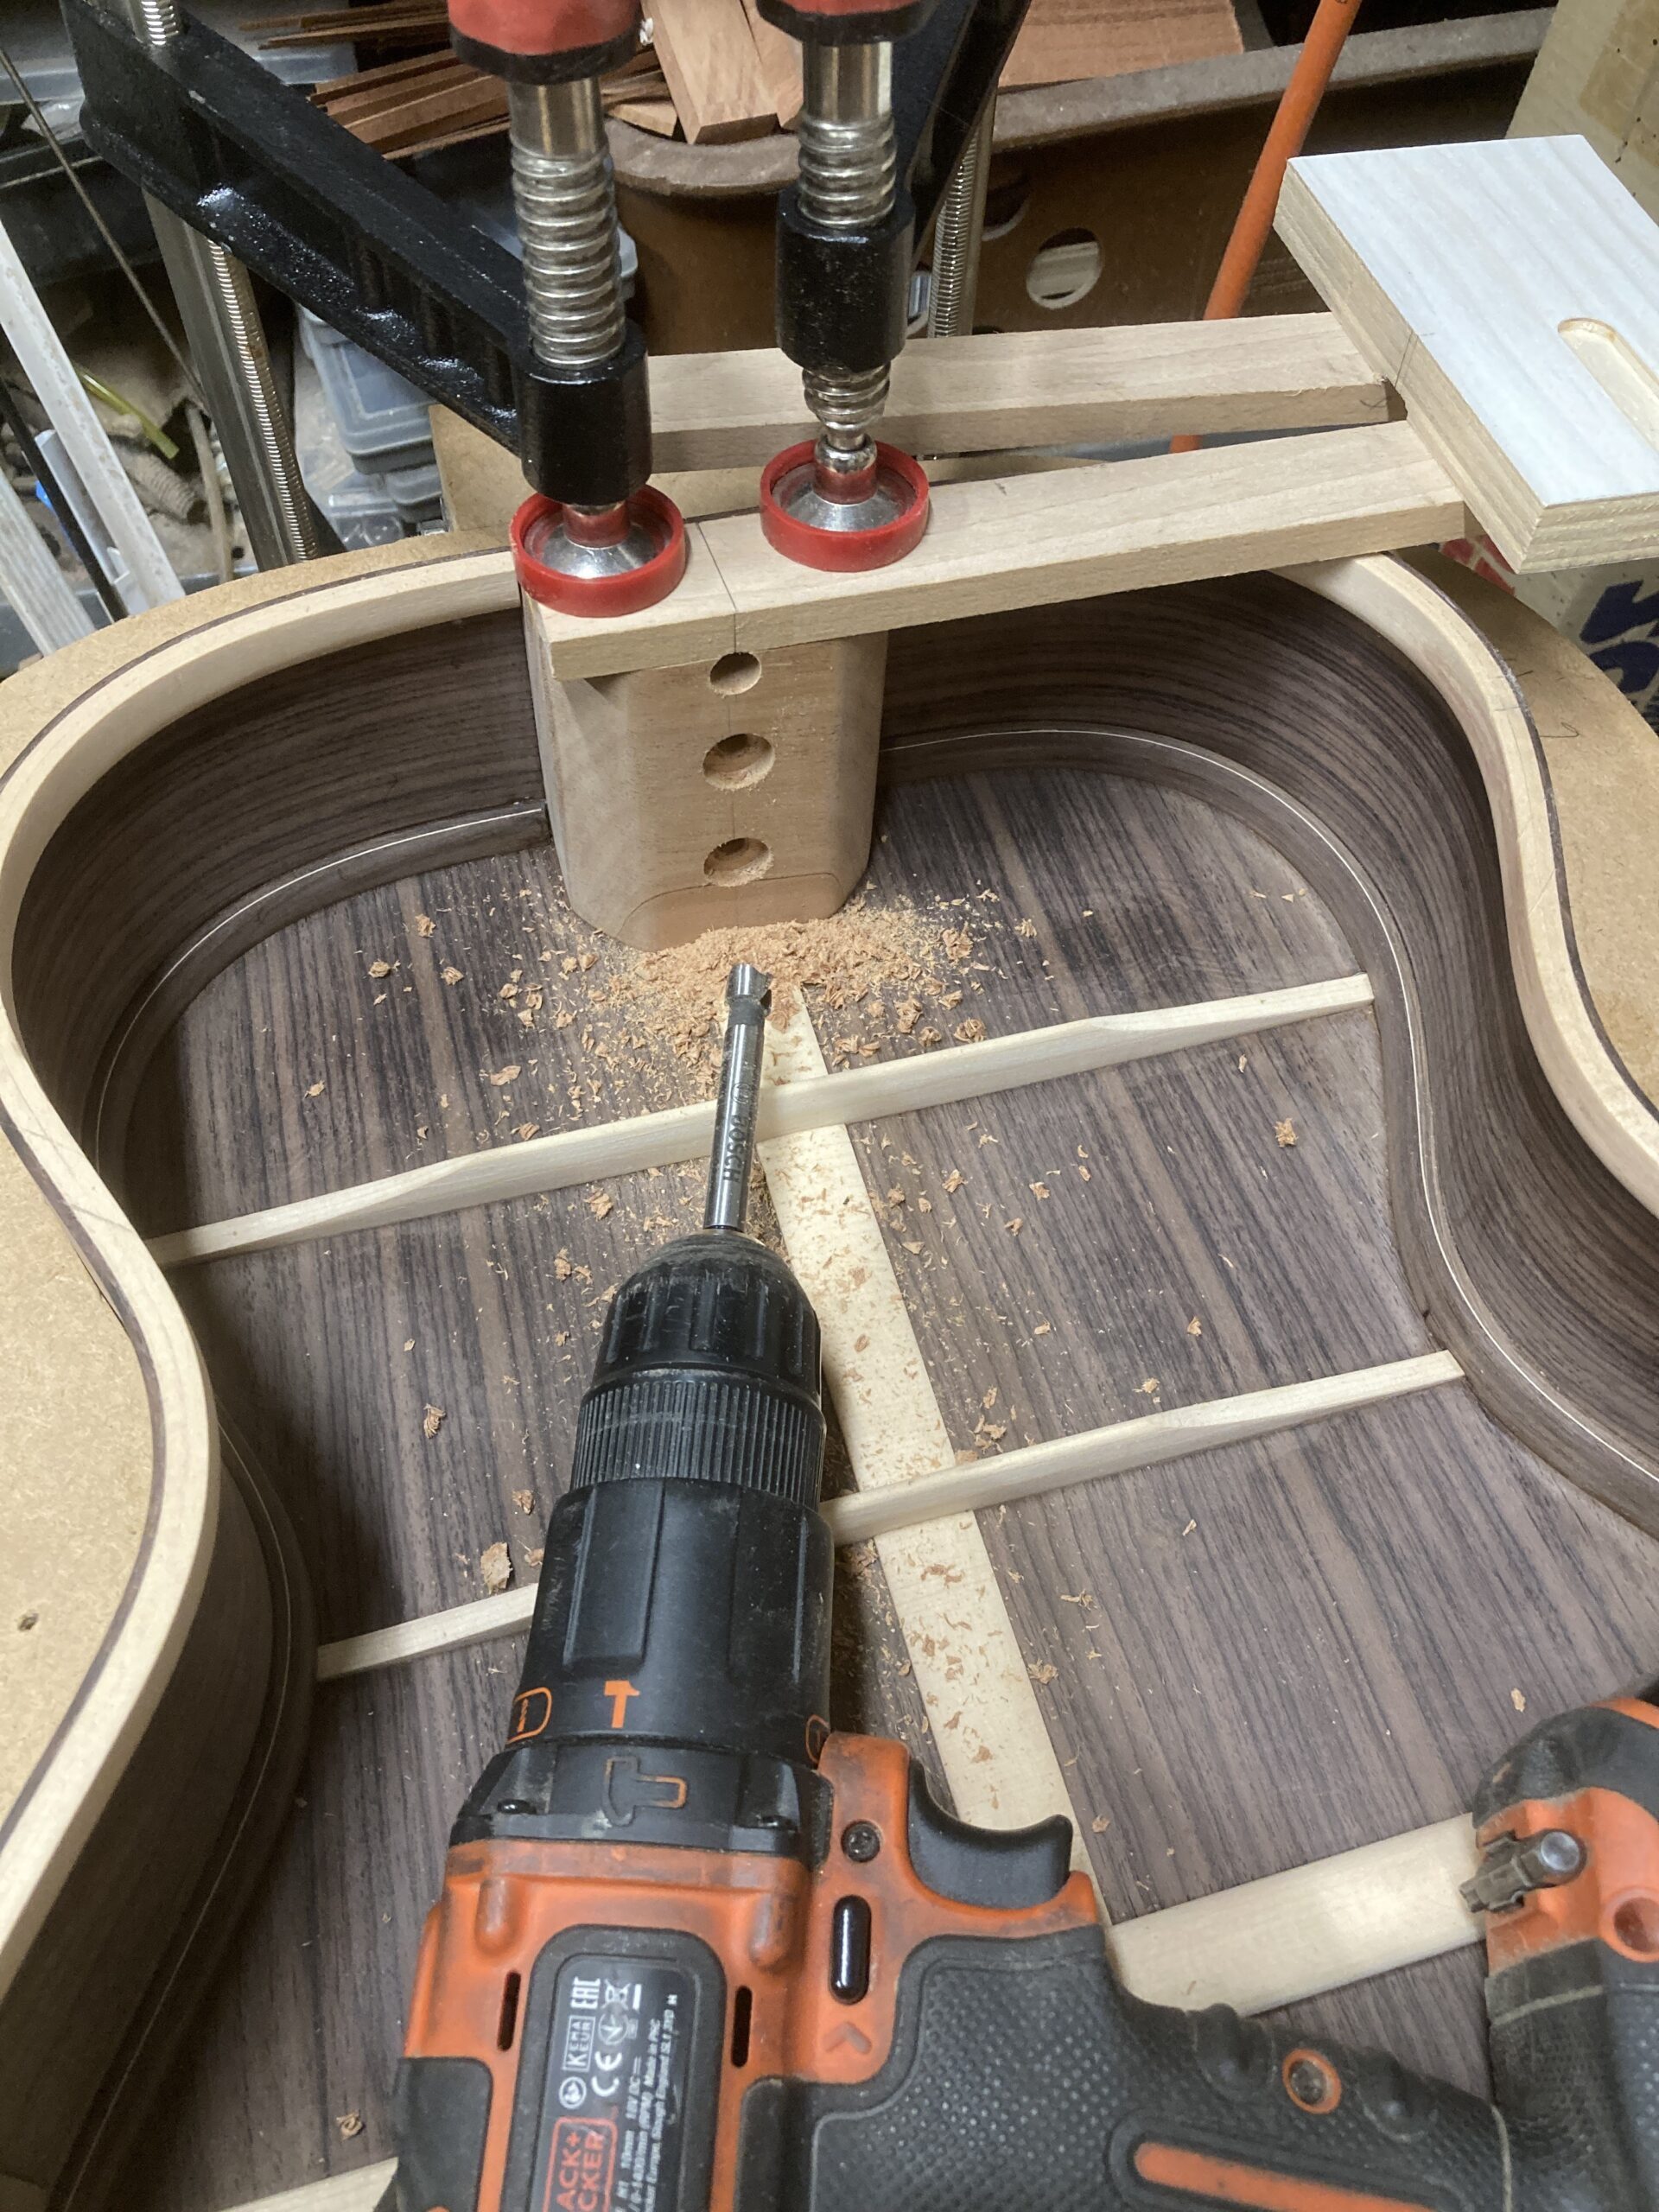
I used it to drill the truss rod access hole in the head block. I was originally intending to rout a slot for it once the top had been fitted, but with a clearer idea of where it would end up (after starting the neck) I realised it could be below the top completely.
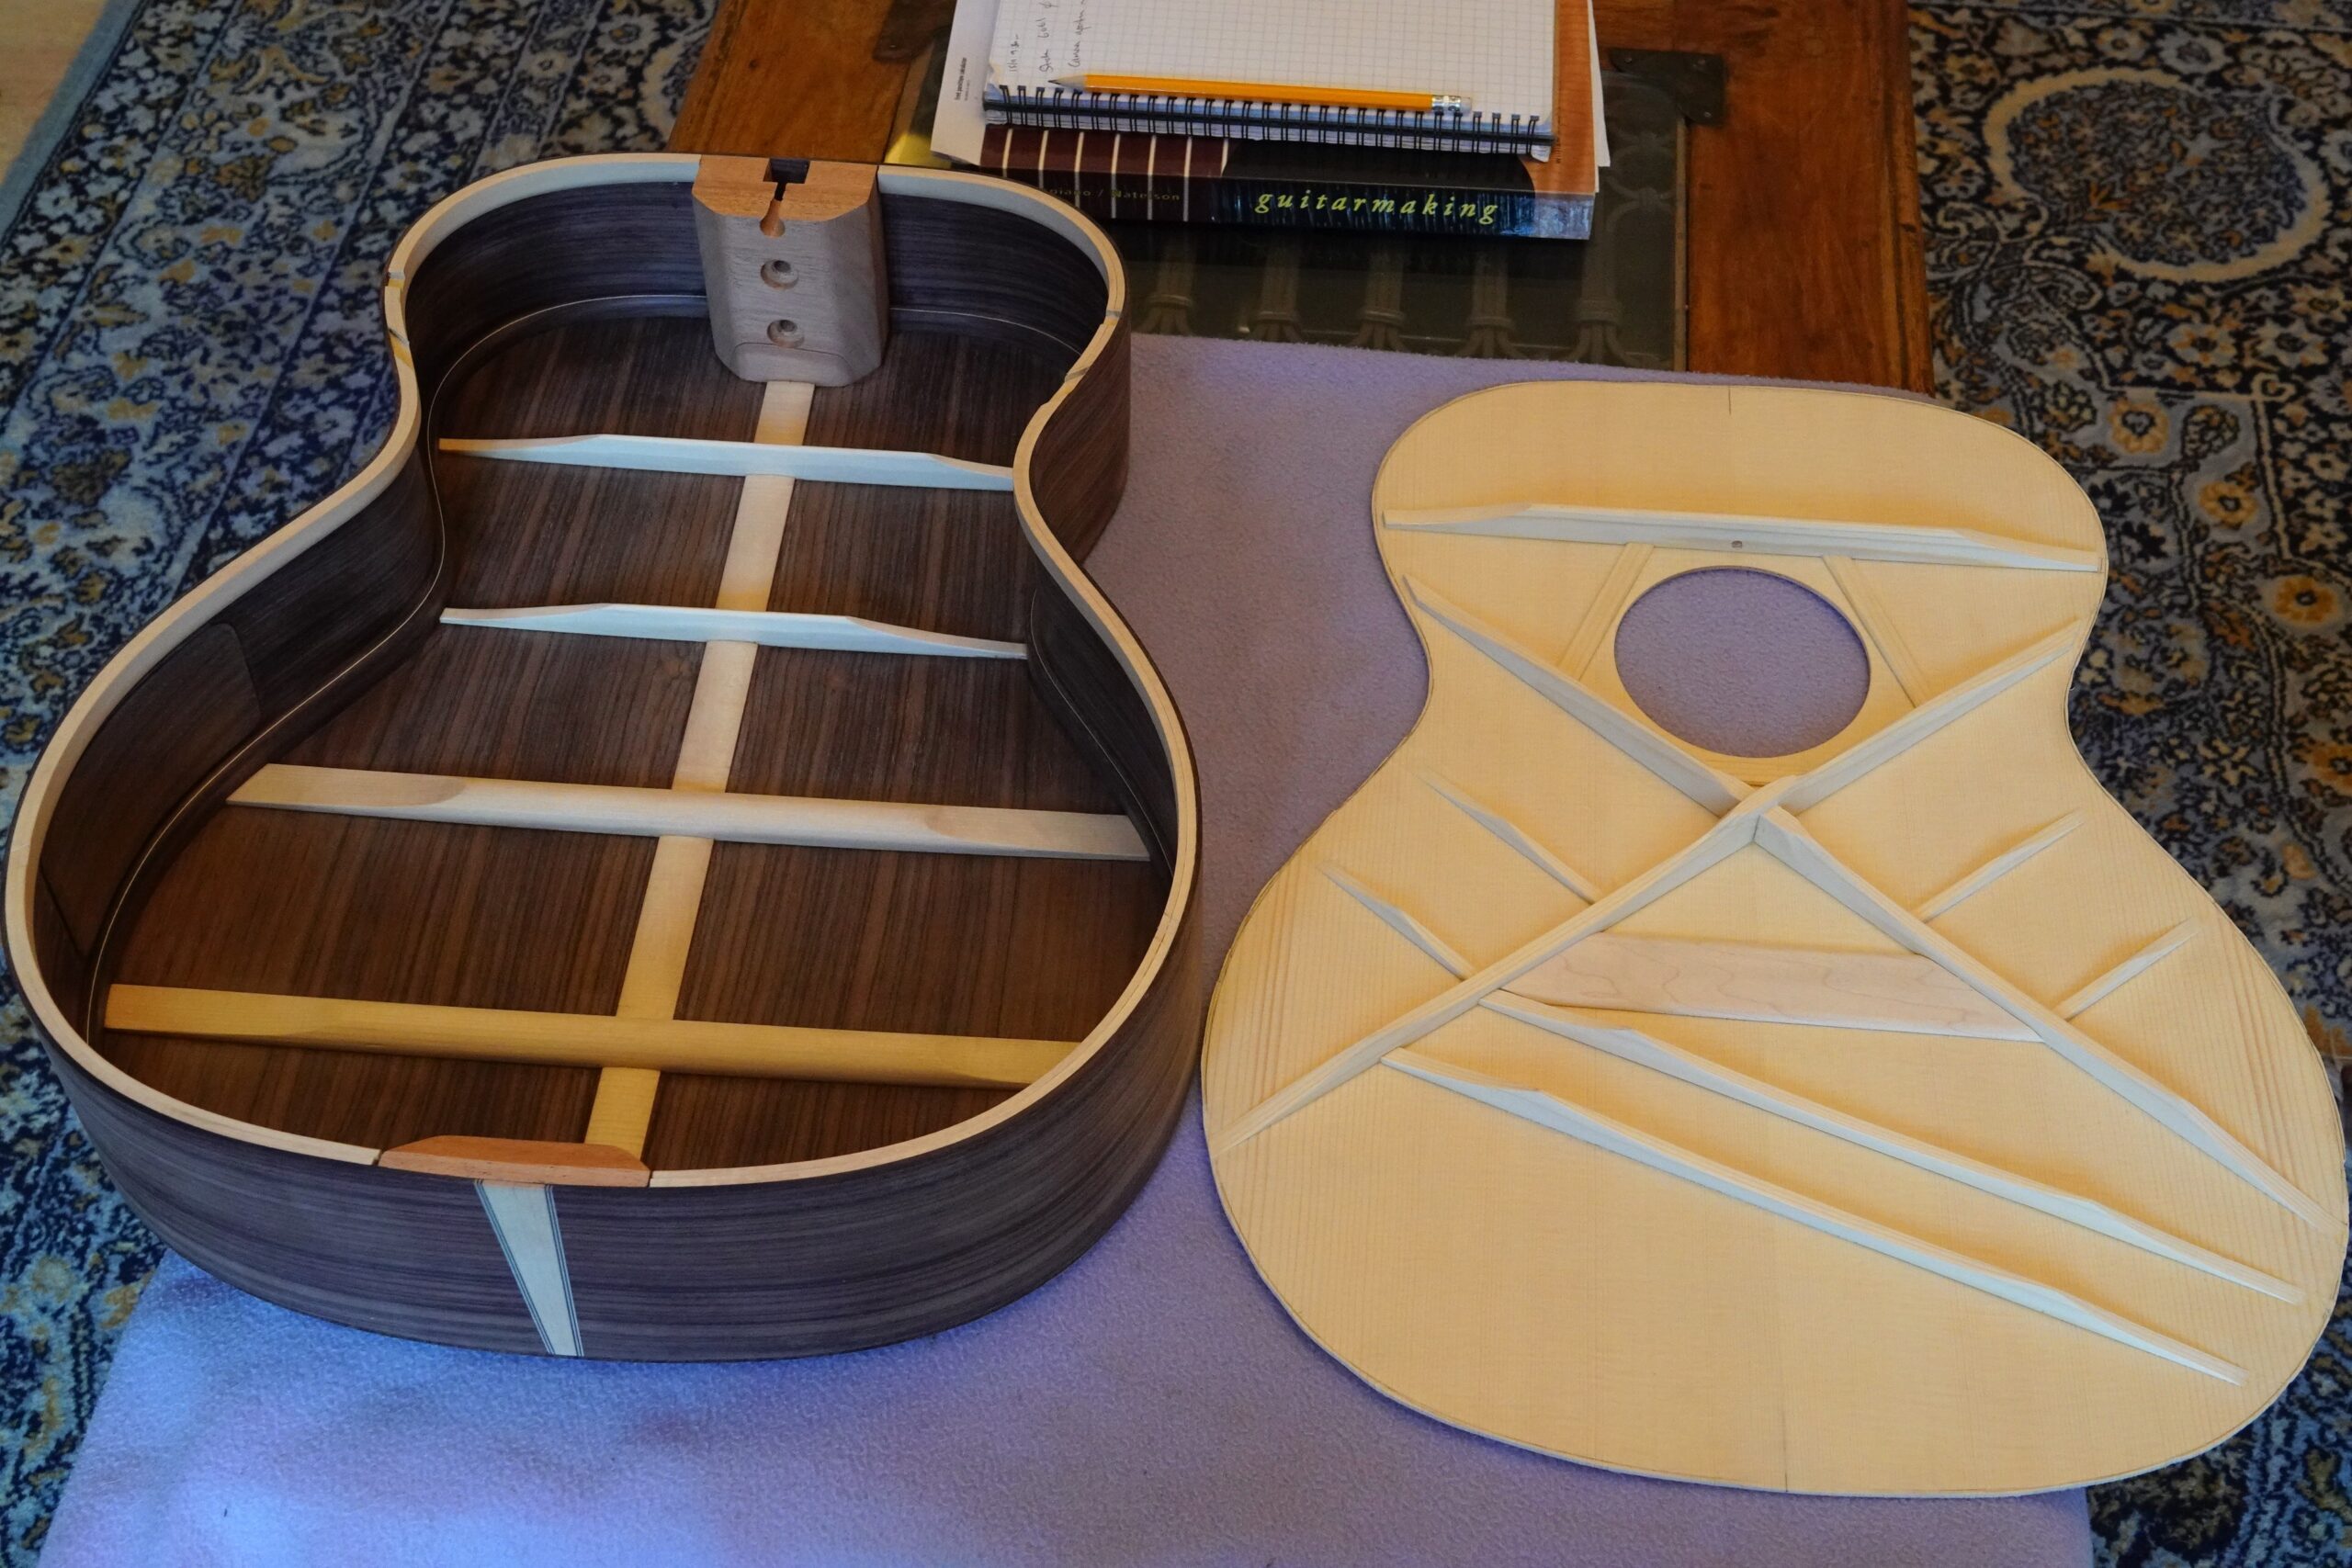
Fitting the top bracing to the linings
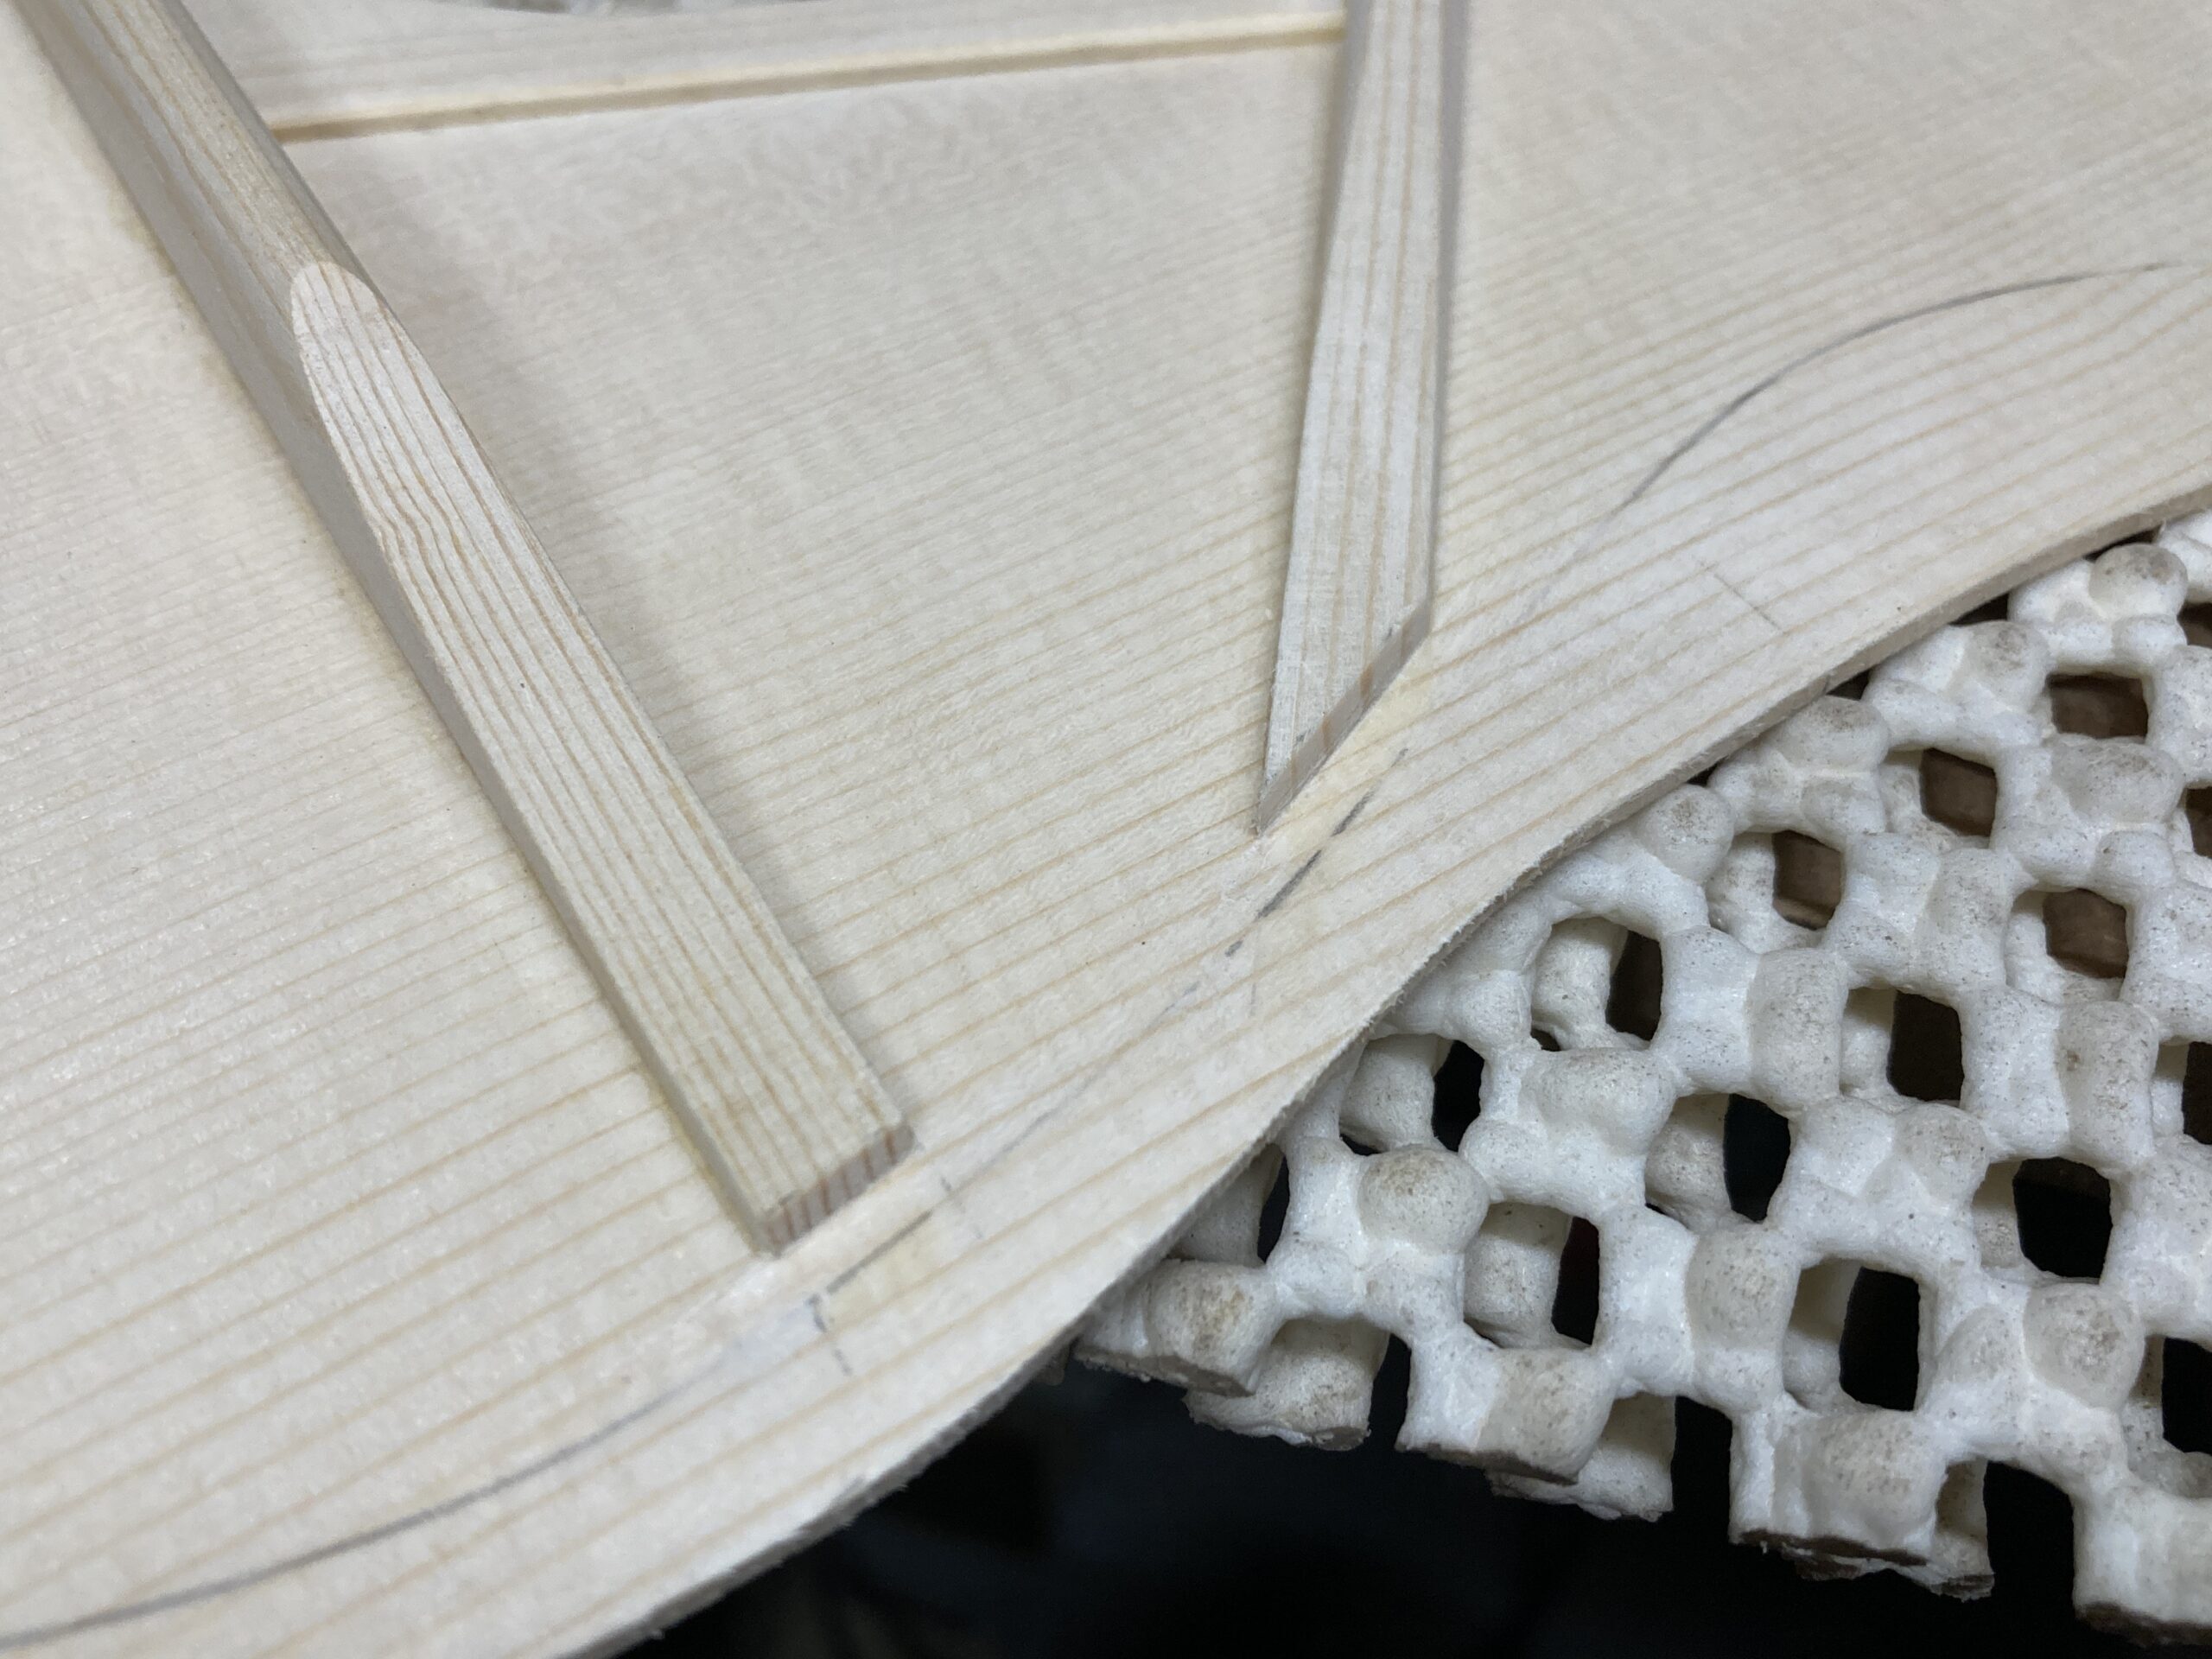
Next job was to align the top and mark and cut the ends of the braces and the mortices for them in the lining. I only set the upper transverse brace and the top ends of the X braces into the lining. The lower ends of the X braces will be pared down and clamped between the lining and the top, and everything else will be shaved to zero thickness before they meet the the lining.
The top temporarily lined up on centre and clamped in place:
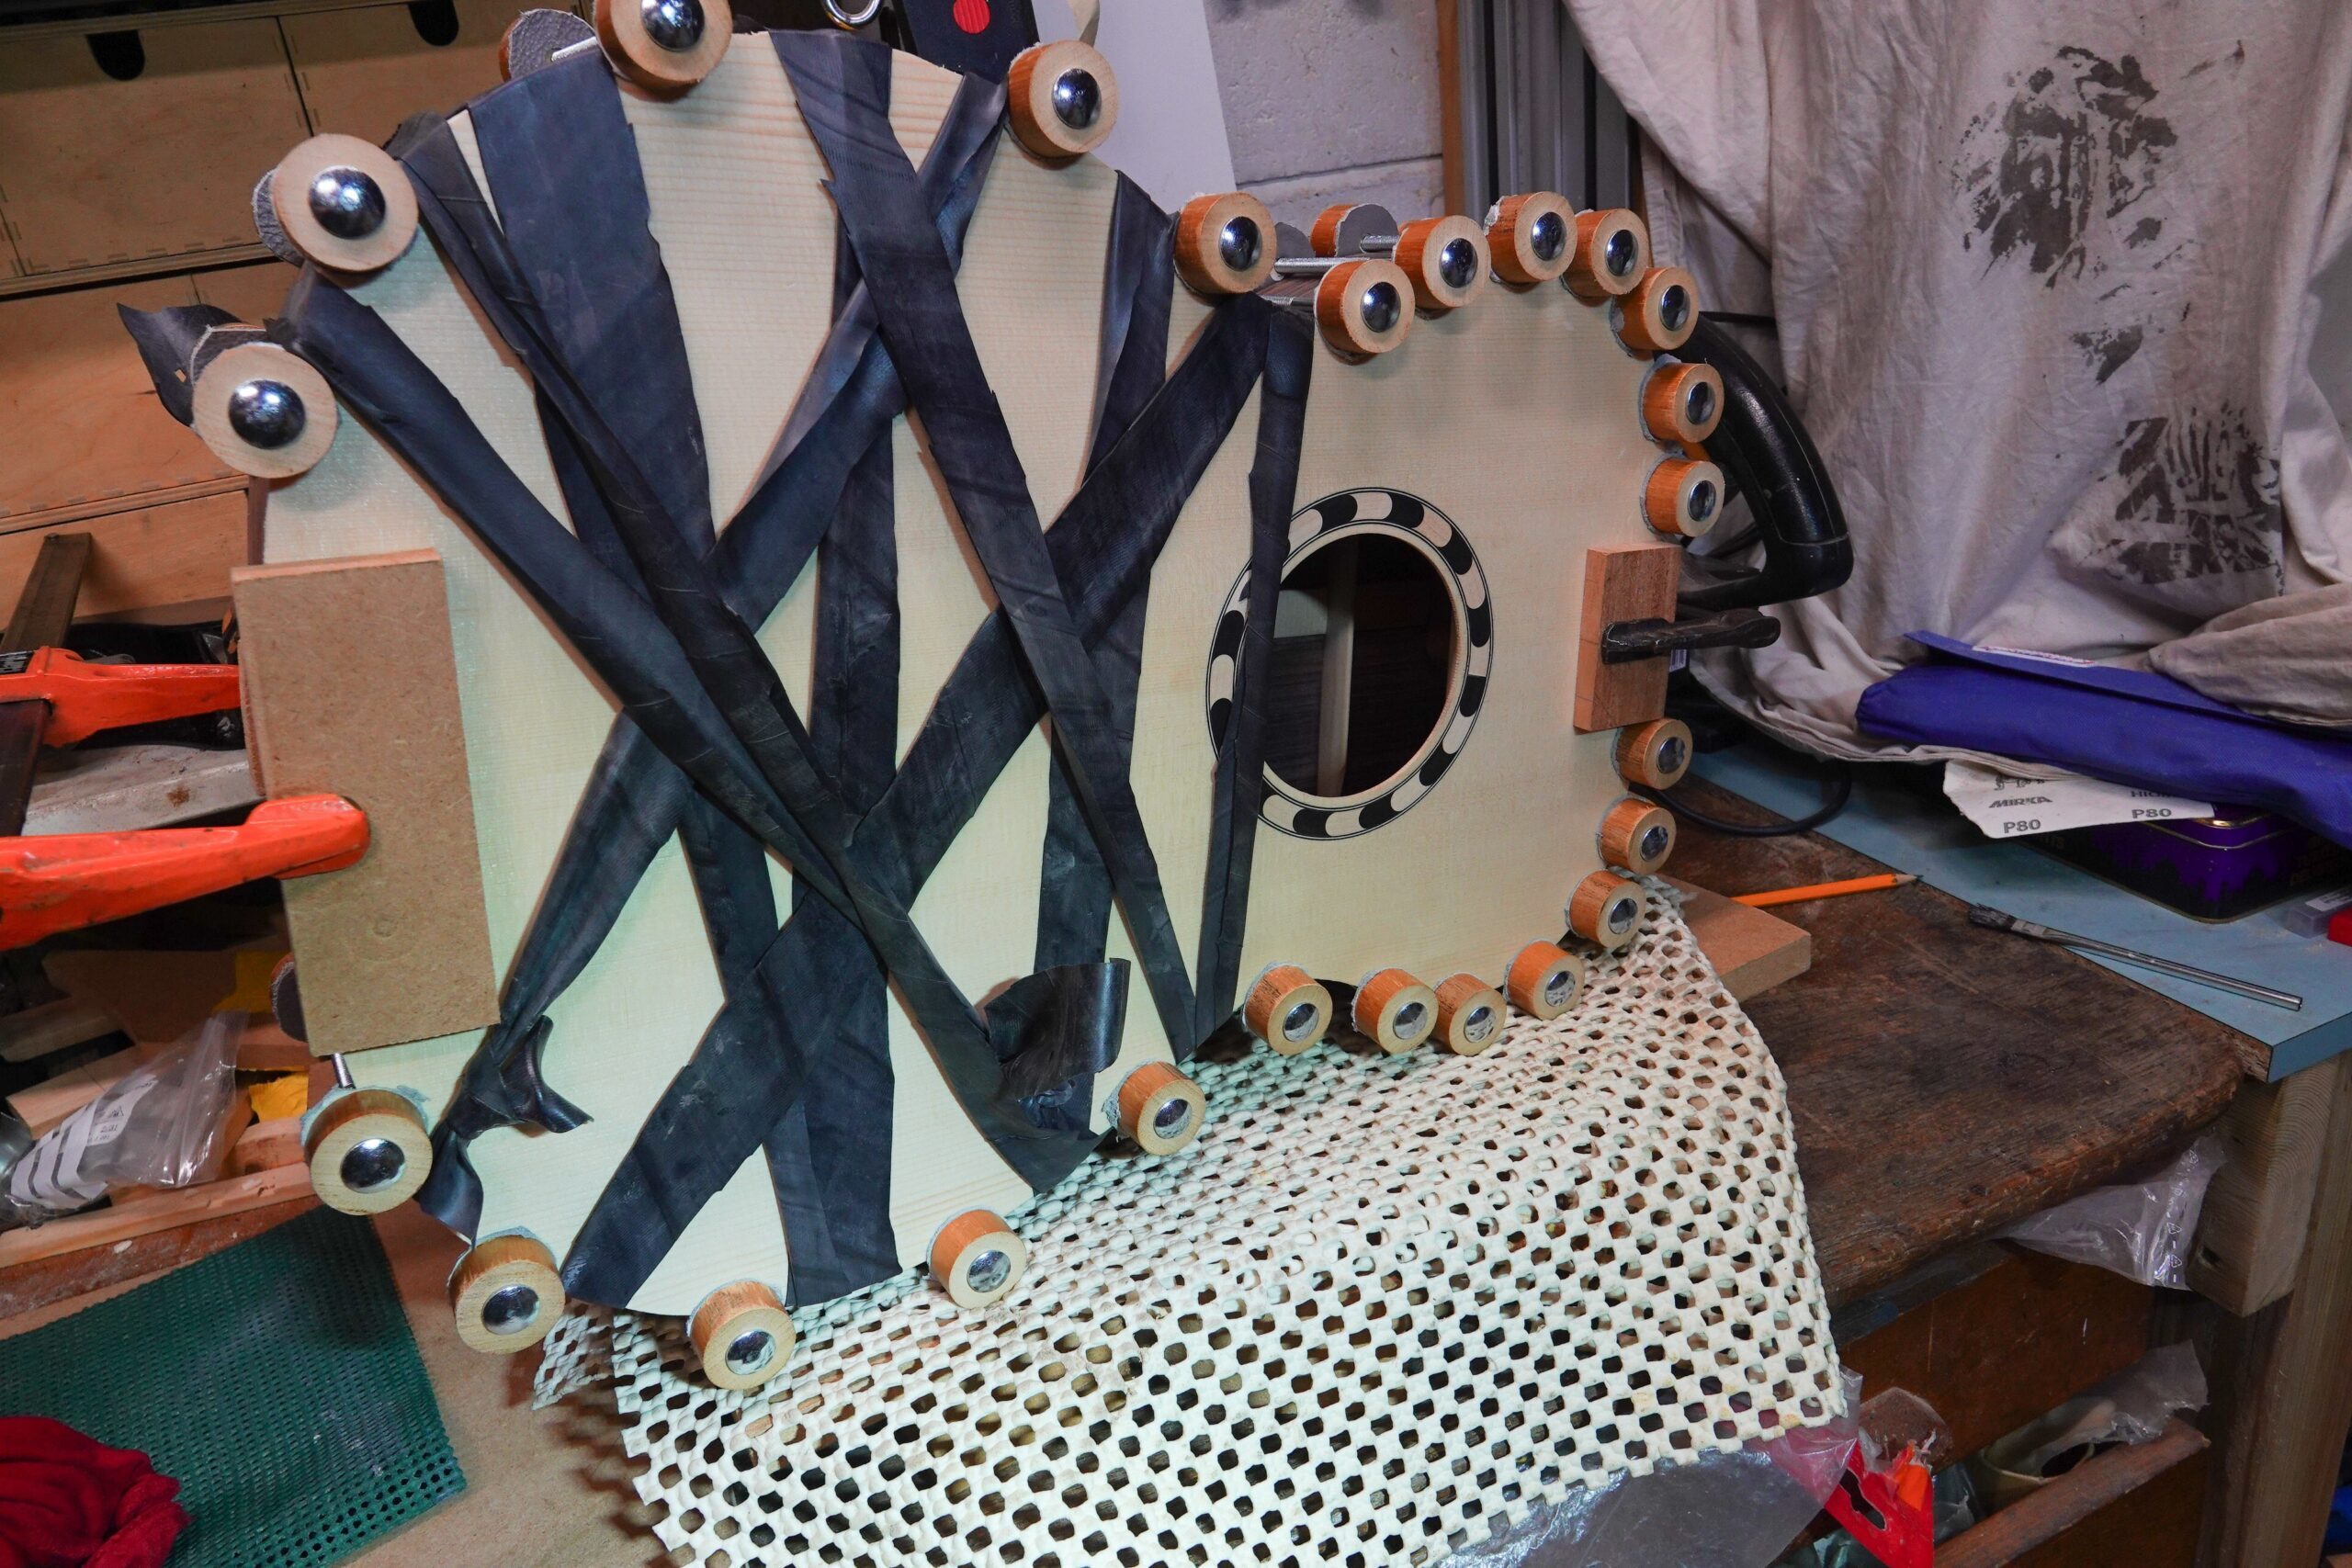
I was intending to use the rubber strap to wrap when gluing the top, but a) it wasn’t anywhere near long enough to wrap round and around the body; and b) it was a PITA to put it on and off when test fitting. I had made a couple of spool clamps to help, and having used them, I decided they were the way to go for the glue up and made a couple of dozen.
I marked the ends of the braces for trimming, and used the same, thin, marking knife that I had used for the back to mark the position of the braces on the linings.
I used the trim router to remove the bulk of the material from the brace pockets, as for the back, and finished up with chisels and a modelling knife.
I think I managed to get reasonable fitting joints on both sides (as judged by poking a phone camera into the sound hole:
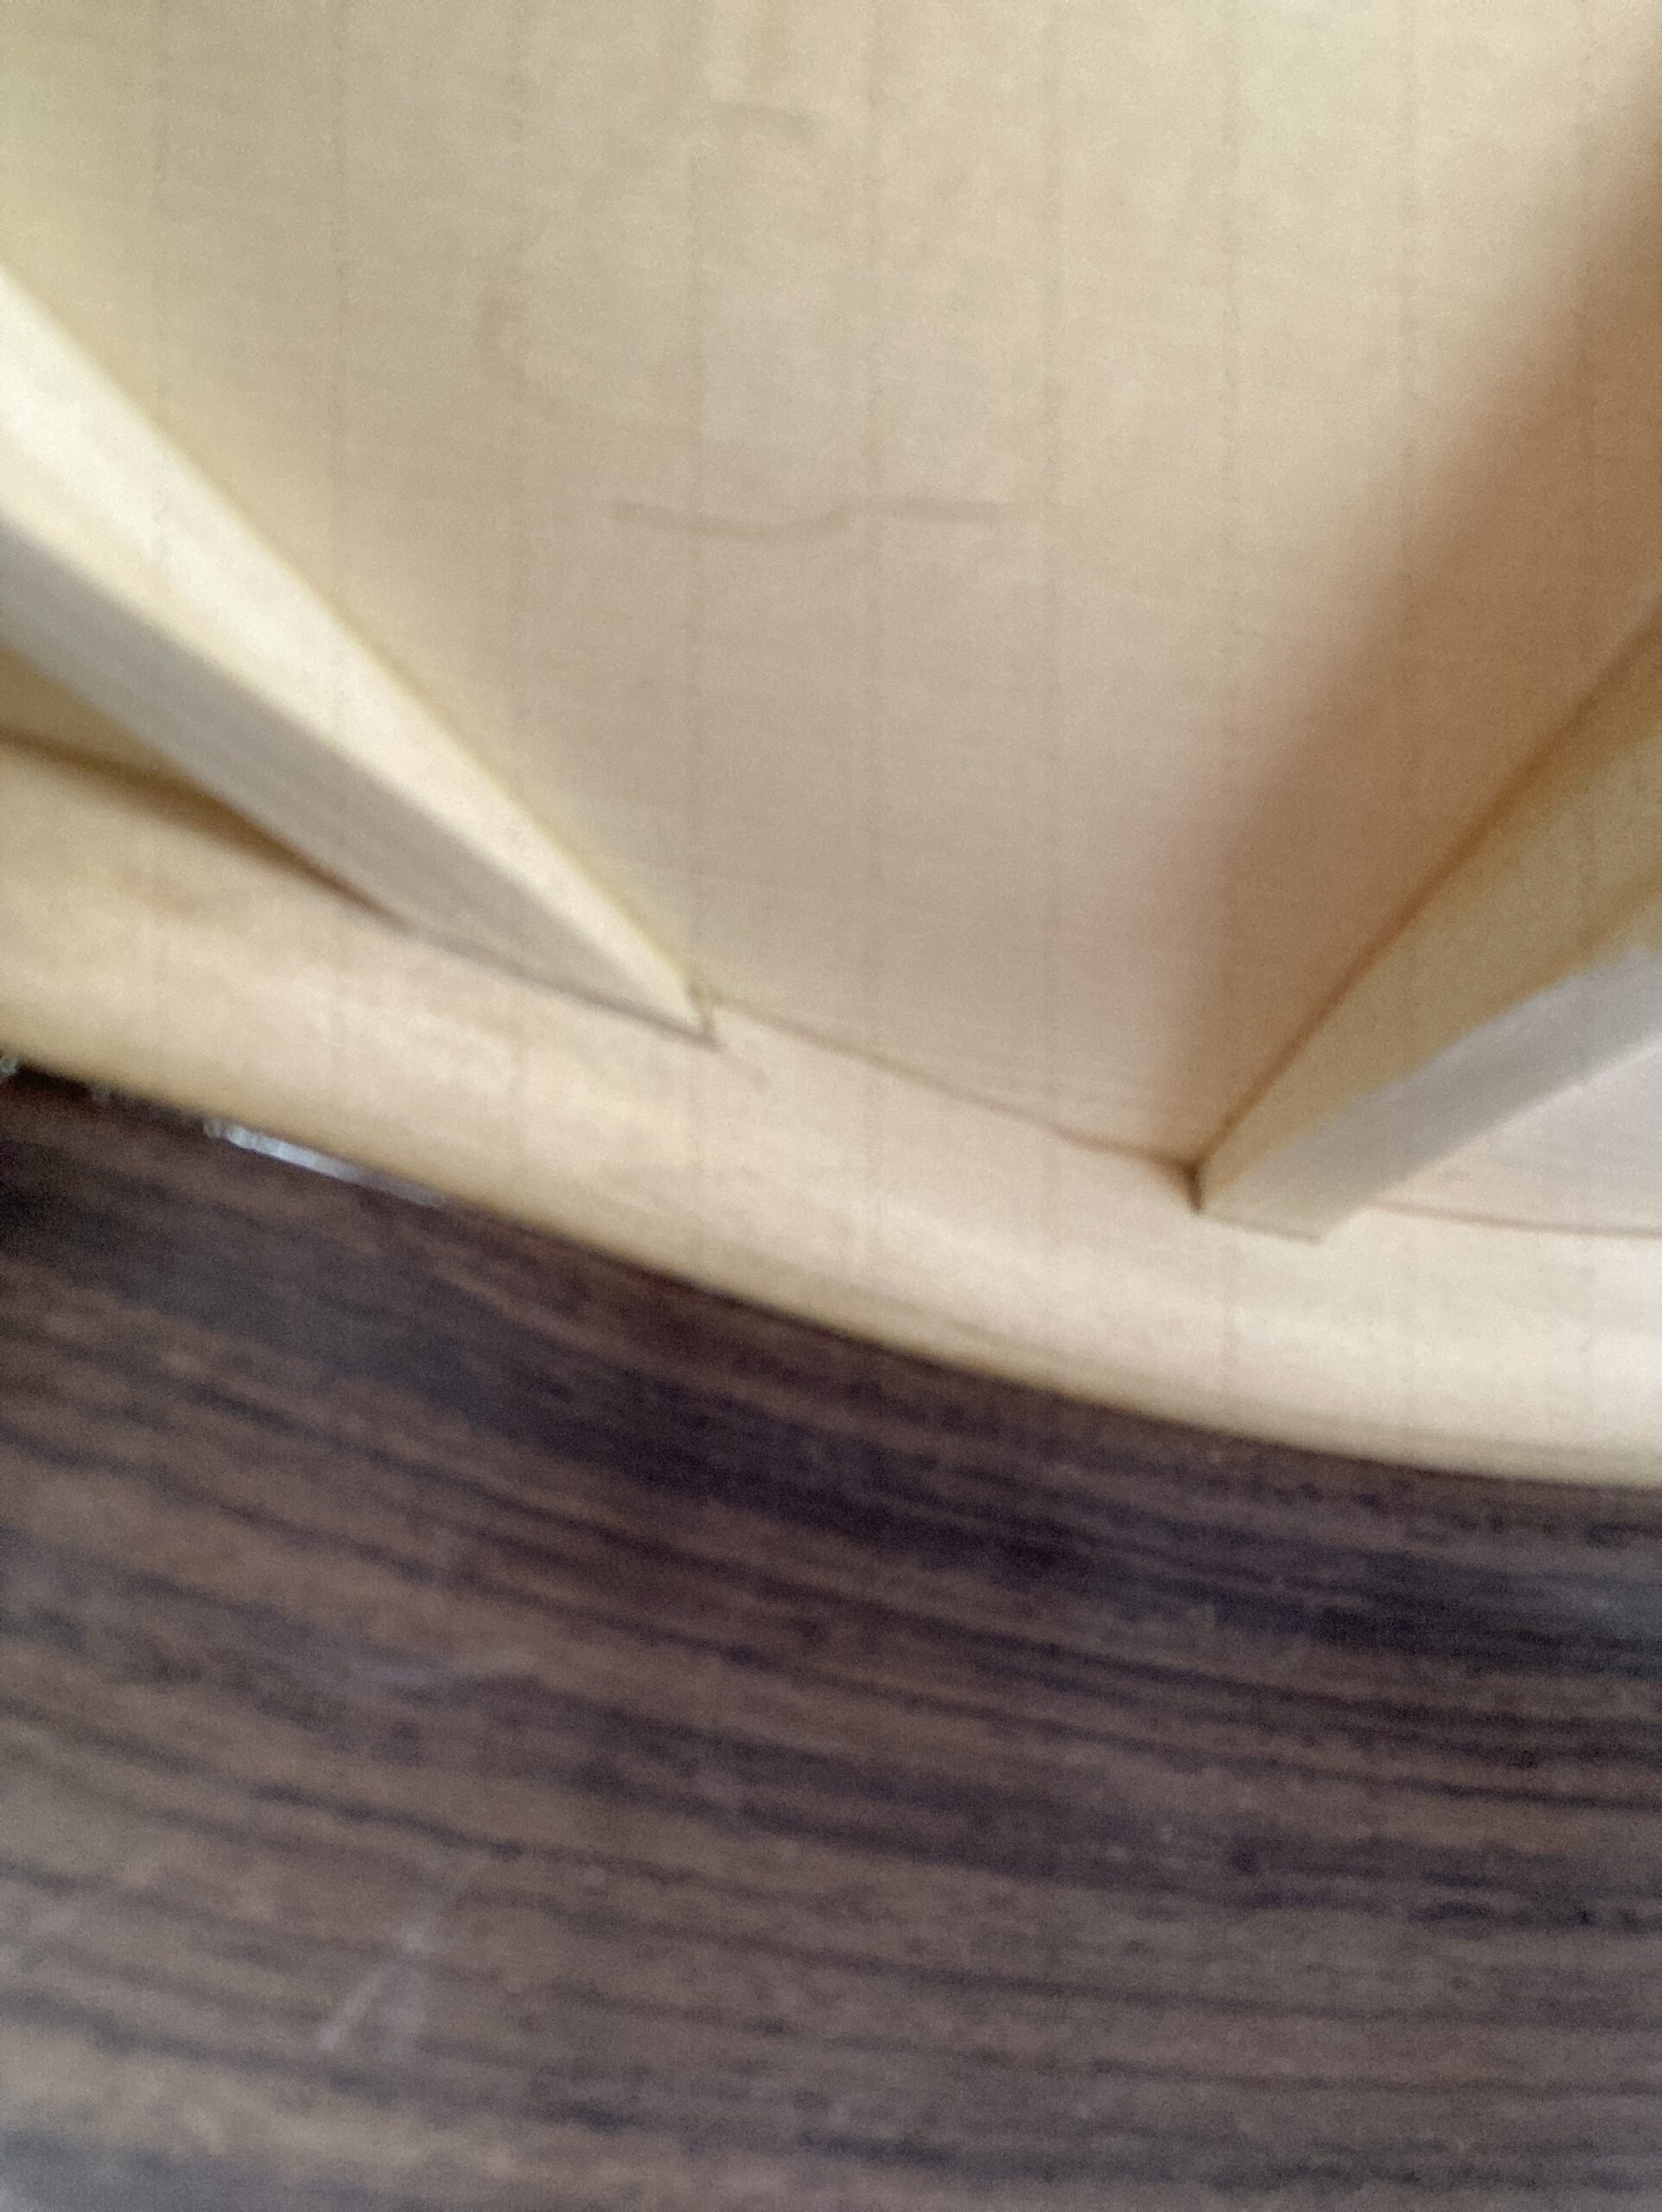
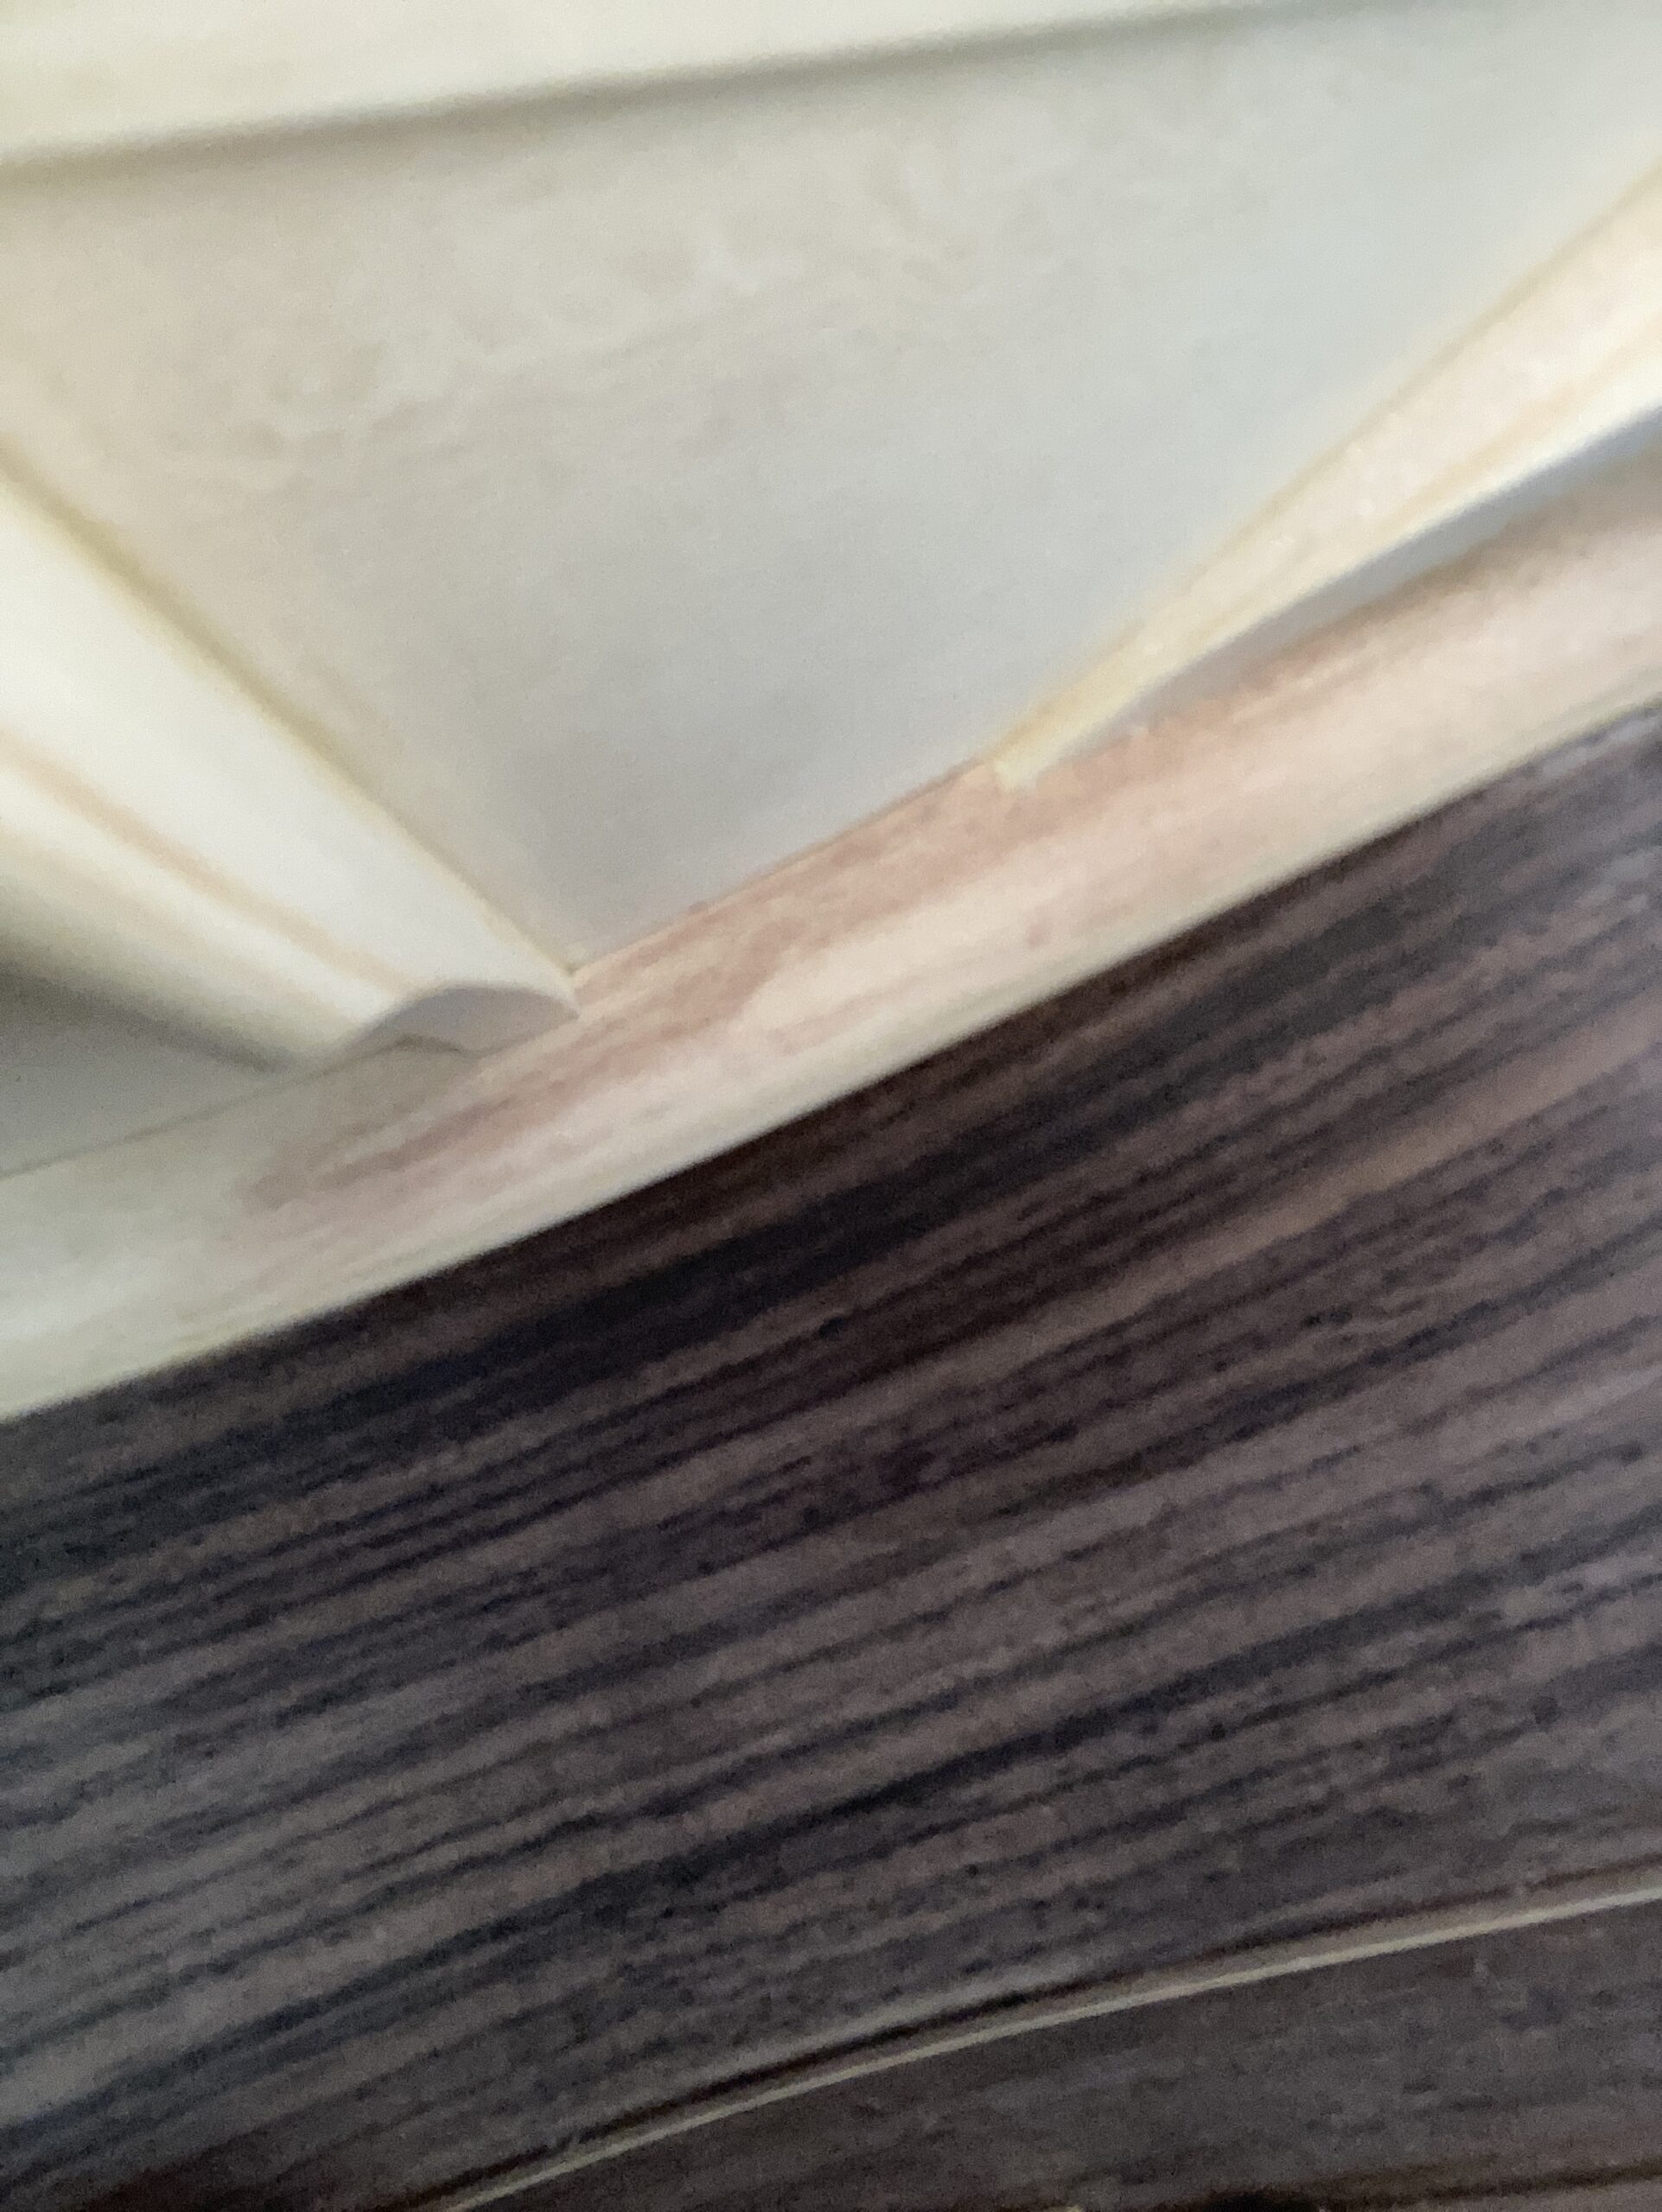
I did go around with a 0.05mm feeler gauge to find any gaps and then carefully sanded the braces until they fitted tightly.
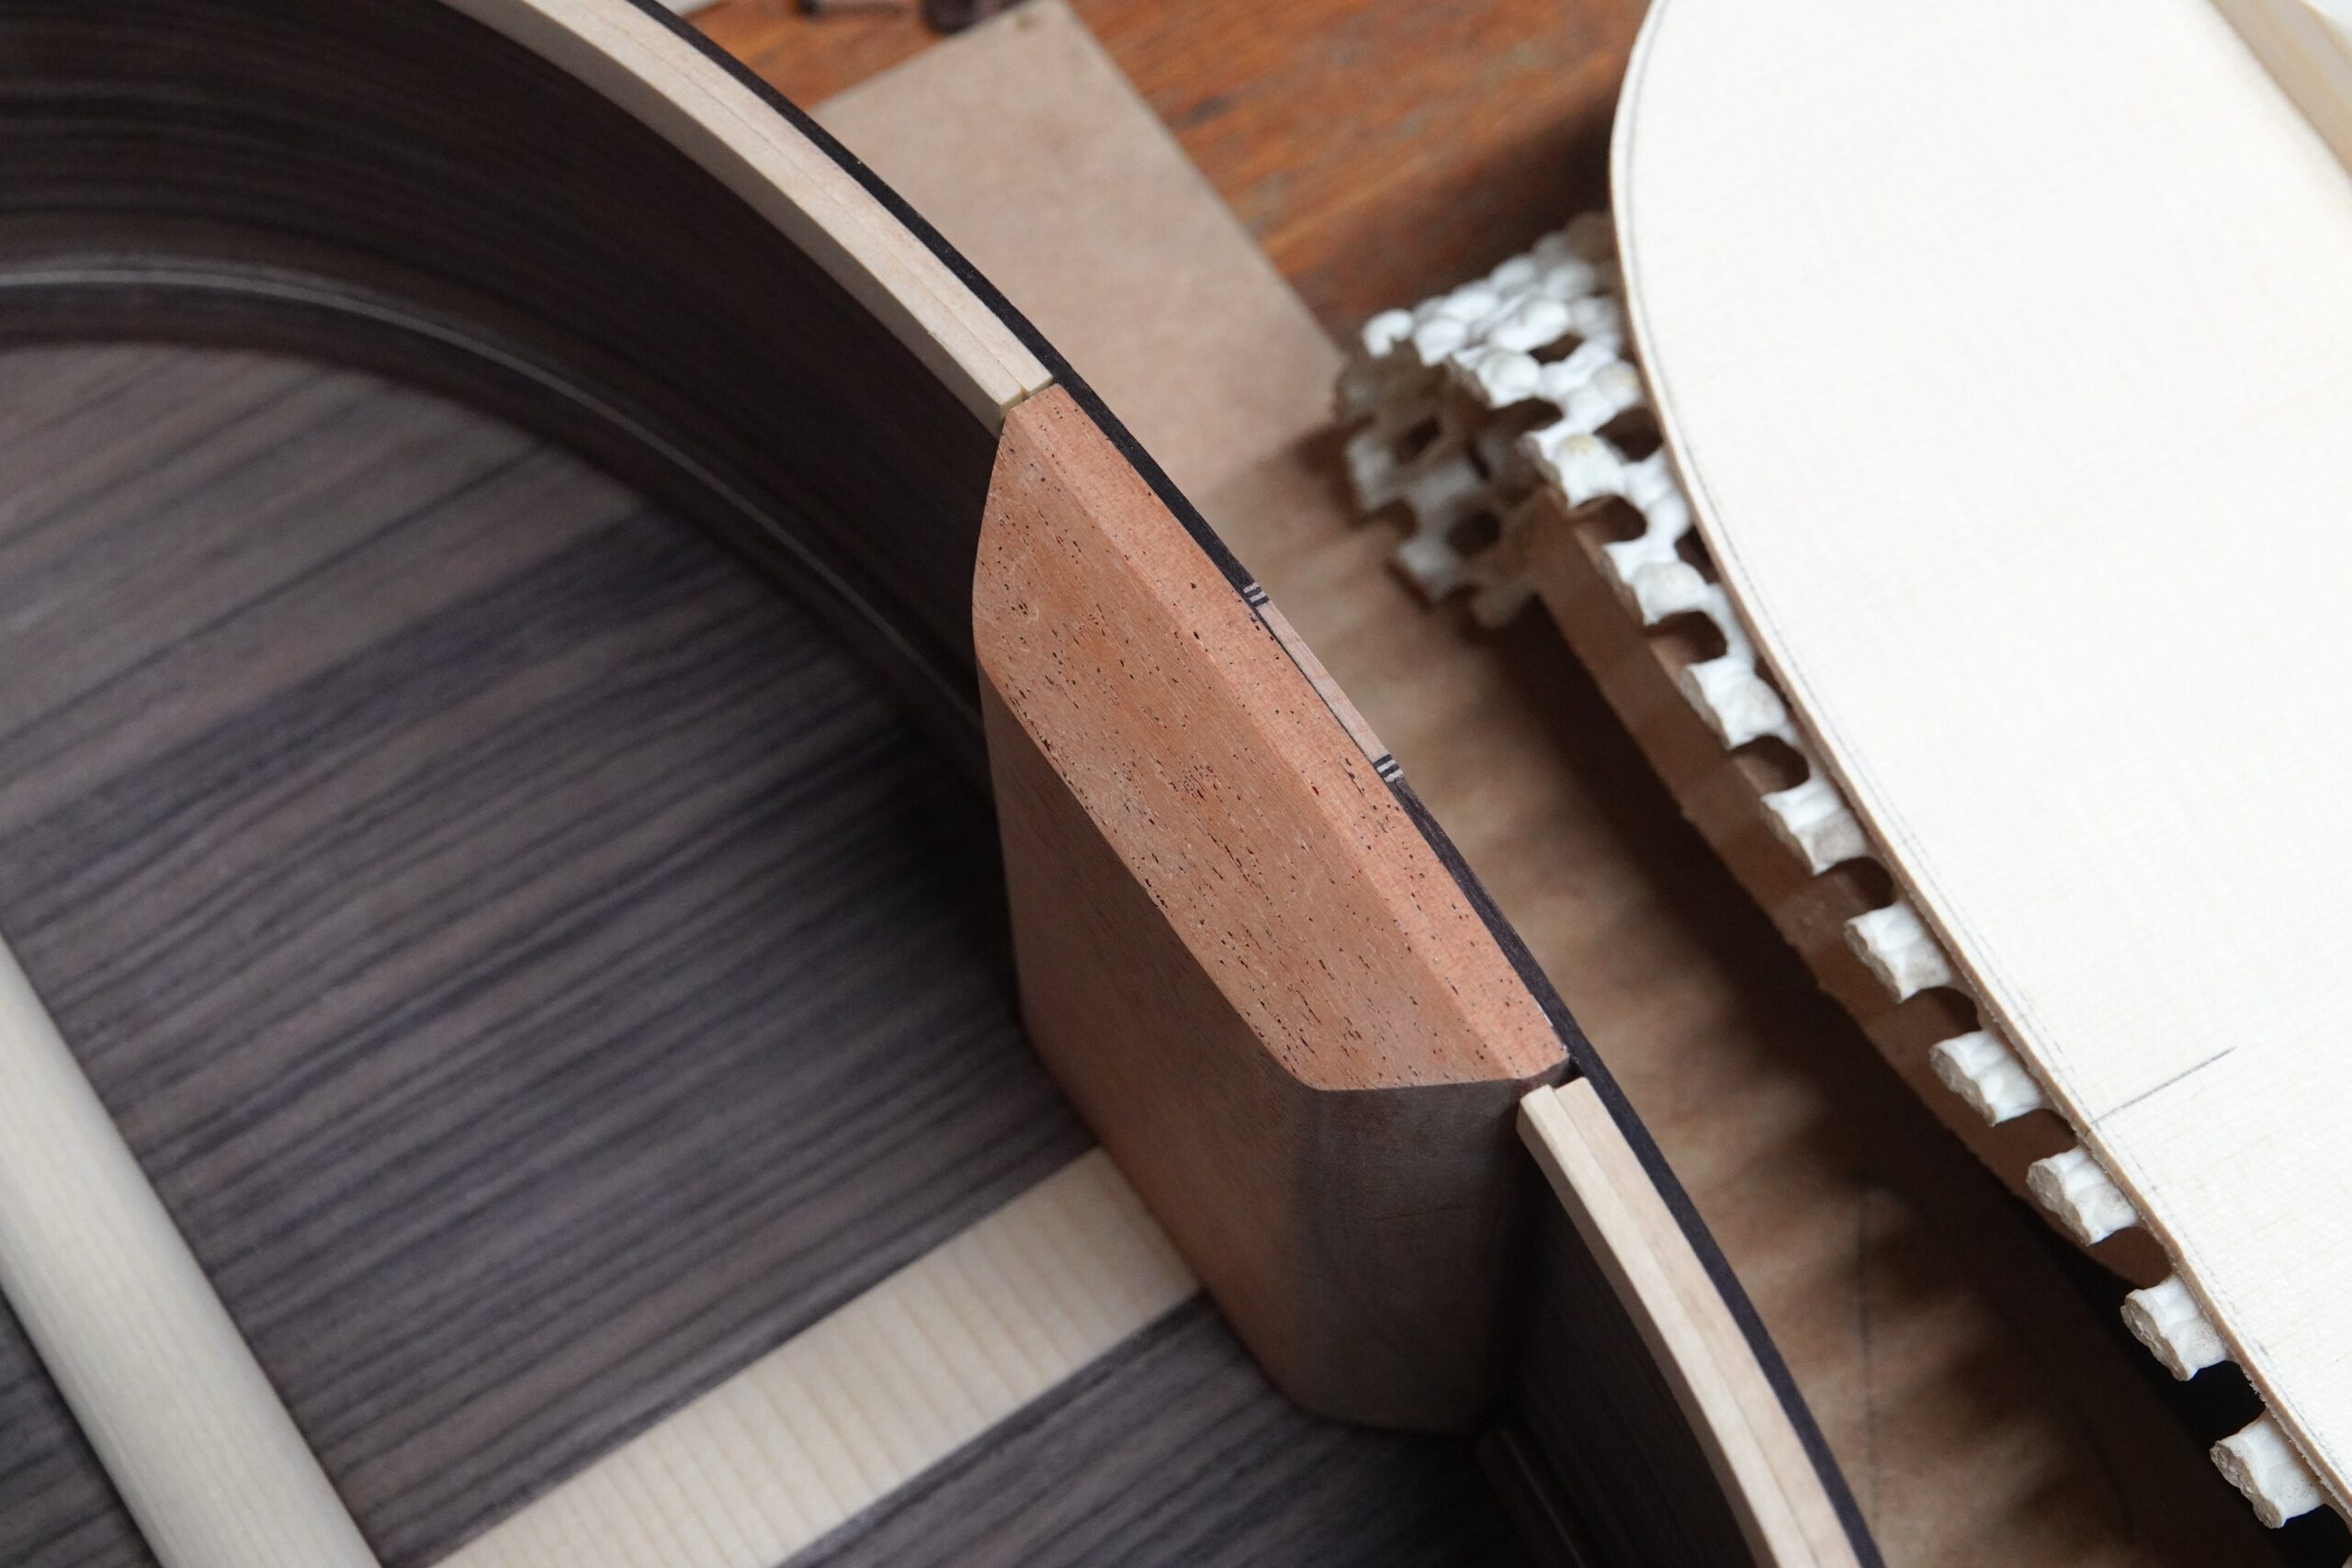
I found I also had to finesse the transition between the head block and the sides to get a tight fit – the plane was only taking off dust, but it made a difference.
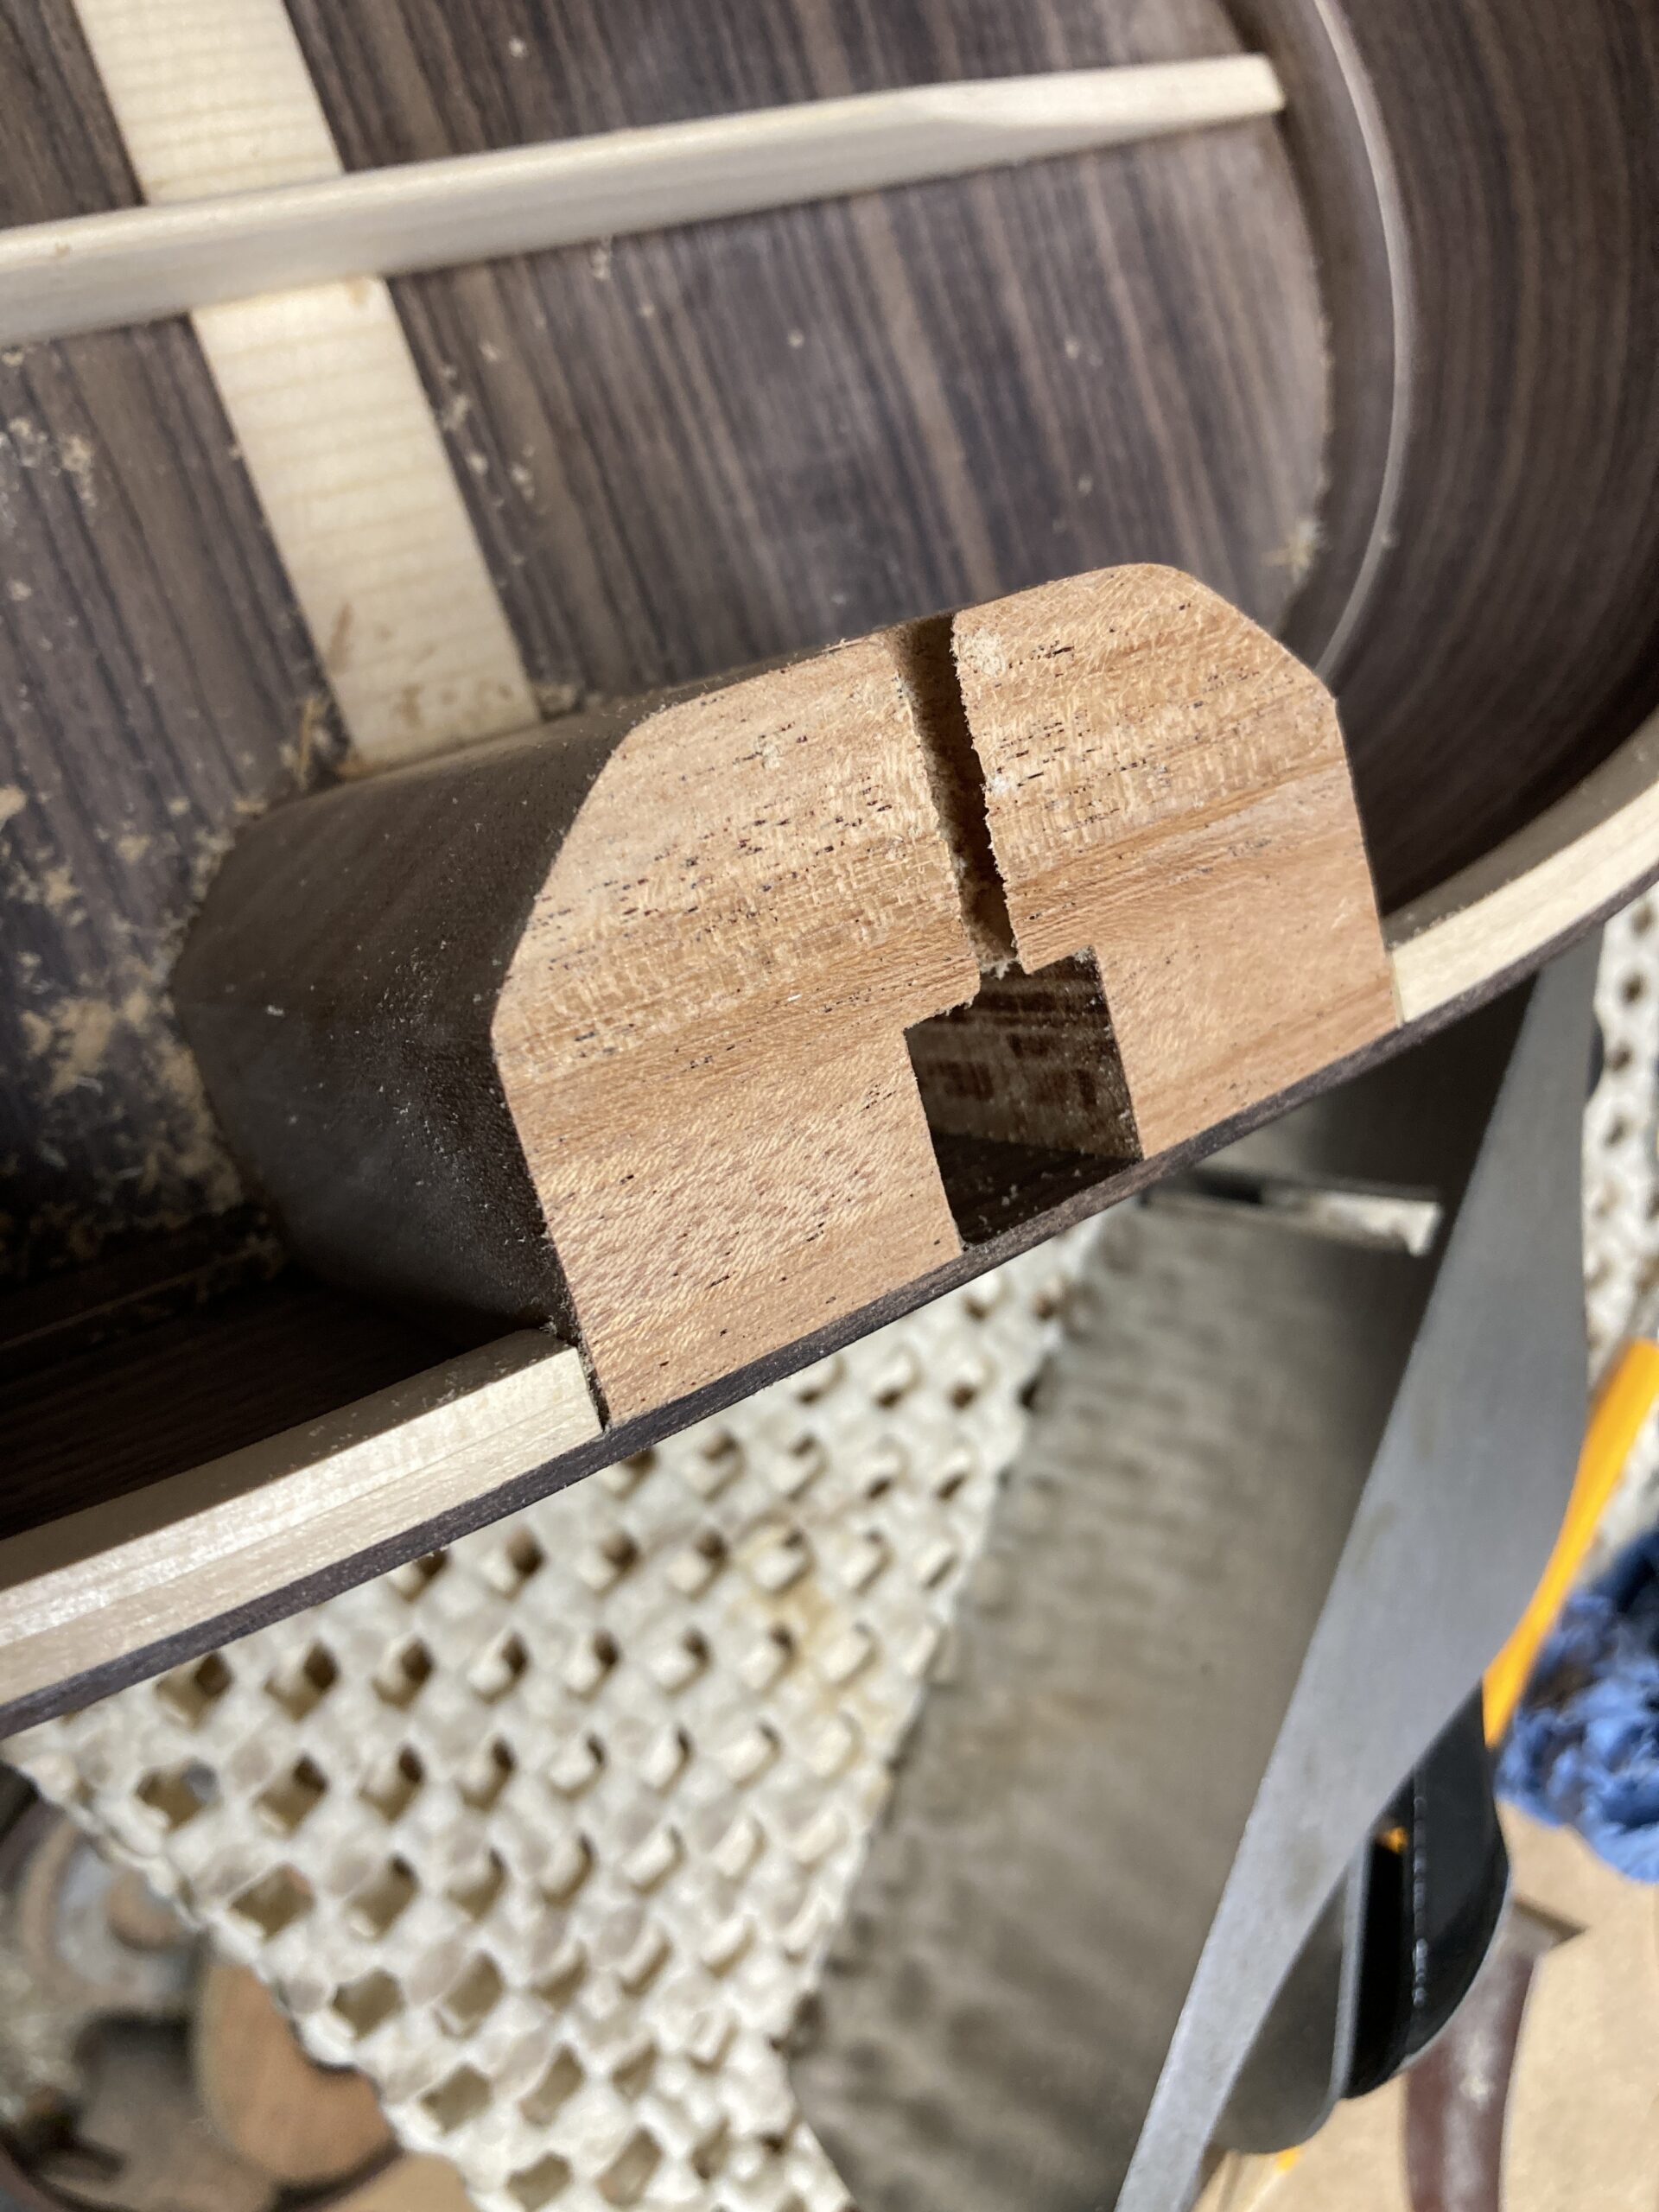
I finished off the top of the tail block to give reasonably consistent gluing width to that of the linings
I also marked the body outline on the top and trimmed it to a little over the final size, and did a whole bunch of sanding on the inside of the body…
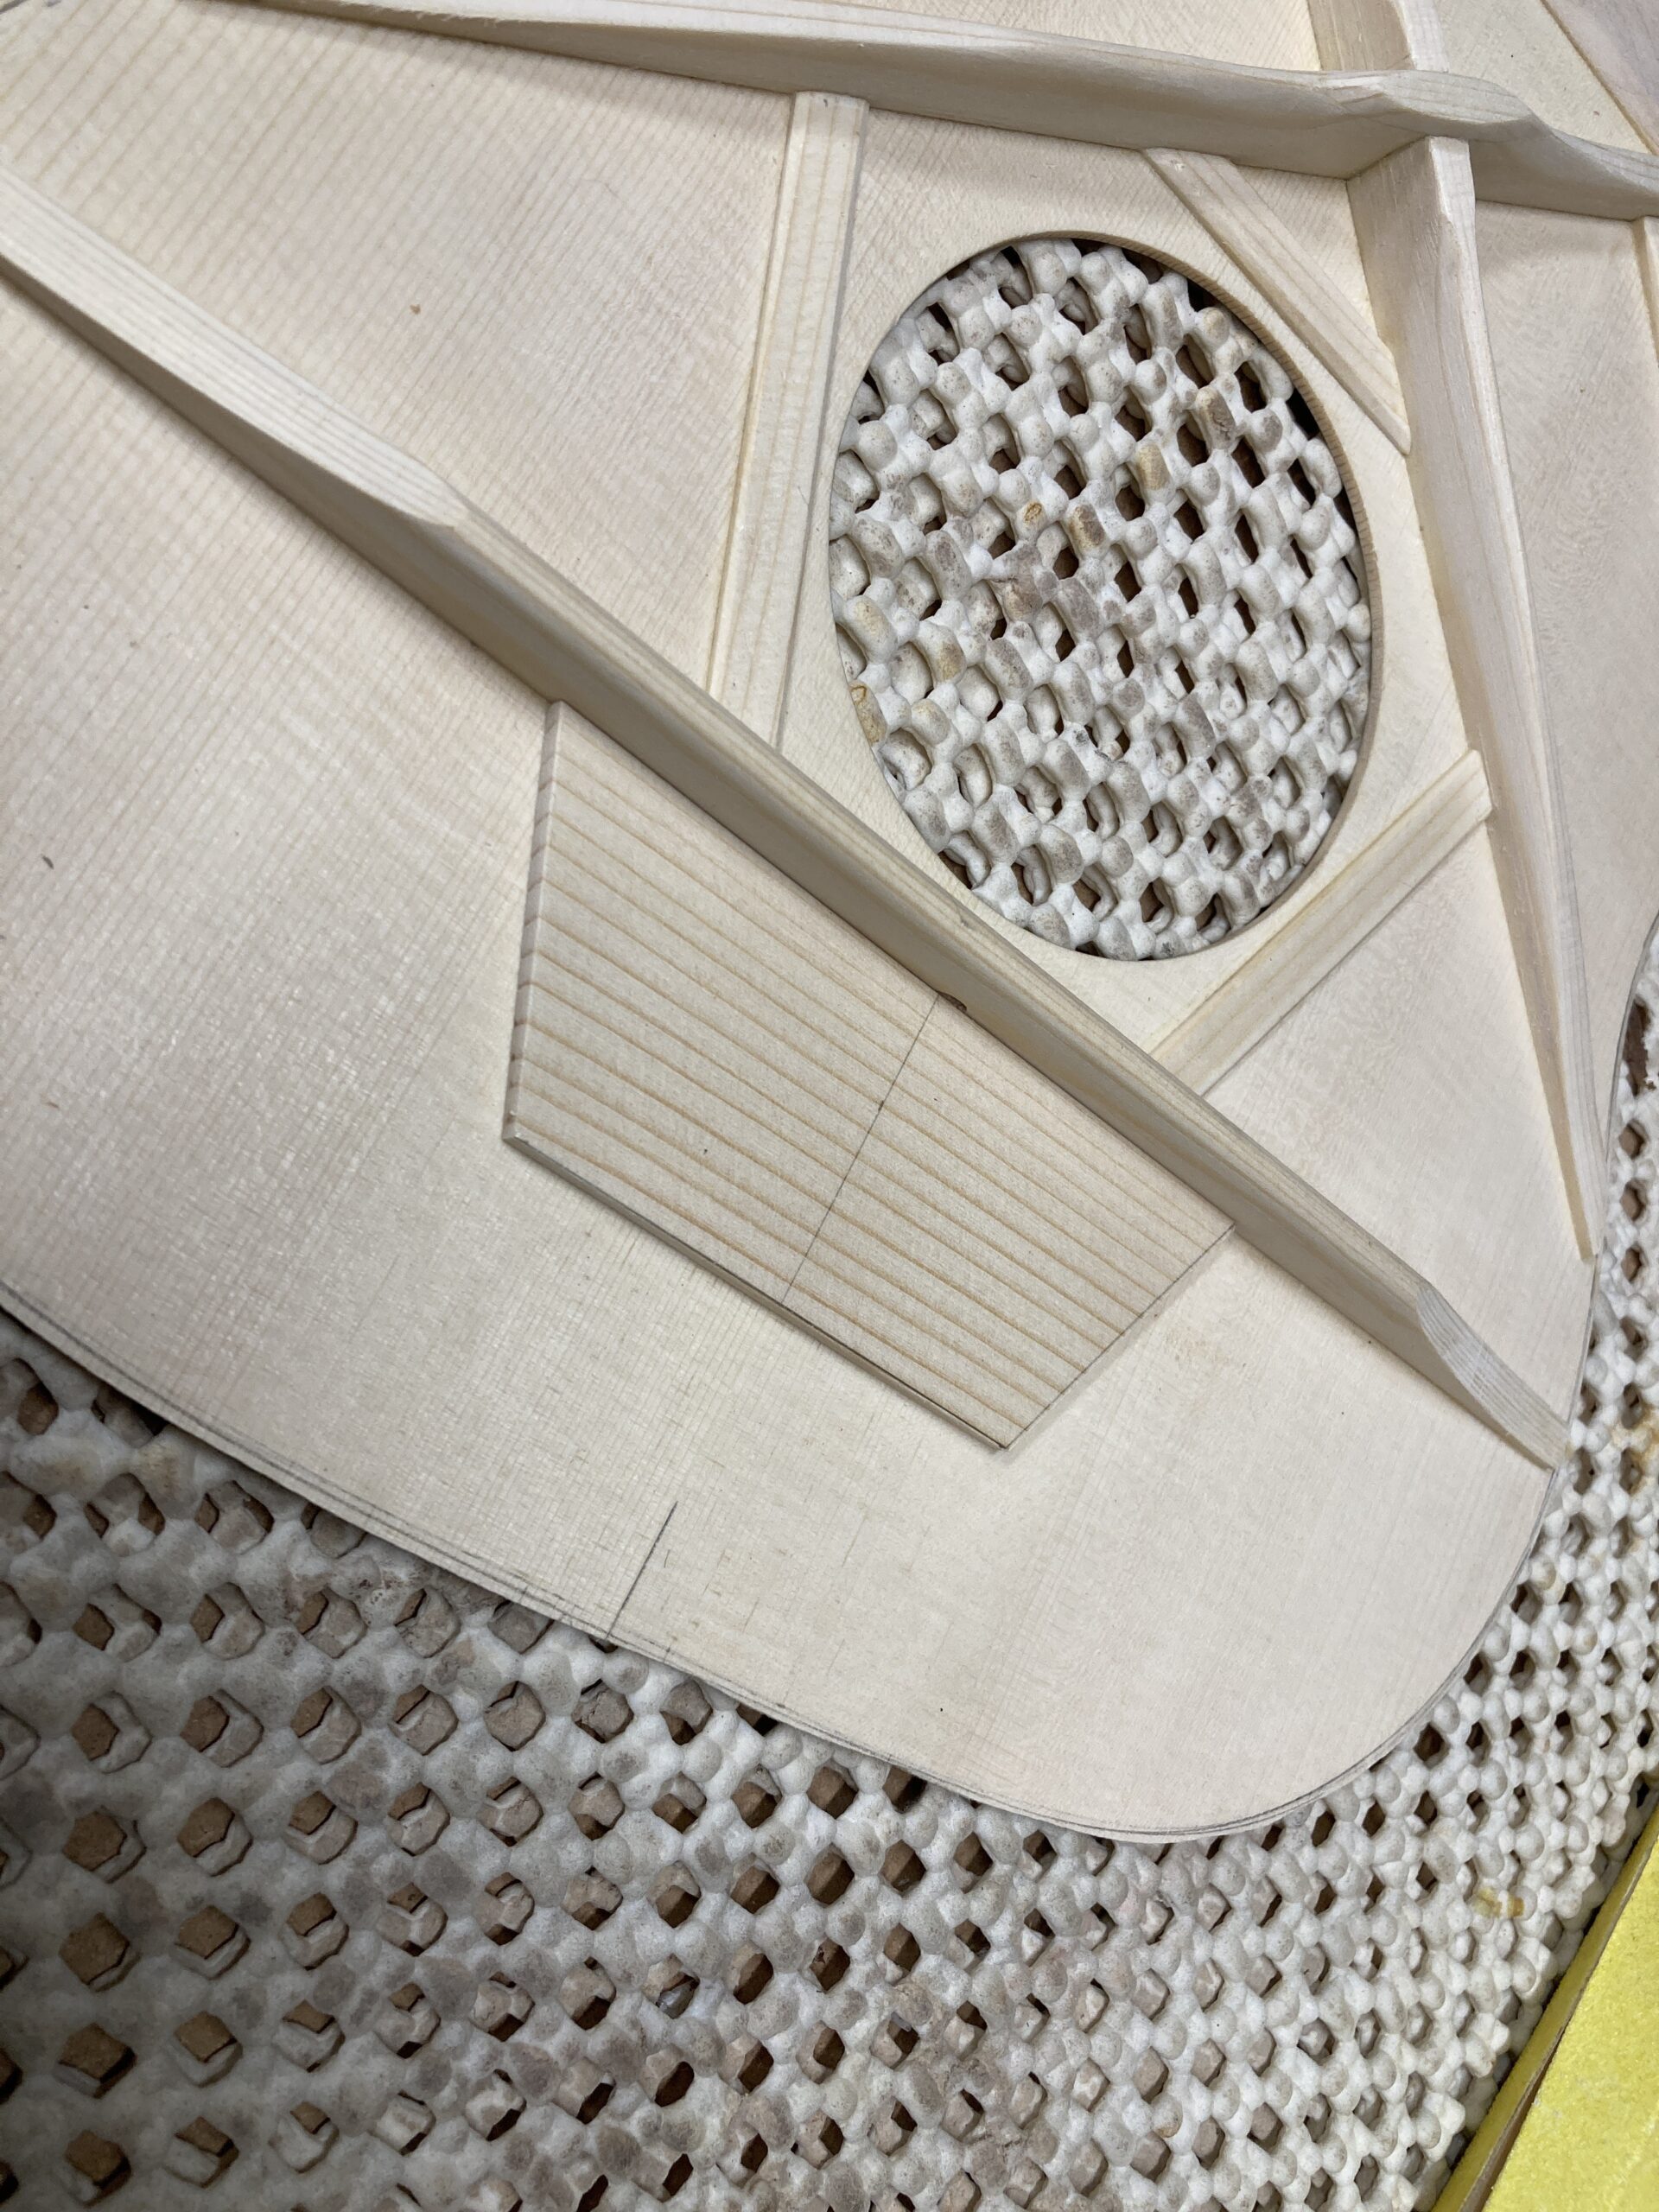
…and made cauls to fit under the bridge and fingerboard extension for use later
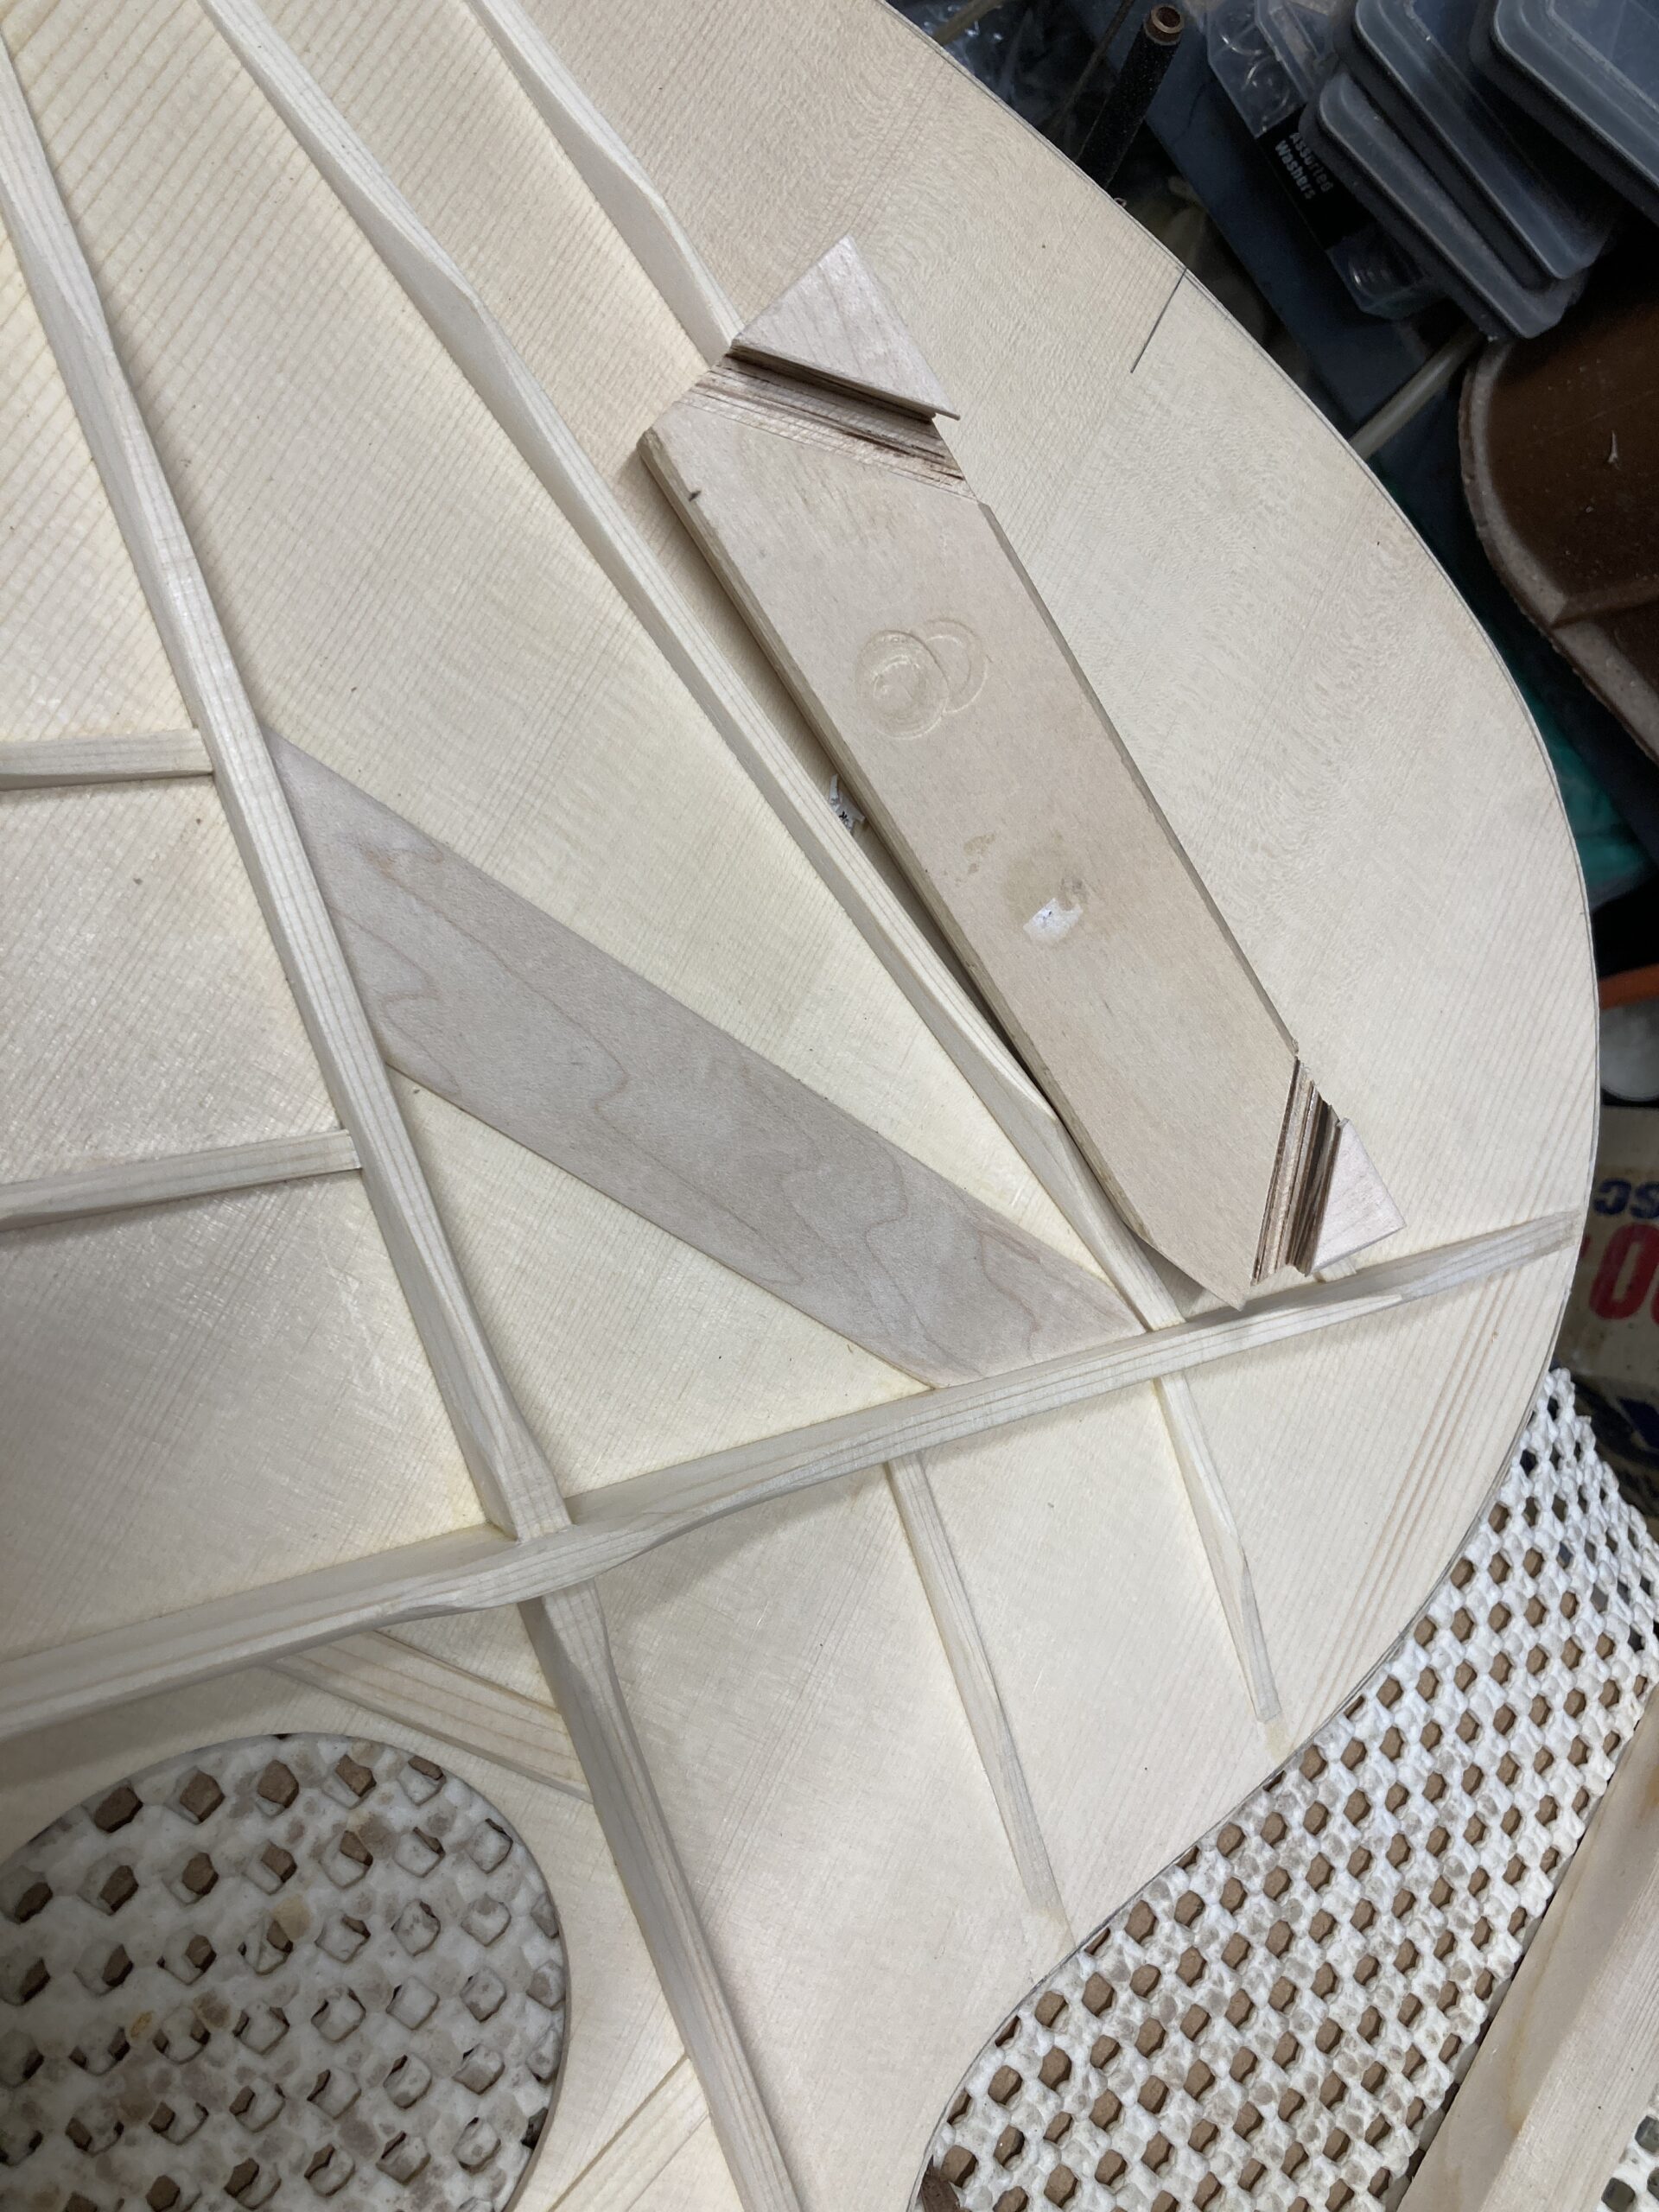
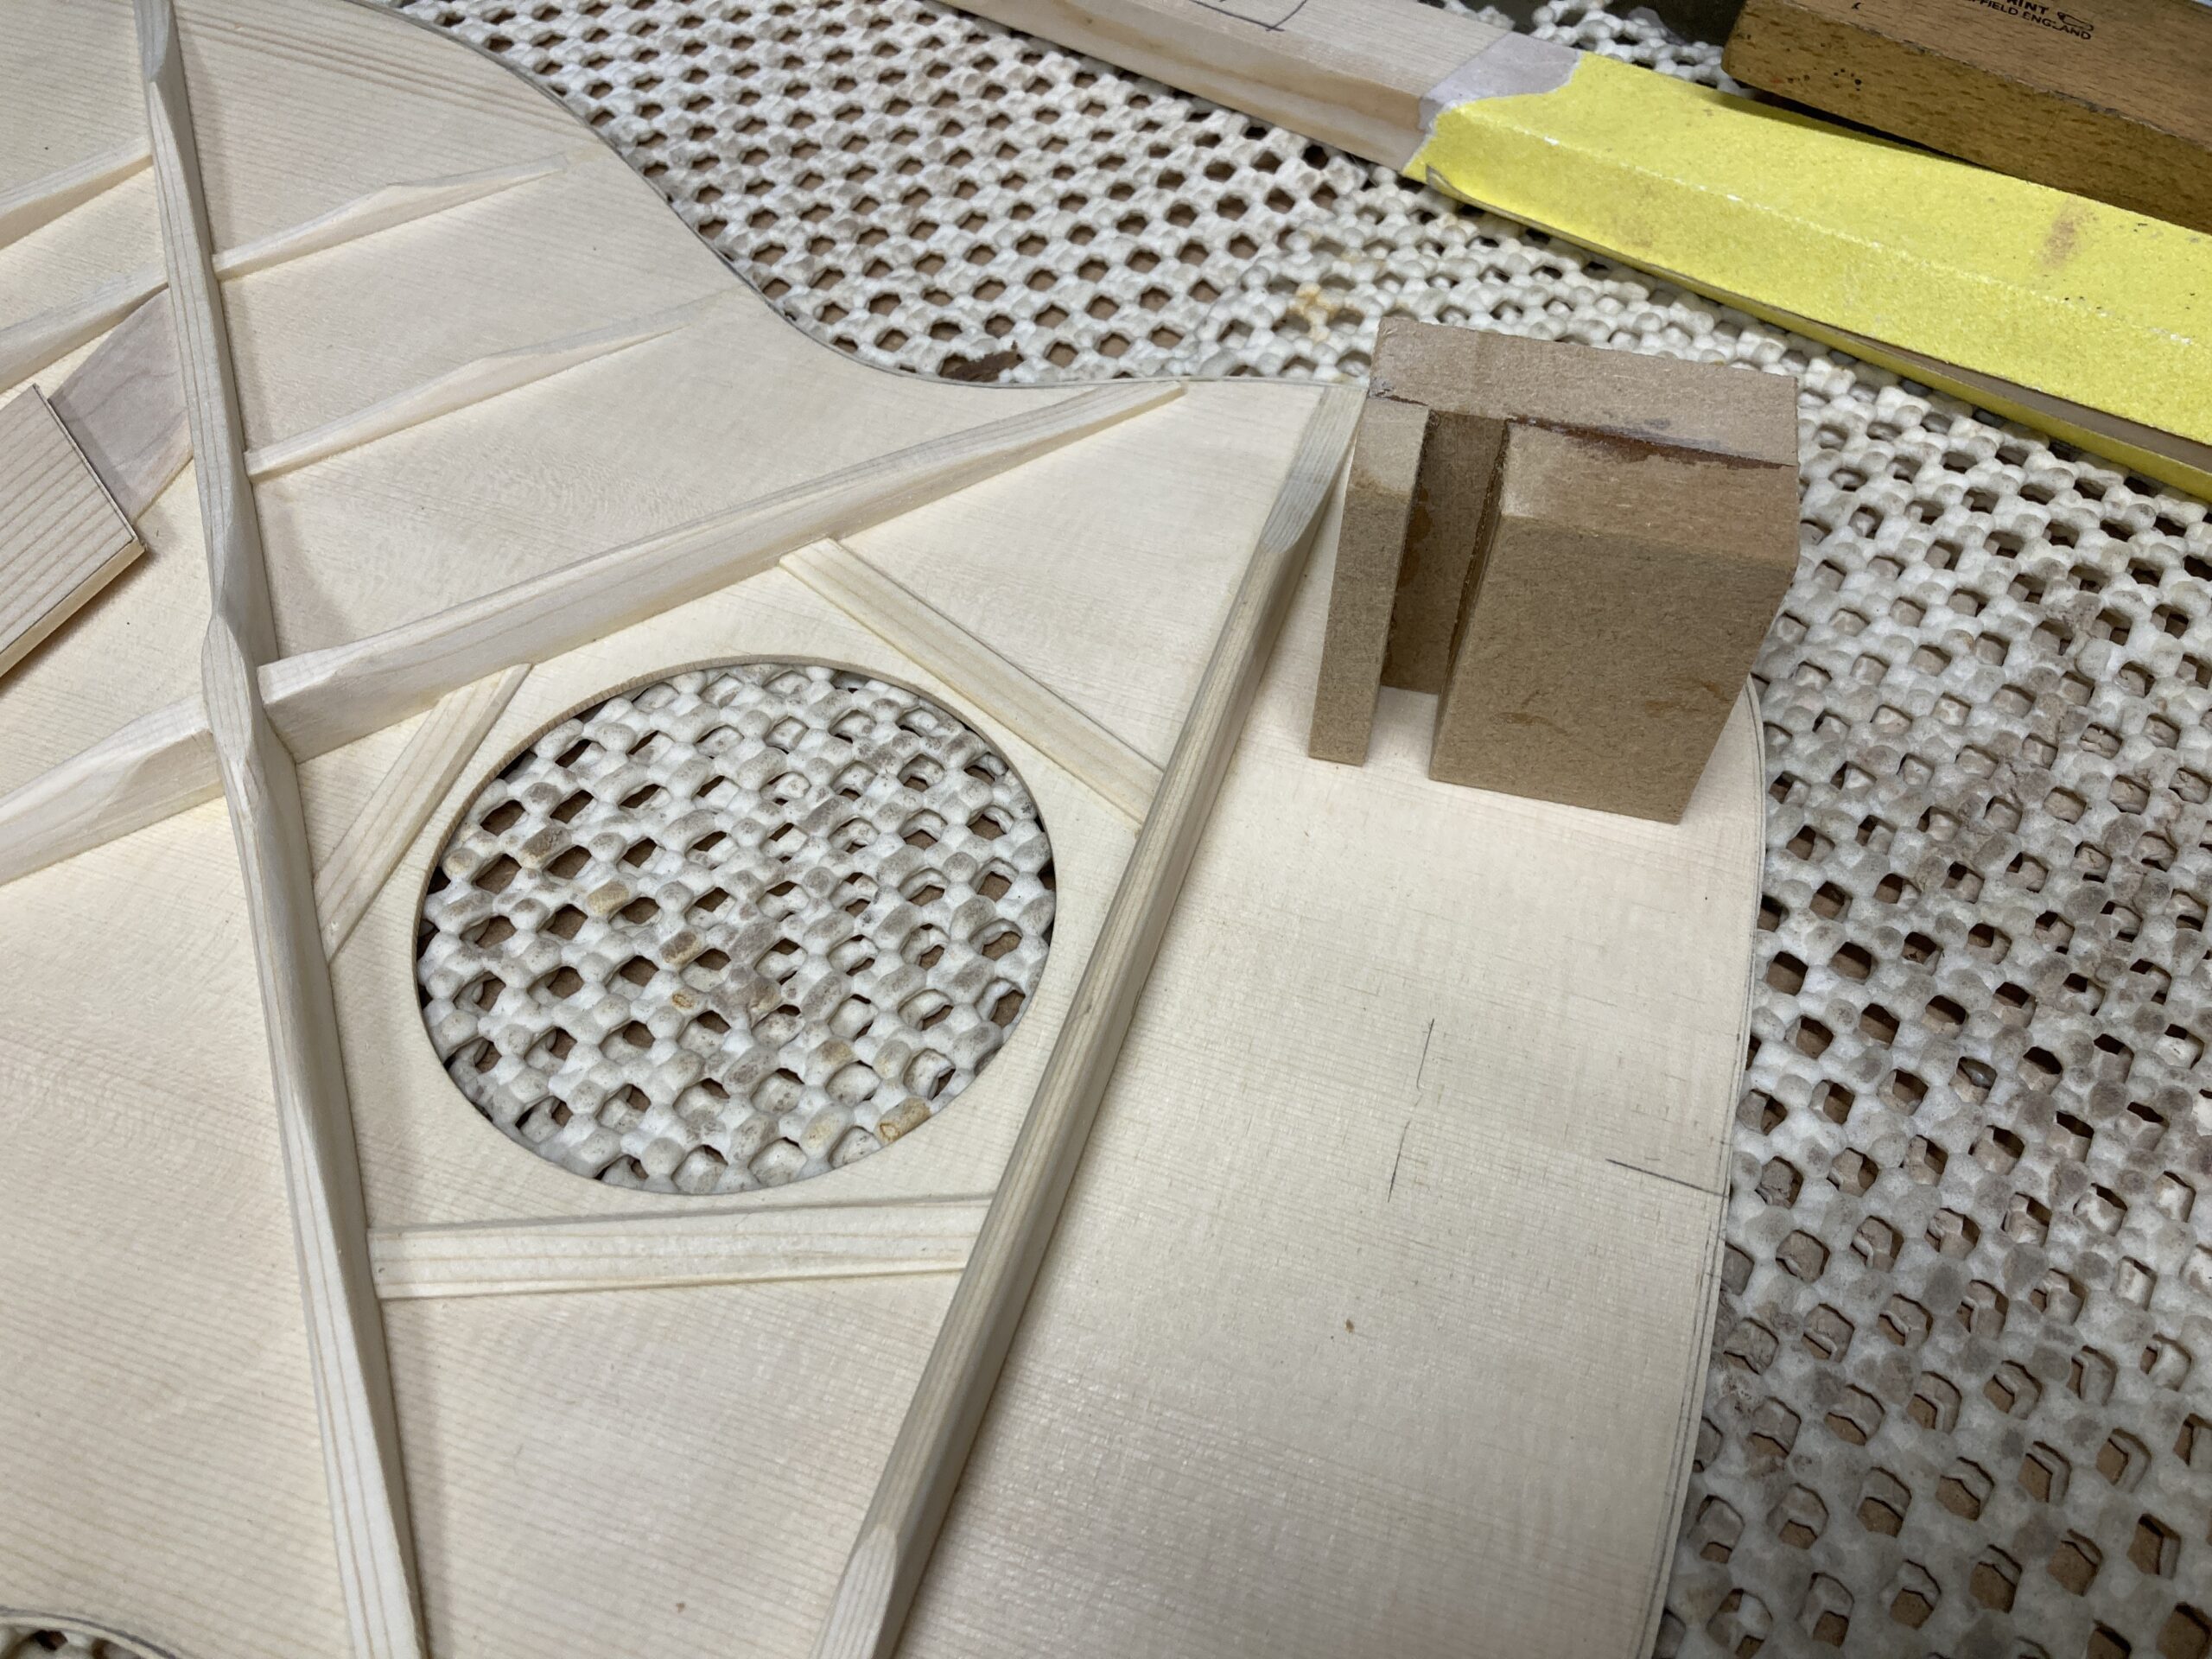
I’ve also gone down the rabbit hole of ‘popsickle’ braces… (the transverse brace underneath the fingerboard extension that is fitted to some Martin guitars). There isn’t one shown on the plan, so I don’t think one is needed. Just in case somebody tells me at a later date, I cut a piece of spruce that could be used as a brace in this area, just to keep in my back pocket, so to speak.
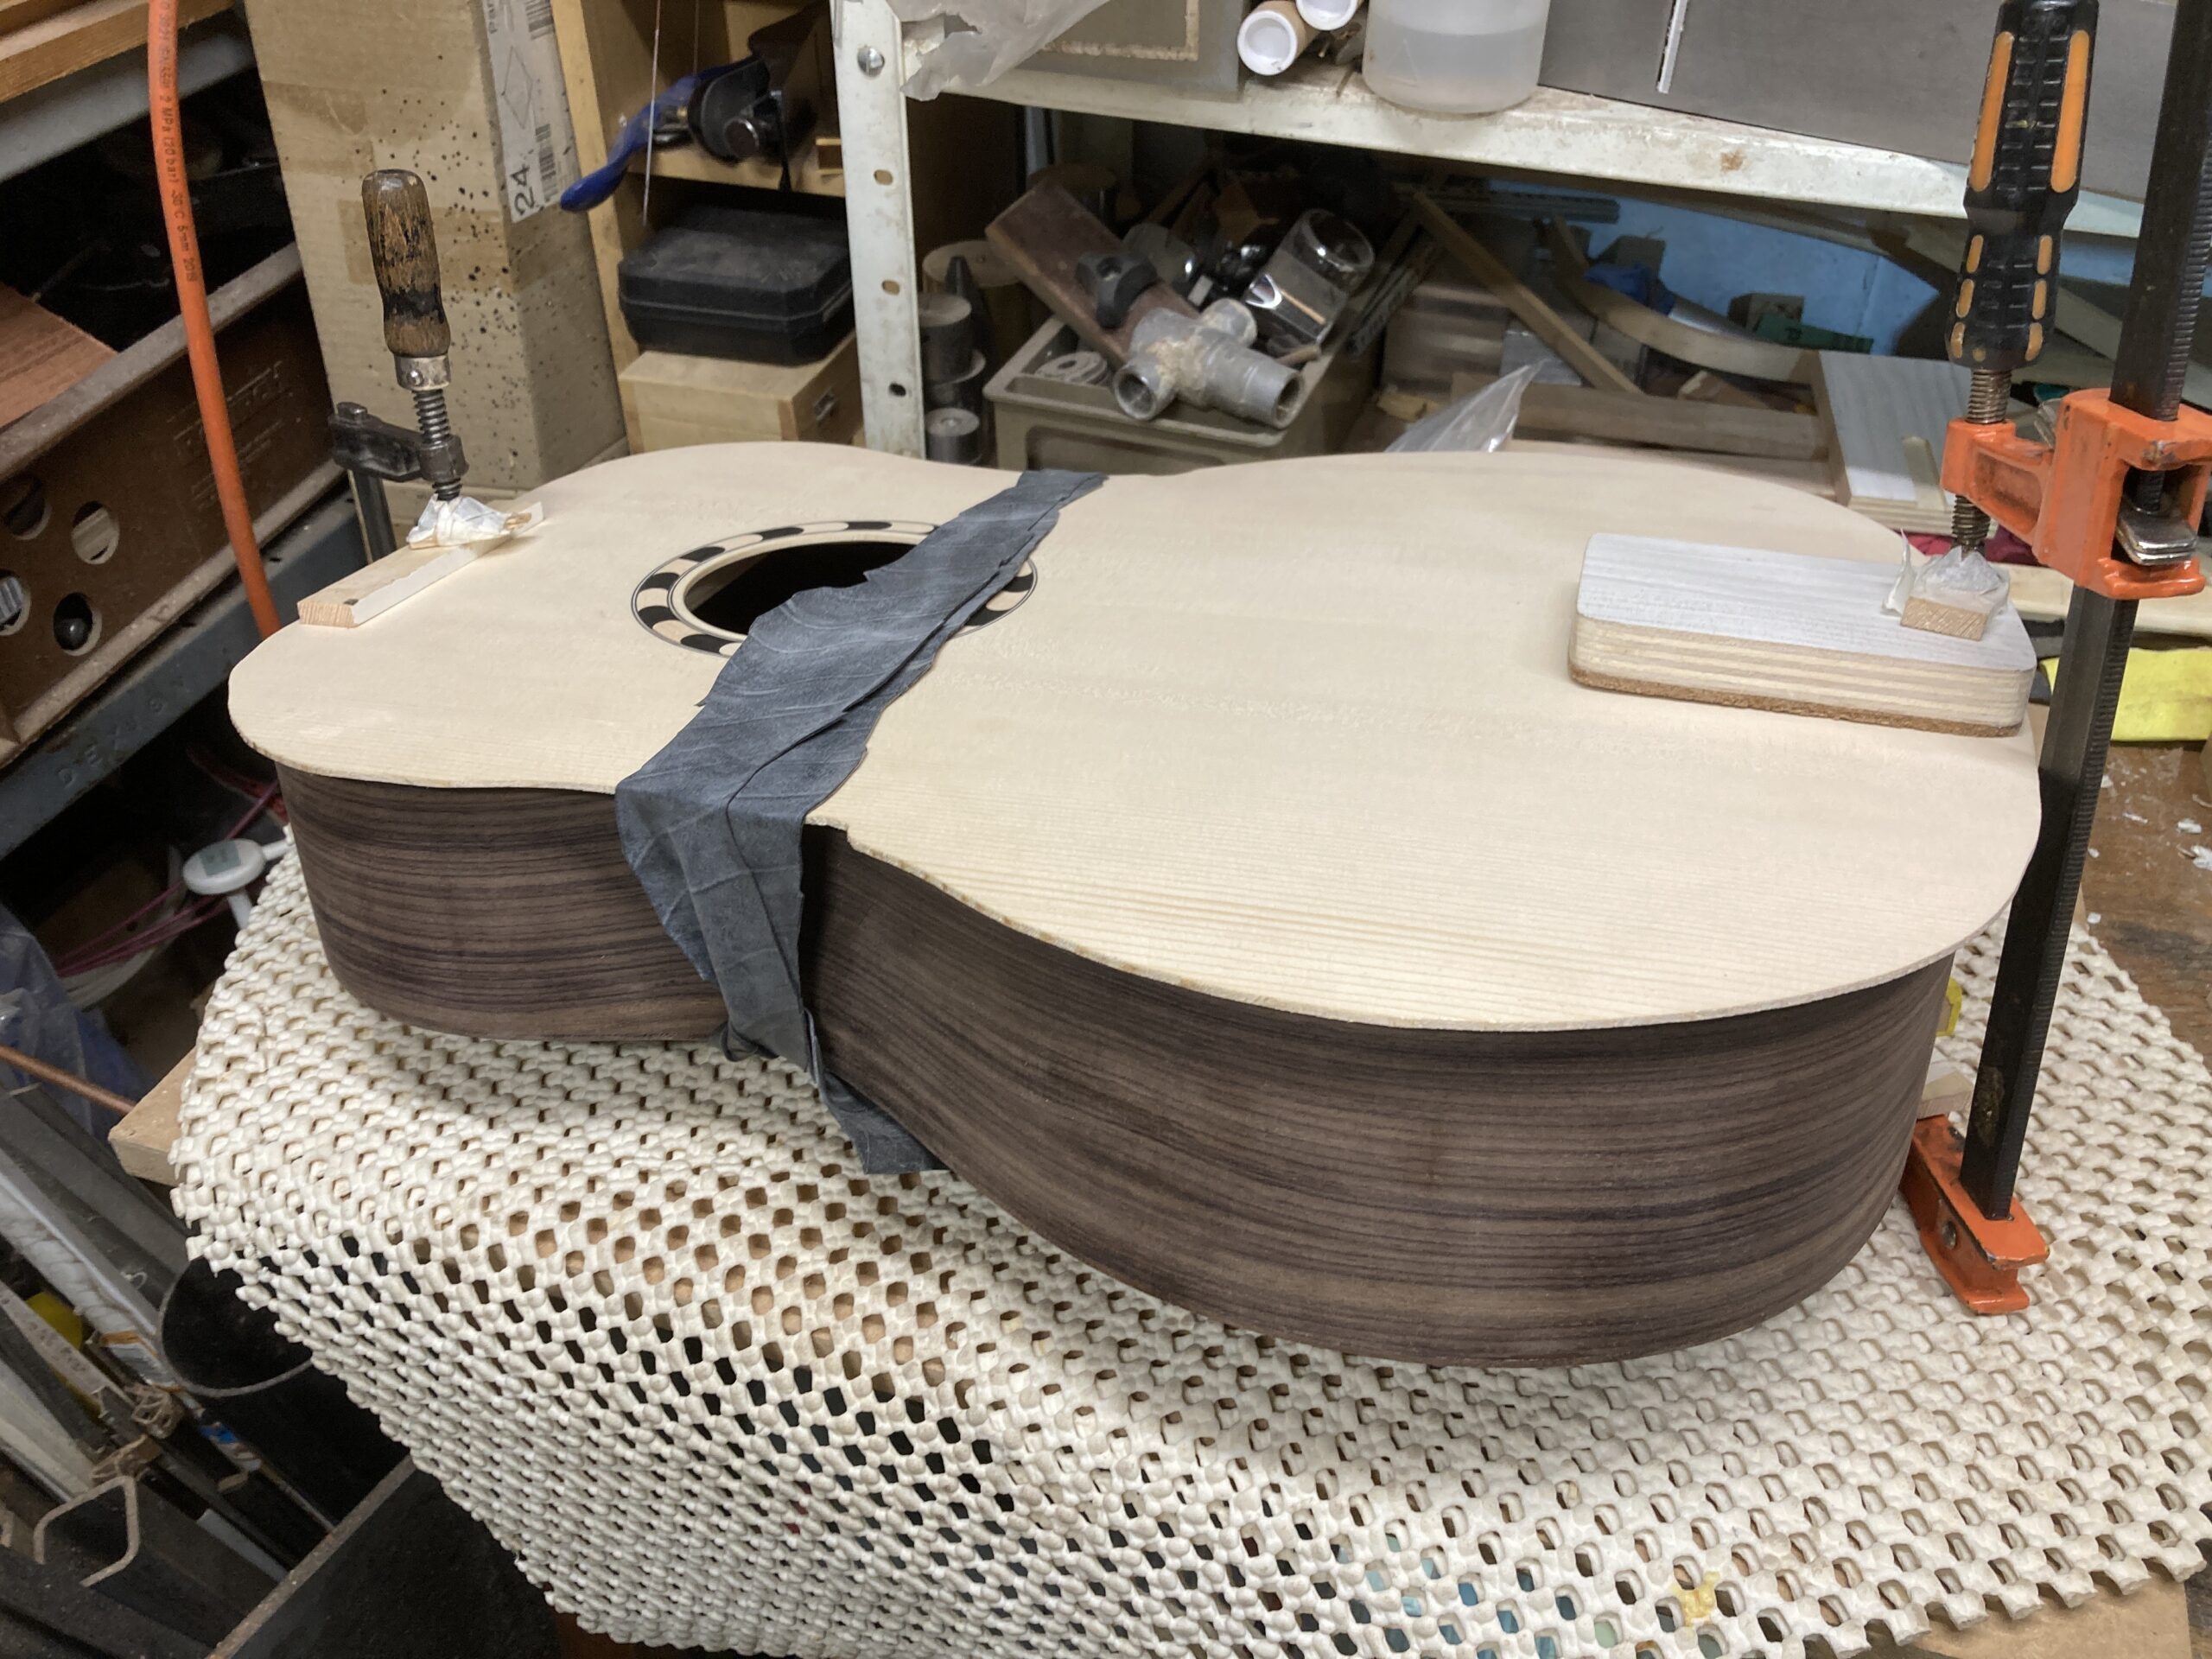
Closing the box
Deep breath, glue bottle out…
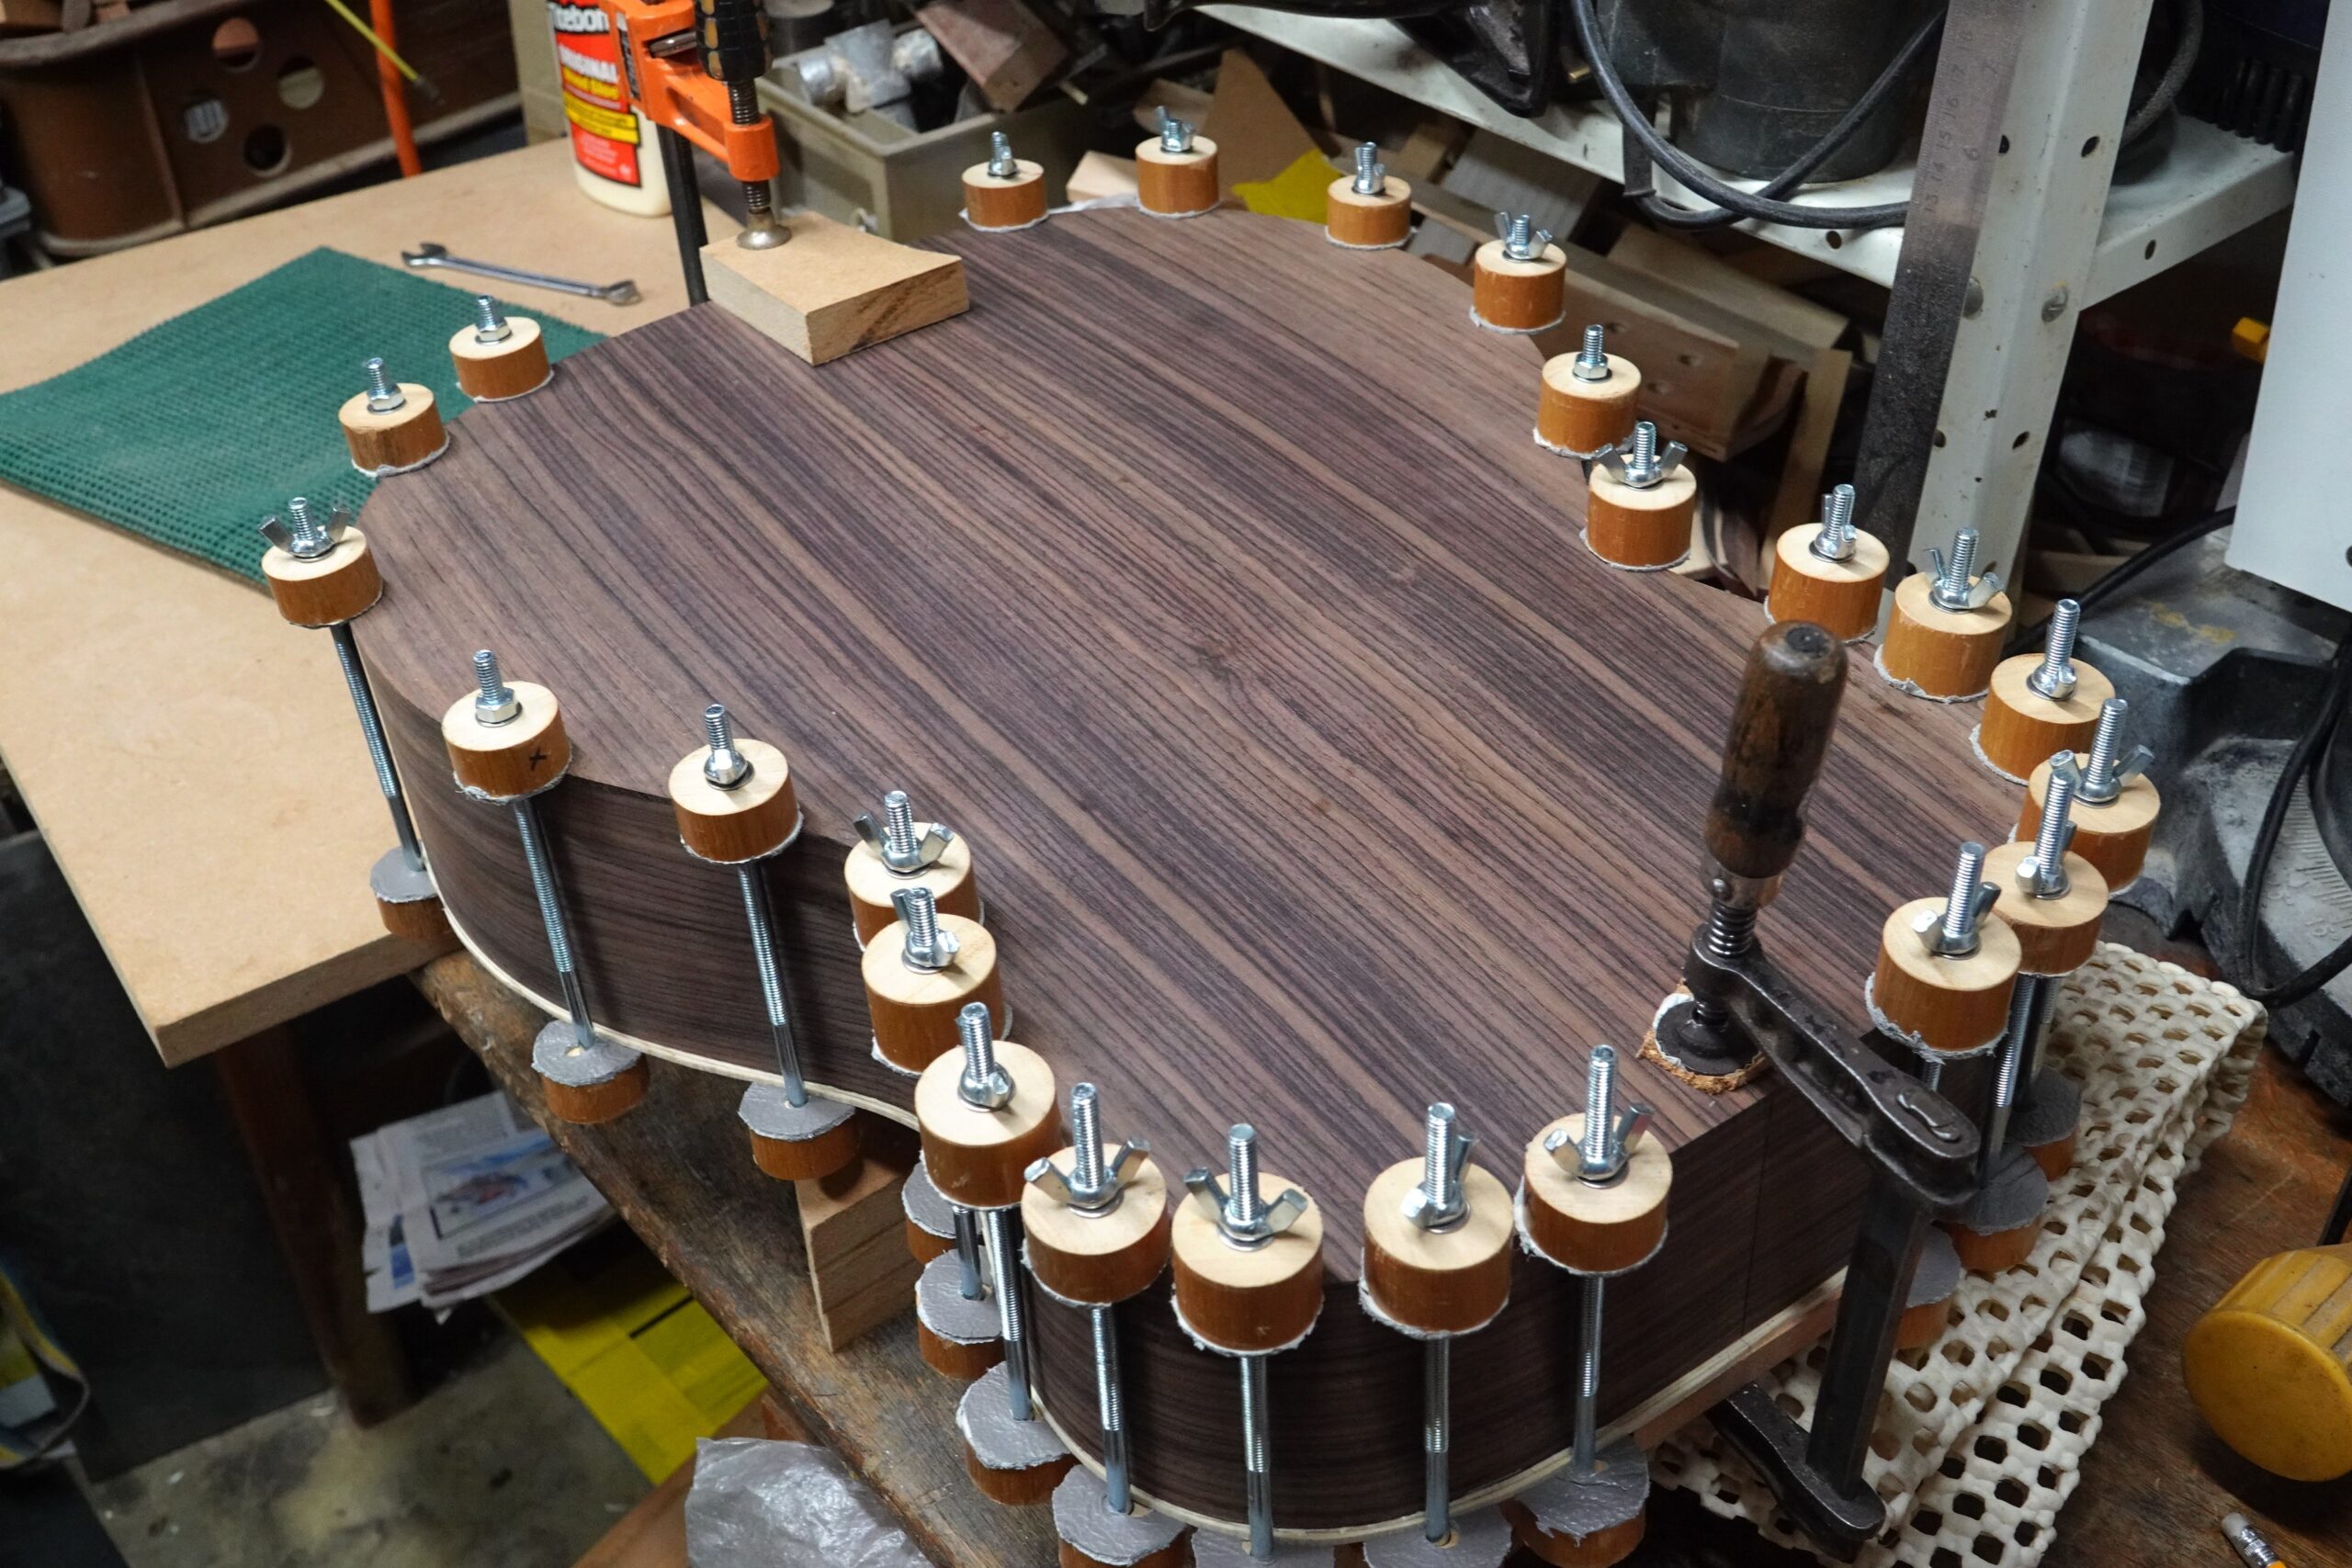
I did use the rubber strap to fill in between the spool clamps on the lower bout, but this was only a bit of insurance – I’m pretty sure the joint was tight without it.
A quick run around with the trim router, and we have a box!
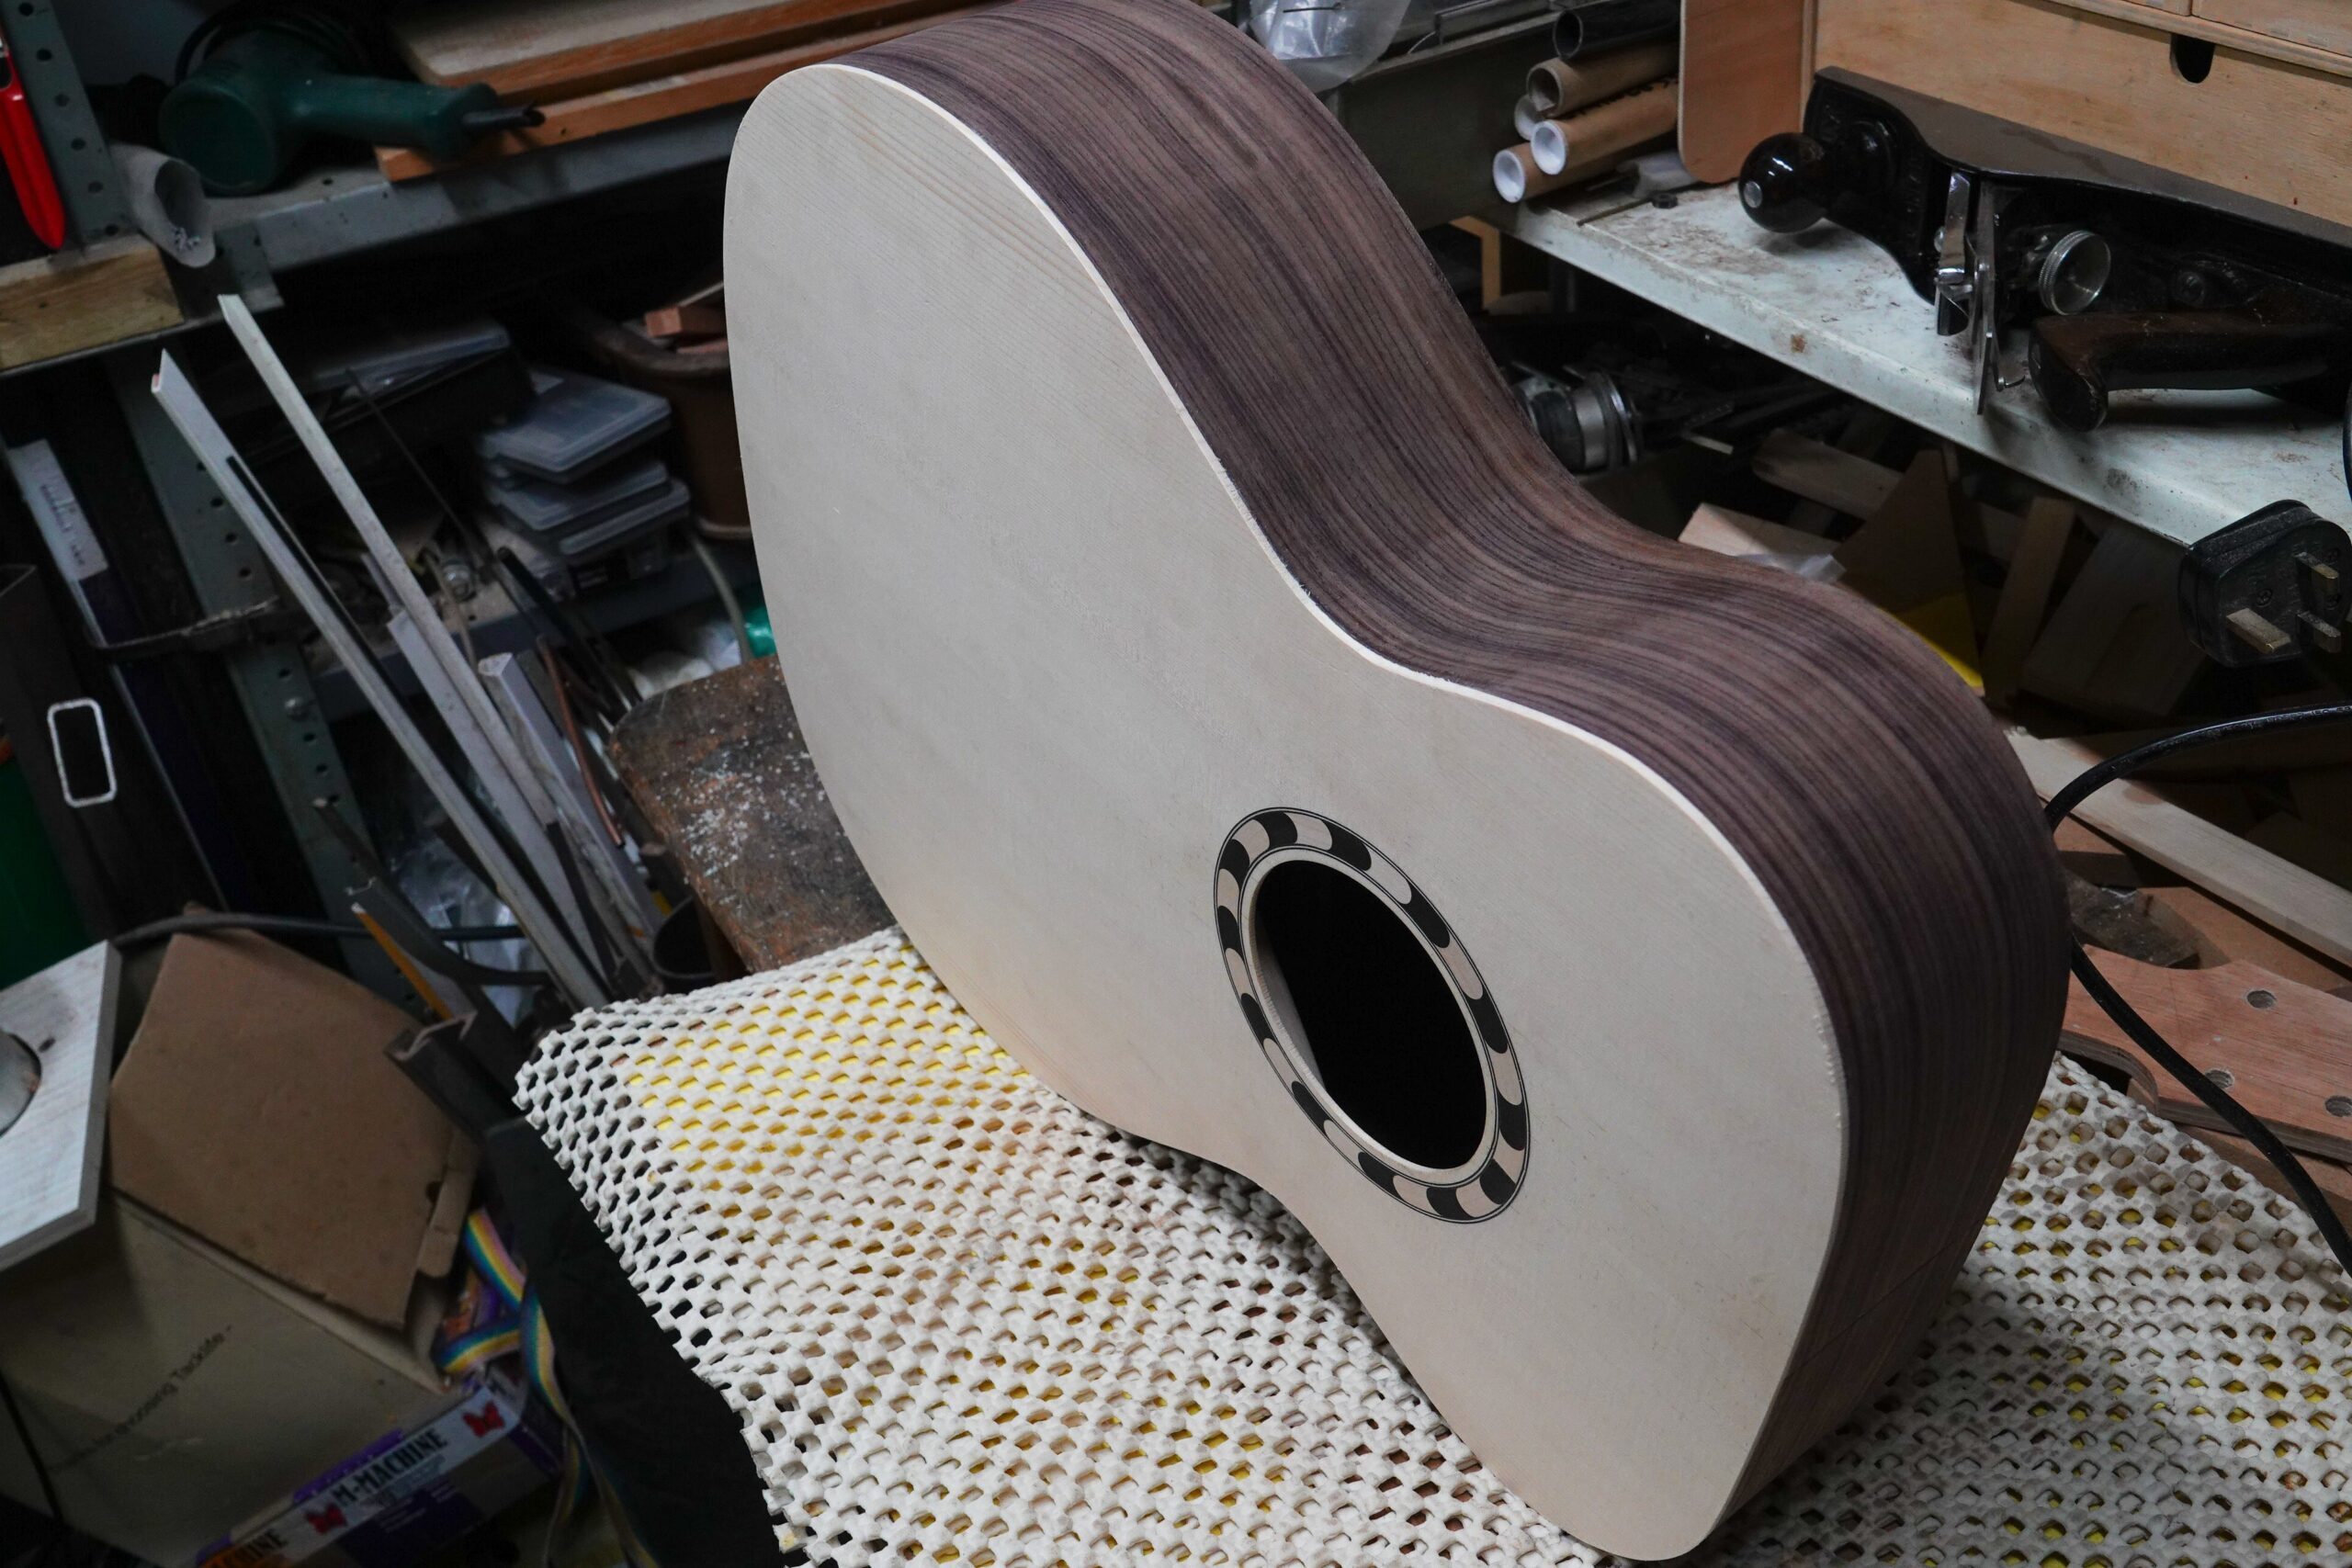
I’m pleased with that!