
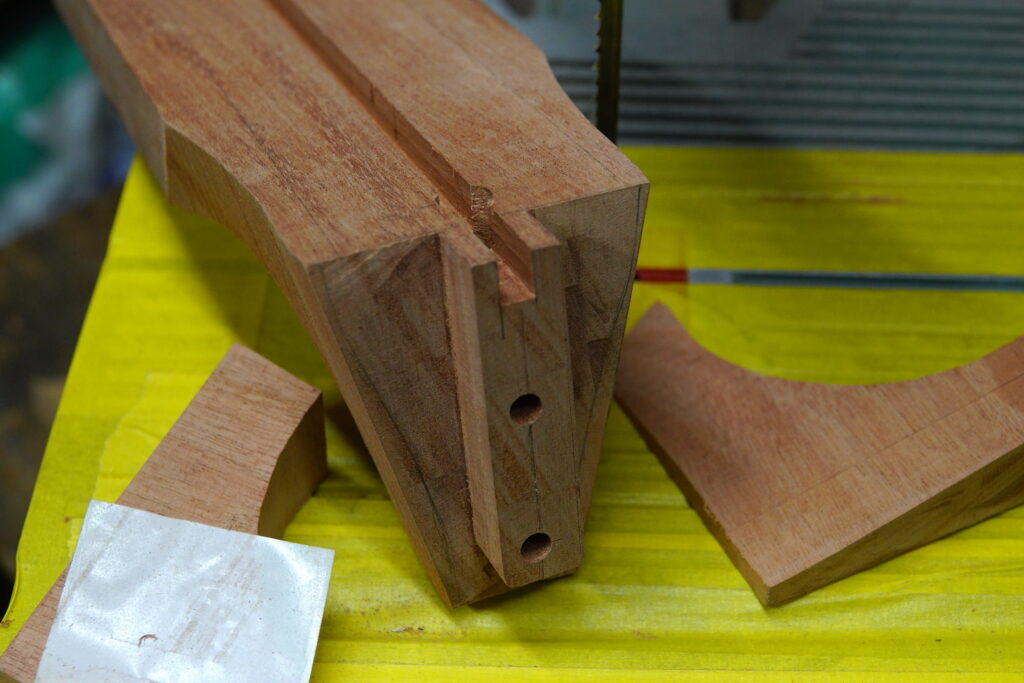
Fitting the neck Tenon
After giving the body a bit of a sand, I carefully cut into the sides to find the mortice in the head block:
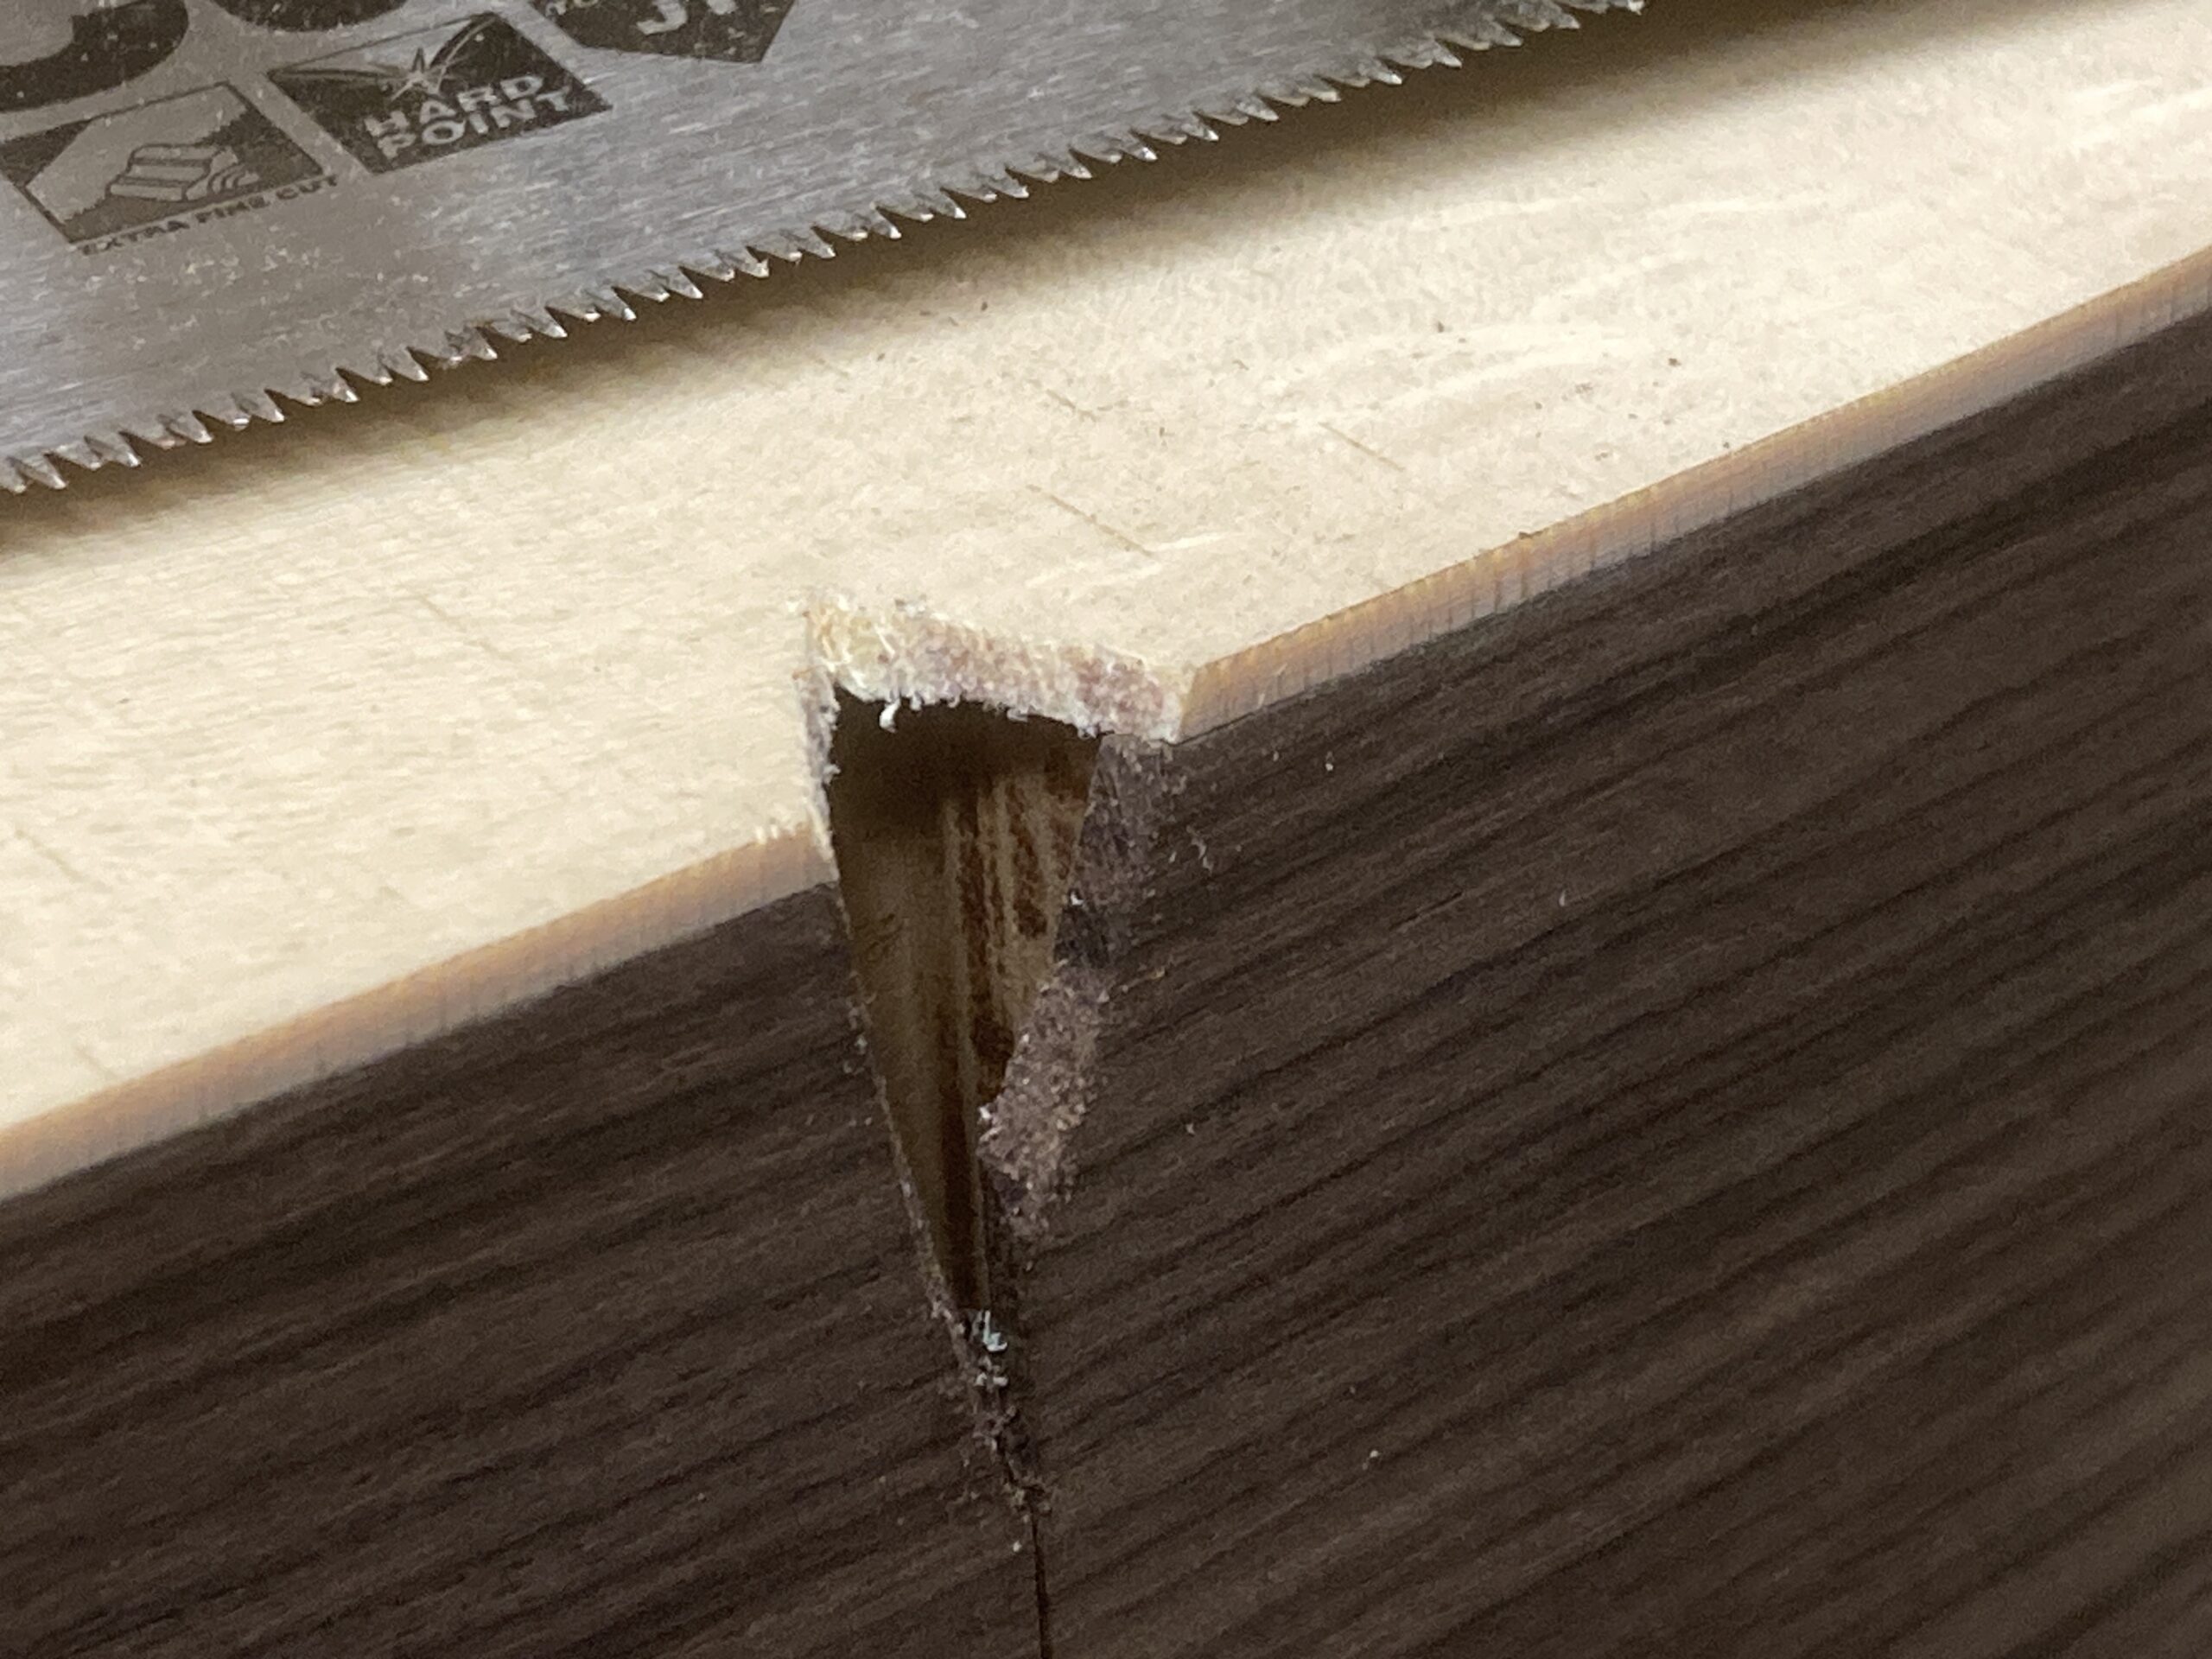
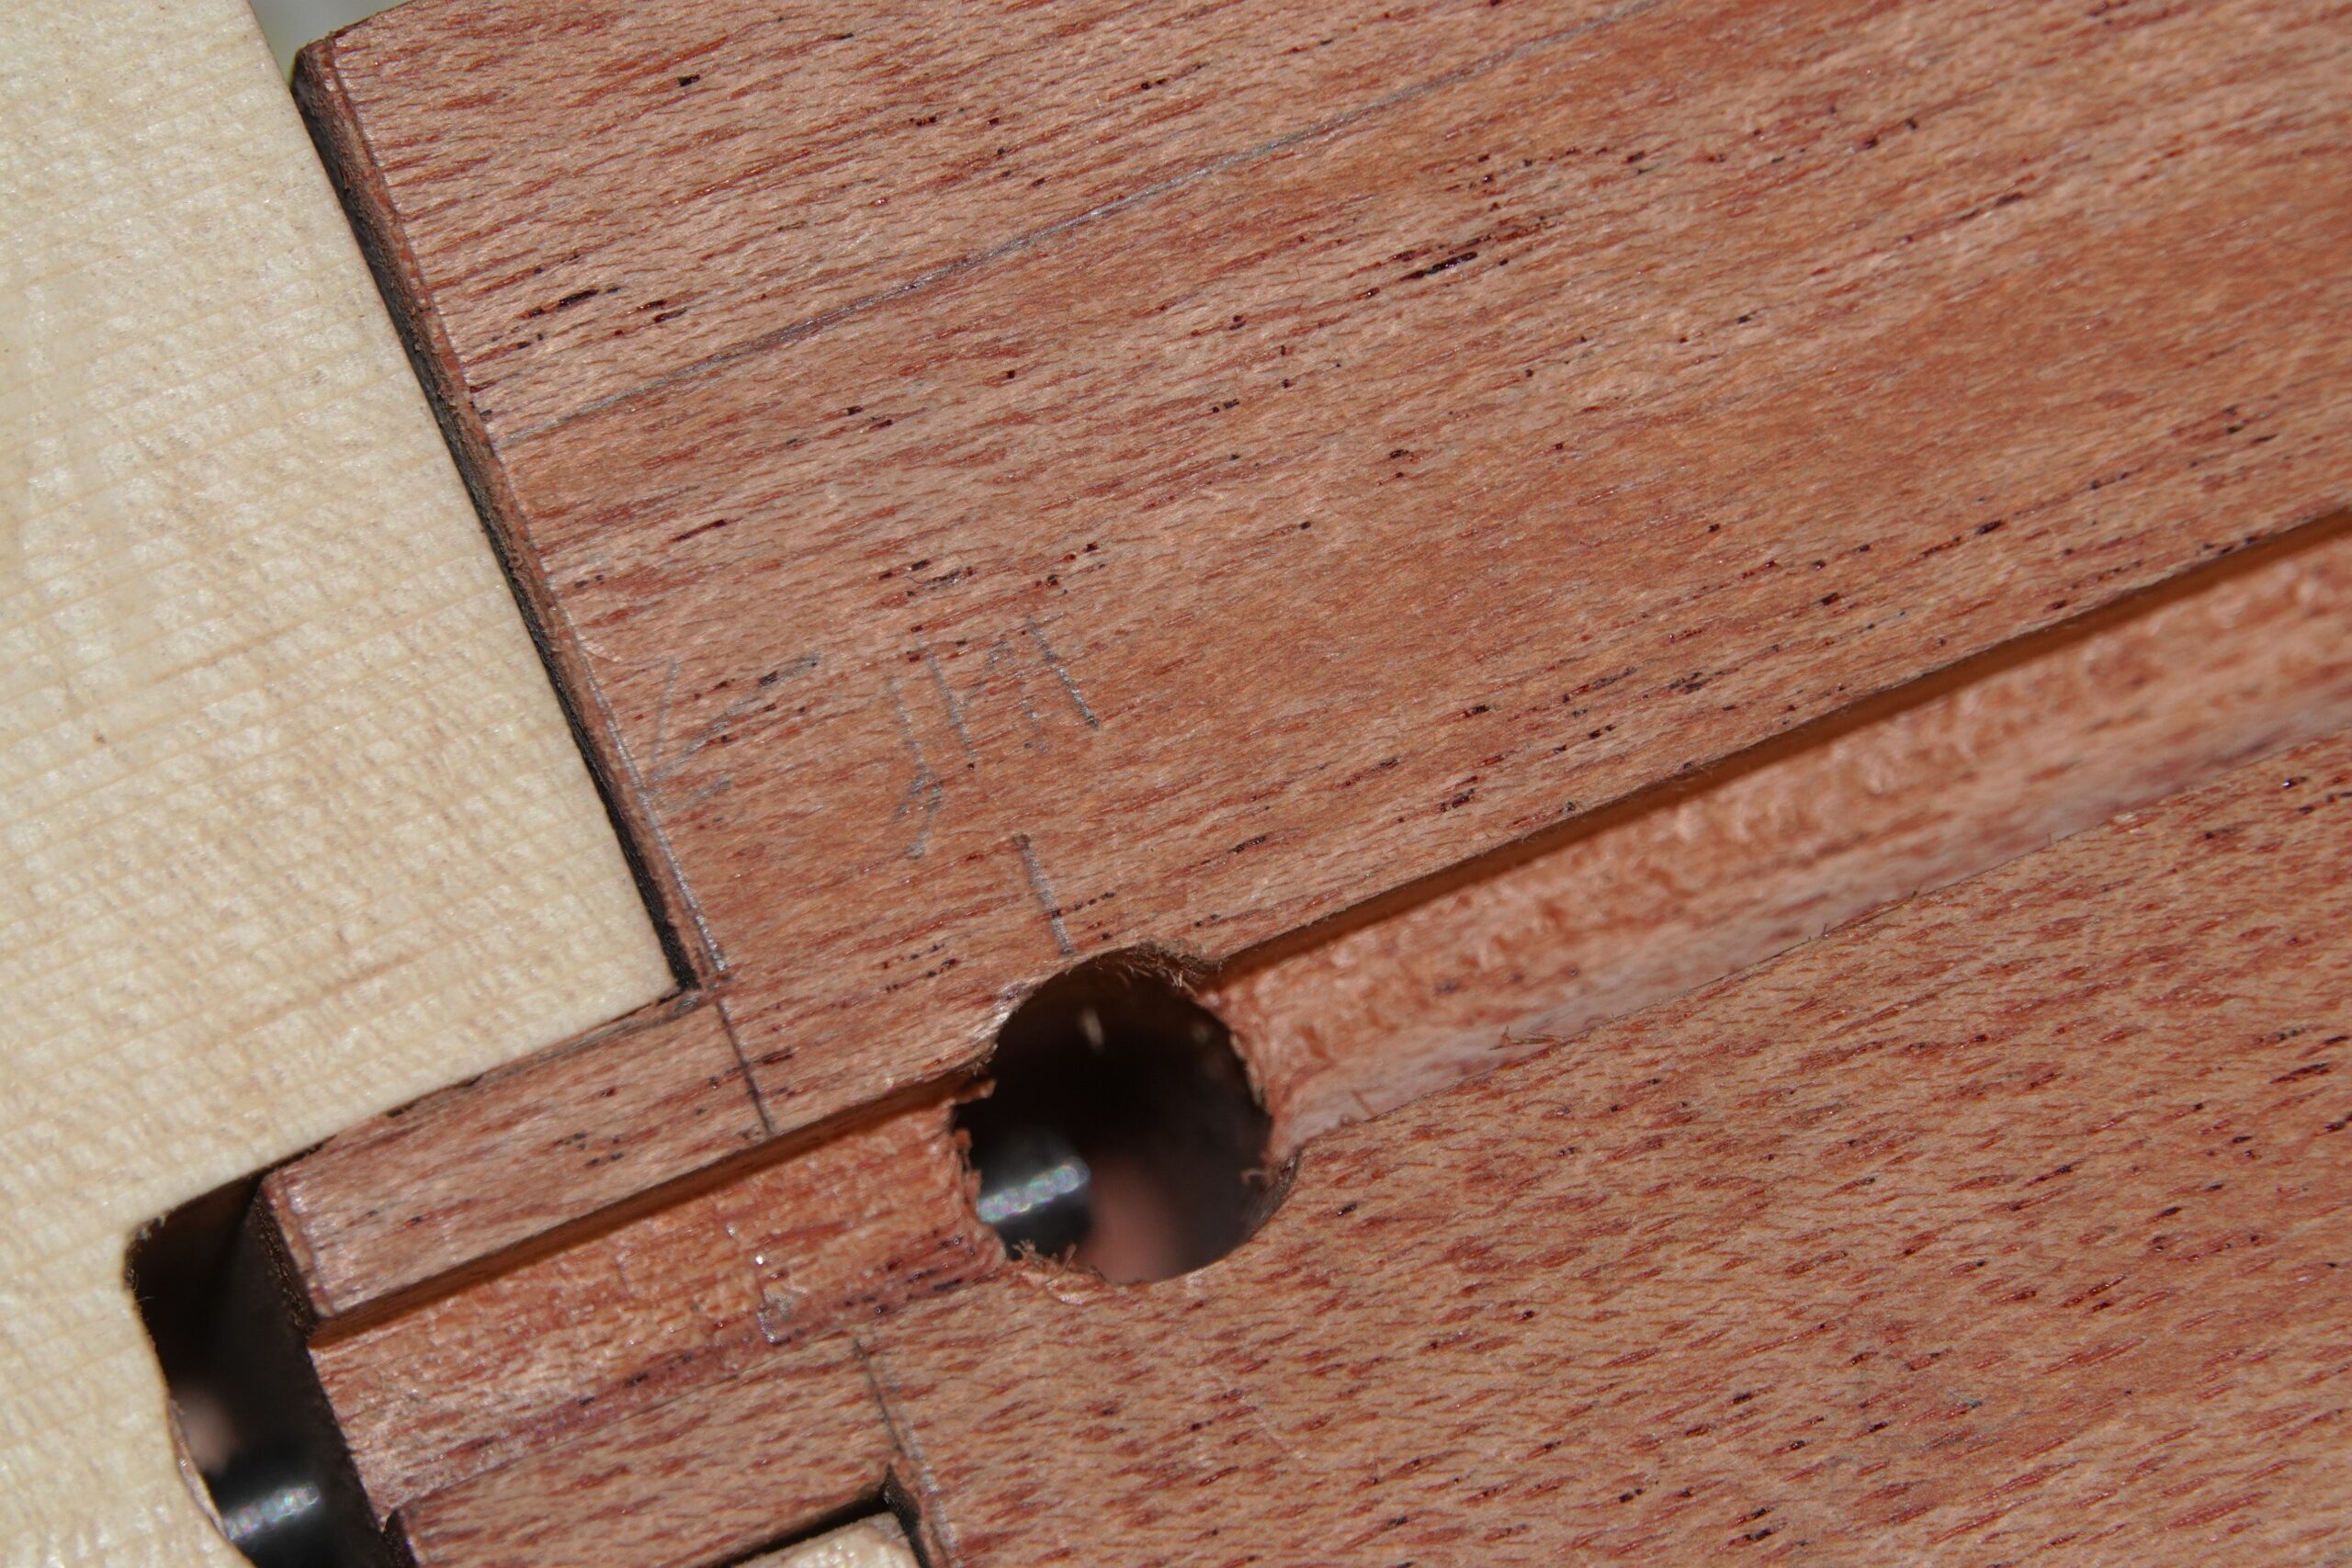
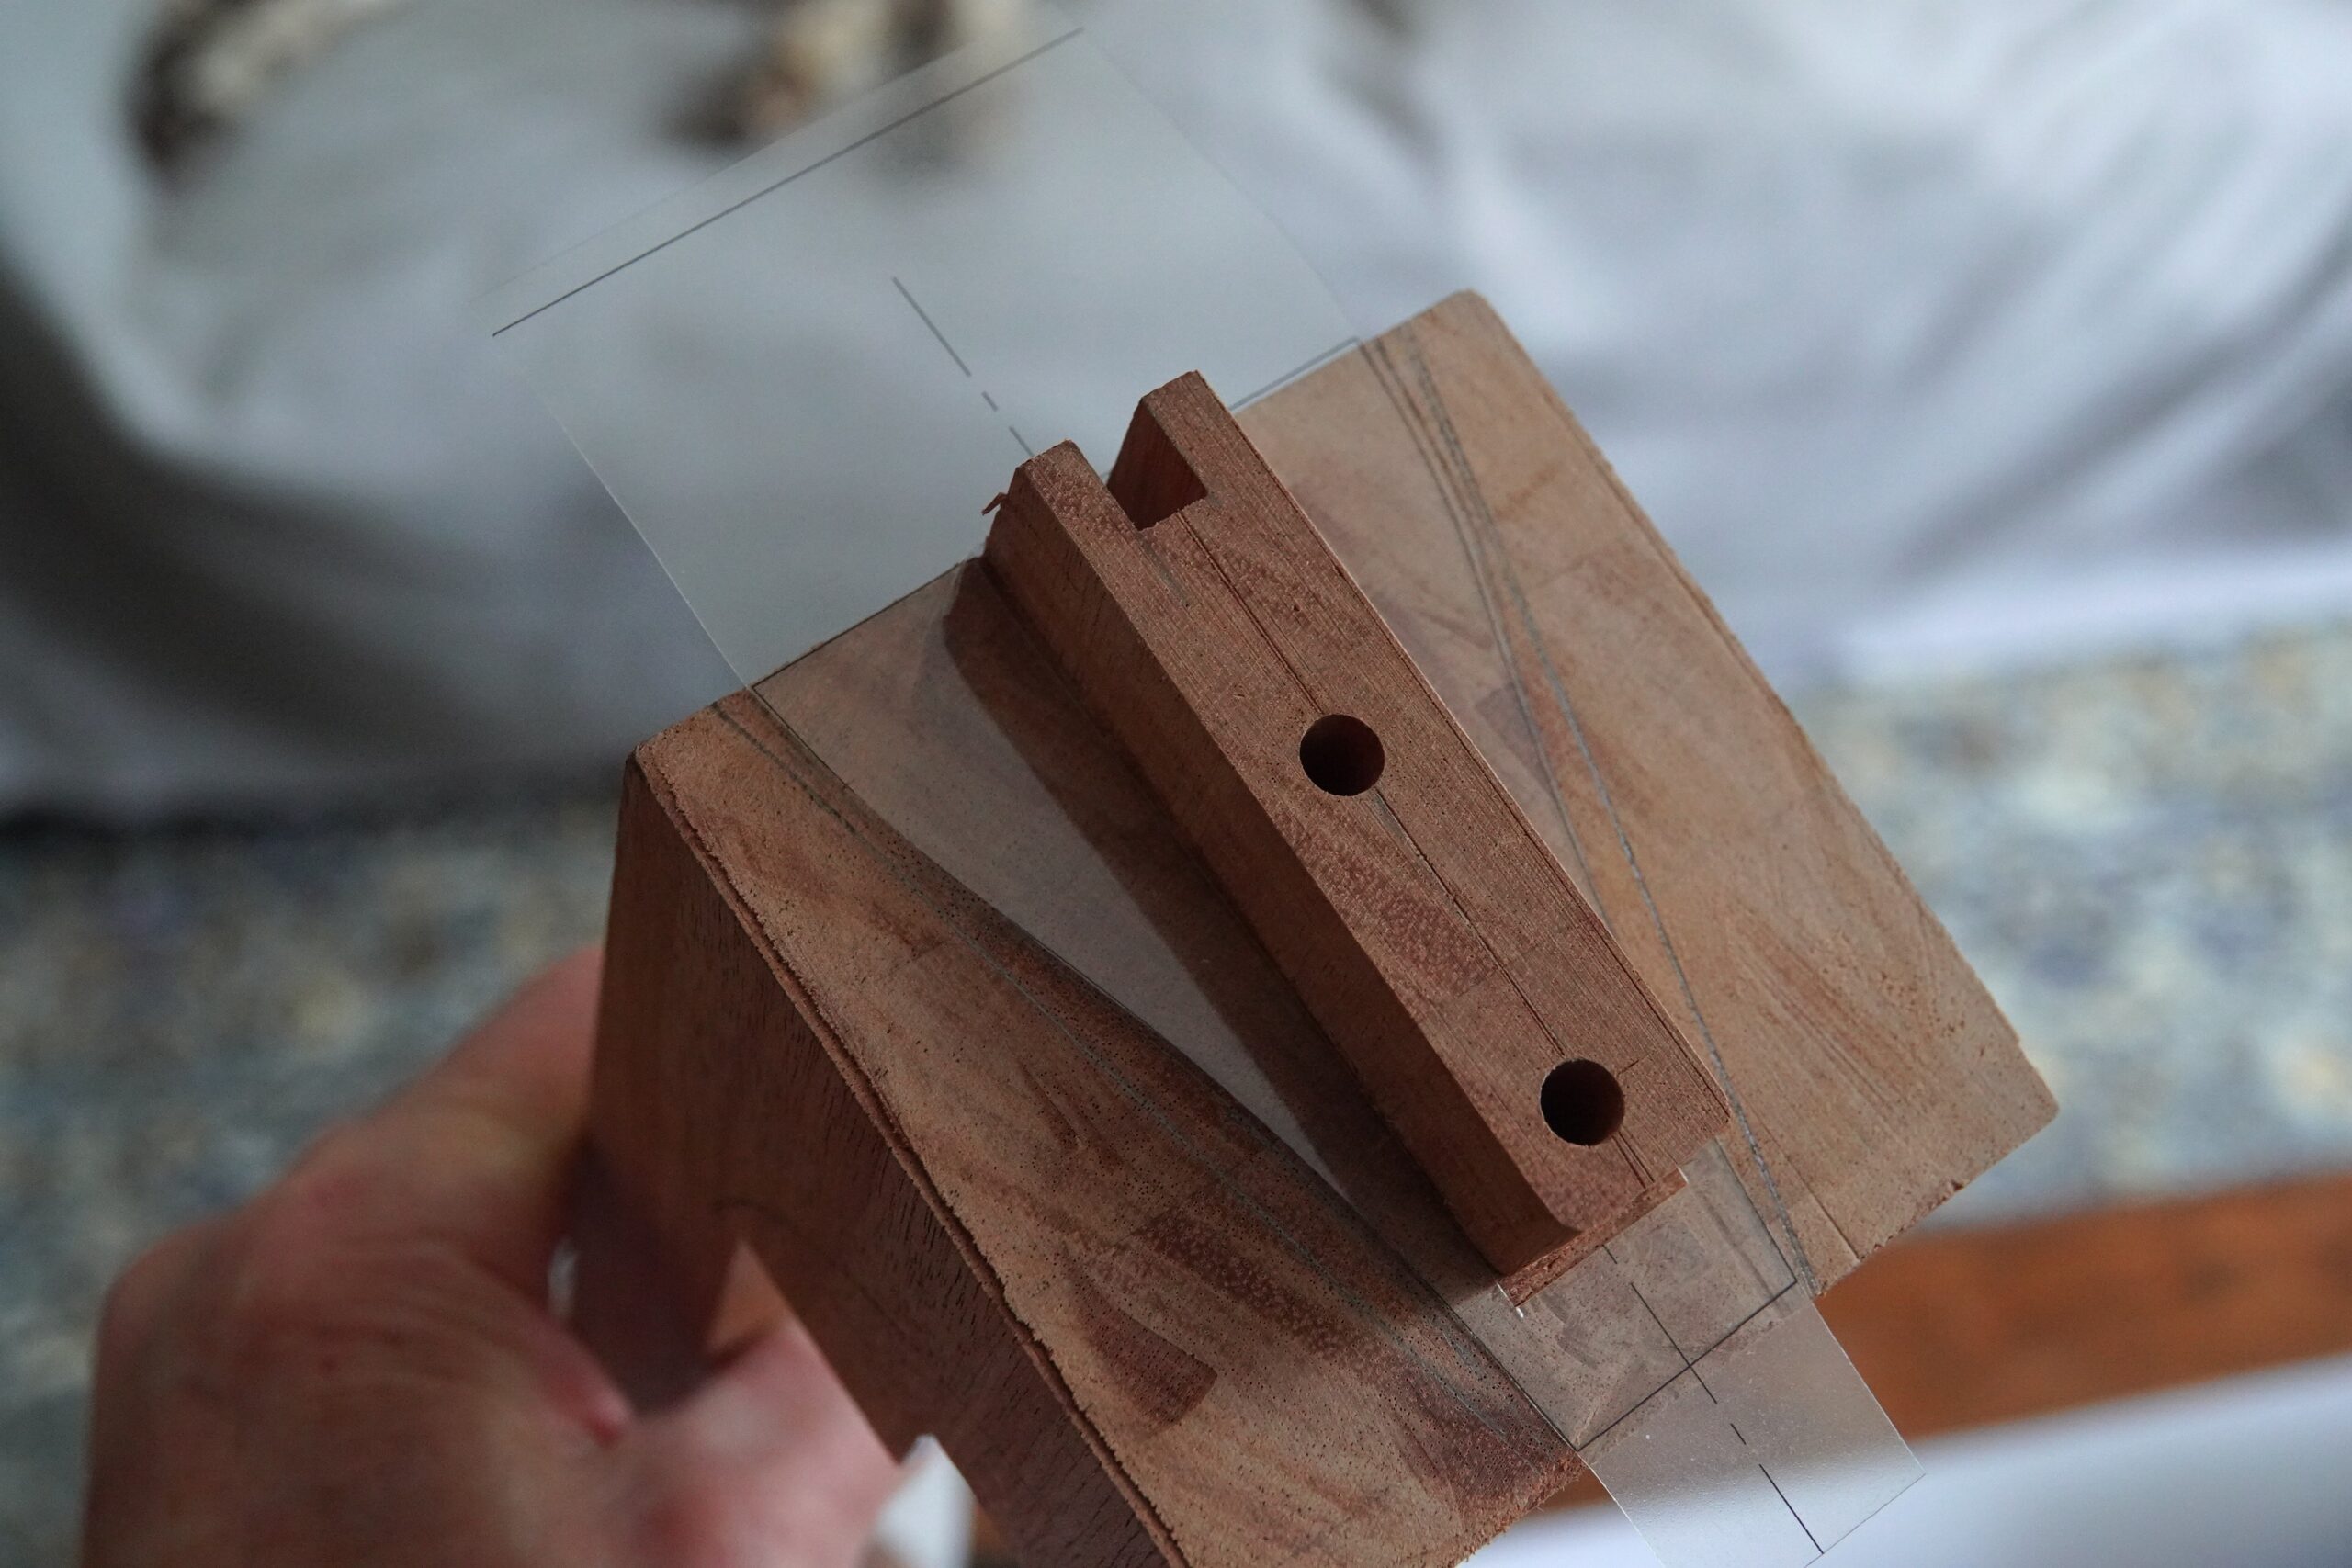
Once I knew where I was, I carefully trimmed the sides and top back and squared up the mortice. One of the neck attachment bolt holes looks a bit wonky (because it is) but they are oversized, so I was hoping things would still line up.
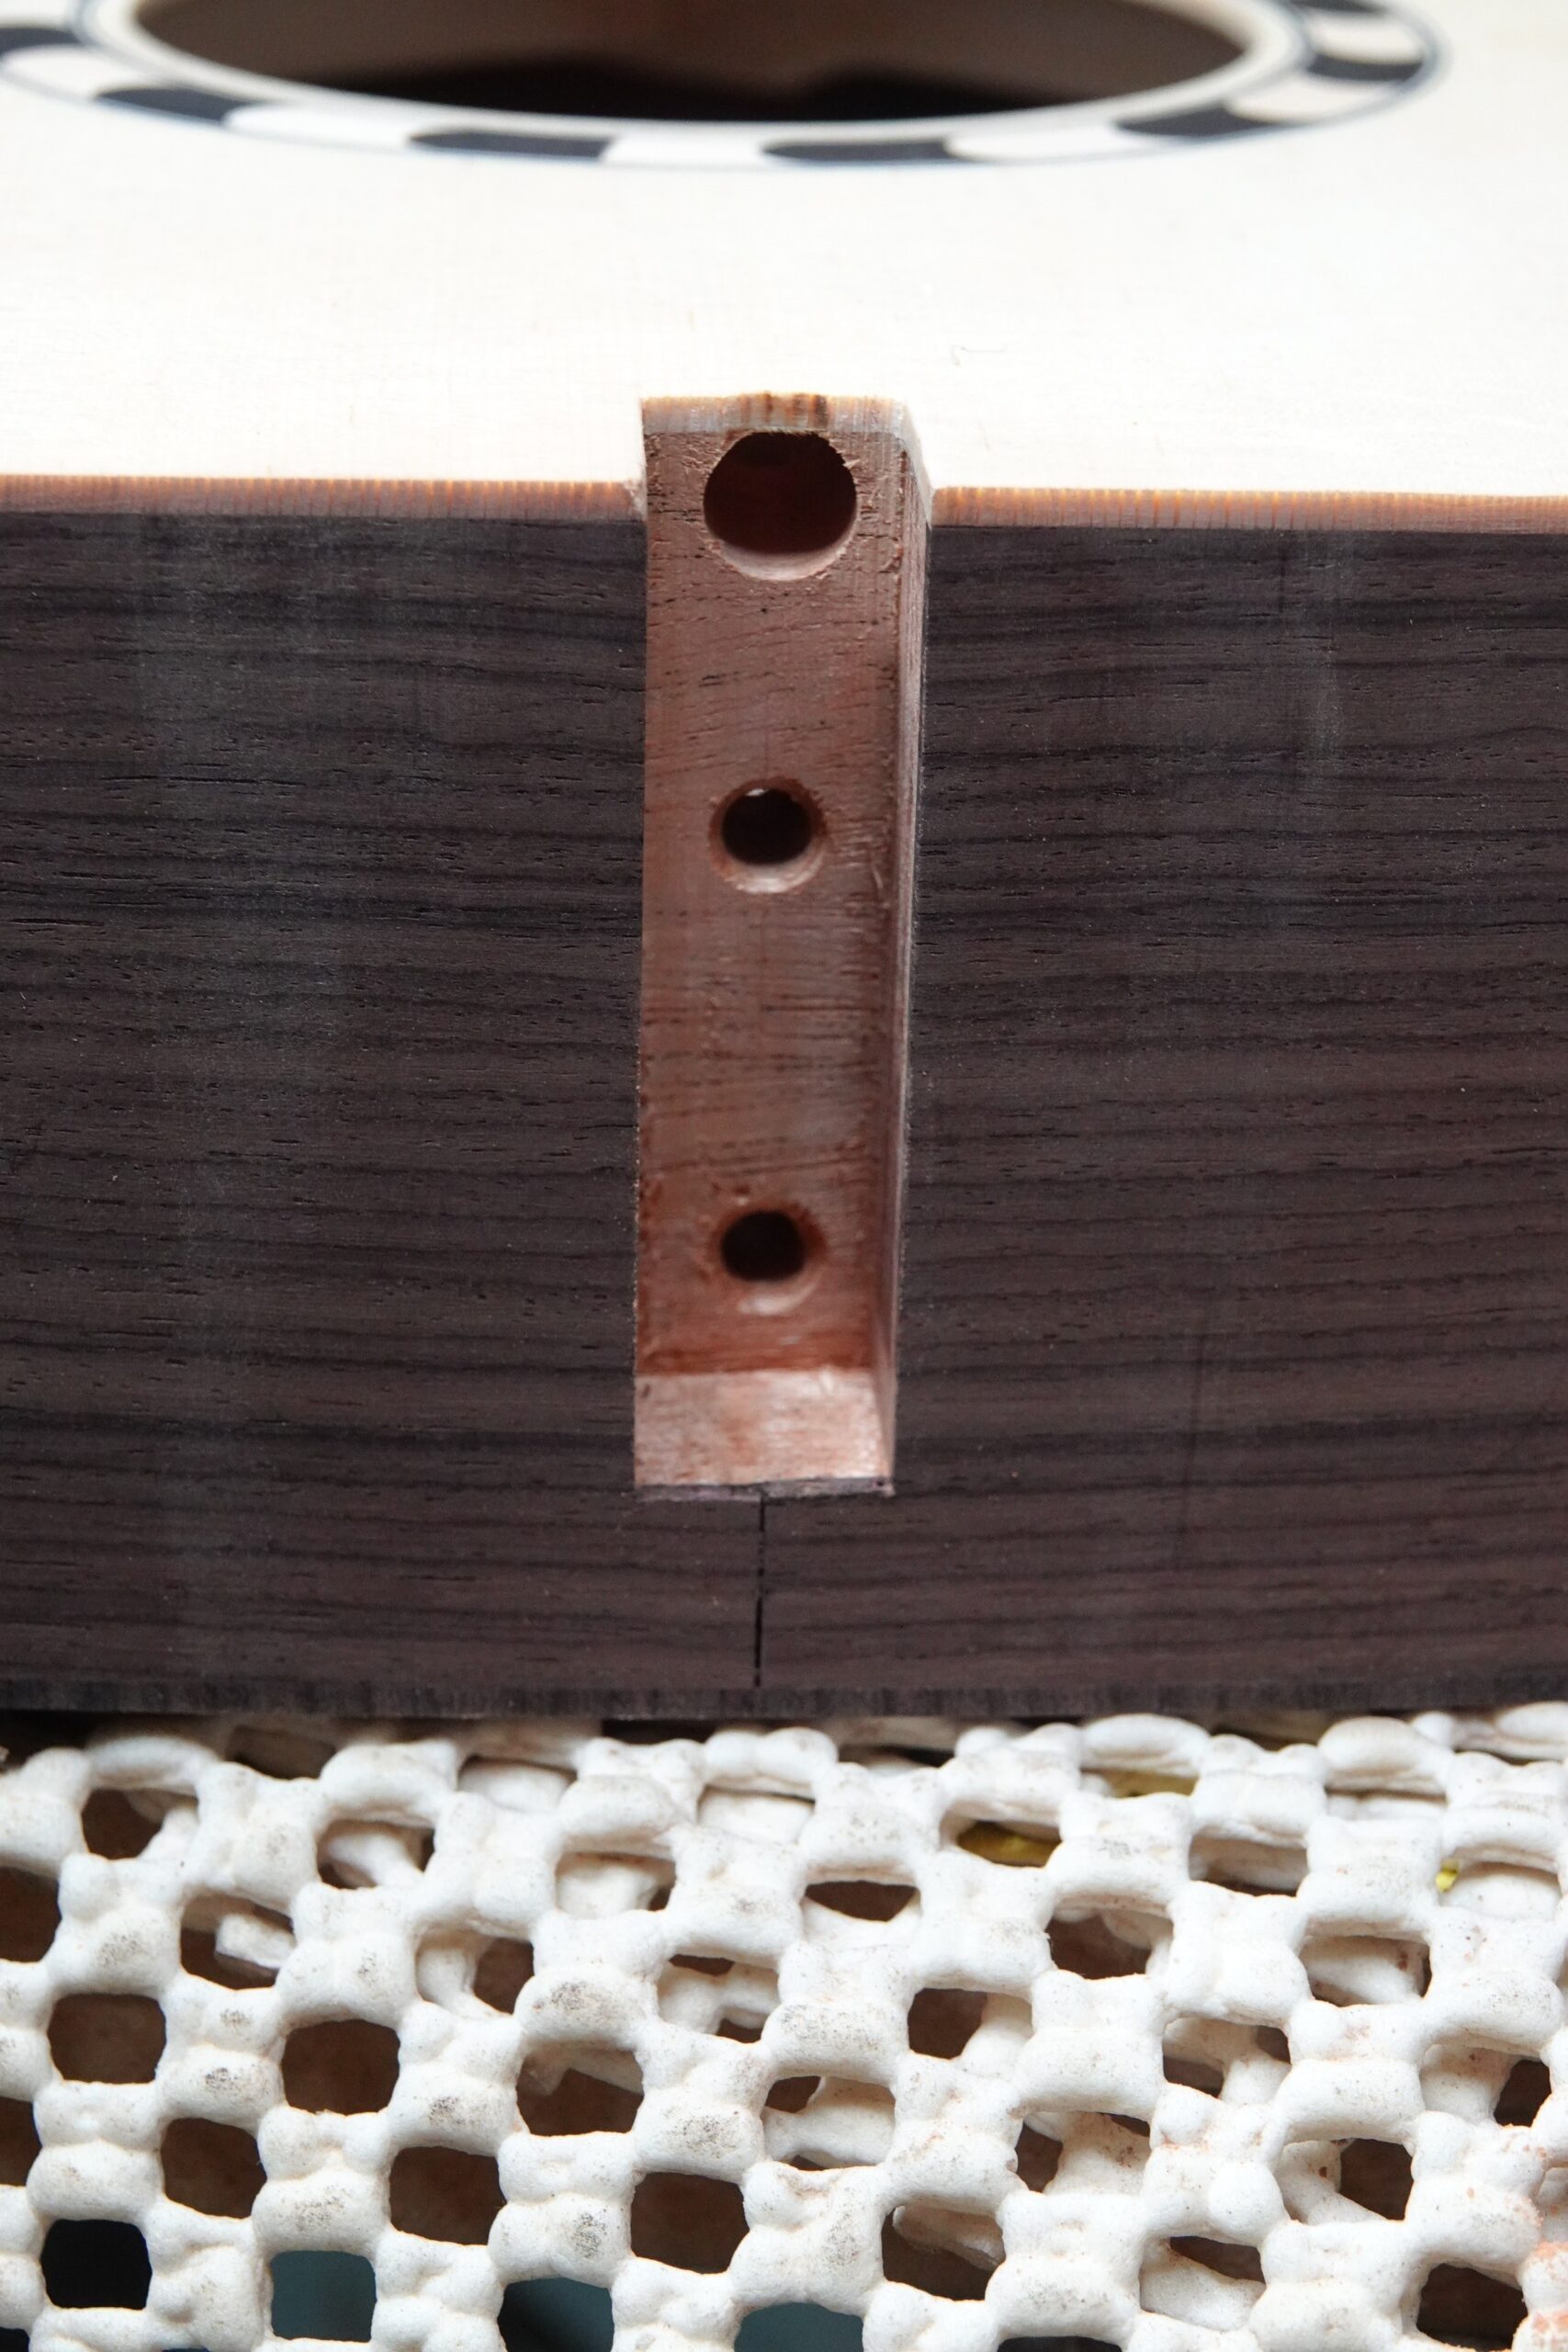
A little bit of work on the tenon and it fitted in pretty well. Thankfully, the bolt holes seemed to line up OK.
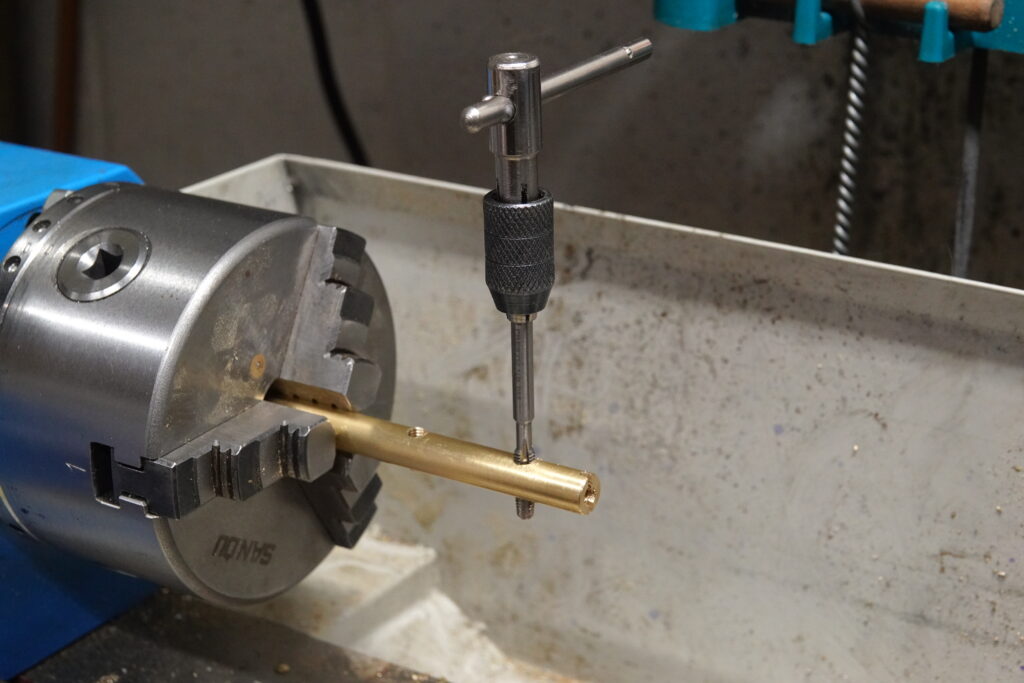
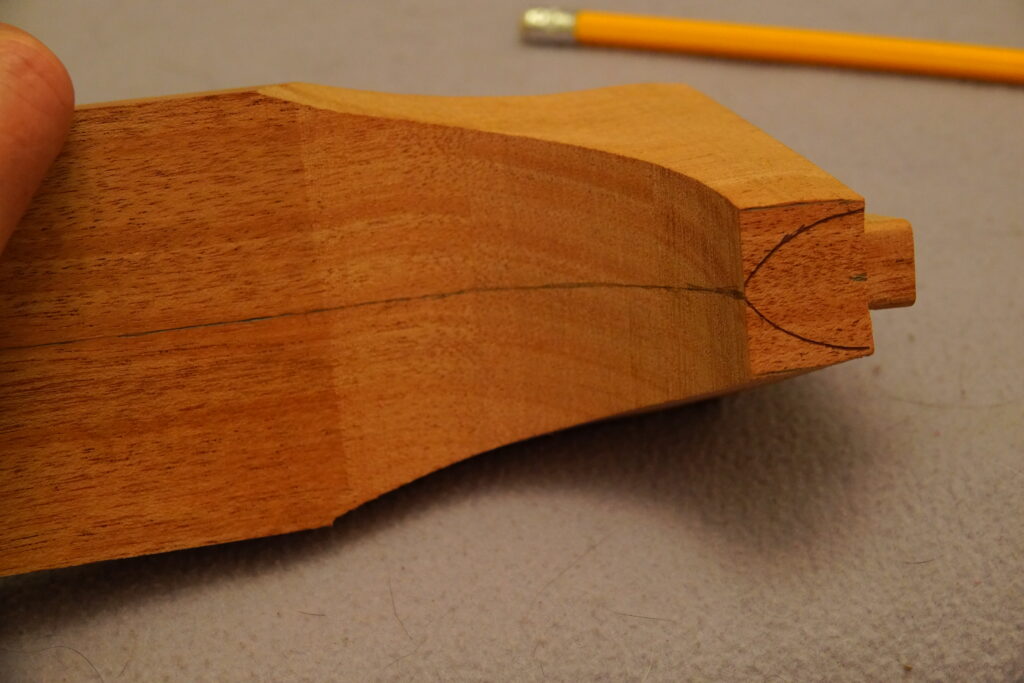
Once I knew that the hole spacing was OK, I could make the brass dowel for the neck fixing bolts to thread into.
This is how it will sit inside the neck.
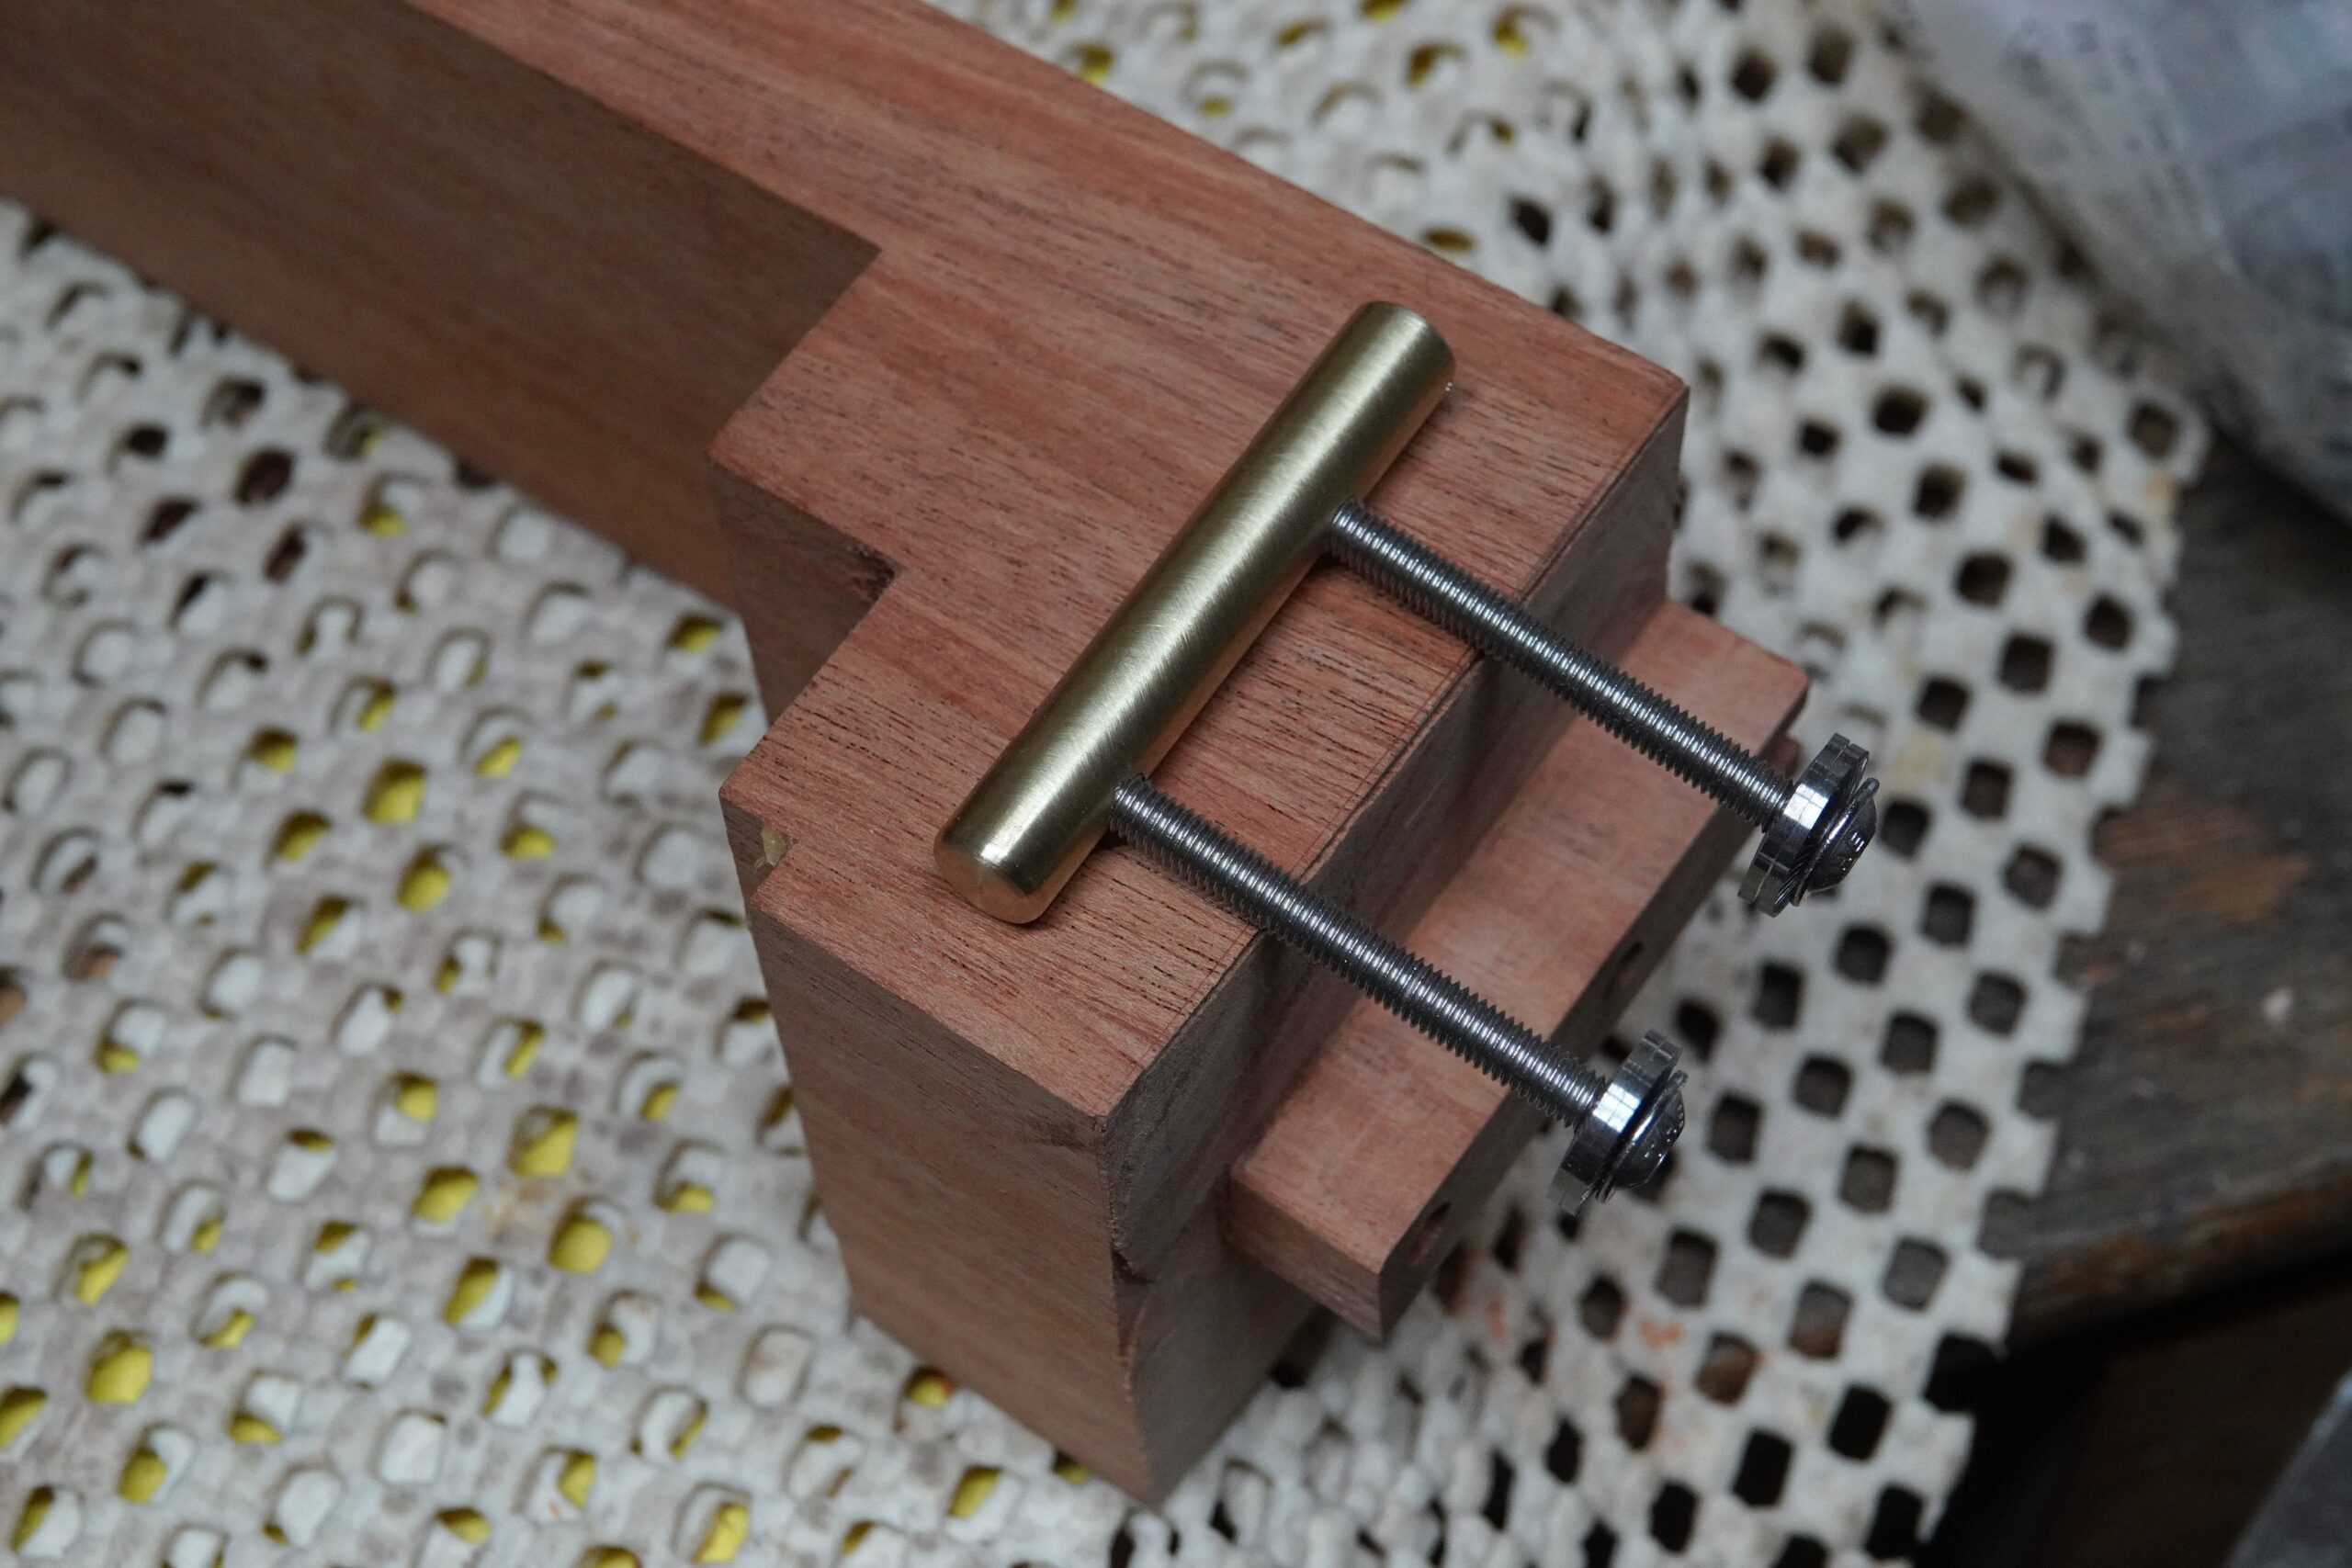
The dowel is a firm-ish fit in the hole inside the heel, so once fitted it’s staying there.
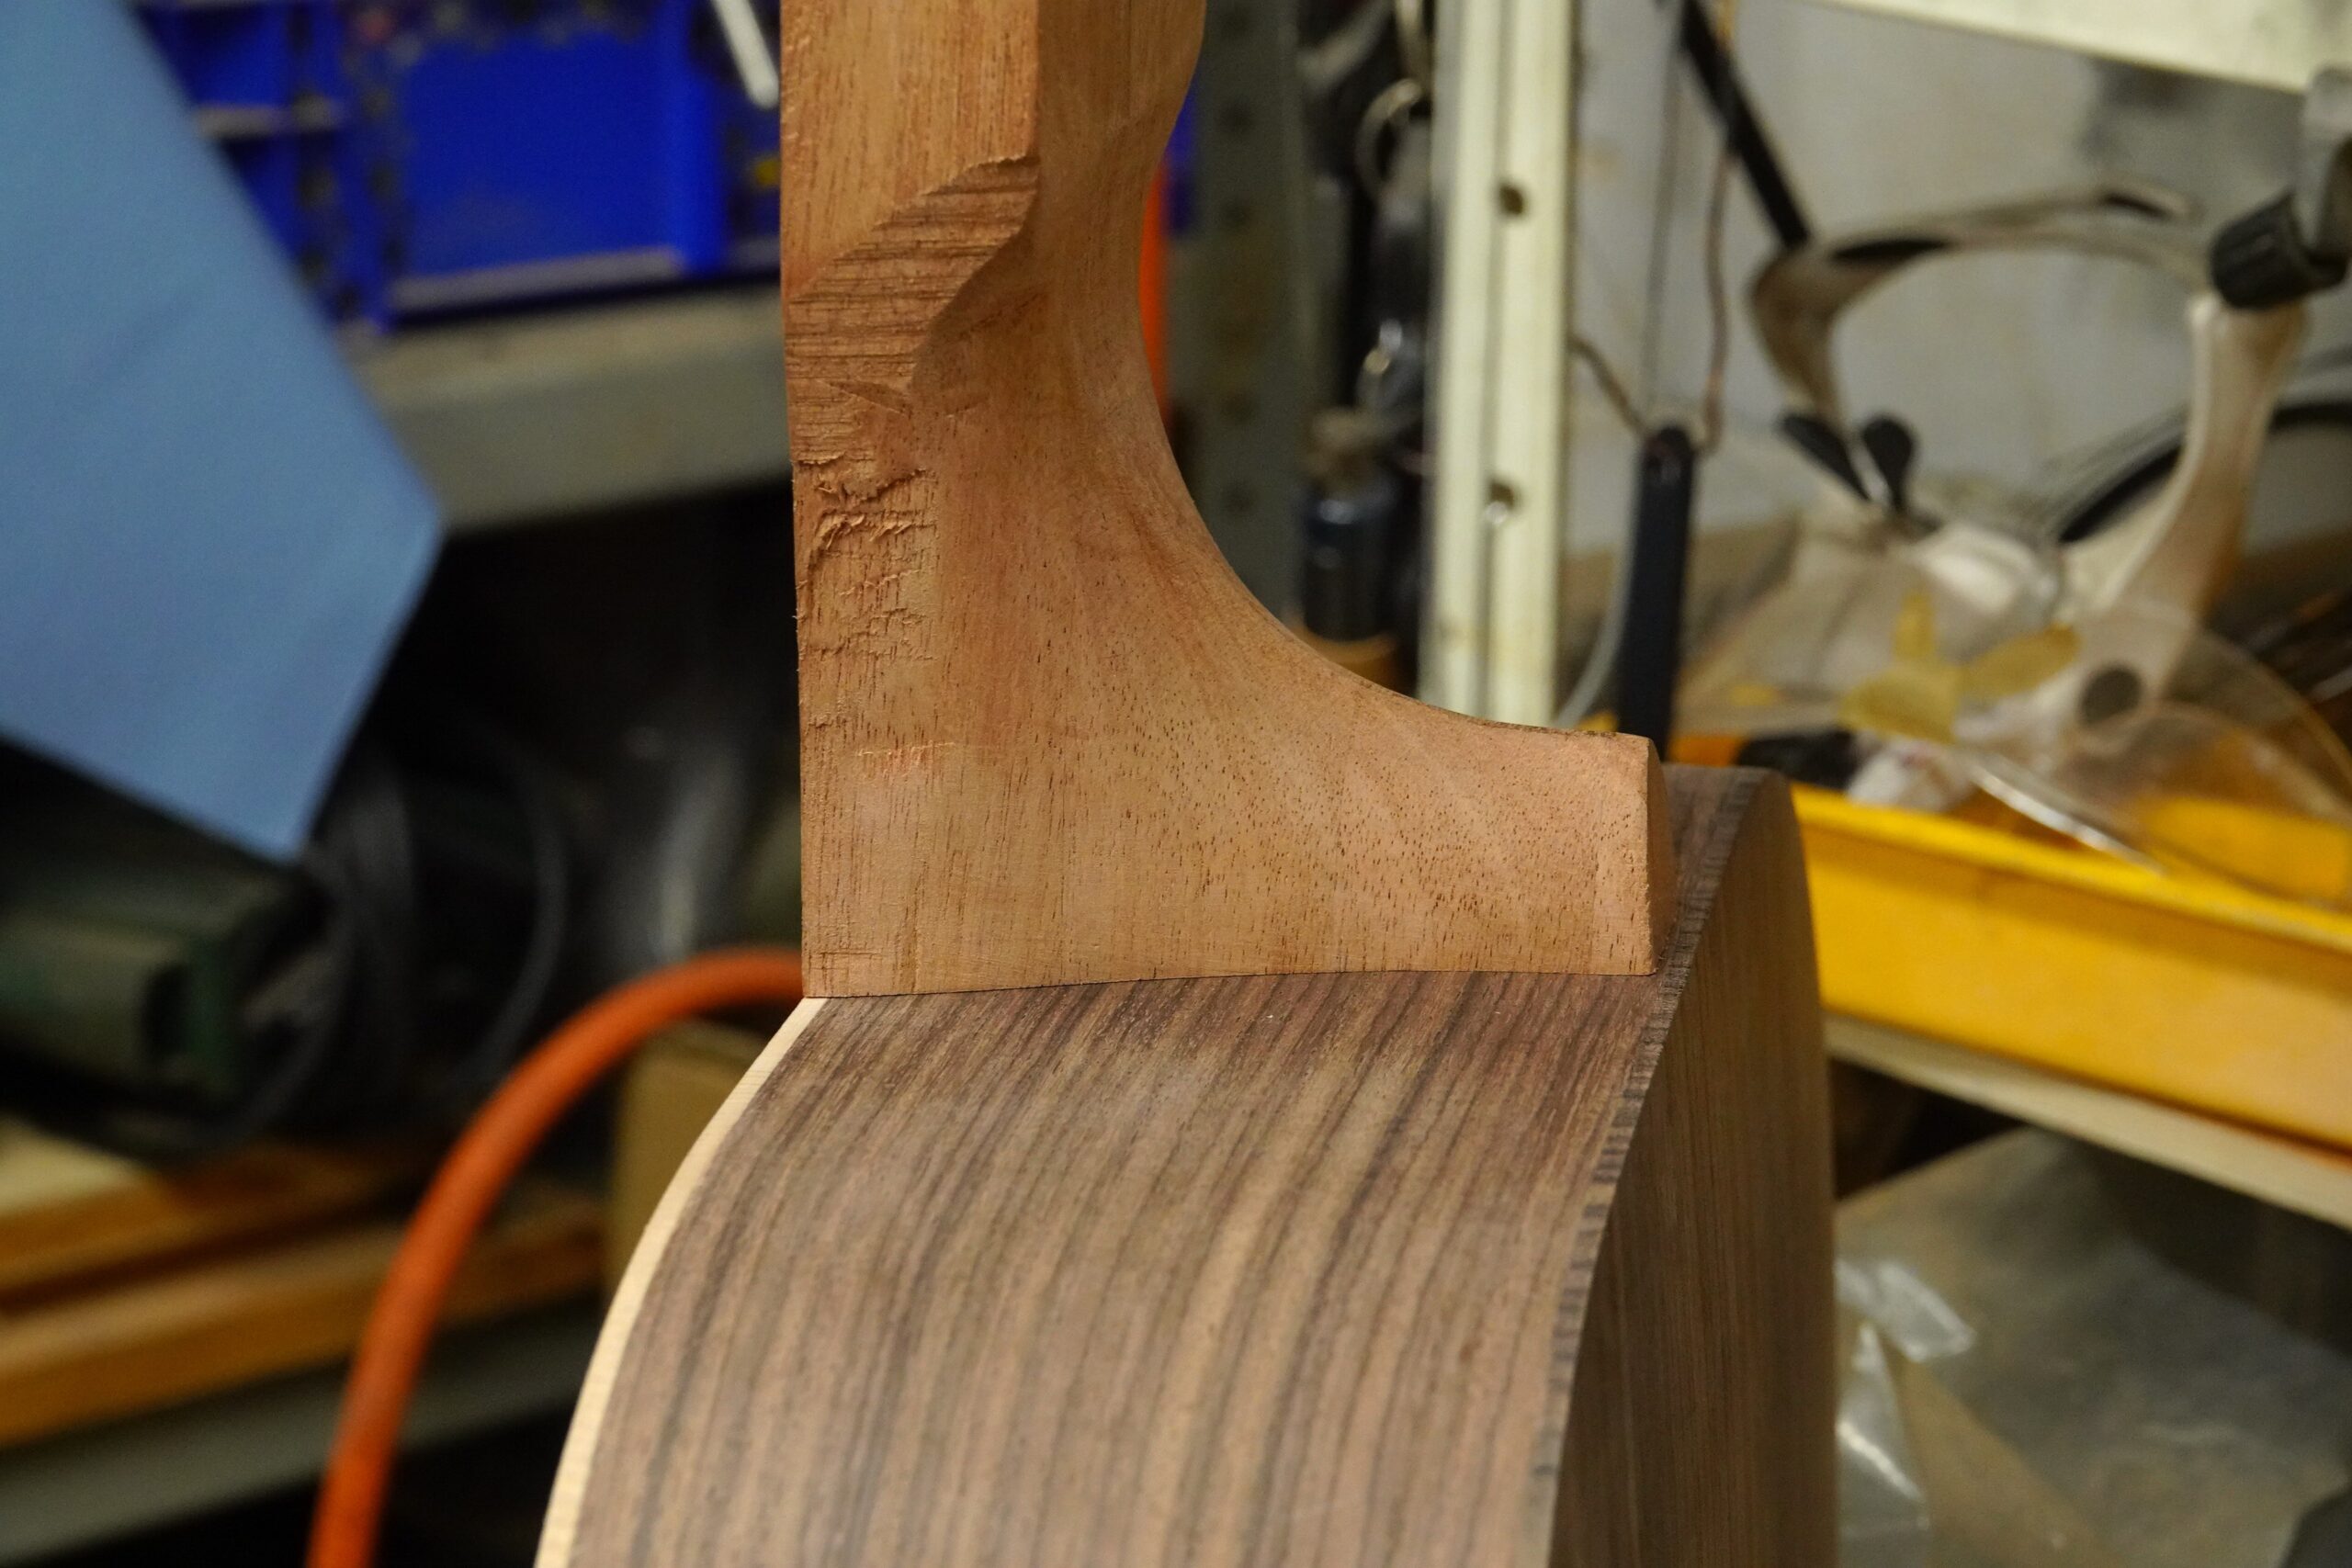
Shaping the neck heel
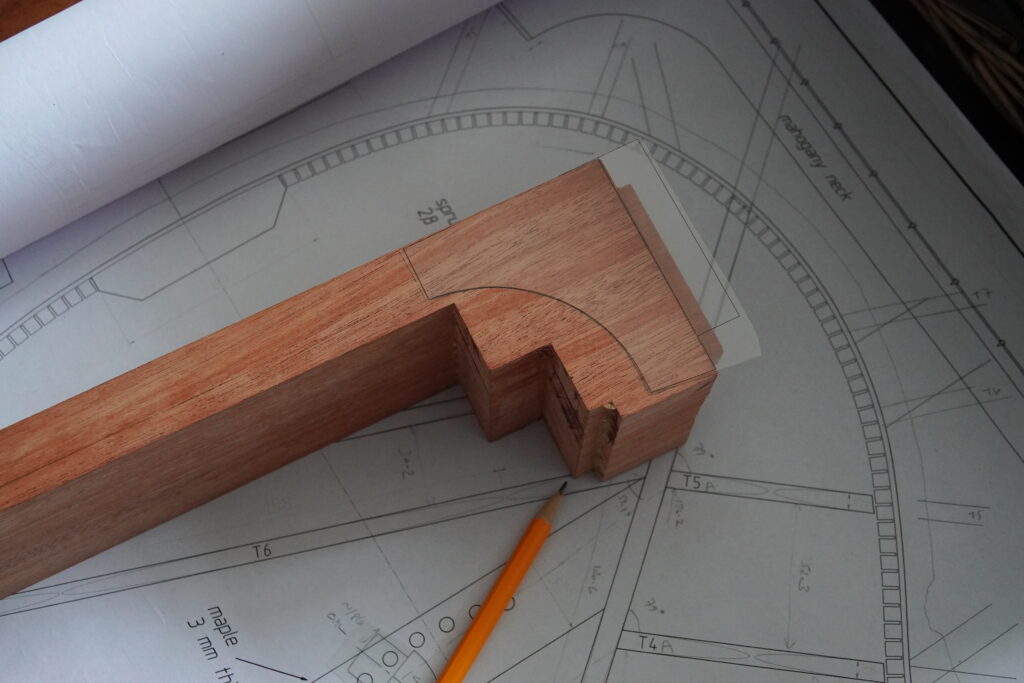
In order to get the heel shape, I printed a few sections of the plan at 100% onto overhead projector film (remember them??) and cut them out. The film makes decent templates that are a bit more robust than paper or card.
Once marked out, I cut the profile of the heel with the bandsaw.
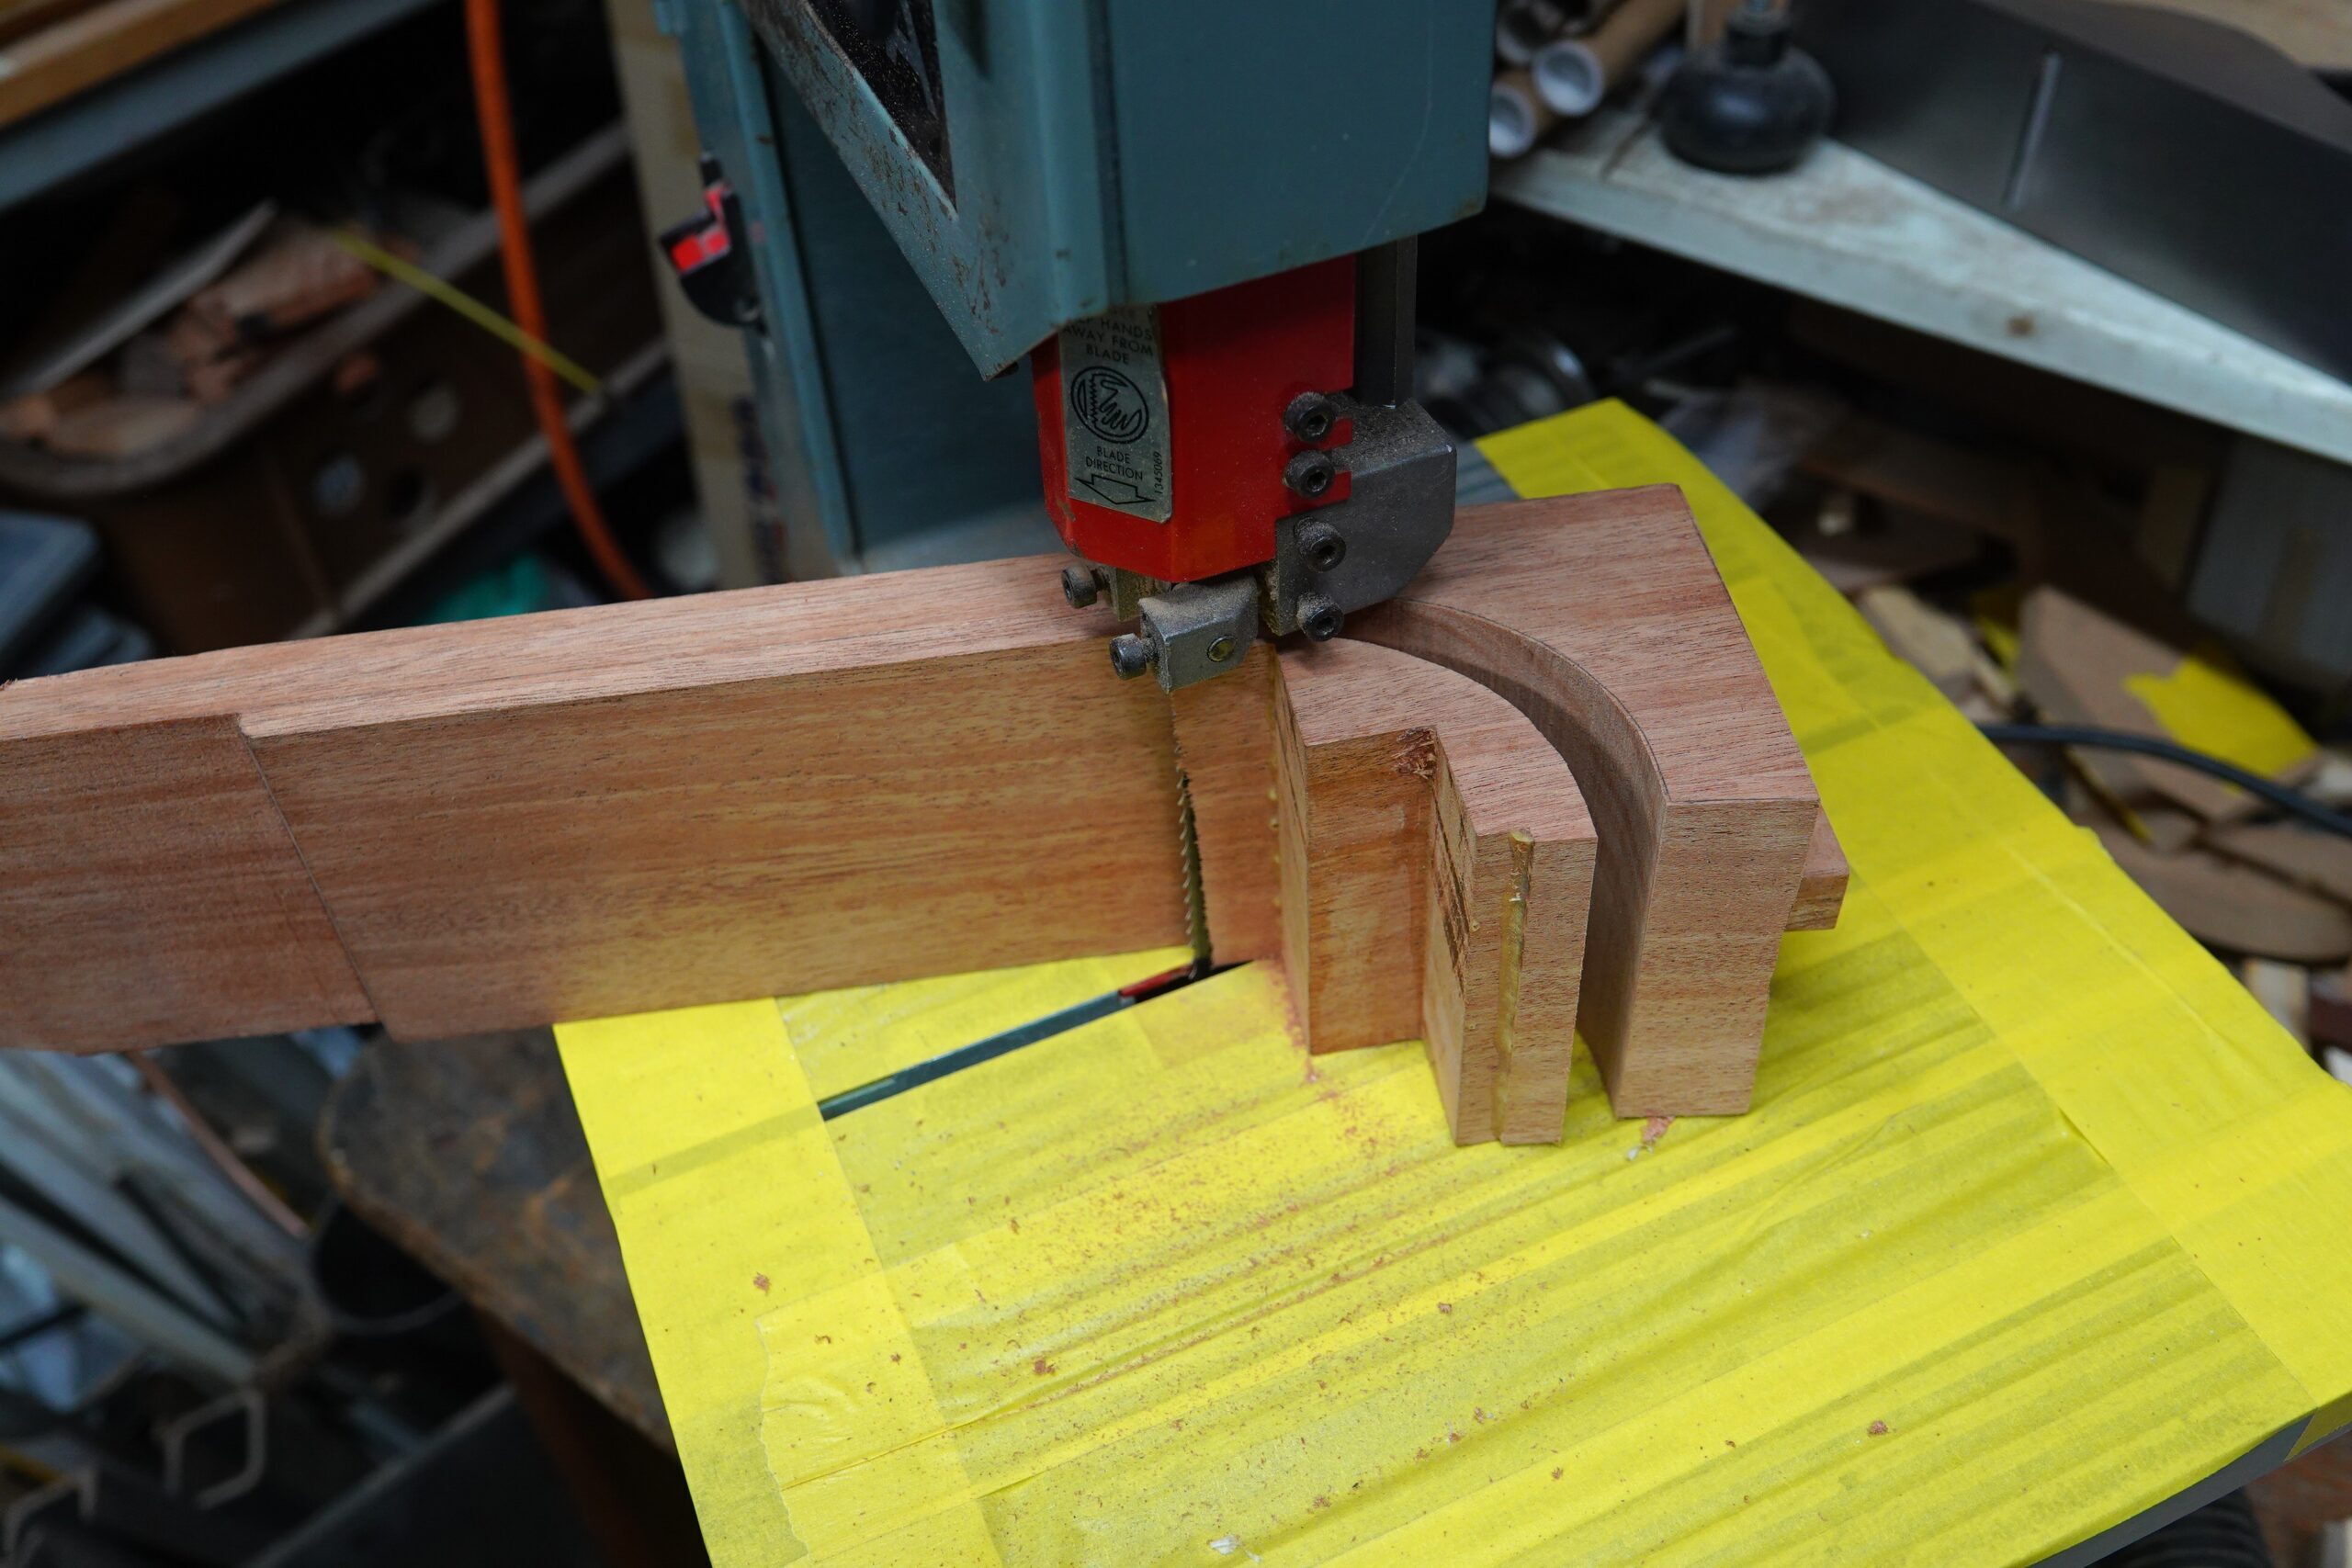
…then rough-cut the end profile:
The shape of the bottom of the heel is a ‘best guess’ as it isn’t shown on the plans
Setting the initial neck angle
After a bit of rough carving, I started the process of adjusting the contact faces of the neck to simultaneously close the joint line, get the neck pointing centrally down the guitar body, and set the correct neck angle.
Initially this was by removing thin slivers with a chisel, and then by ‘flossing’ the joint with sandpaper. (You pull sandpaper through the joint. This naturally tends to close the joint line, and by the number of times you work each side and varying the direction of pull, you can ‘steer’ the neck in particular directions.) One tip that helped a lot was to put a strip of reinforced parcel tape on the back of the sandpaper to stop it curling up as it was pulled through the joint.
This was after the first session:
Joint line not looking too bad.
Checking that the neck is pointing straight down the body using the truss tod slot as a reference. (There are a load of pencil marks near the end of the straightedge that mark my progress!)
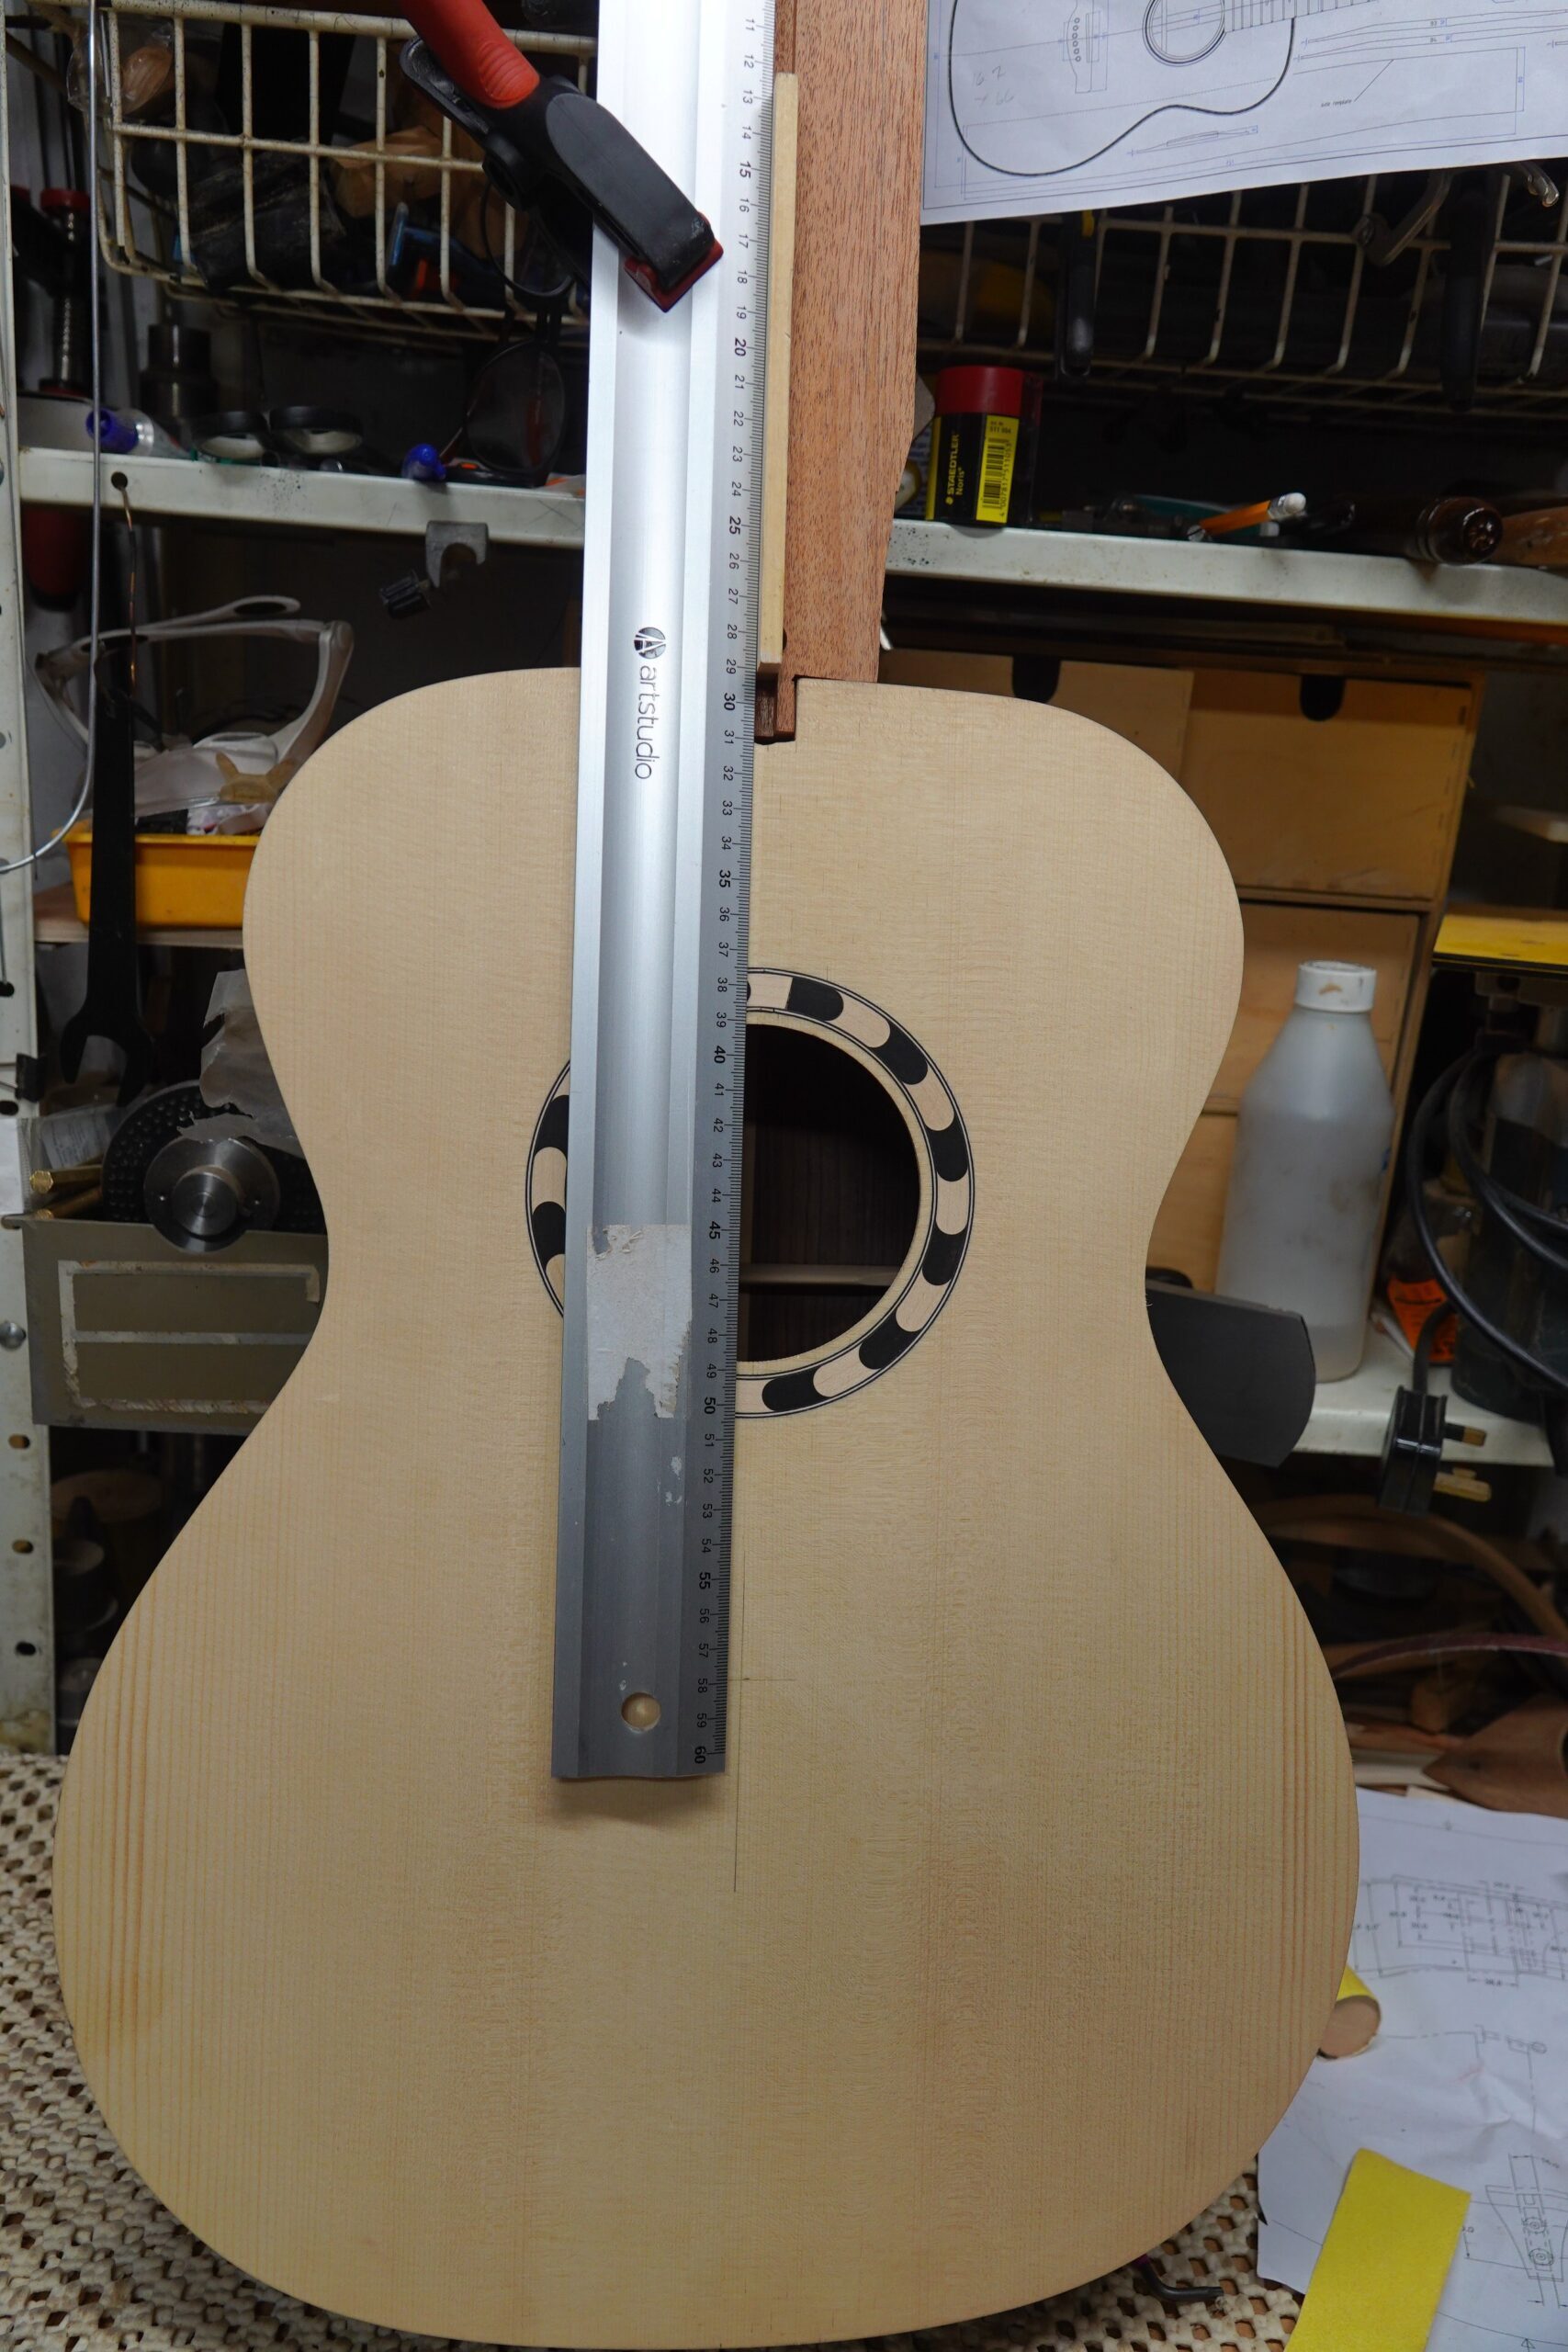
Checking the neck angle:
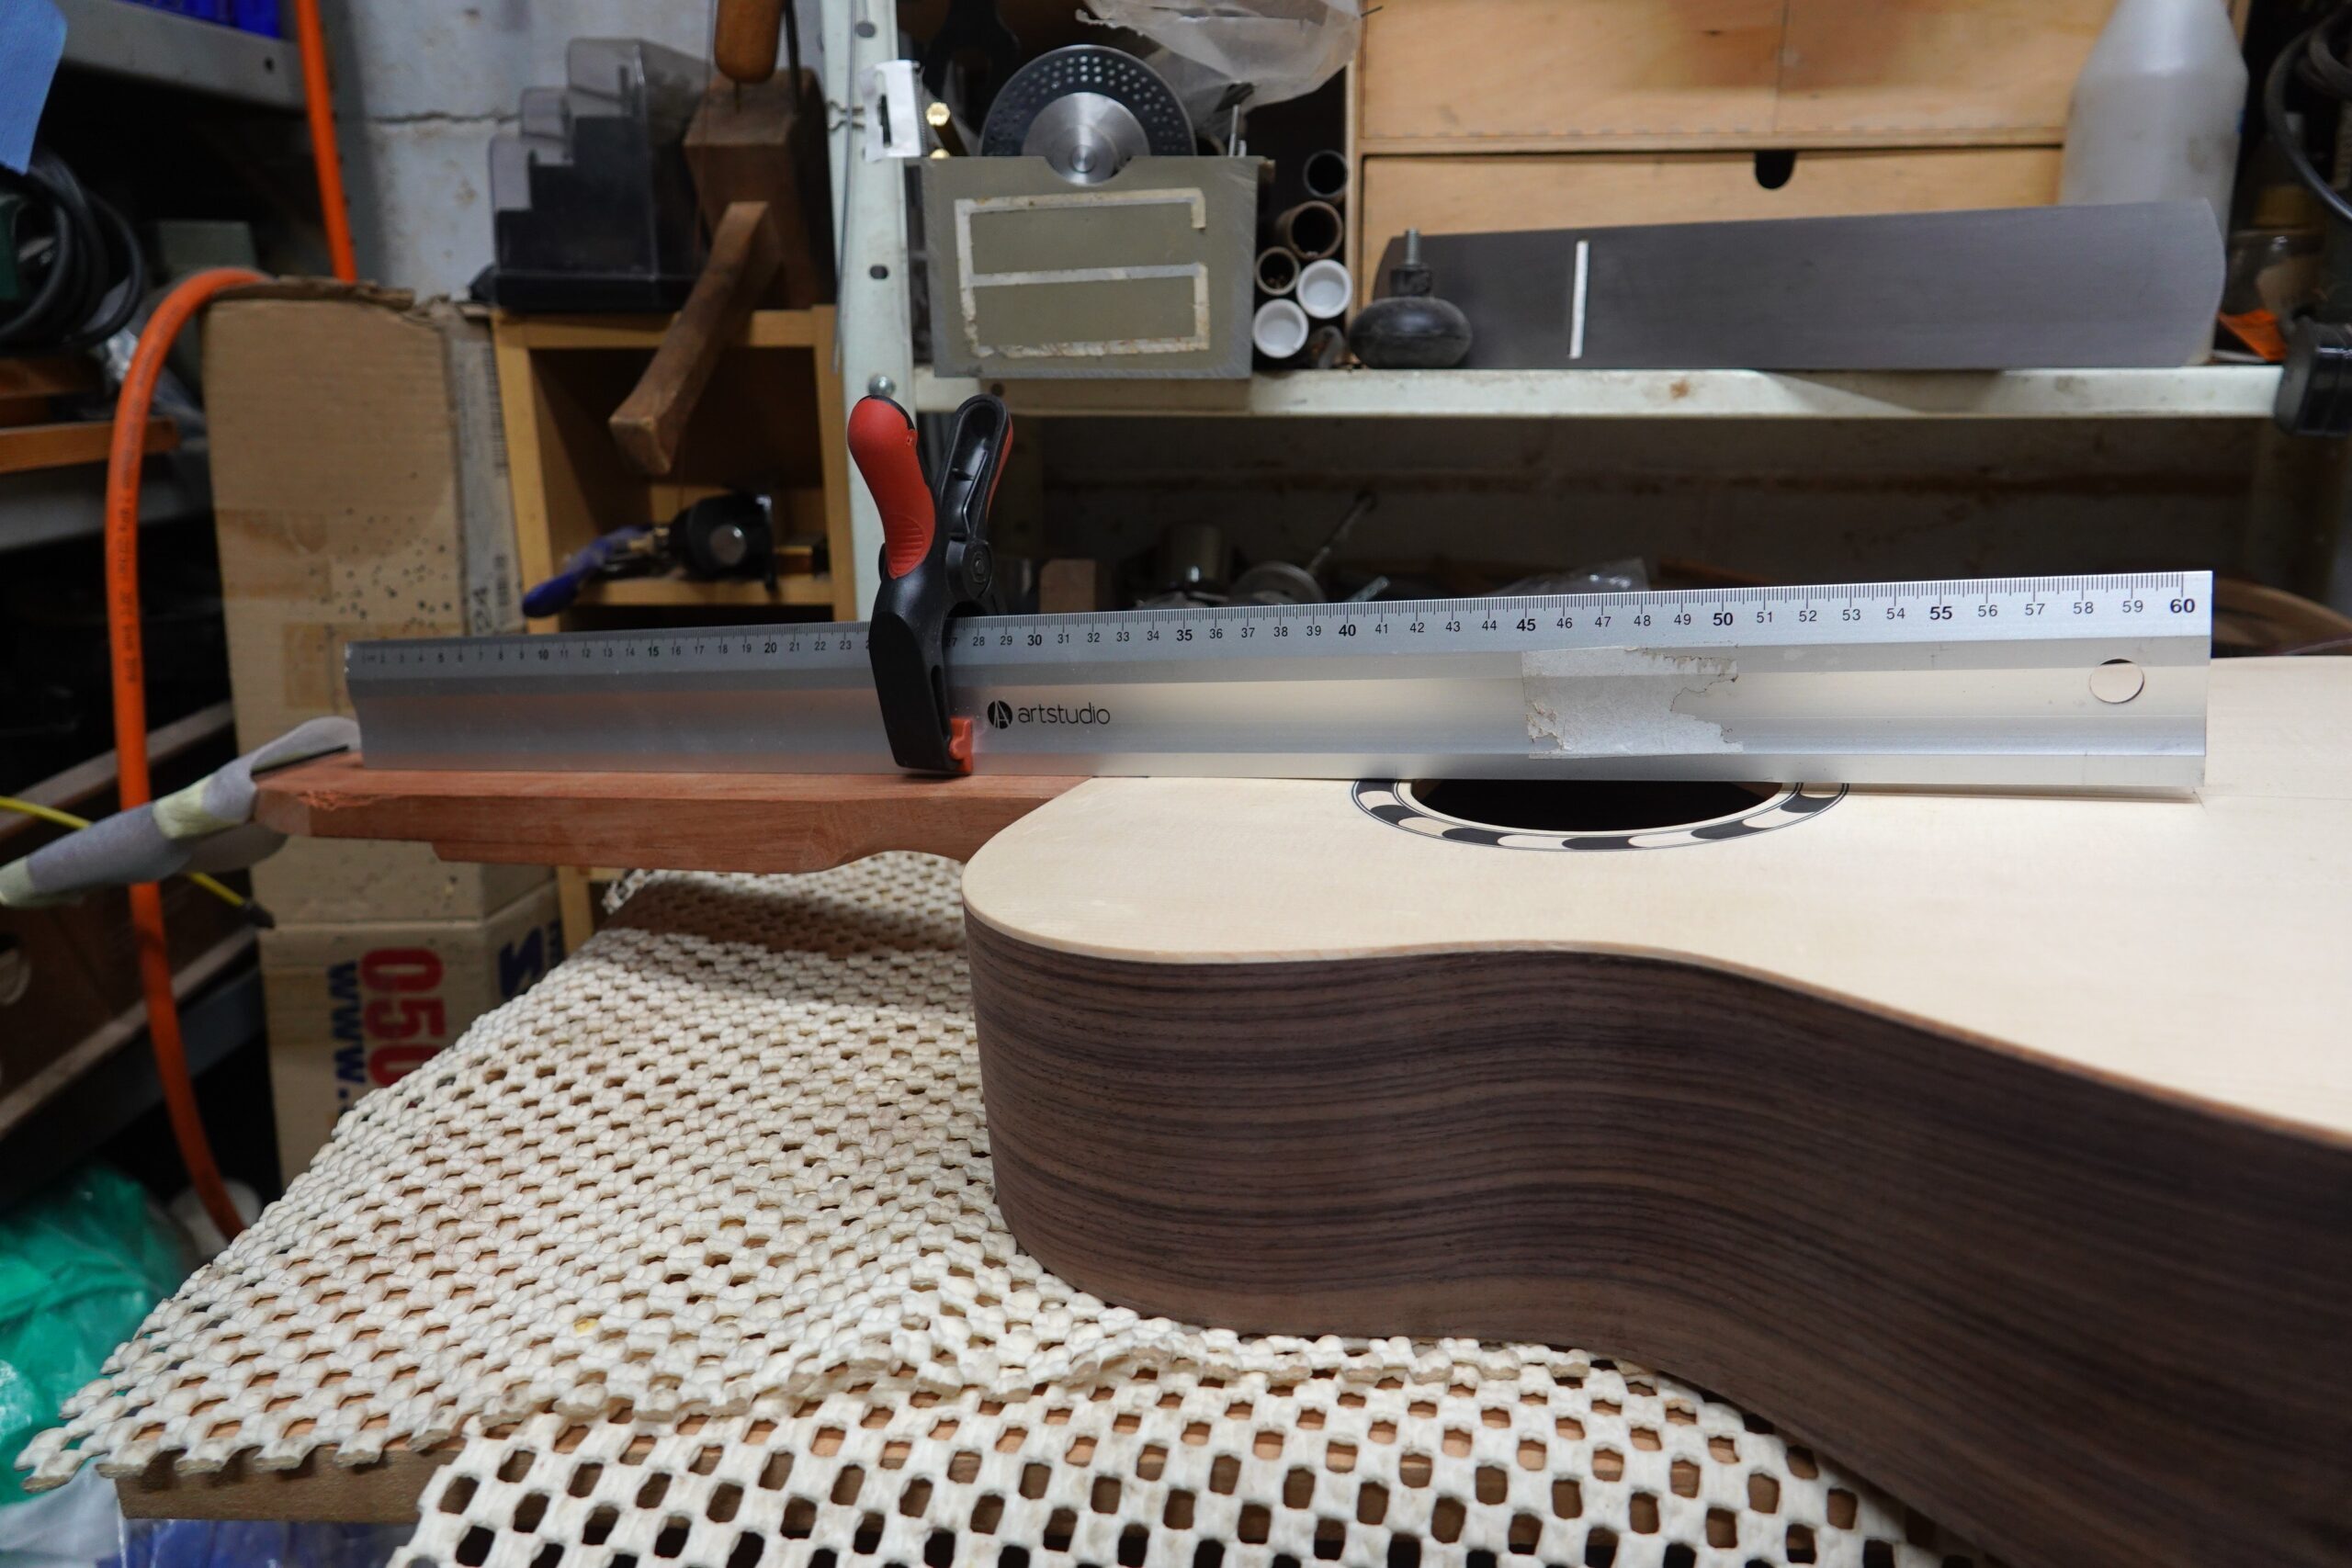
The target I’m ultimately aiming for is that a straight edge resting on top of the frets should just clear the bridge. Unfortunately, neither the frets, fingerboard or bridge exist yet, so I’m working to a calculated clearance of about 2.3mm between a straight edge resting on the neck and the surface of the top at the bridge location.

Not perfect, a tad high at the bridge, but very much in the ball park.
I futzed with the neck joint a bit more and got the angle a bit closer, but I wanted to leave the final setting until I had attached the fingerboard and installed the frets.