
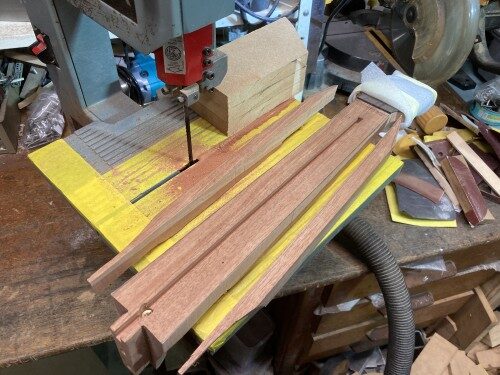
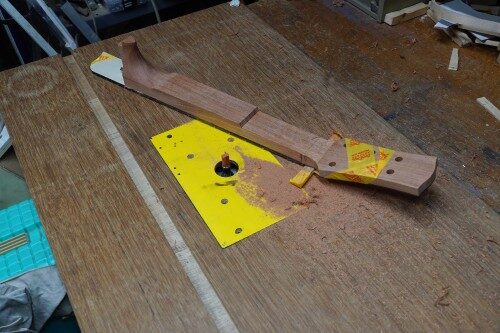
Rough cutting the neck
I lined up the fingerboard and the neck blank and put a couple of locating pins in under the 1st & 10th frets so that I could accurately locate the fingerboard in the future. I could then trim the neck blank a bit closer
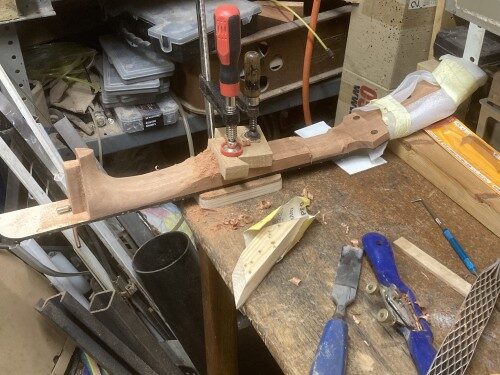
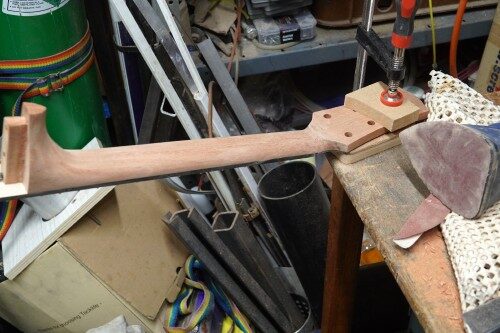
I messed with the neck joint some more now that the neck was nearer it’s final shape. For some reason, I wasn’t getting the results I was expecting – the more I sanded, the bigger the gap got… It took far longer than it should for me to realise that the tenon was bottoming out on the body (Doh!). With a couple of mm trimmed off the tenon, normal service was resumed and stopped with the neck angle a couple of mm off the top (without the fingerboard). This is at the low end, but I think it’s easier to raise it after the fingerboard is glued on than to lower it. Final angle can wait until the fretted fingerboard is installed & the bridge is available.
Frets
The frets were fitted before glueing the fingerboard to the neck. The fret wire was ‘FW03’ from David Dyke.
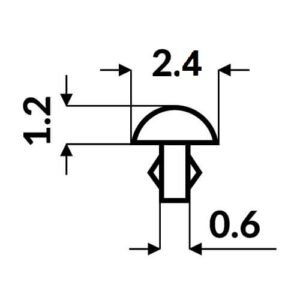
It has slightly thicker than ‘normal’ tang and proved a good, tight fit for the CNC cut 0.6mm slots.
The fret tangs were cut off to clear the end of the blind slots with a modified sheet metal nibbler:

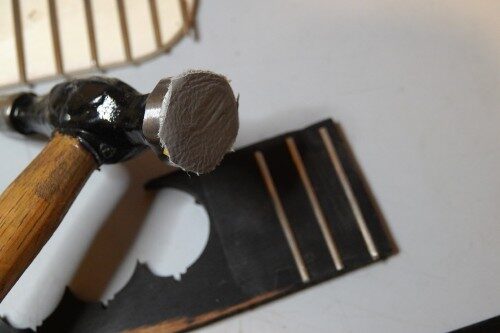
The frets were hammered into the slots – I have a small, soft faced mallet that I’ve used previously for fretwork, but it lacks ‘heft’ and tends to kink the frets. A bit of leather glued to a body hammer worked much better this time (practice shots):
There was only the smallest amount of back-bow on the fingerboard after it was fretted – not enough to cause me any concern whatsoever. (The 1st & 10th fret have been left out as this is where the locating pins are. They will be fitted after glueing)

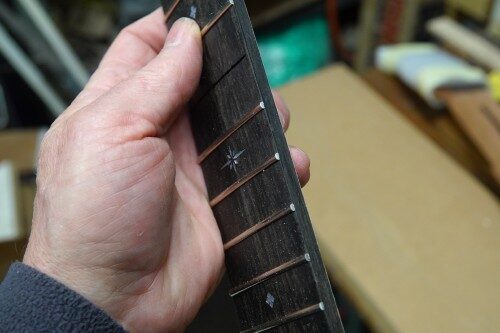
(The fret ends haven’t been addressed yet)
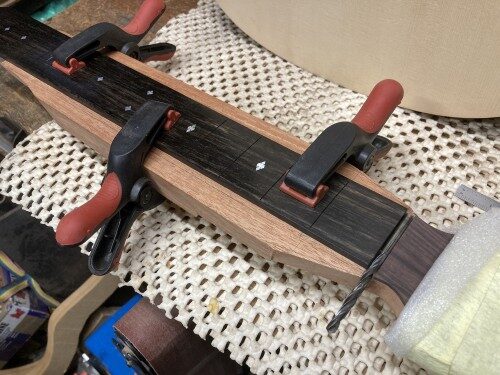
Fitting the fingerboard
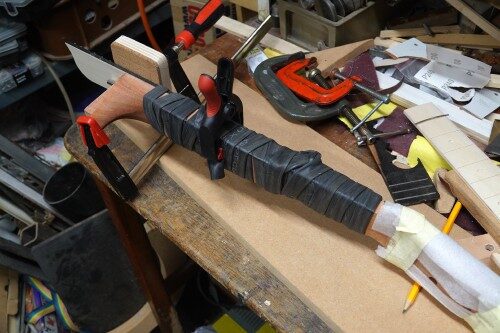
I glued the fingerboard to the neck, then trimmed the neck flush, using the fingerboard to guide the cutter on the router table.
Carving the neck
Once the glue had set, I could set about carving the rest of the neck to shape.
Still very much a work in progress. As with my previous attempts, I found that if l put it to one side for a few days and then to pick it up with fresh hands, I discovered a few more bits that need some work.