
Rather than dive straight in, I did a bit of tinkering around the edges:
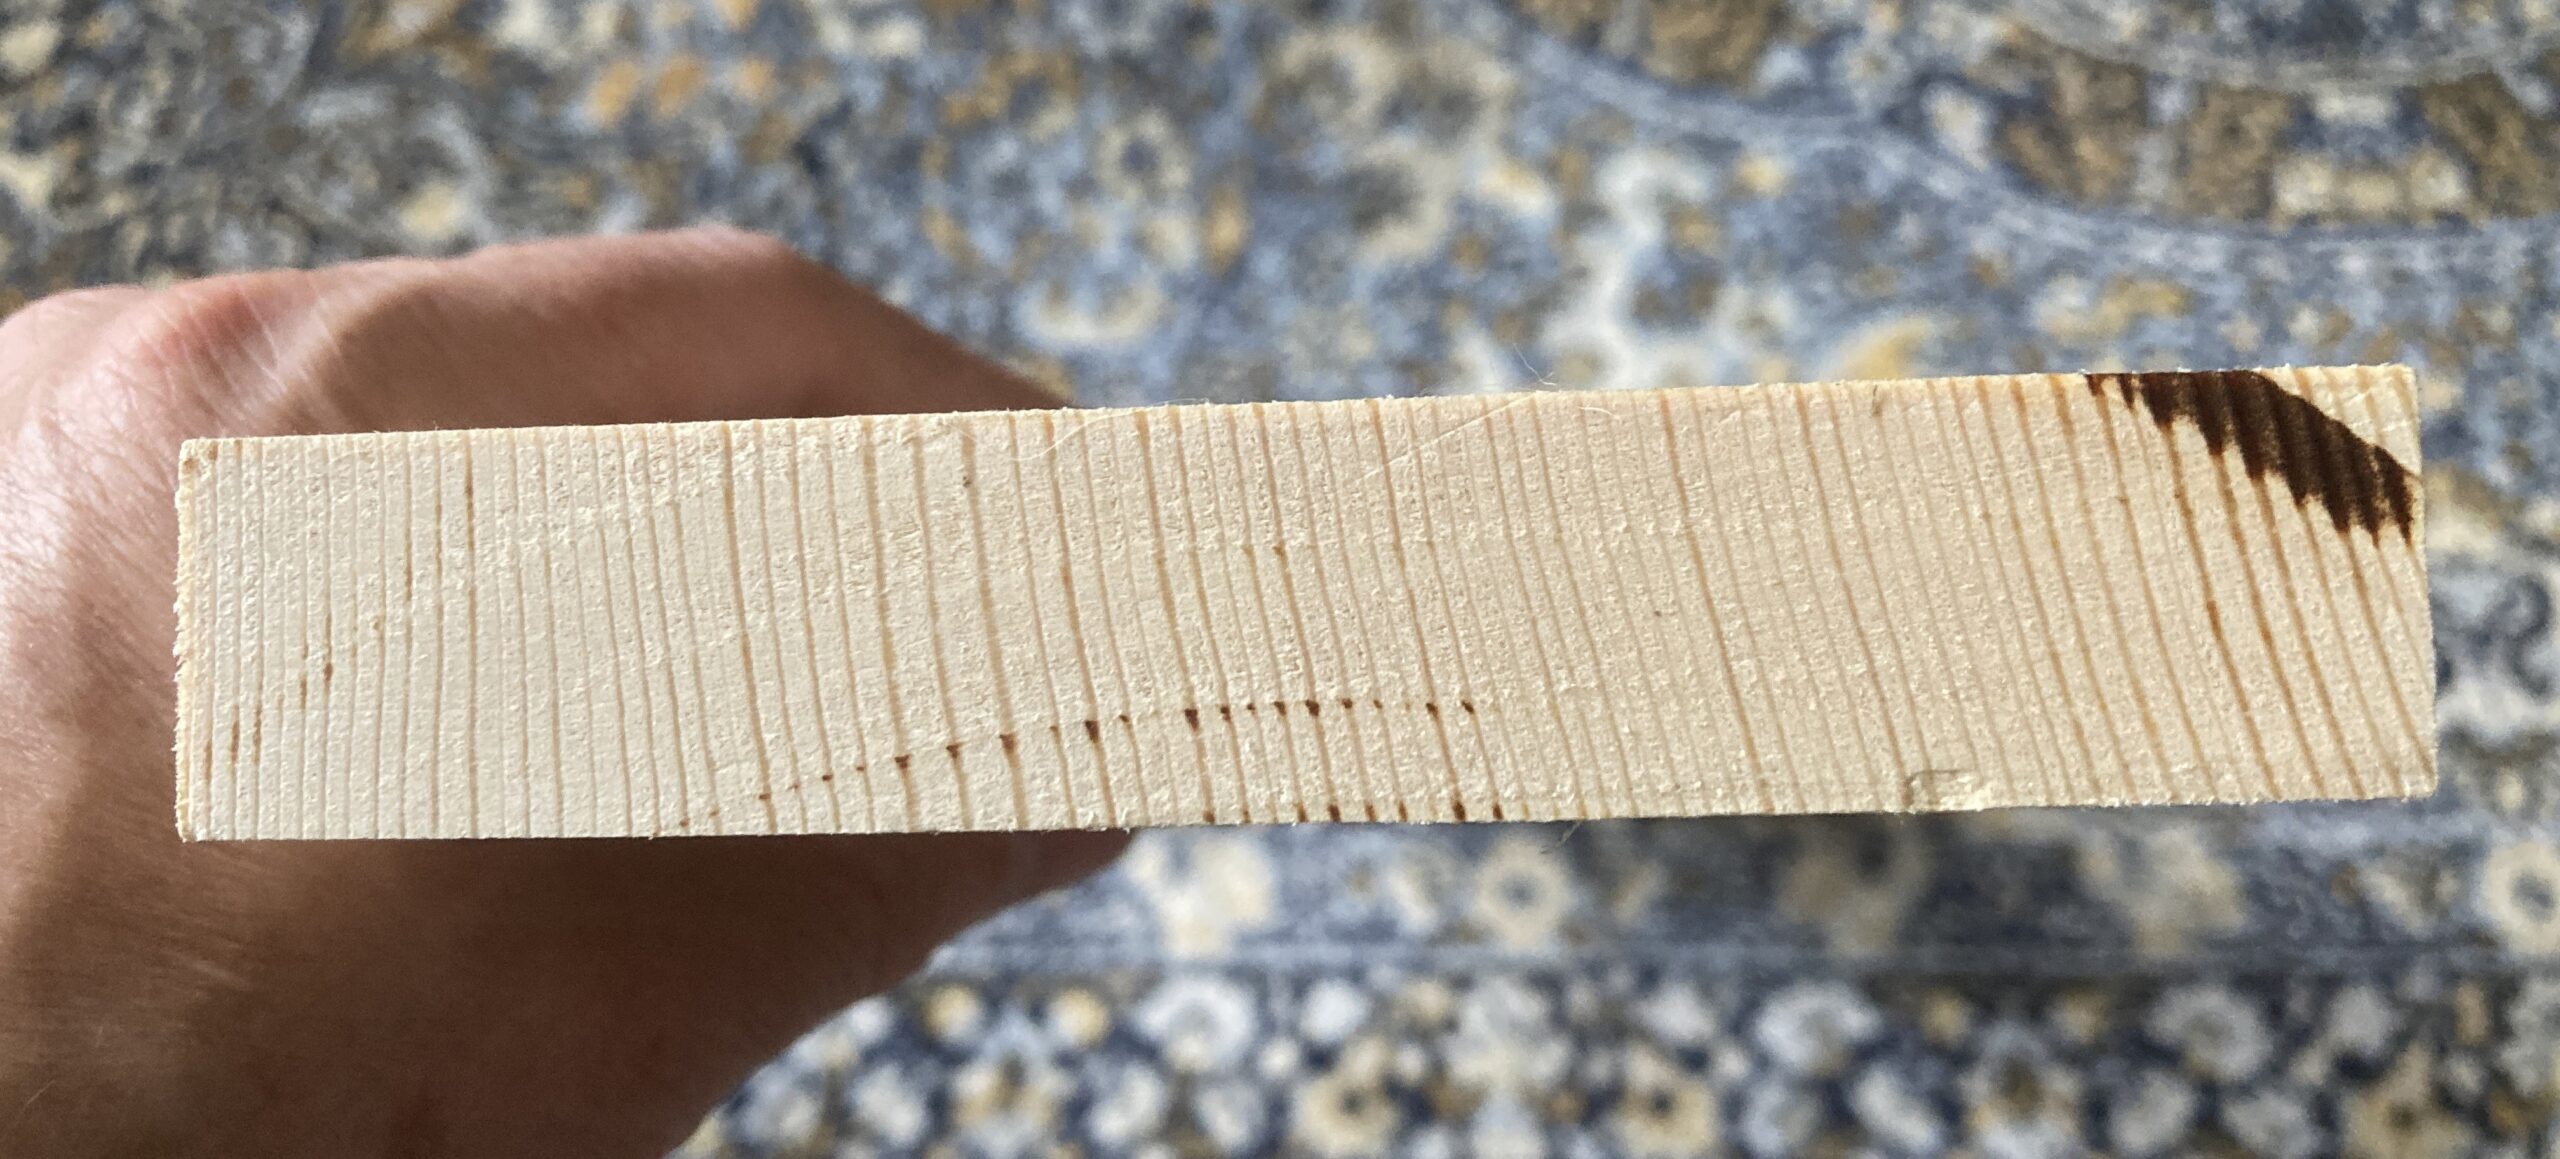
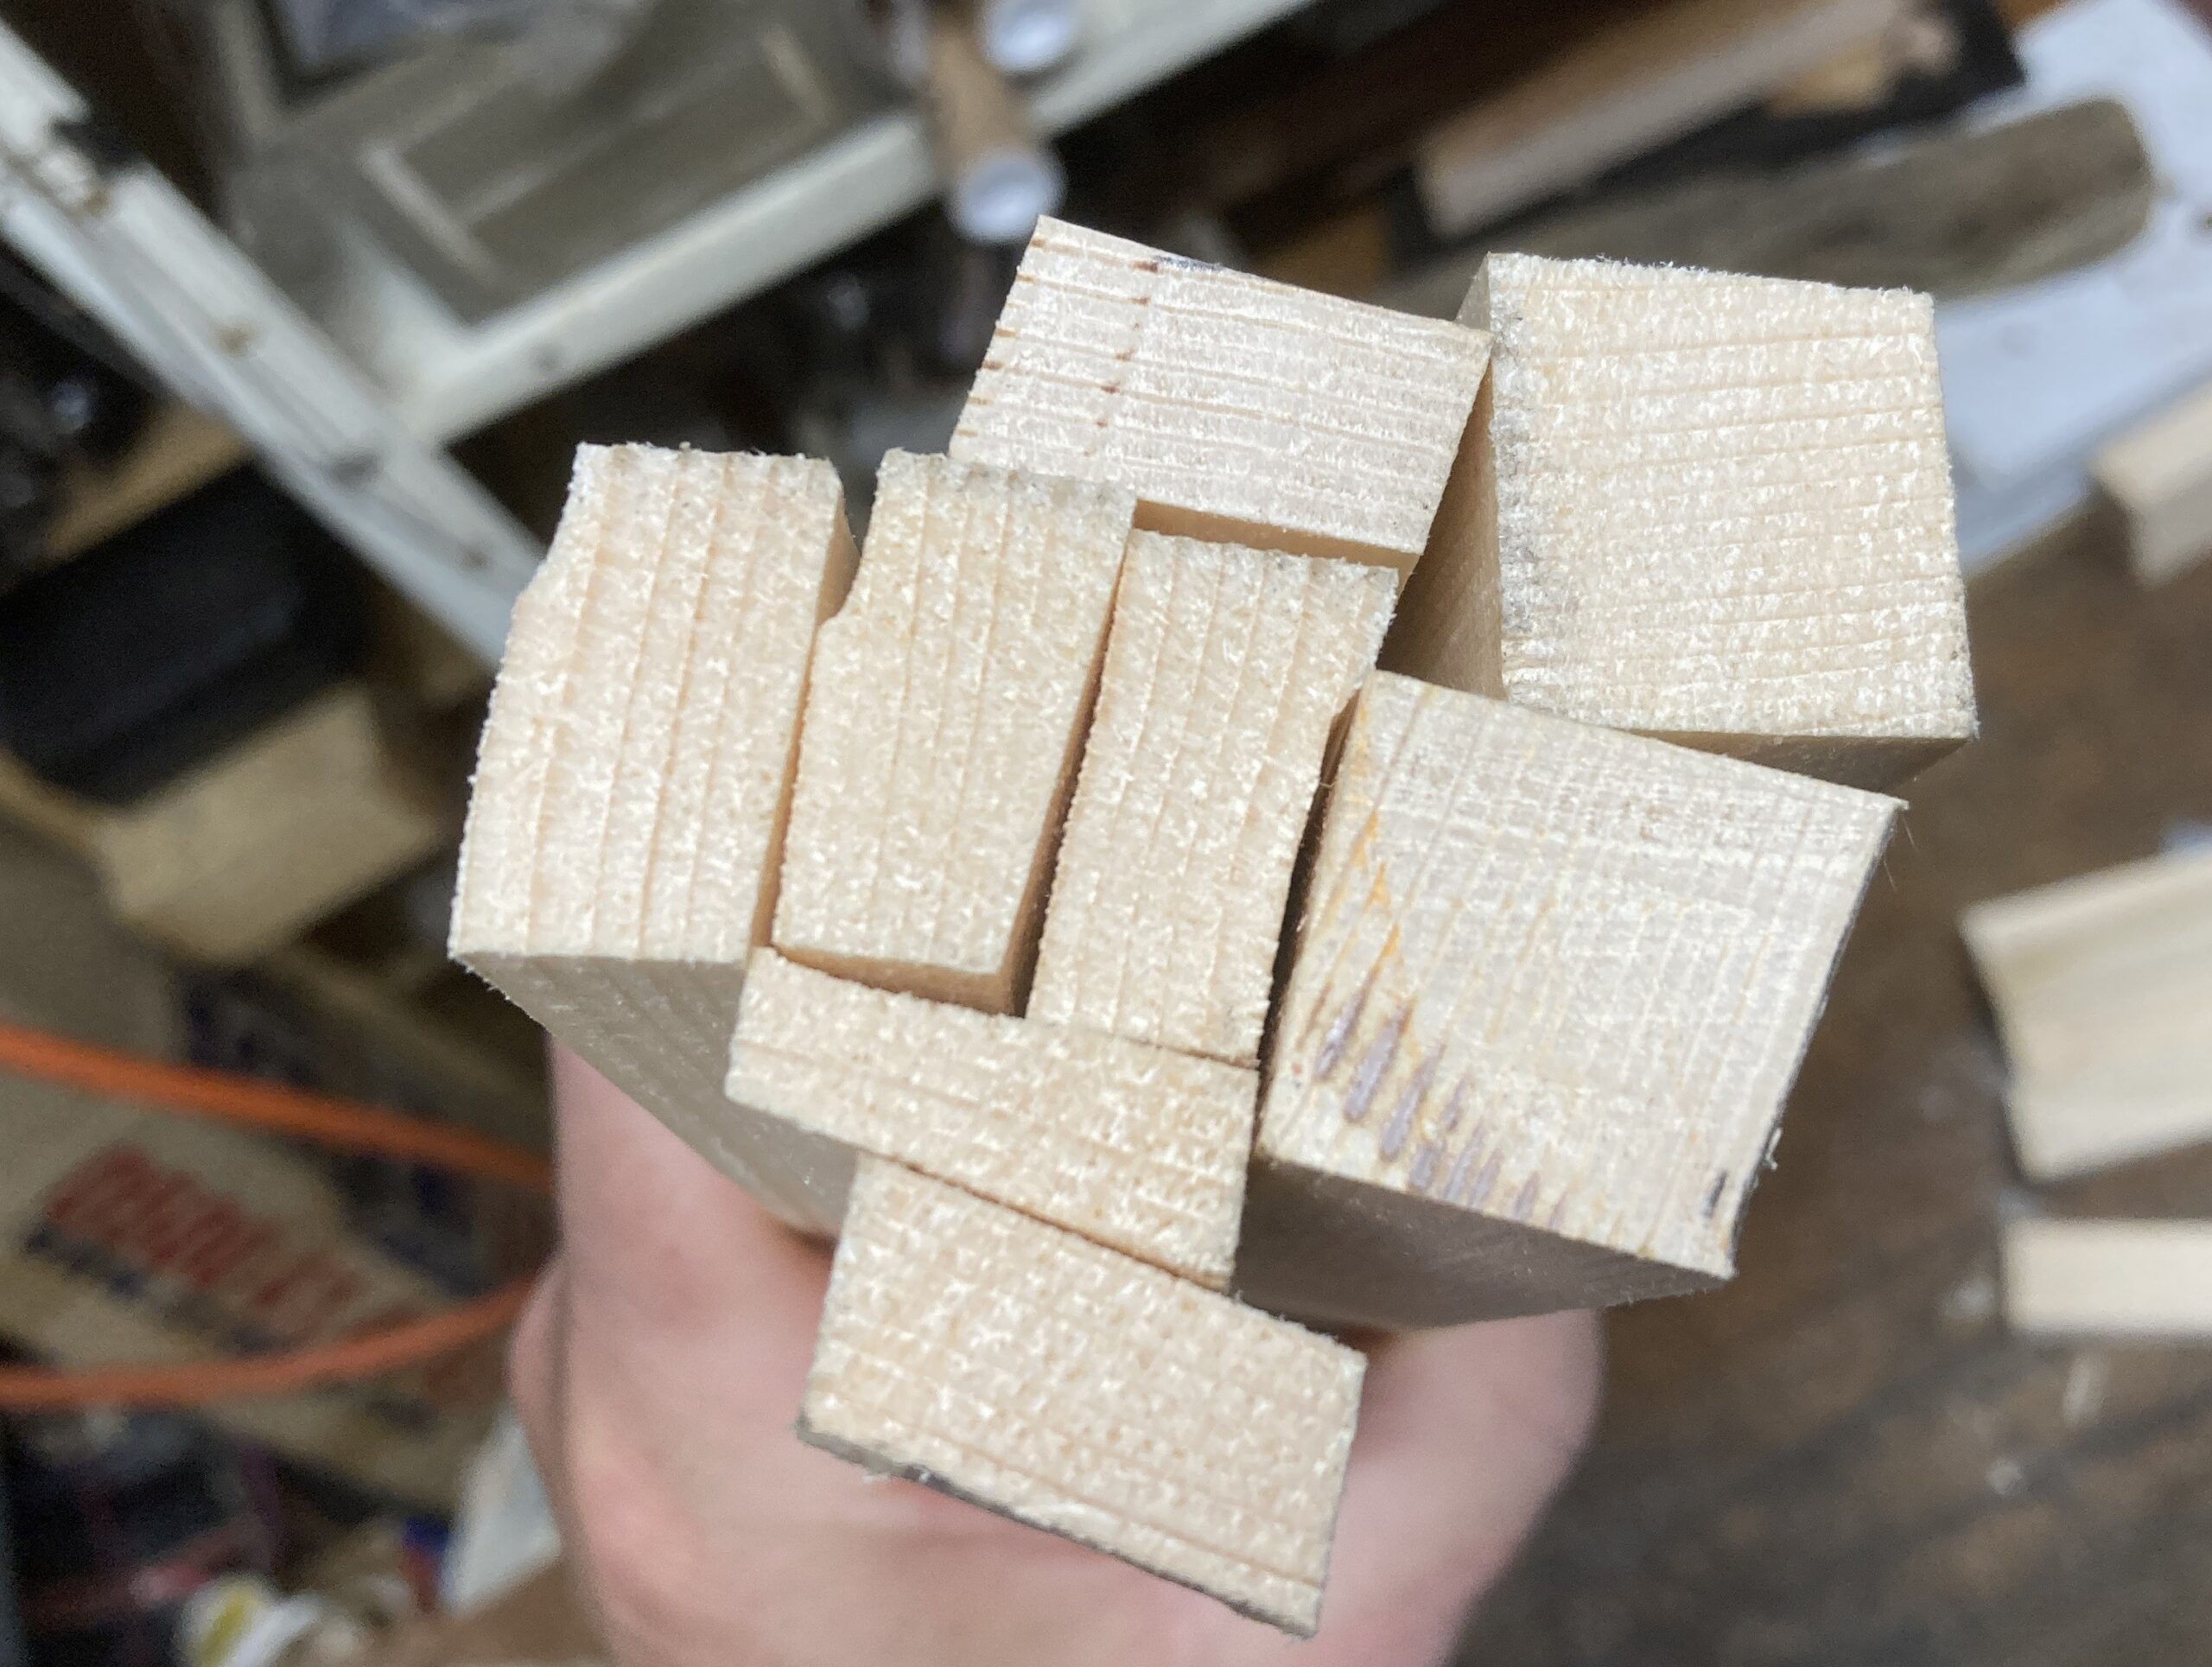
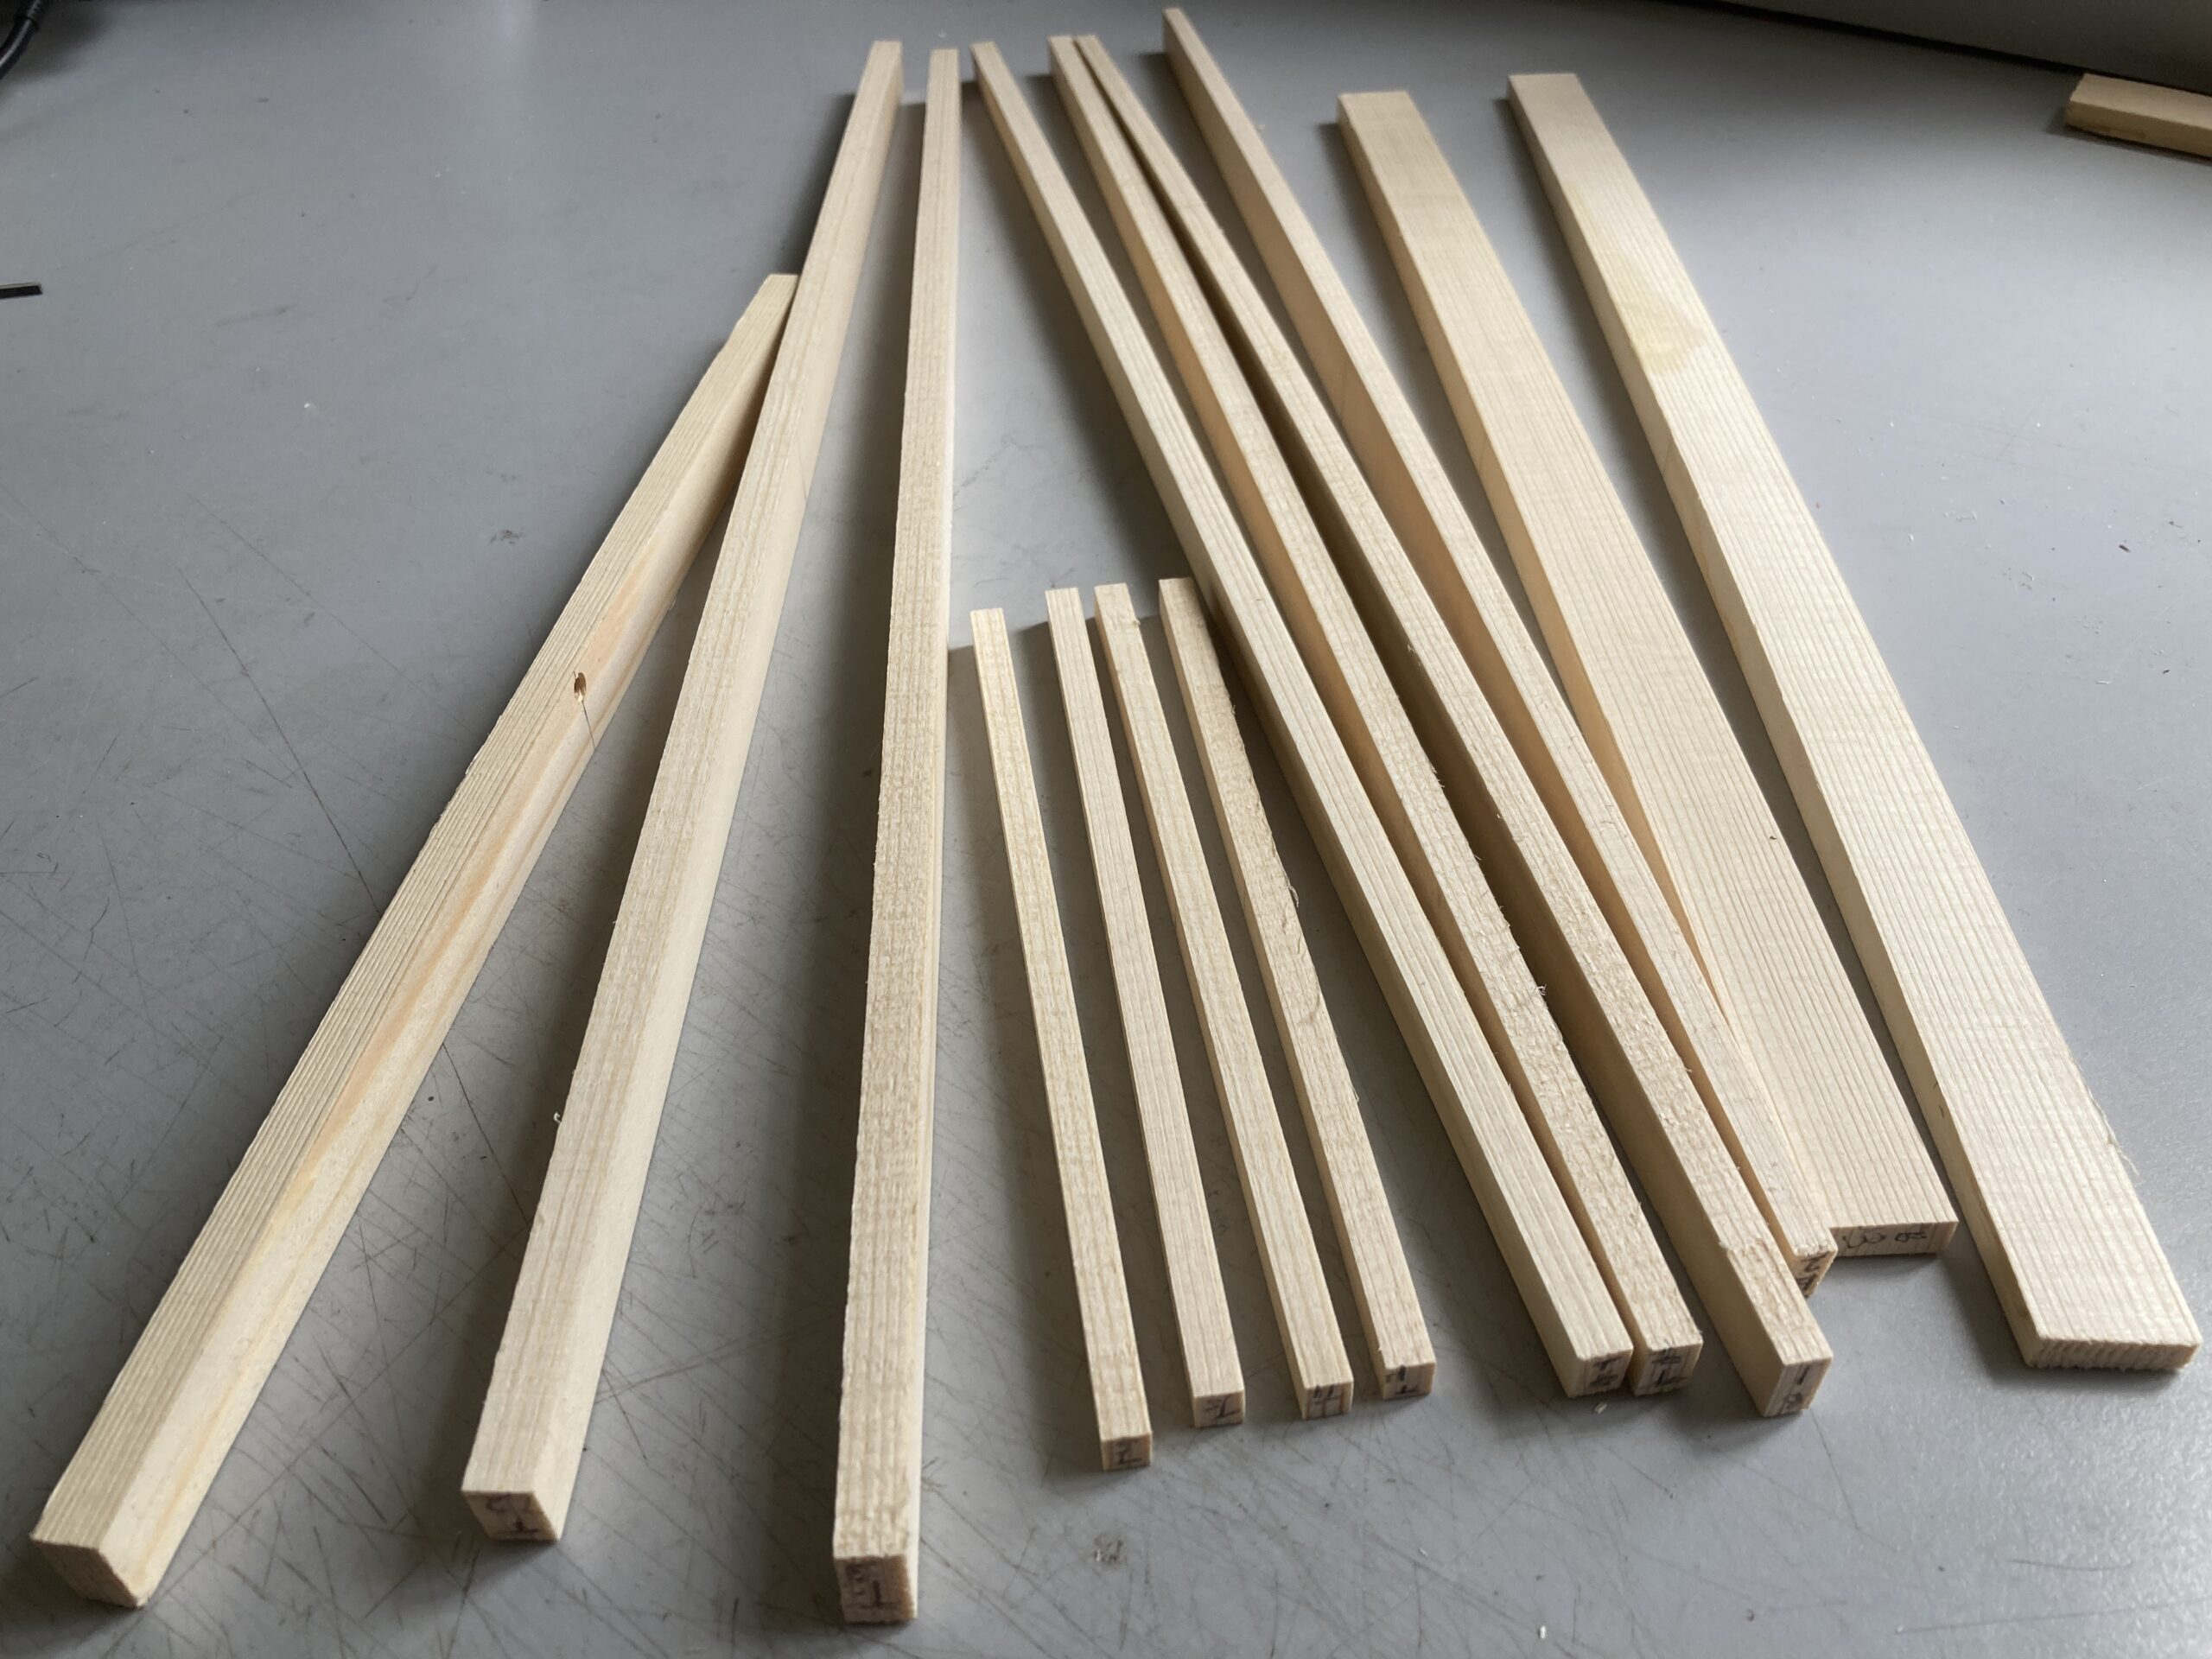
I took a perfectly good spruce plank and split it into kindling (or at least, that’s what it looked like).
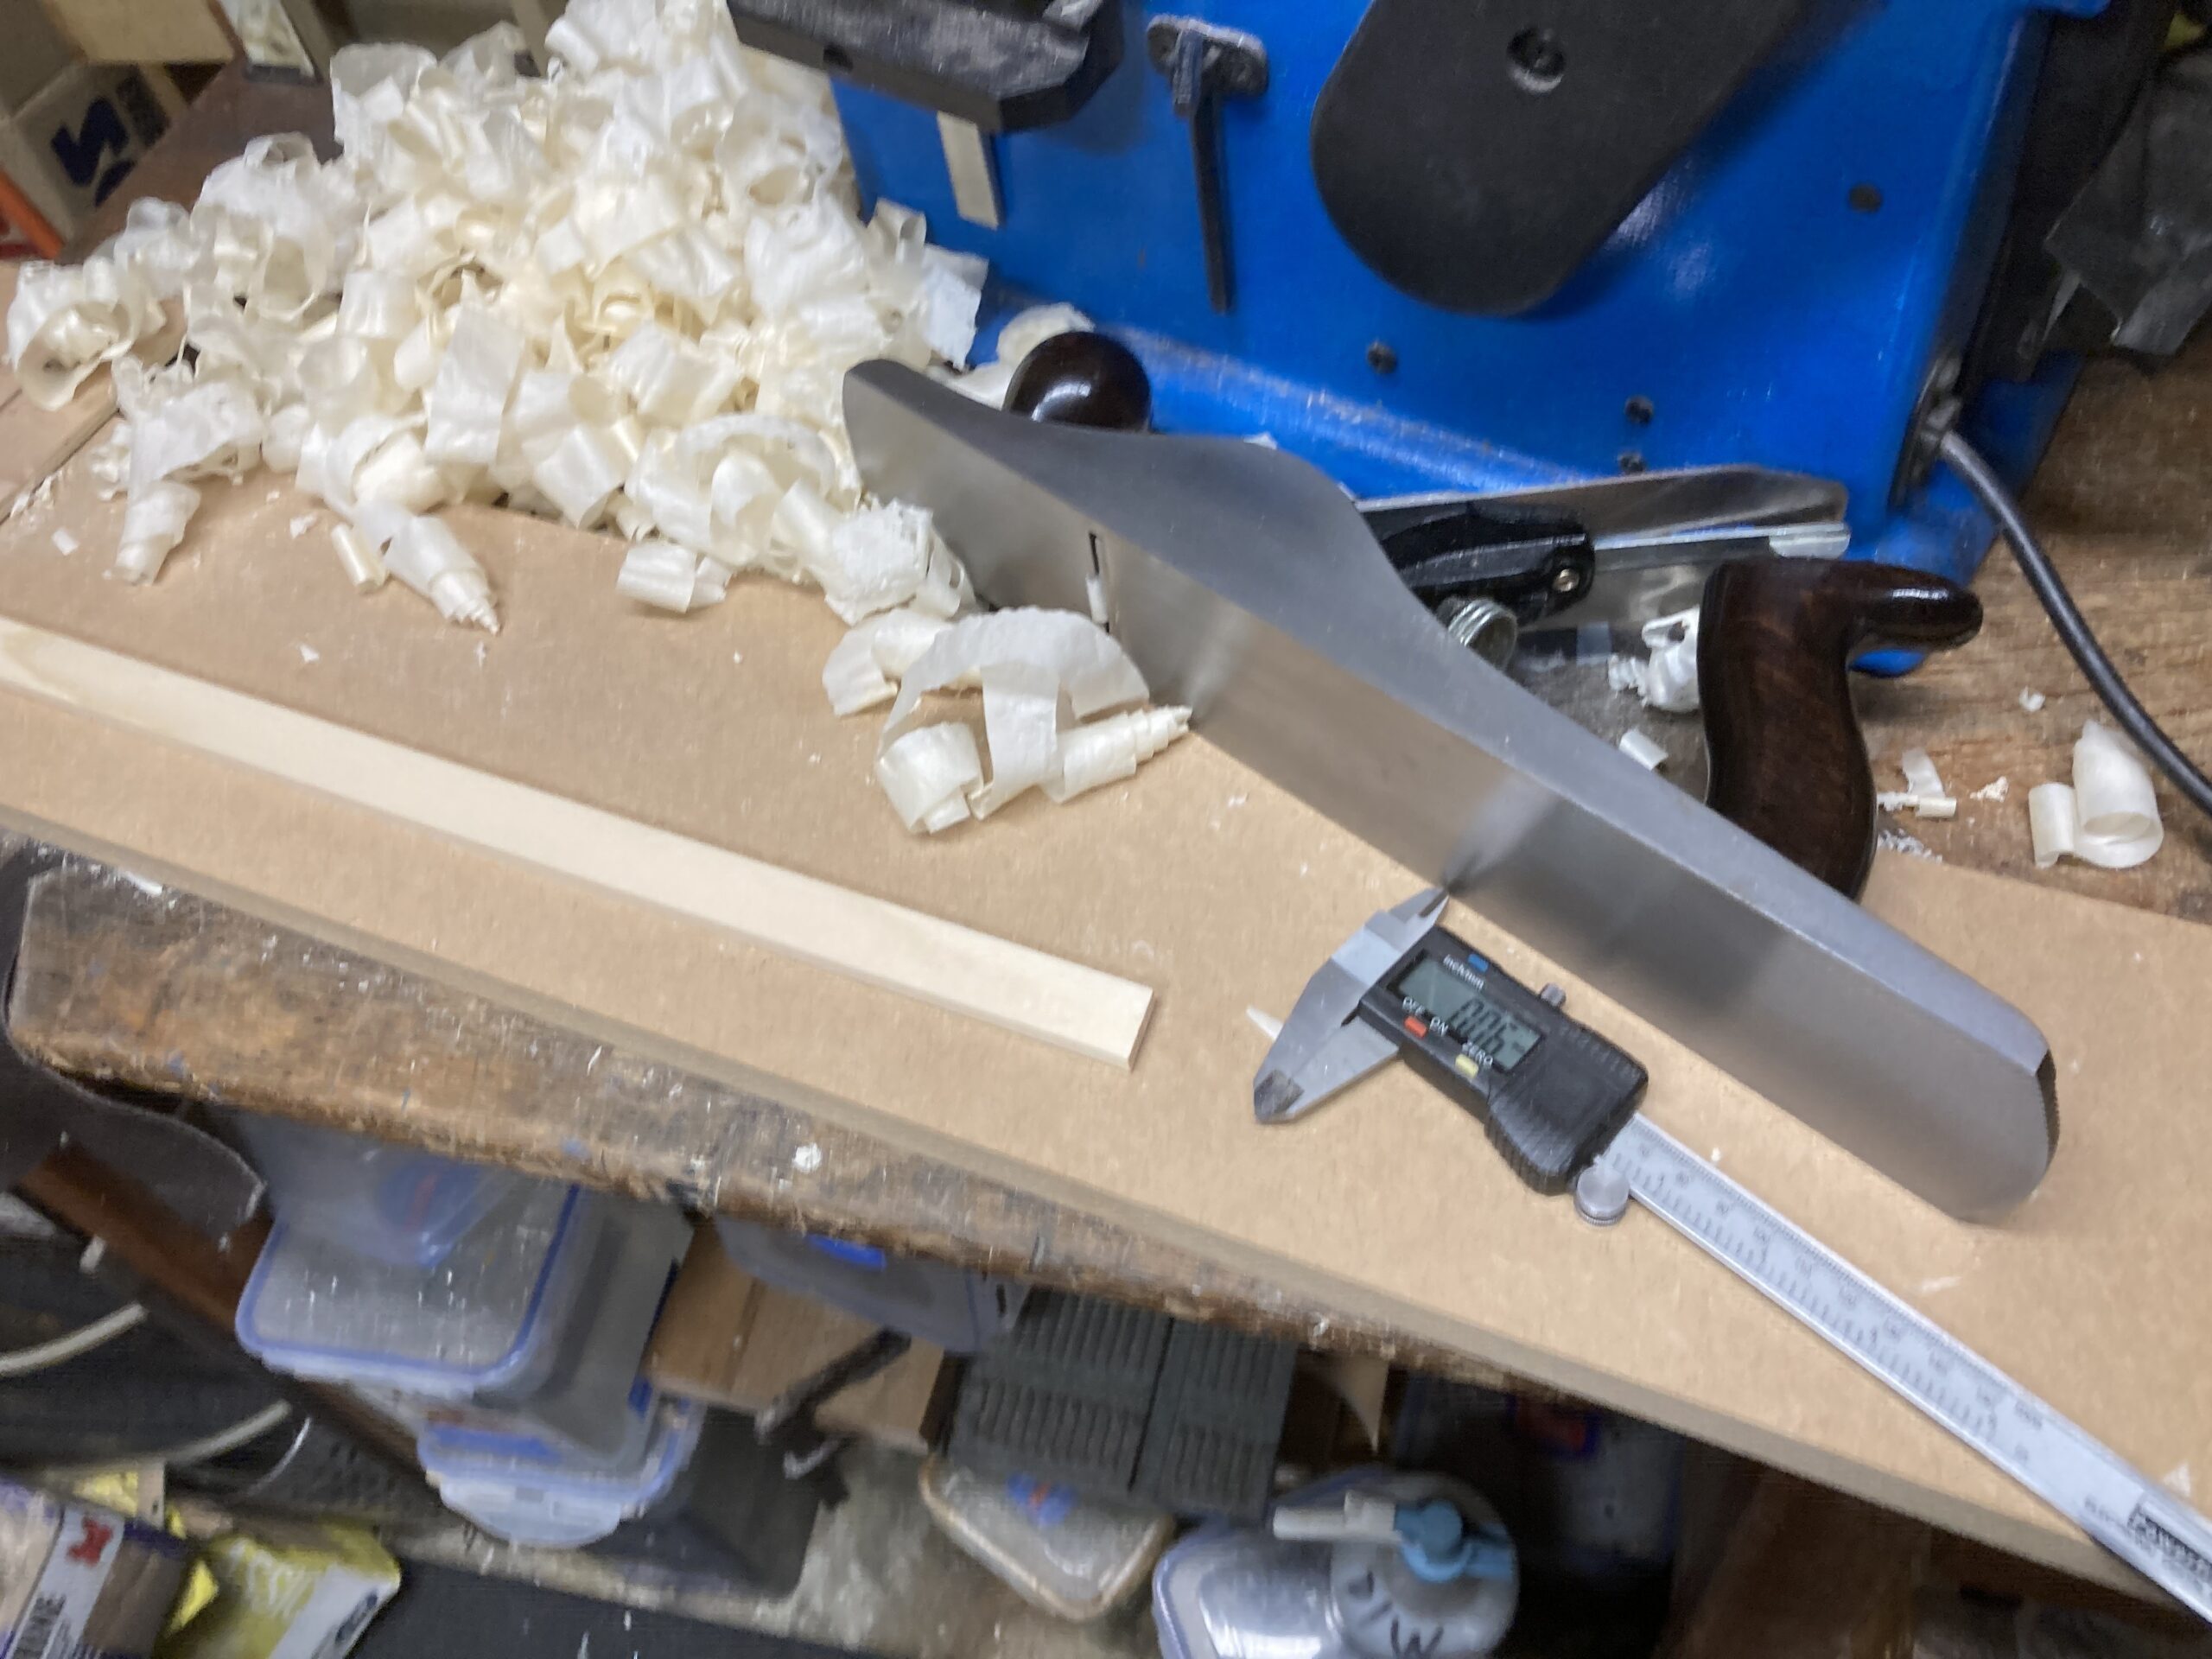
I then spent some quality time planing each little stick back square again and to the thicknesses needed for the bracing.
I had acquired a Stanley No. 4 plane that was disappointingly poor. It took a couple of days work to get it flat, square and cutting nicely, but it’s quite good now.
The reason for splitting up the ‘billet’ of spruce was to try and cut braces with the grain vertical in each piece for maximum stiffness.
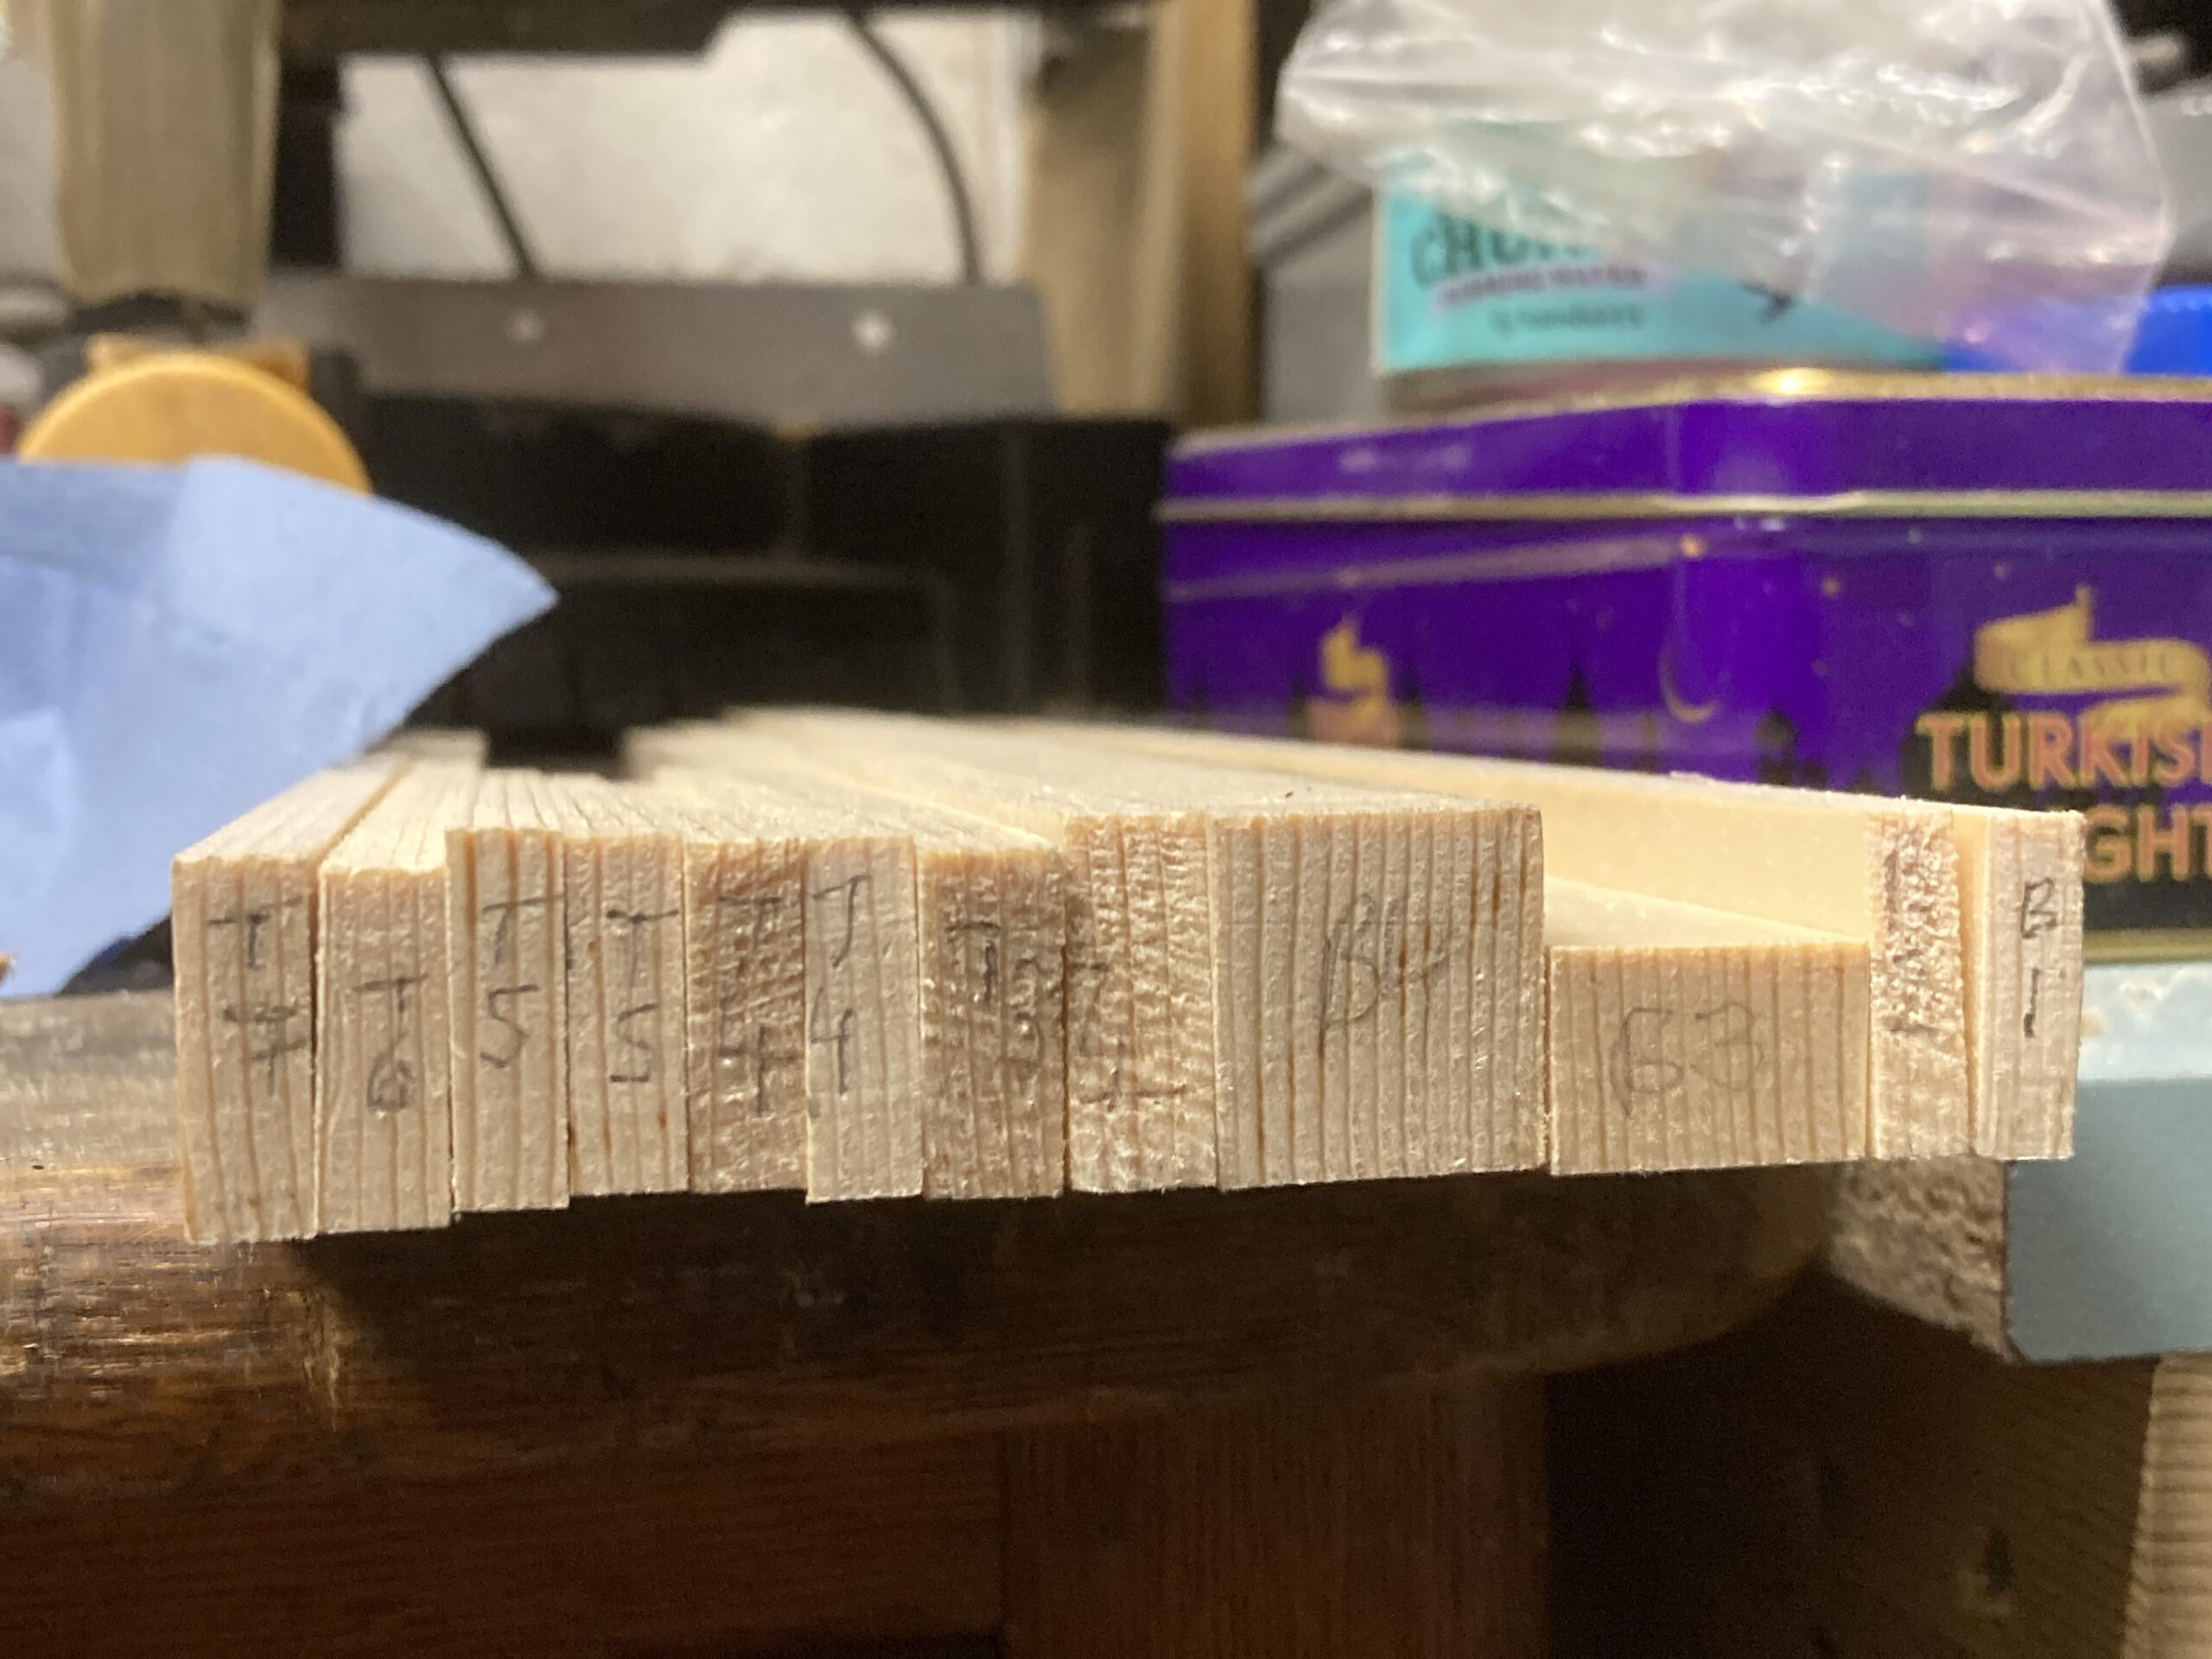
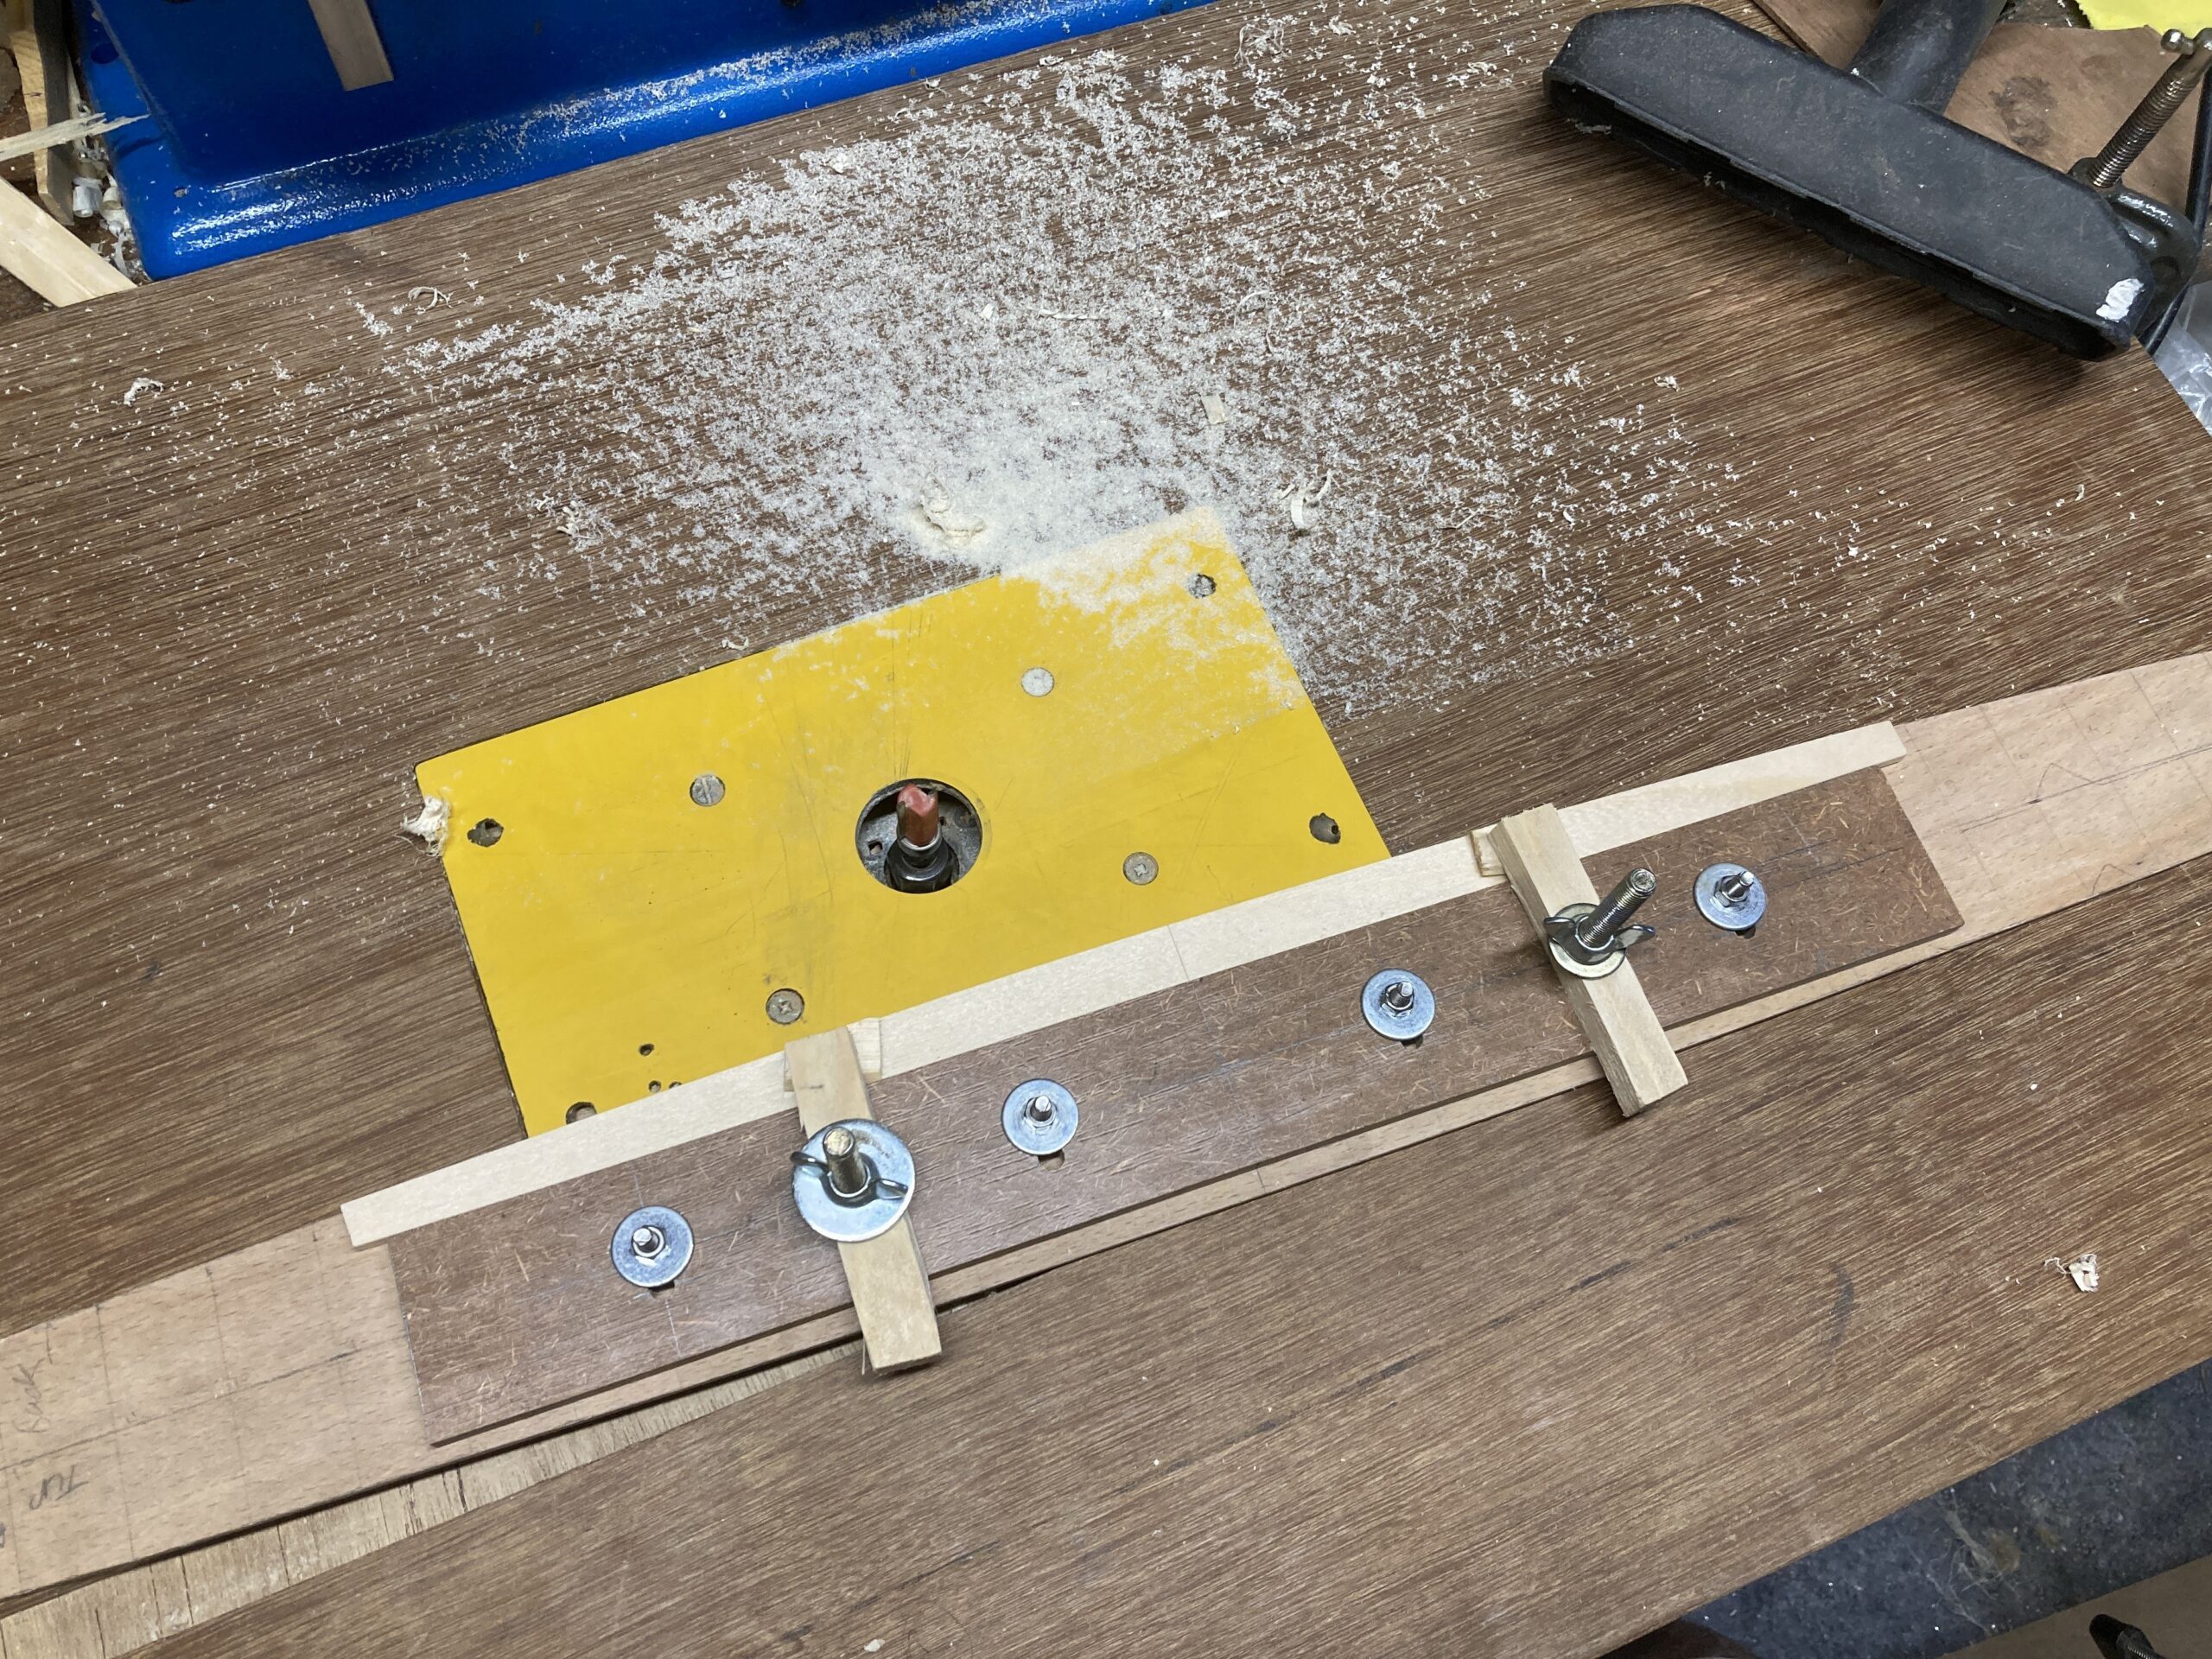
Since the top and back of the guitar have a slight radius, the braces needed to have one suitably curved edge. I made a simple template jig to cut a curve on them with the router (25′ radius on the top and 15′ radius on the back) and to reduce the pieces to a uniform height; a little over their finished dimension.
I did pick up on the fact that the upper transverse brace (T1) has a different radius to all of the others in order to get the correct height for the fretboard extension and neck angle neck angle. (The brace has a slightly tighter radiu than the back.)
I also cobbled together a bending iron (of sorts) – I had some 100mm diameter aluminium tube, but that would have been too big to fit into the curvature of the waist, so I squished it a bit and welded an end on it.
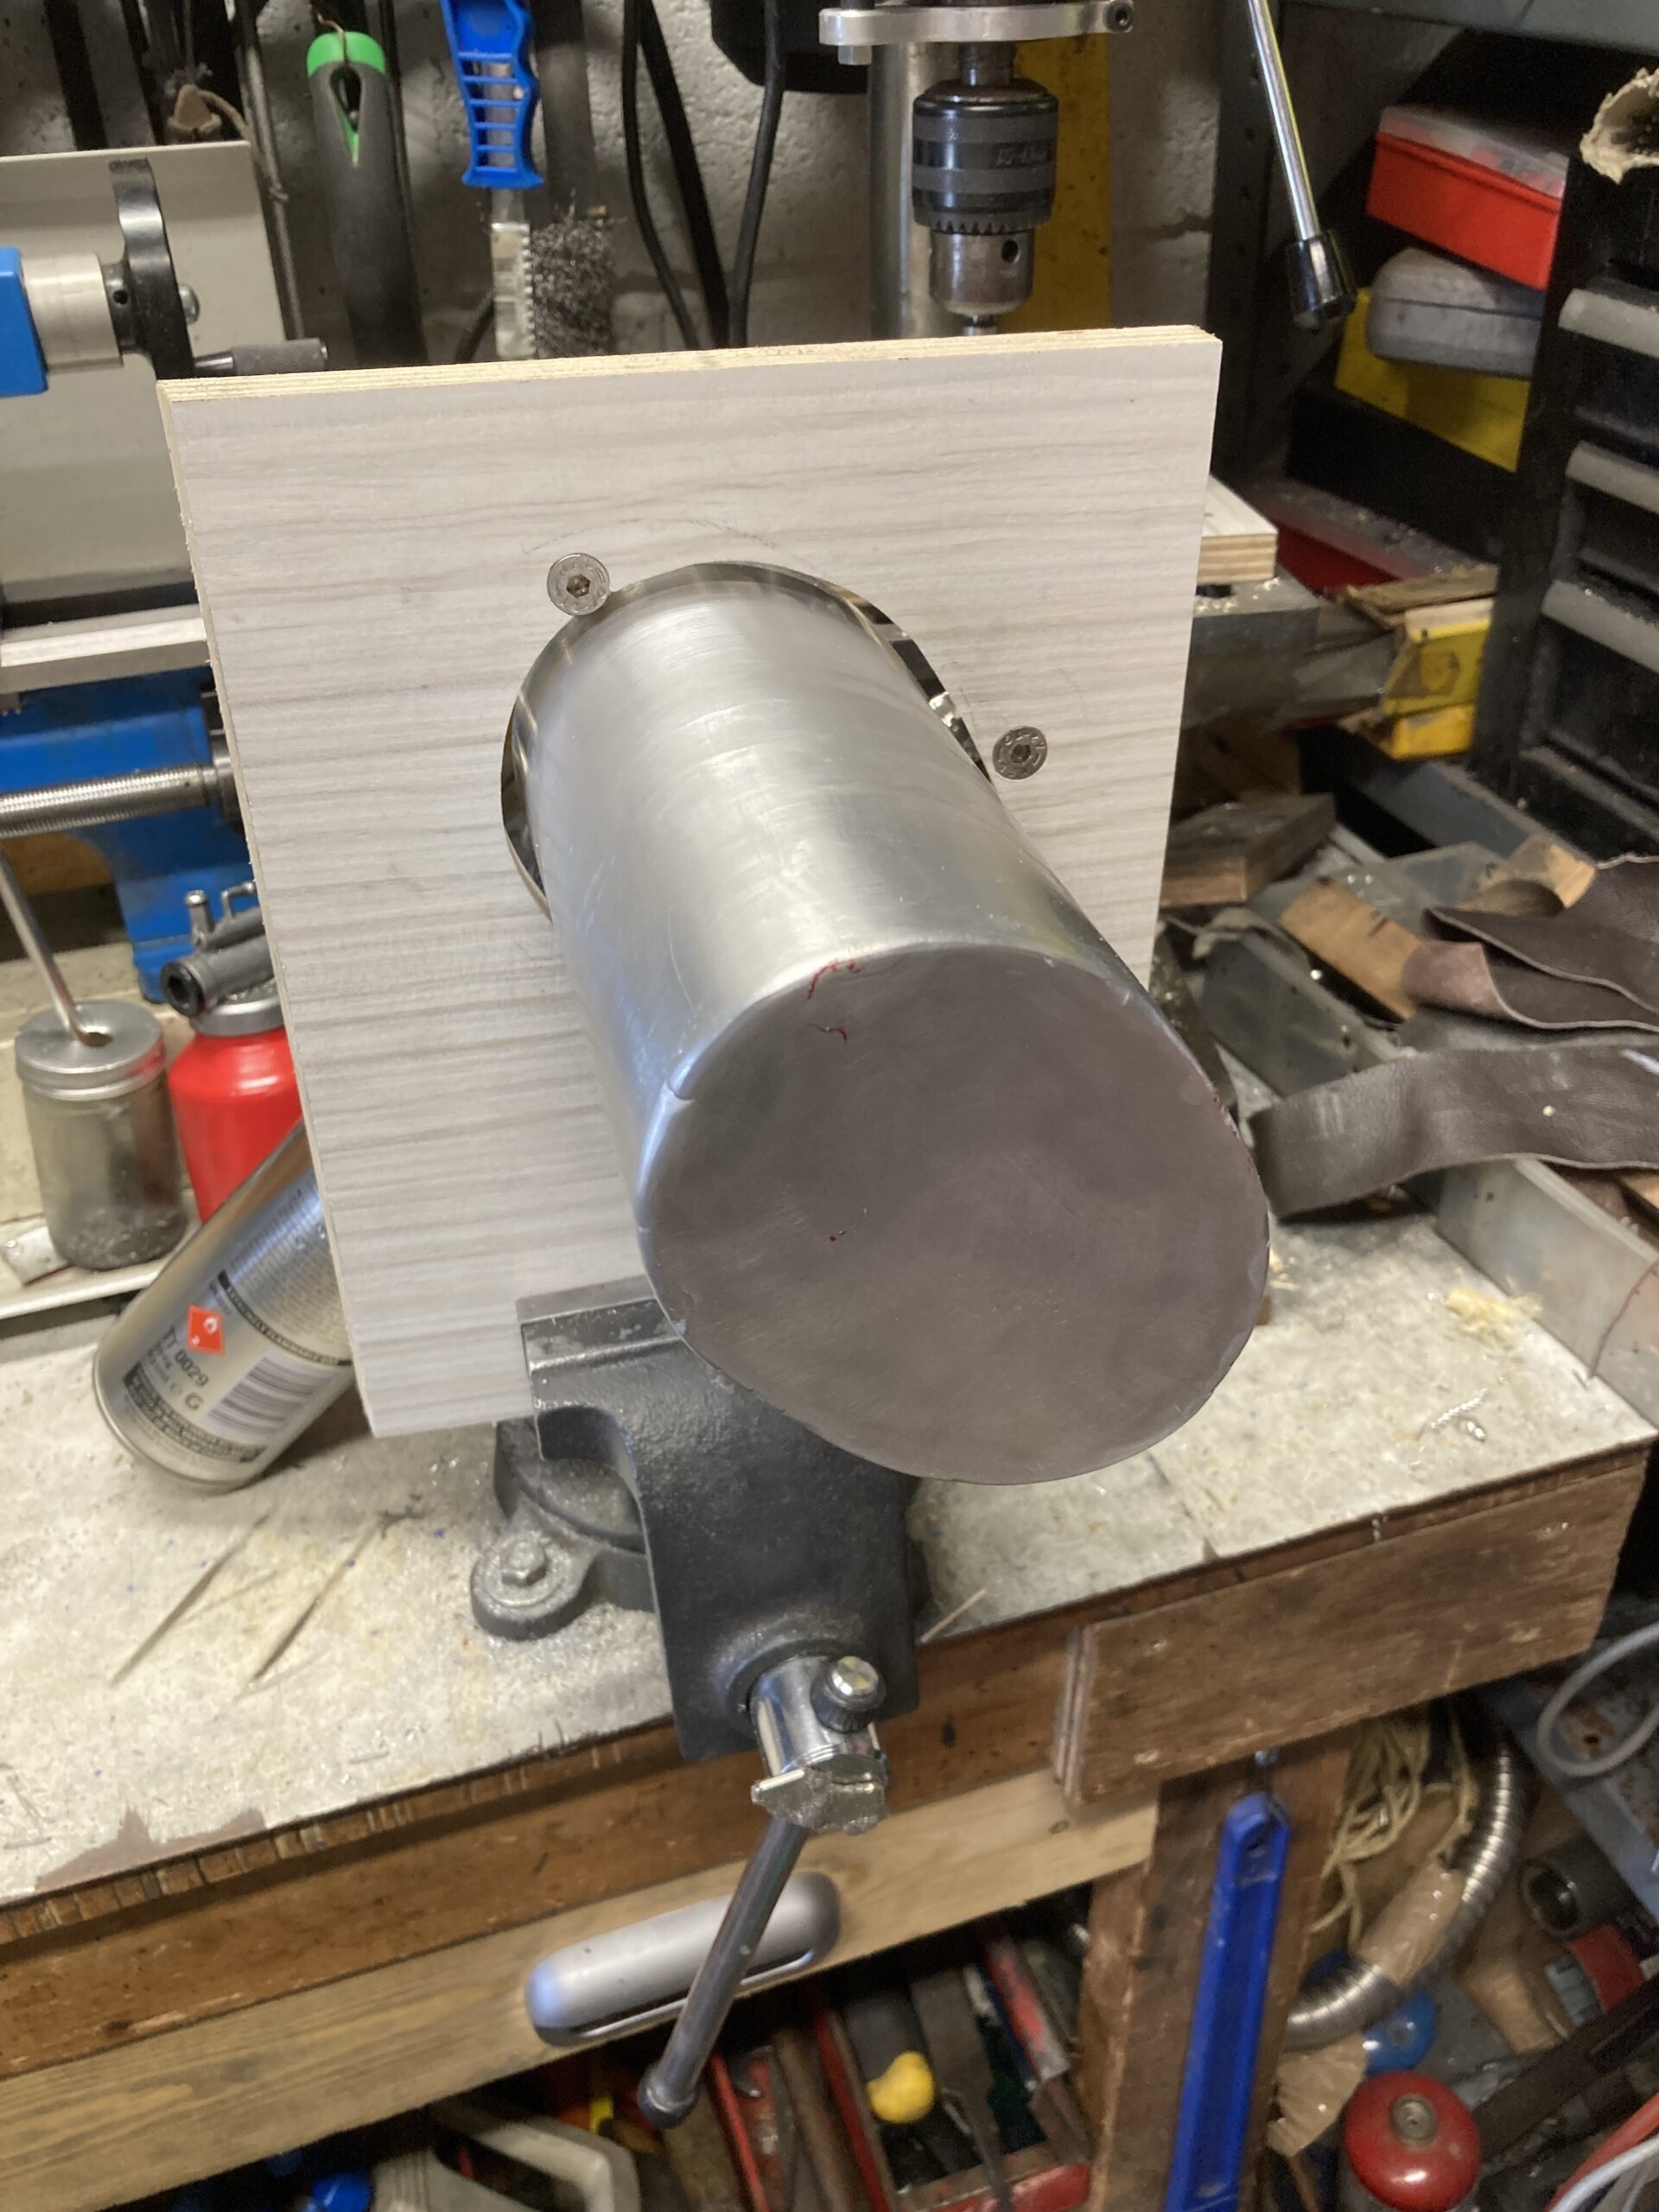
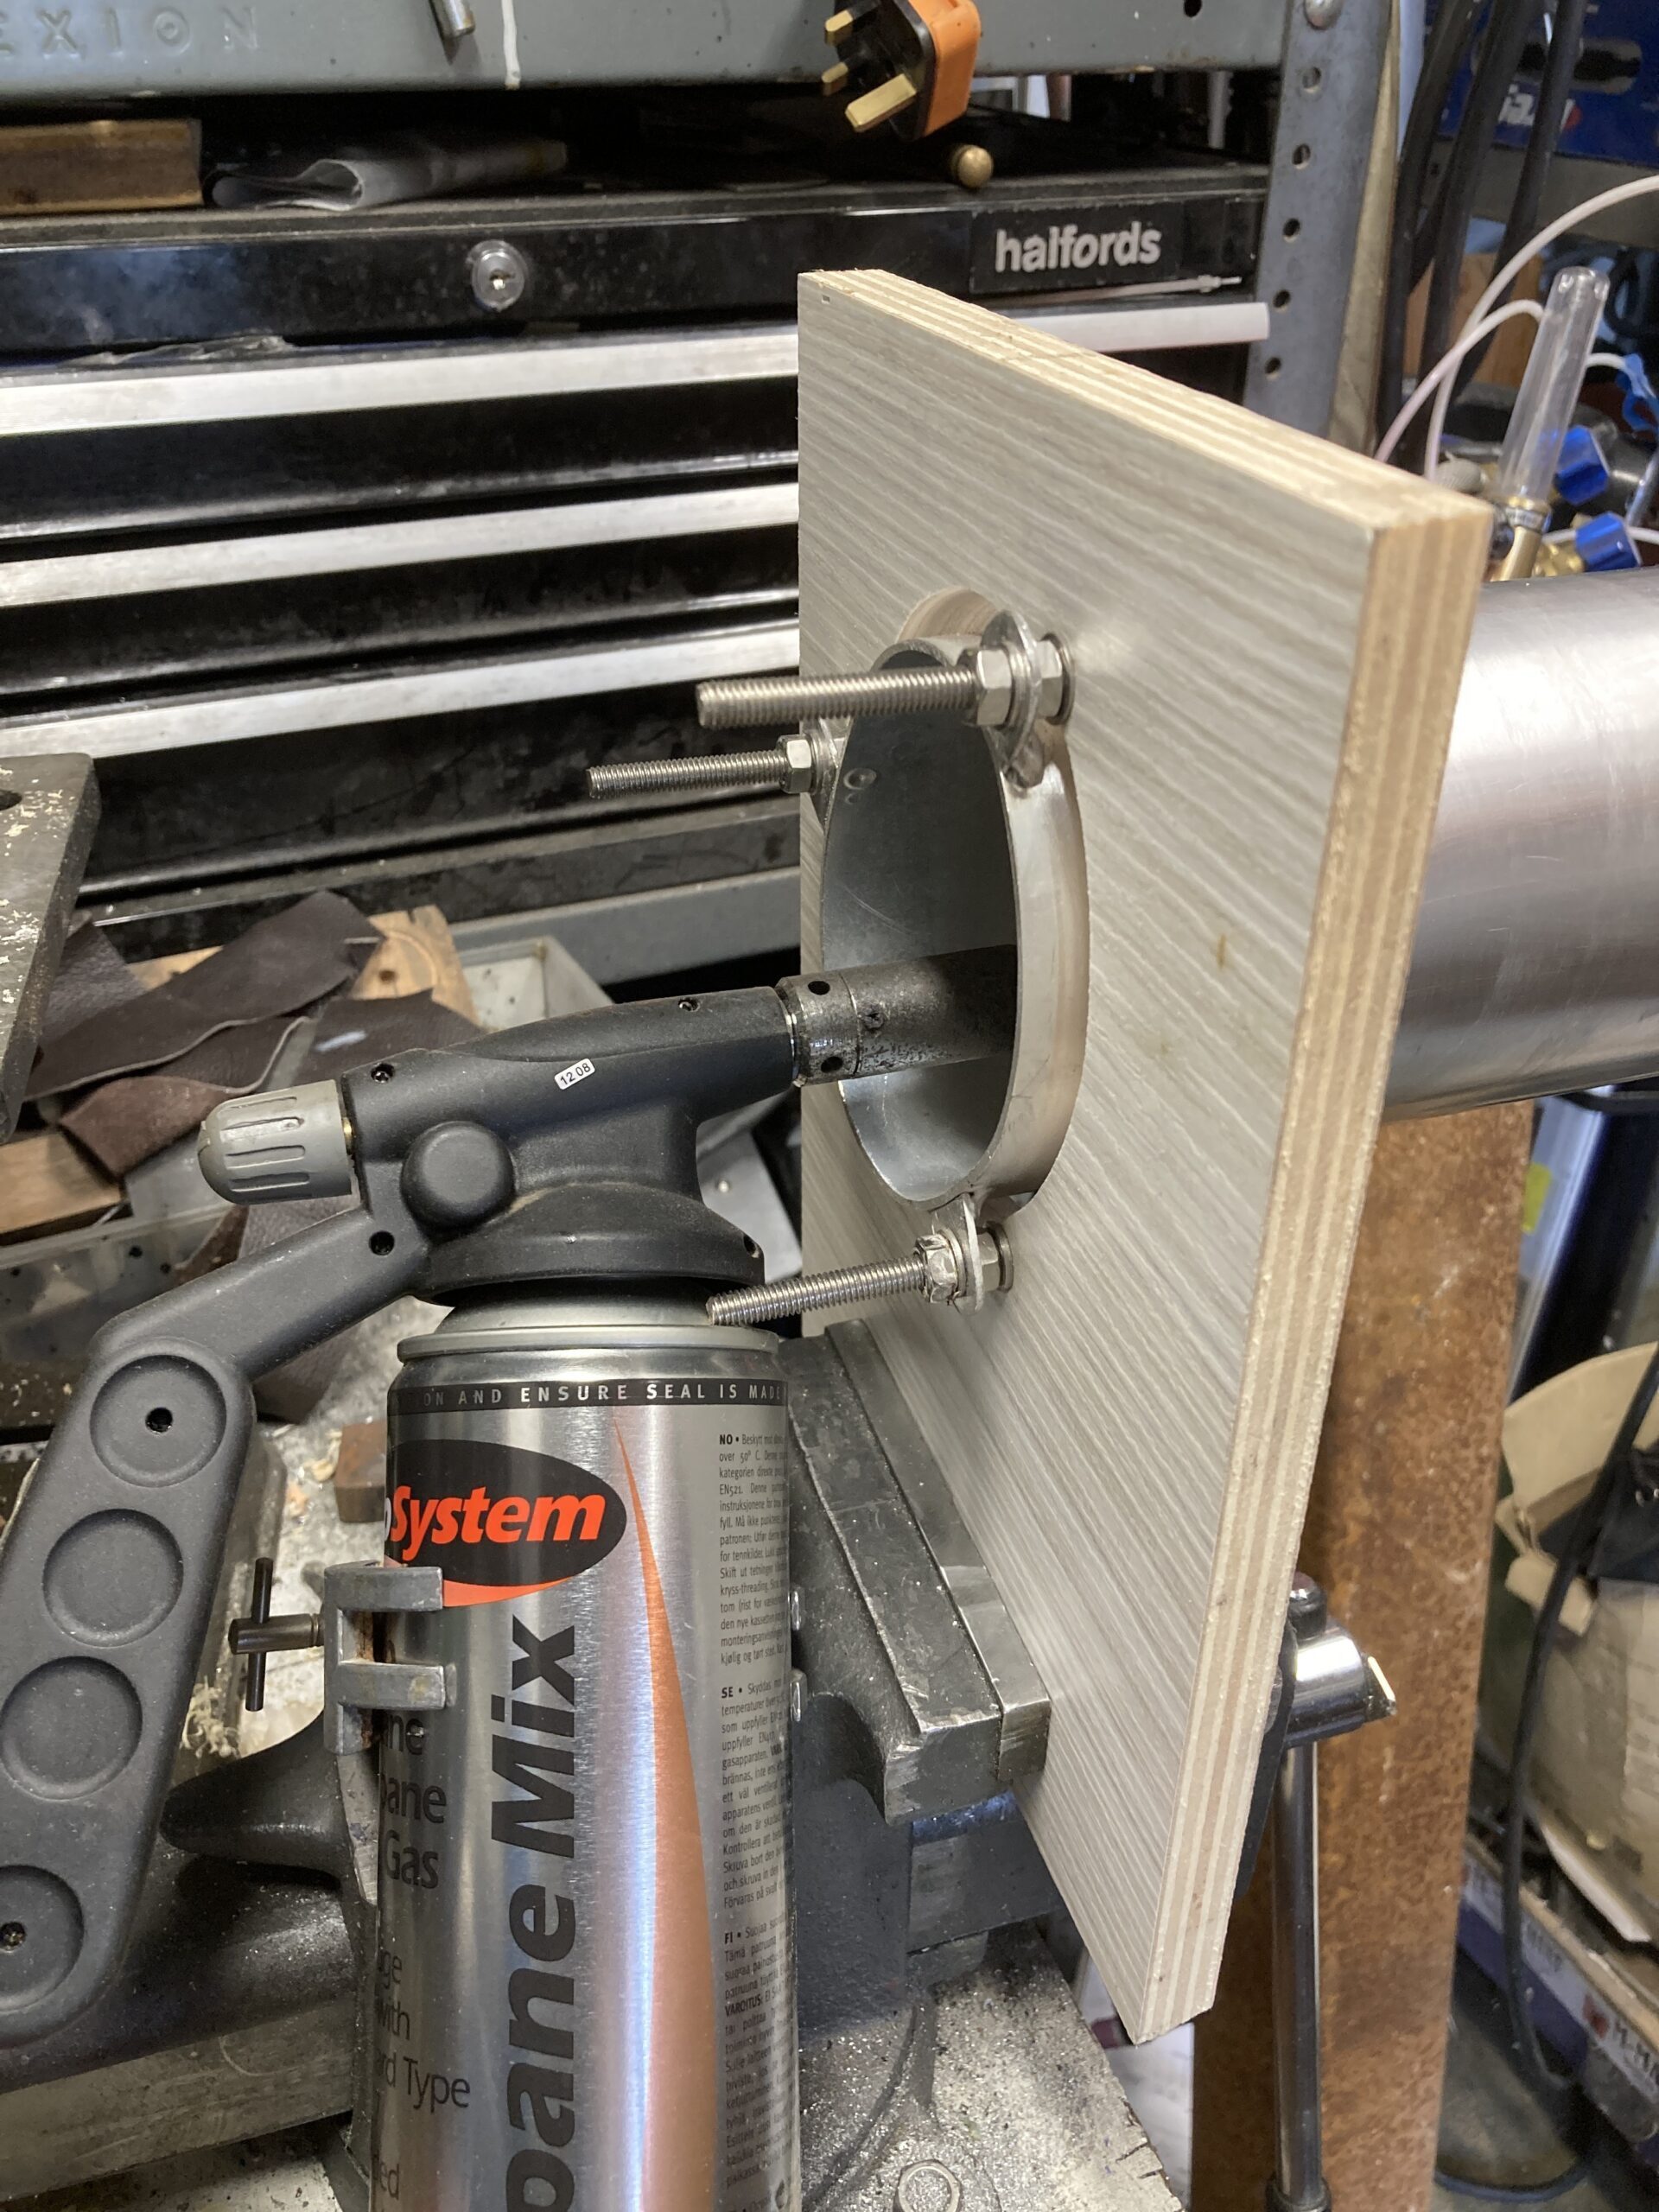
It seems to get plenty hot, but whether I have the skills to use it is another thing.