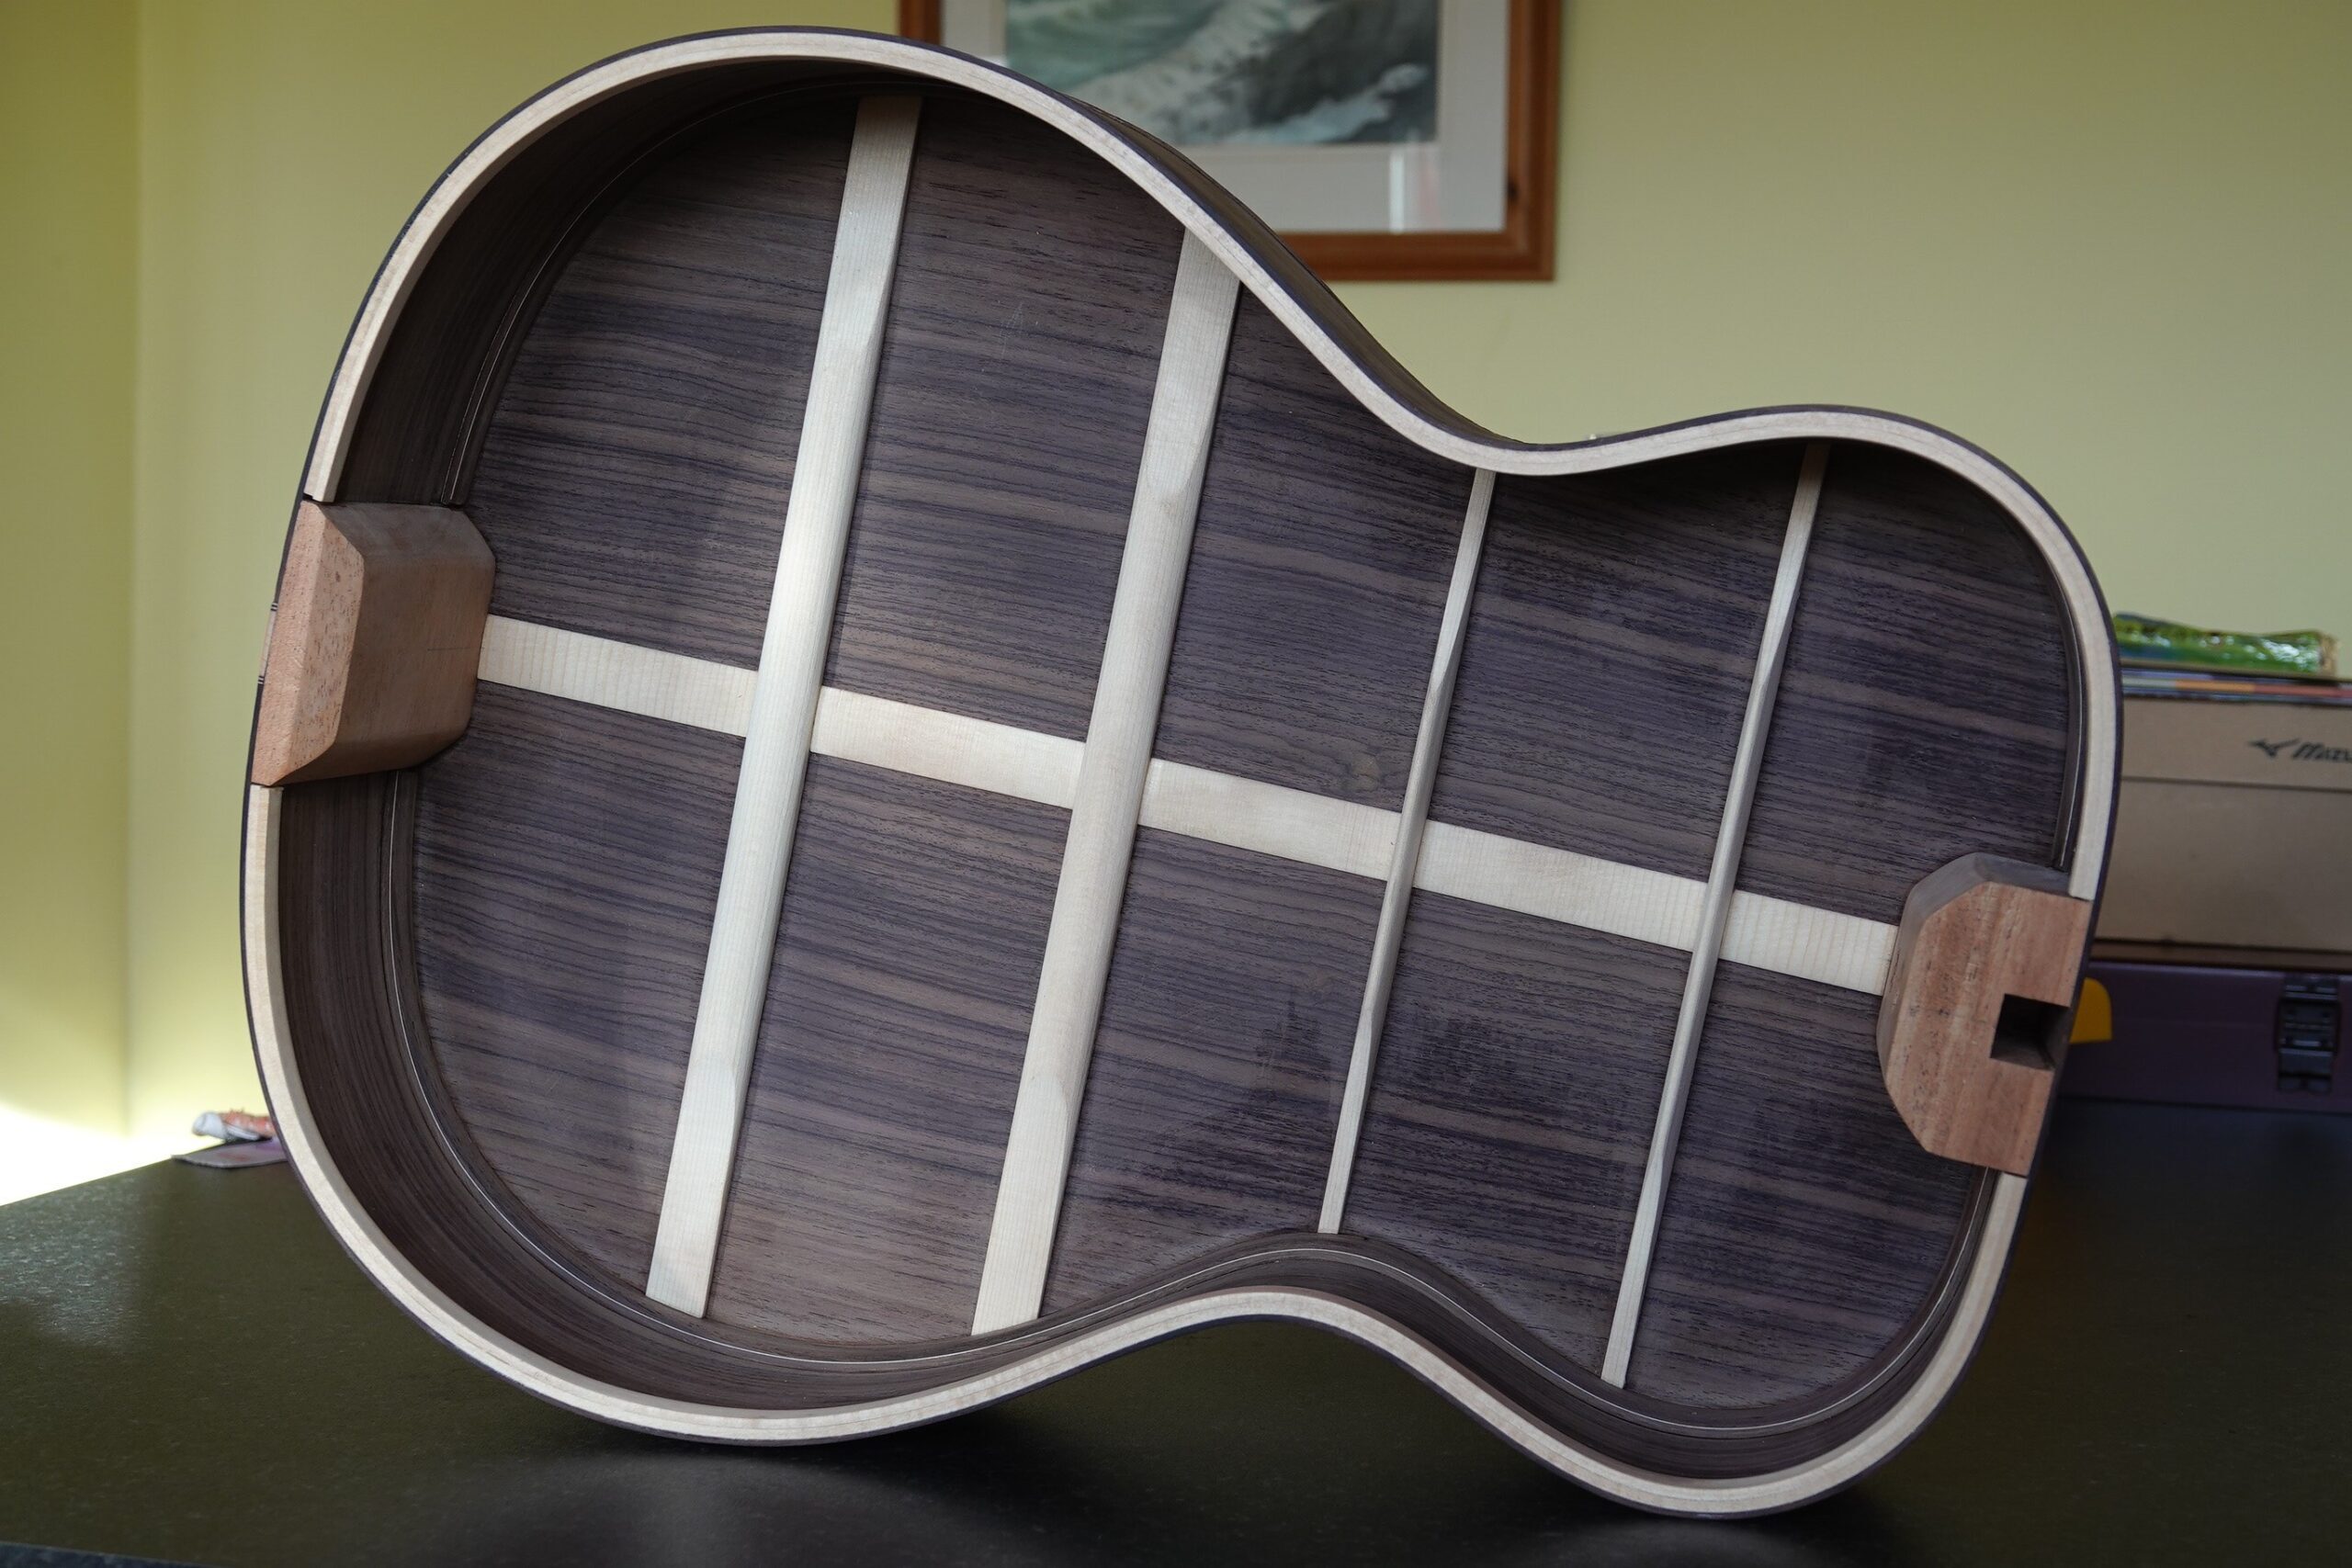
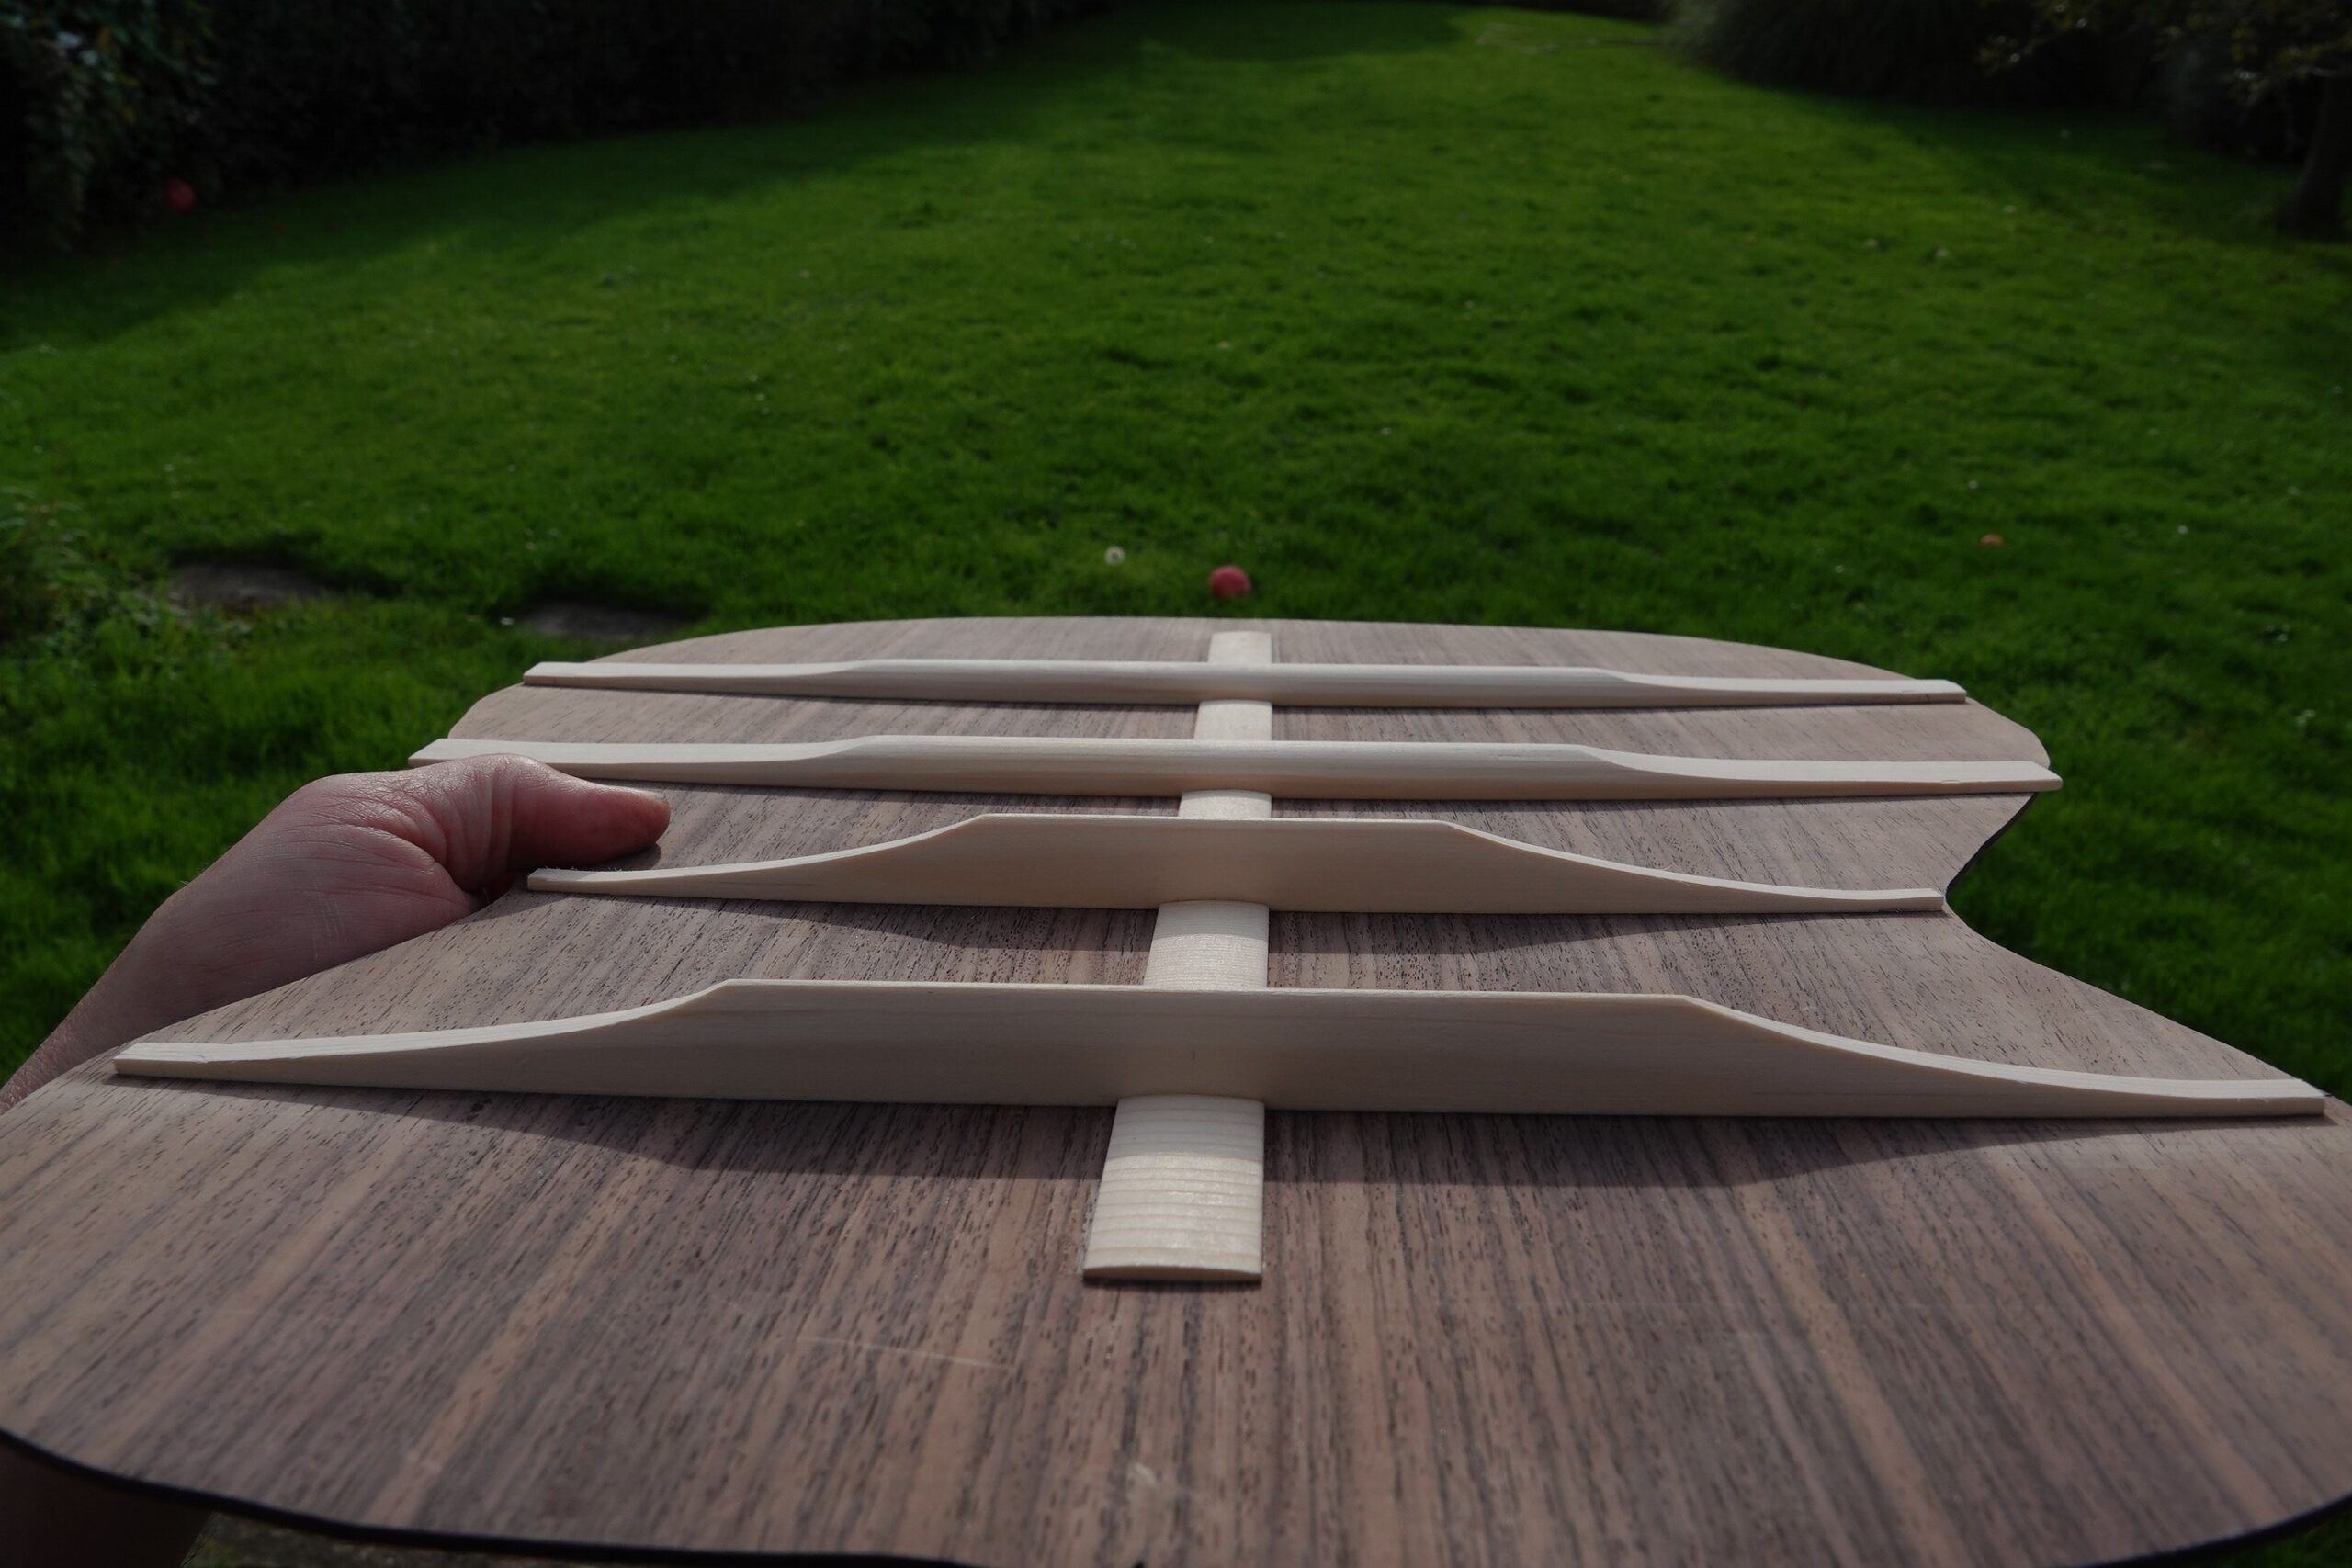
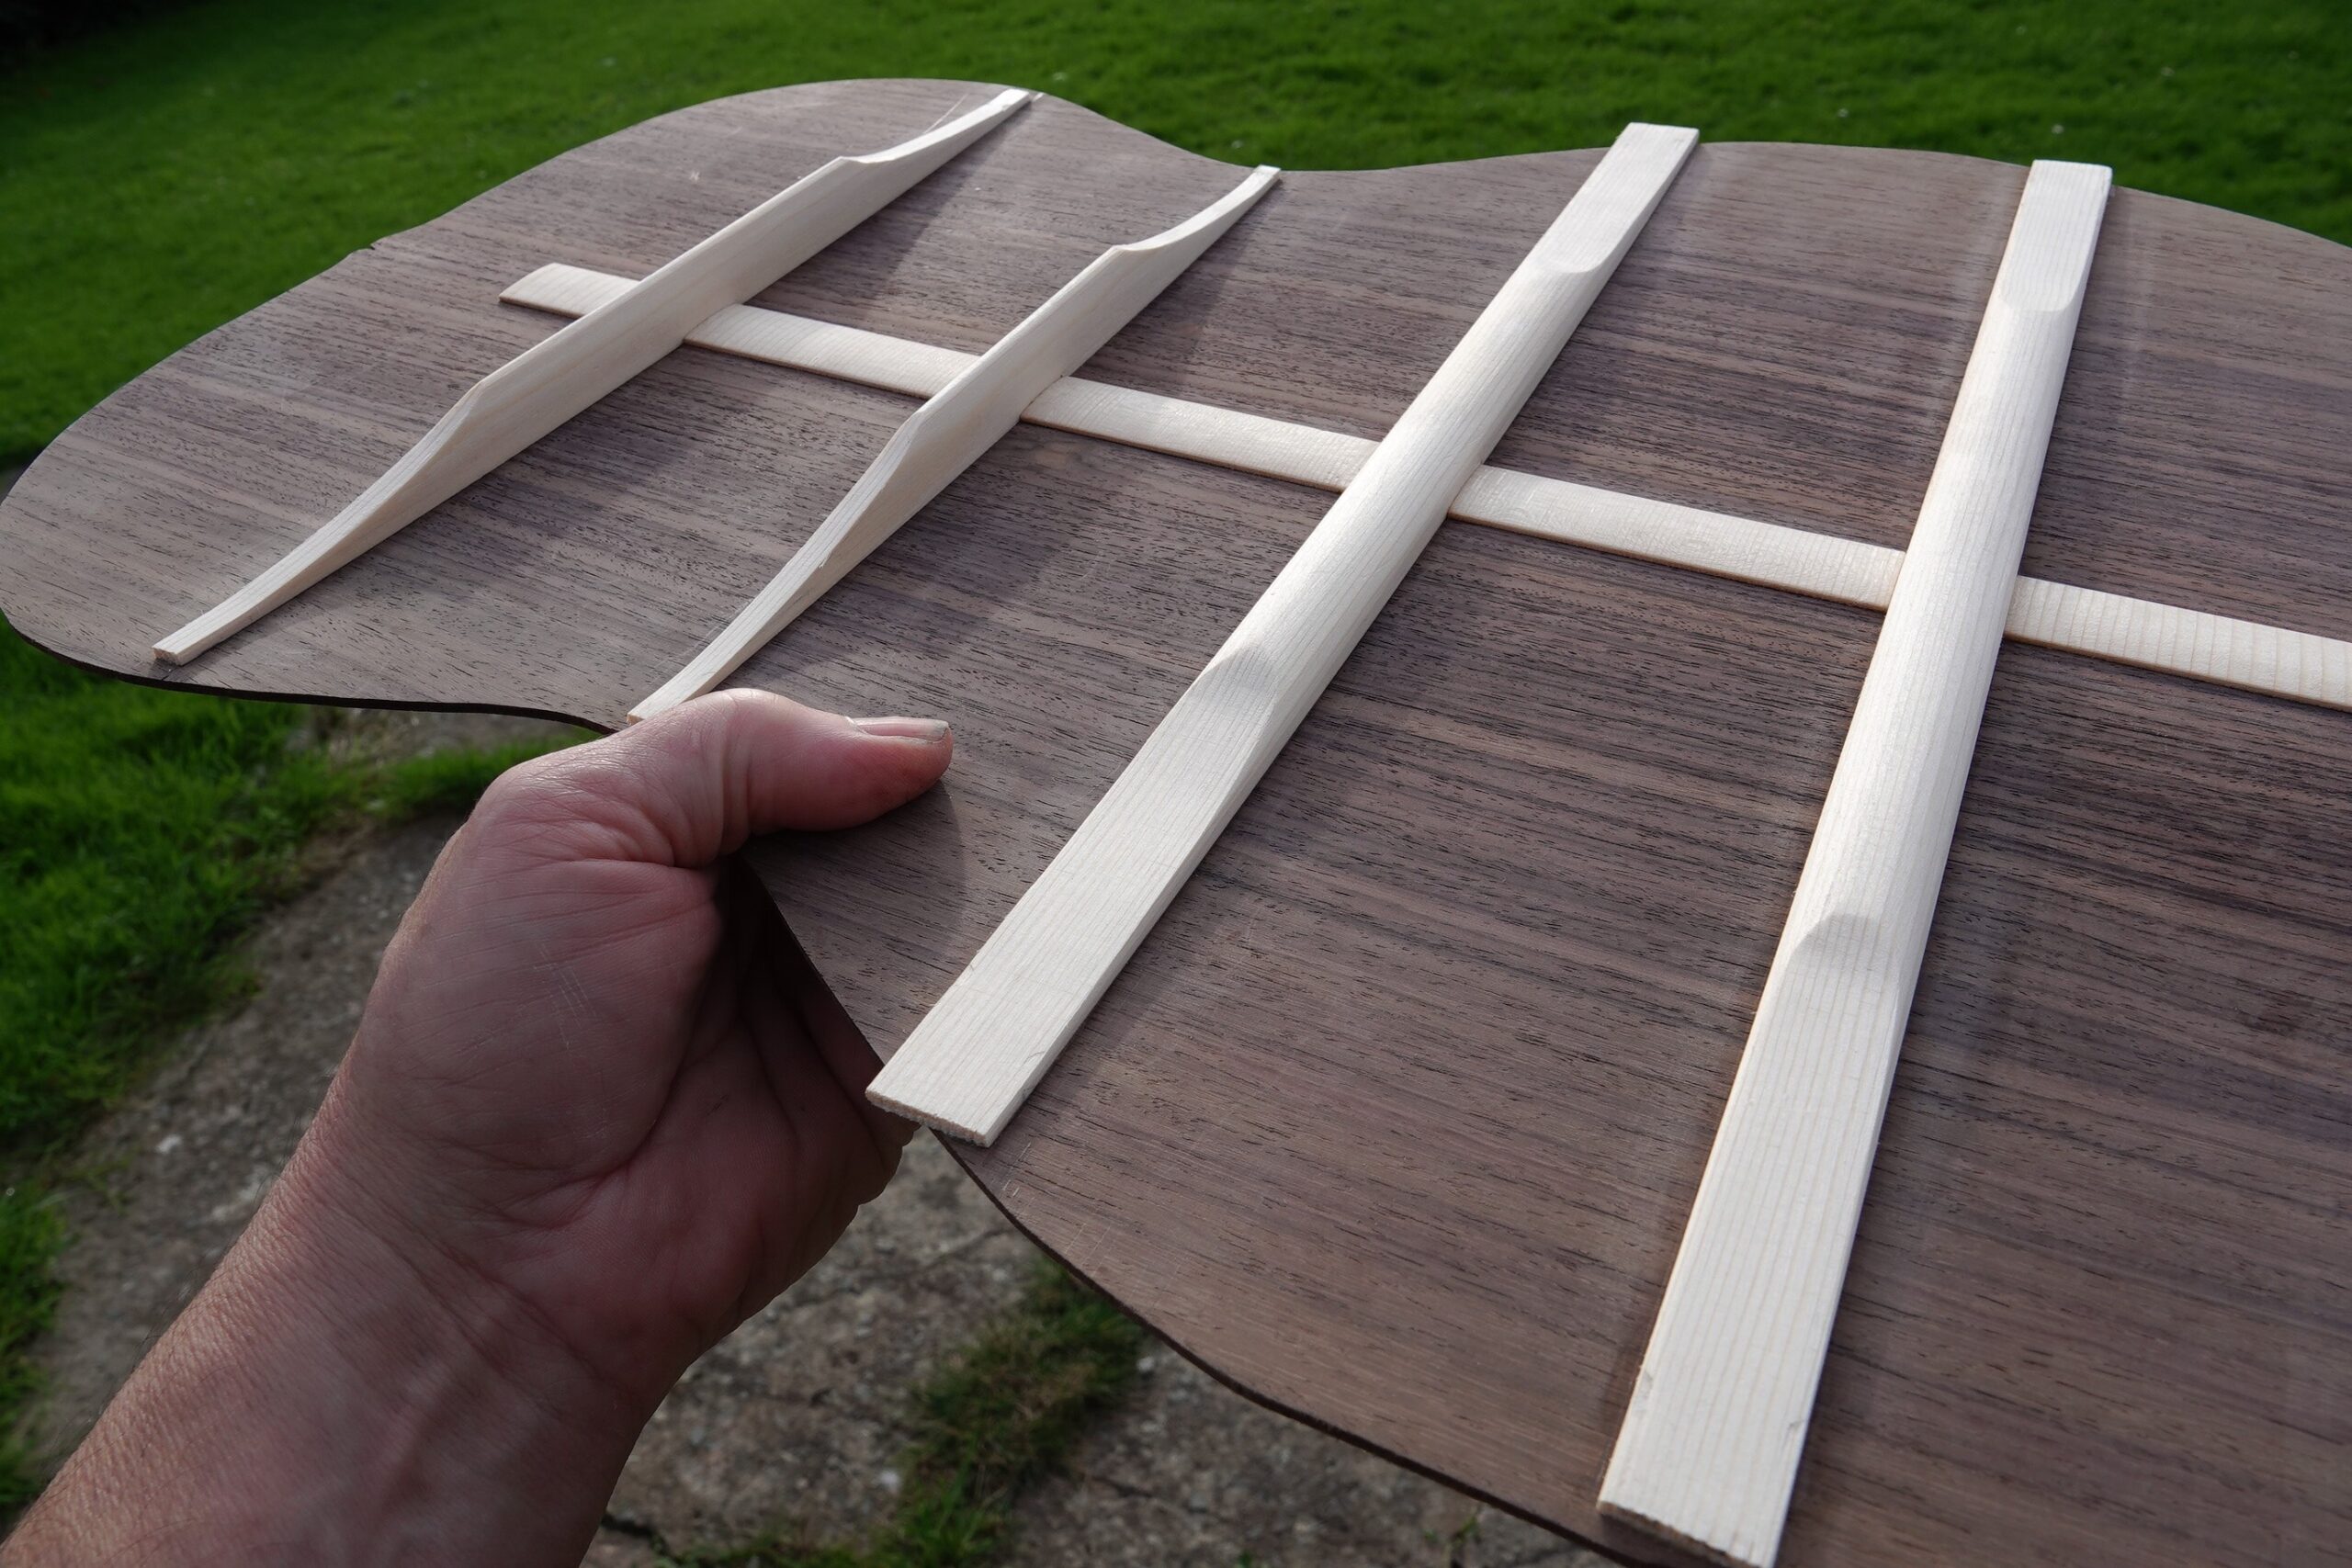
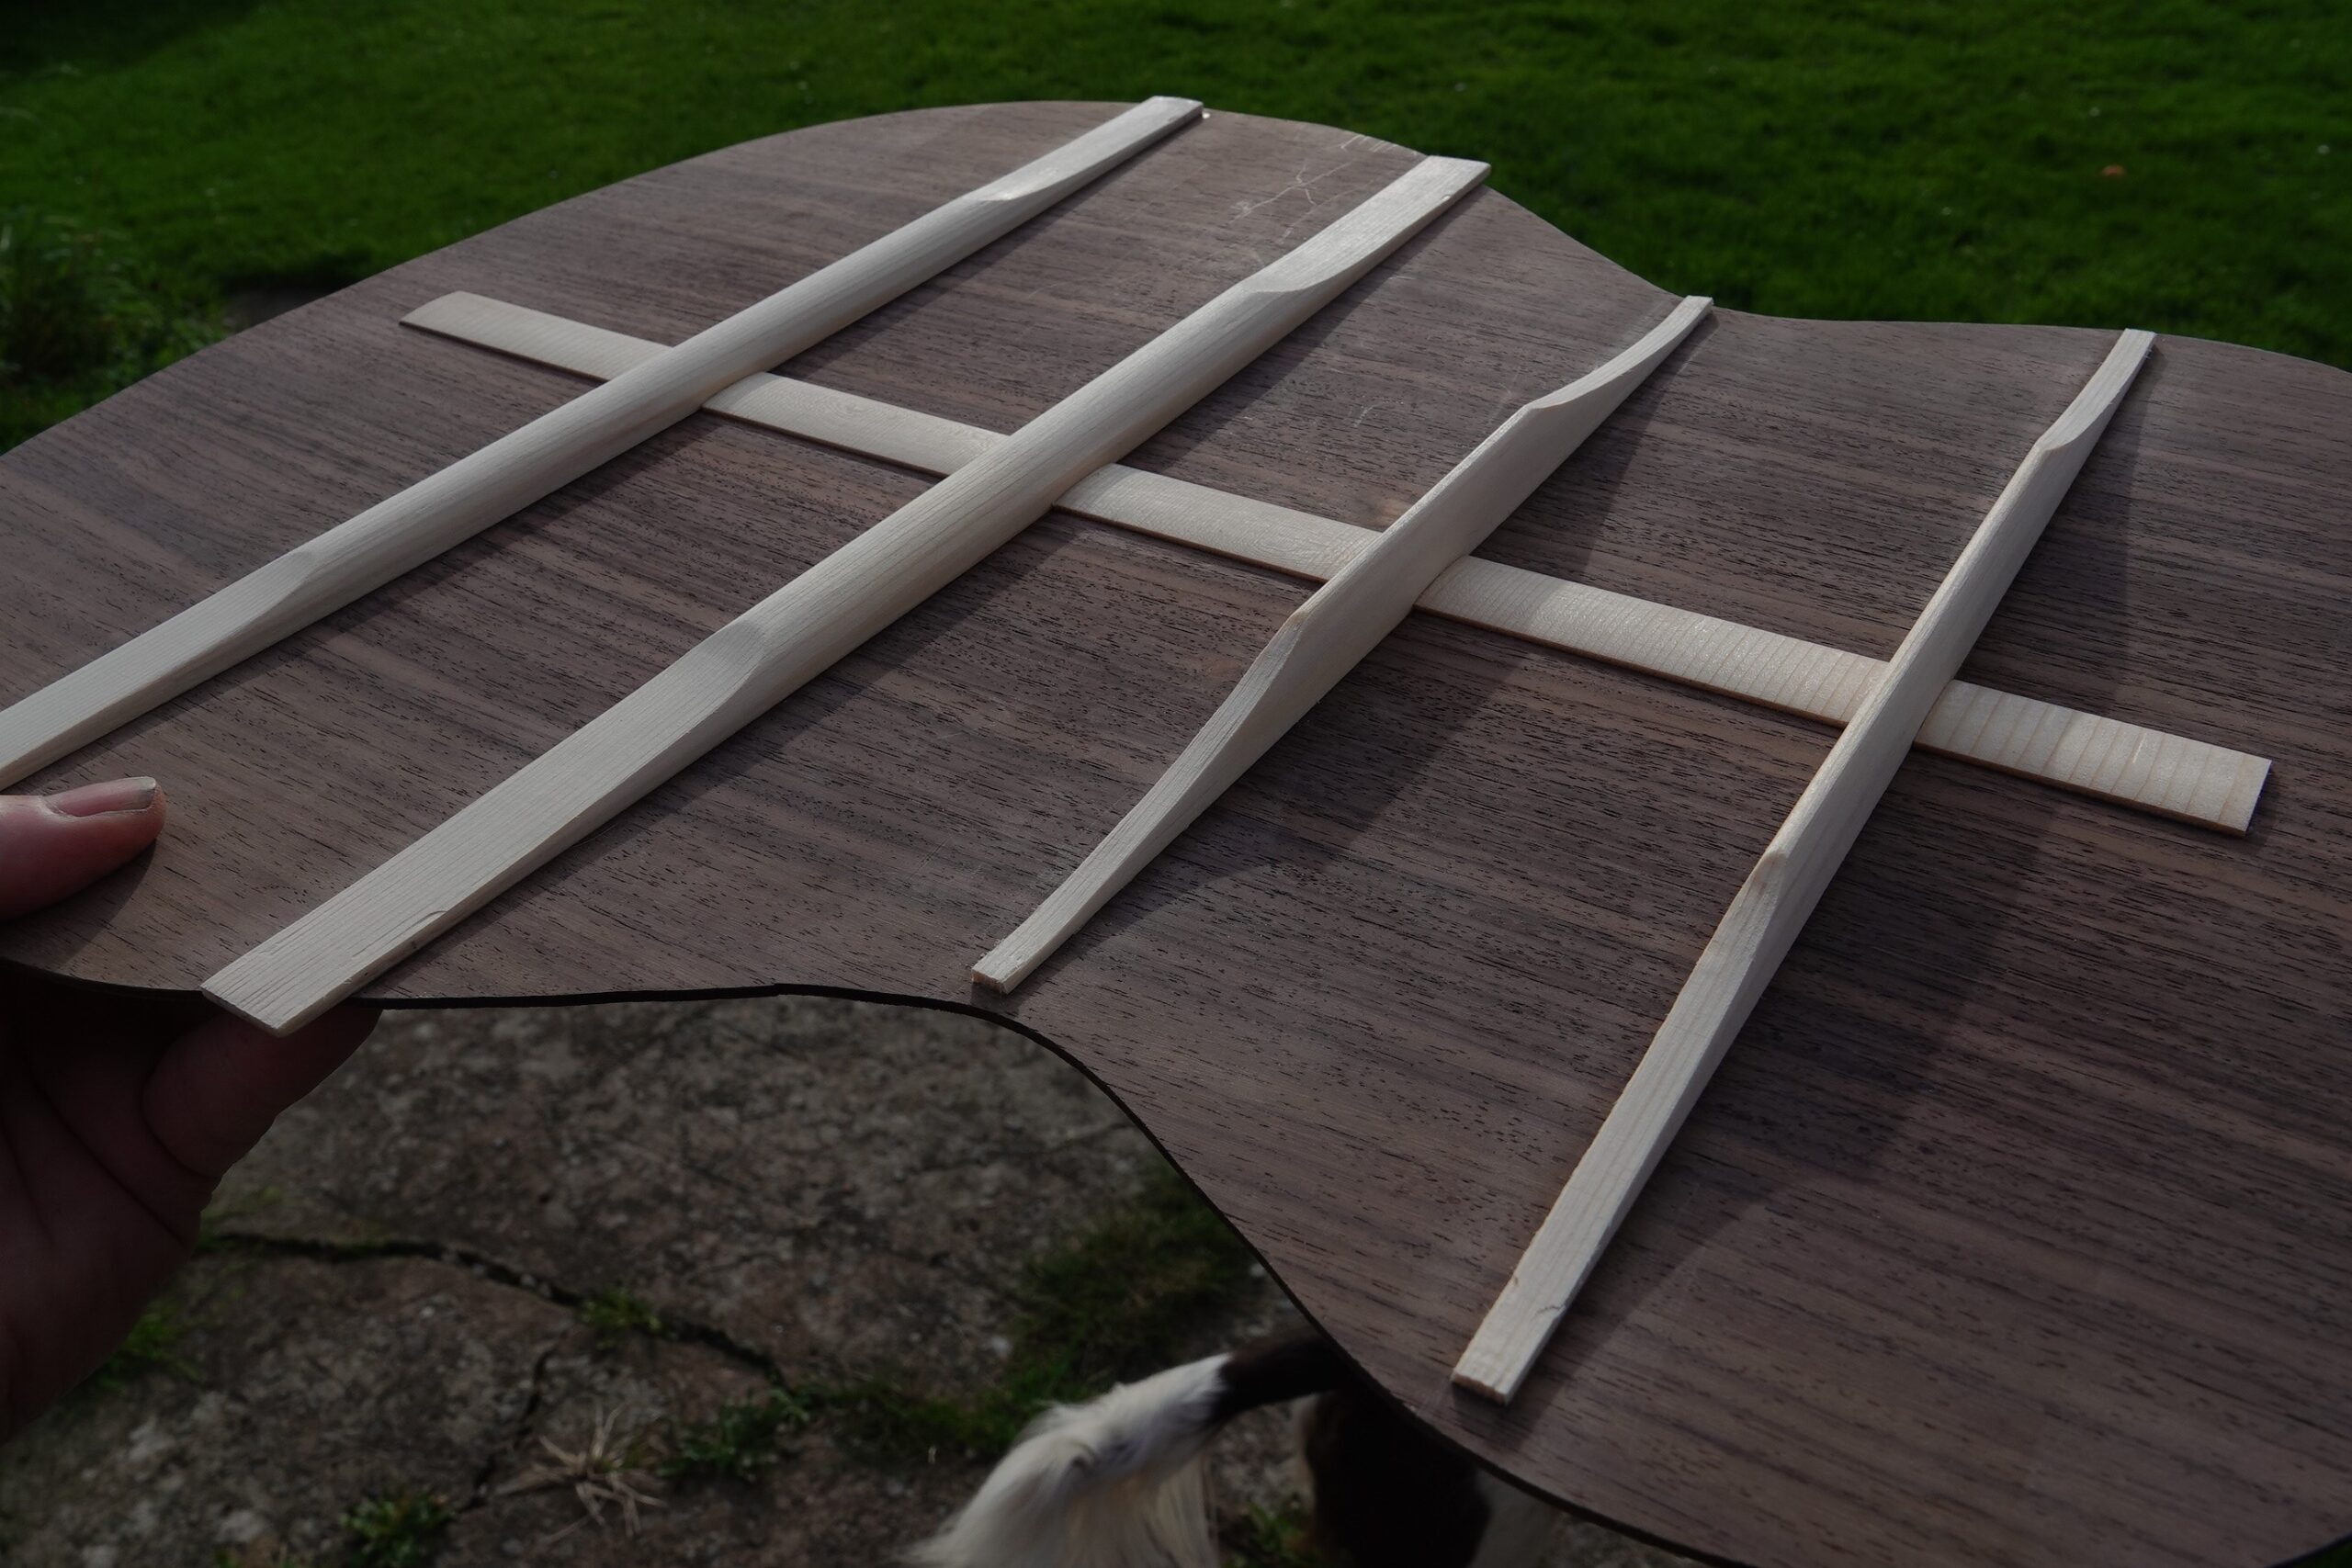
Finished Back Bracing
I’d spend some time shaping the braces on the back to match the plan, and this is where I got to:
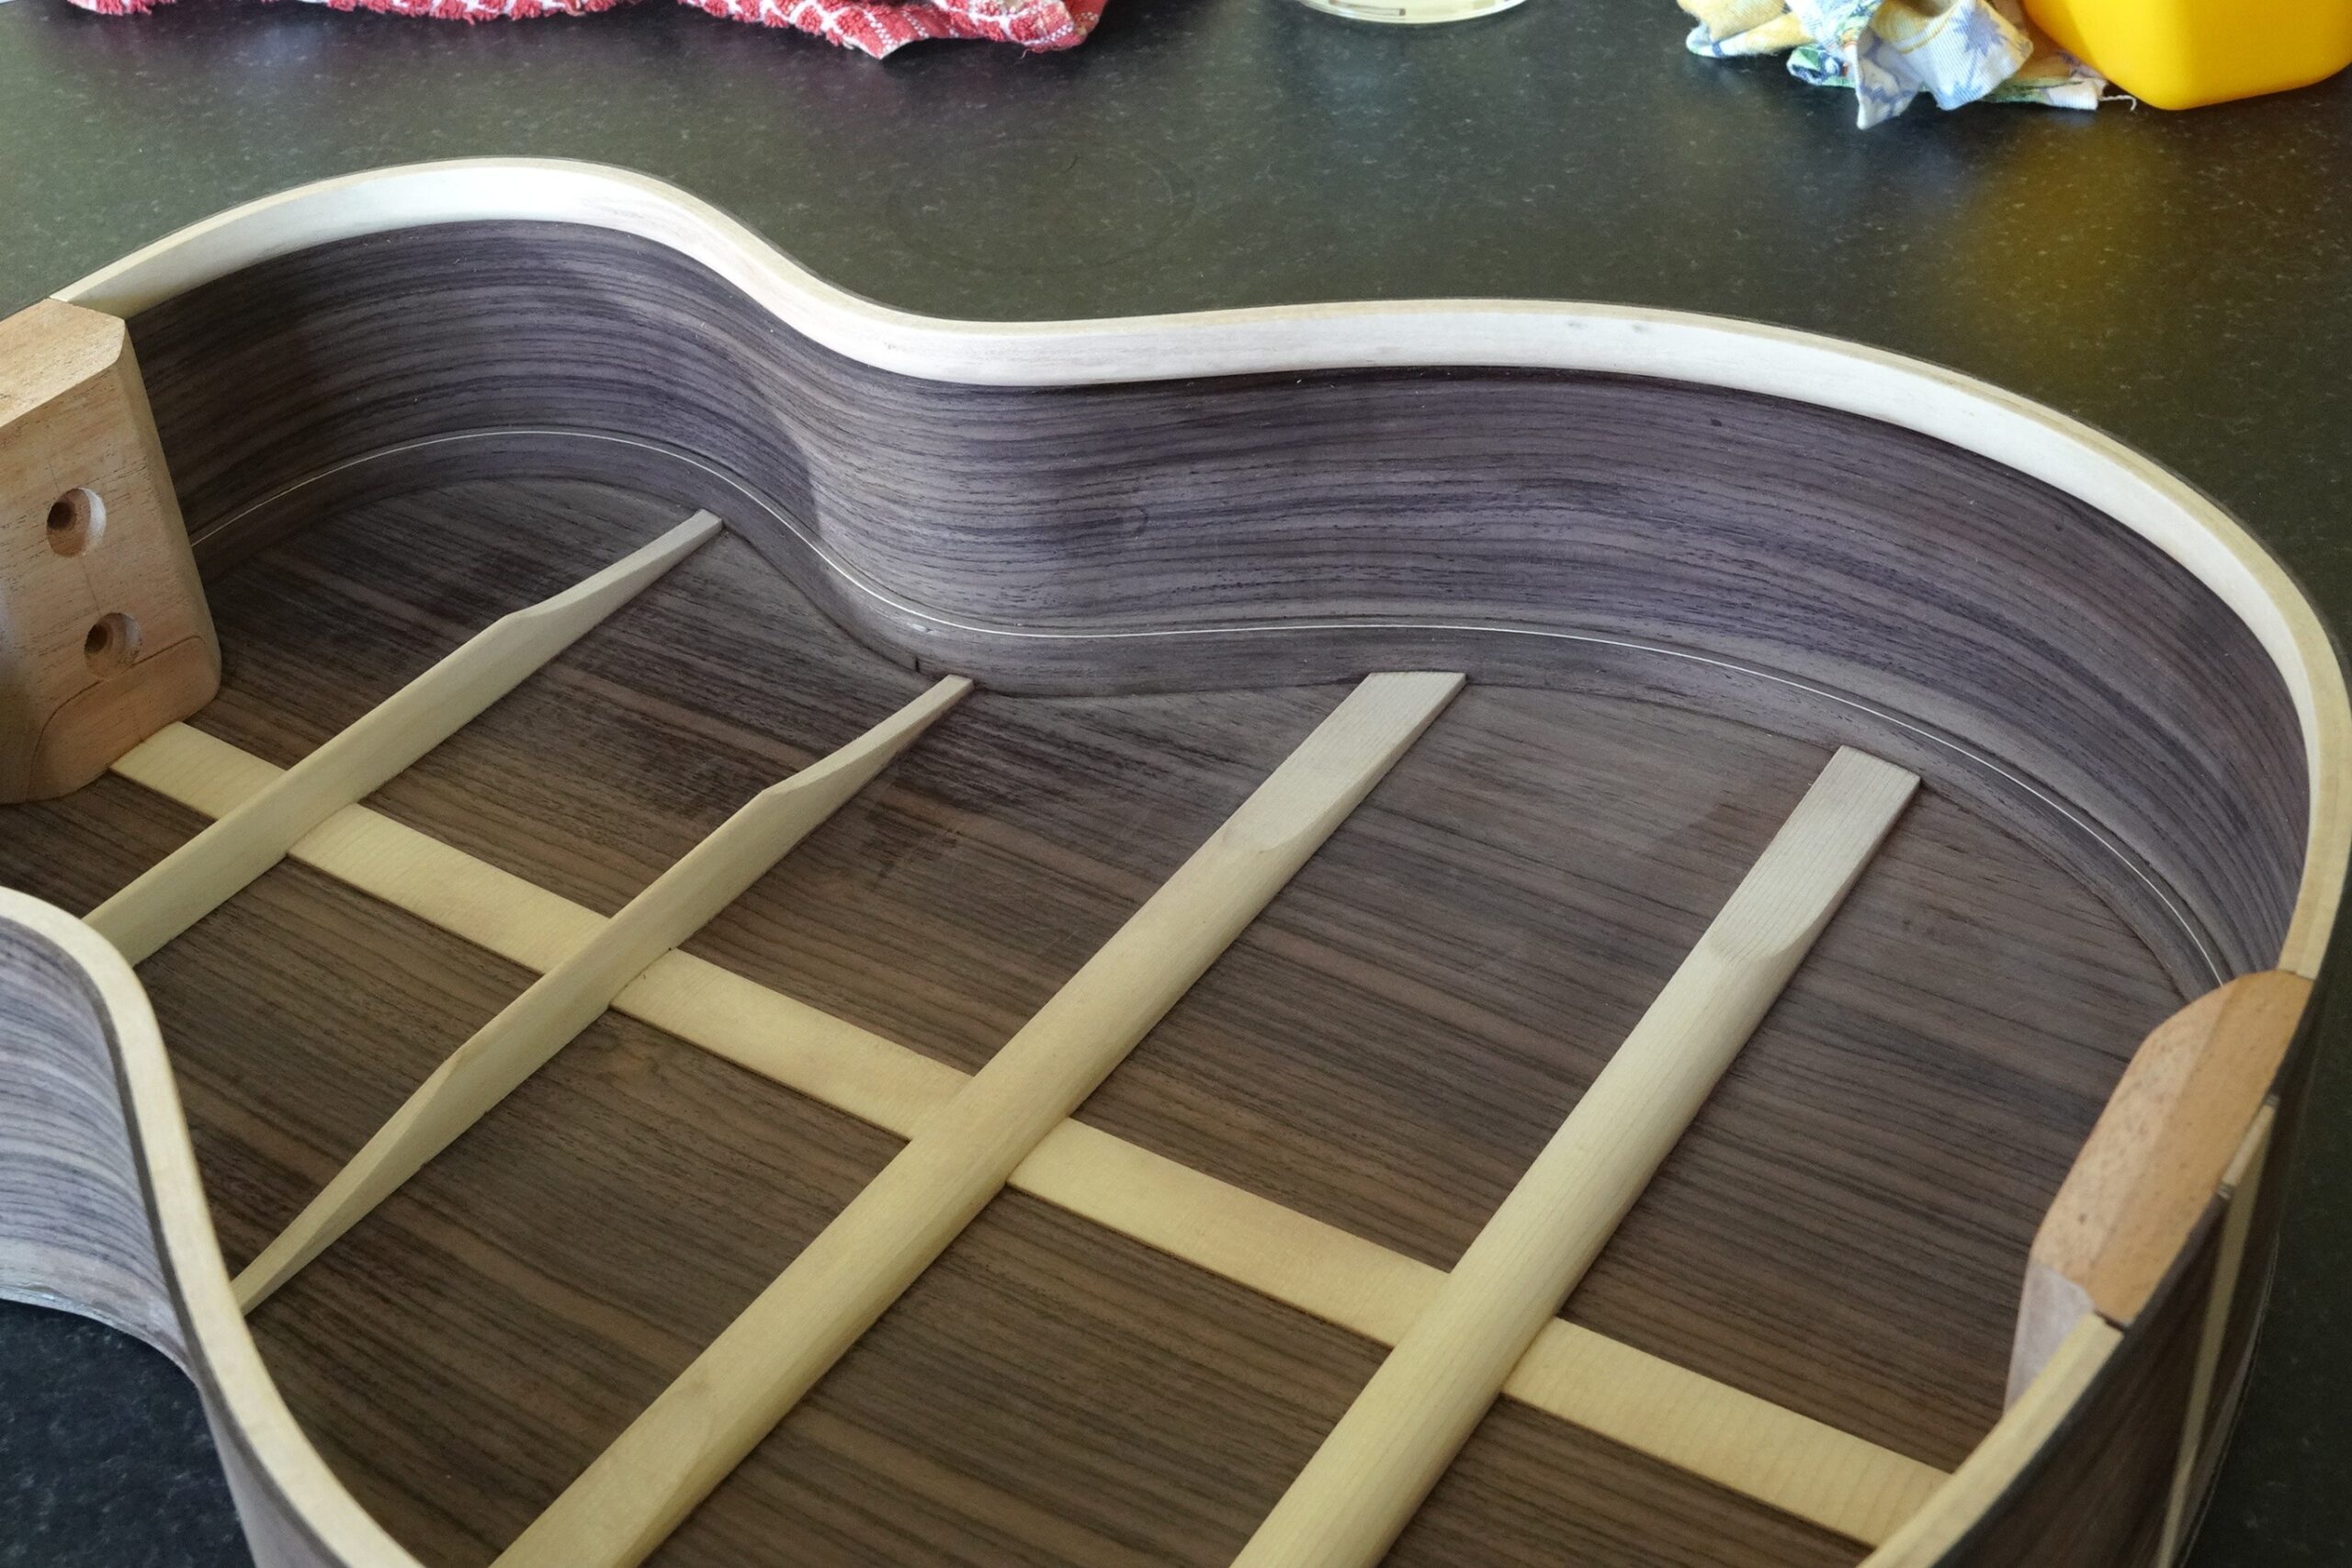
Fitting the Back
The lining needs to be morticed to accept the back braces. To mark the brace positions on the lining, I copied an idea from one of Marshall Brune’s videos and made a very thin marking knife out of an old hacksaw blade:
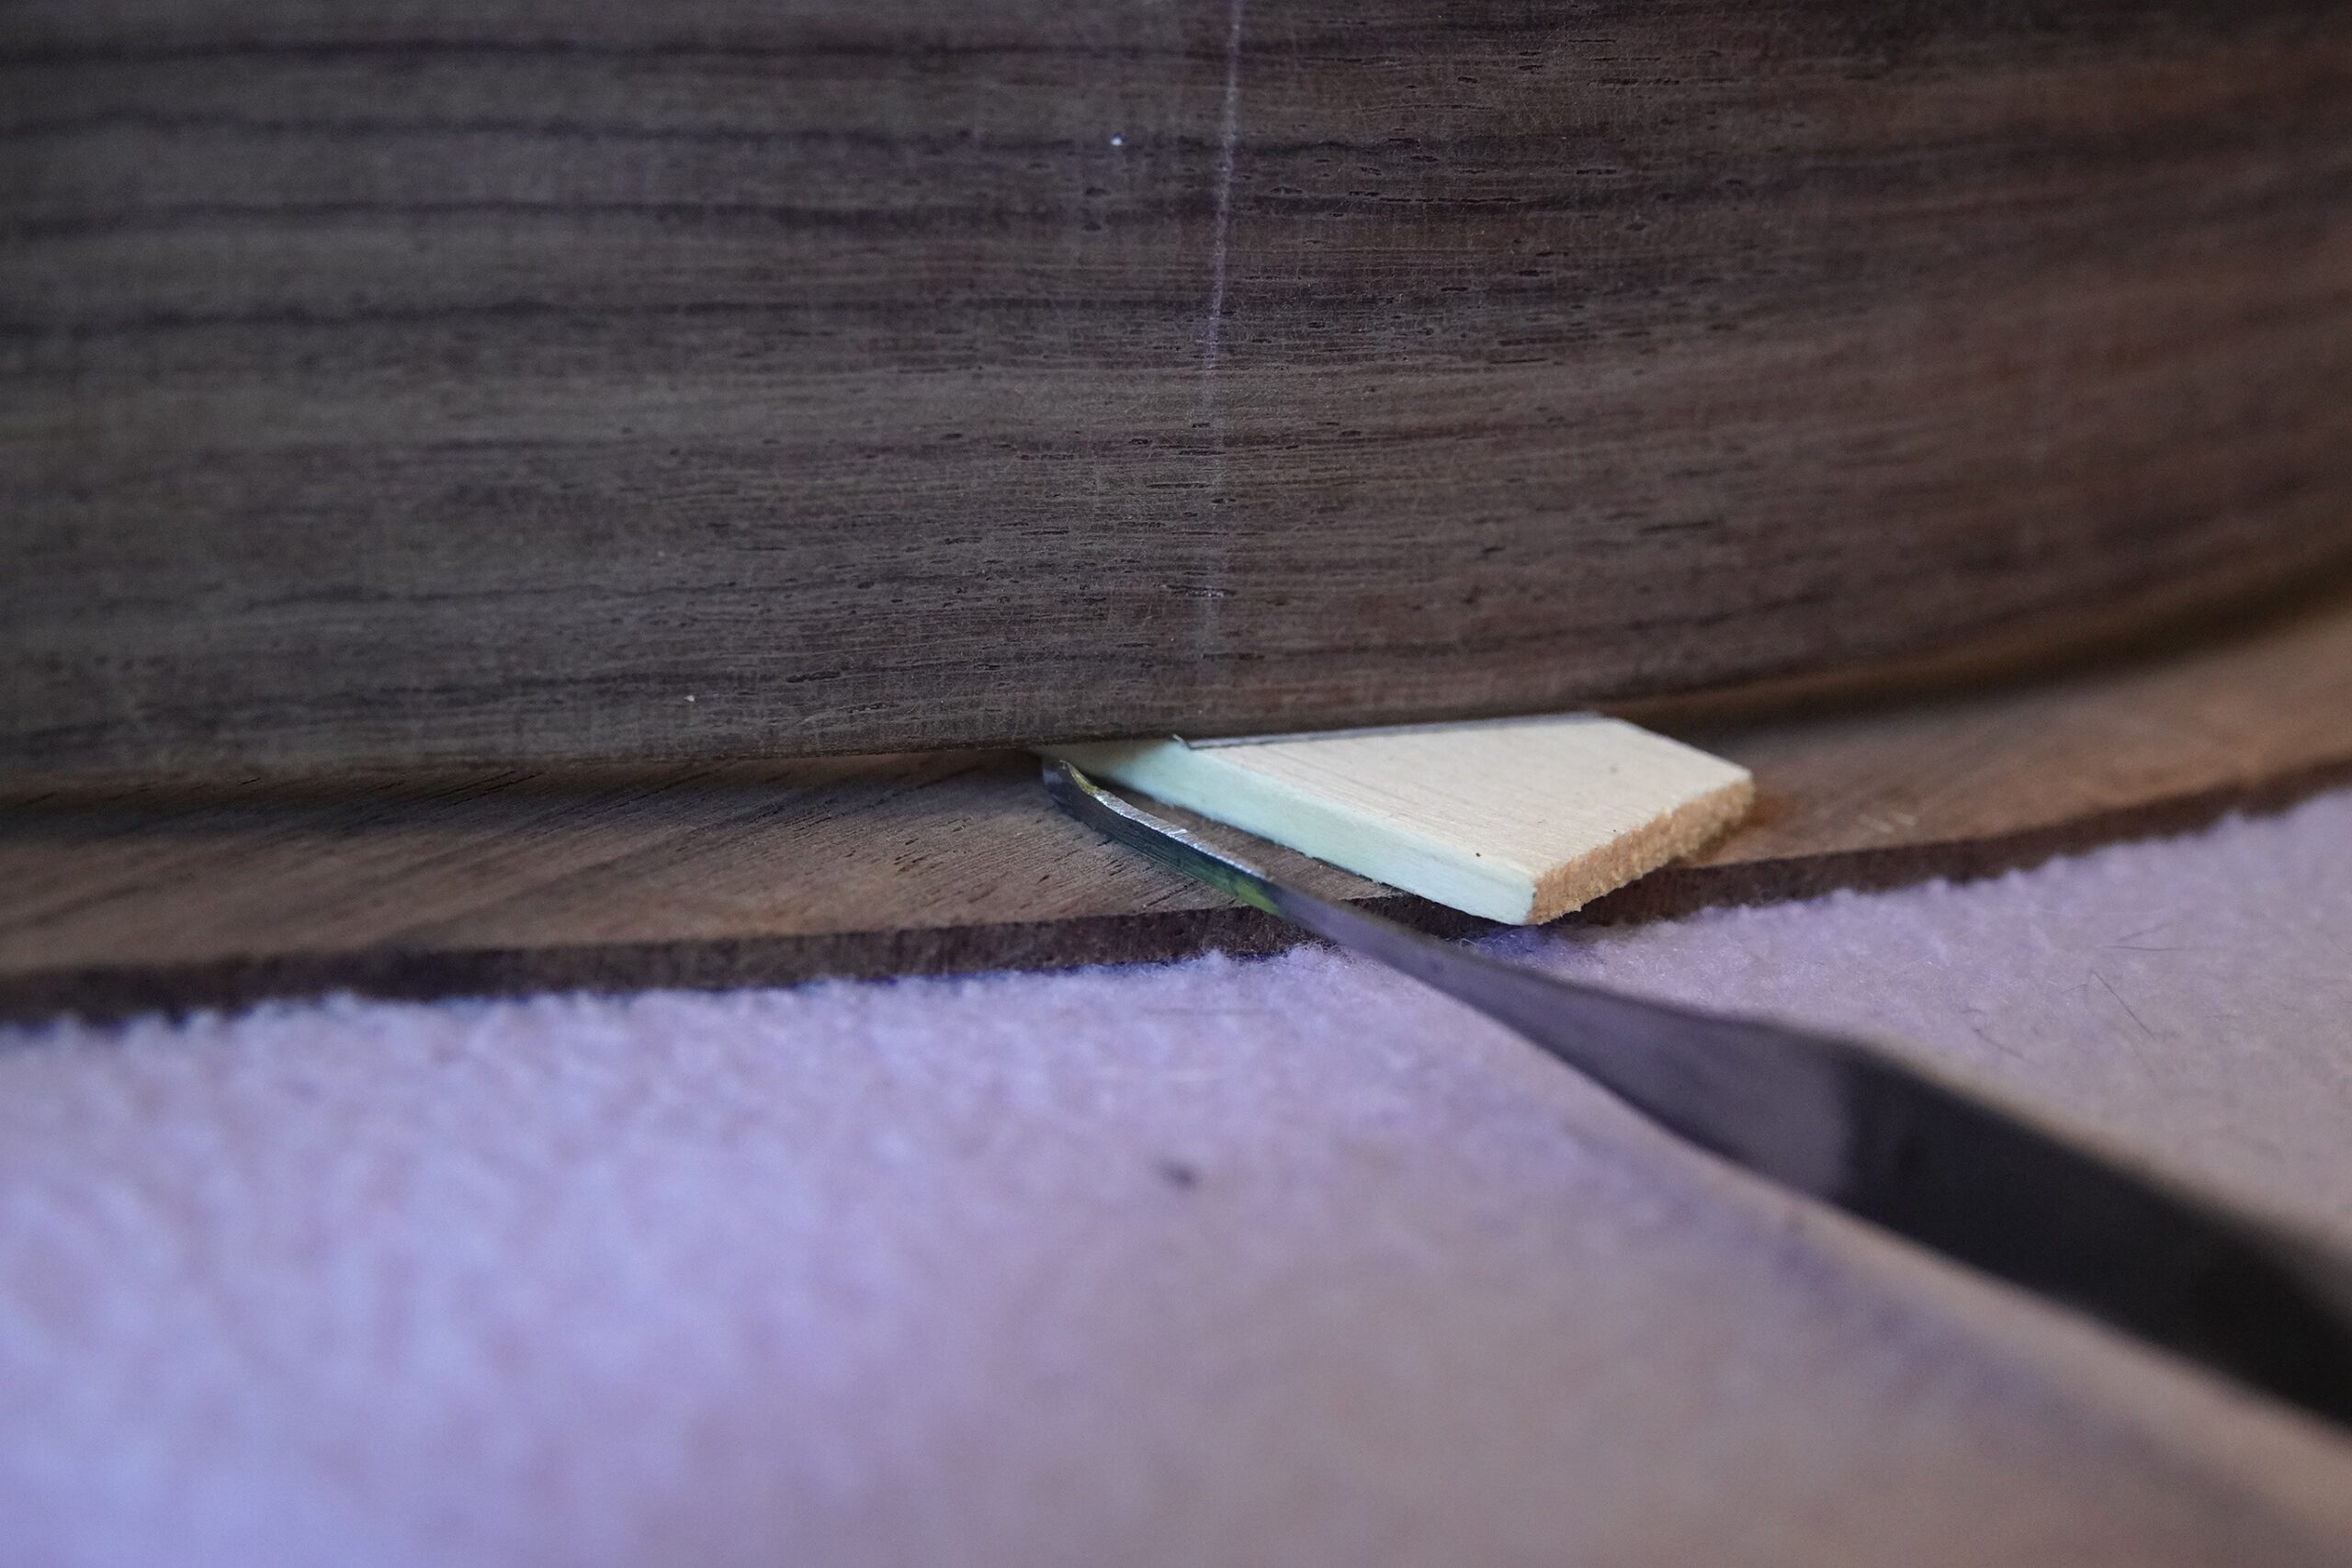
This could be slipped it under the back and used to mark the edges of each brace on the lining:
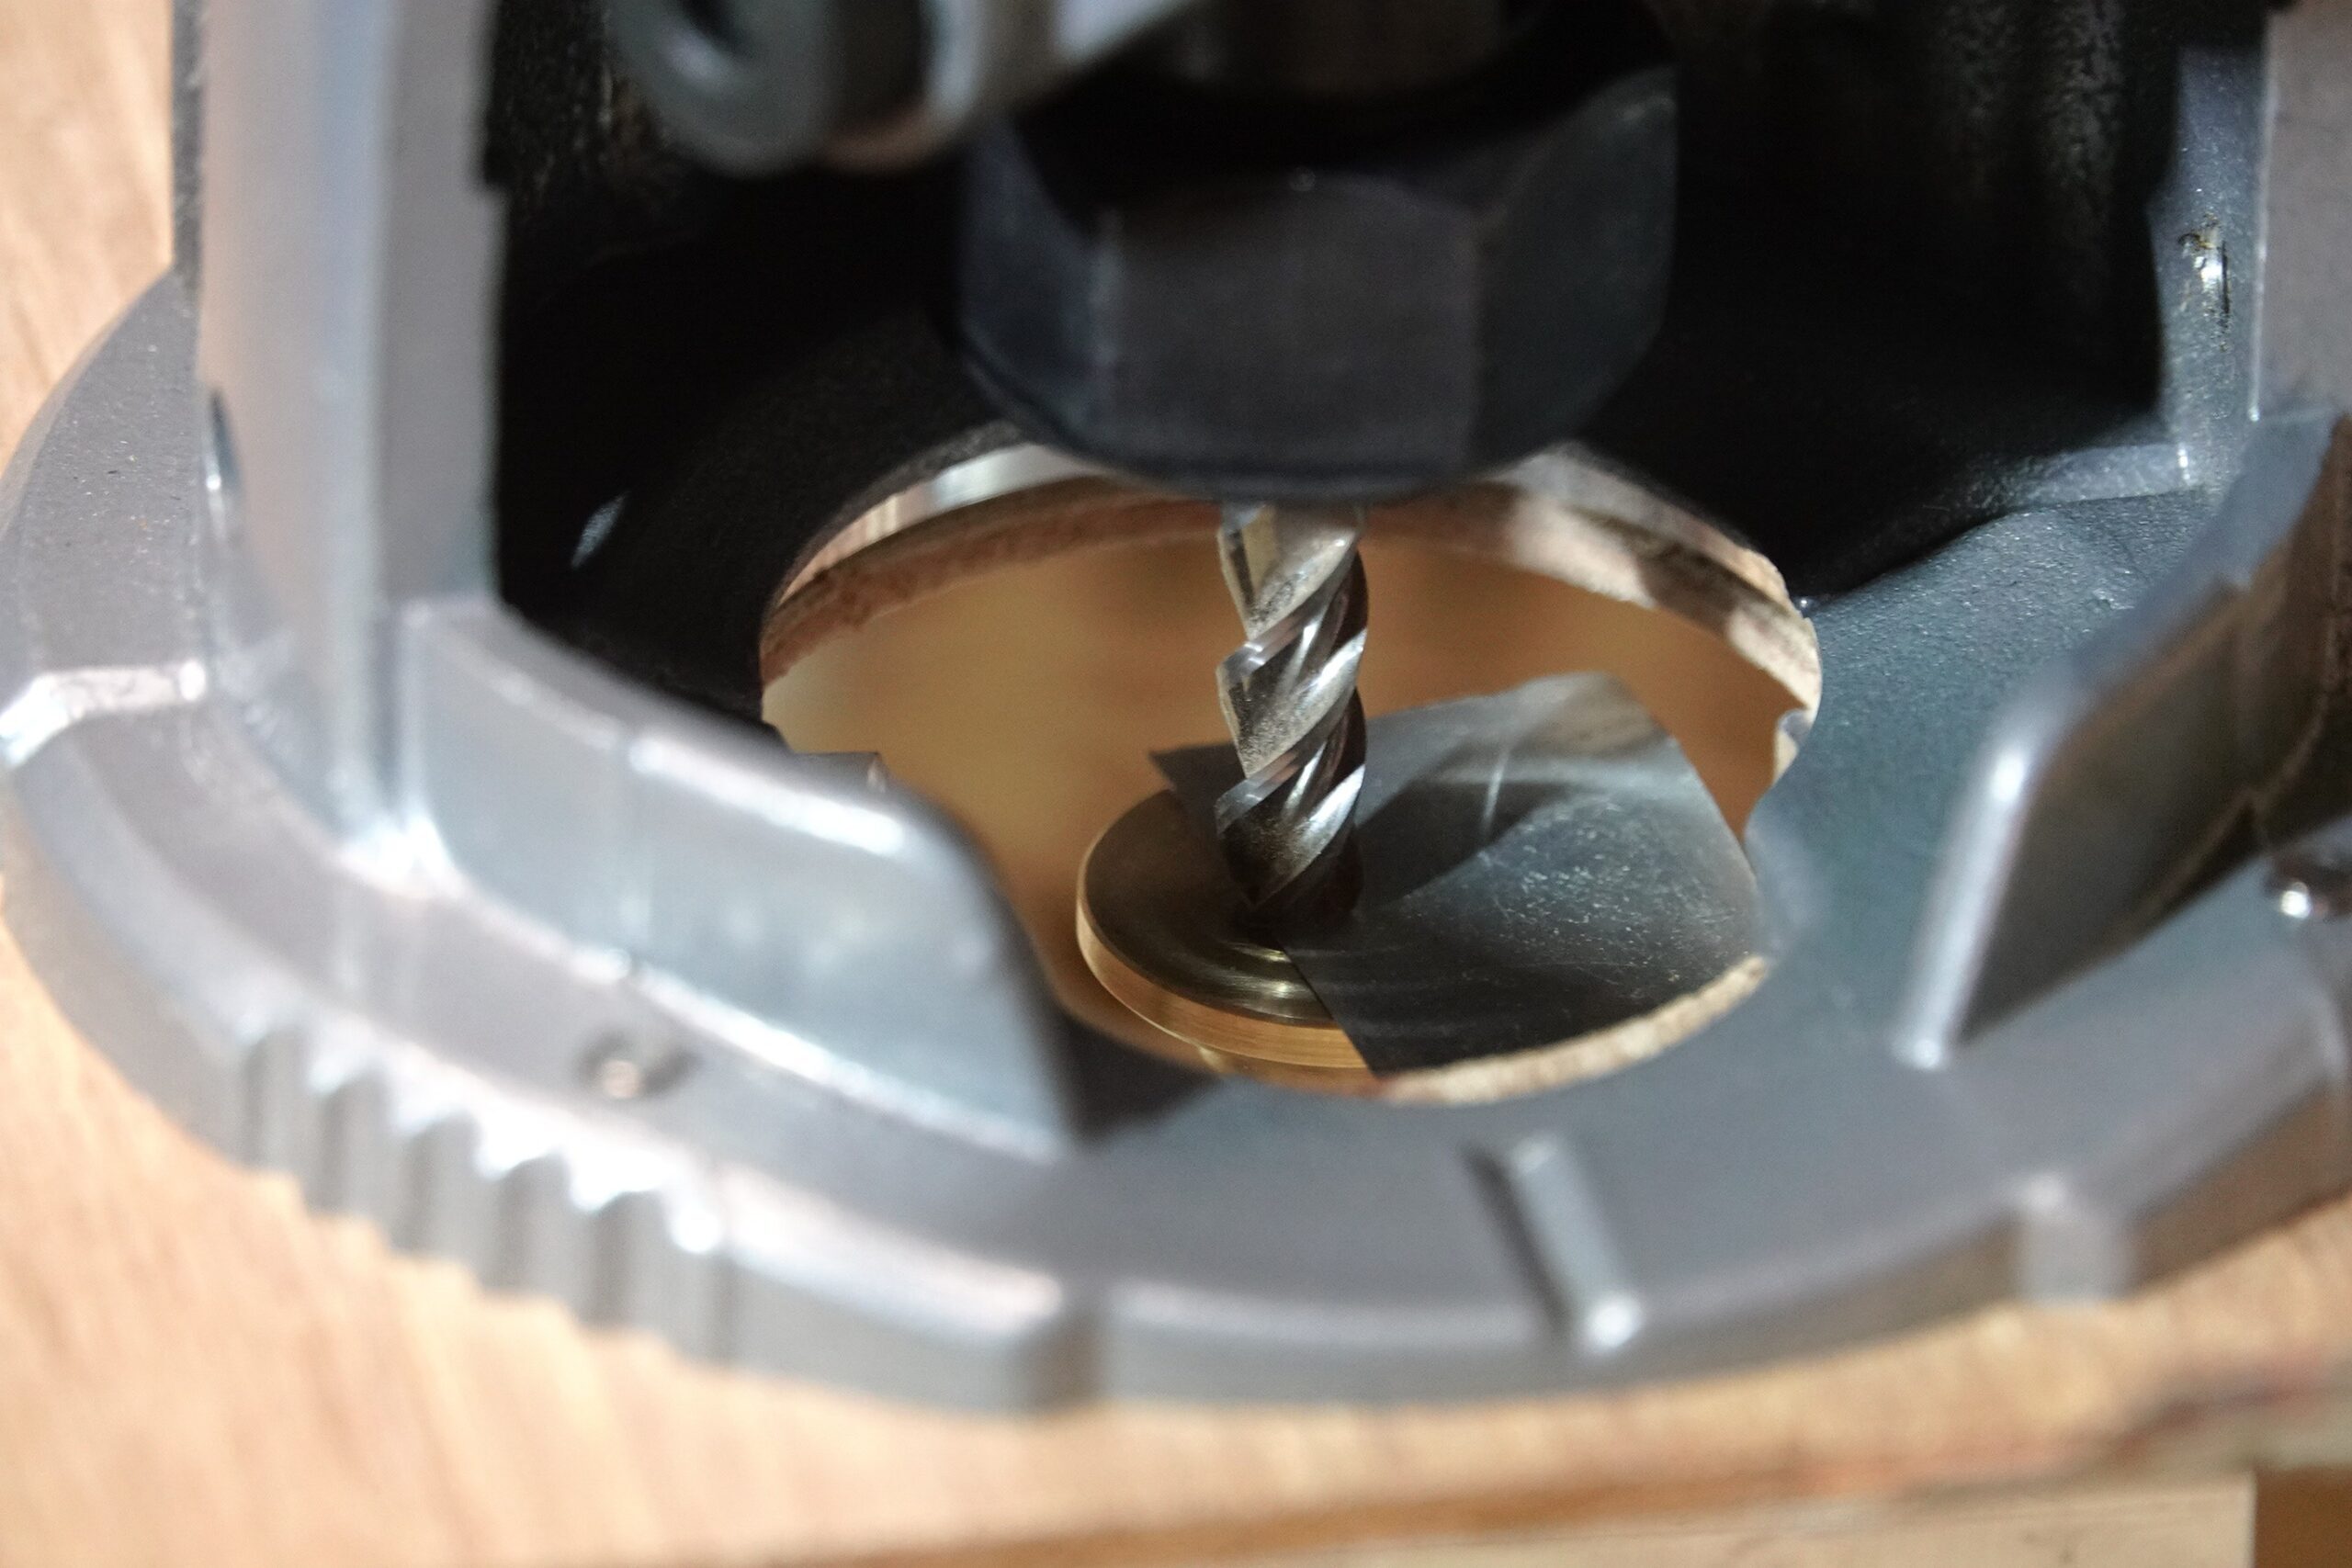
A trim router was used to cut out the bulk of the material:
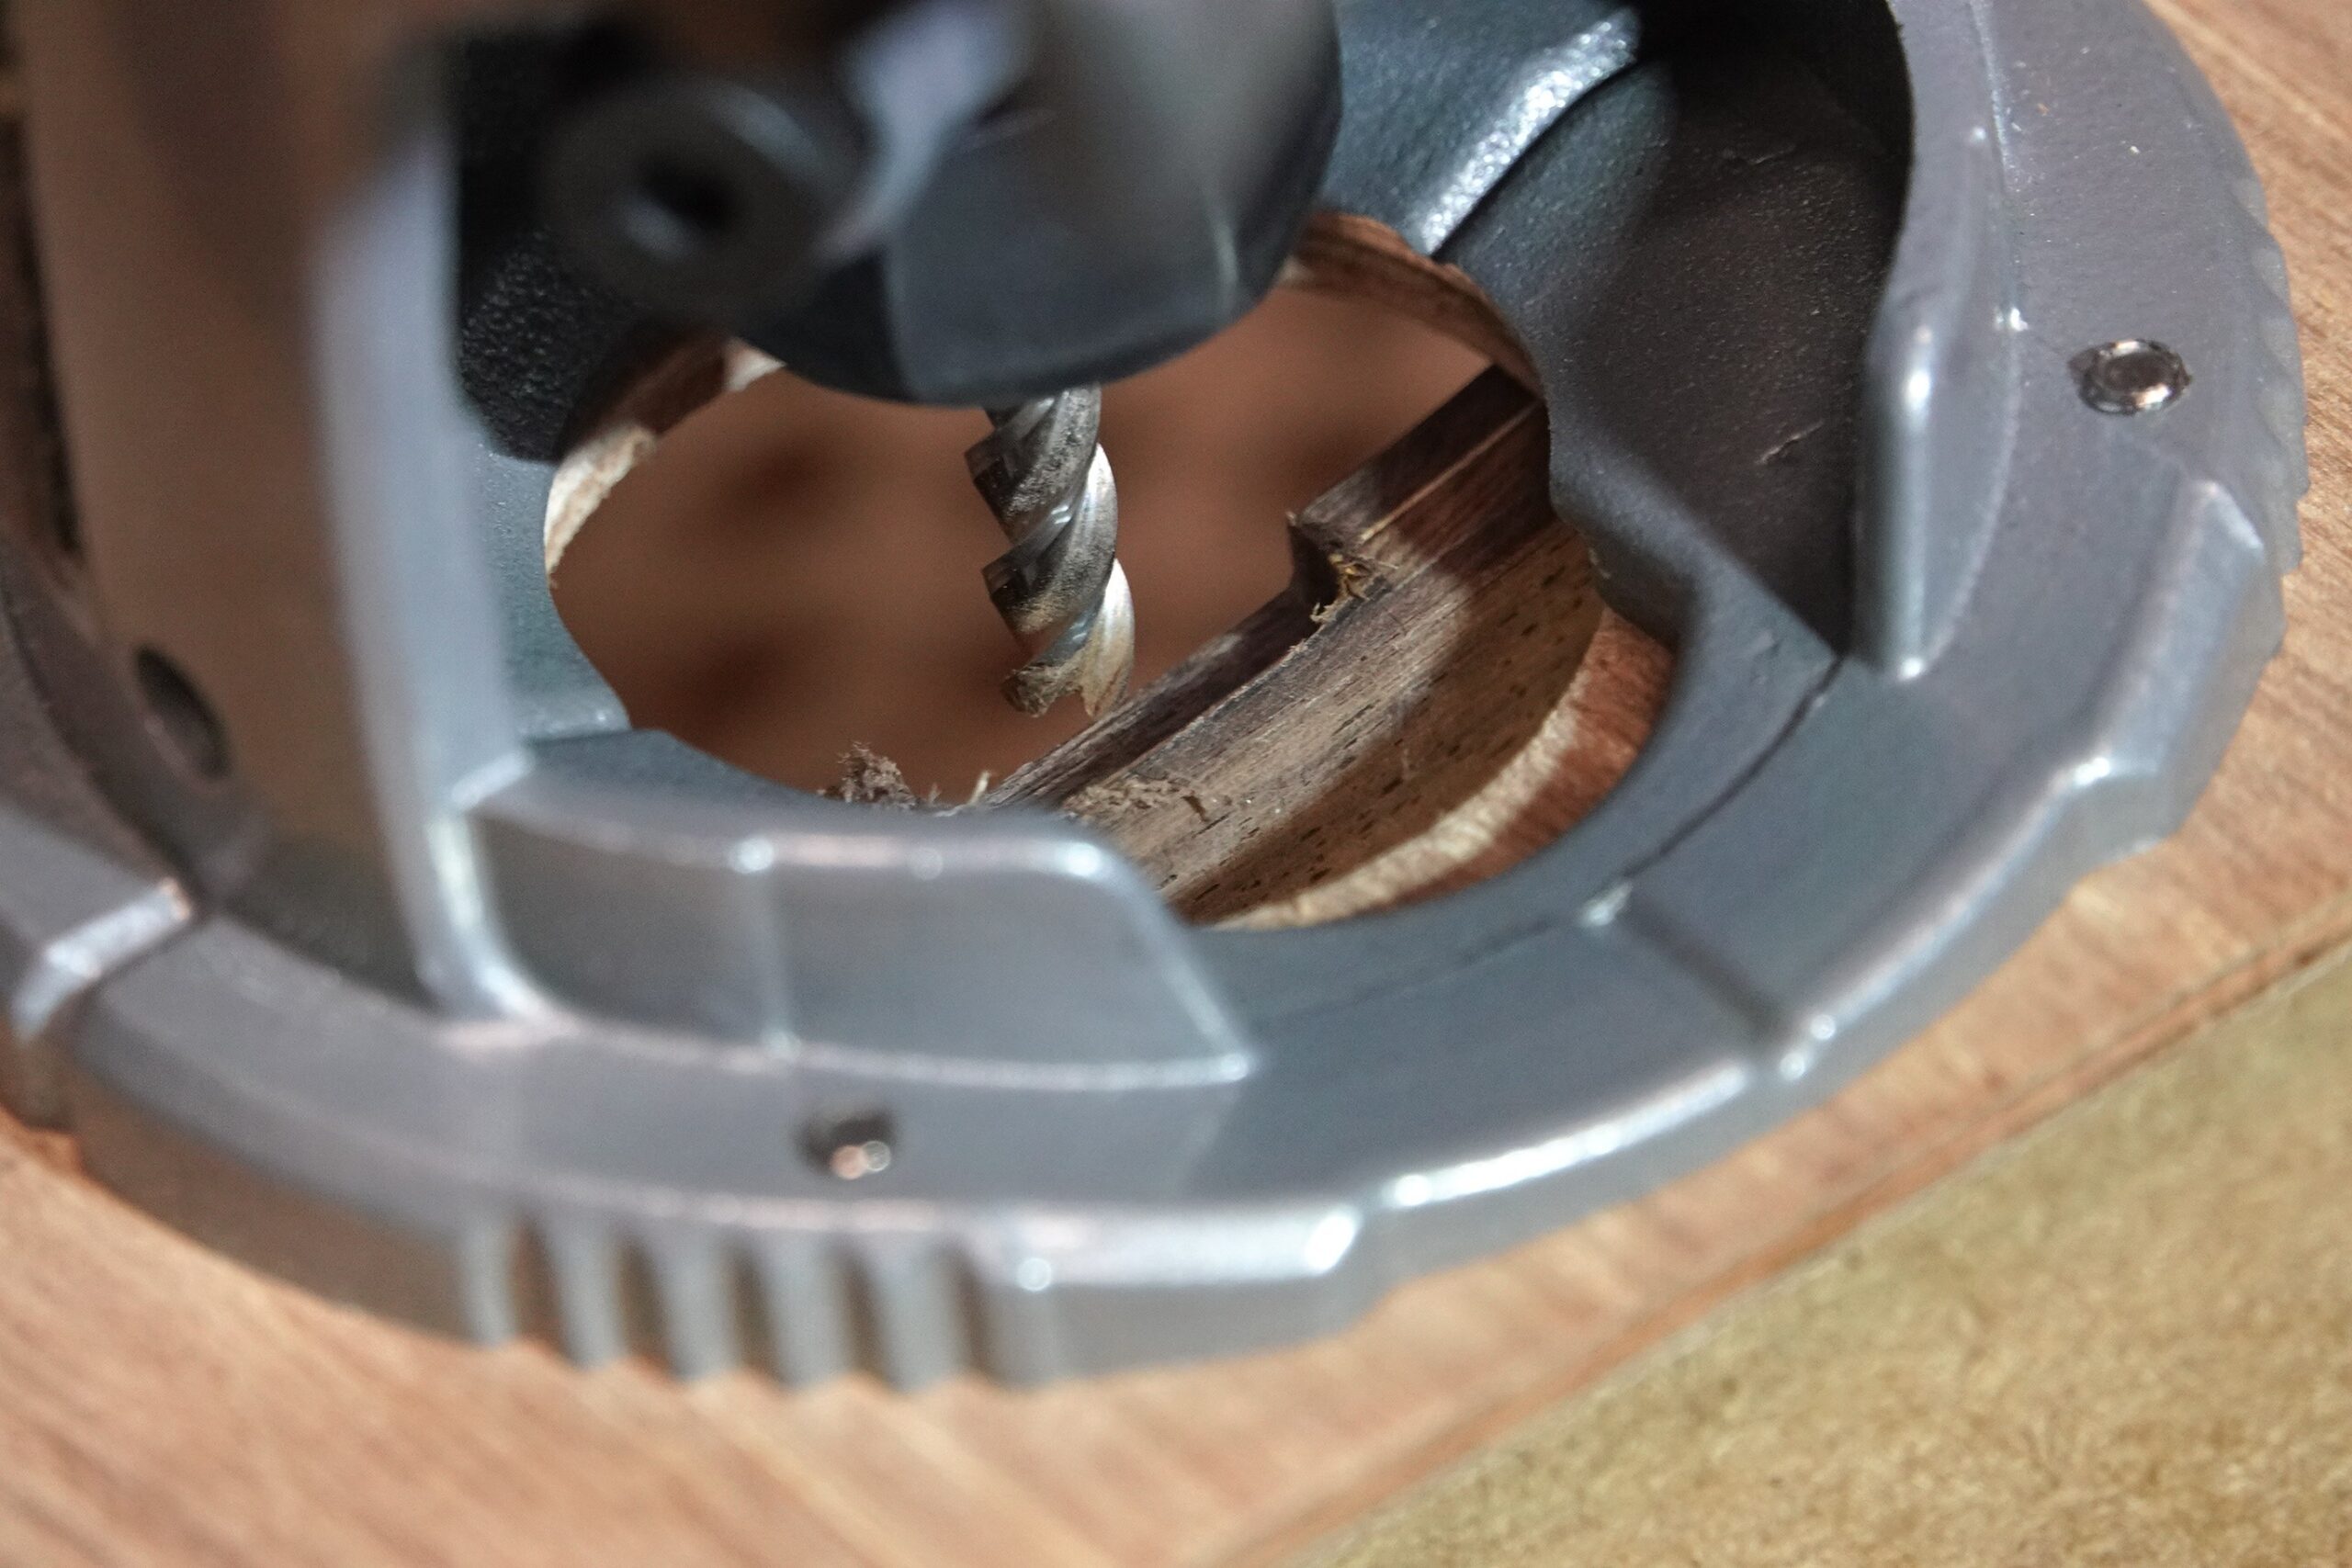
The depth of cut was set to match height each brace end individually – setting a height gauge to the depth of the brace:

Setting the cutter depth to match the gauge, with a coke can shim to reduce the depth of cut very slightly in an attempt to keep the joints snug.
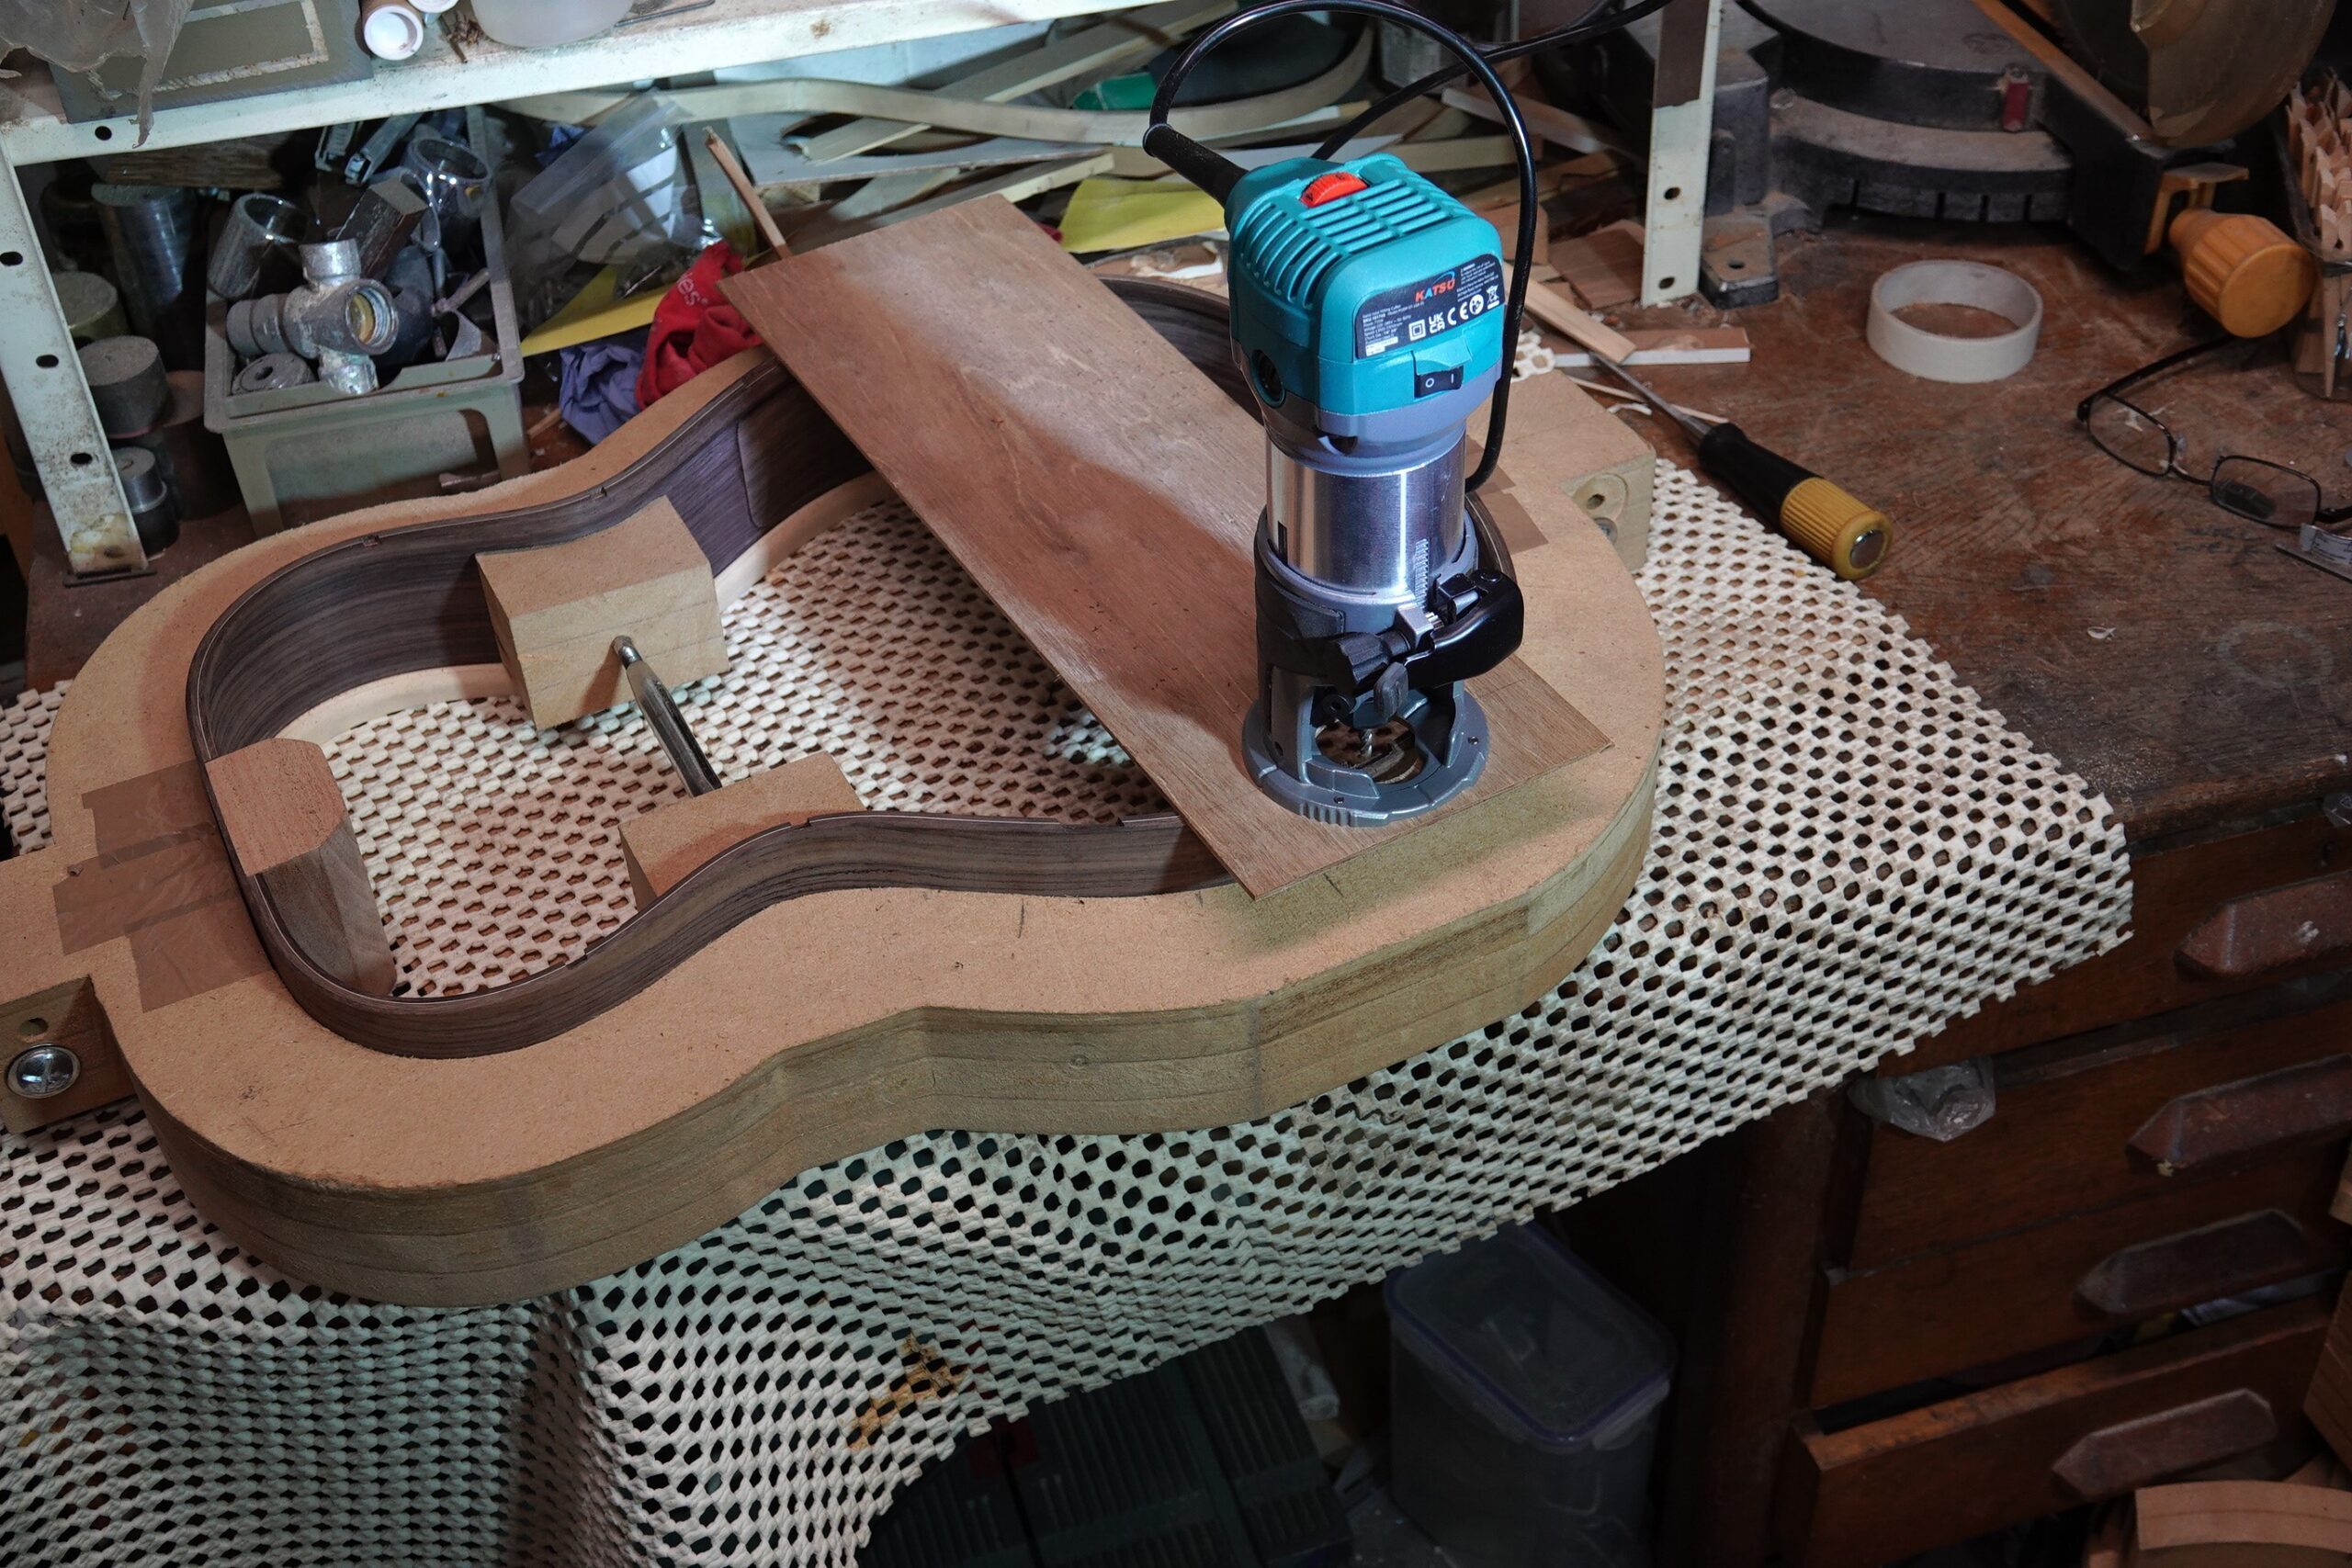
I’d fastened a piece of ply to the router to act as an extended base and just free-handed the bulk of the material out before cleaning the pocket up with a chisel
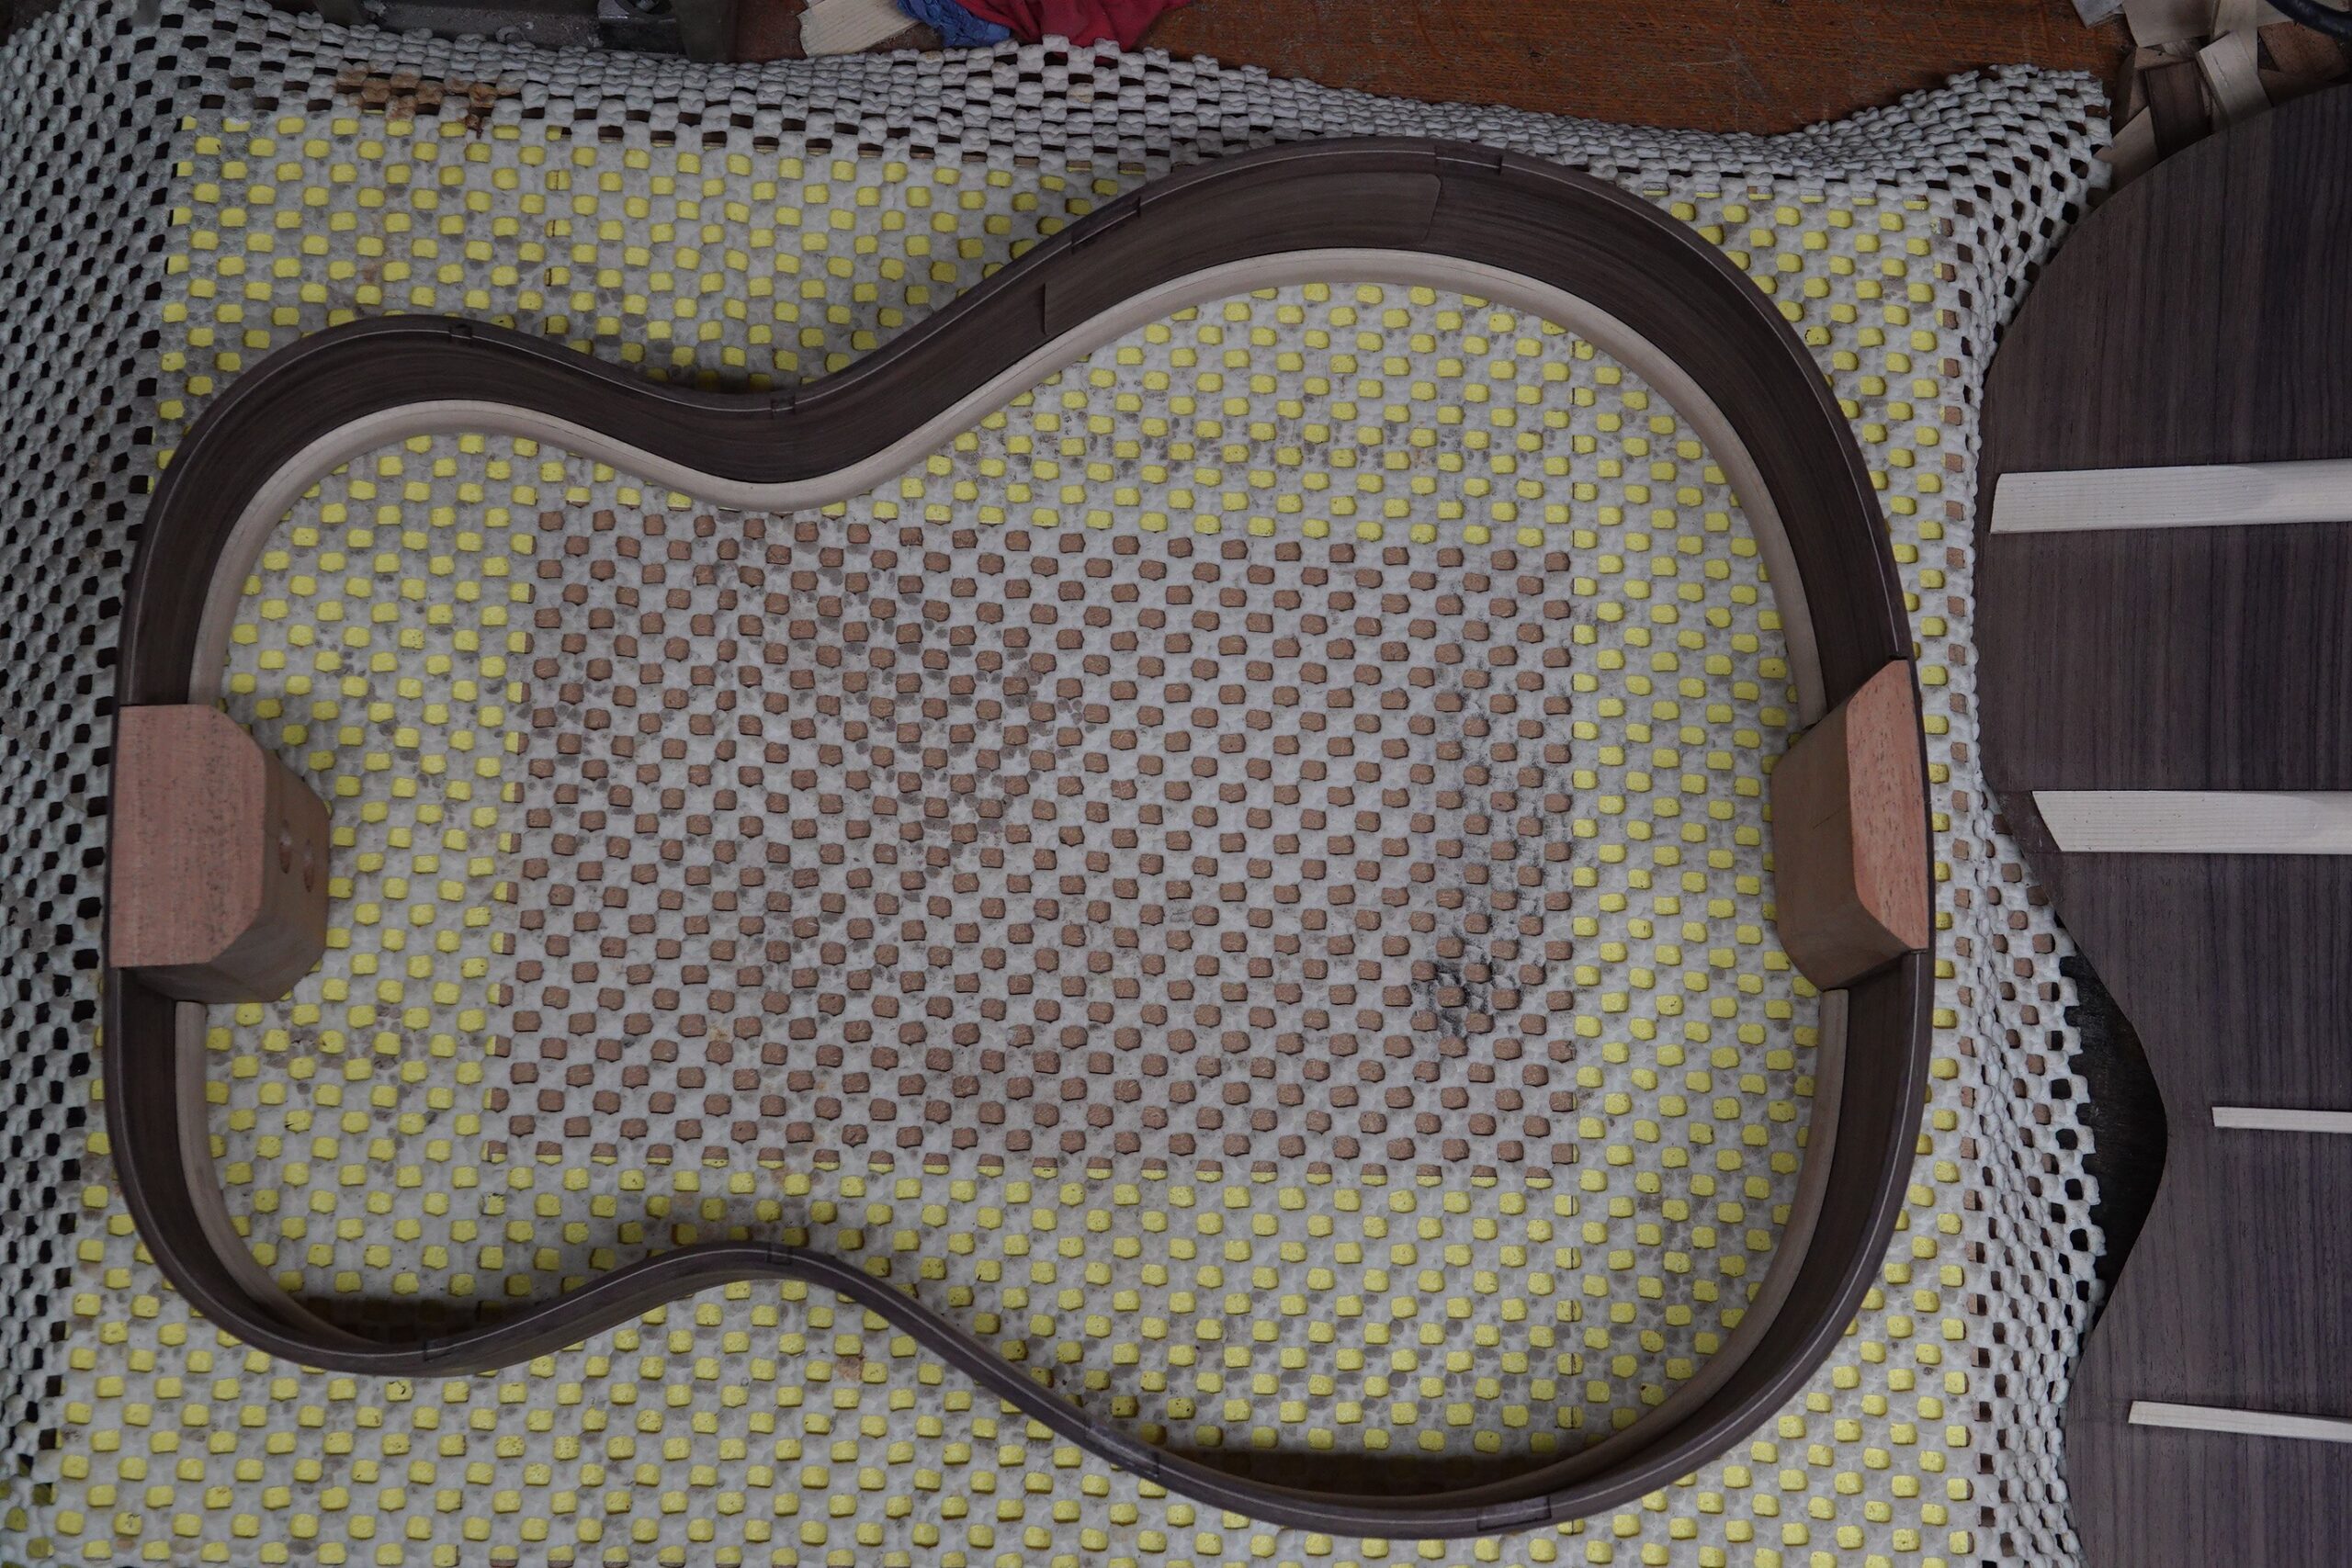
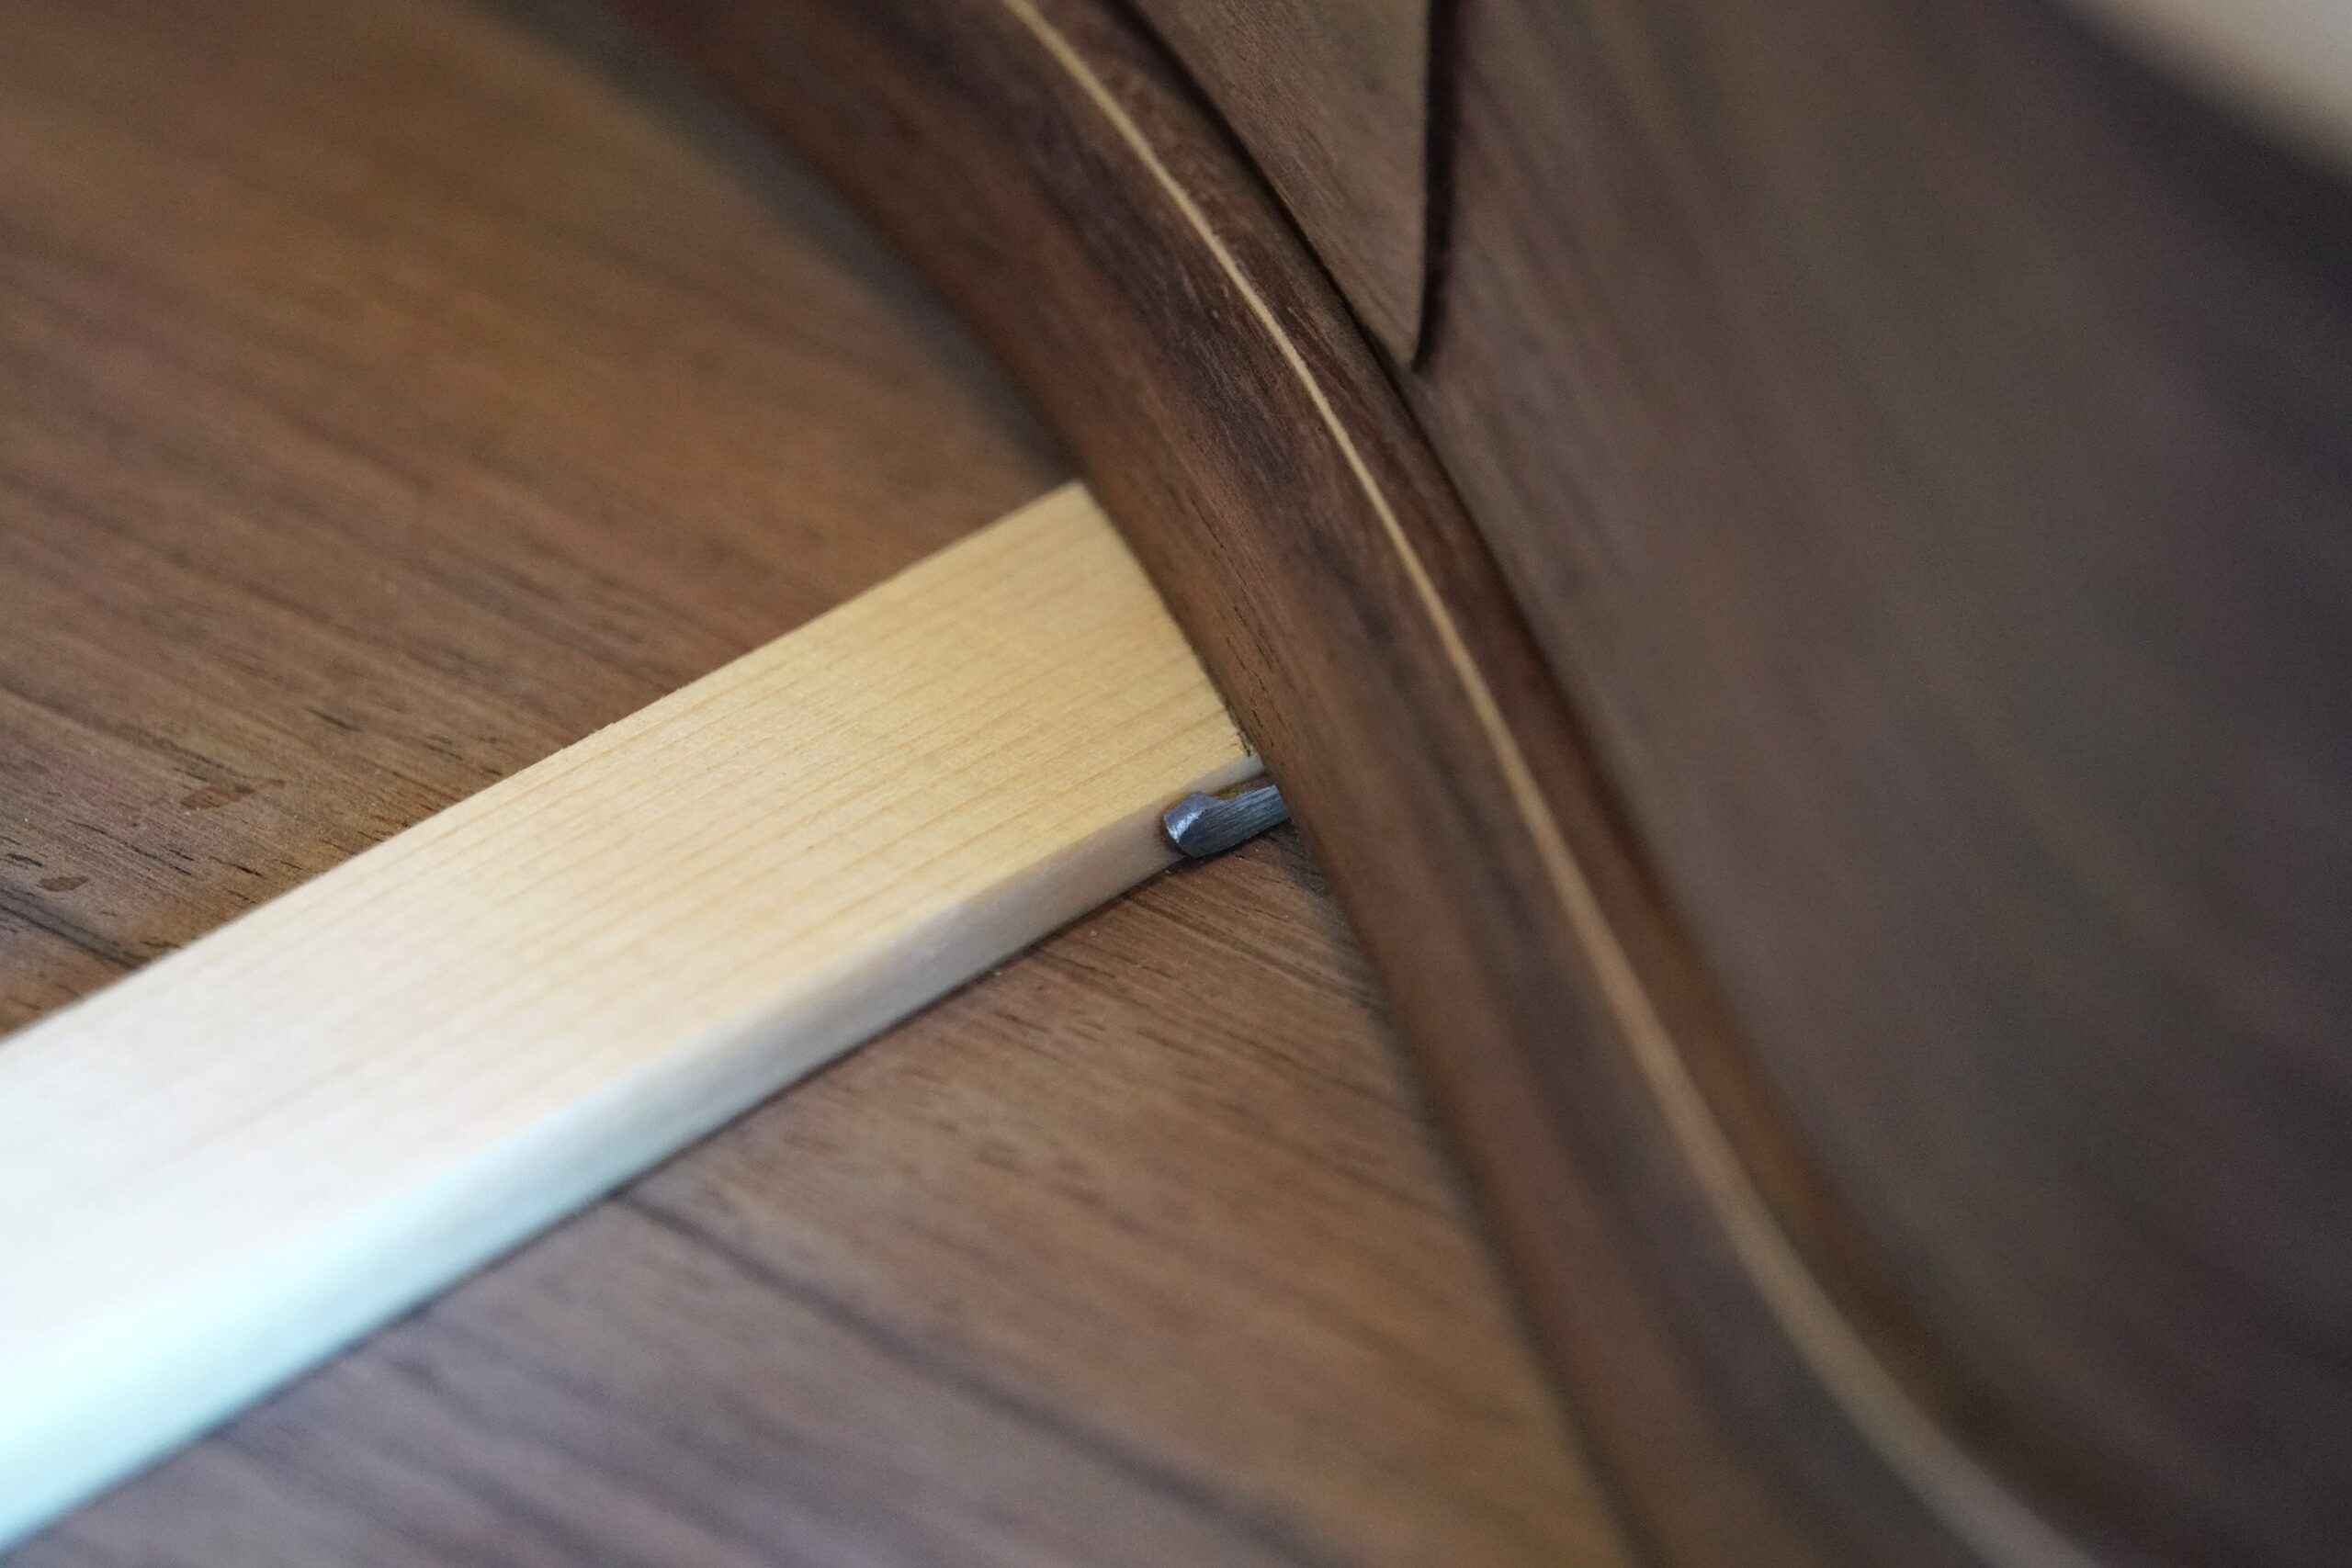
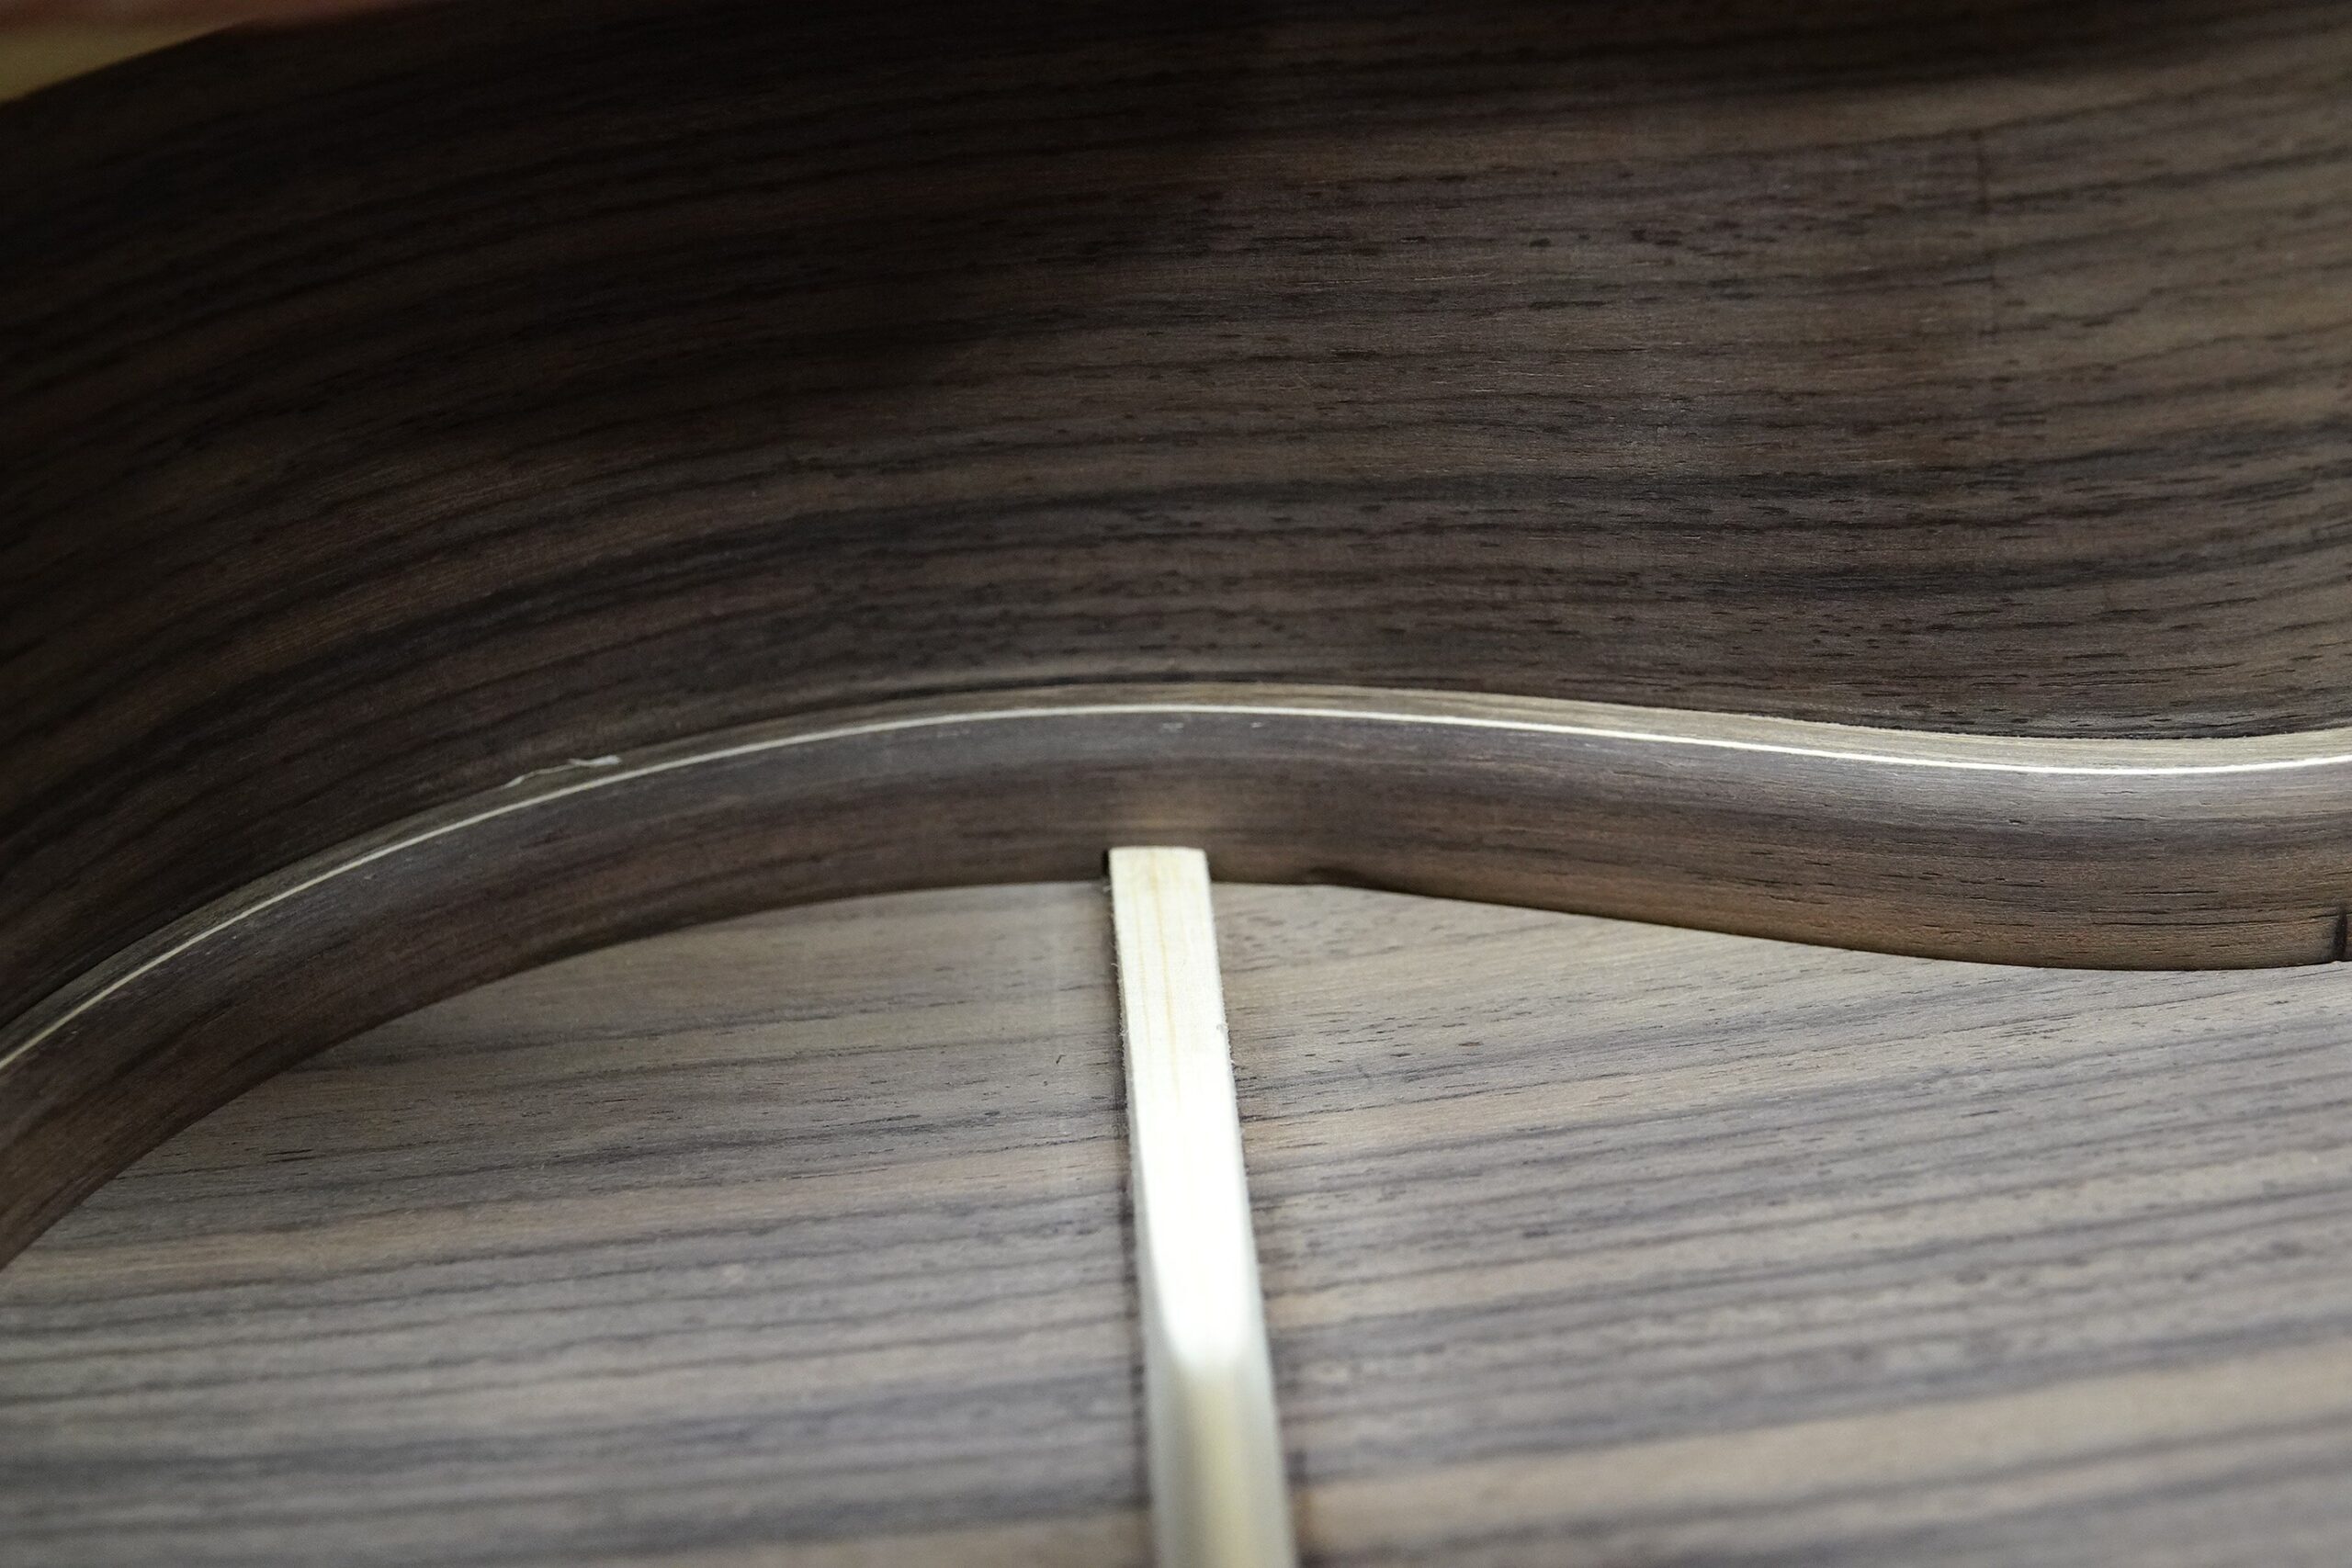
The end result seemed to fit very well:
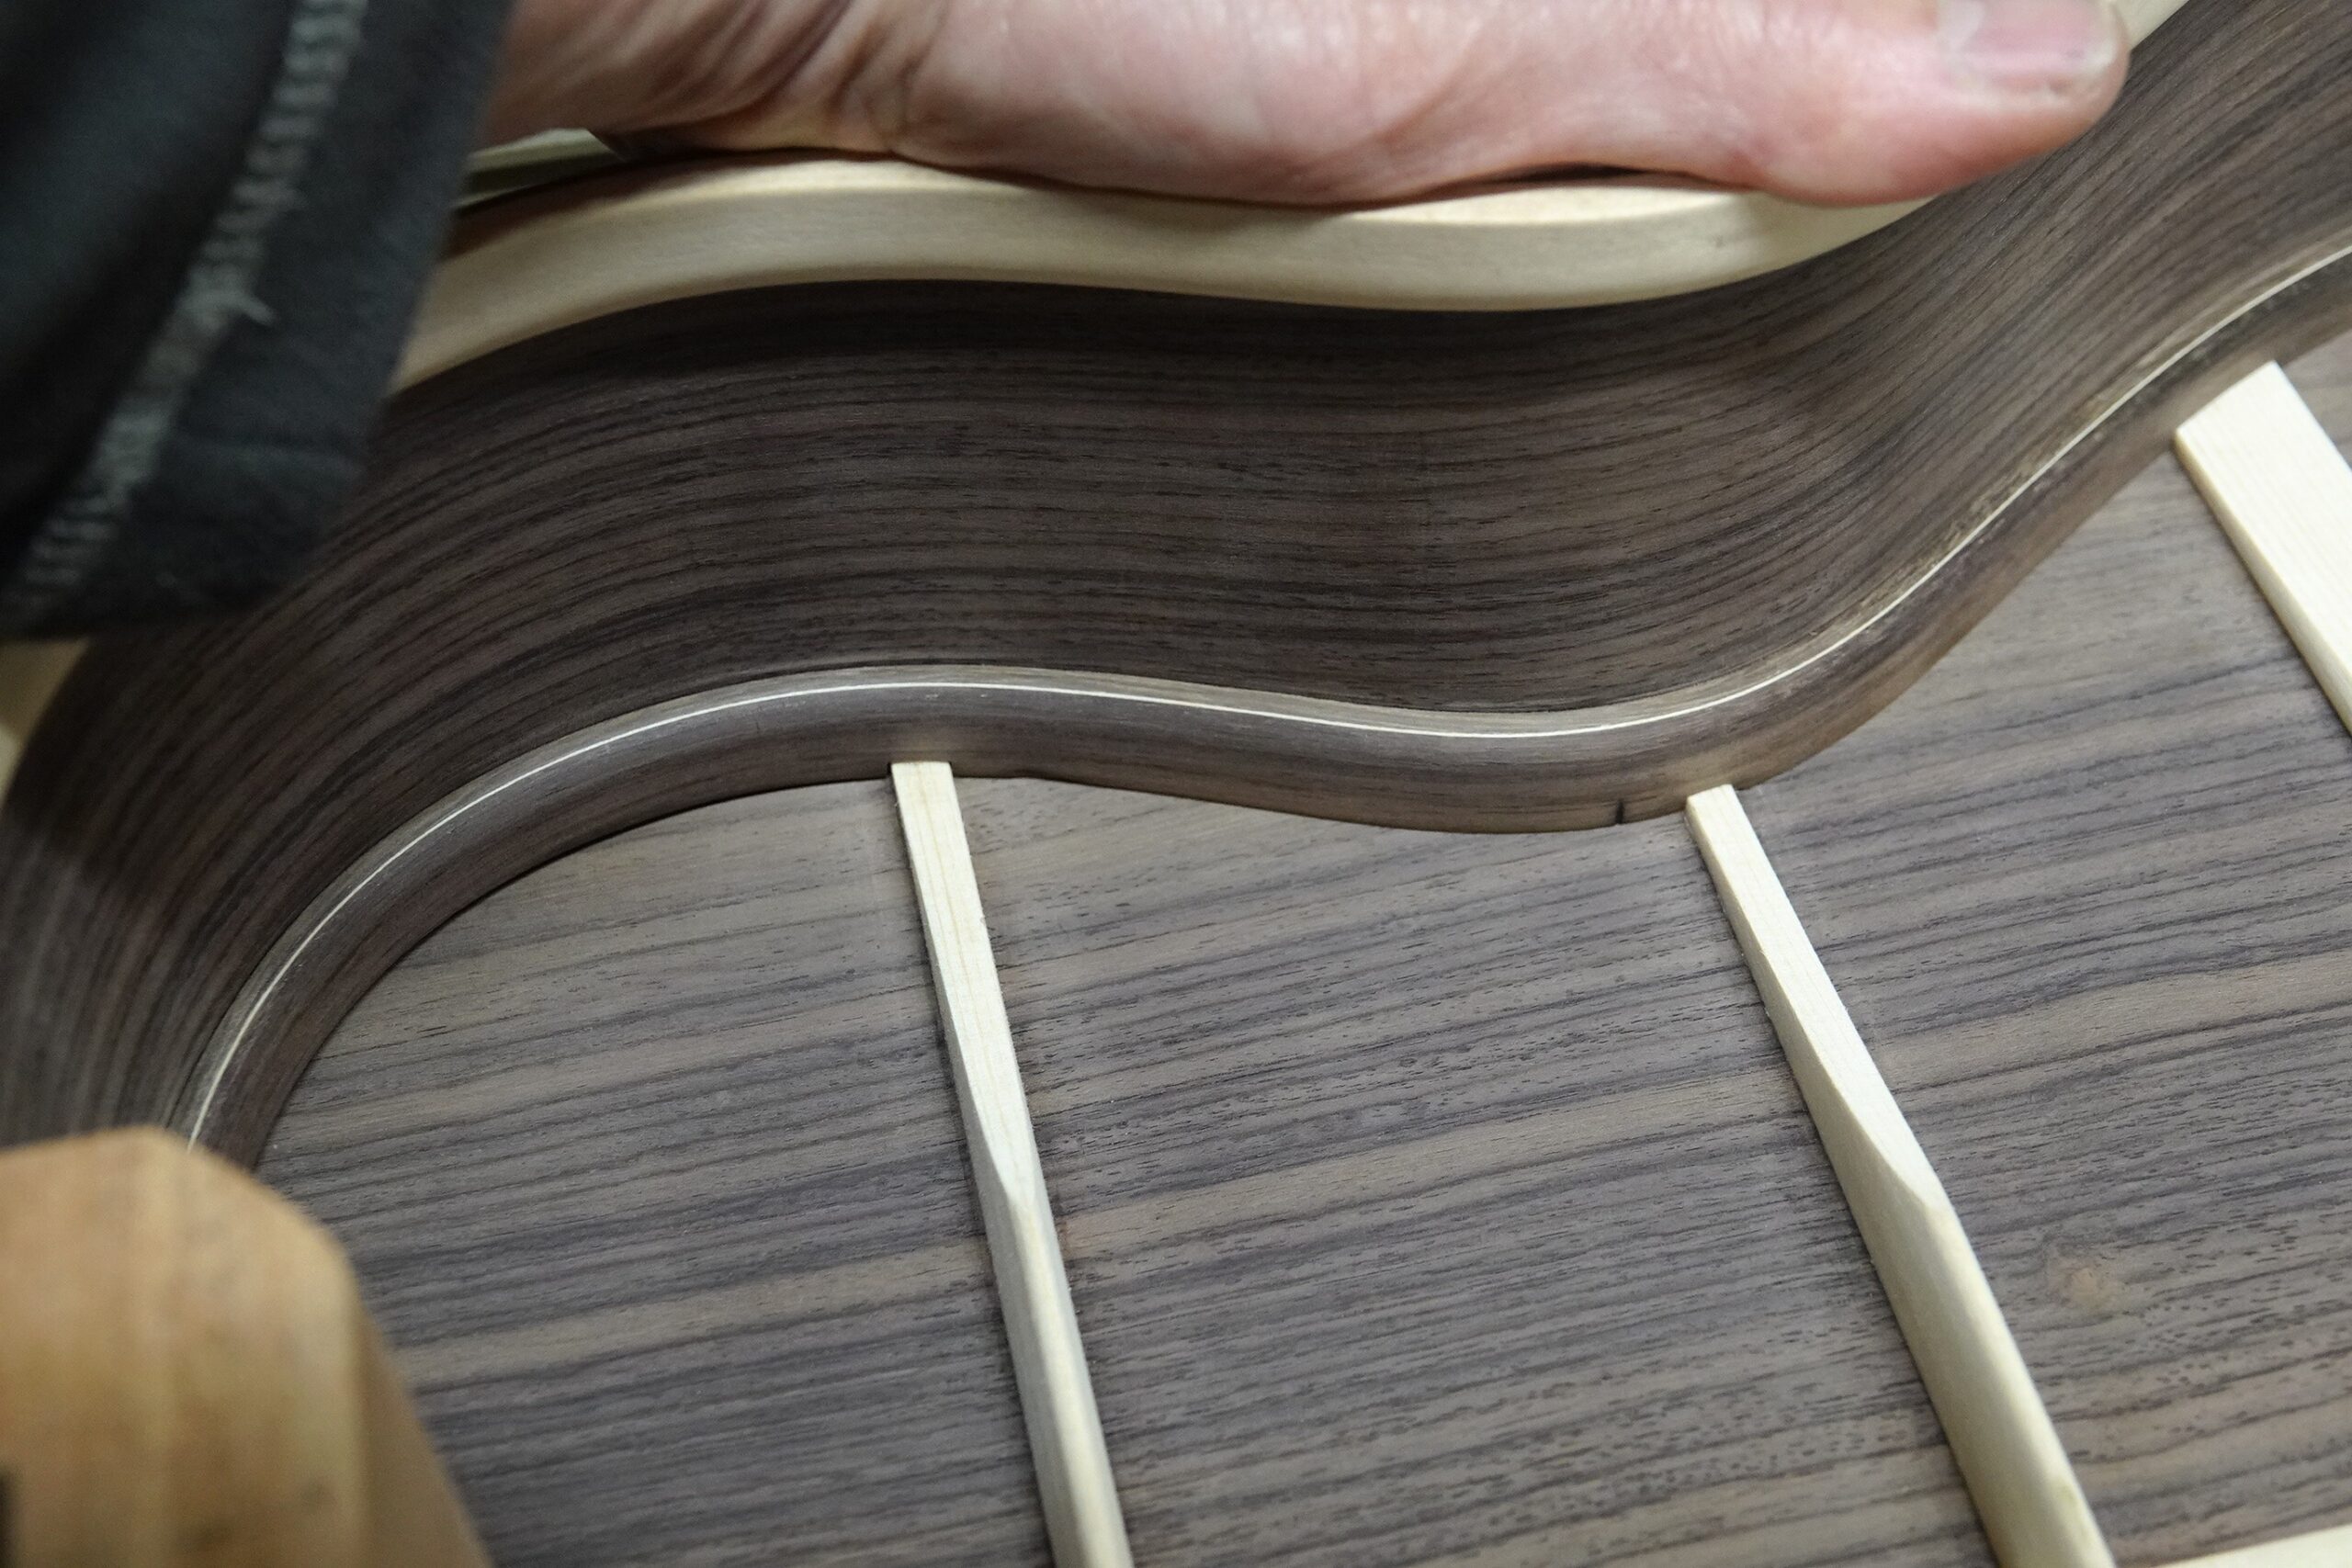
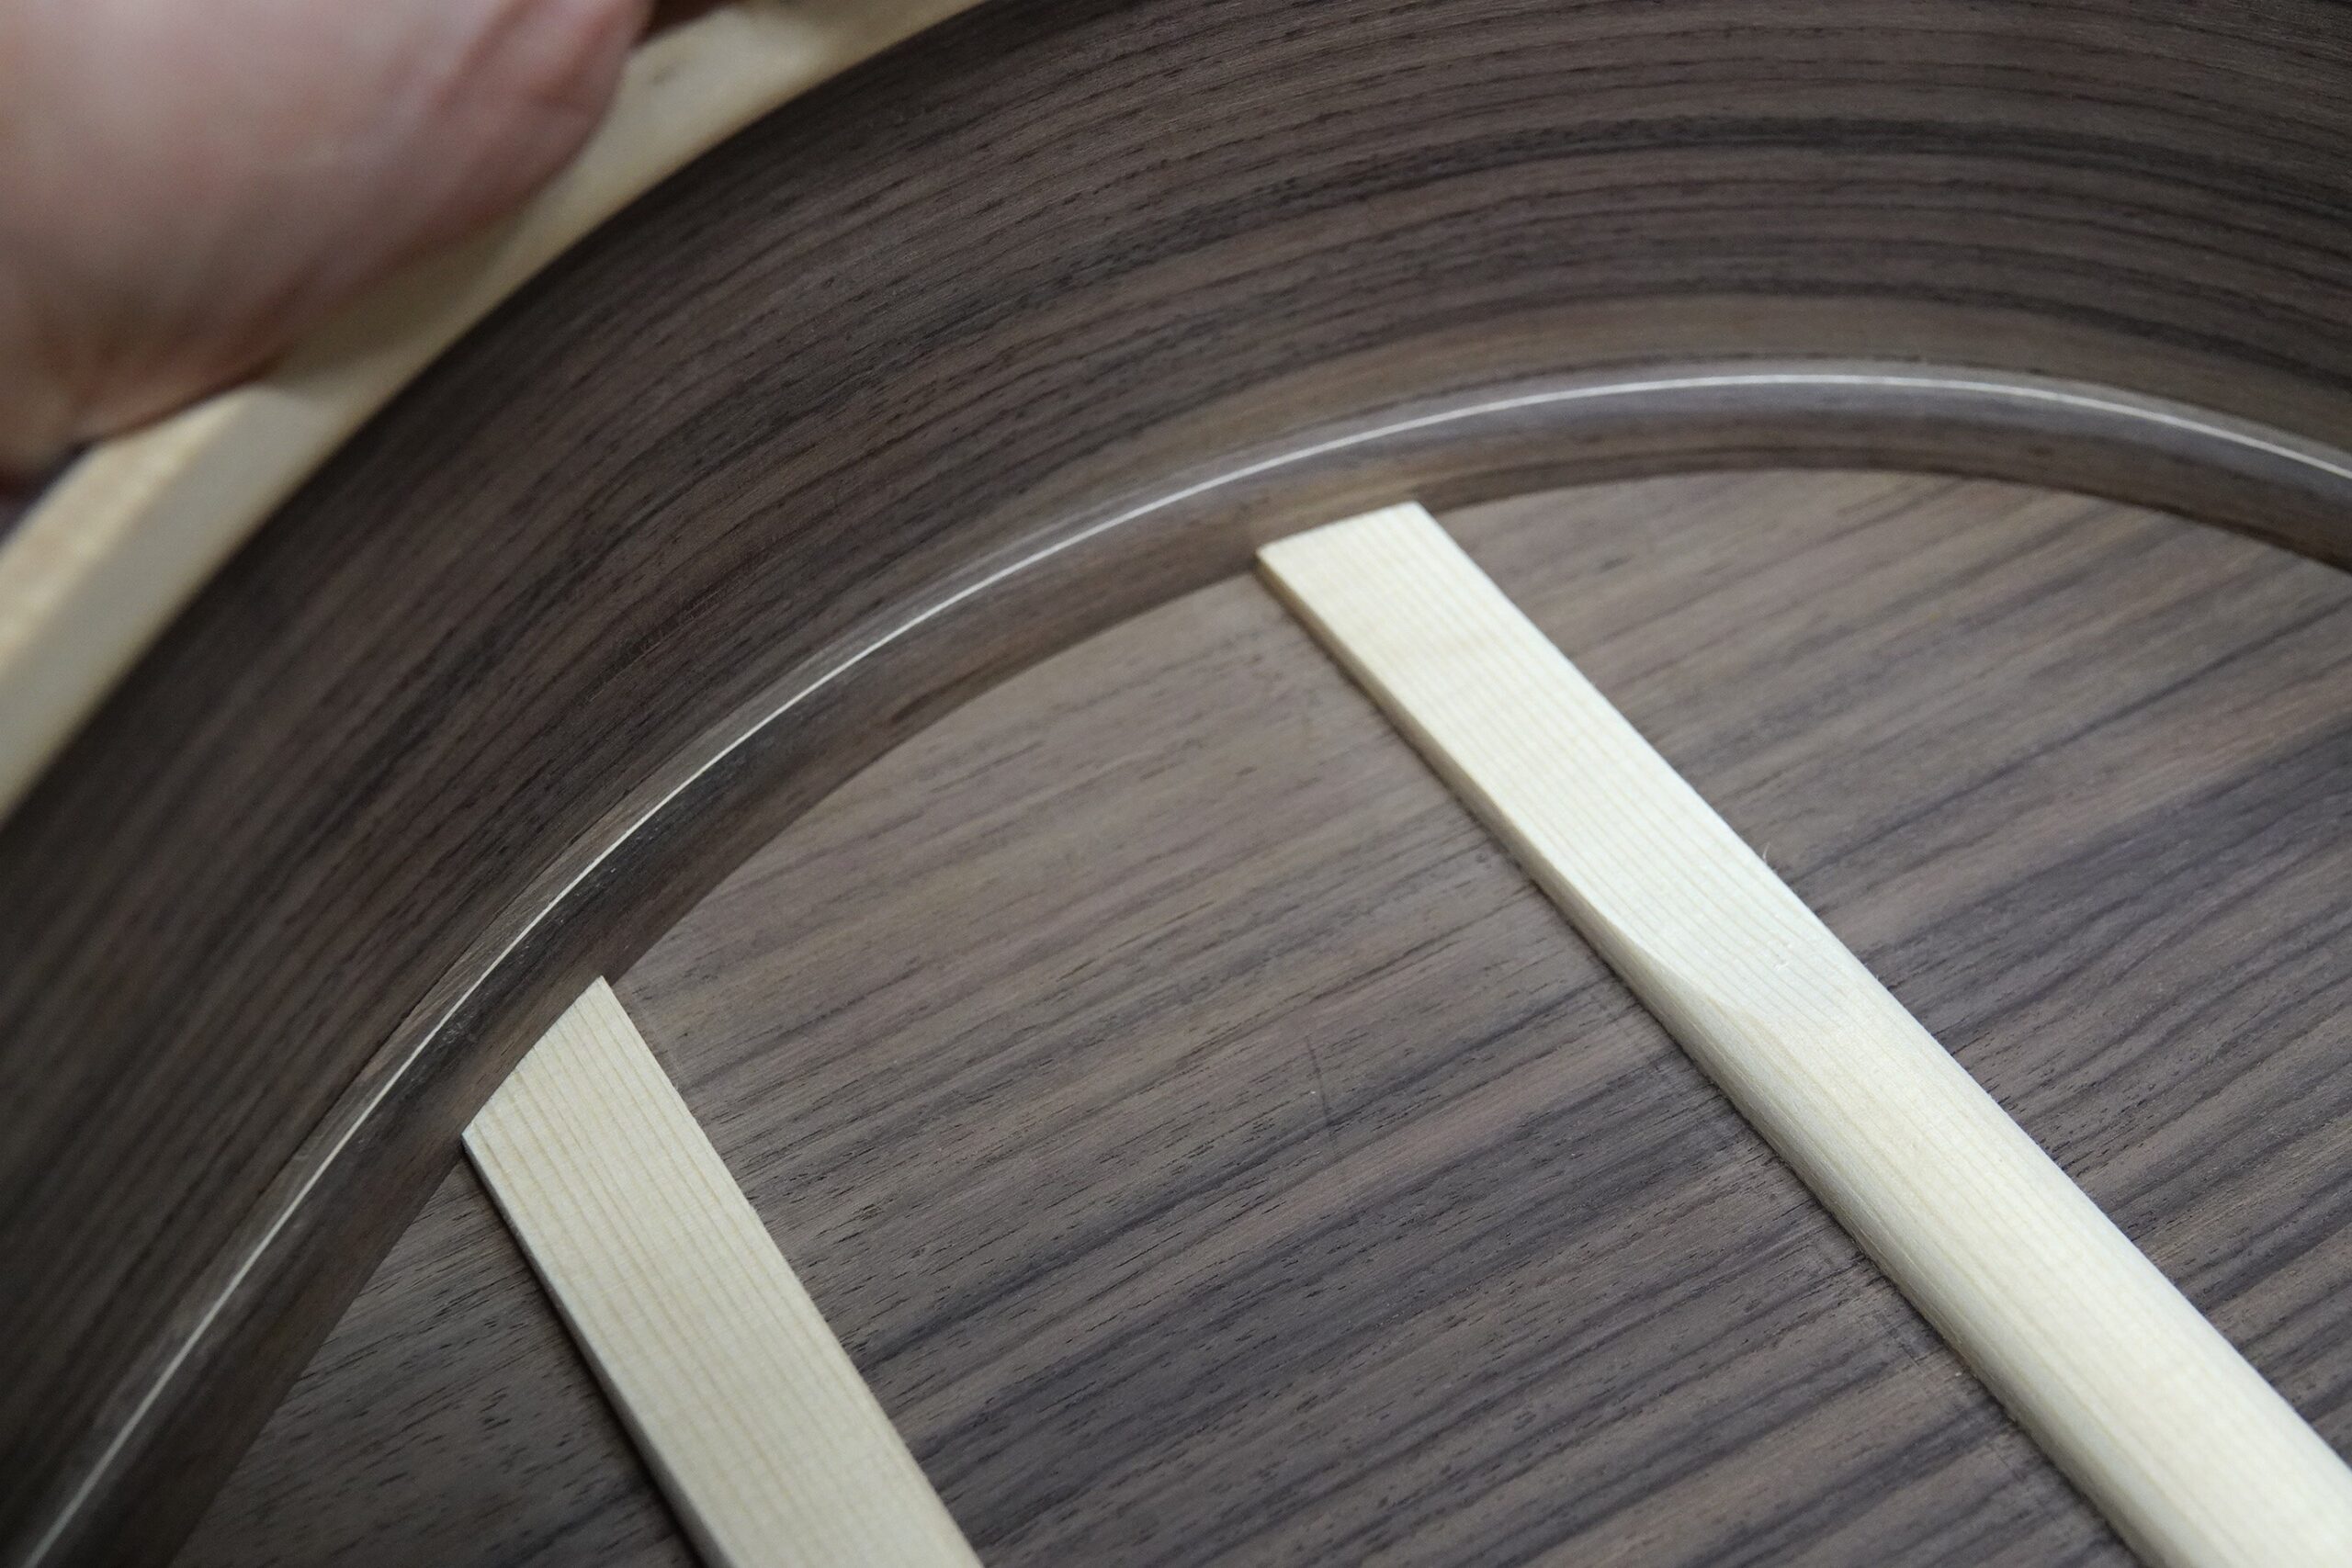
I hope they glue up as nicely.
I did have one minor disaster – You know that thing about never lifting the router up until the bit has stopped spinning? Yes, that one. I managed to catch the edge of the lining and took a short section of the corner off. It’s just to the right of the brace in the photo below. Apart from feeling silly, I don’t feel too bad about it.
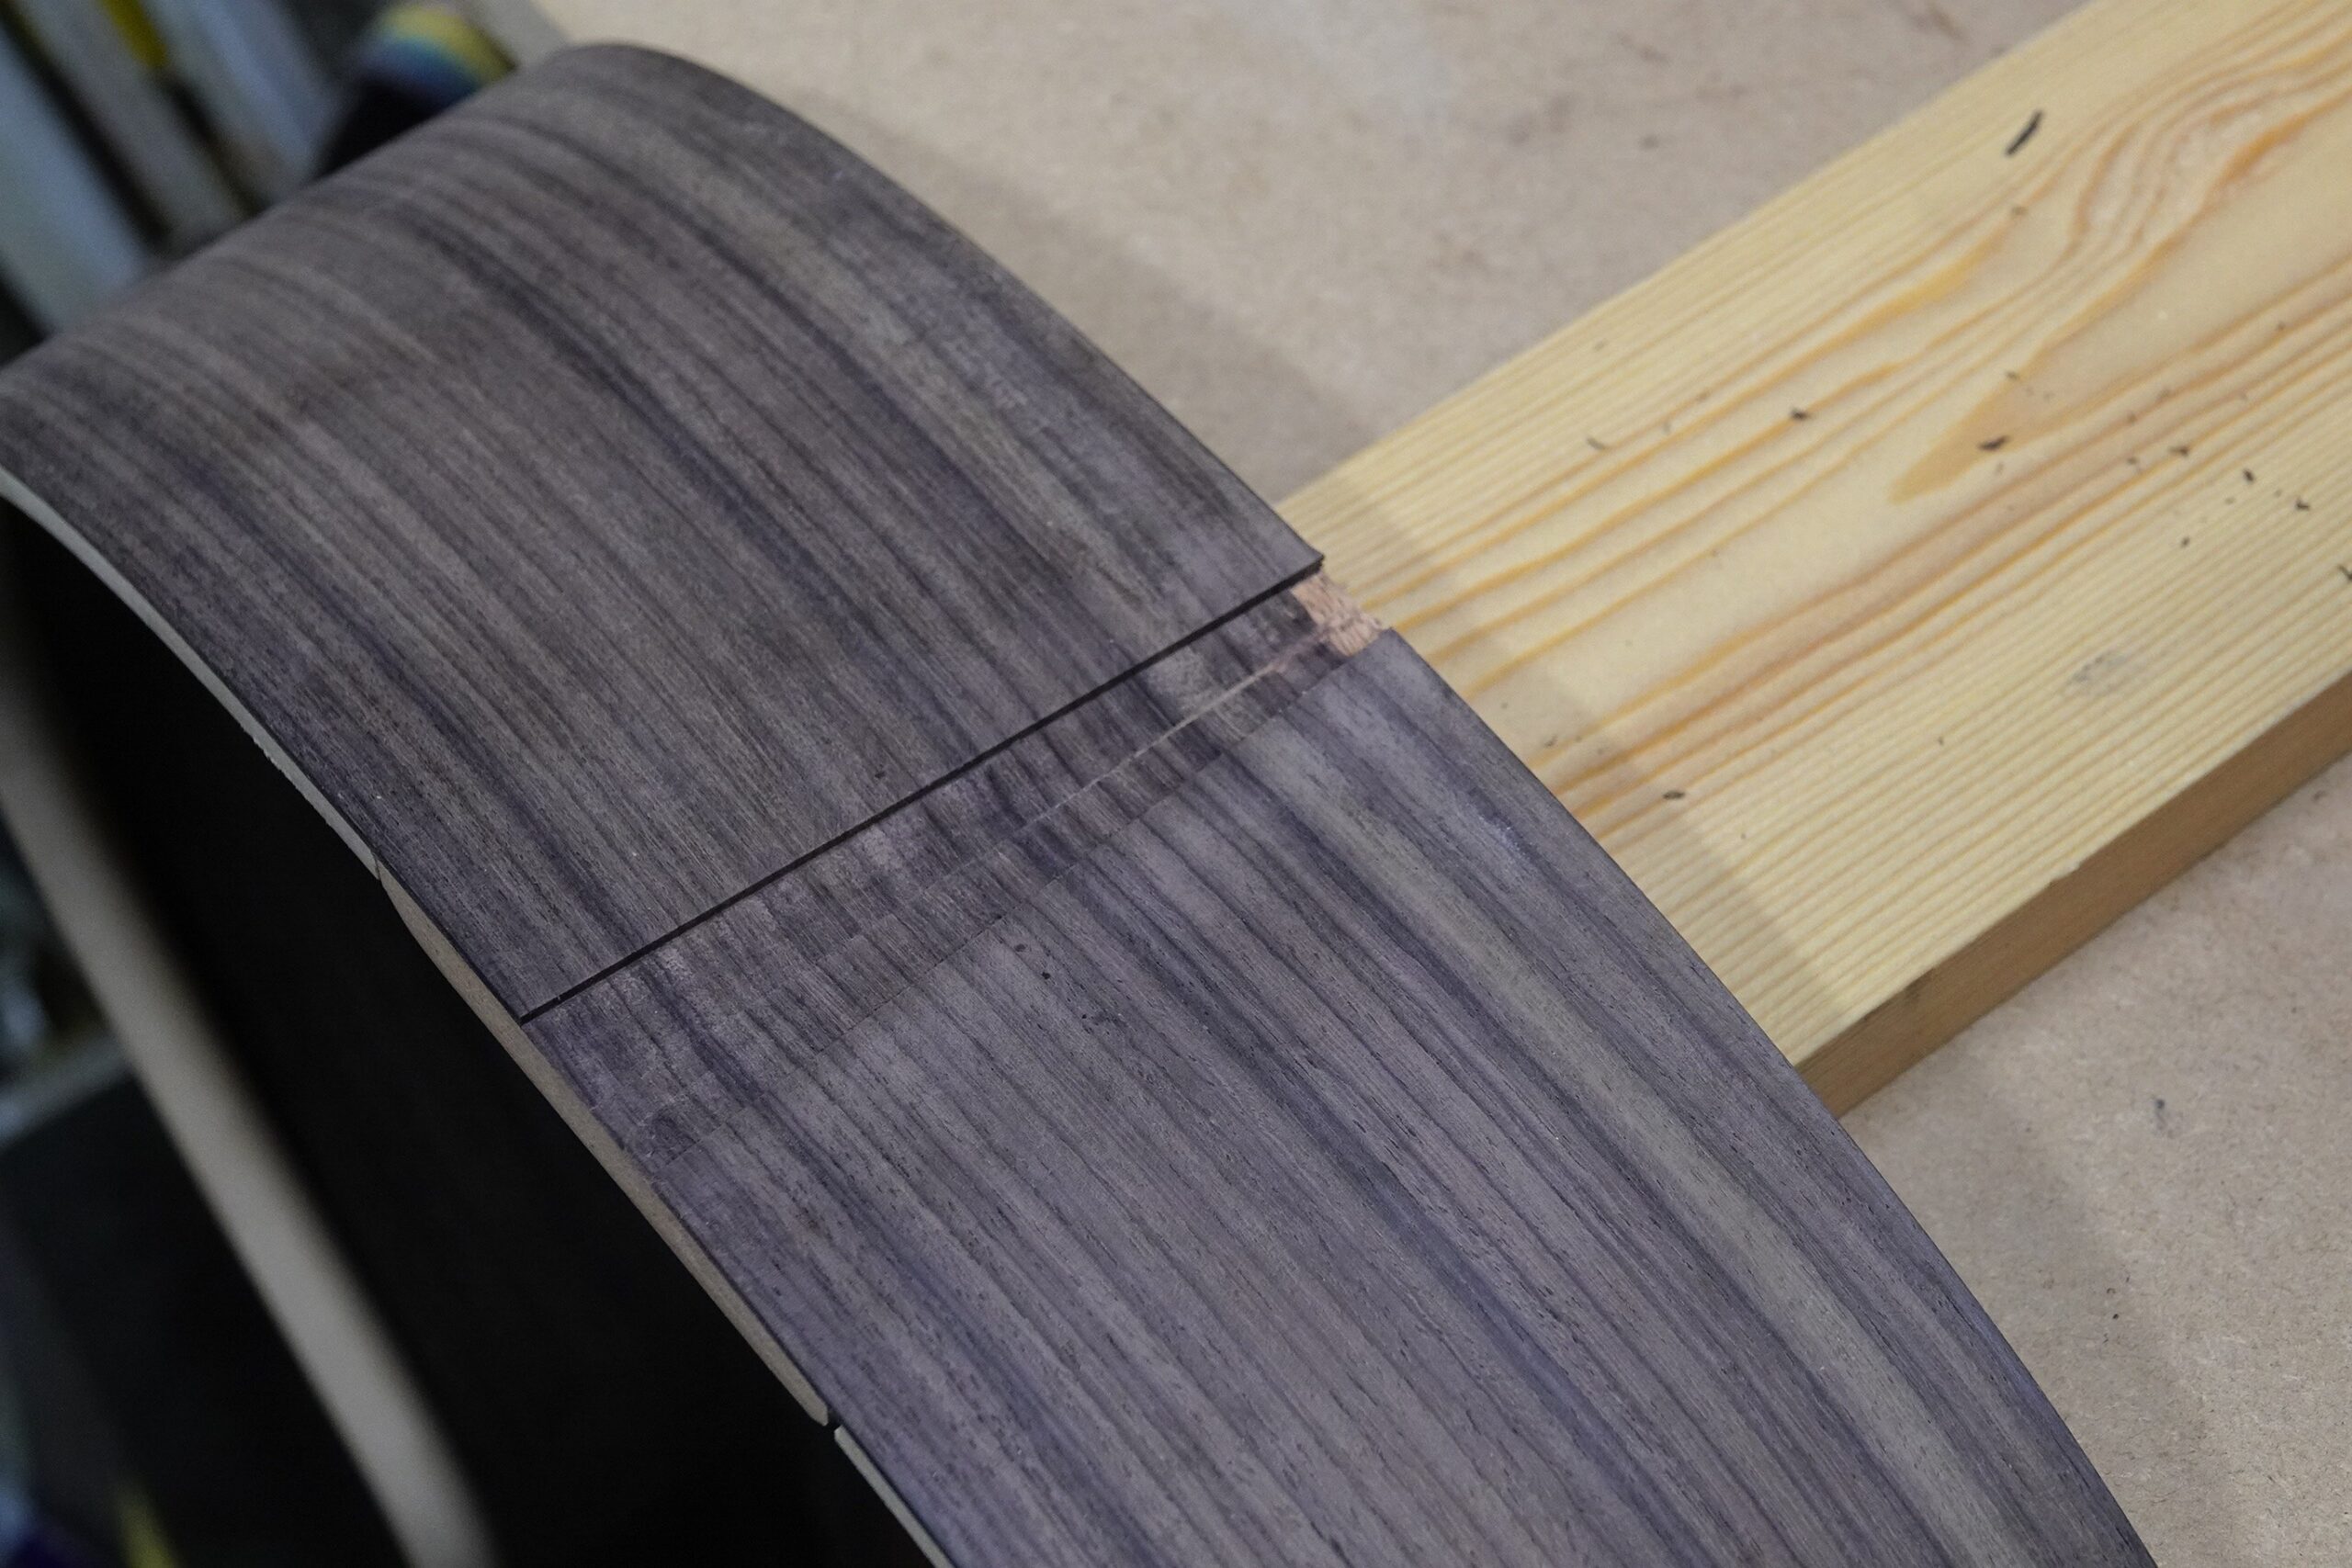
The End Graft
I thought I would fit the end graft now, as it seemed to be easier before I glued the back on. I decided to rout it out as I find it easier to get a nice, clean edge and even depth that way.
So I cut a pleasing looking taper out of some maple and cobbled up a jig from some scraps to match it…
…and used a template bit to cut out the recess…
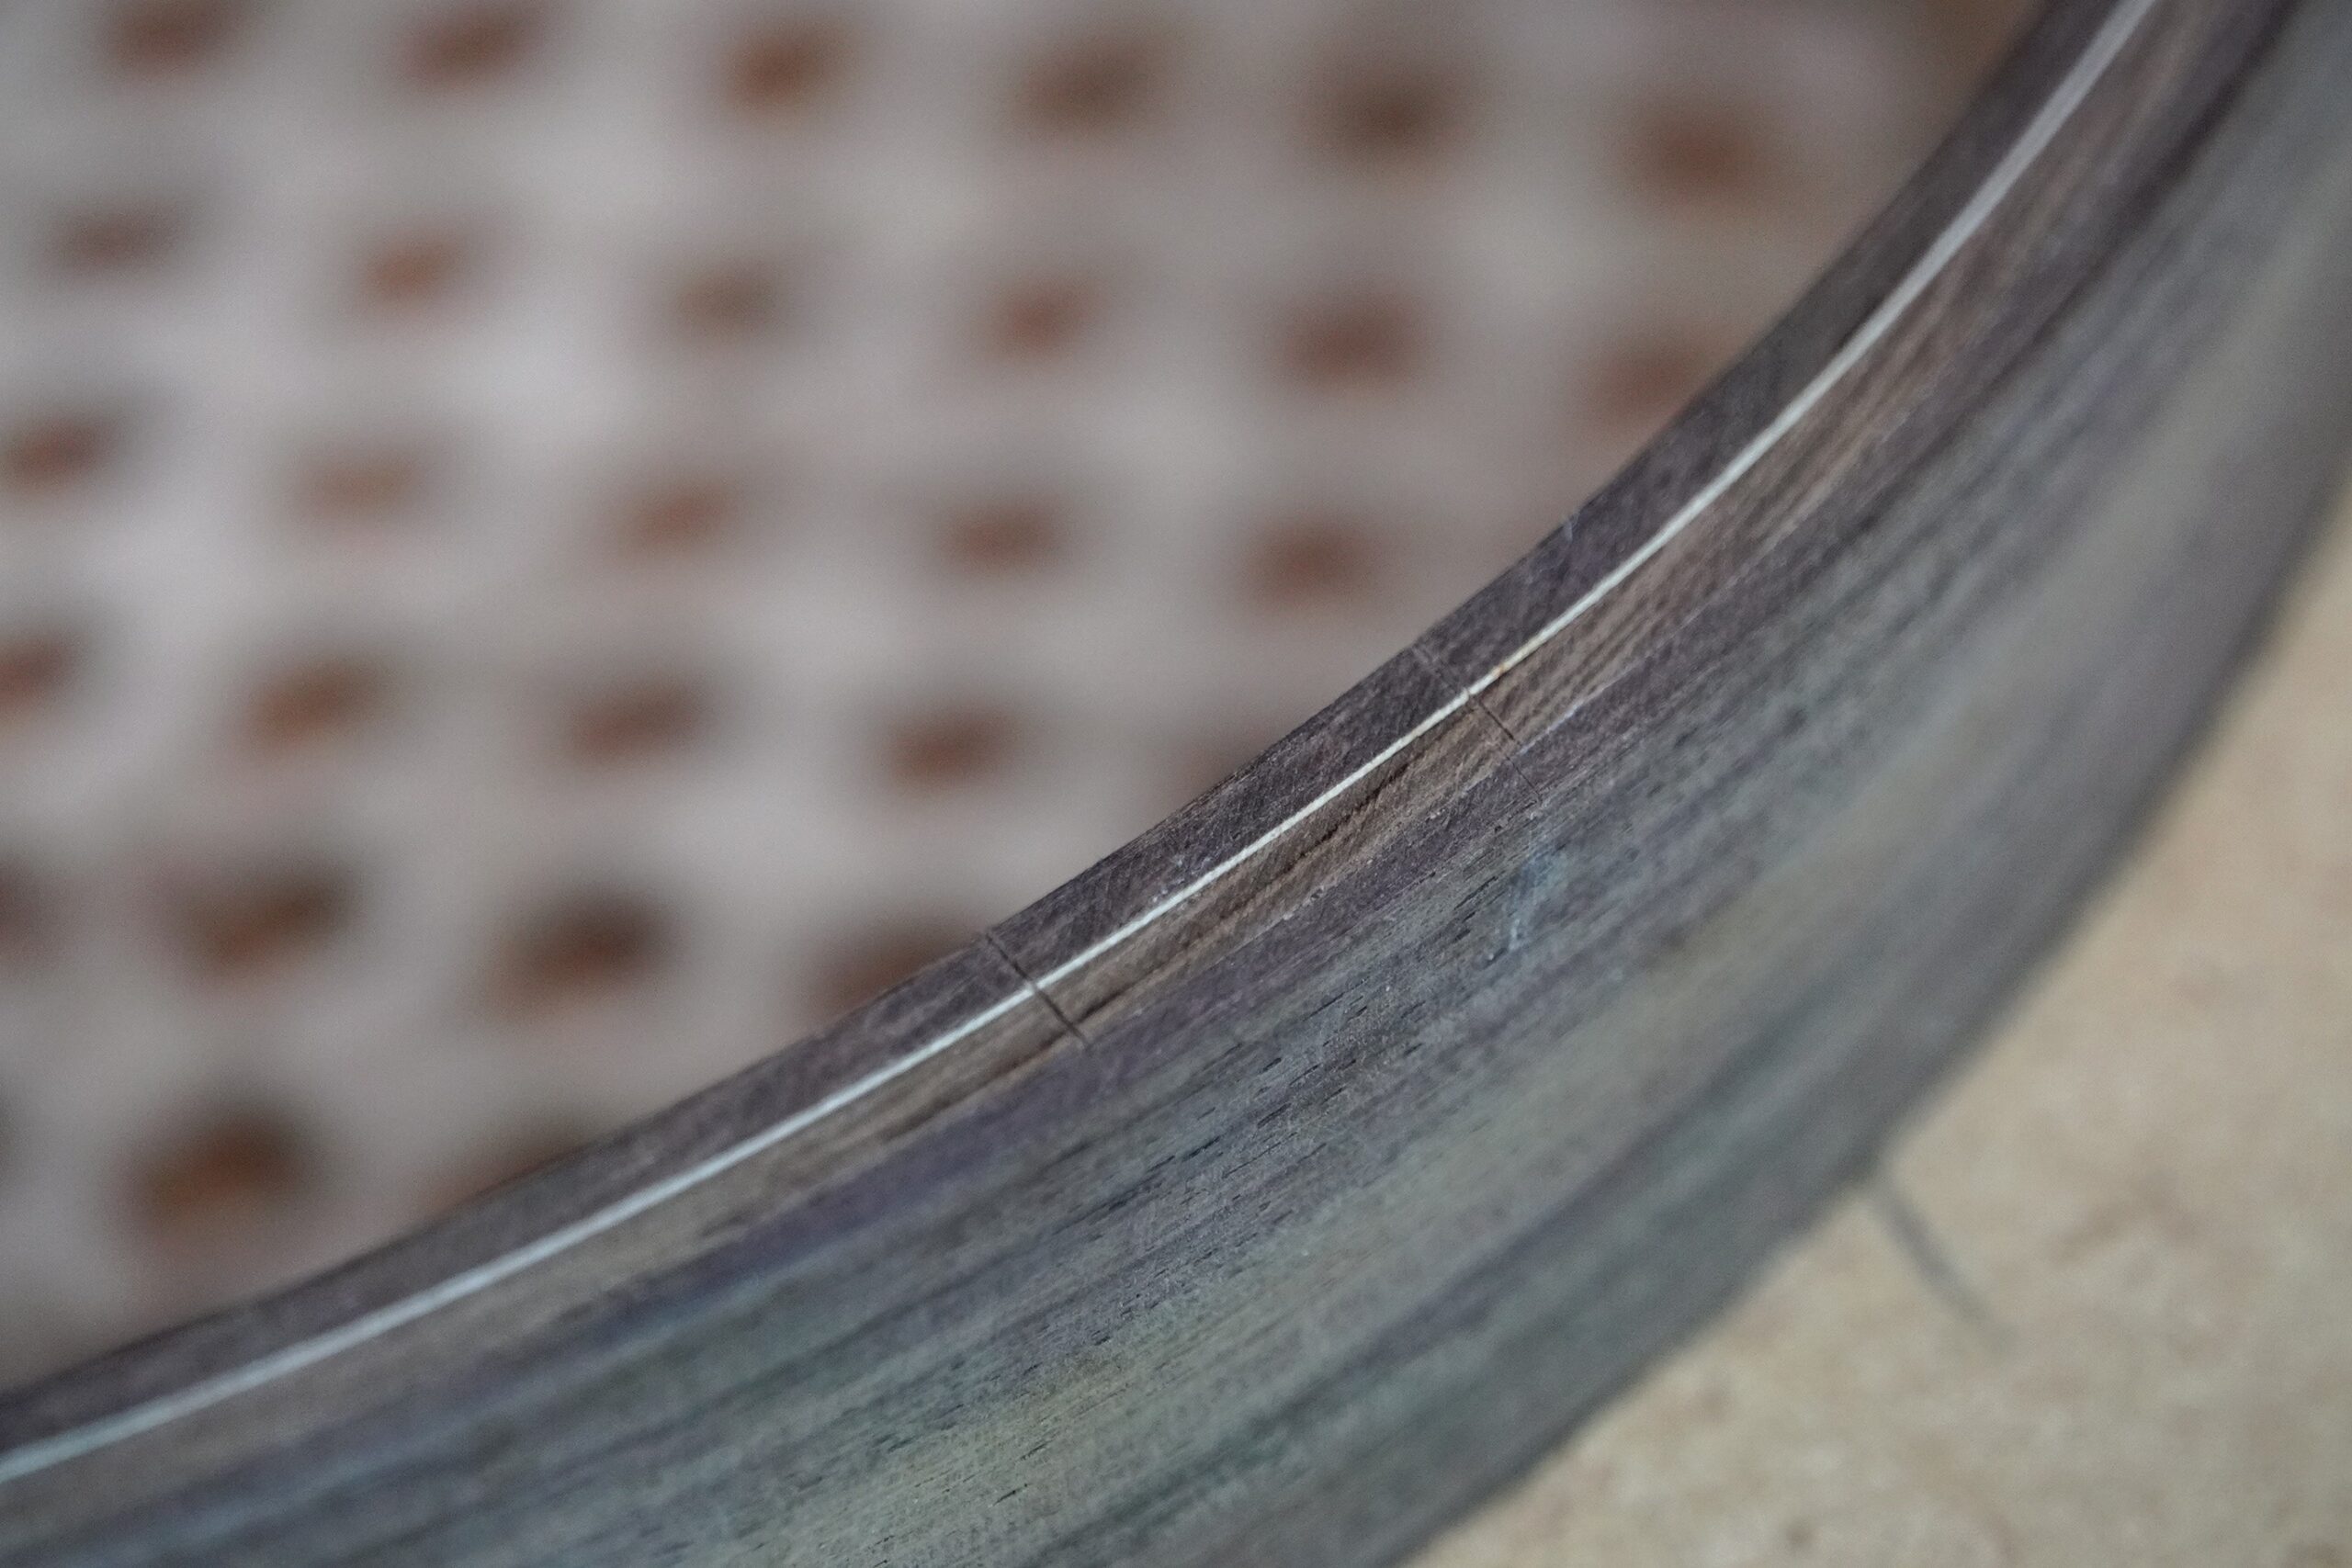
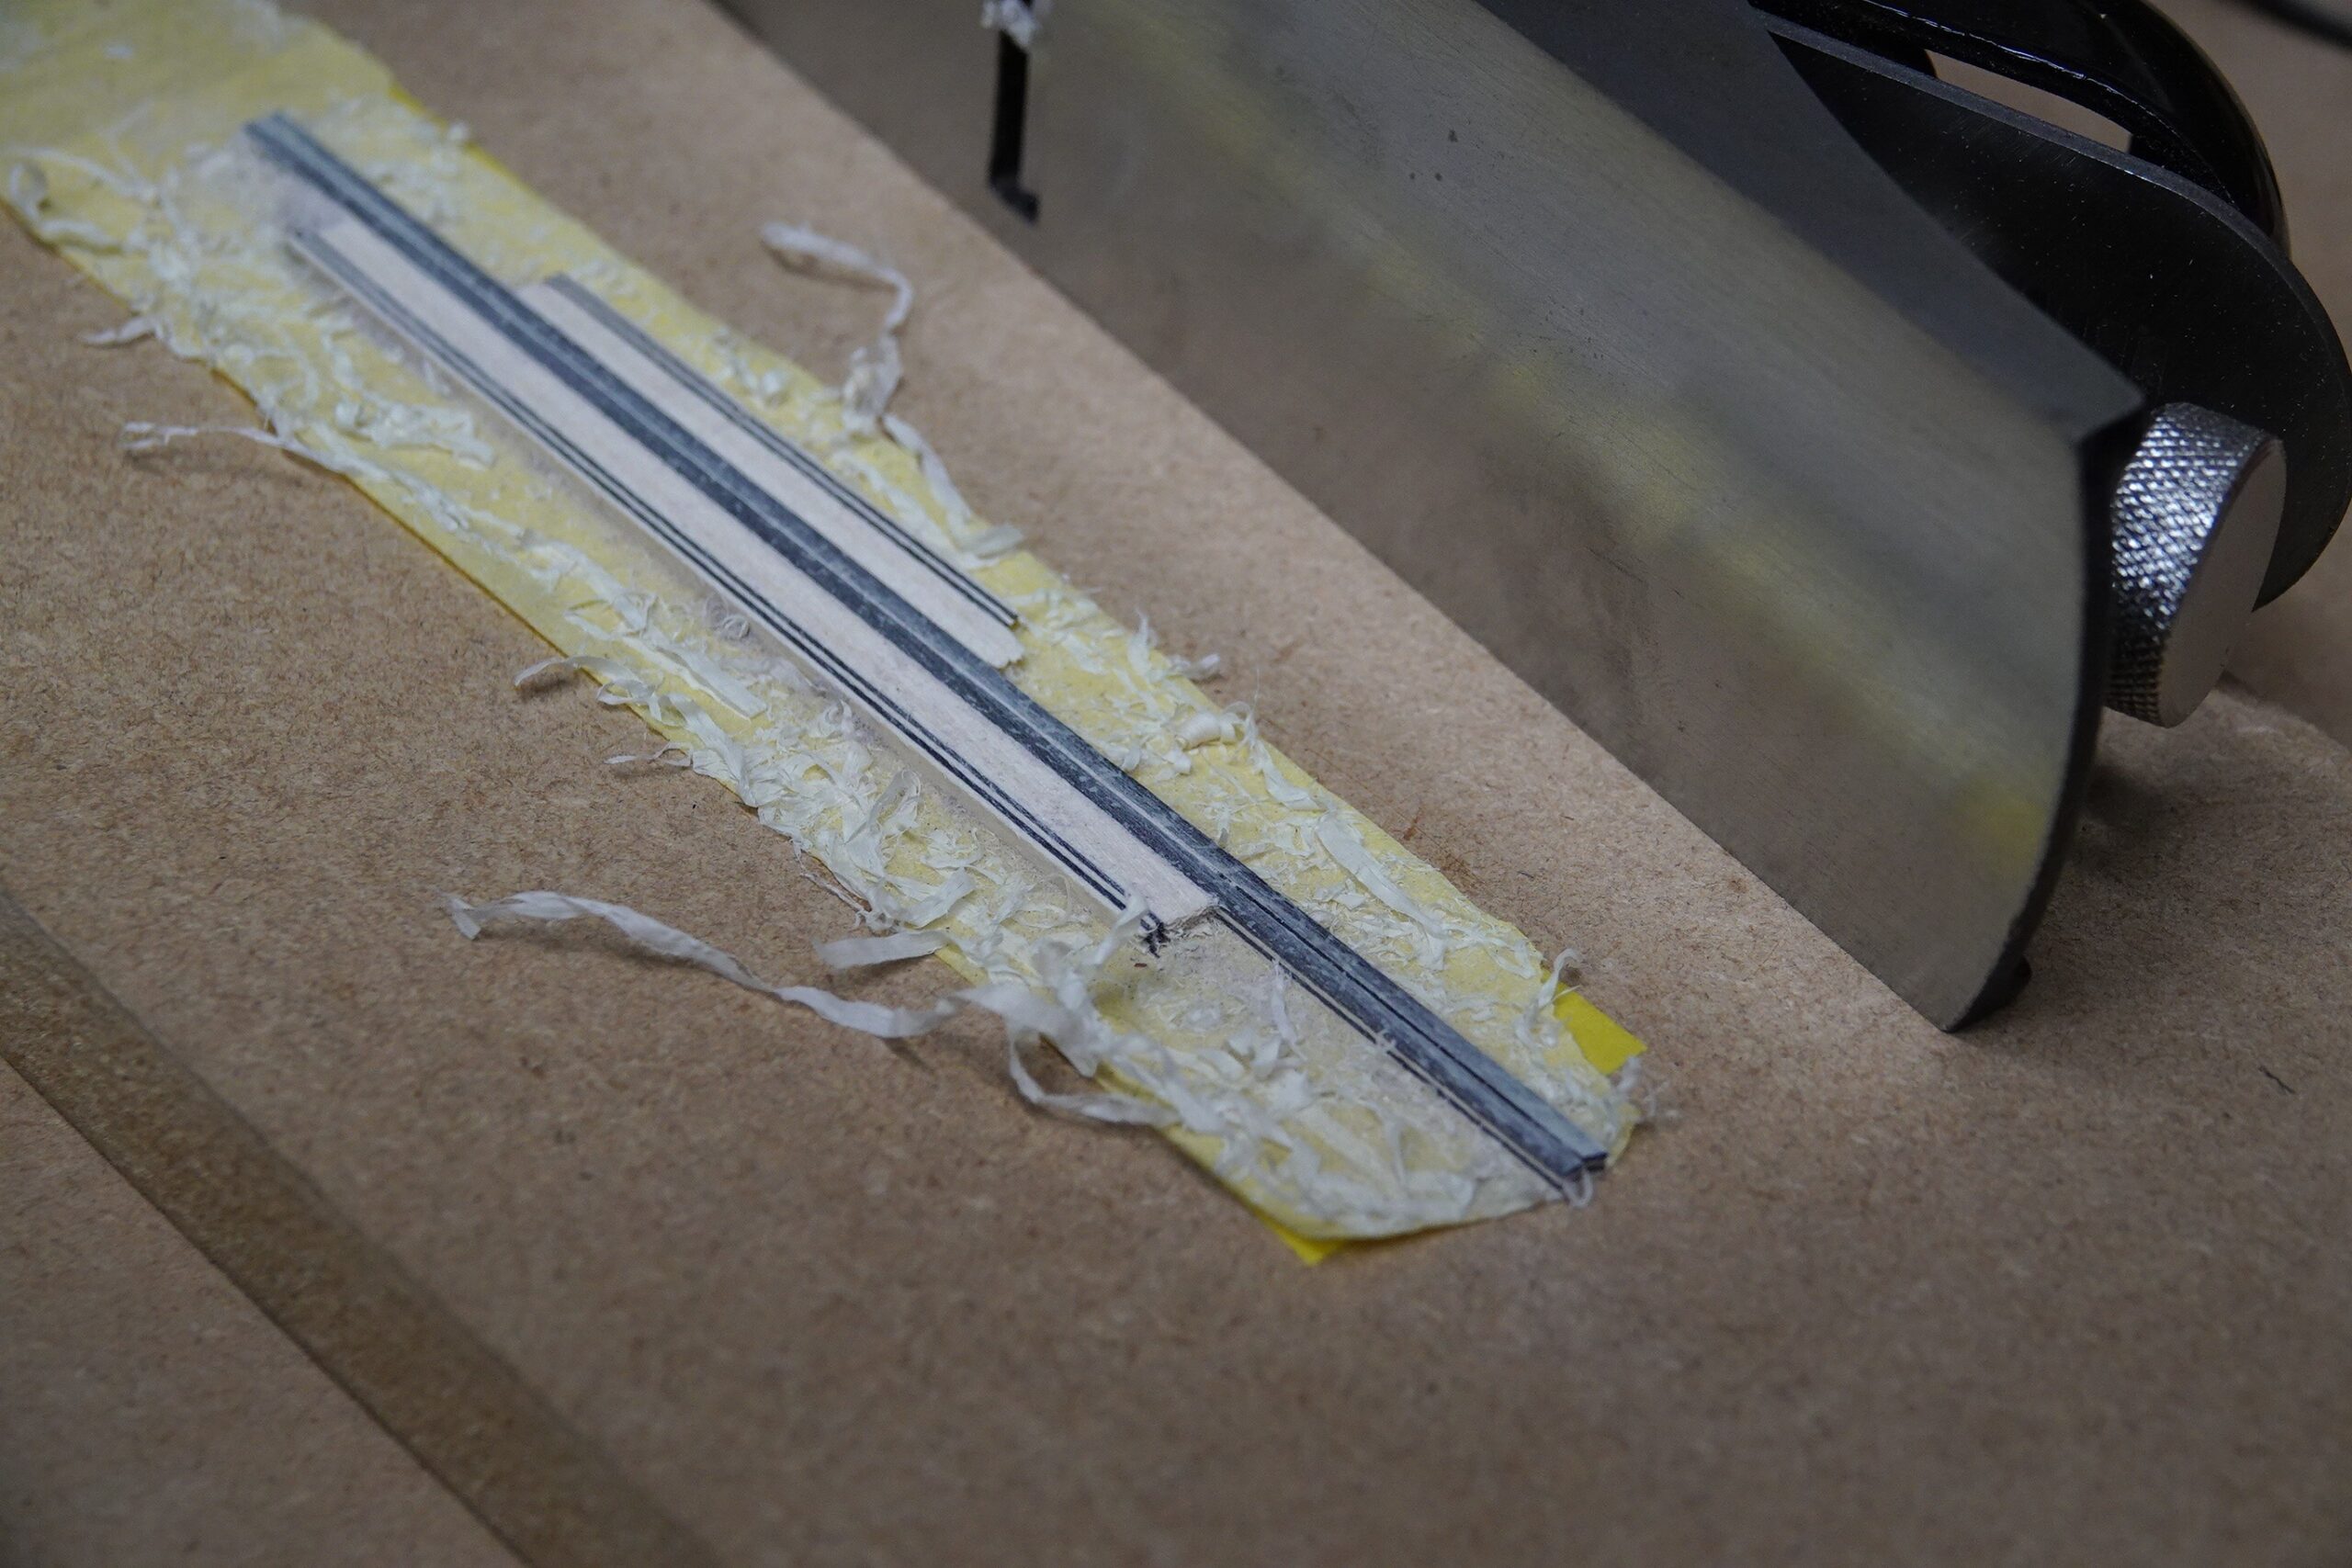
At the last minute, I remembered that I wanted to add purfling strips either side of the wedge. I thought I had bought strips of purfling that matched the white-black-white-black ones already attached to the bindings, but aparently not…
I ended up planing the broad maple strip (visible on the flat pieces in the photo) off a couple of short strips of binding to just leave the purfling (the central black strips):
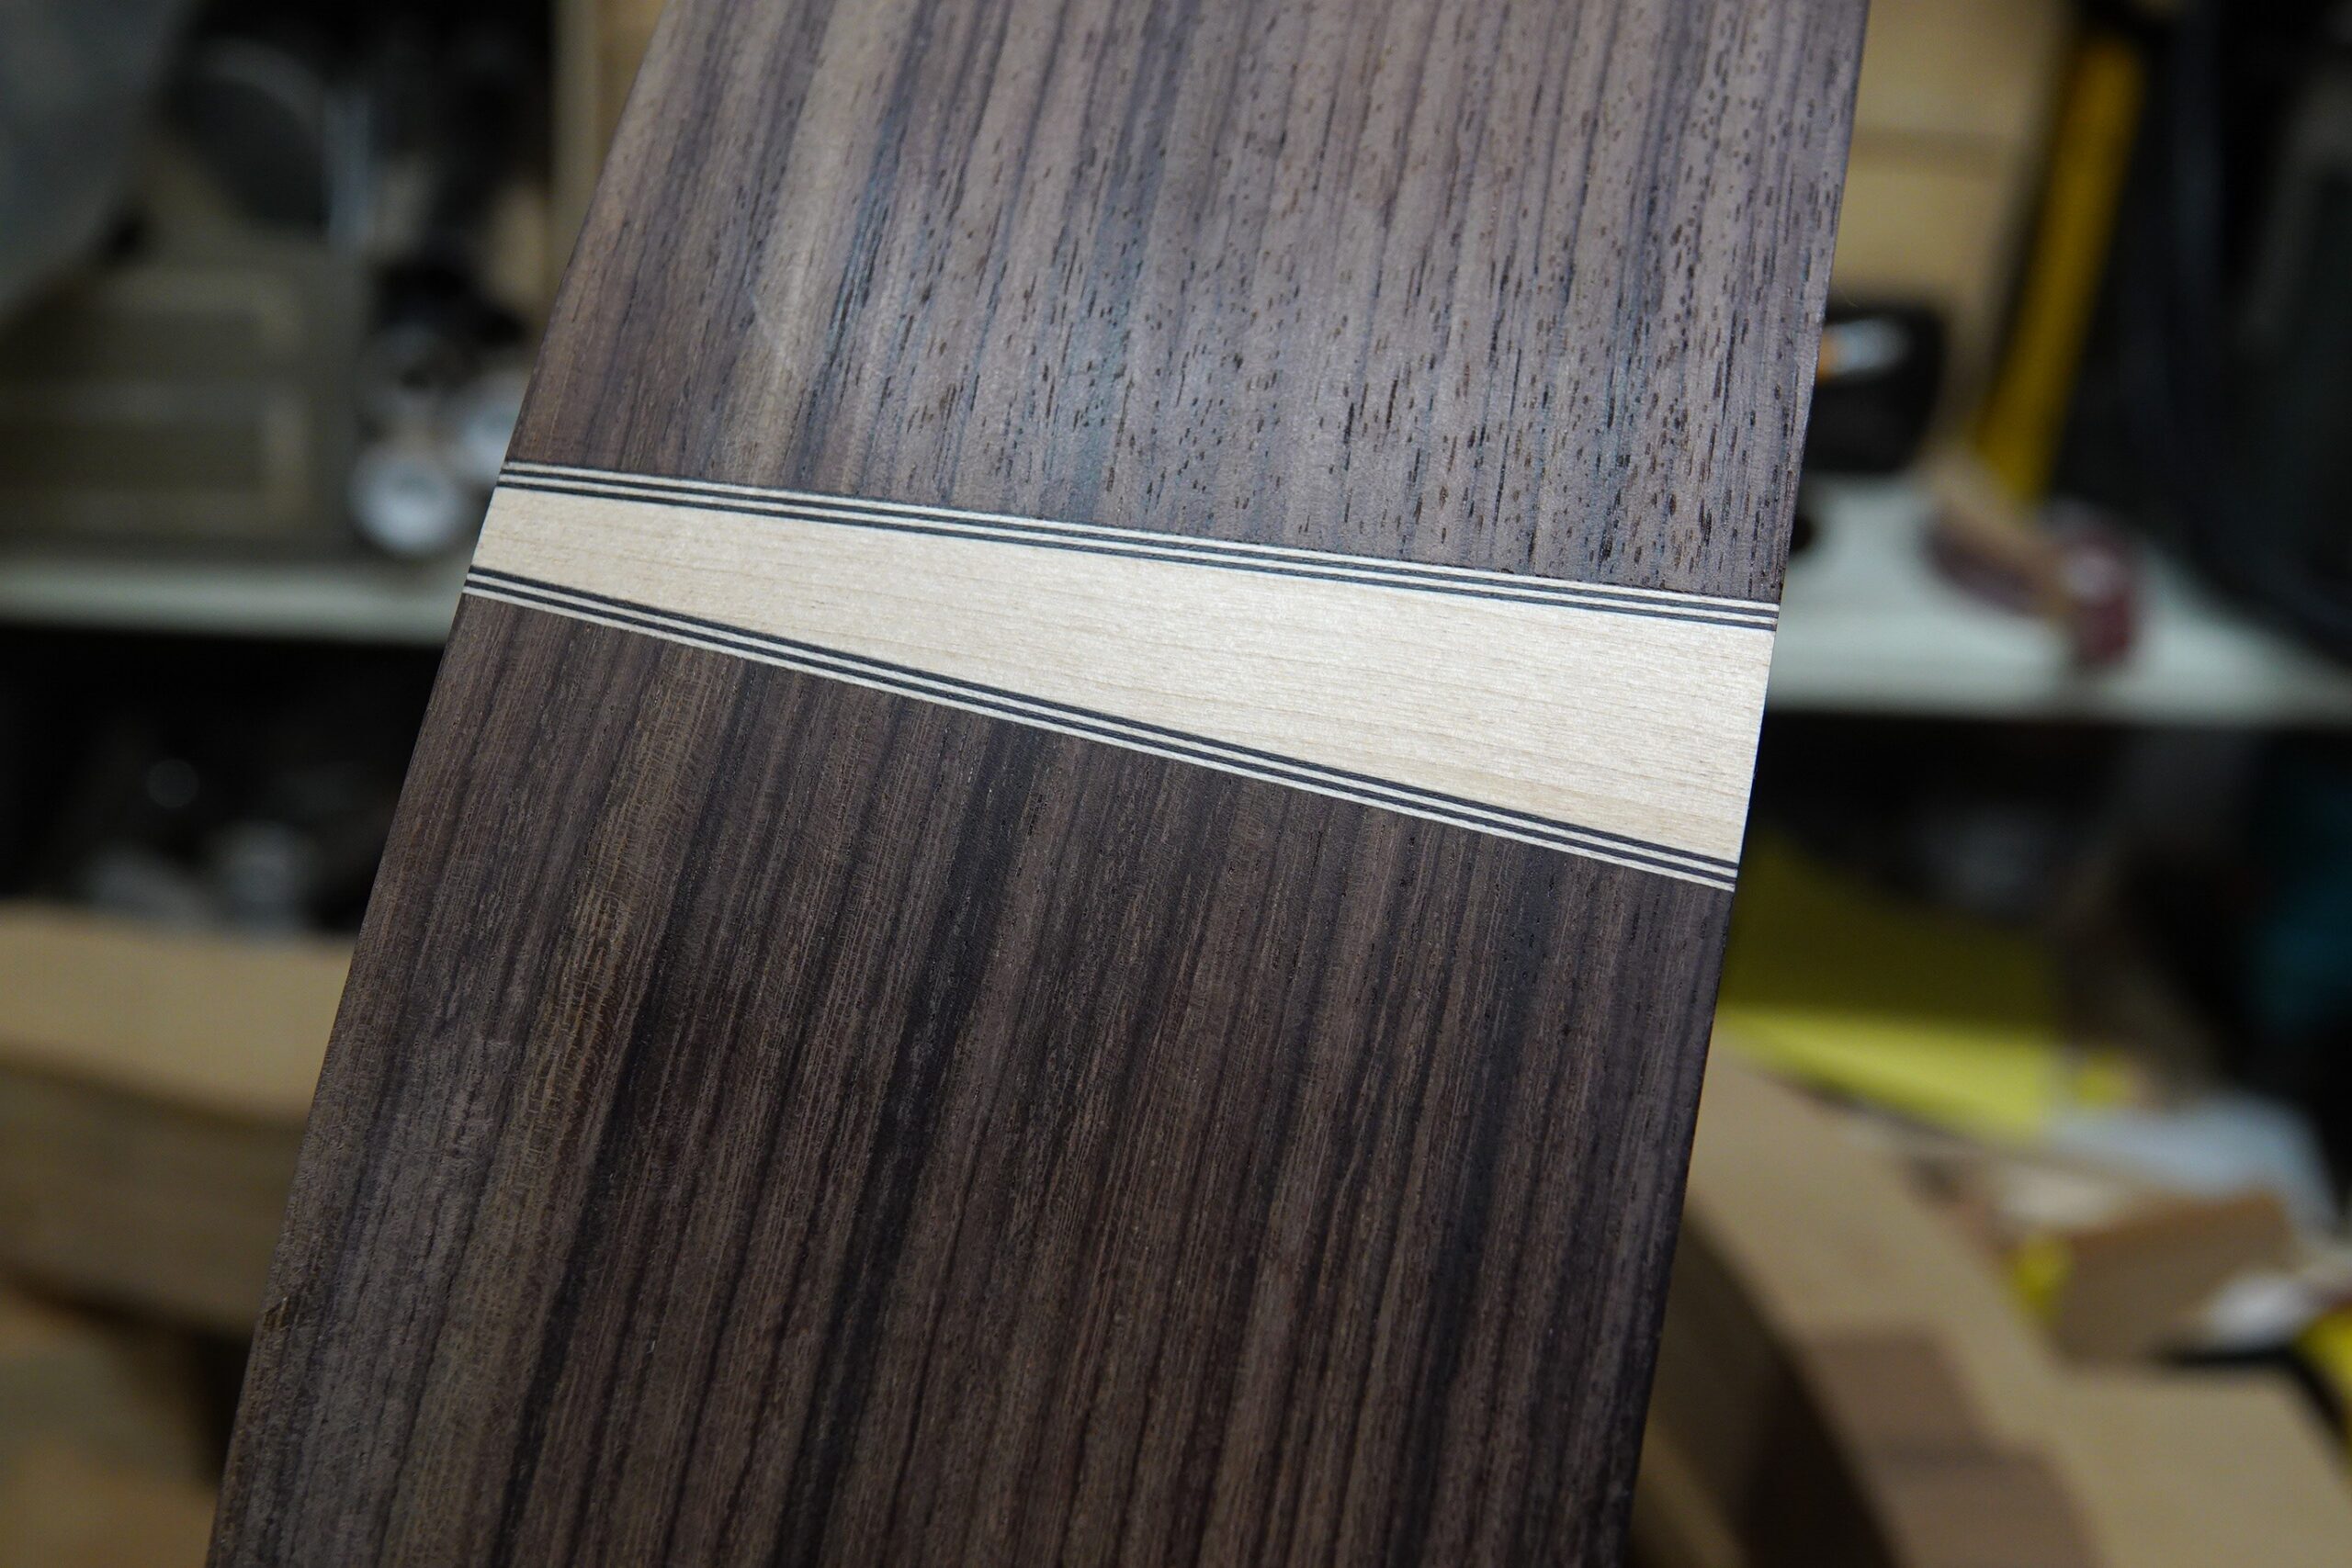
After glueing and scraping it back, I think it came out OK:
Glue Time
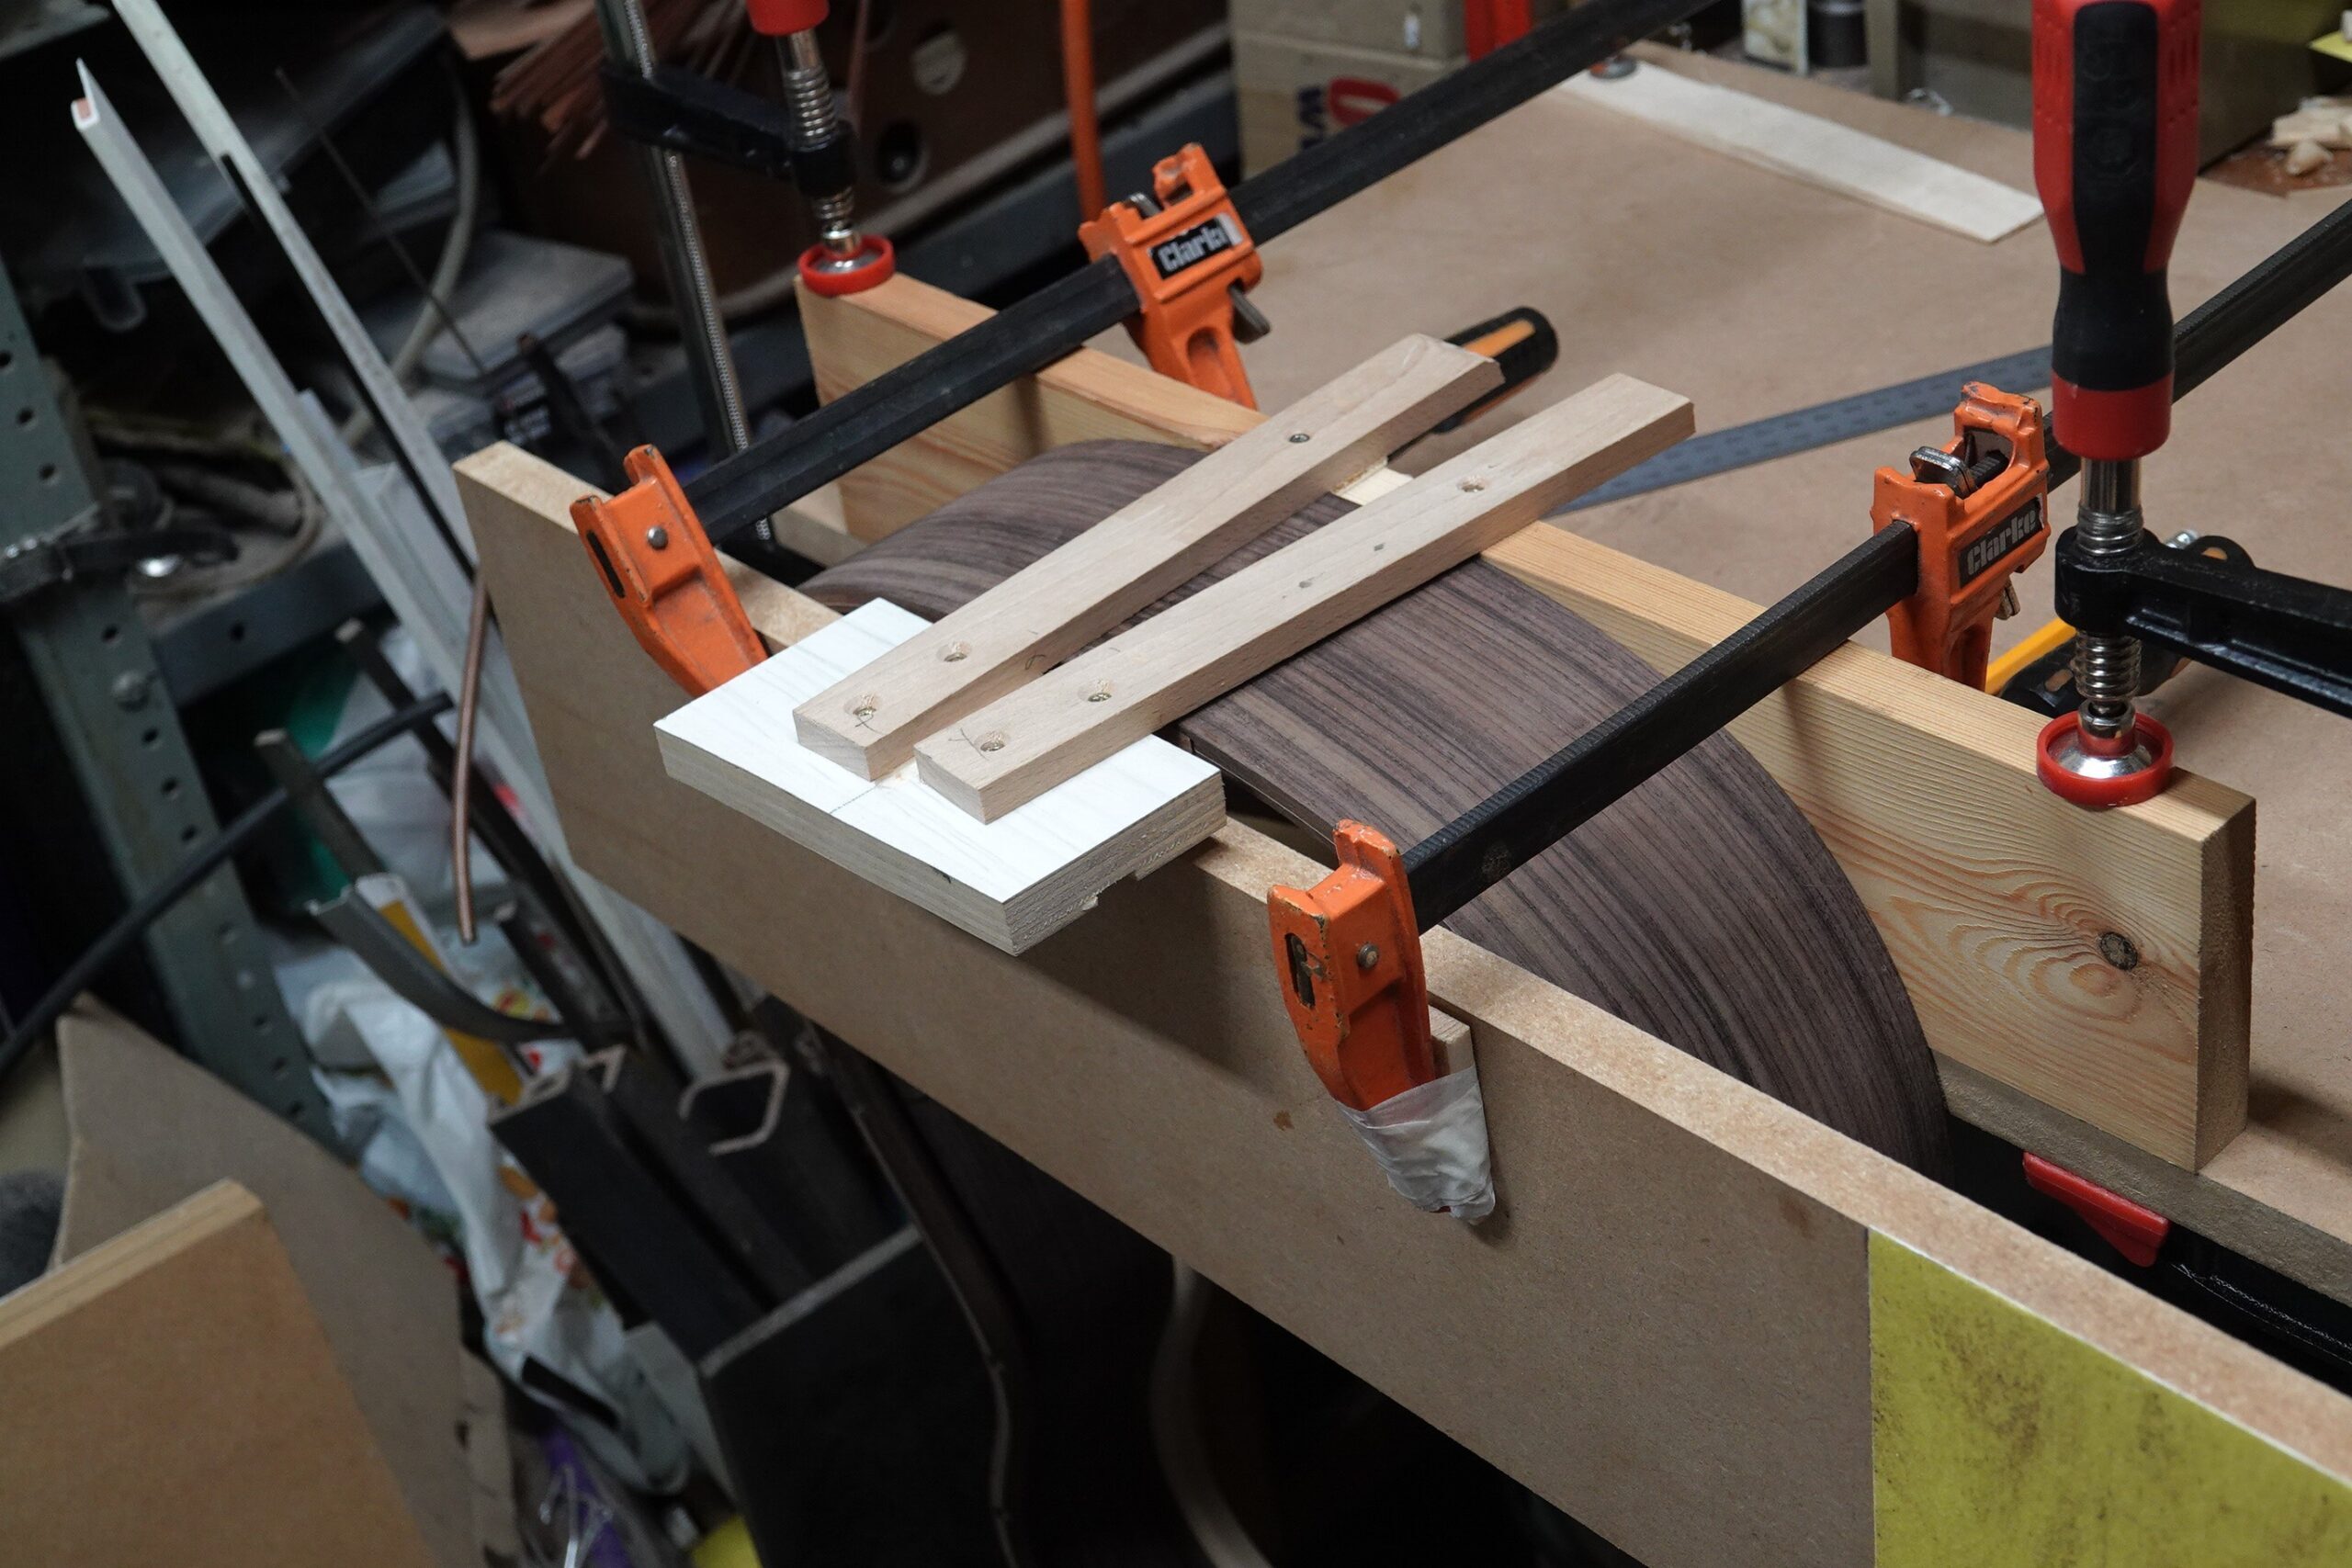
After a few ‘dry runs’ where I clamped the back on, and then went around with a thin feeler gauge looking for gaps (I did find some and did a small amount of sanding to get rid of them), I had no excuses left not to glue the back on, I (probably using too much glue).
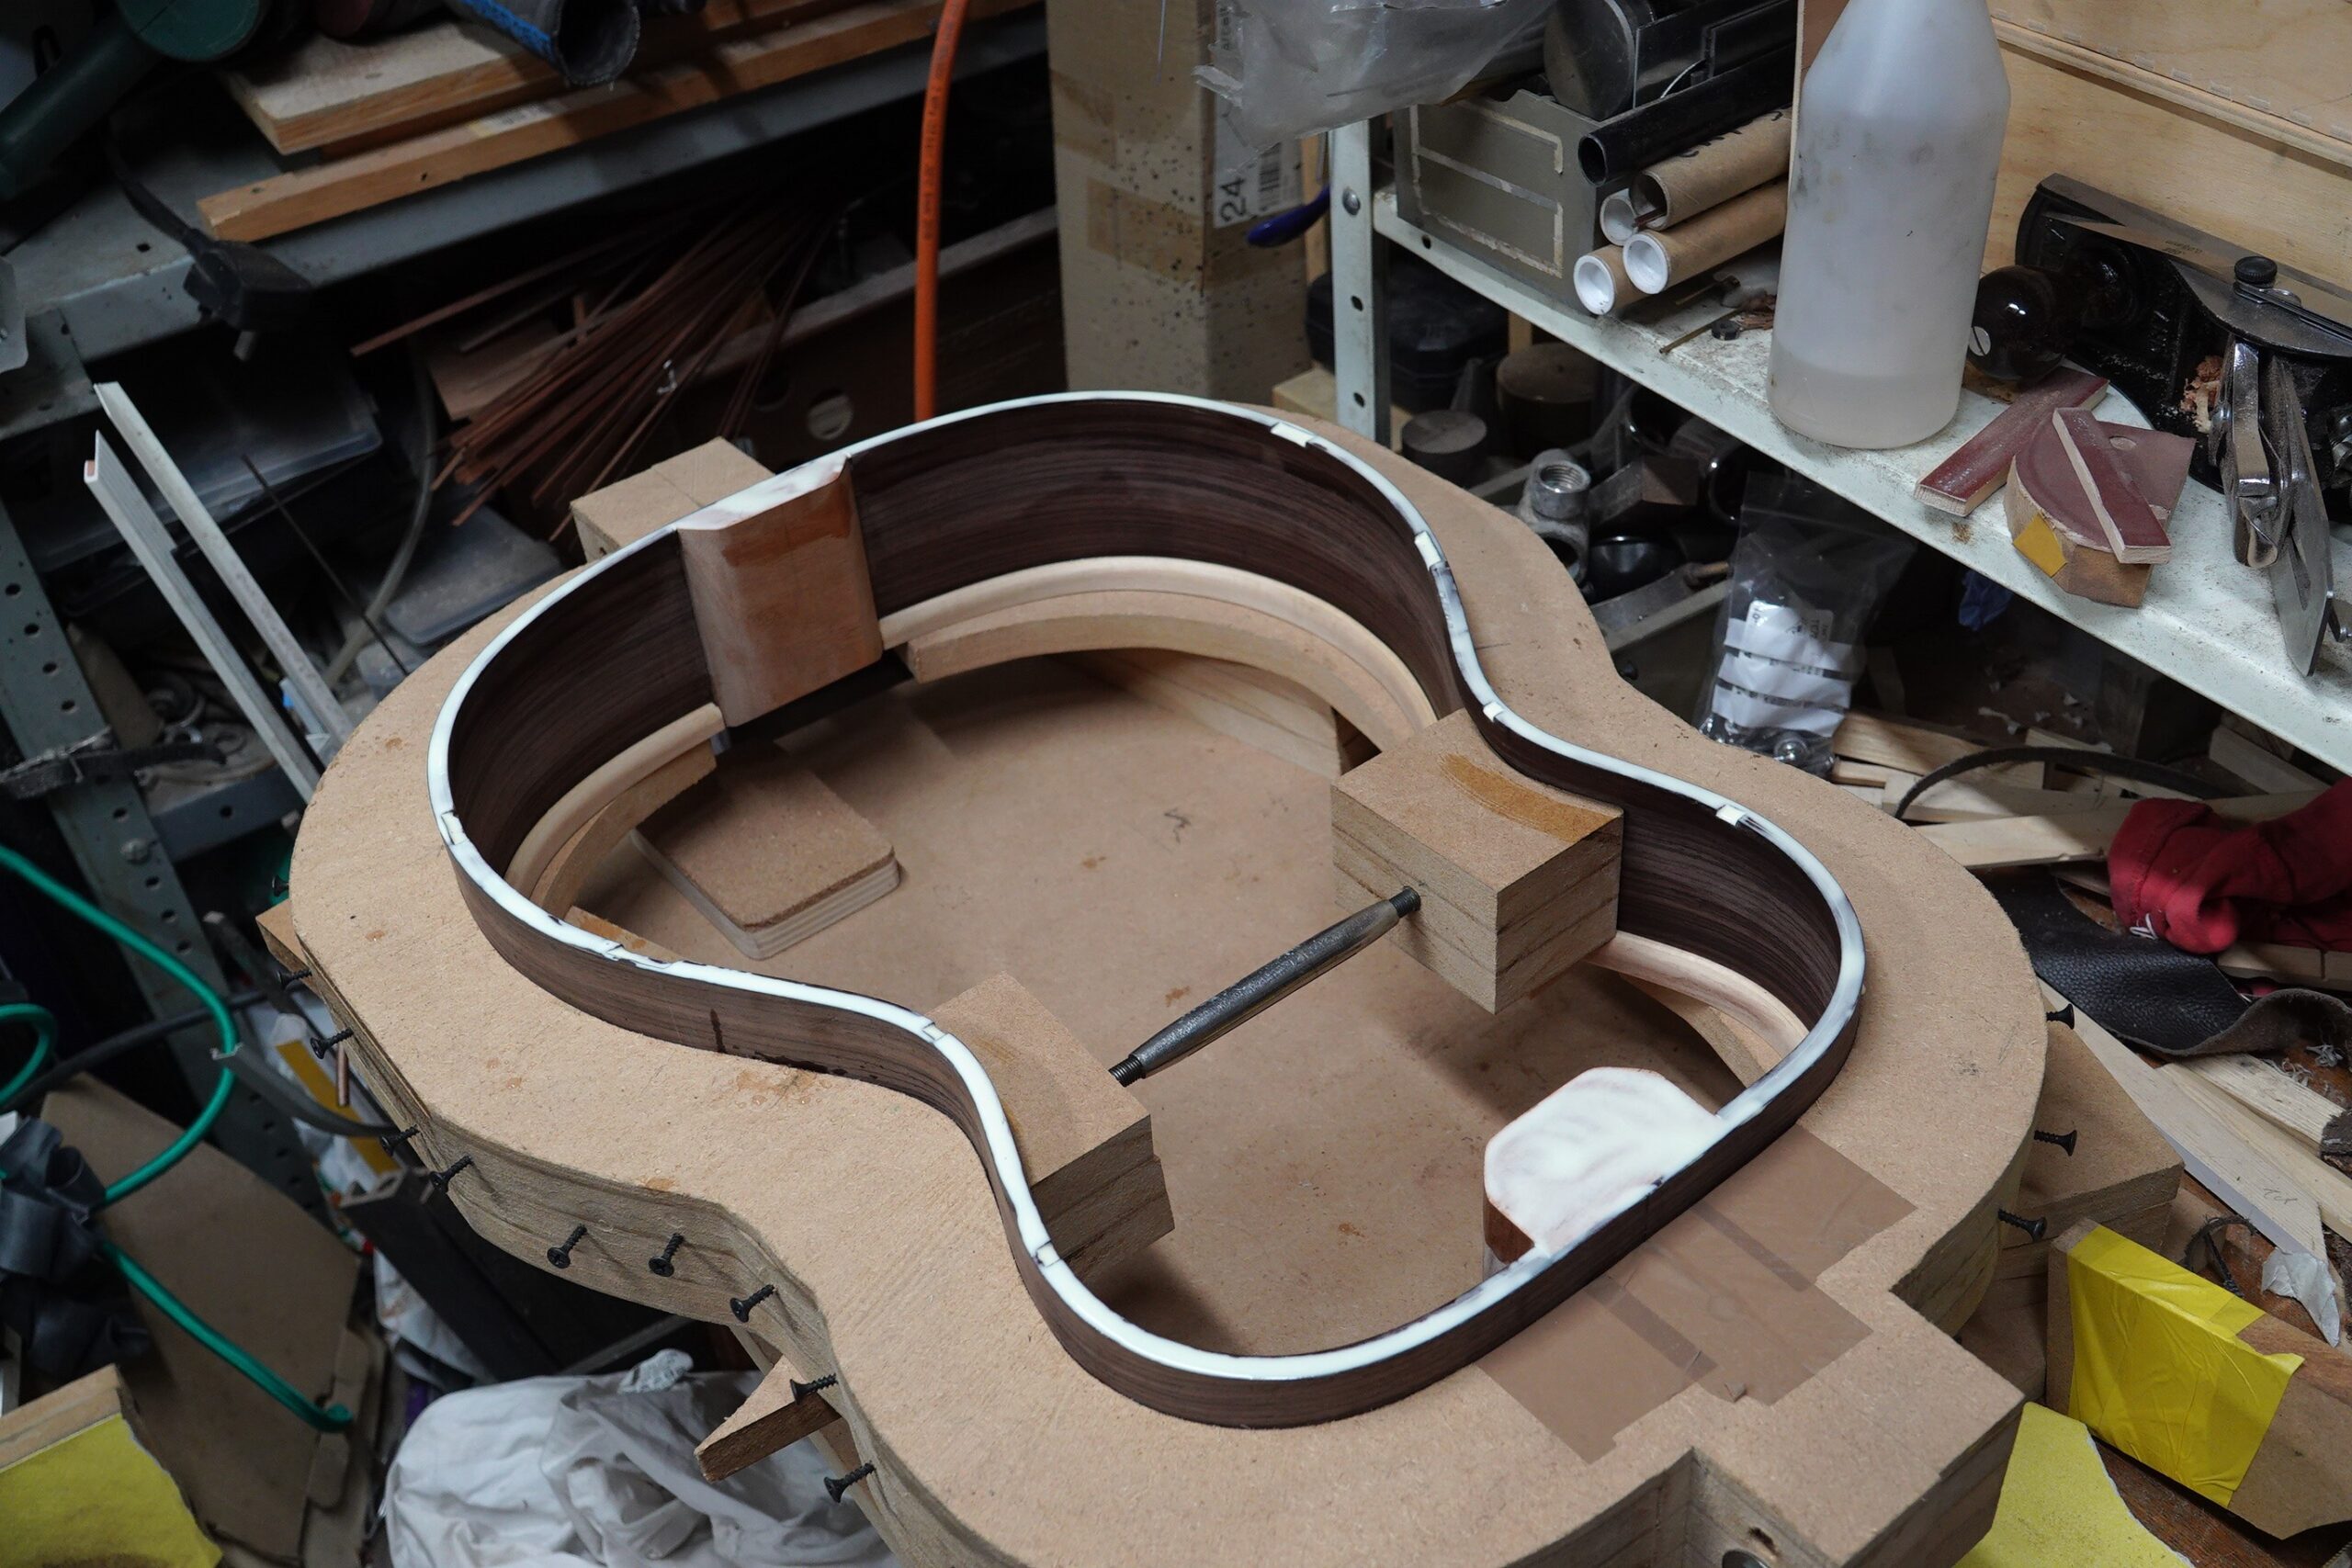
(The spreader inside is only loosely in position as I didn’t want to glue the back on with stress in the sides)
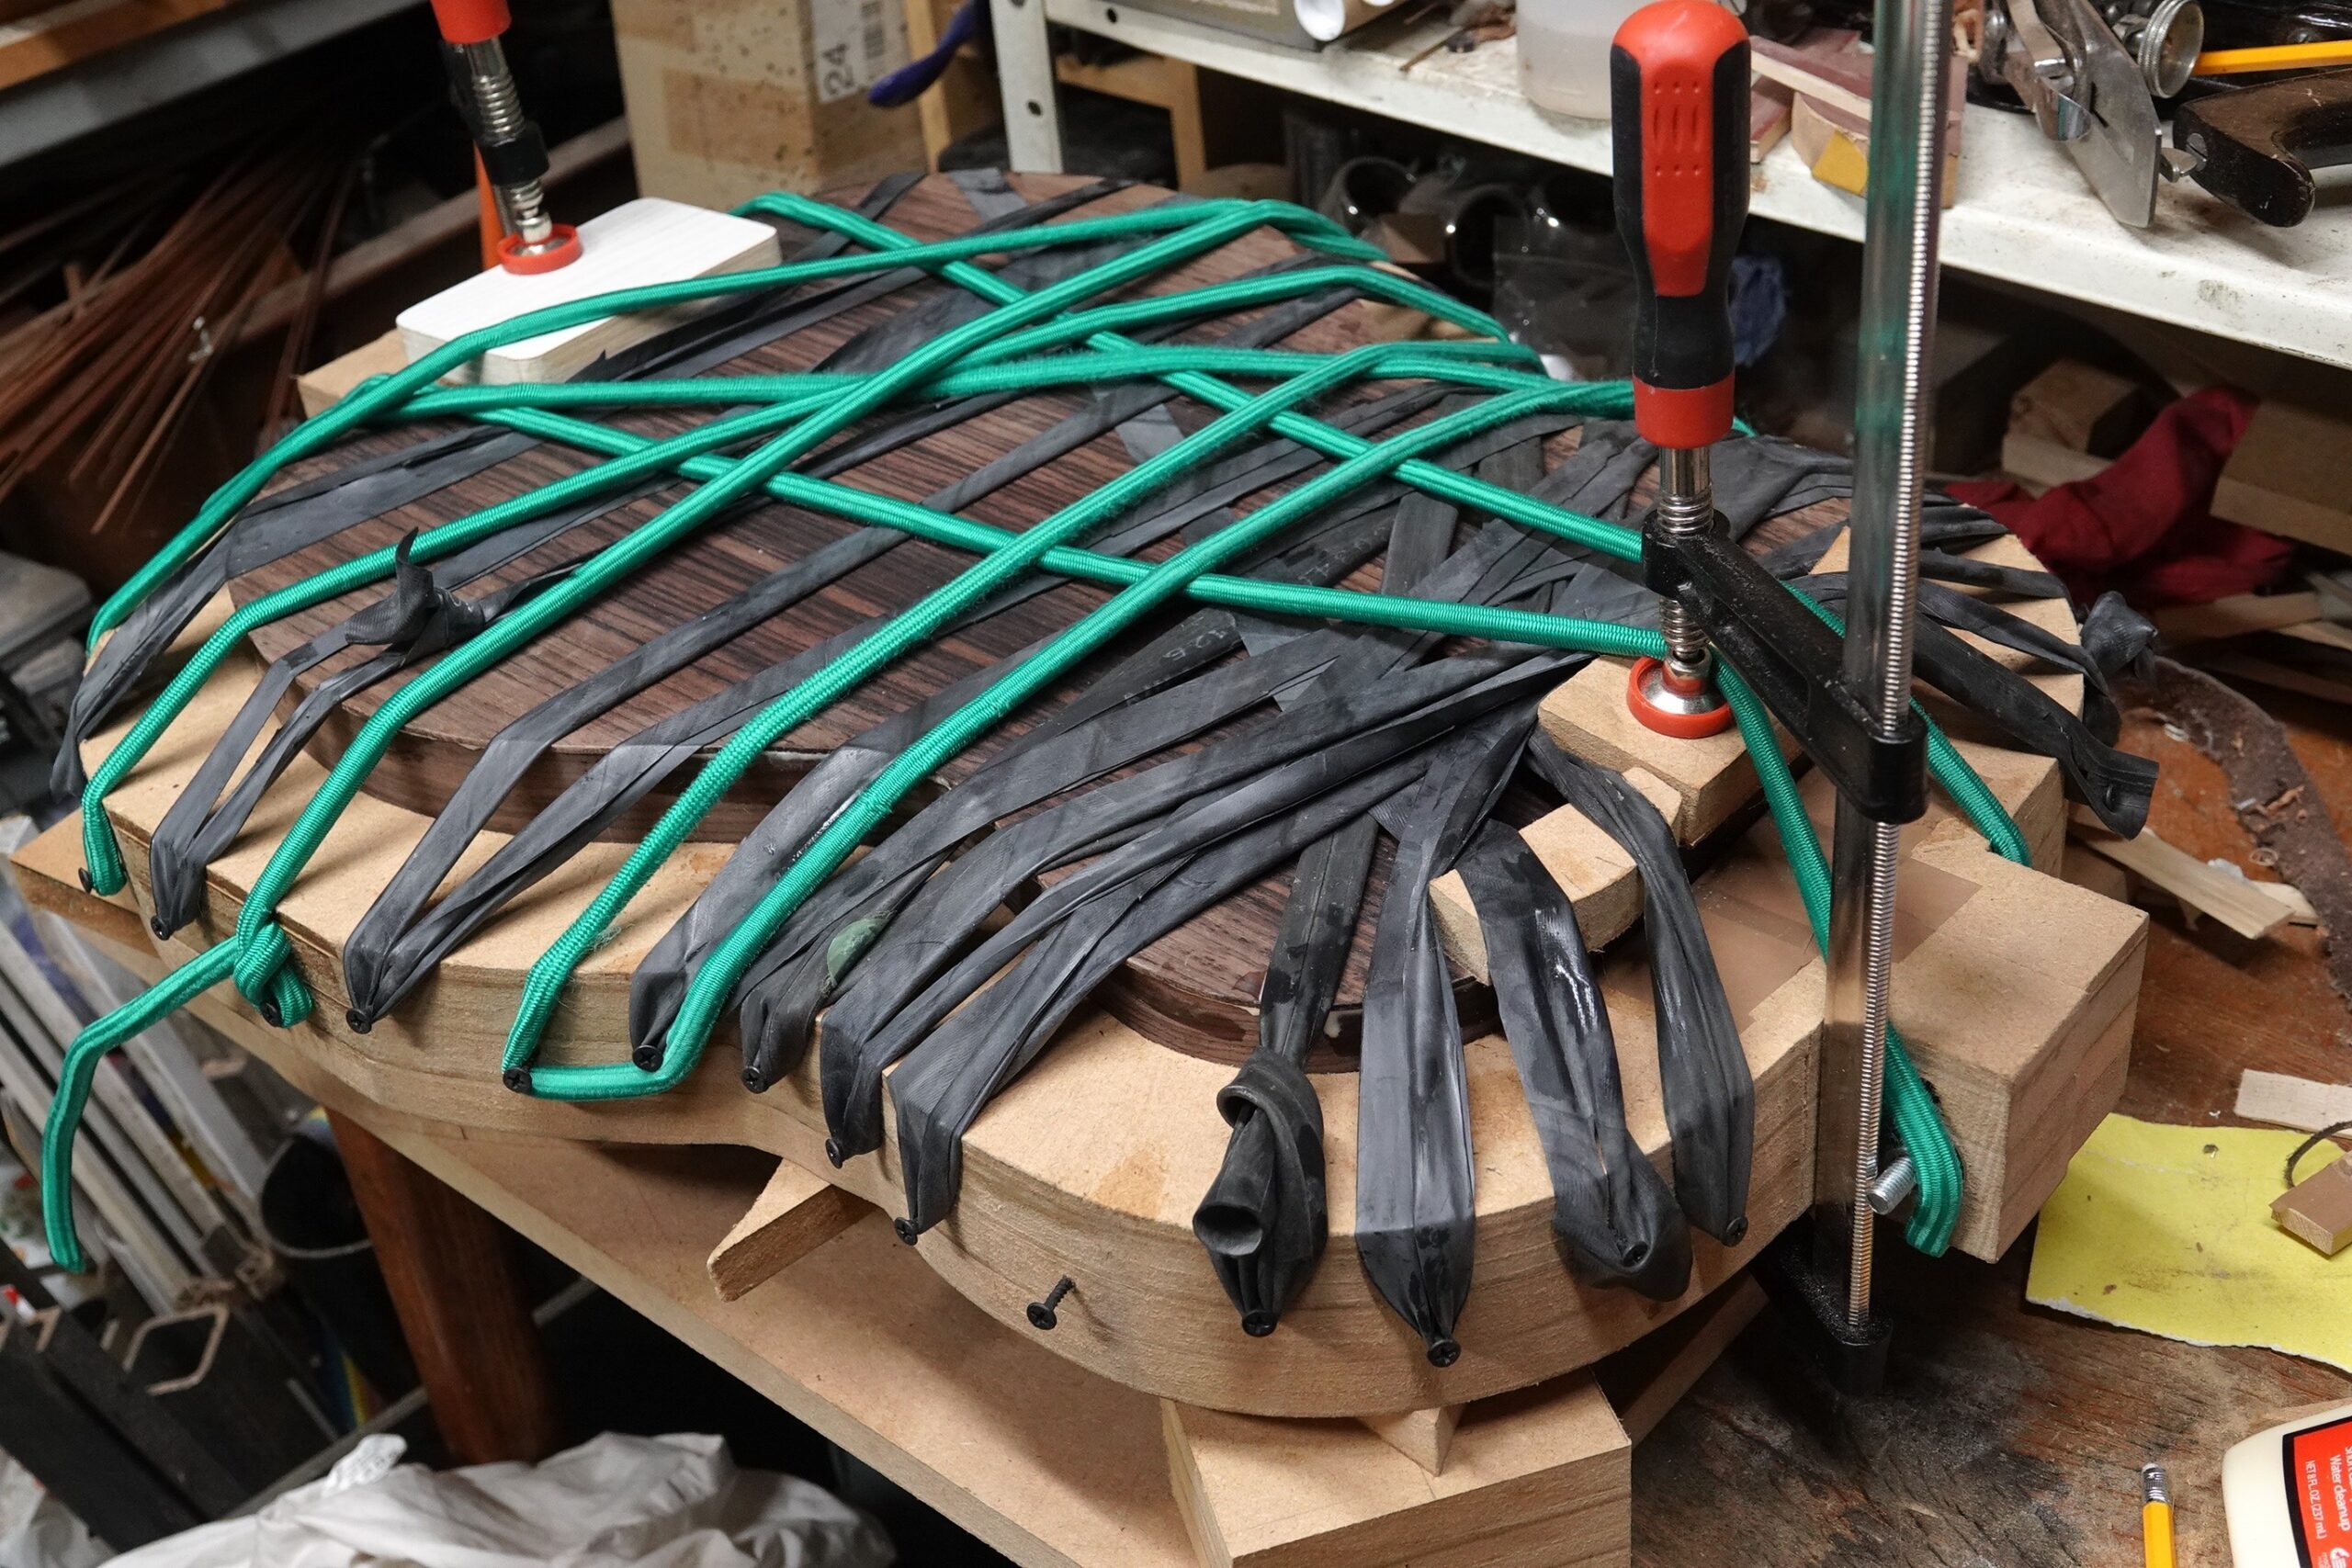
I clamped the joint using strips of inner tube and bungy cord wrapped around screws in the outside of the mould. It did a great job of holding the joint tight and allowed complete access to the inside to do the clean-up (a few scrap blocks screwed to the top of the mould stopped the sides sliding through).
Still some sanding to do, but very pleased so far: