
On the home straight now. It’s surprising how quickly it comes together!
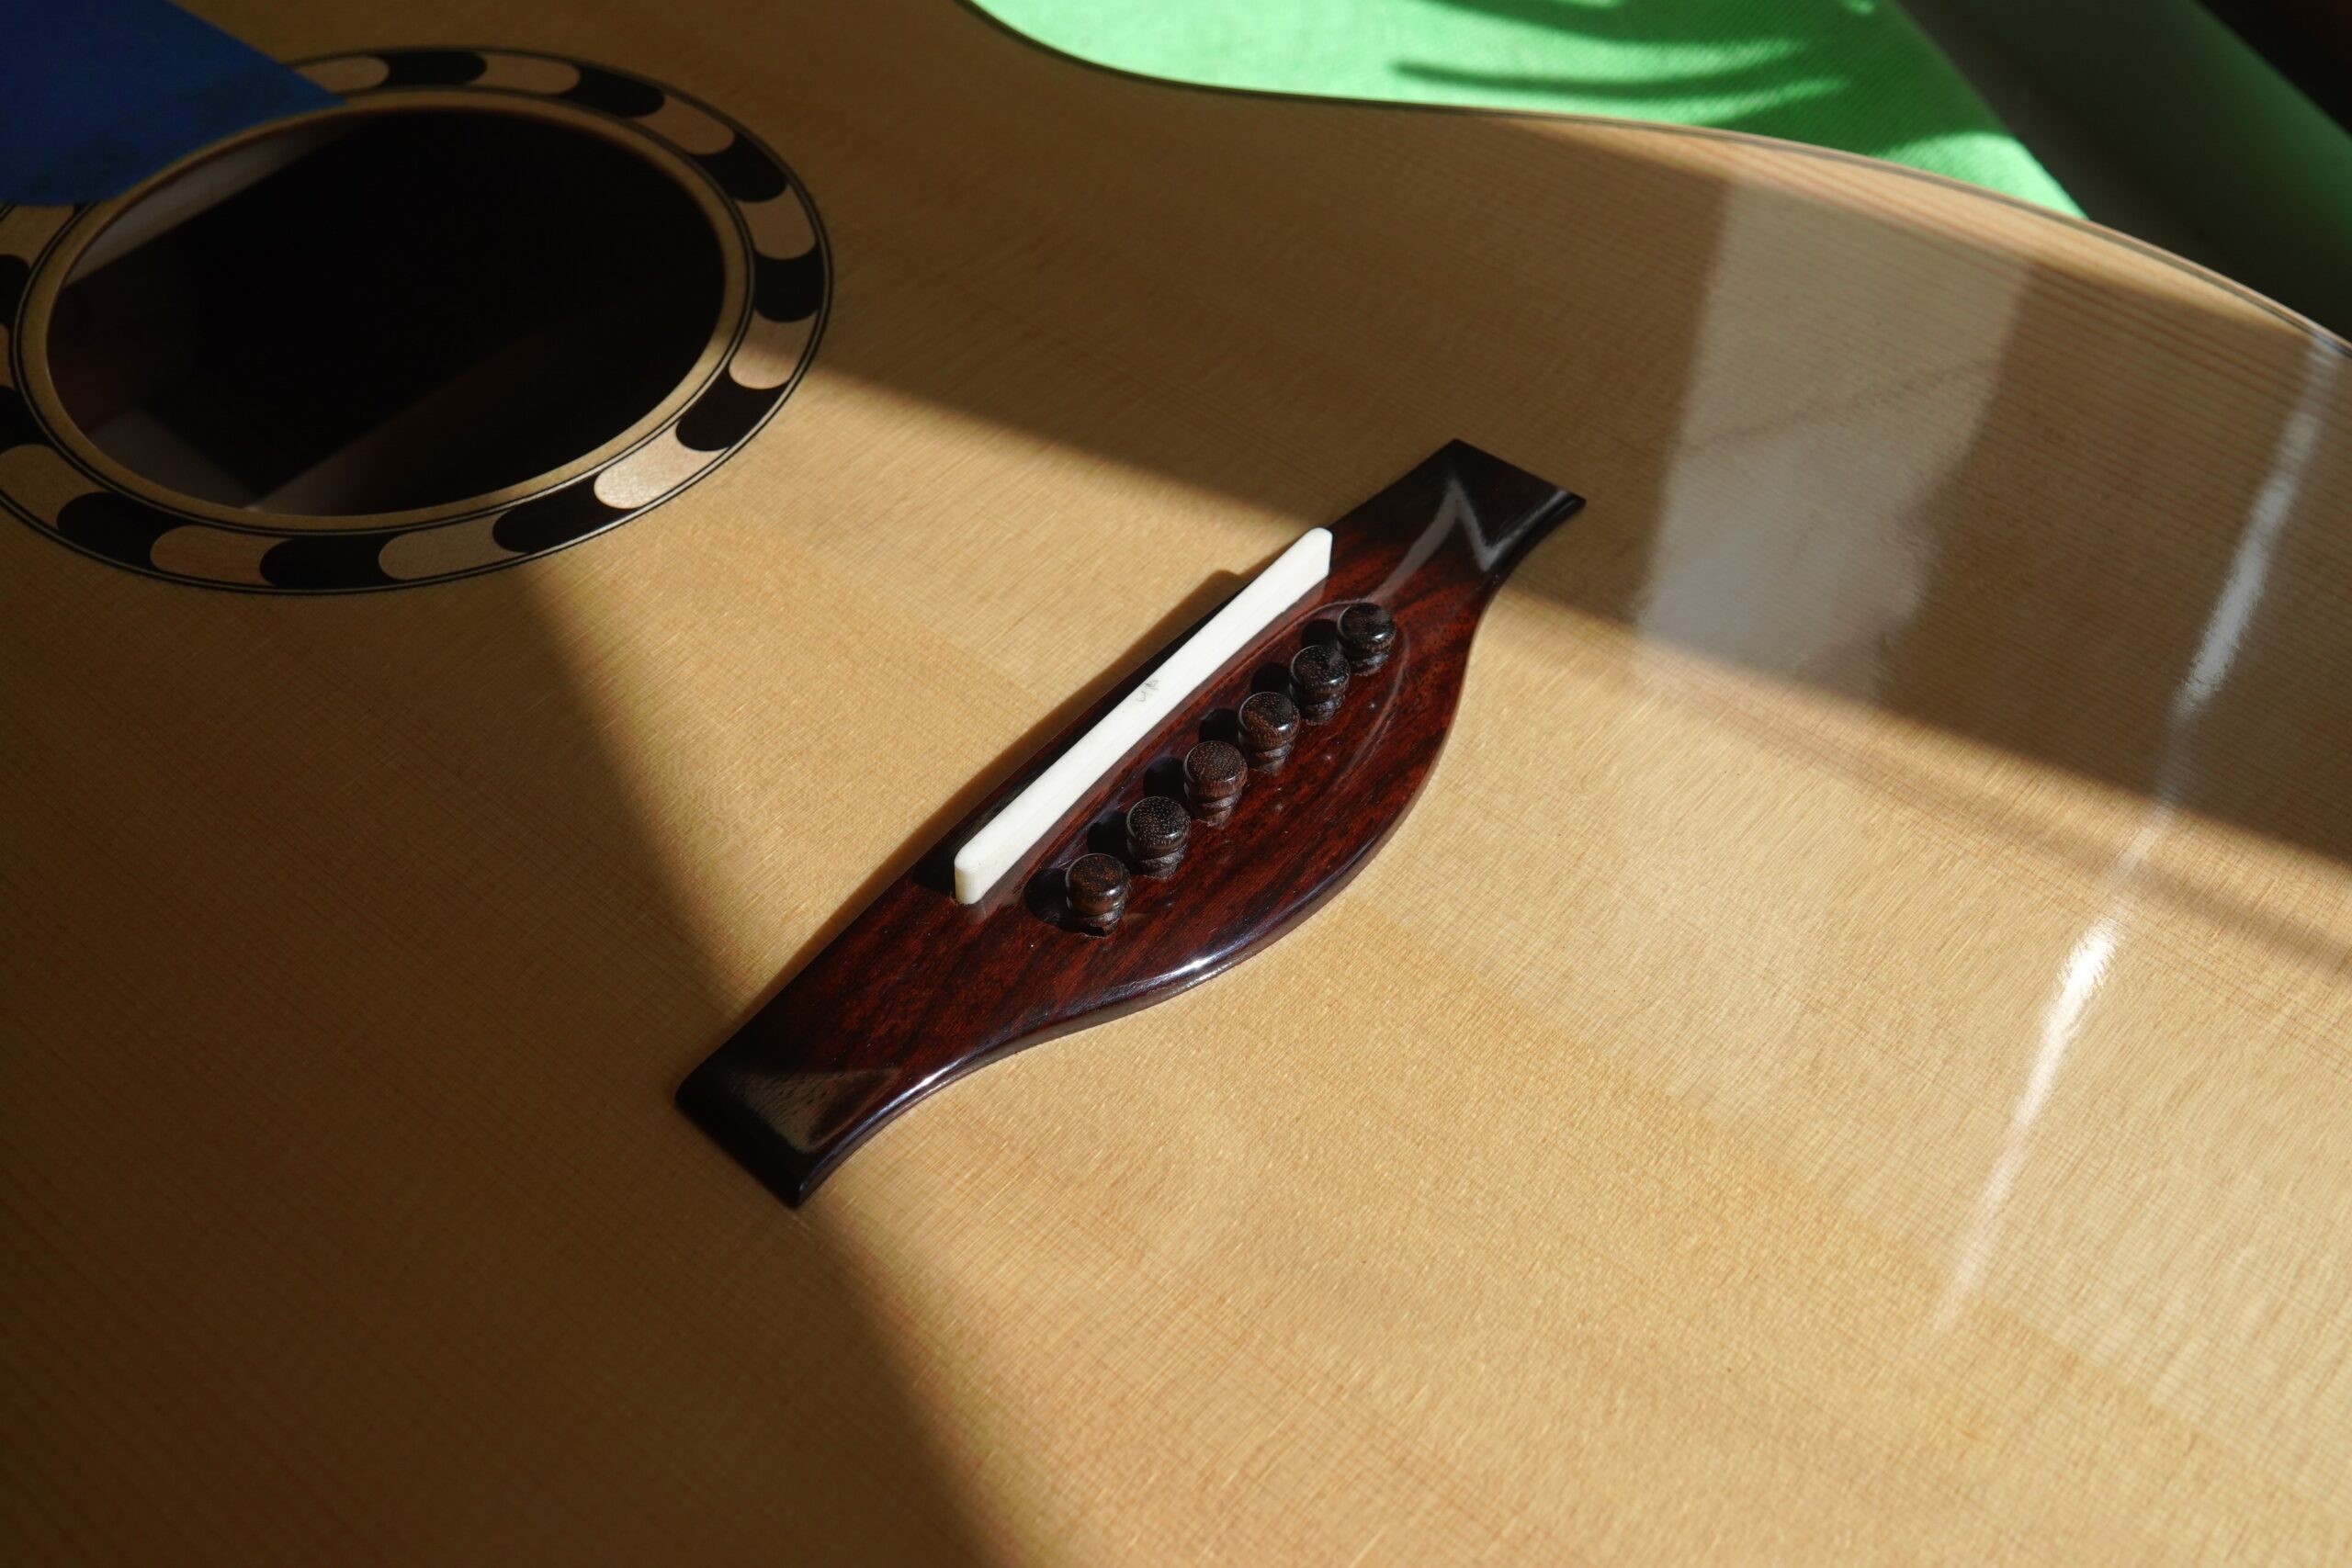
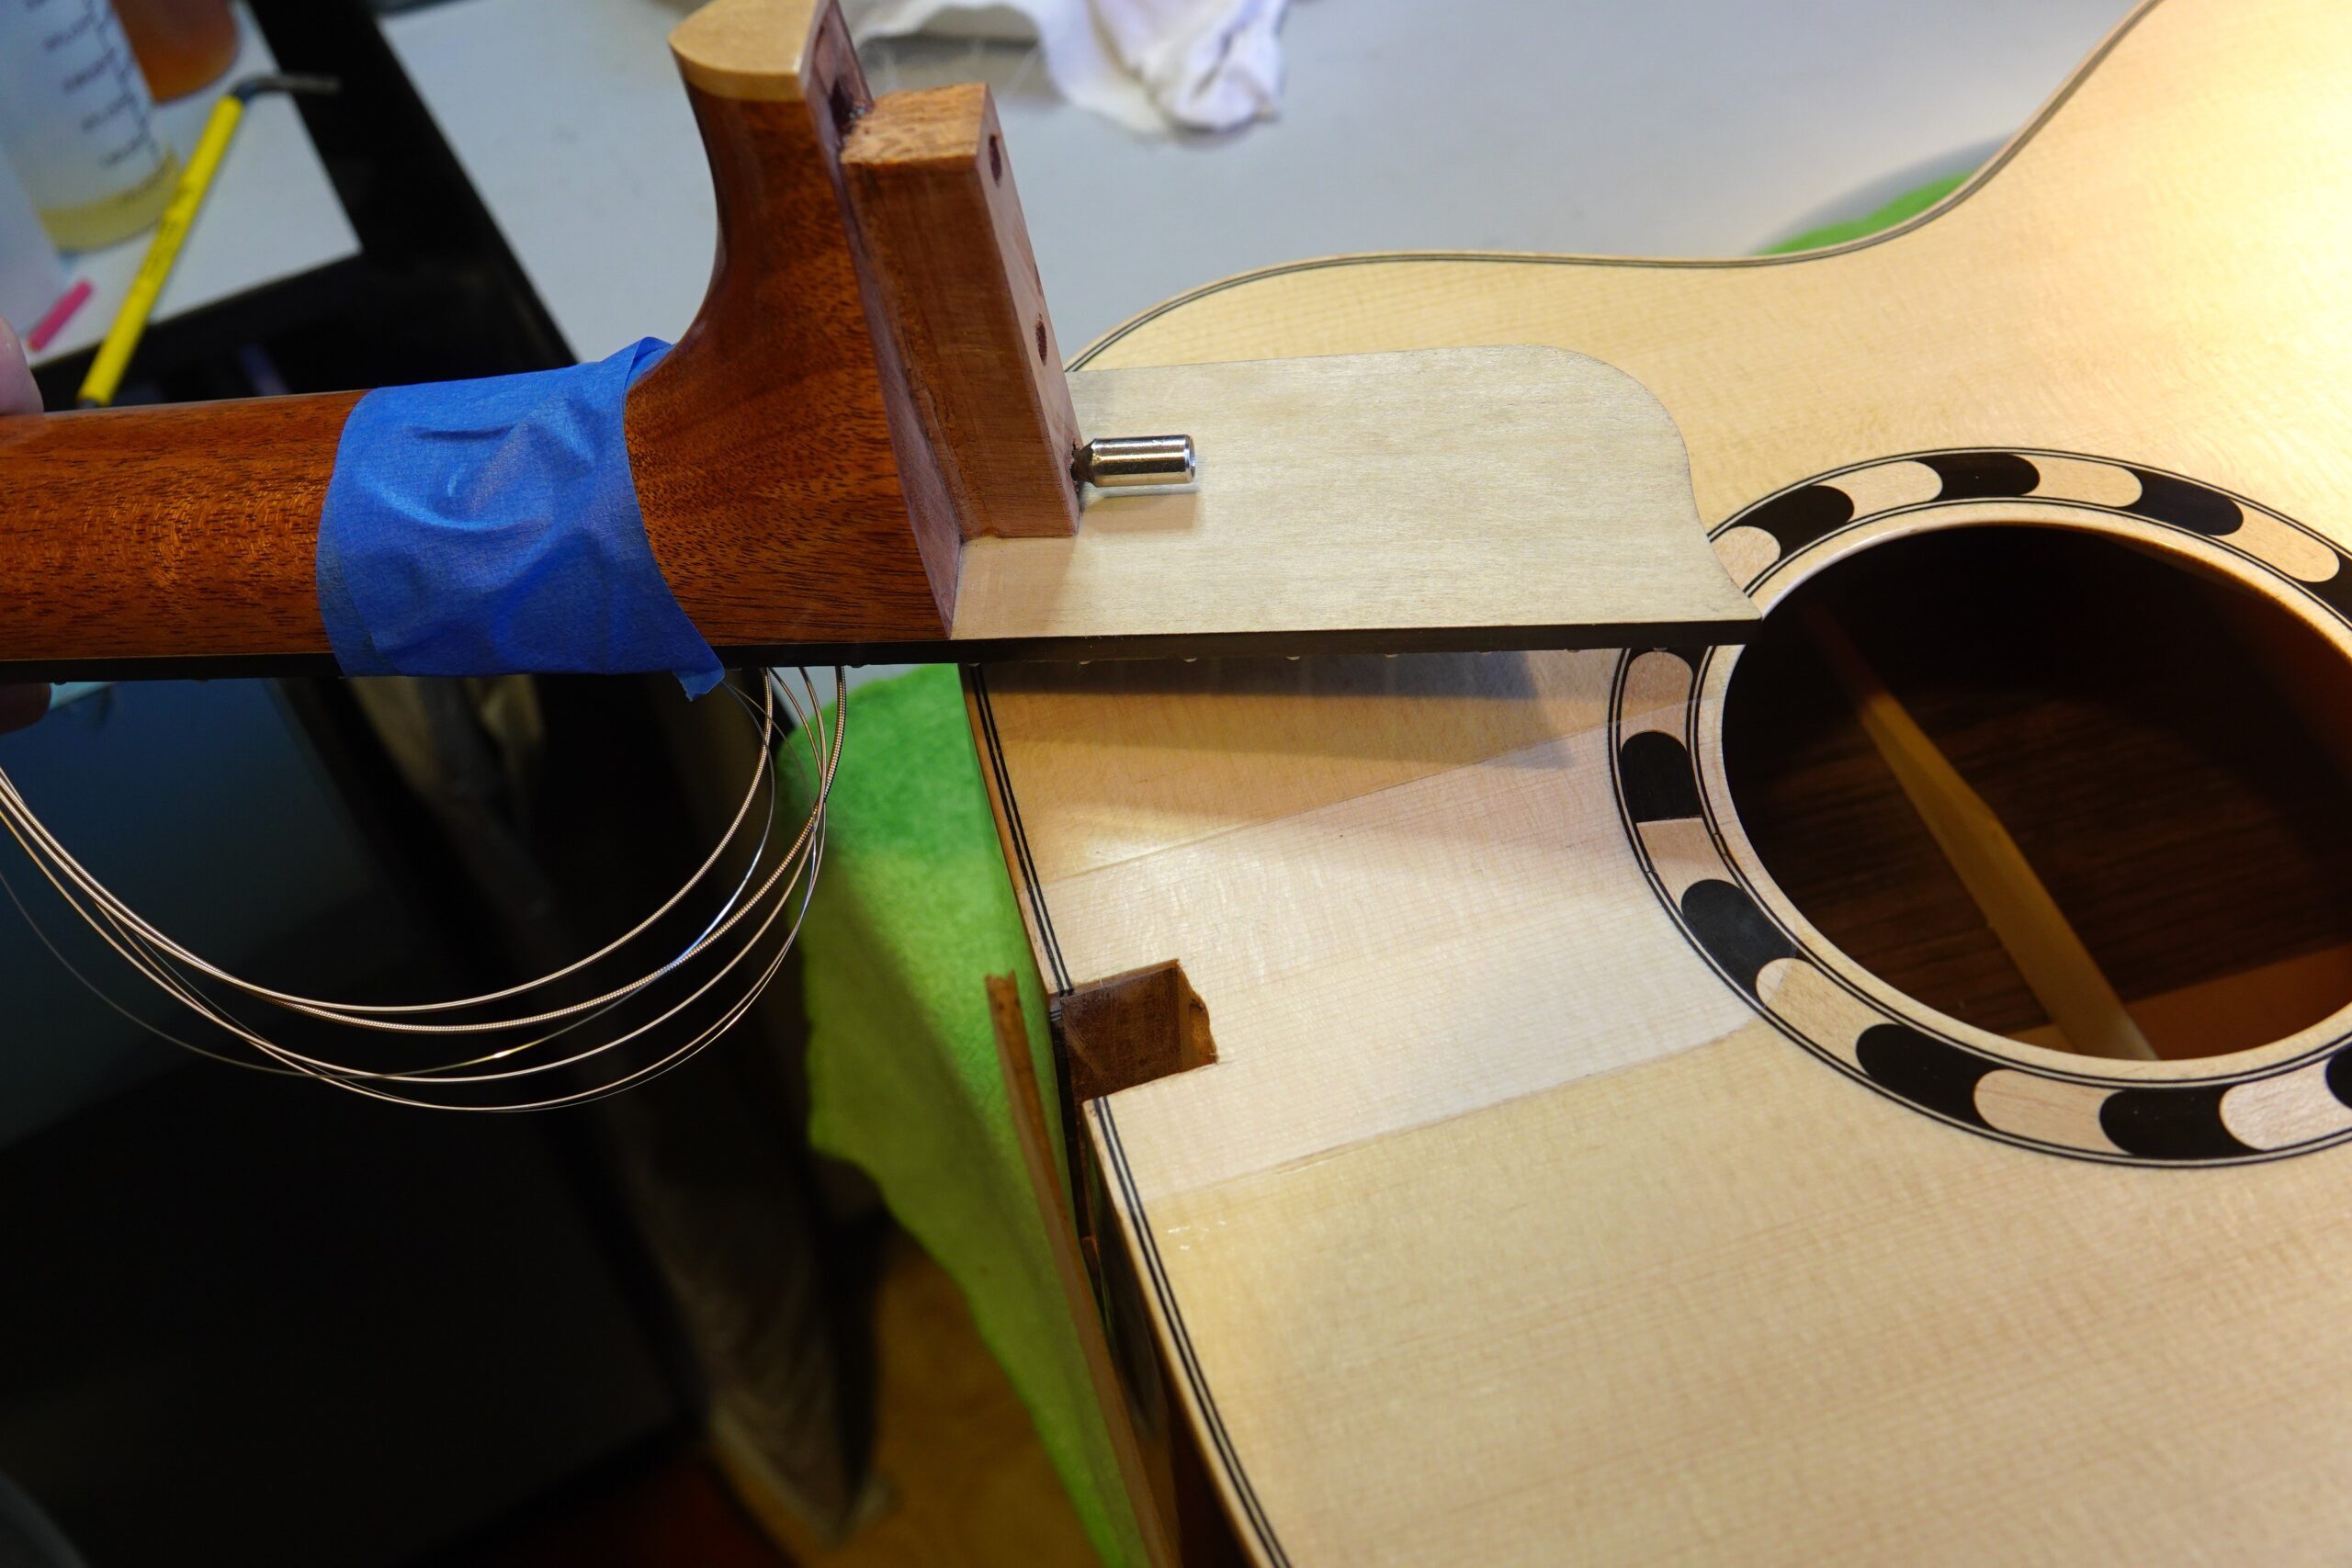
Gluing the bridge
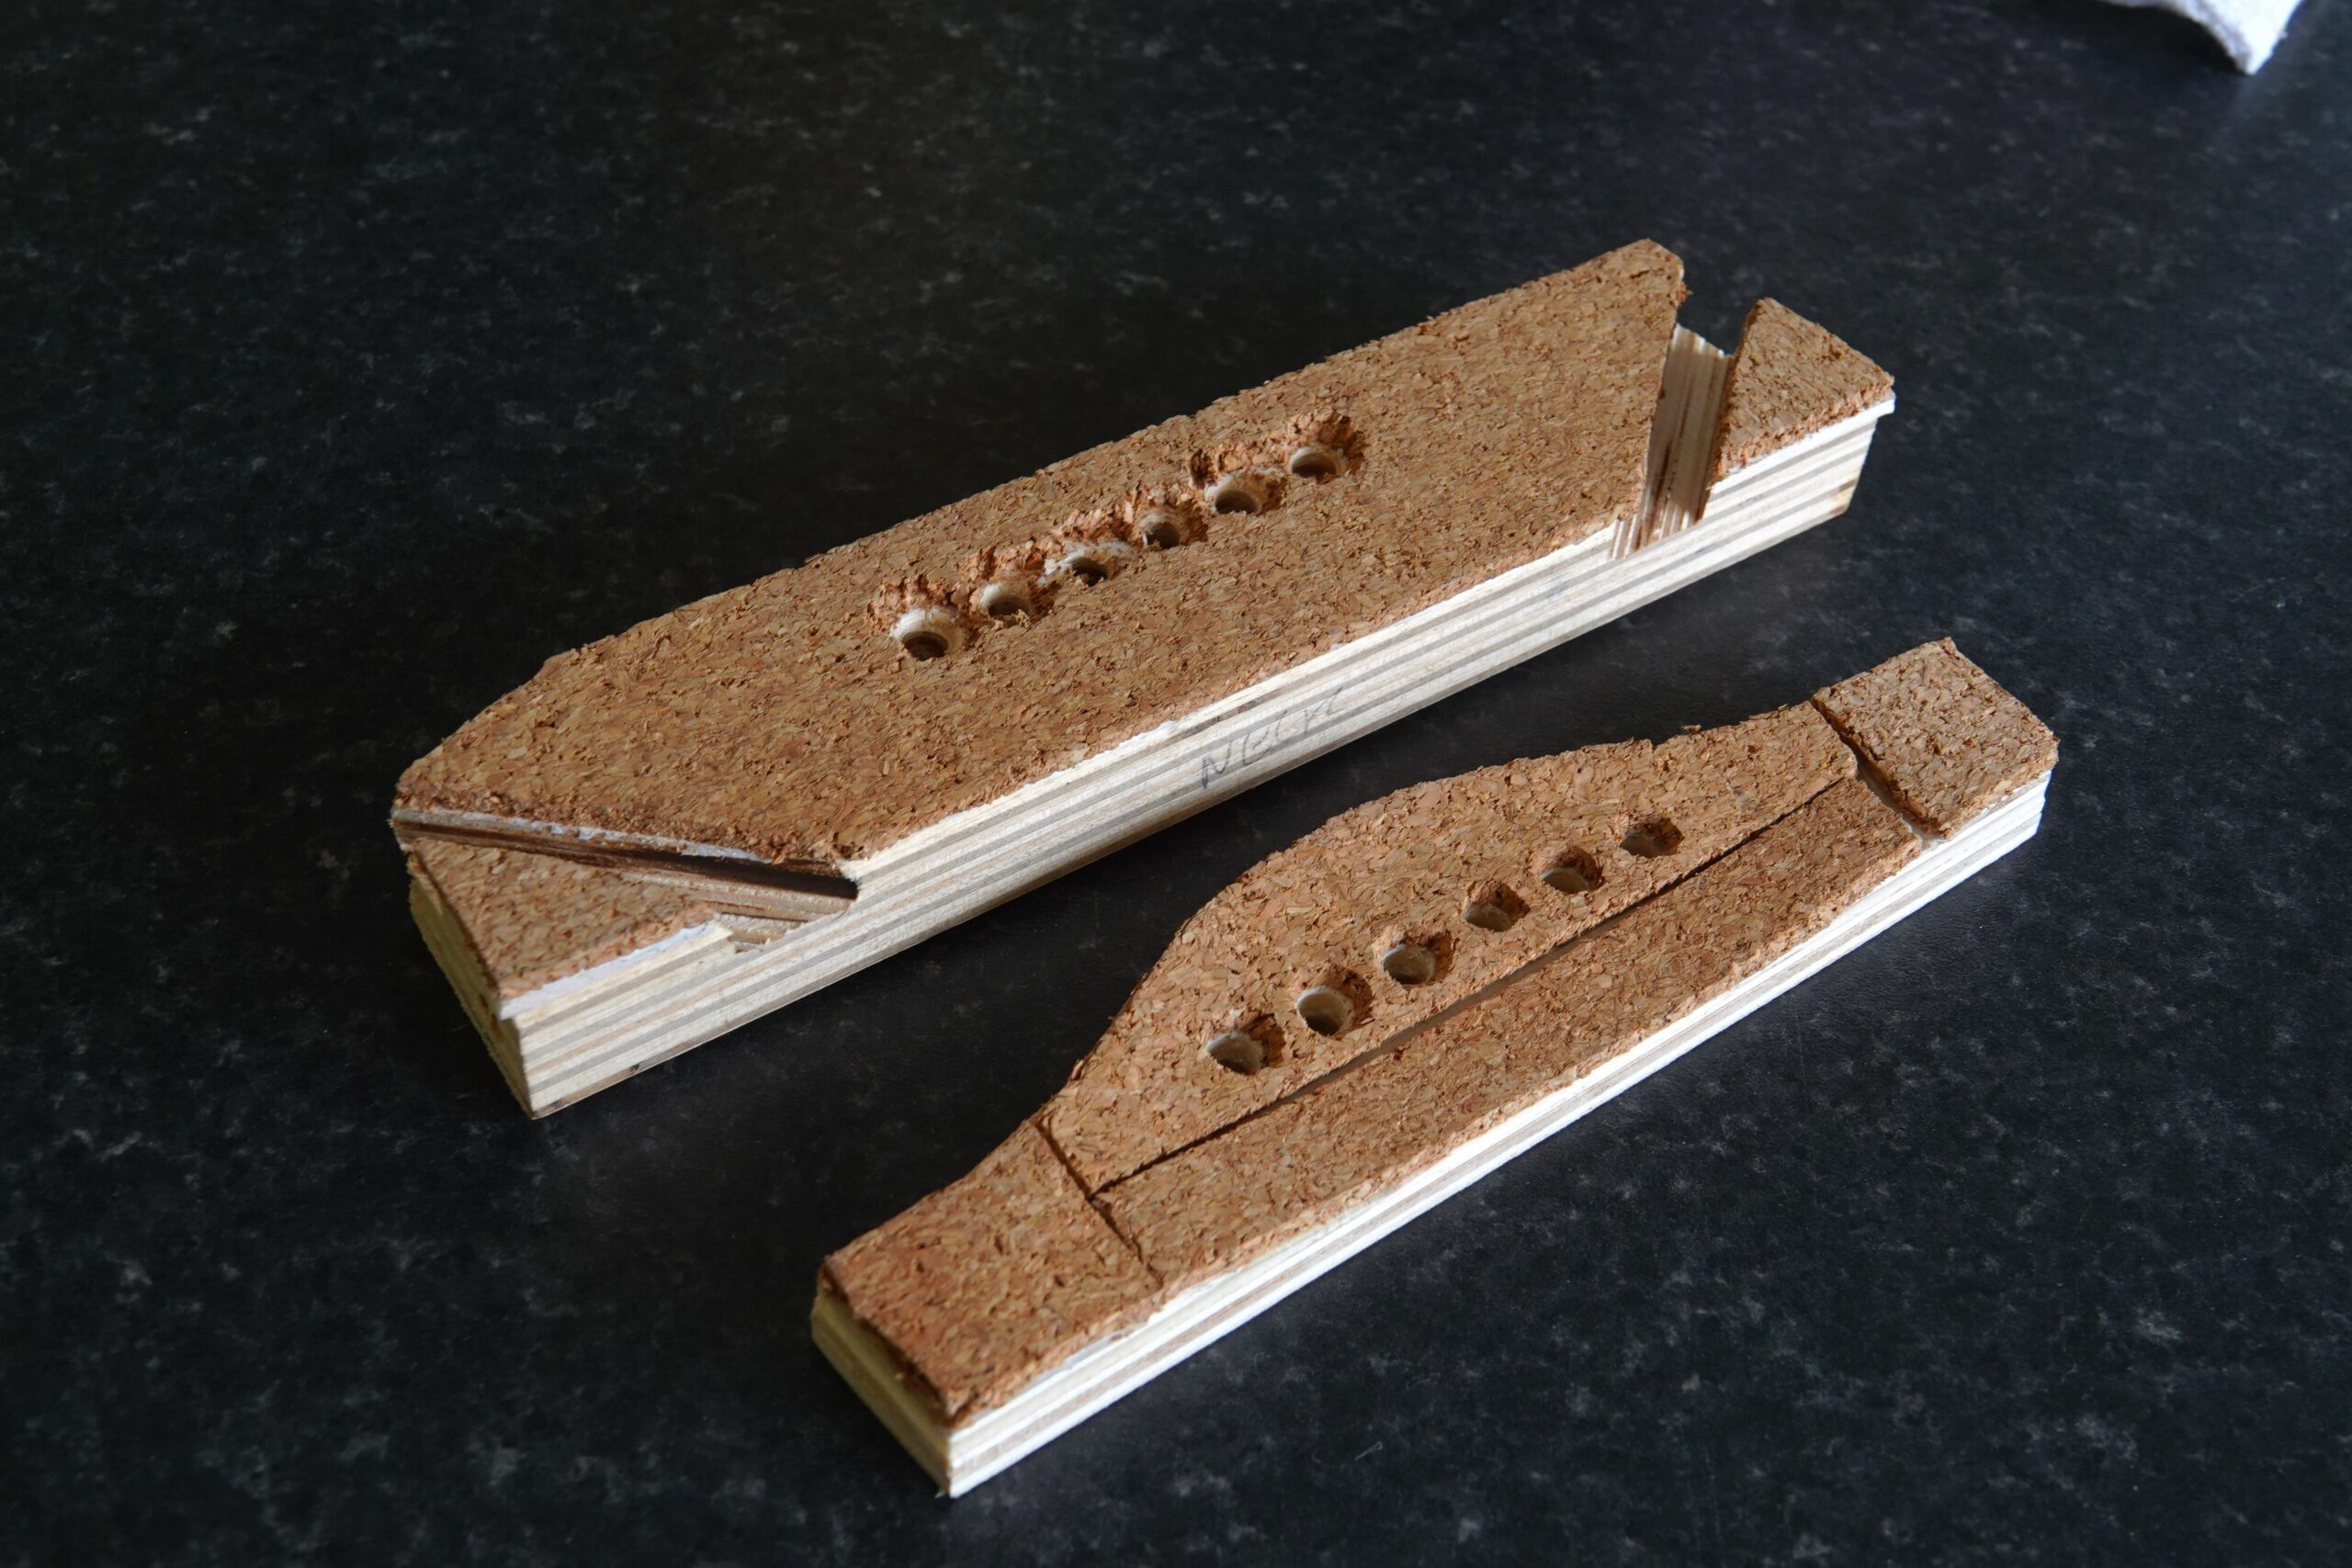
Since I’d used CNC to make the bridge, it was easy to machine an inverse shape to act as a caul to clamp it whilst gluing.
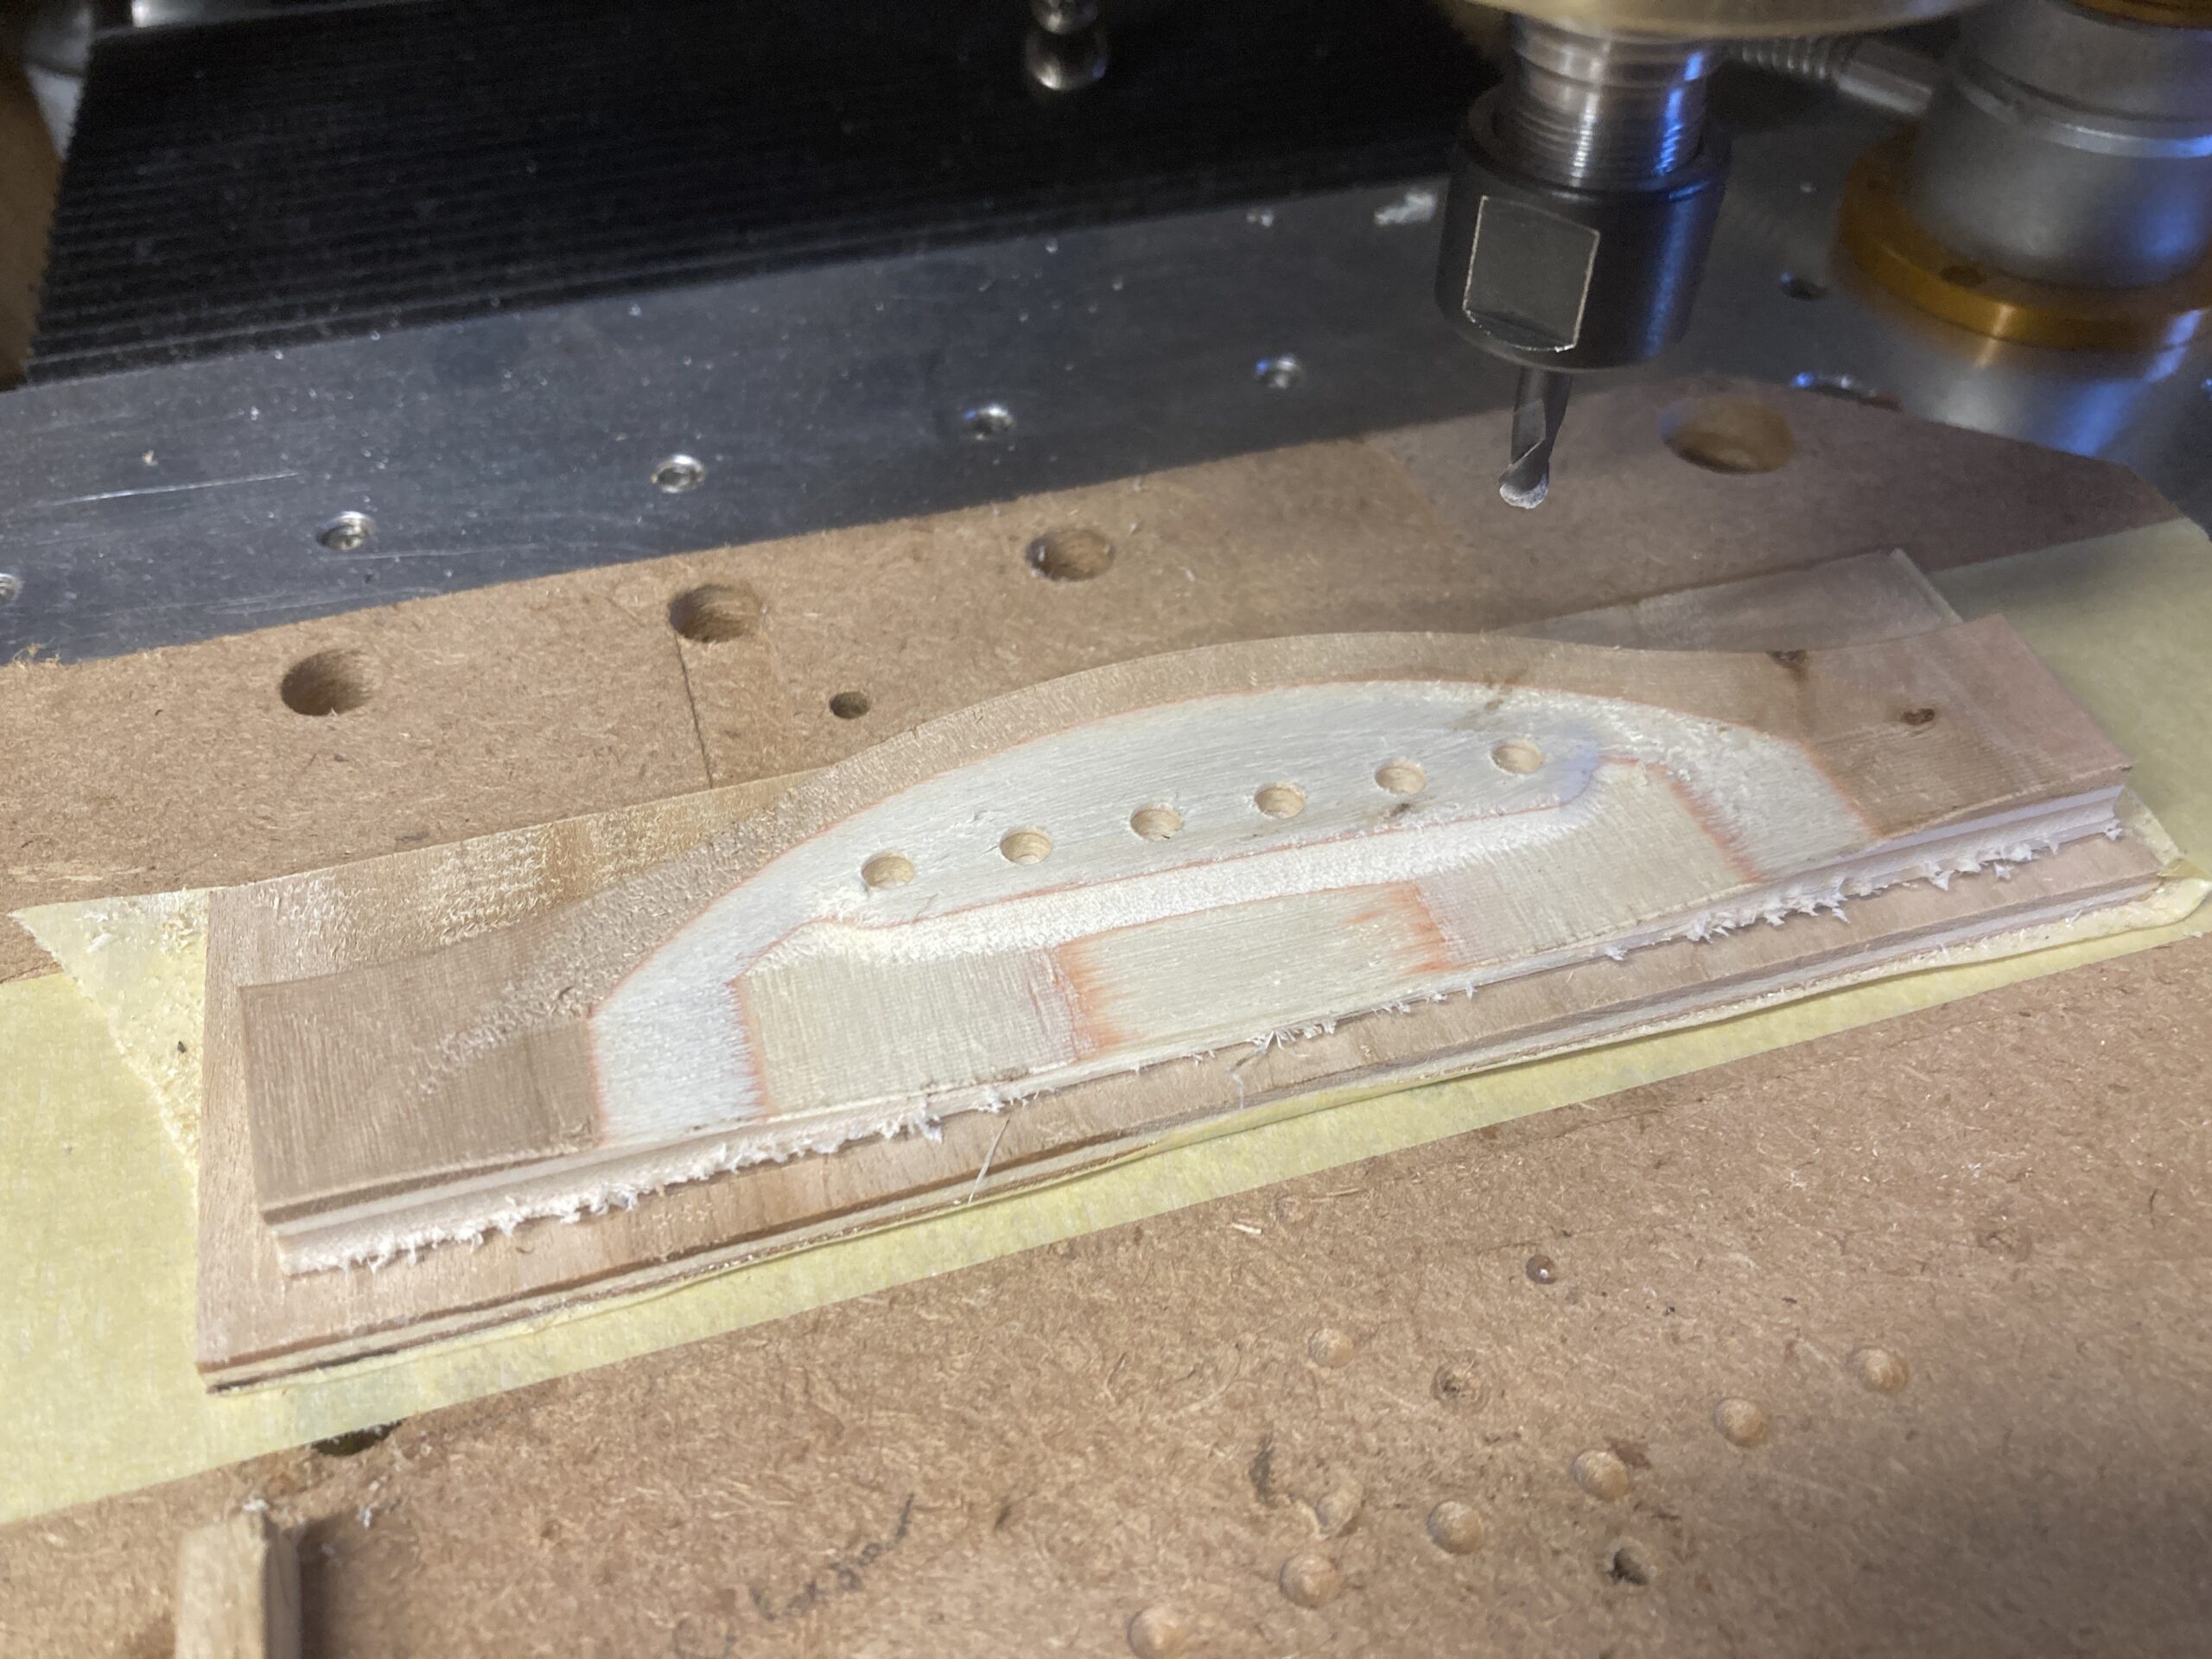
I offset the surface in CAD to allow for some cork padding
When I masked the top, I deliberately cut the masking tape in the bridge location slightly smaller than the bridge outline. Now I could position the bridge using the alignment holes that I’d made before finishing and carefully scribe around it with a scalpel and scrape off the narrow line of shellac to leave a perfect patch of bare wood to get the strongest possible glue joint with the bridge.
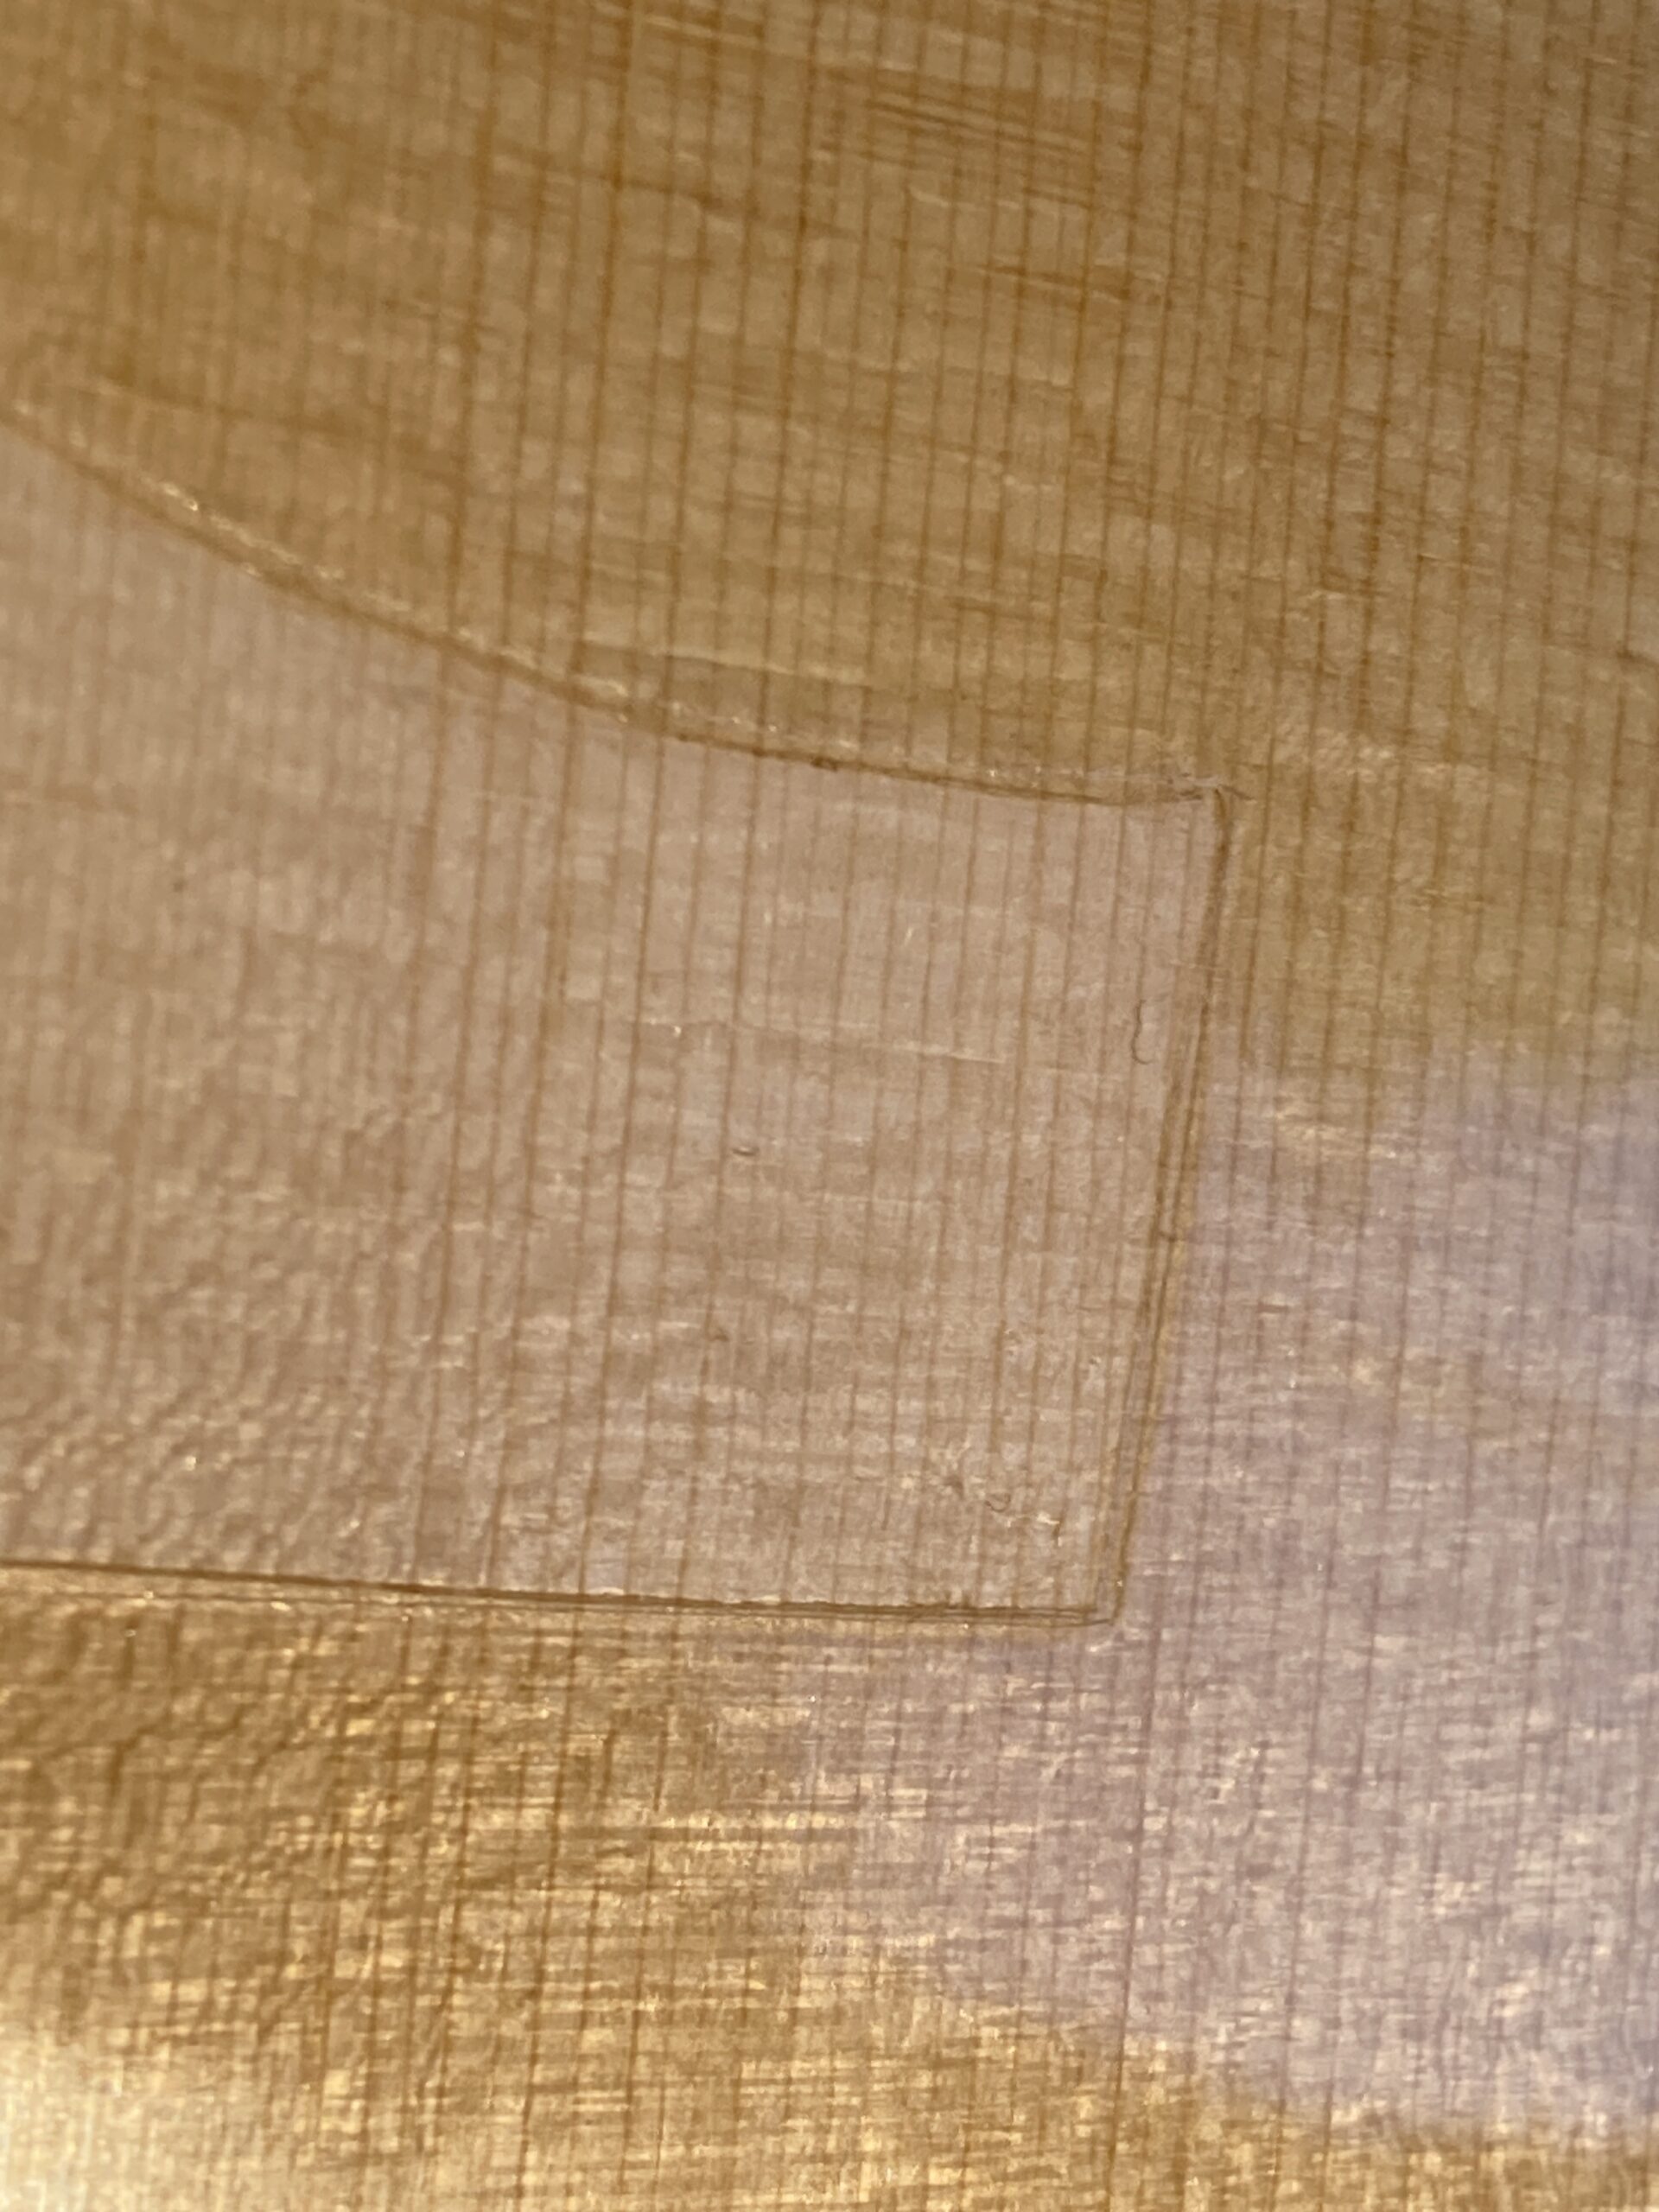
It was interesting that you could sort of feel the bridge ‘fall into place’ when it was aligned correctly.
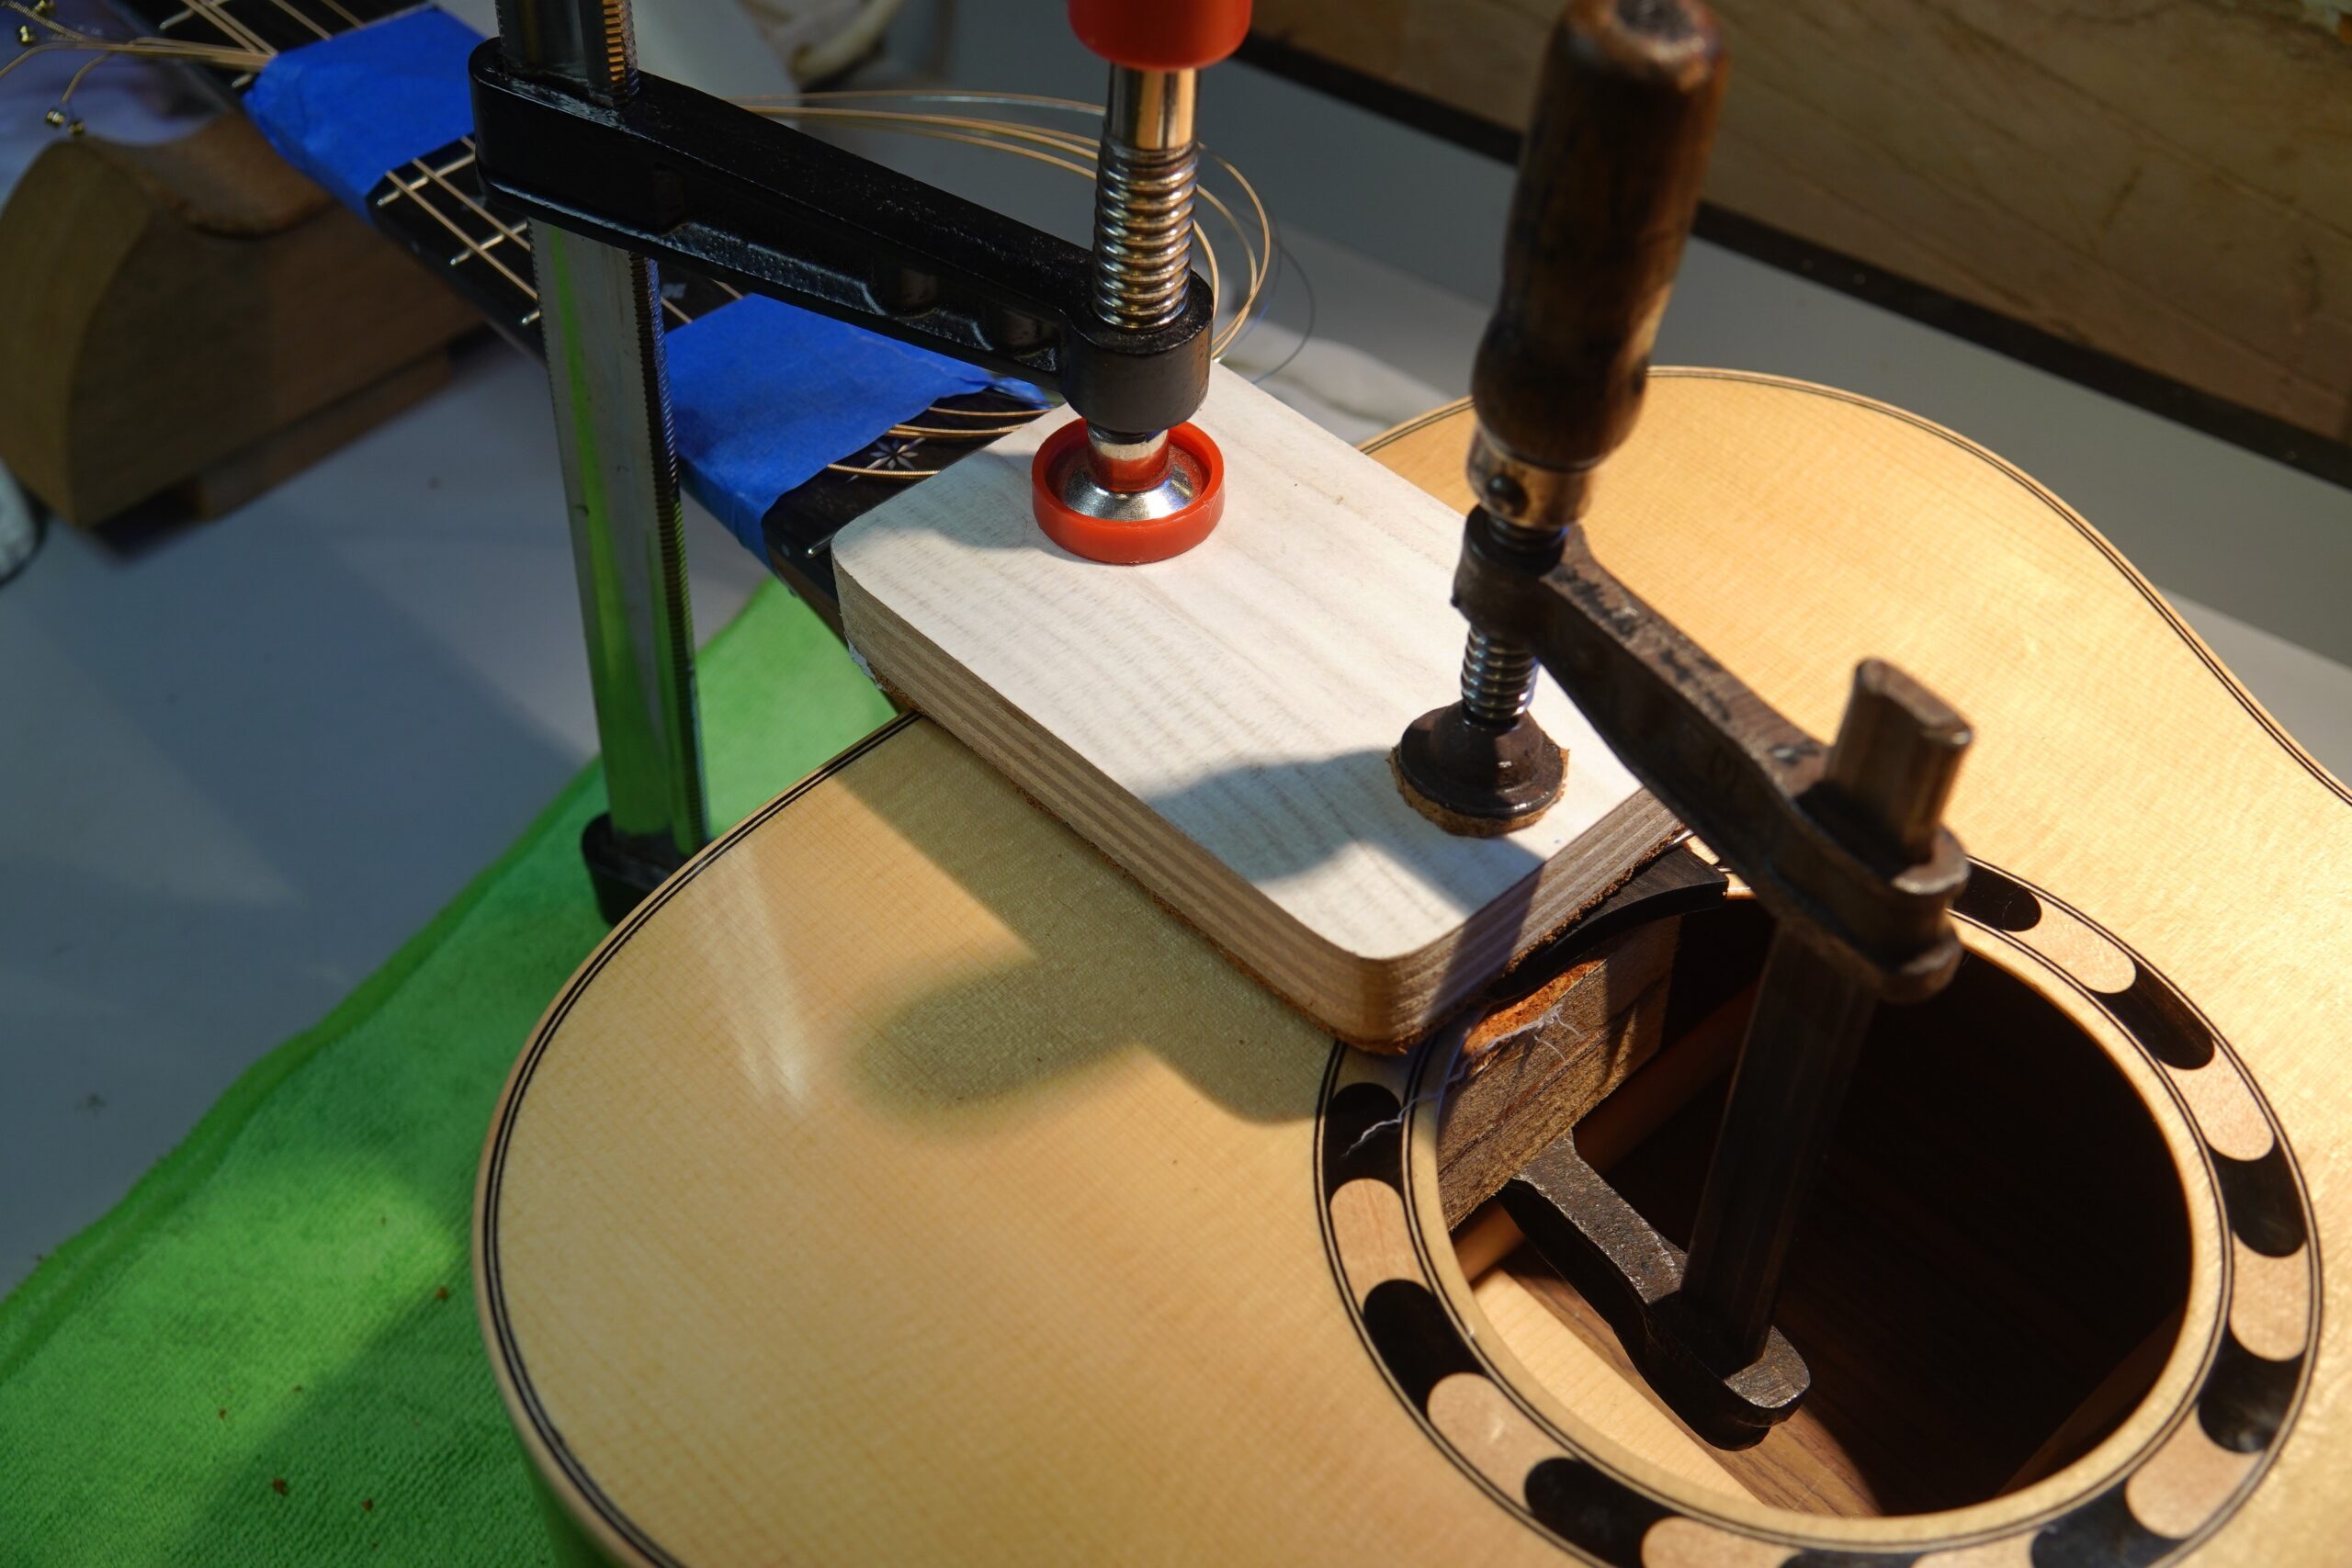
After a dry fitting, it was time to swallow hard and reach for the glue.
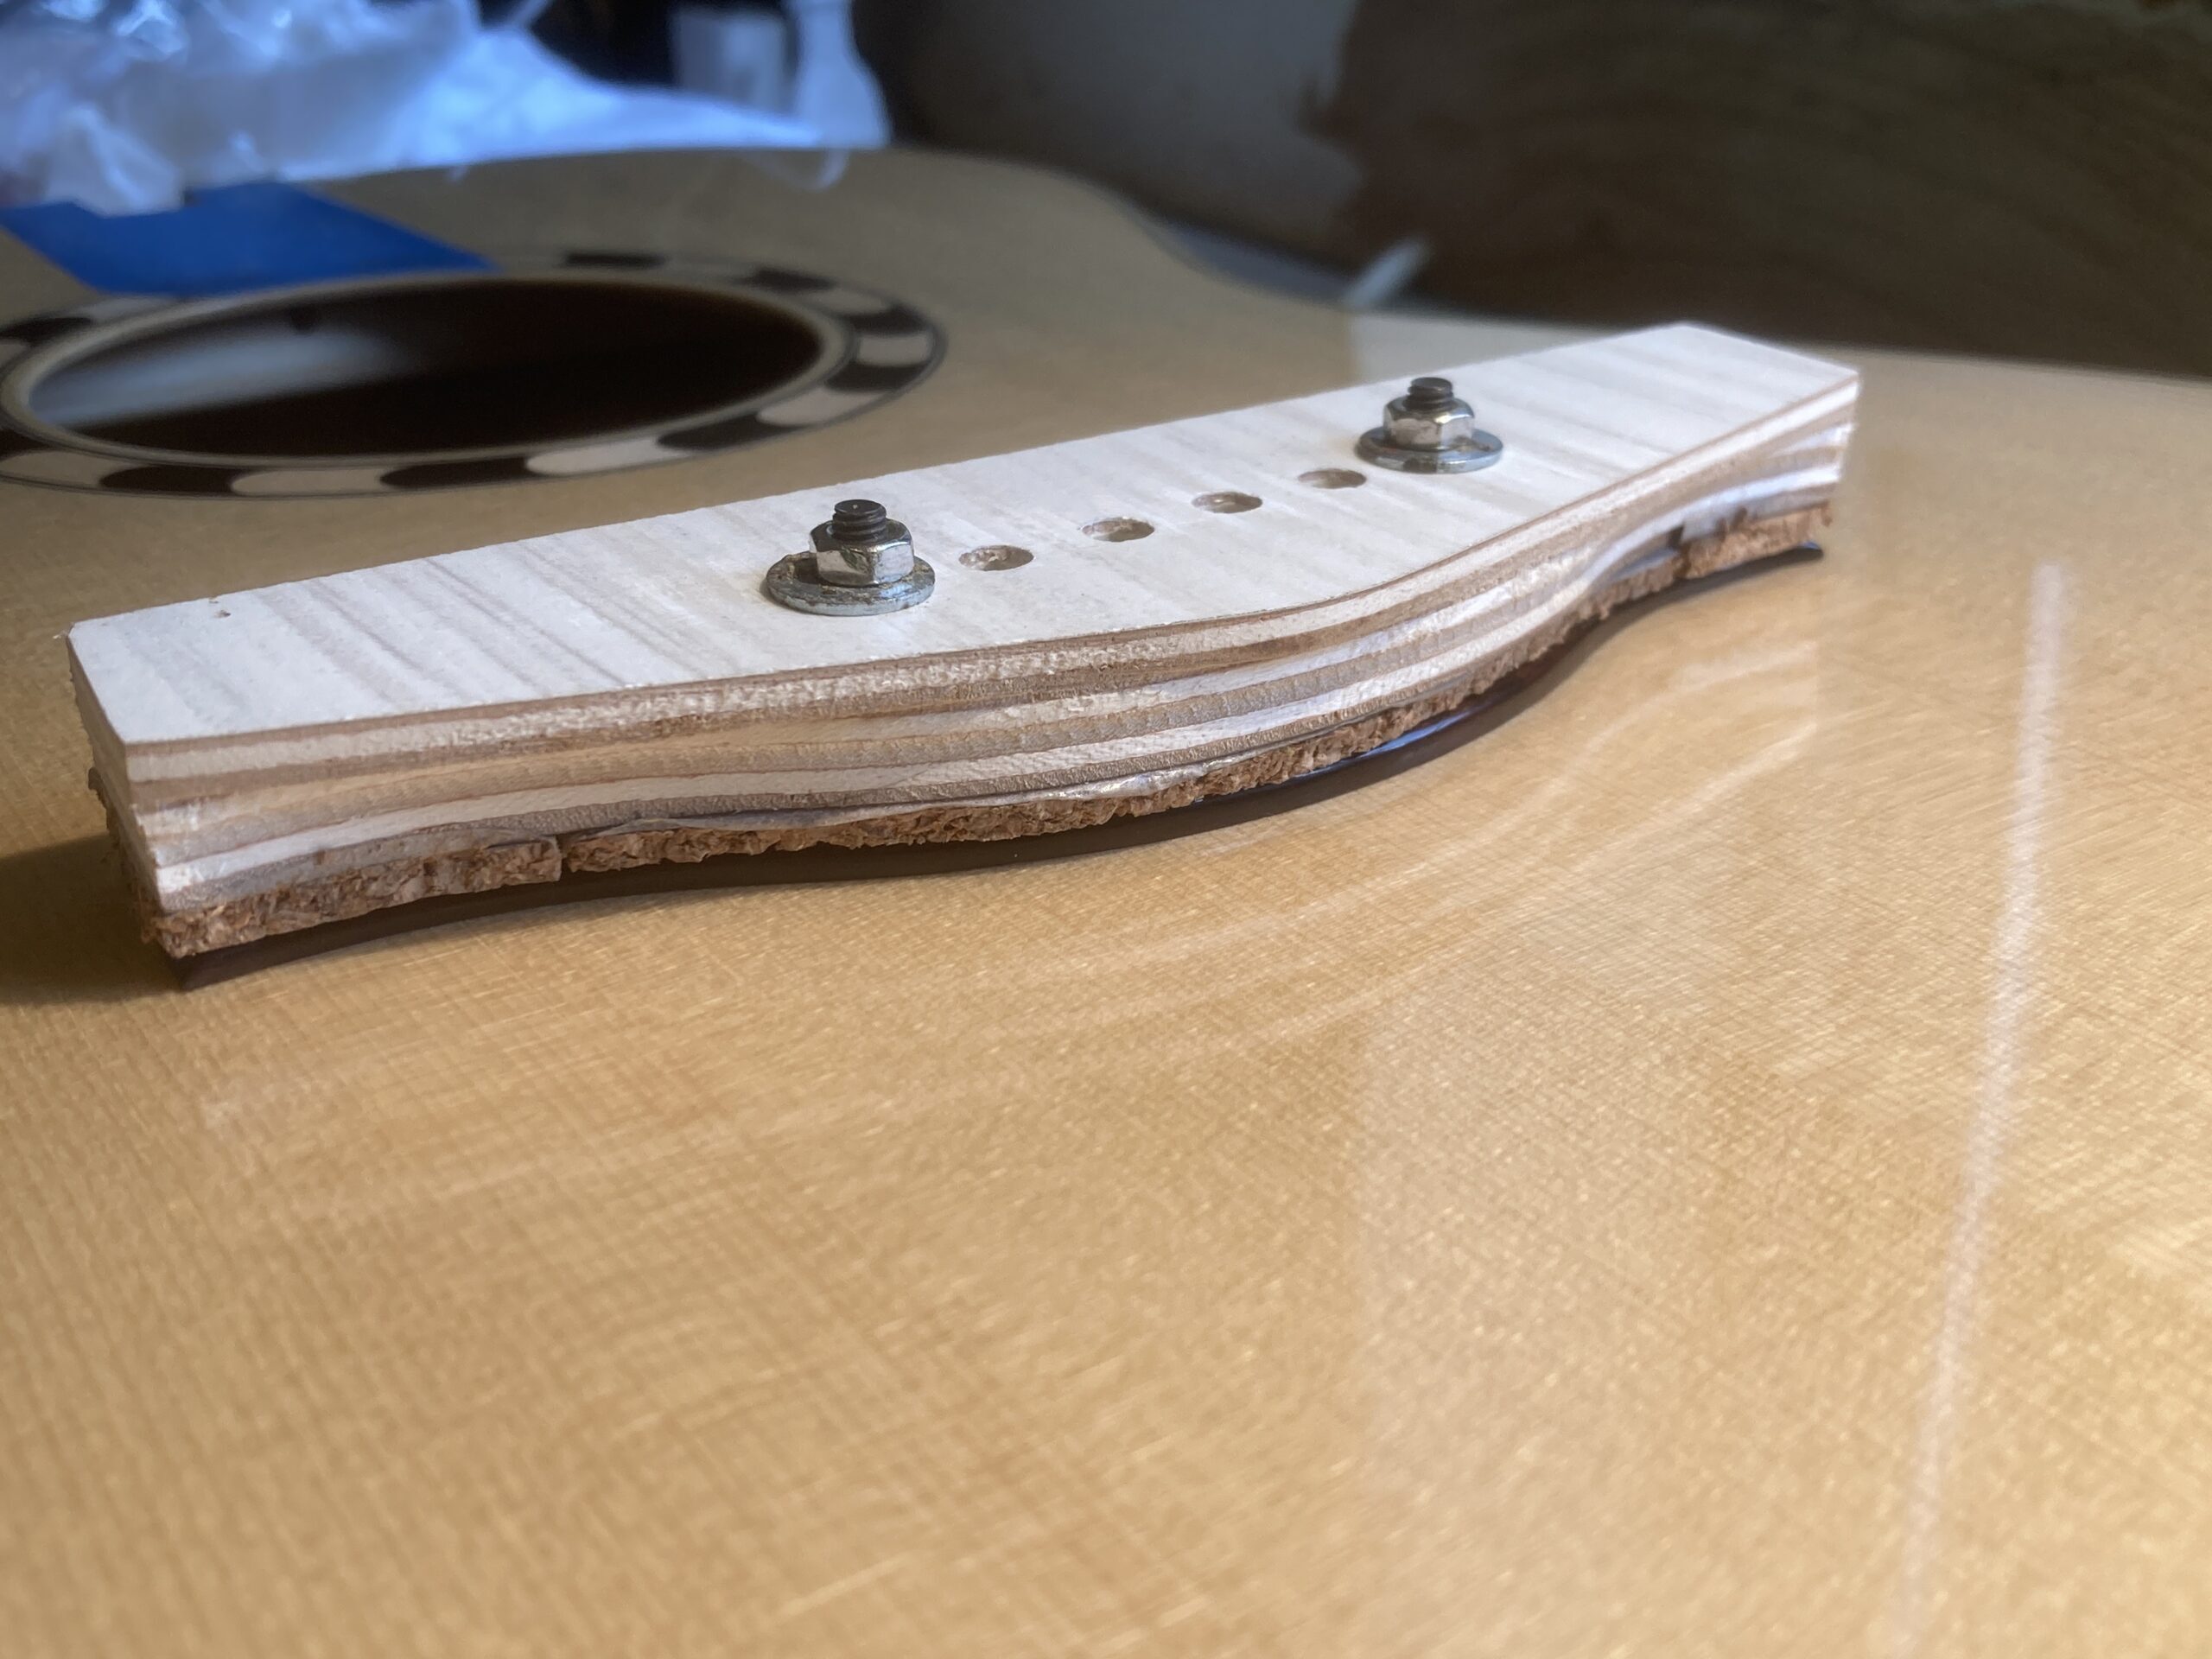
I clamped the bridge between the two cauls using two close fitting bolts (M4) in the alignment holes – I didn’t feel the need to use any additional clamps.
When it had dried the bolts came out easily enough.
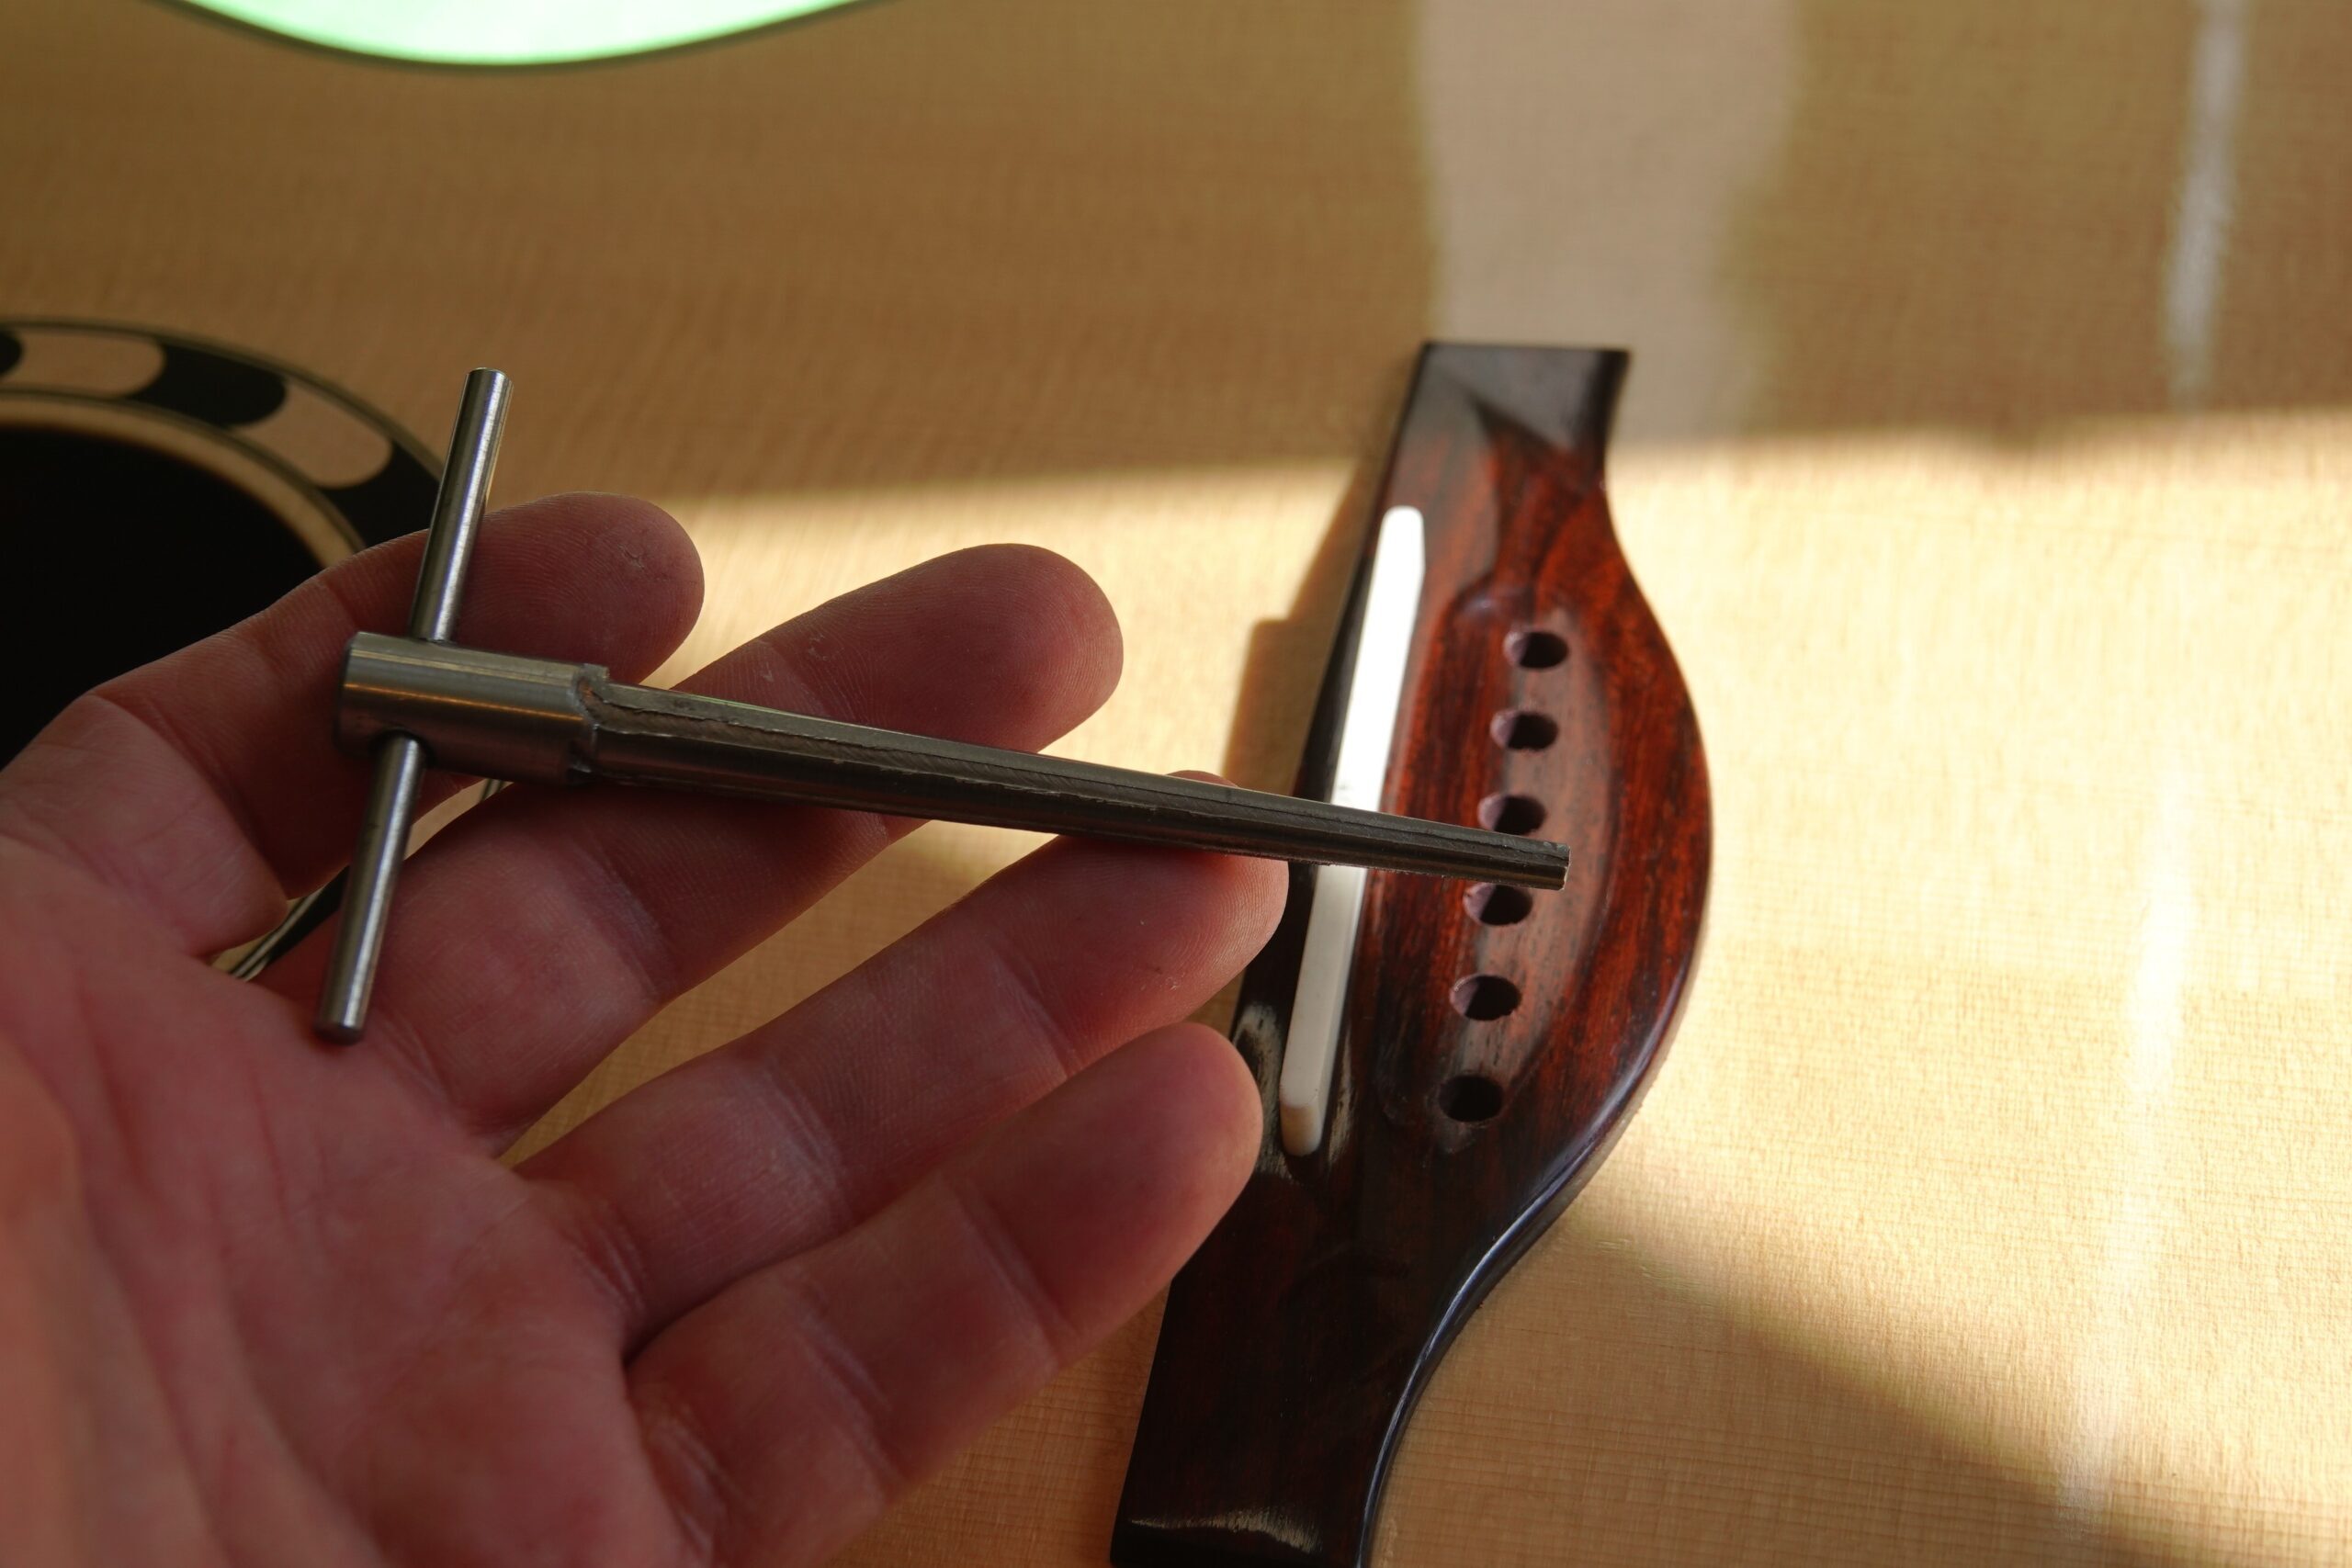
Saddle and bridge pins
I’d already made a saddle from a bone blank before I finished the bridge, but it was a bit of a struggle to get it to fit because some of the finish had built up inside the bridge slot and I chipped the finish on the edge of the slot trying to clear it out.
I drilled out the rest of the string holes and reamed them to suit the bridge pins with a home made 3° reamer. (I’d bought a reamer described as being suitable for bridge pins, but it’s far too steep an angle.)
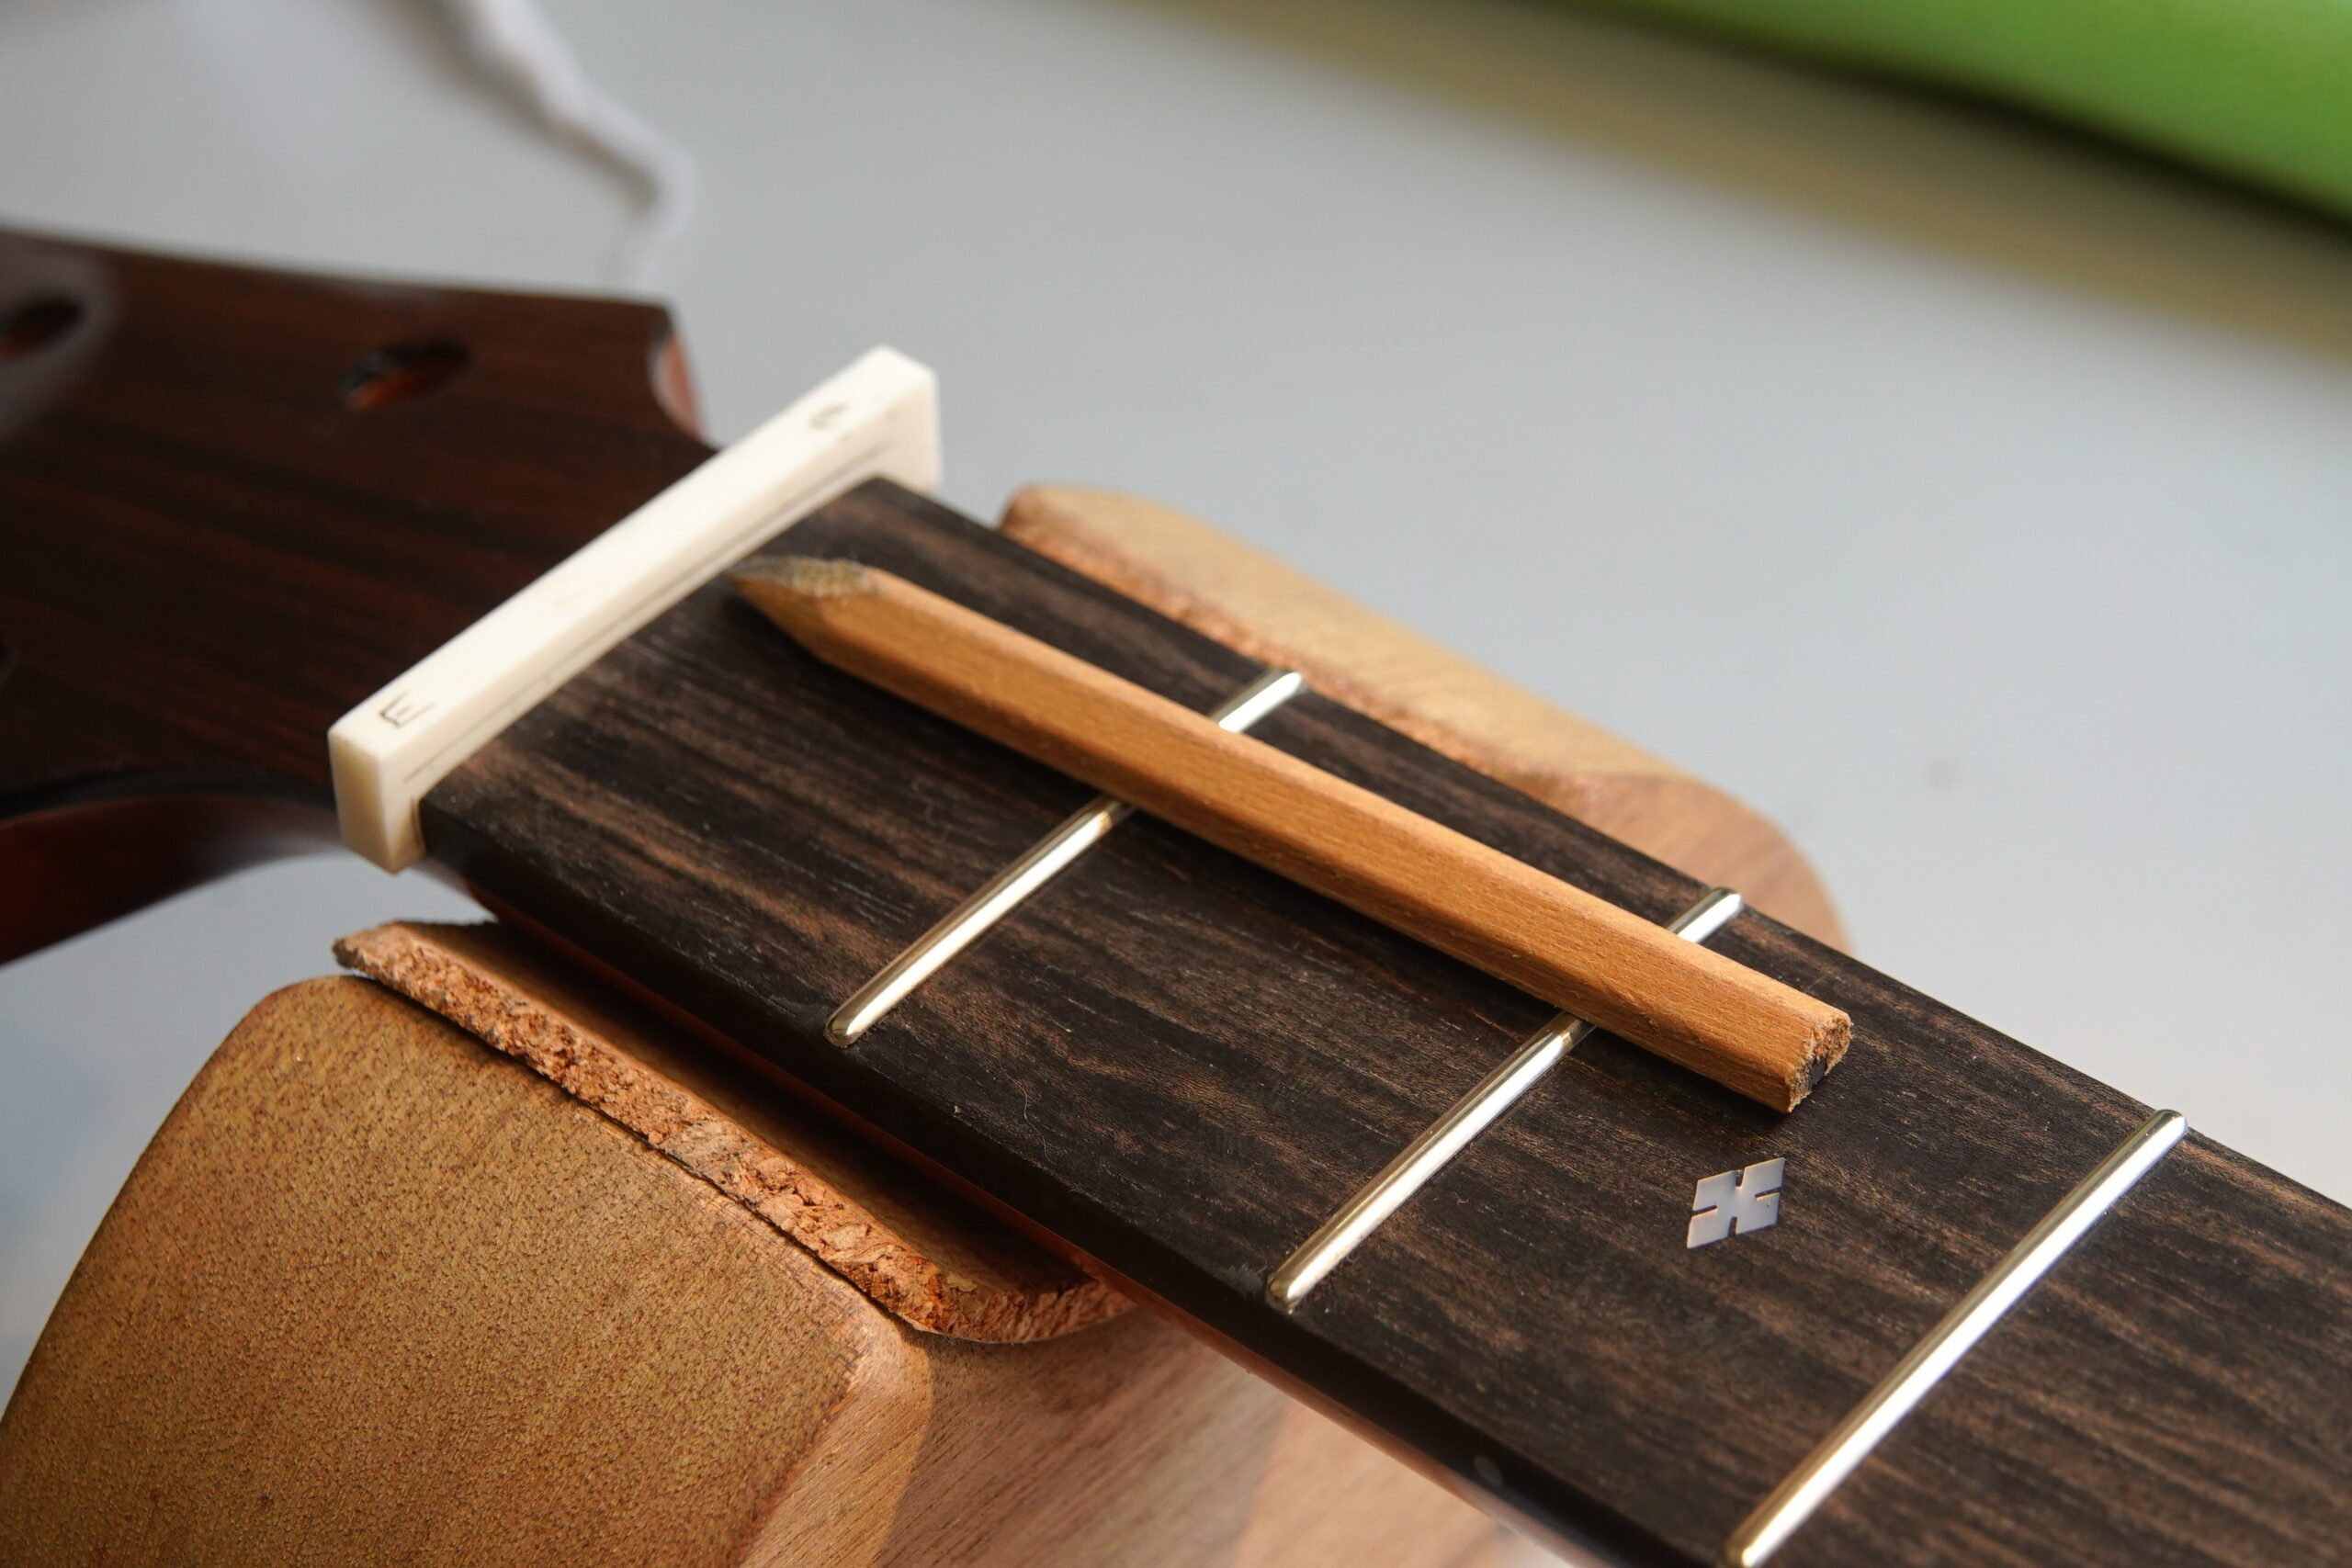
Dressing the fret ends
While the bridge was drying I dressed the fret ends. I will level the frets when I do a set-up on the guitar so these will need to be touched up again later on, but hopefully the bulk of the work is done.
My first attempt at something like spherical fret ends.

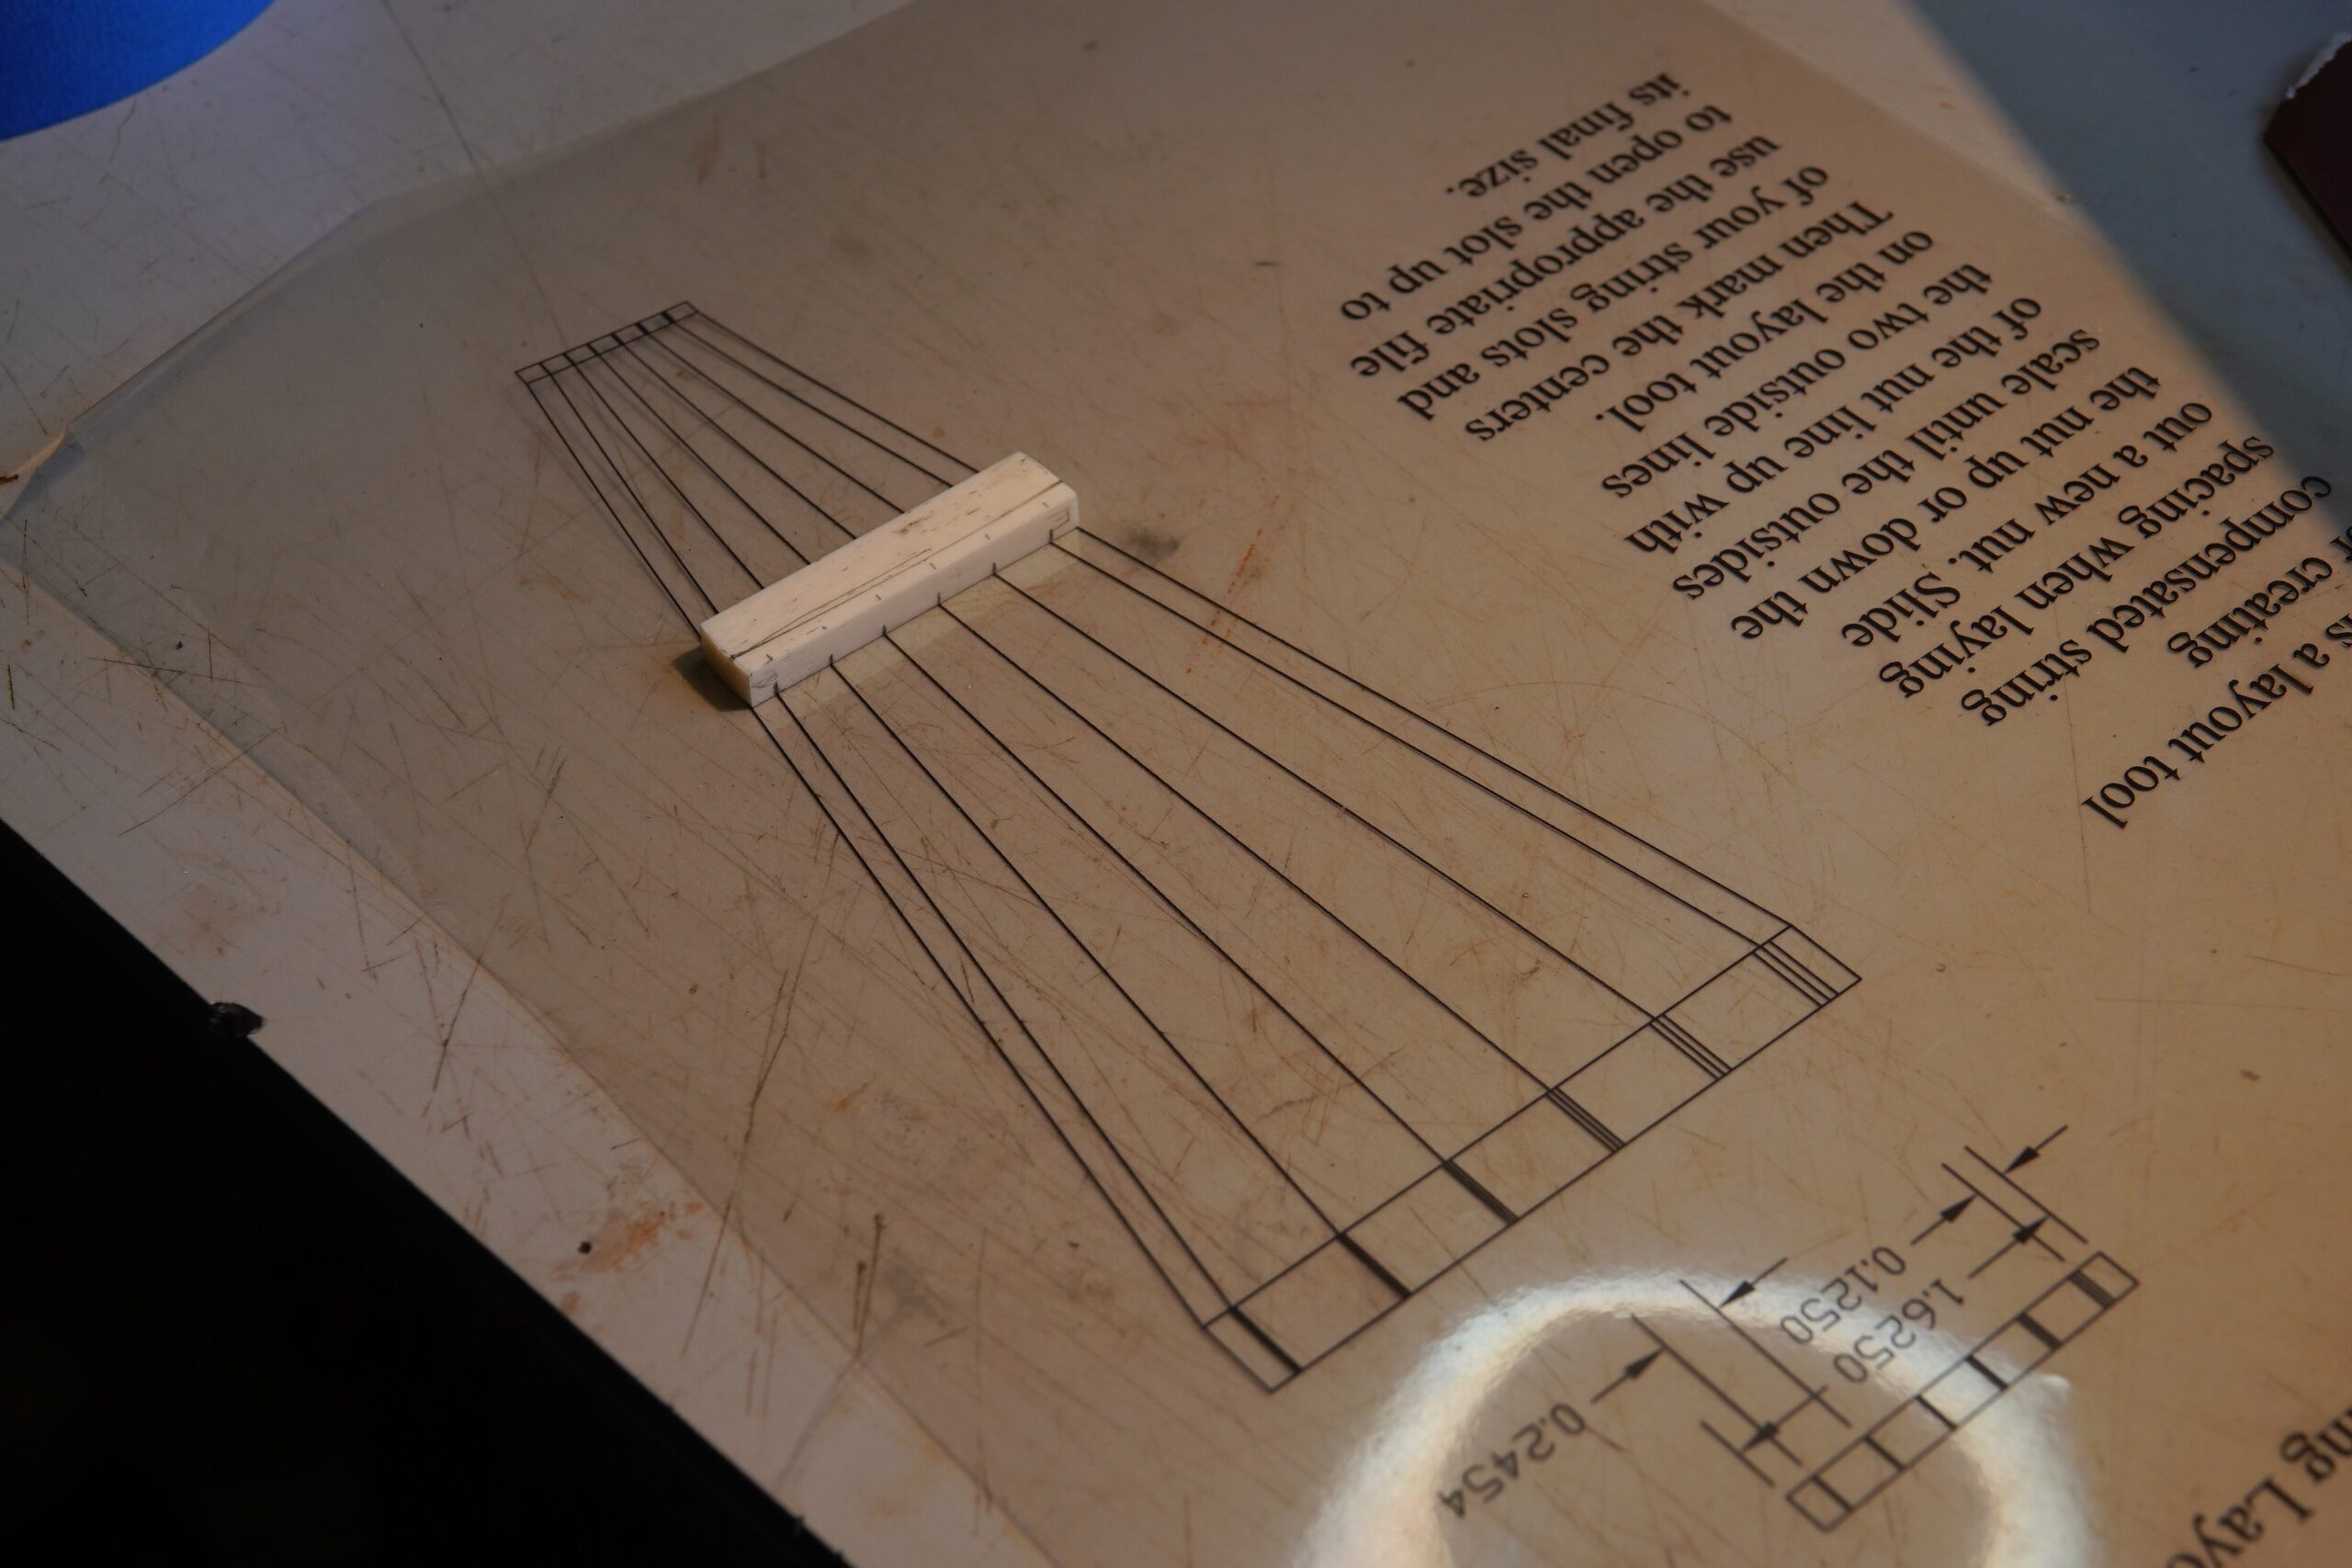
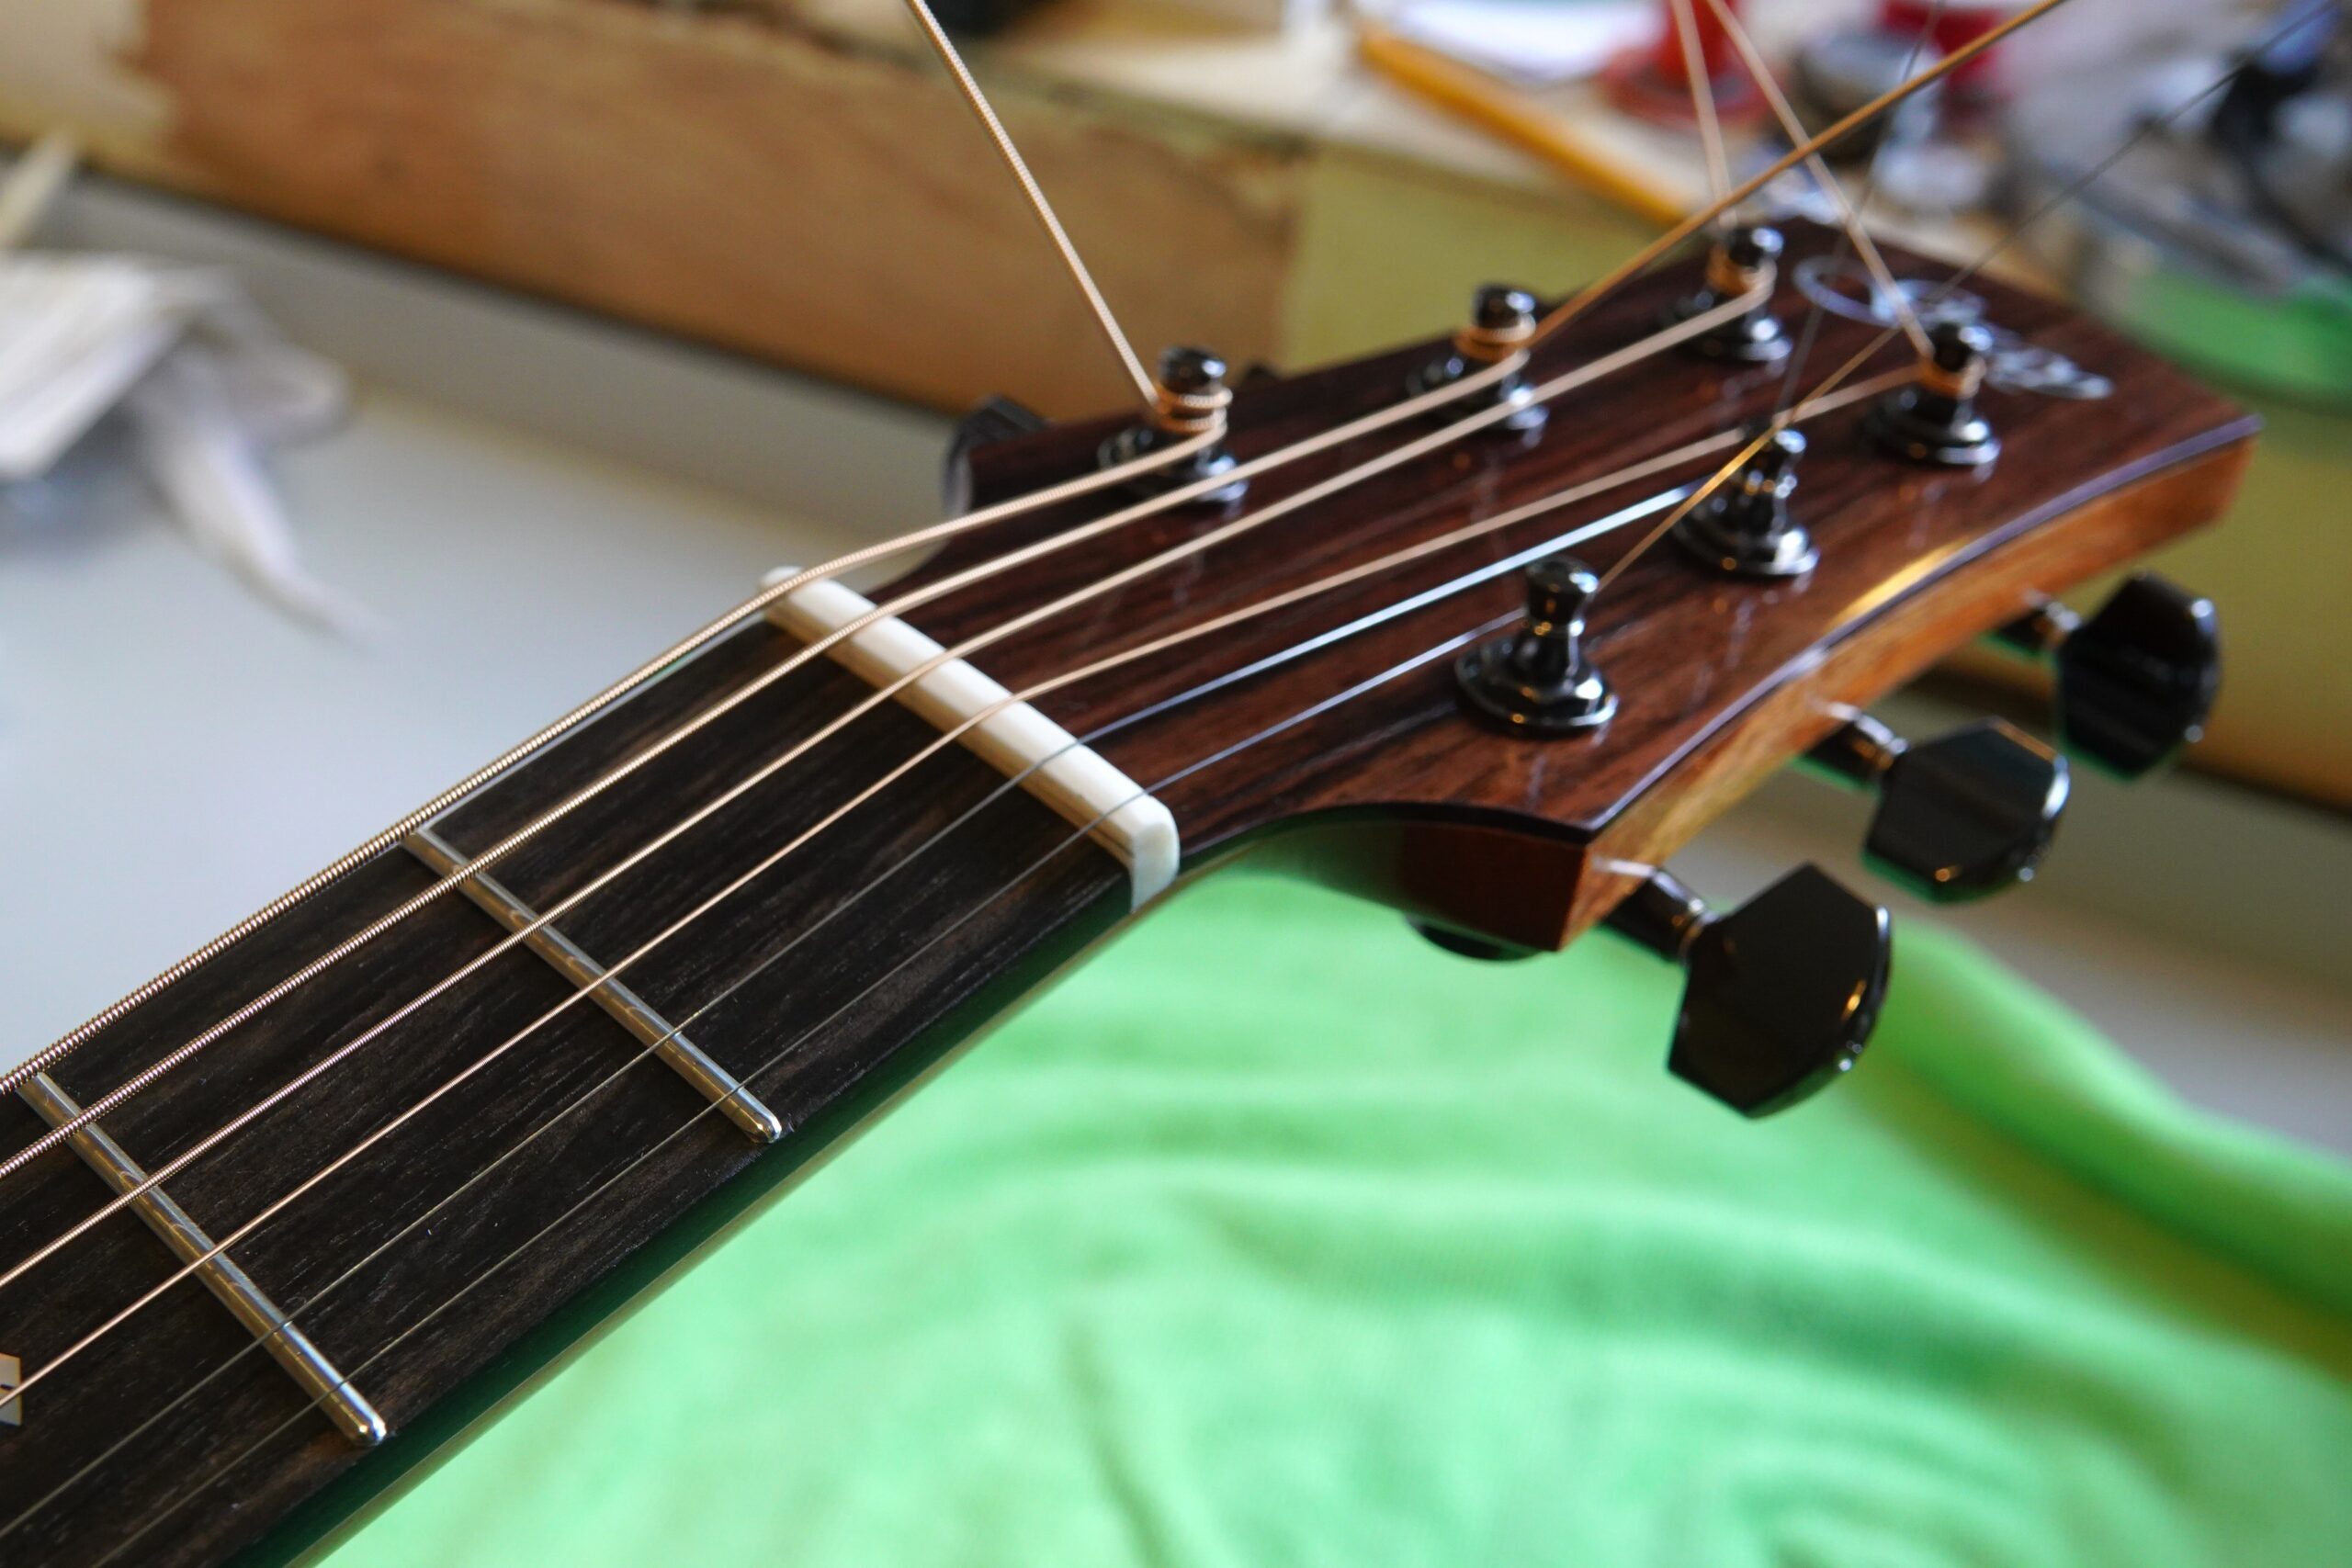
Nut
I made the nut from another bone blank.
I’ve always marked out the string spacing using this little graphic that came from the TDPRI forum years ago.
Tuning machines
Very early in the build, I’d ordered some Gotoh SG381 tuning machines. They look nice in a gun-metal finish (IMHO) but are surprisingly heavy. It was now time to finally fit them to the headstock.

First stringing up
I dry fitted the neck temporarily so that I could string it up and try and check that the neck angle really was somewhere close. (It would be impossible to adjust it once the fingerboard extension was glued down.)
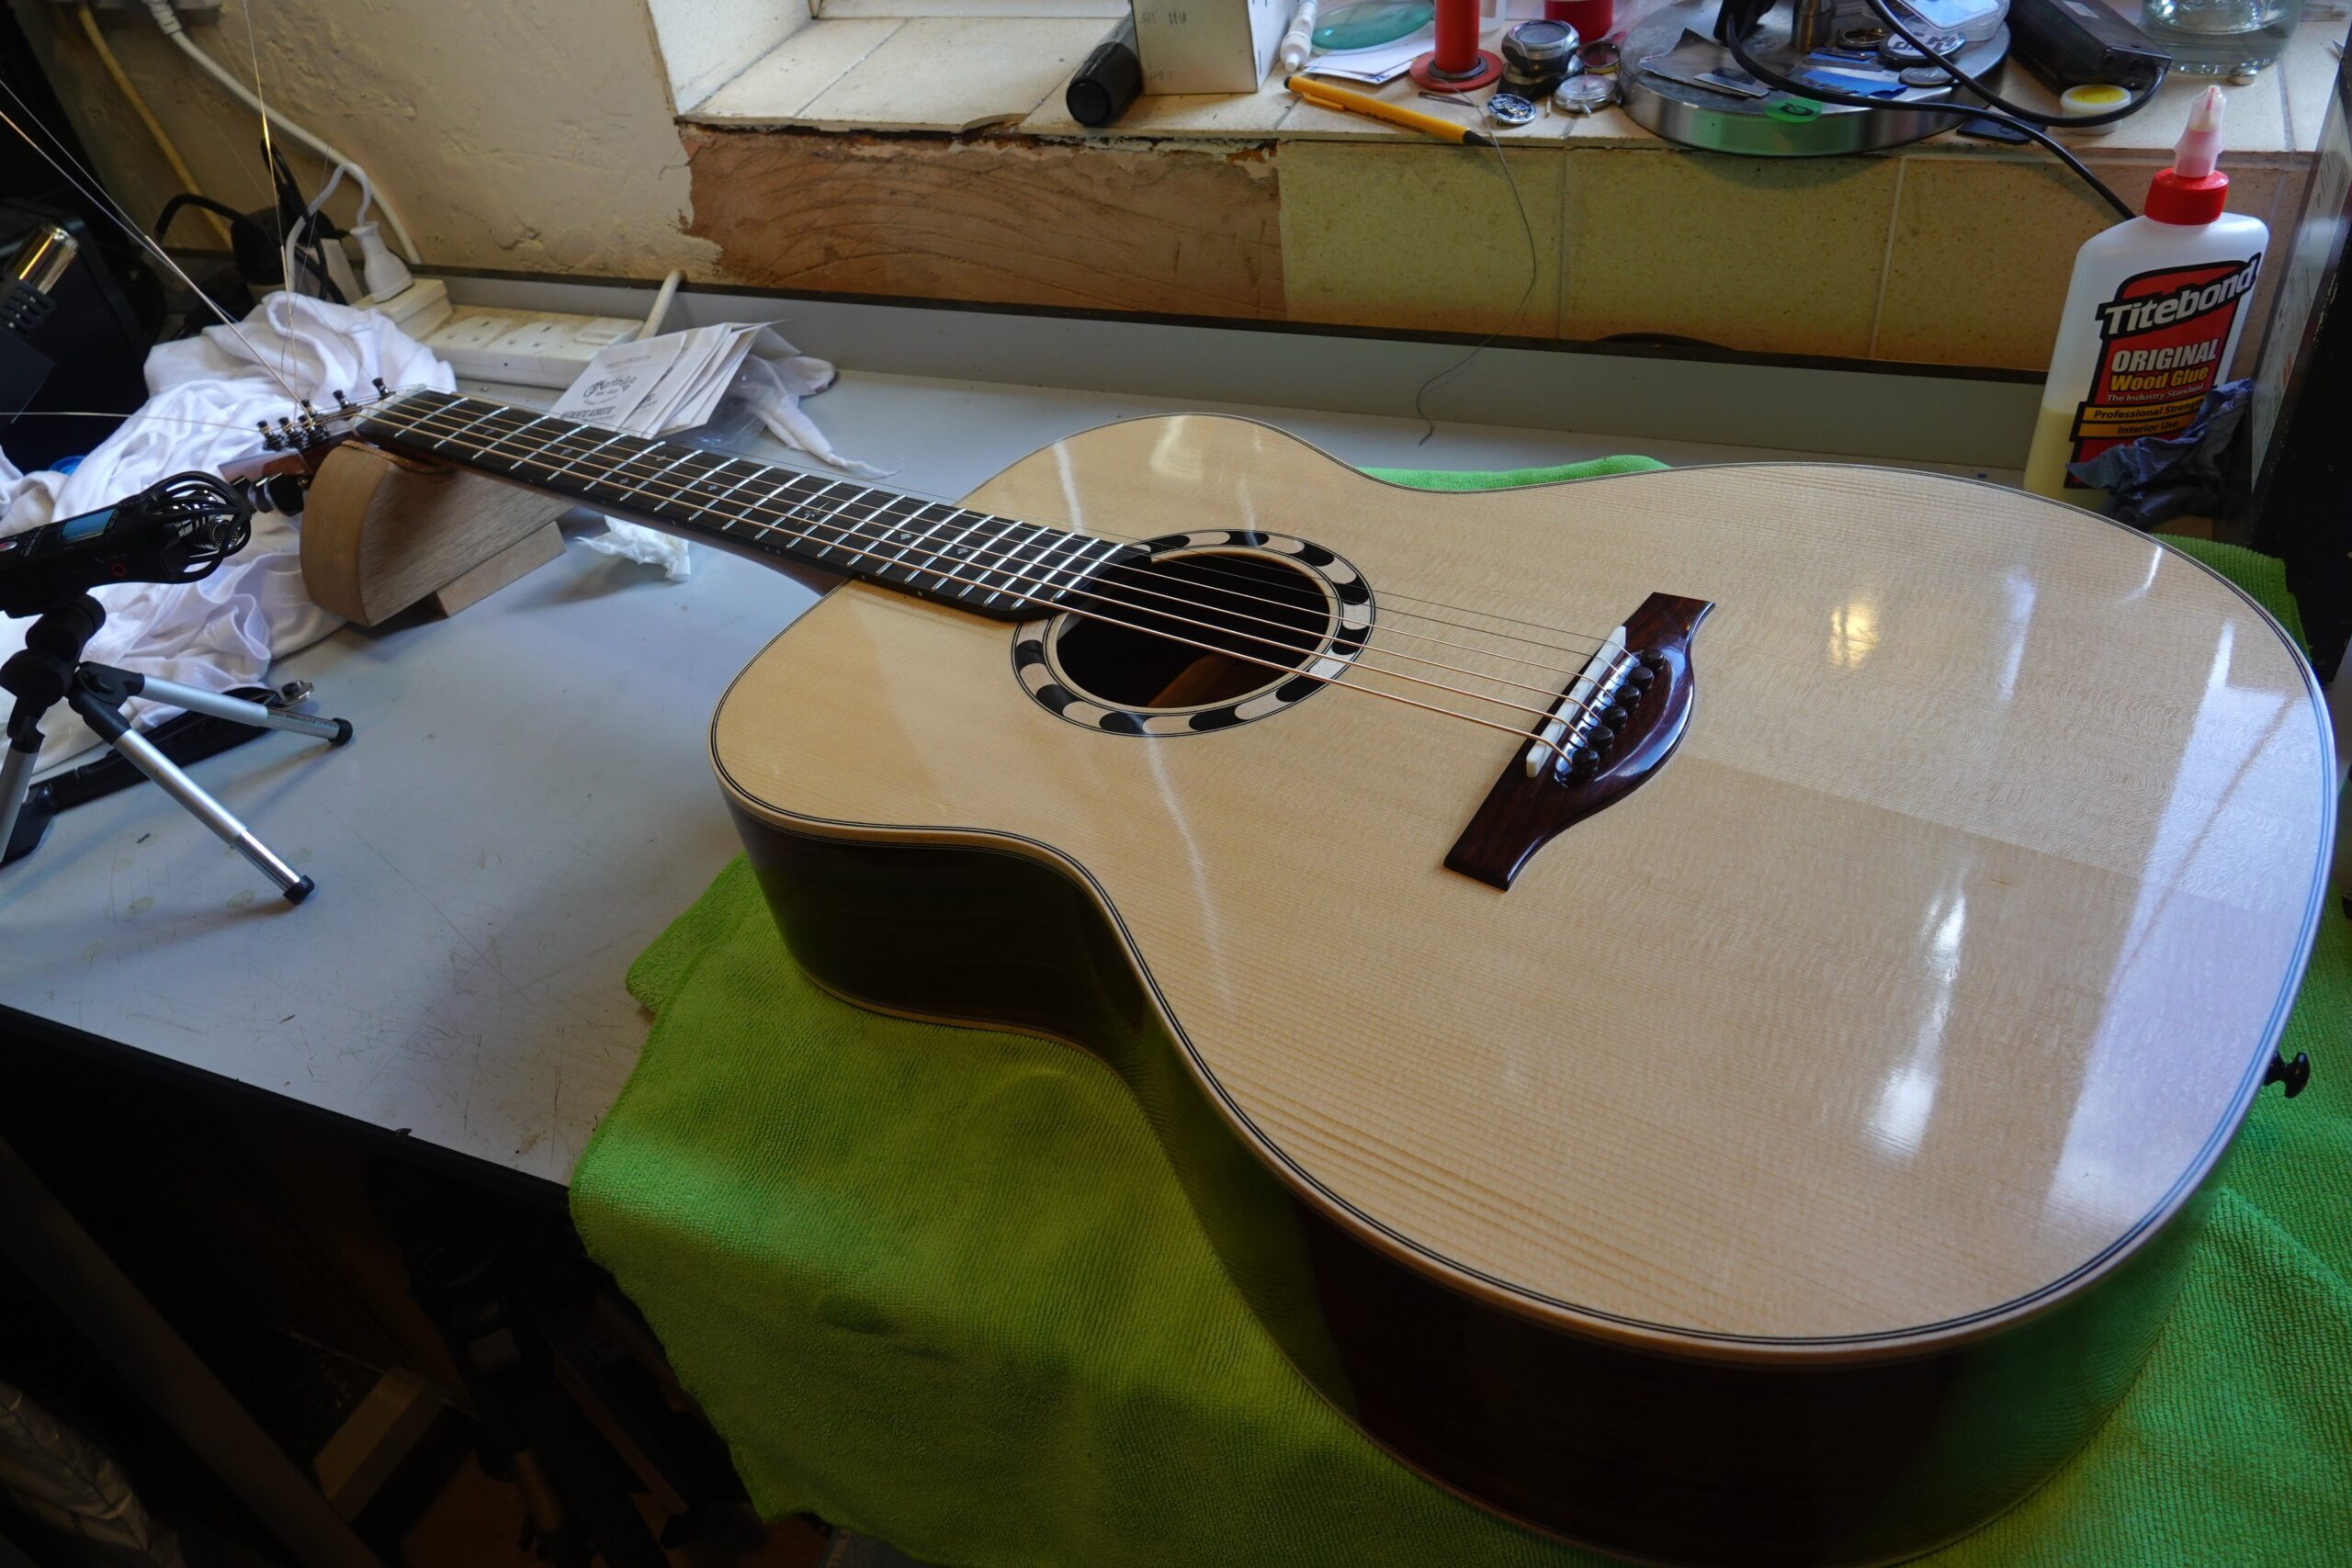
I did tune it up to pitch (with GREAT trepidation) and it didn’t explode into matchwood!
There is a scrappy video of it below:
Luckily all appeared OK (as far as I could tell with a very high nut and a flat topped saddle, anyway).
Fitting the neck
I took the neck off again and refitted it with glue under the fingerboard extension. Gulp.
I strung it up again and spent some time getting the nut and saddle a bit closer, but it will need a full setup after it has settled down for a week or two before I can see how it plays.