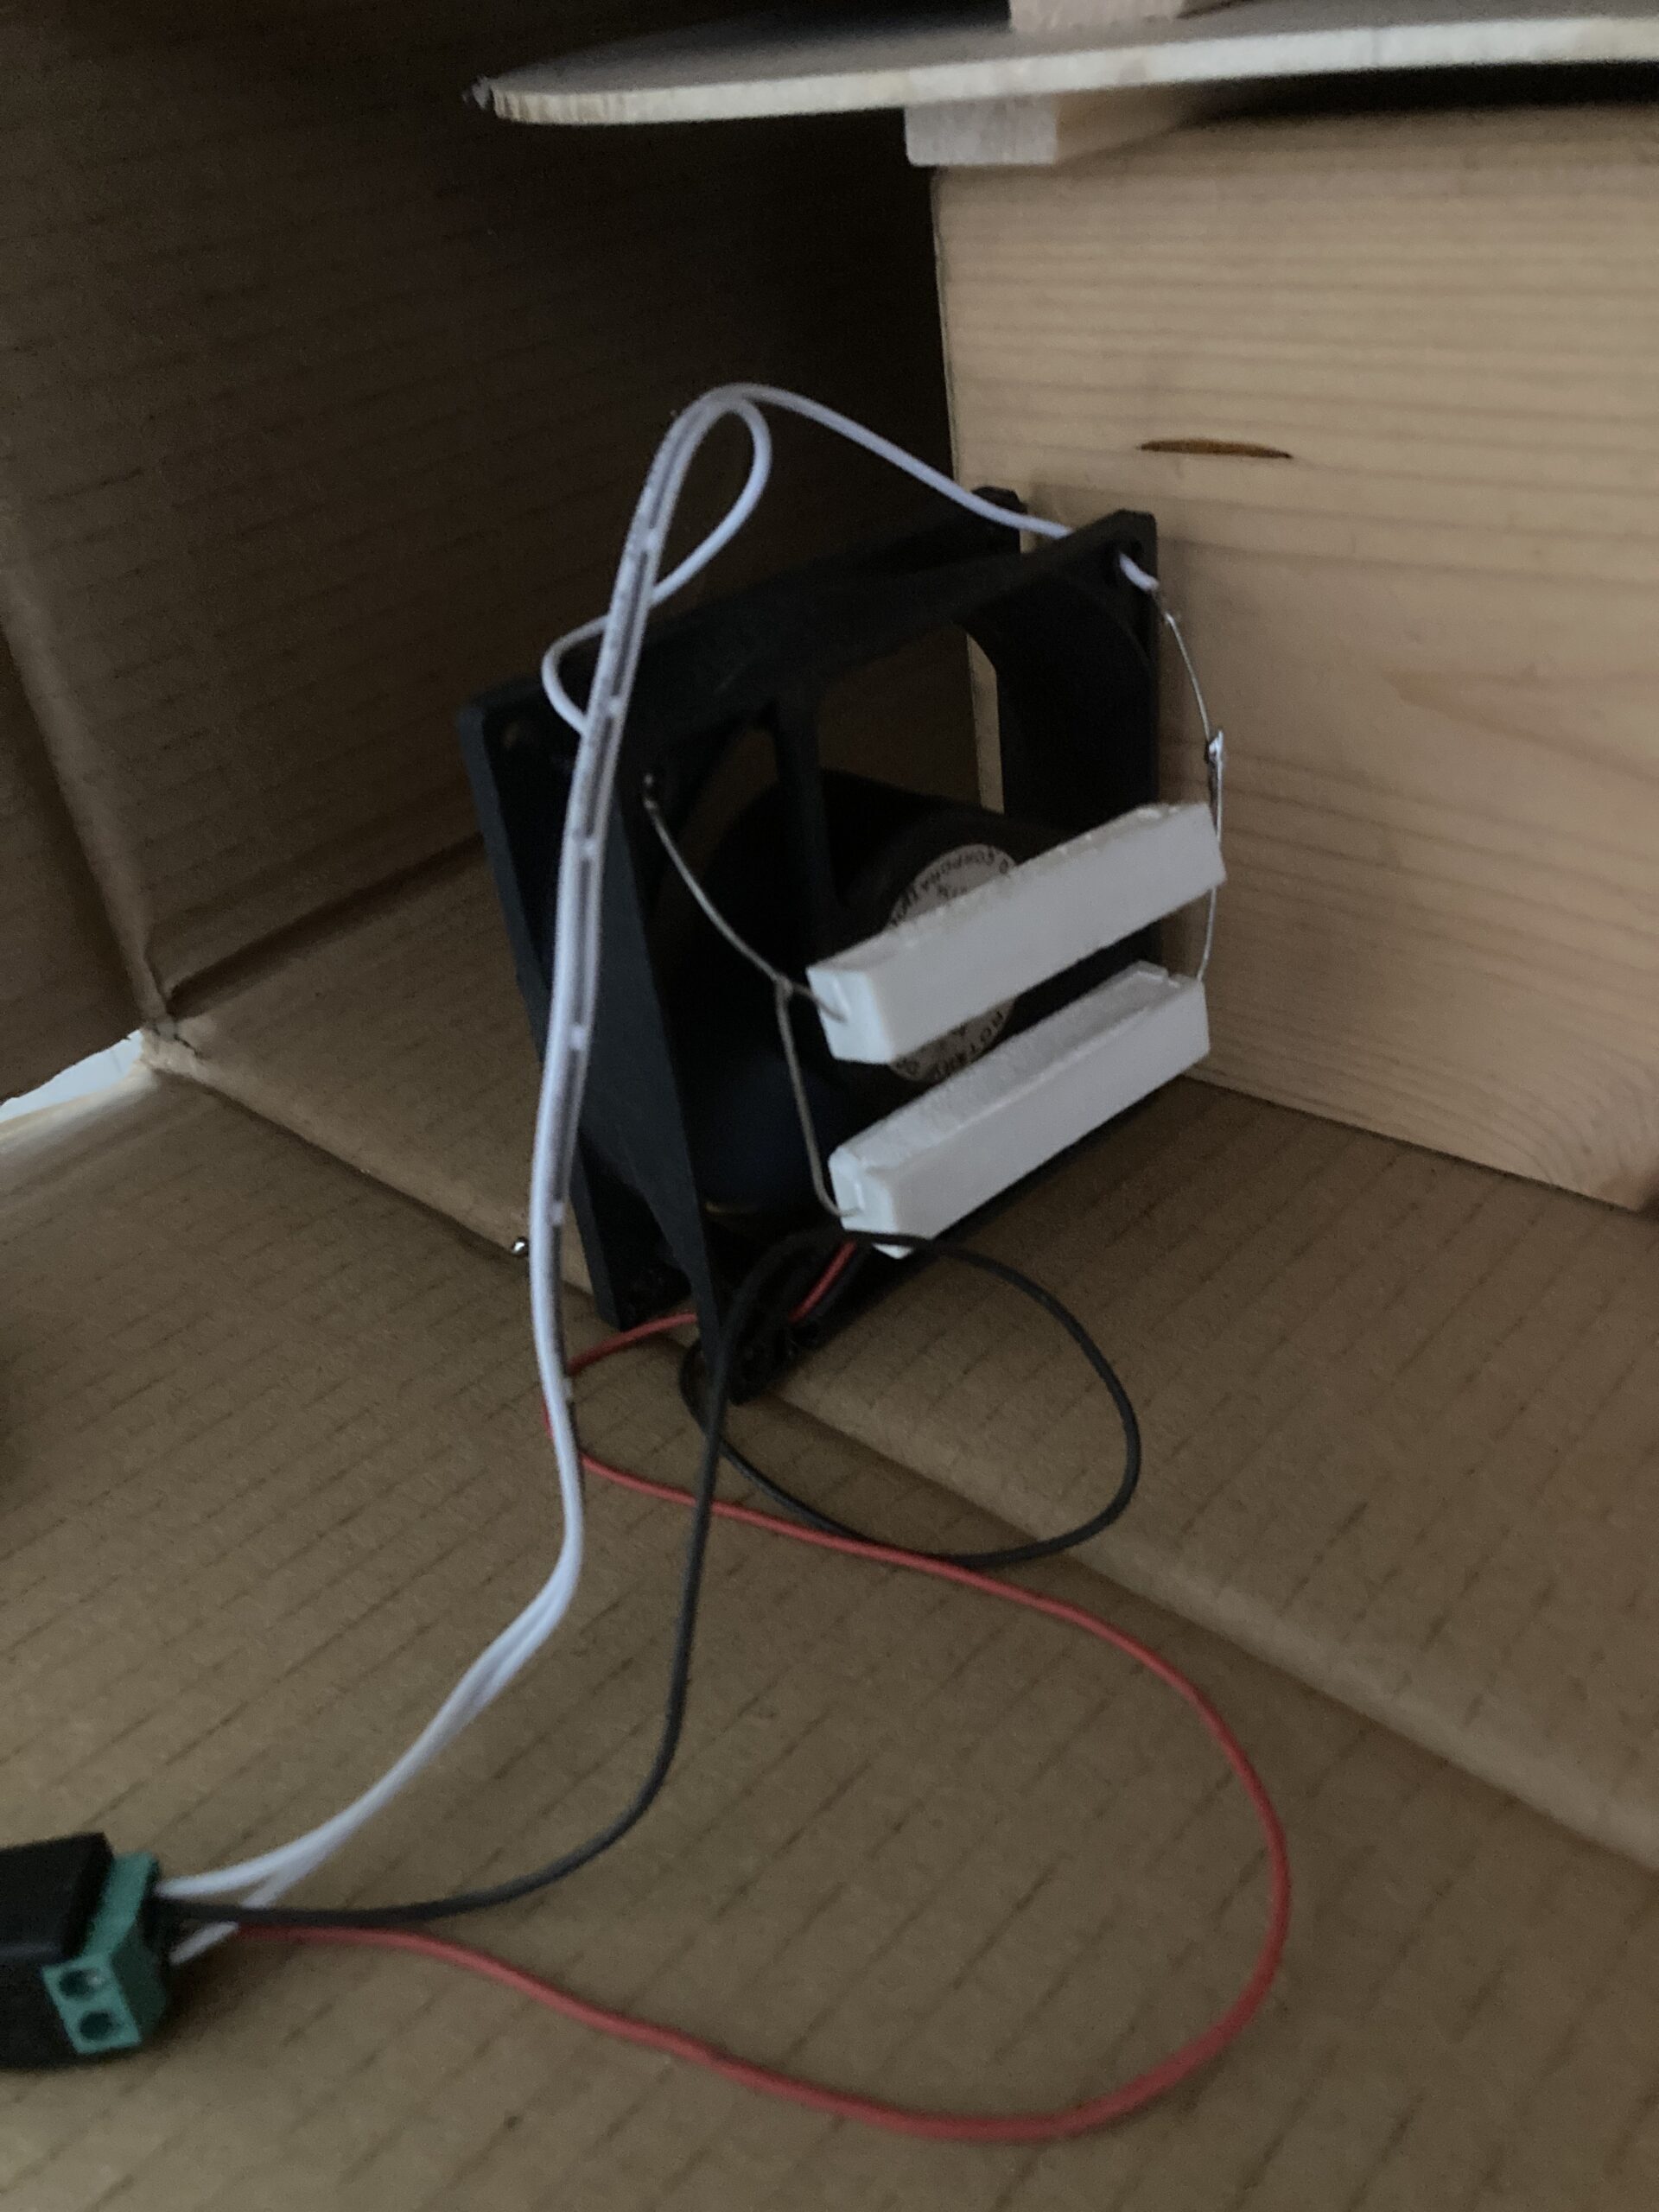
If the top of back plates were to shrink after being fixed to the bracing, they would be at risk of splitting. So the top (and to a lesser extent) the back plates need to be acclimatised to fairly low humidity before the braces can be attached. I was bothered about the humidity being too high – it was at ~70% all summer, even inside the house – so I cobbled together an improvised wood store from a large cardboard box. It has a computer fan and a couple of power resistors inside (running off 12V at about 1 amp total) which kept the humidity inside the (closed up) box at around 50%.
The box was just big enough to get the top, back, brace wood and a few other bits inside.
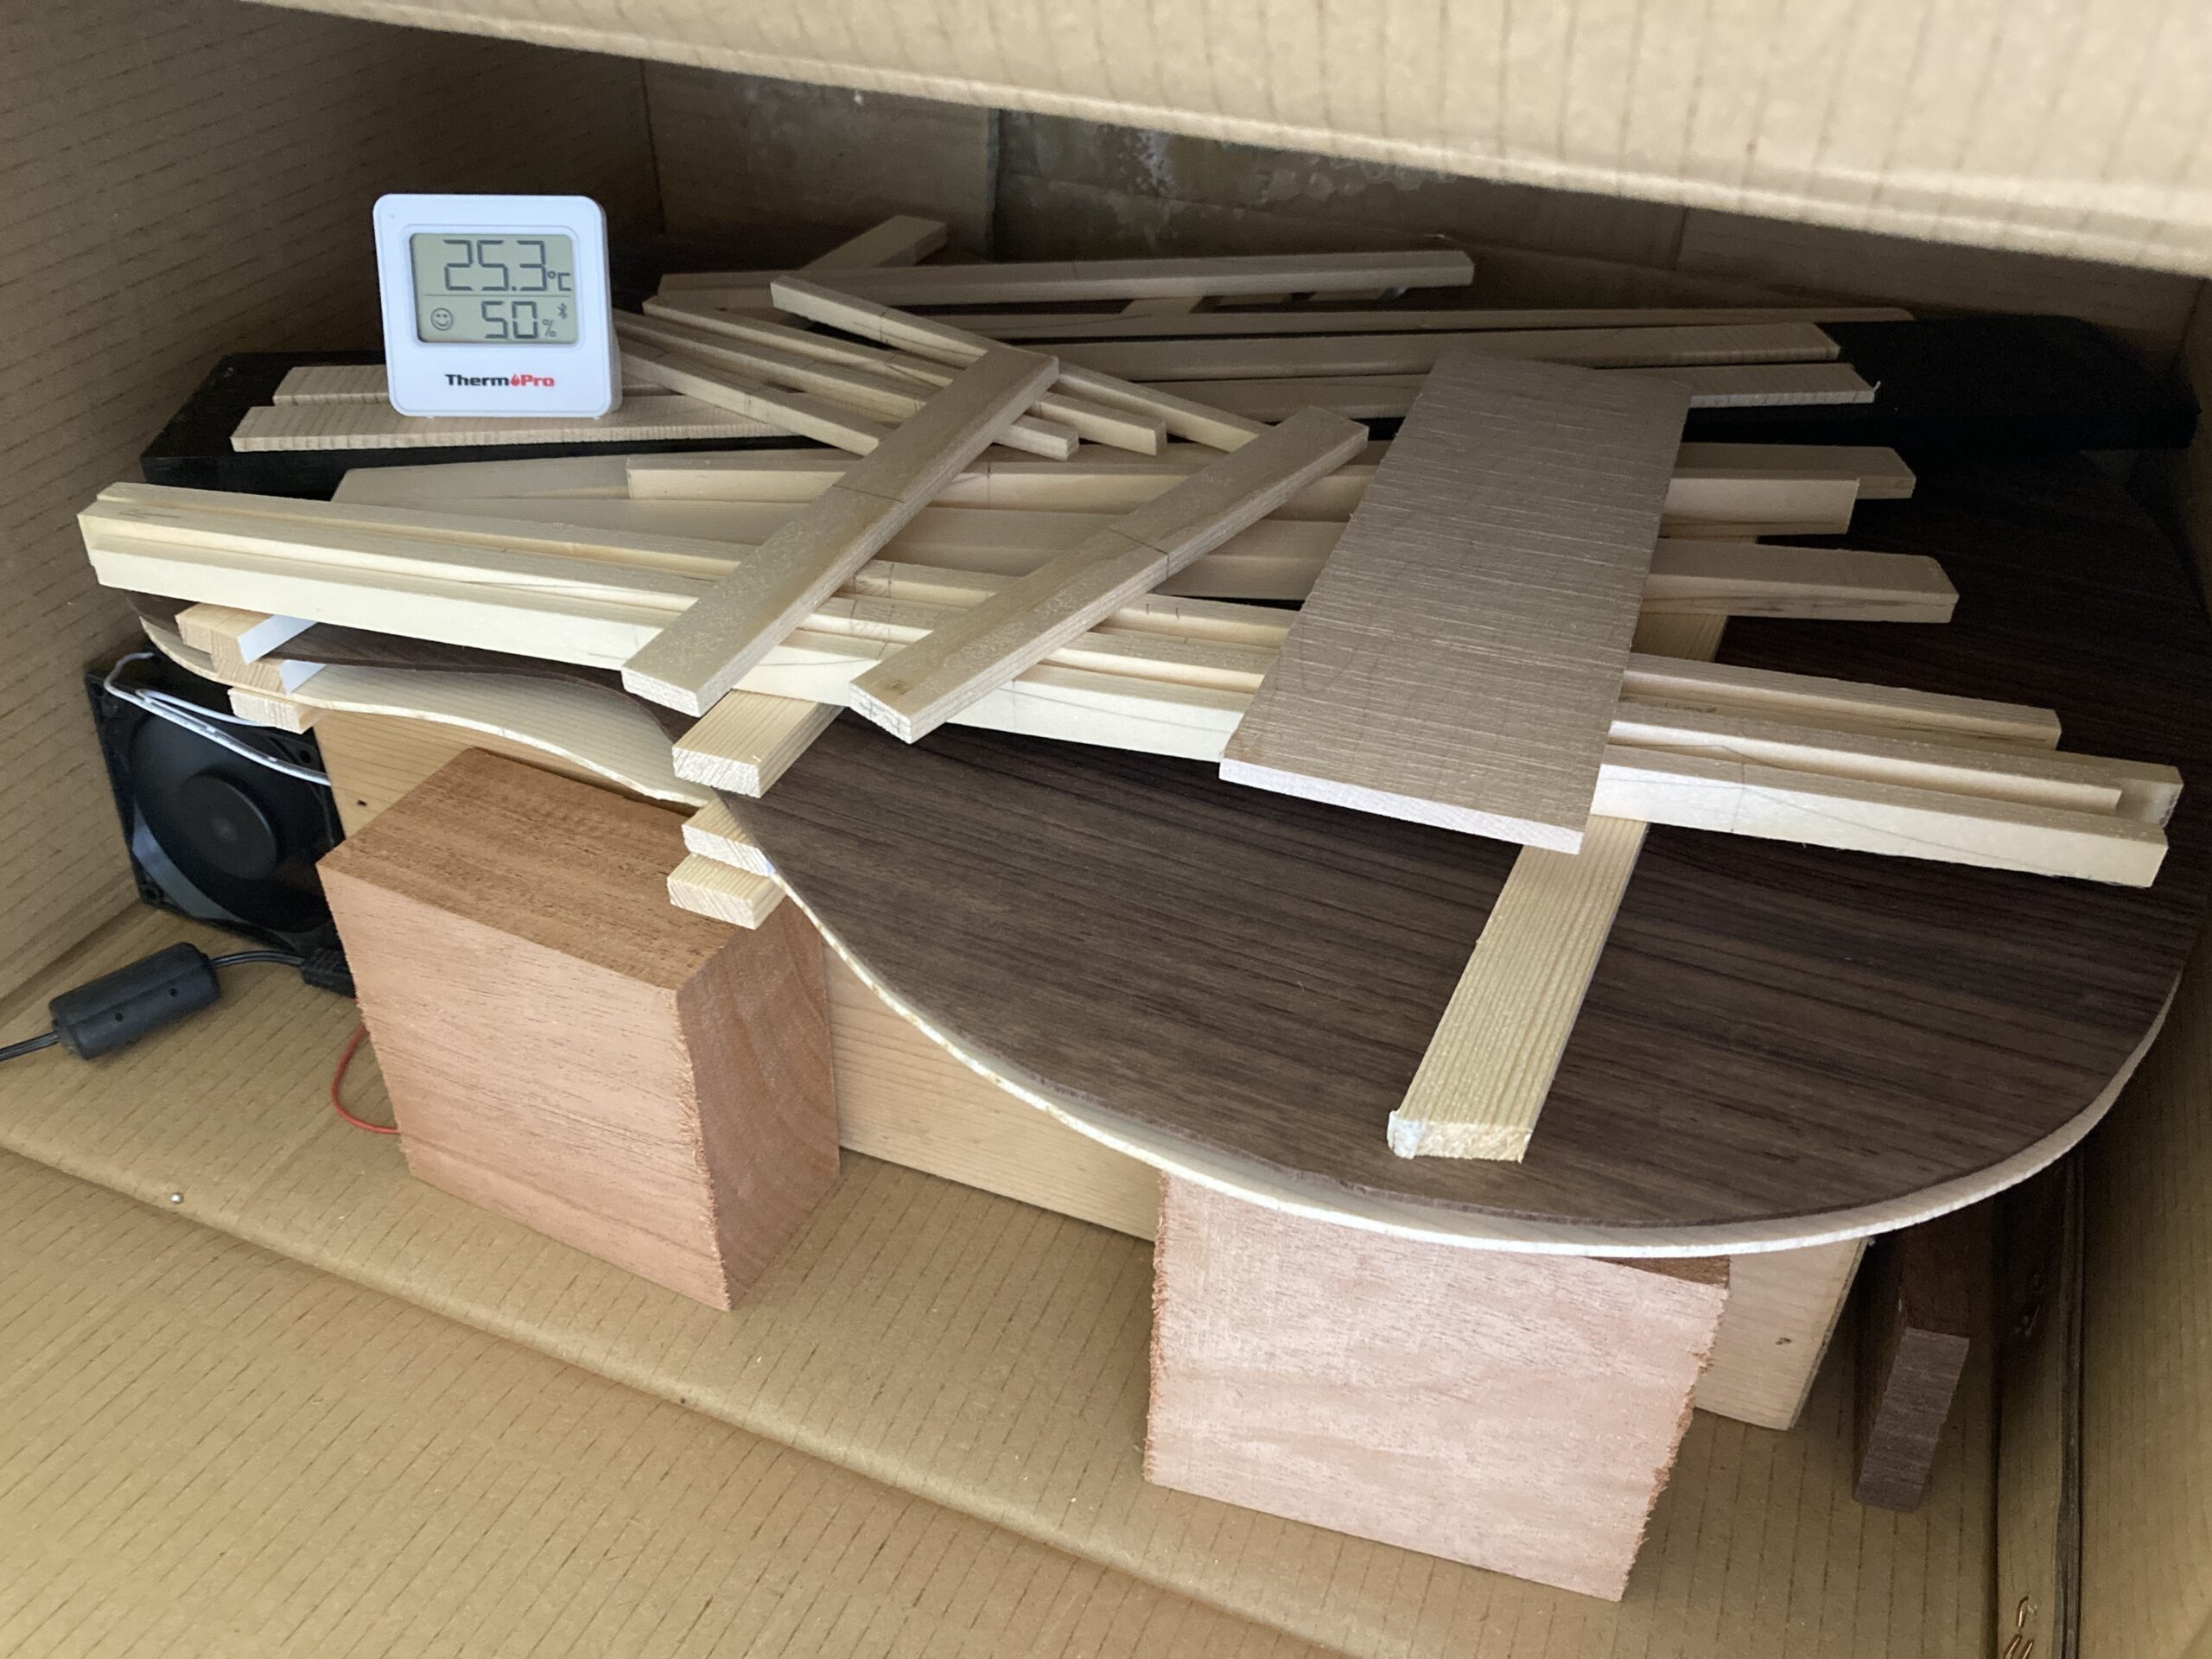
(Incidentally, I can recommend the little thermopro TP357 humidity meter – it records temperature and humidity history and can display a graph on your phone over bluetooth.)
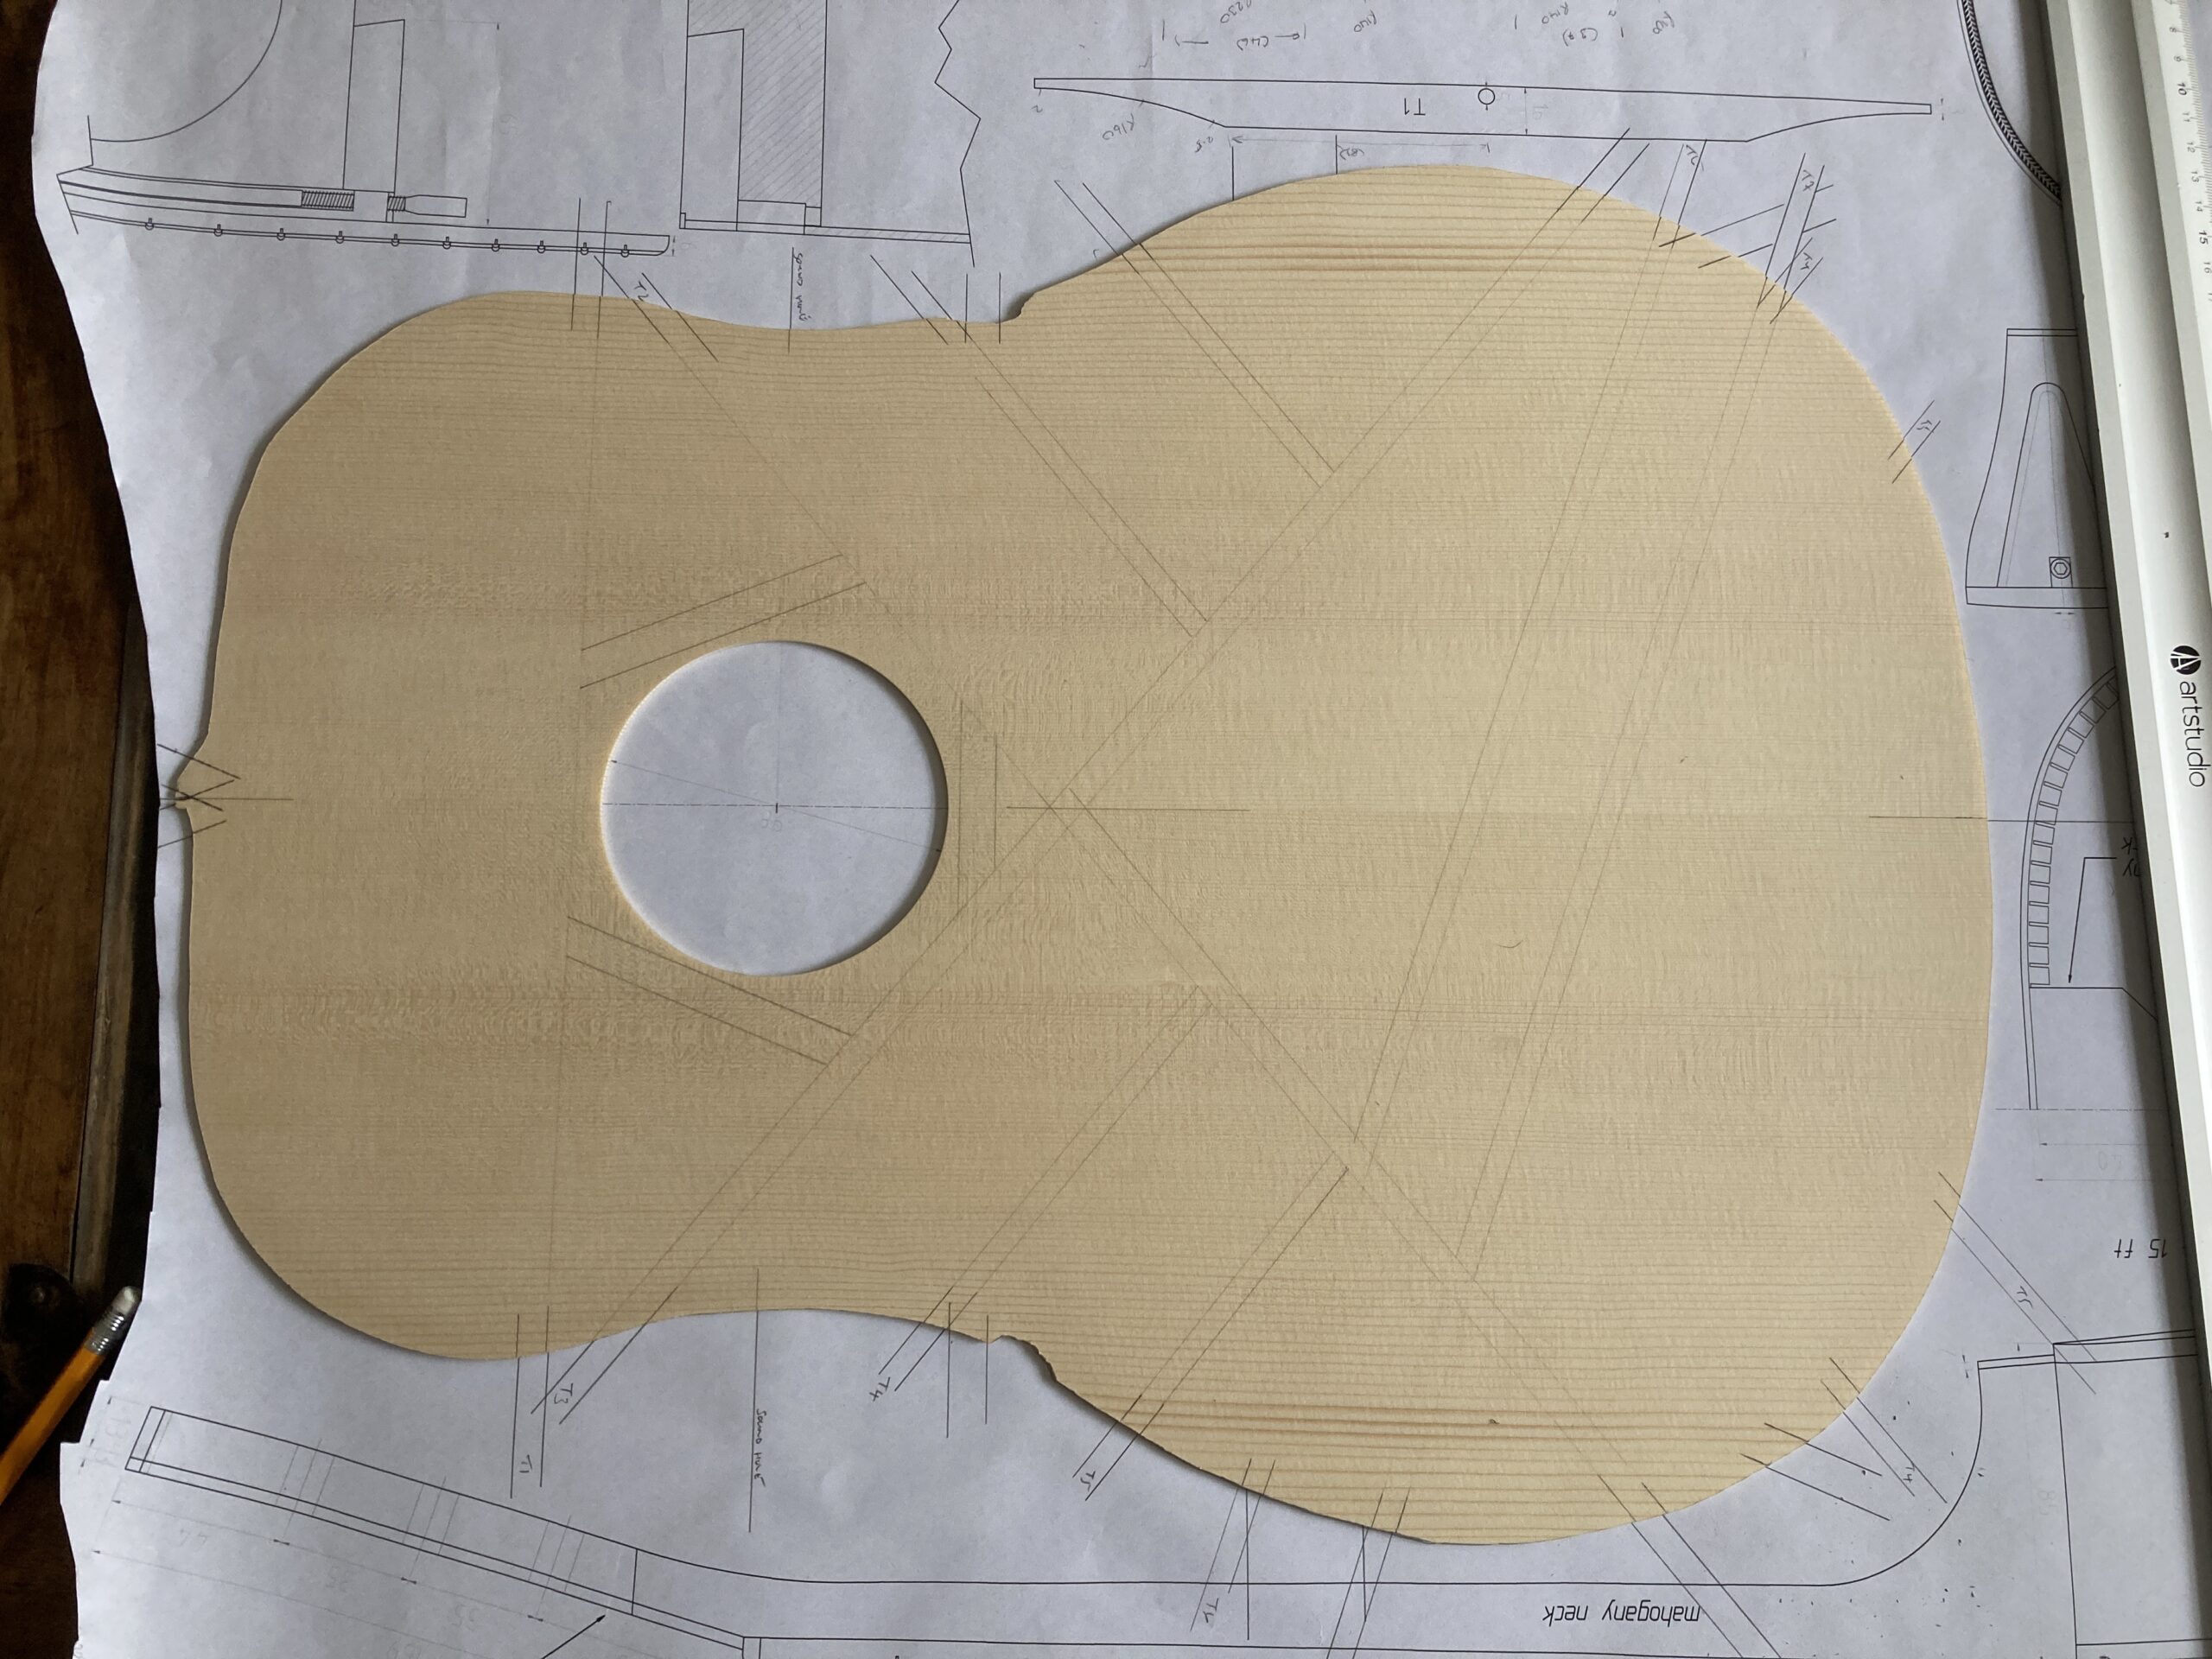
To mark the brace positions on the top I extended the outline of the braces on the paper plan so I could lay the top on the paper and transfer the positions of the brace ends onto the edge of the top (to save messing about with tracing paper or templates).
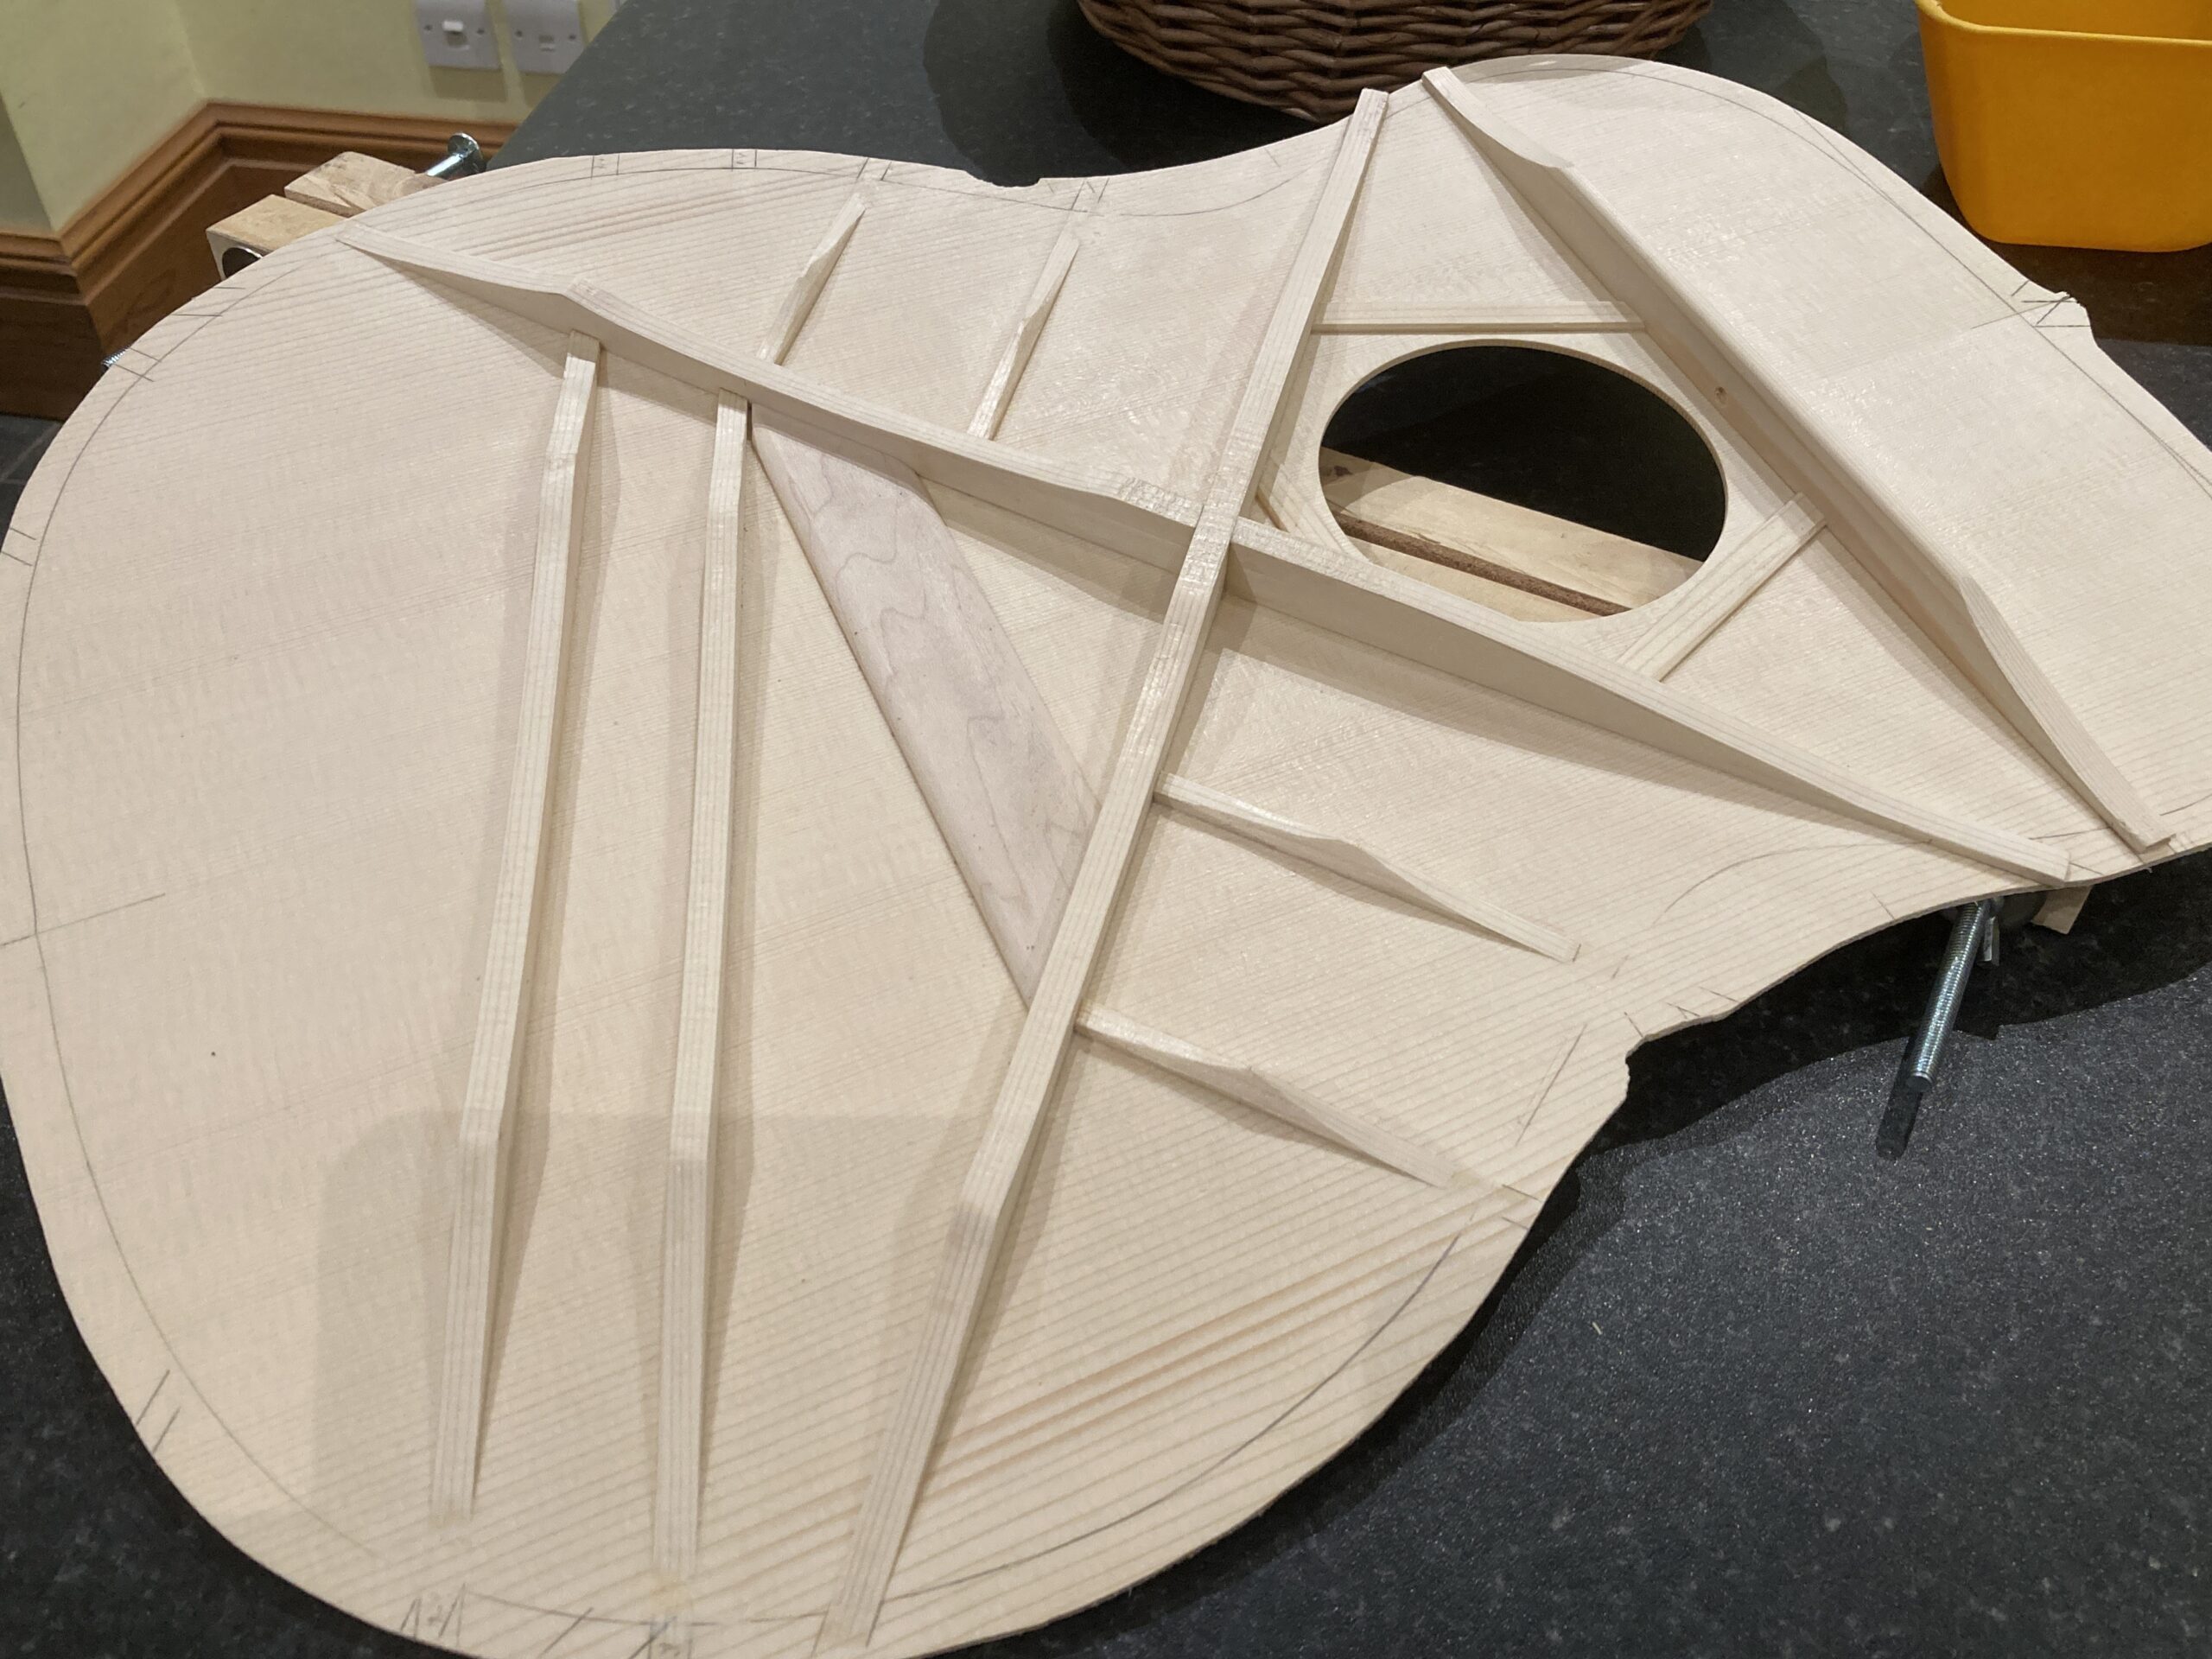
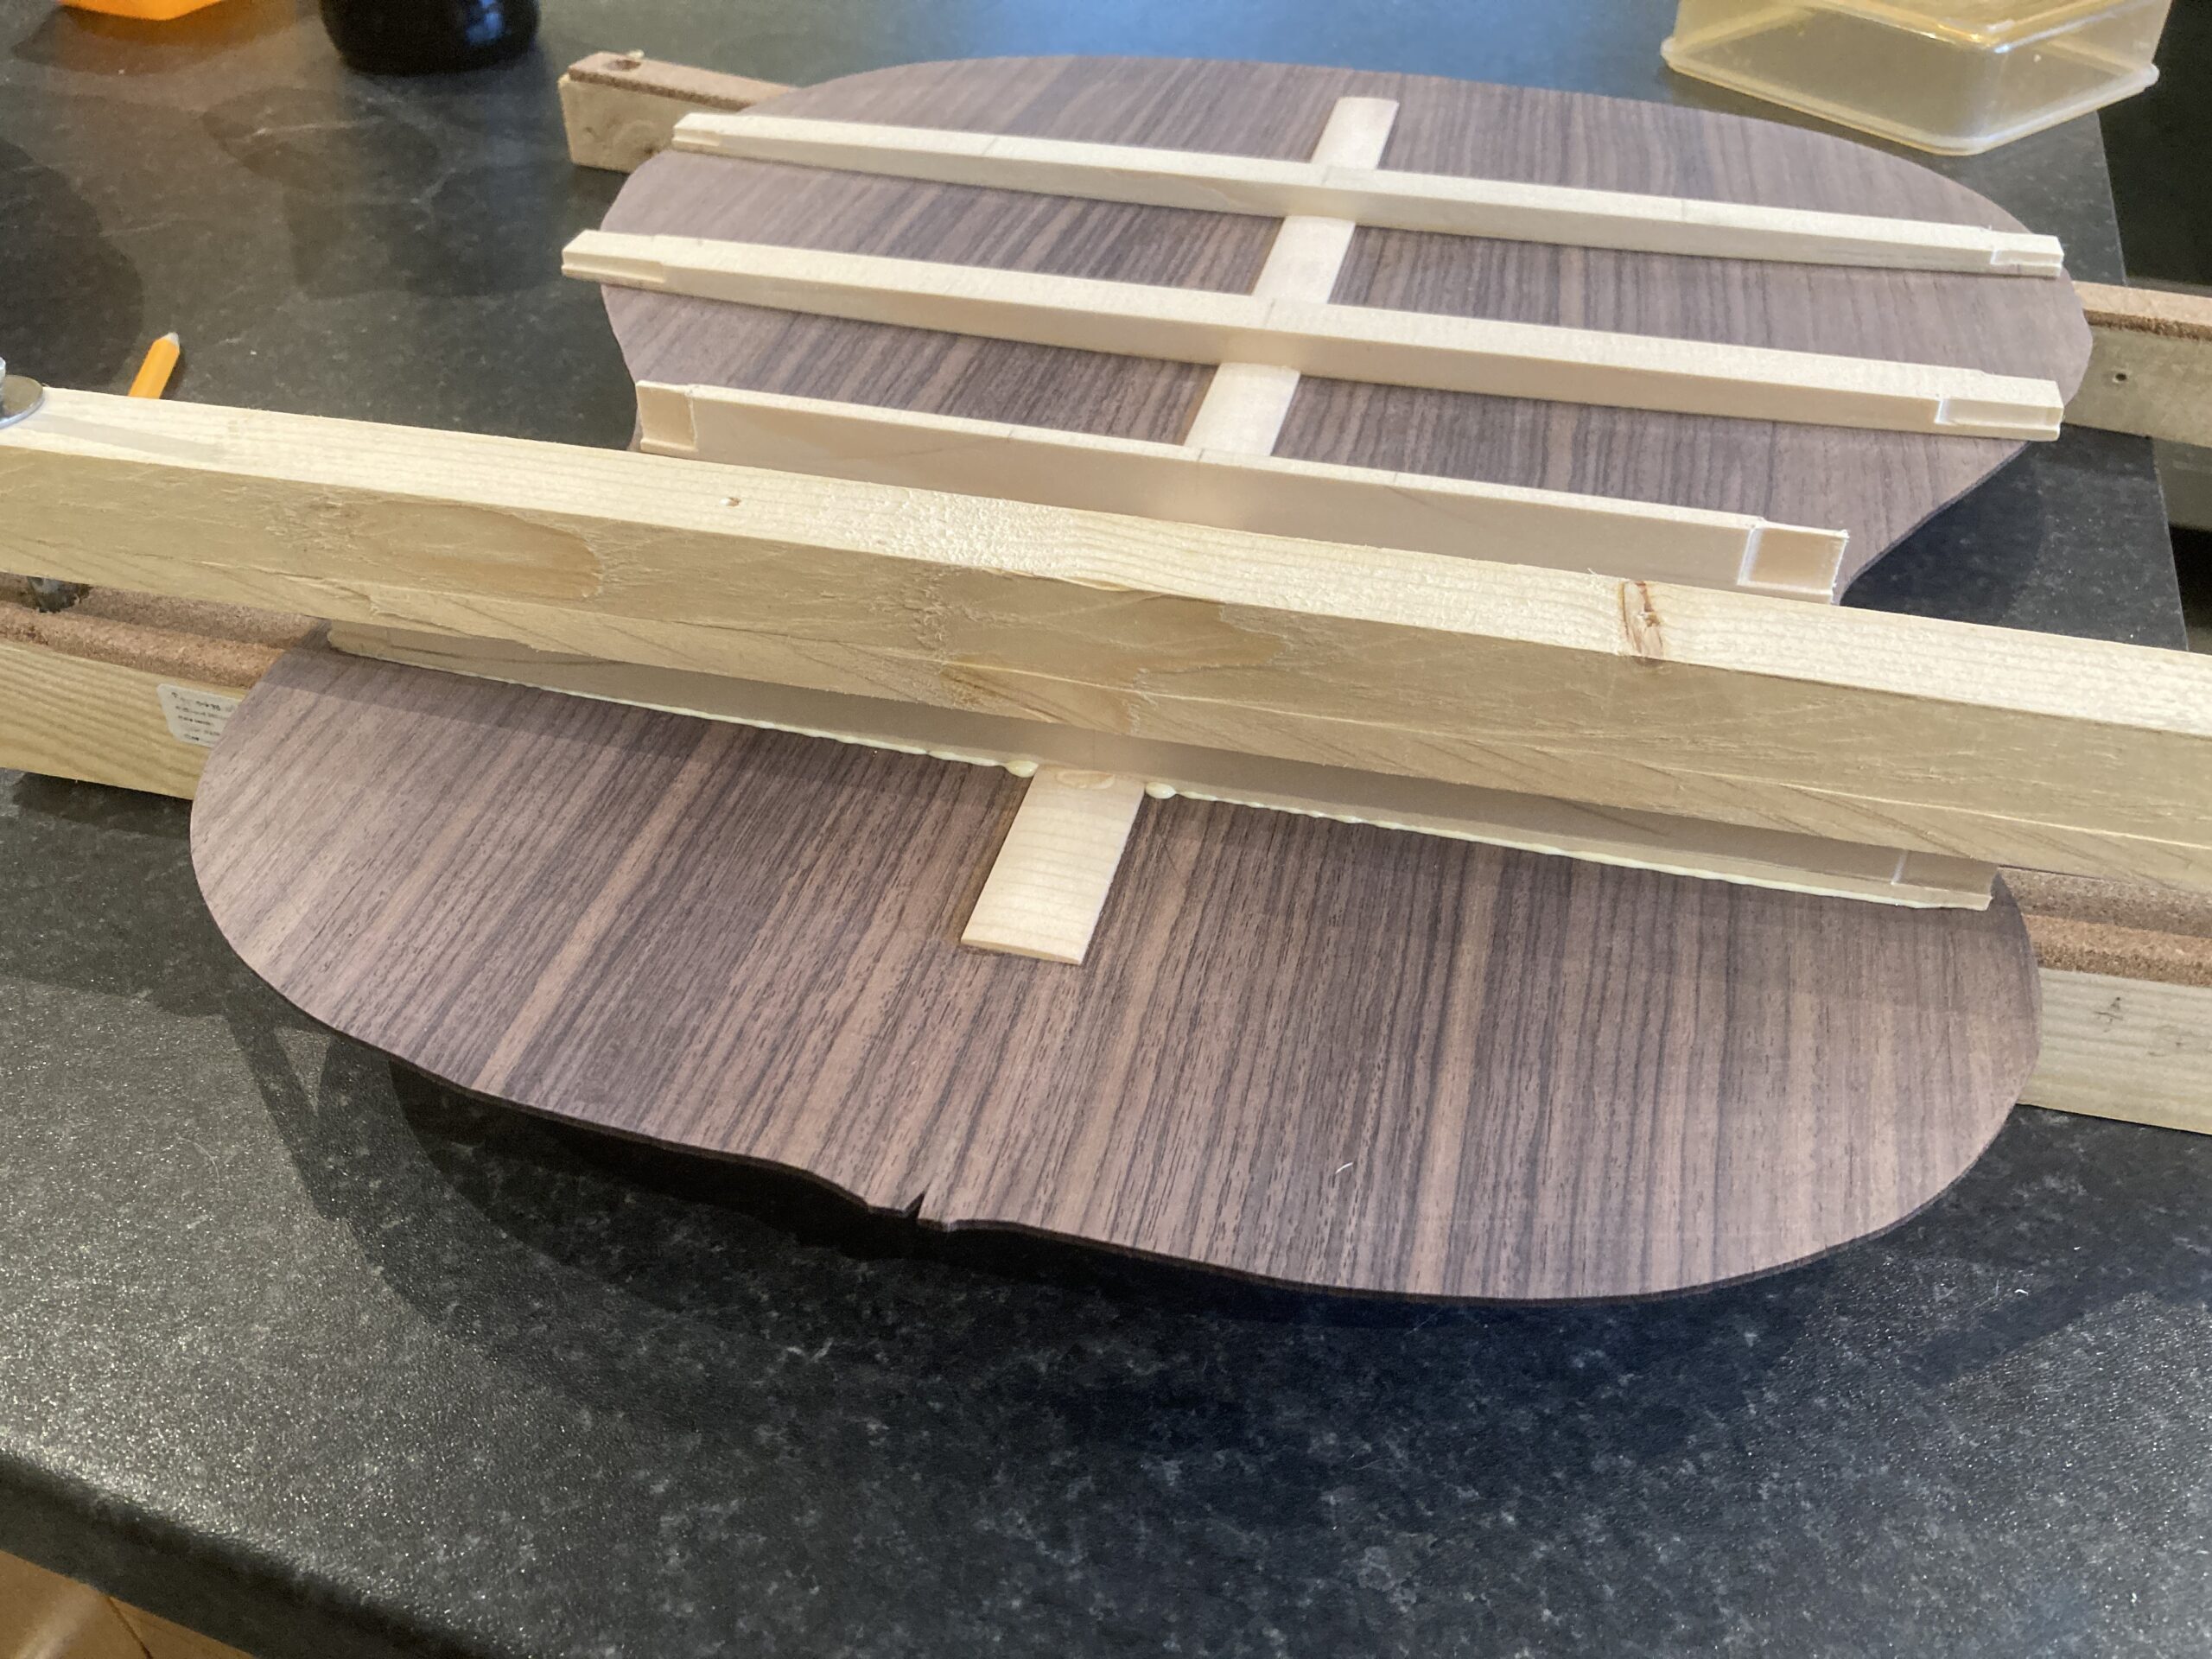
I didn’t want to go to the bother of making a go-bar deck (and haven’t really got room for one) so I followed the scheme from the Cumpiano book where the braces are glued and clamped individually:
The ‘flat’ braces were glued on first; then the tone bars and the other braces were glued on, one at a time, clamping them against a radiussed caul under the back/top. The top bar of the clamp has a slight convex curve to try and achieve reasonably even clamping pressure.
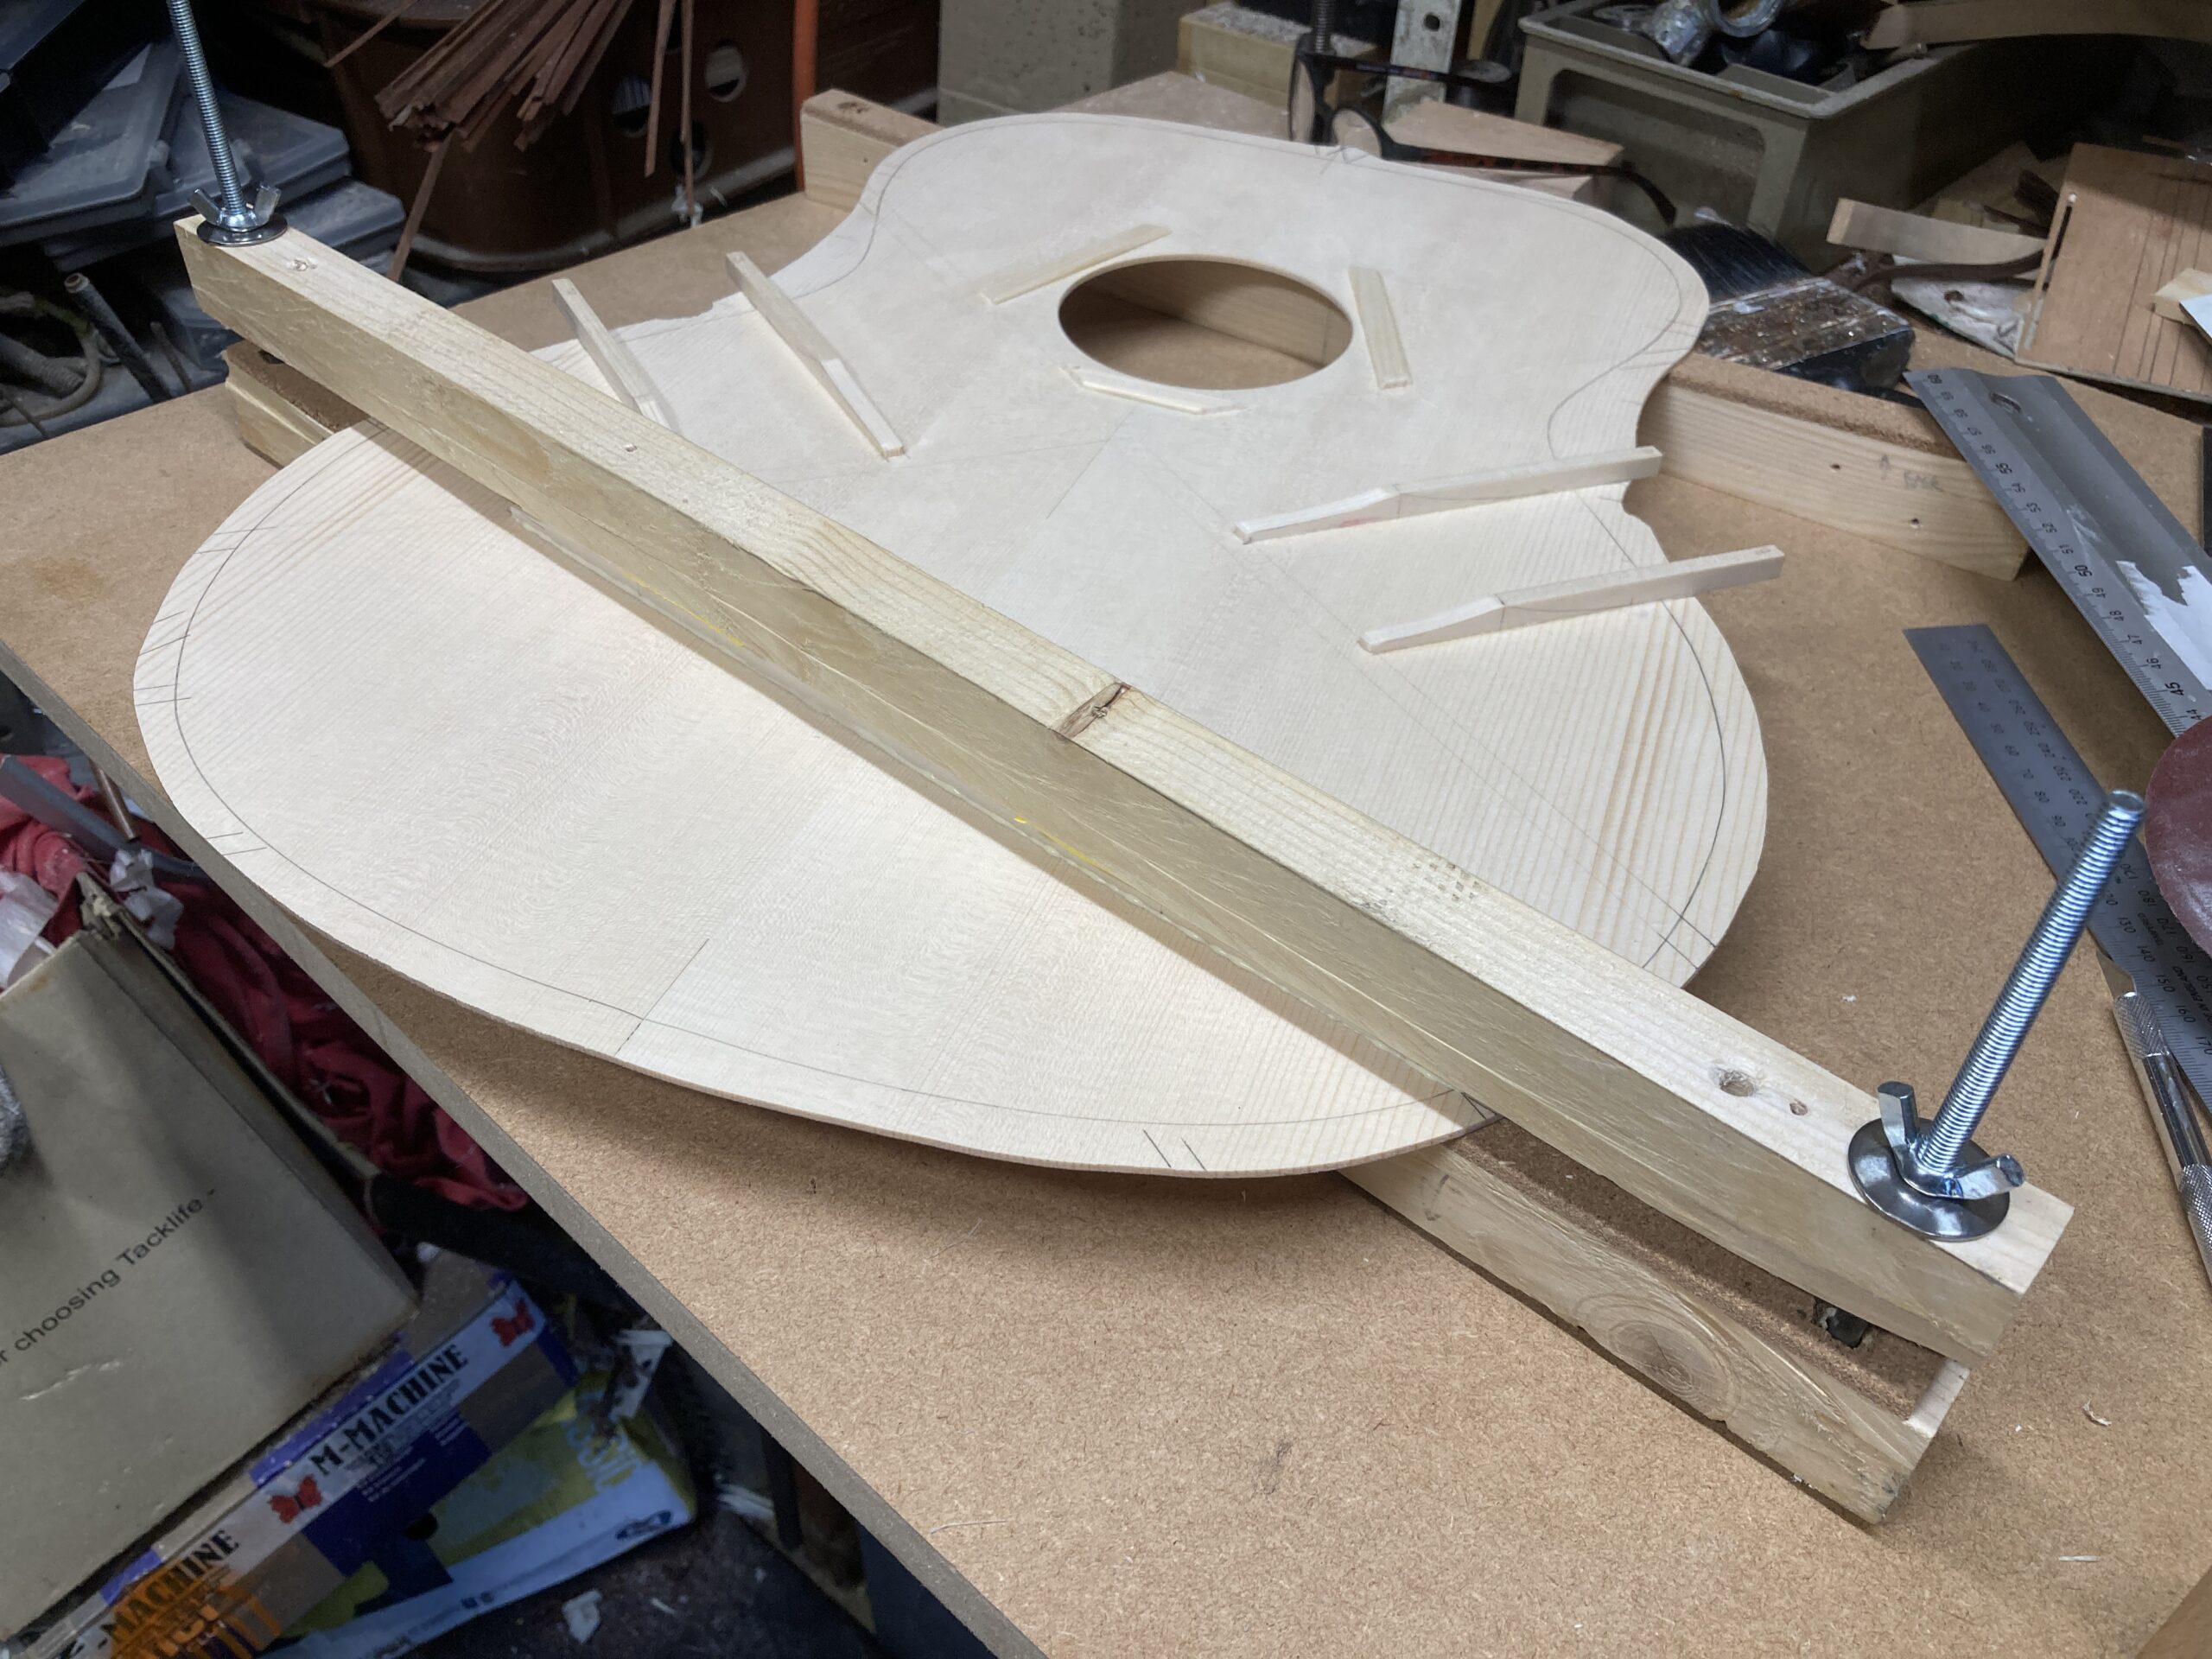
The transverse brace has a steeper radius than the other top braces, but the caul for the back radius was close enough to get it glued up
The sound hole braces are made from excess spruce from the top.
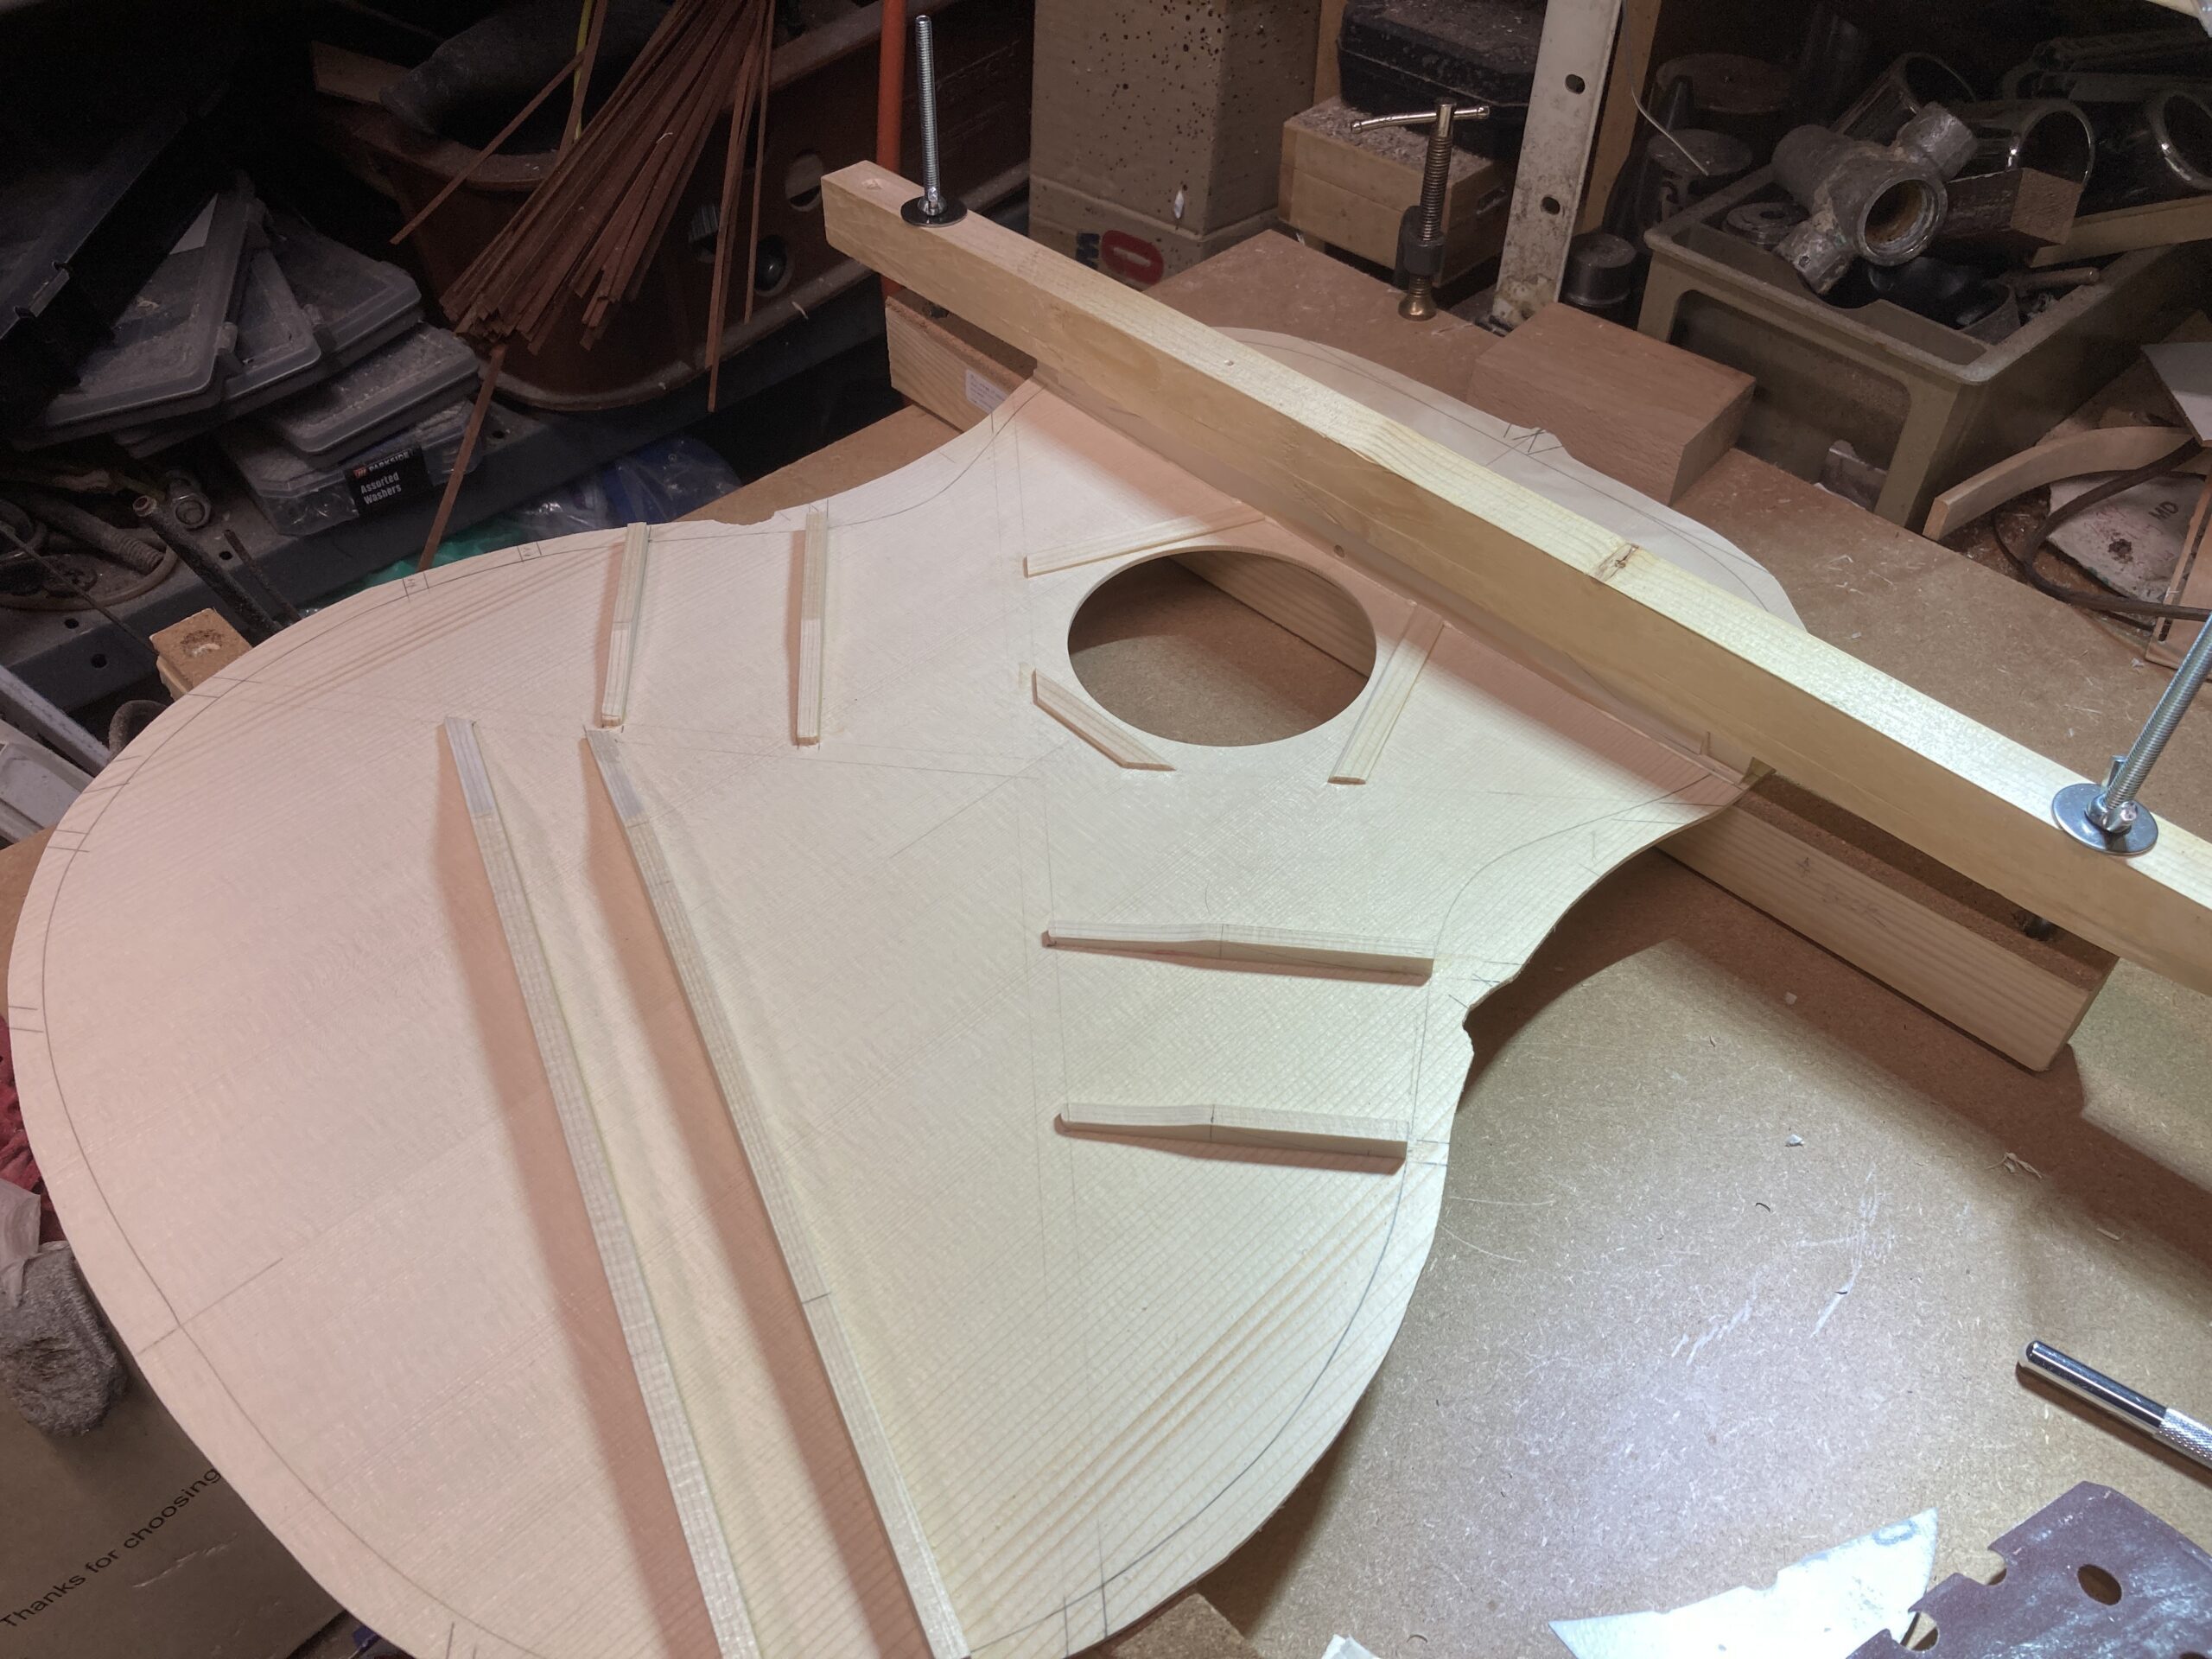
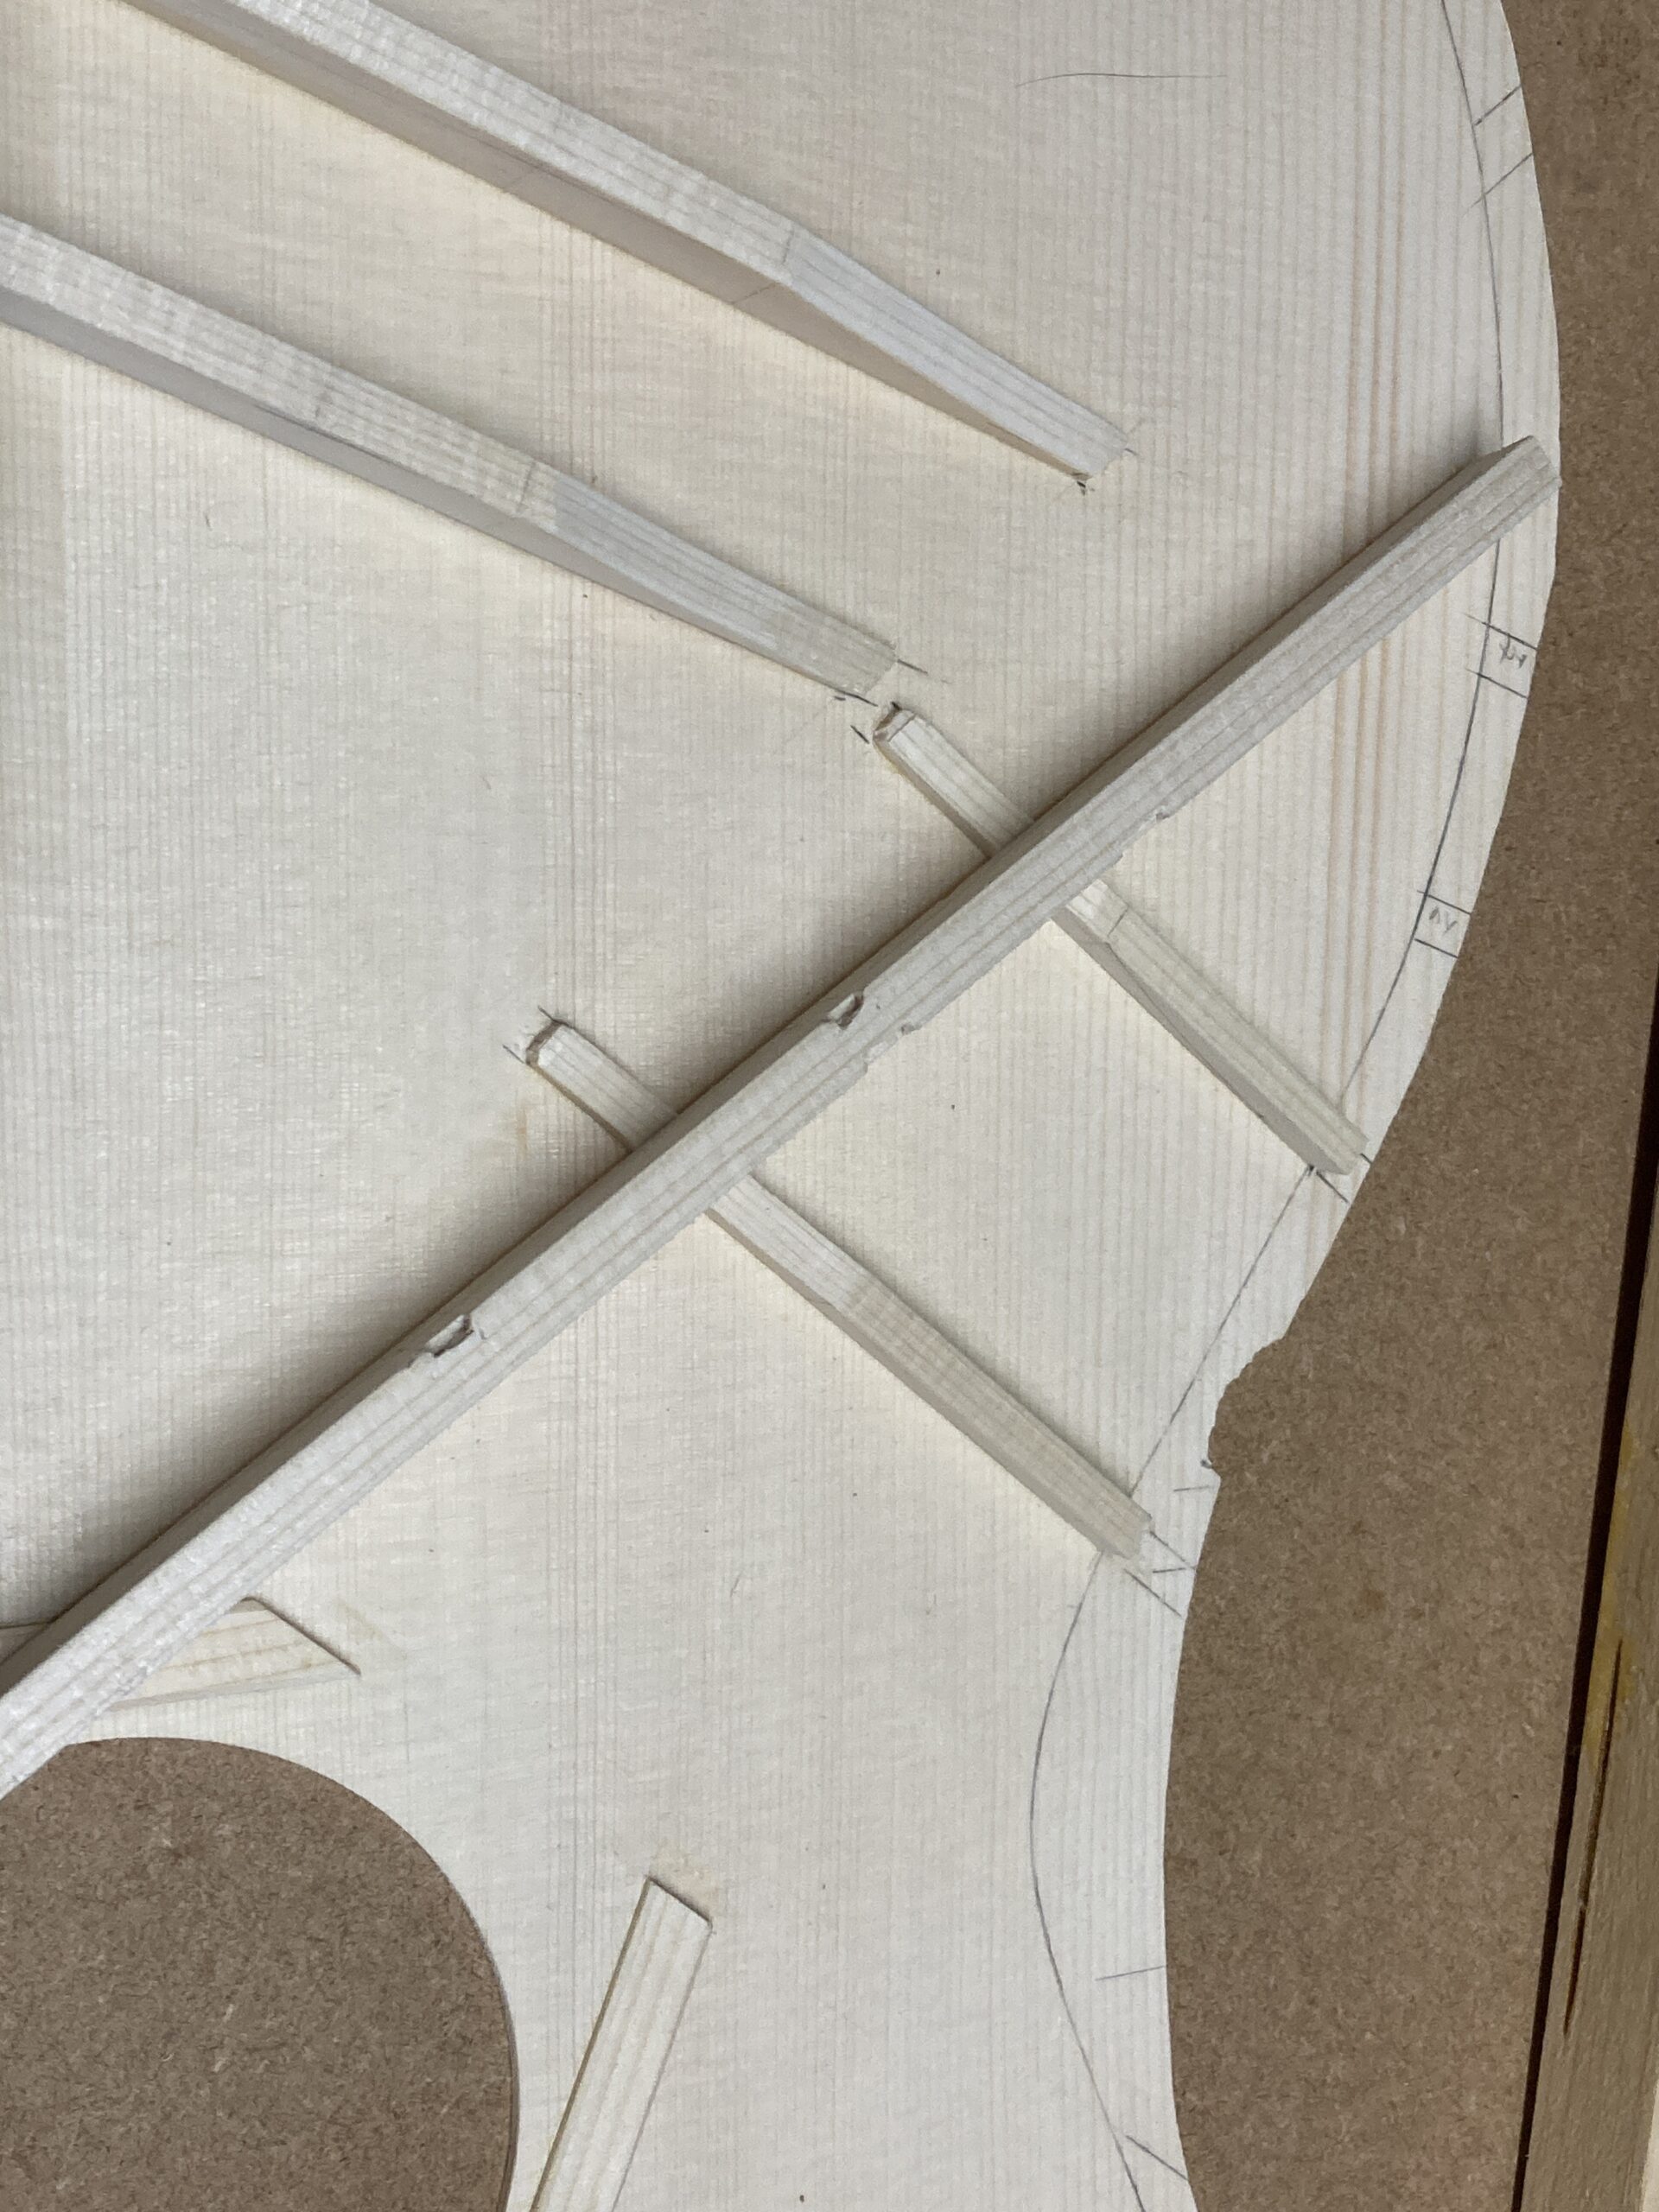
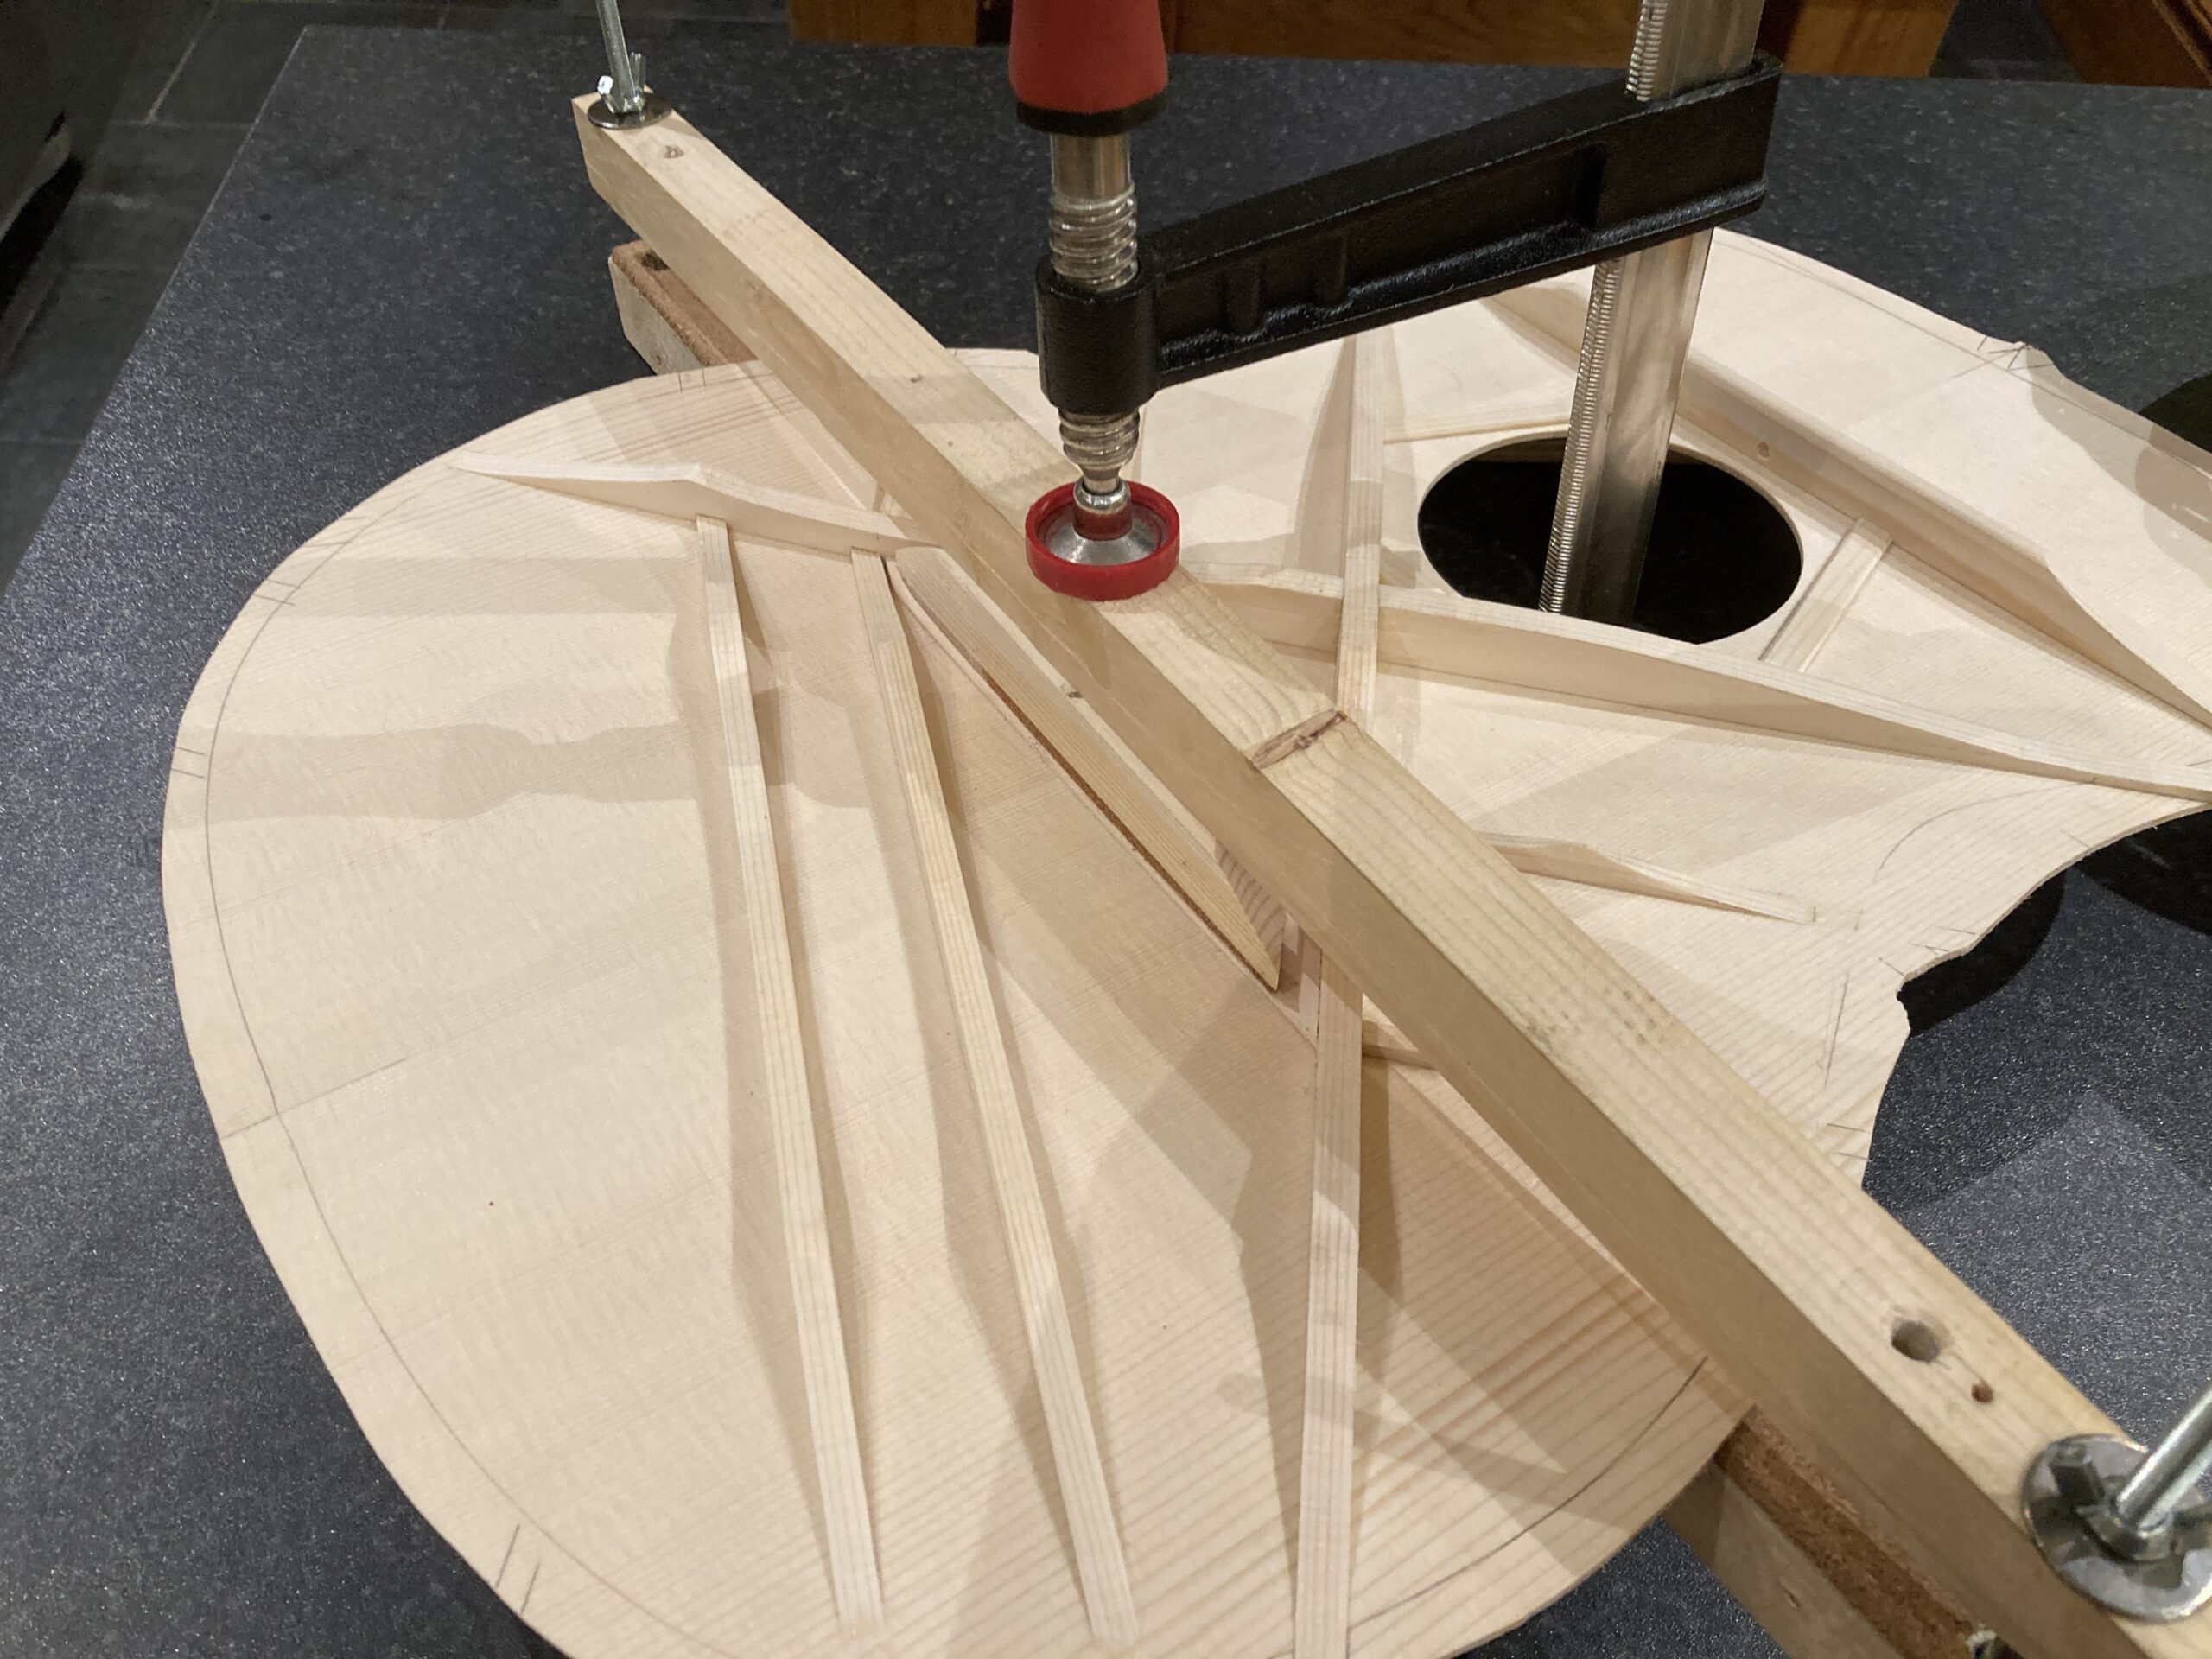
I did mortice the ends of the finger braces and tone bars into the X braces, as it just seemed ‘the right thing’ to do.
The first X brace being glued on. (The clothes peg is holding together a small split in the end of the transverse brace that I have glued back.)
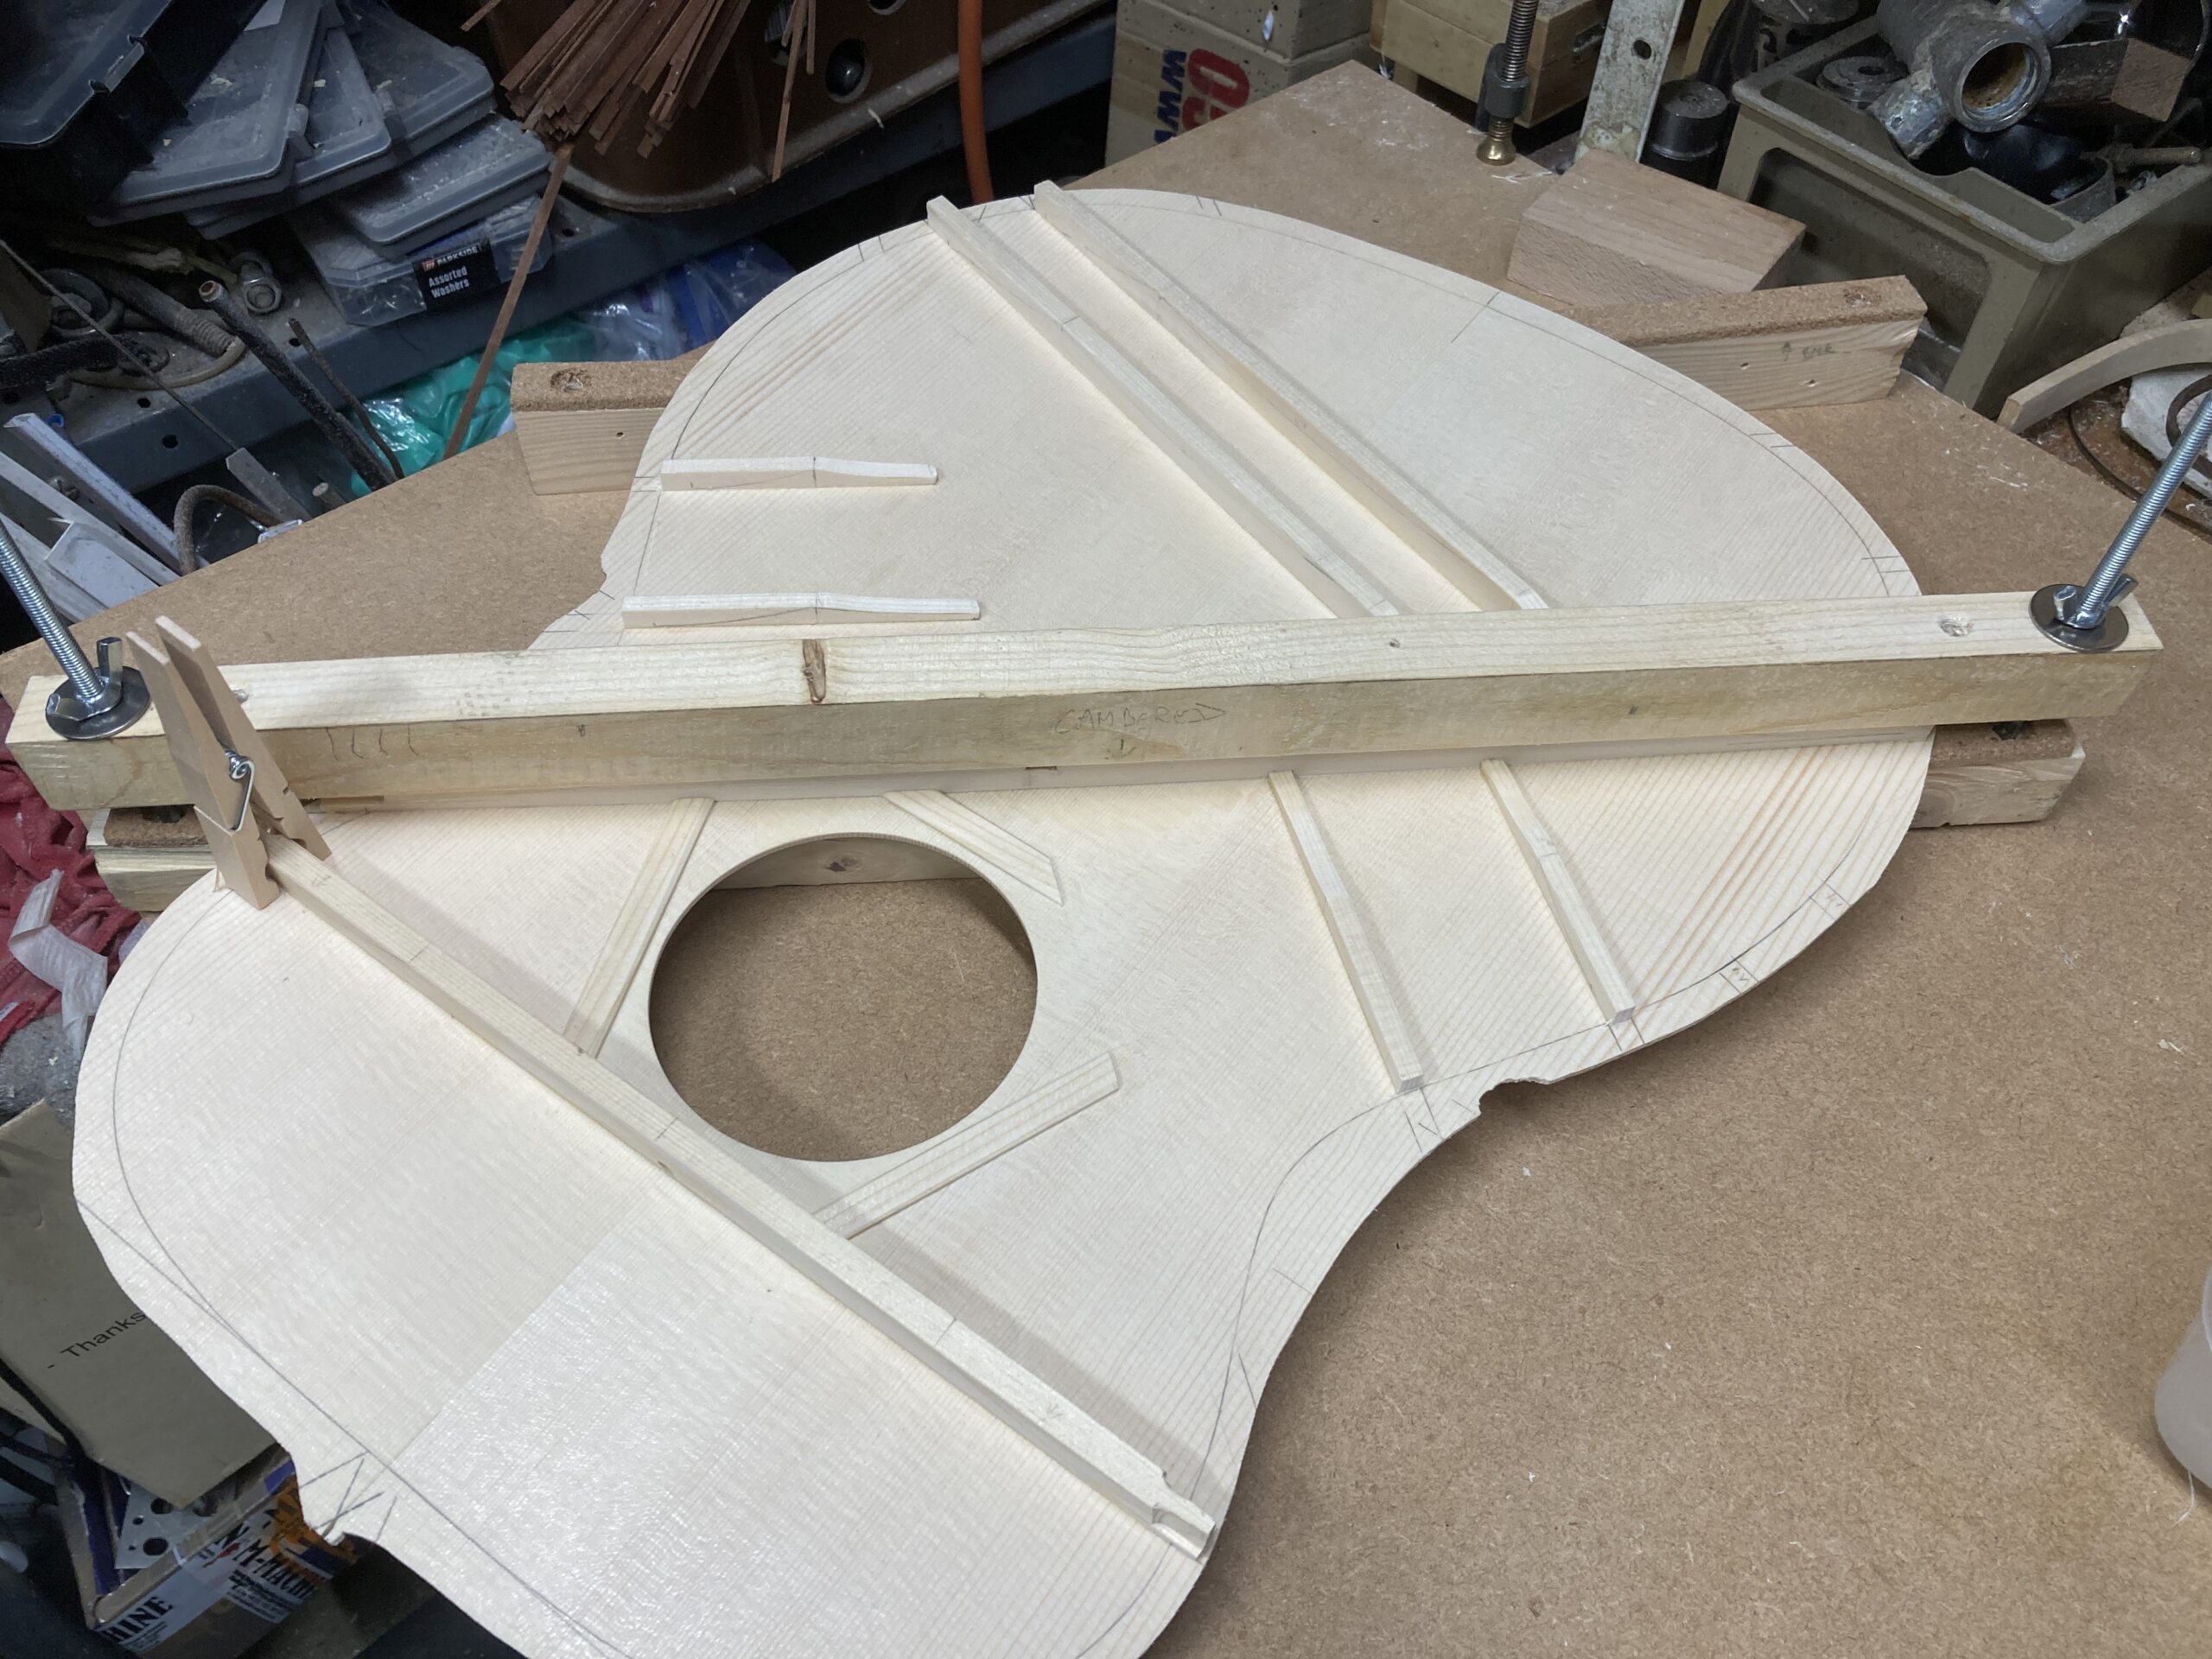
It occurred to me part way through this process that the top may end up Pringle shaped, and although it did go a bit weird part way through, when the final X brace was glued on, it came back to a nice, even shape.
I had saved a strip of spruce from an offcut of the top for the ‘marriage strip’ (?) on the back which was glued on and then planed/sanded to ~2mm thick
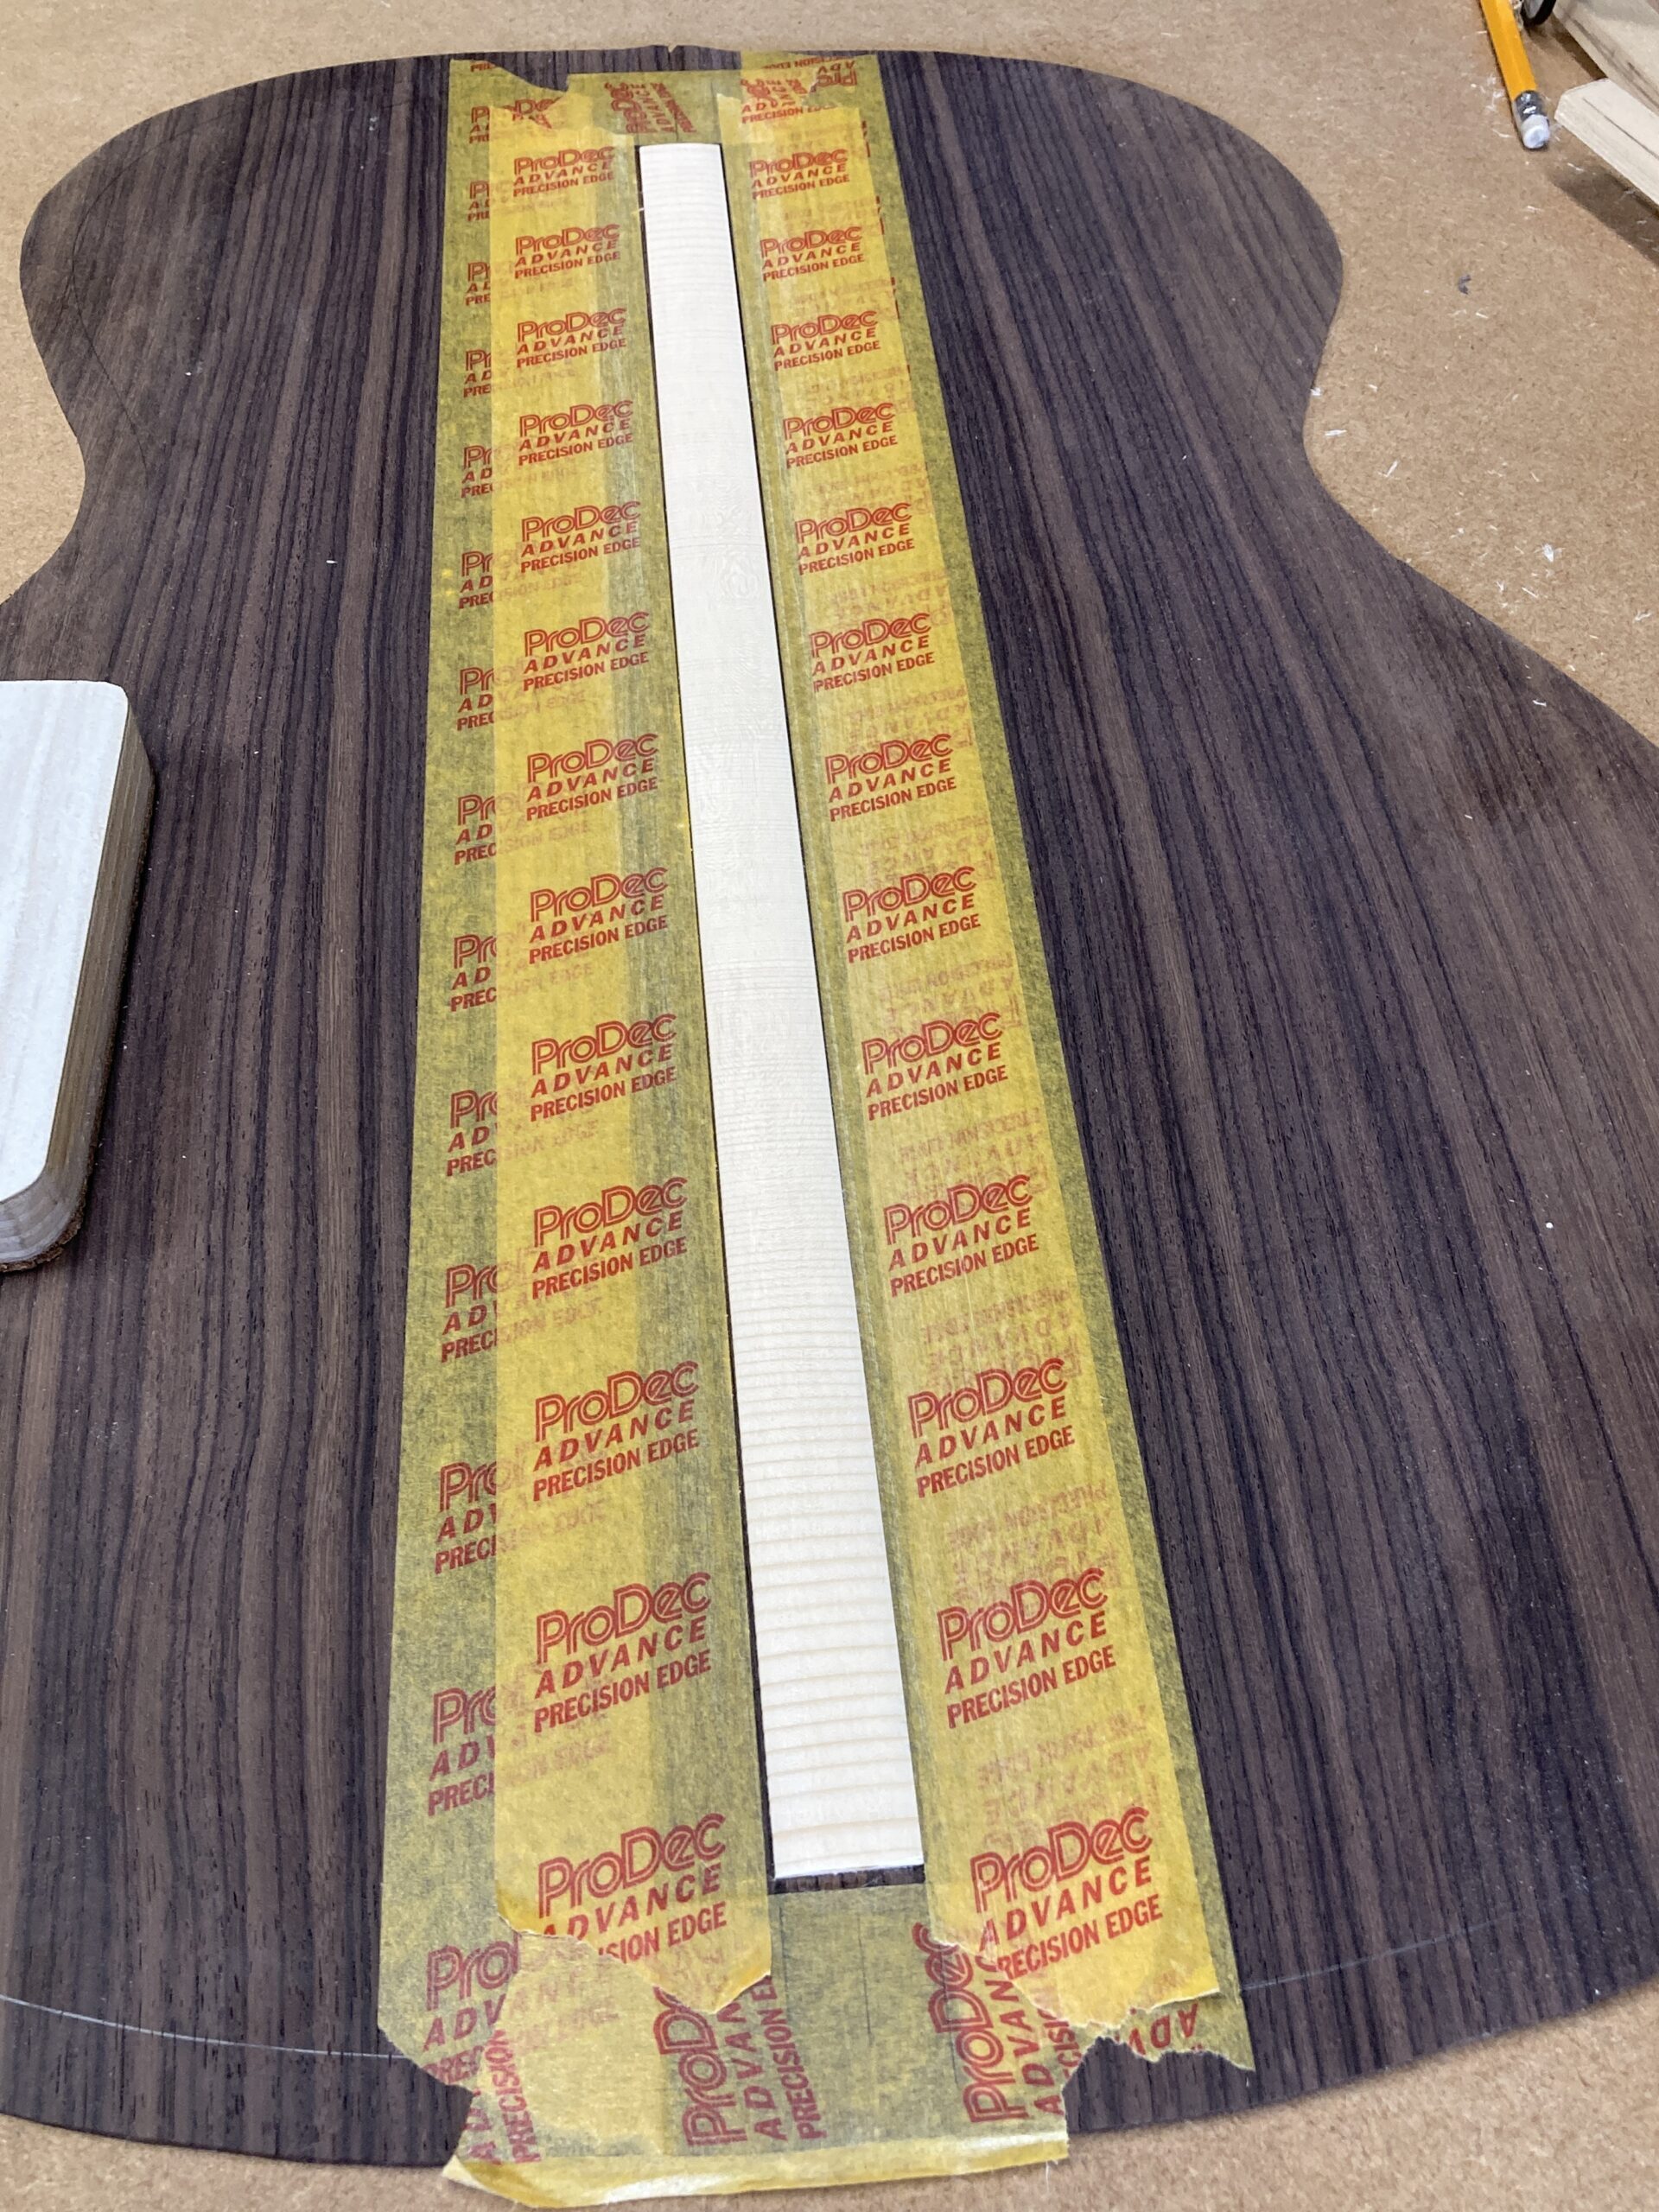

The masking tape was to avoid marking the back with the edge of the plane when profiling the strip. It turned out to be a mistake – the tape was sold to me as ‘better’ than blue tape – supposed to be low tack, but it left a horrible, gummy residue when it was peeled off that turned out to be really difficult to remove completely. (We live and learn…)
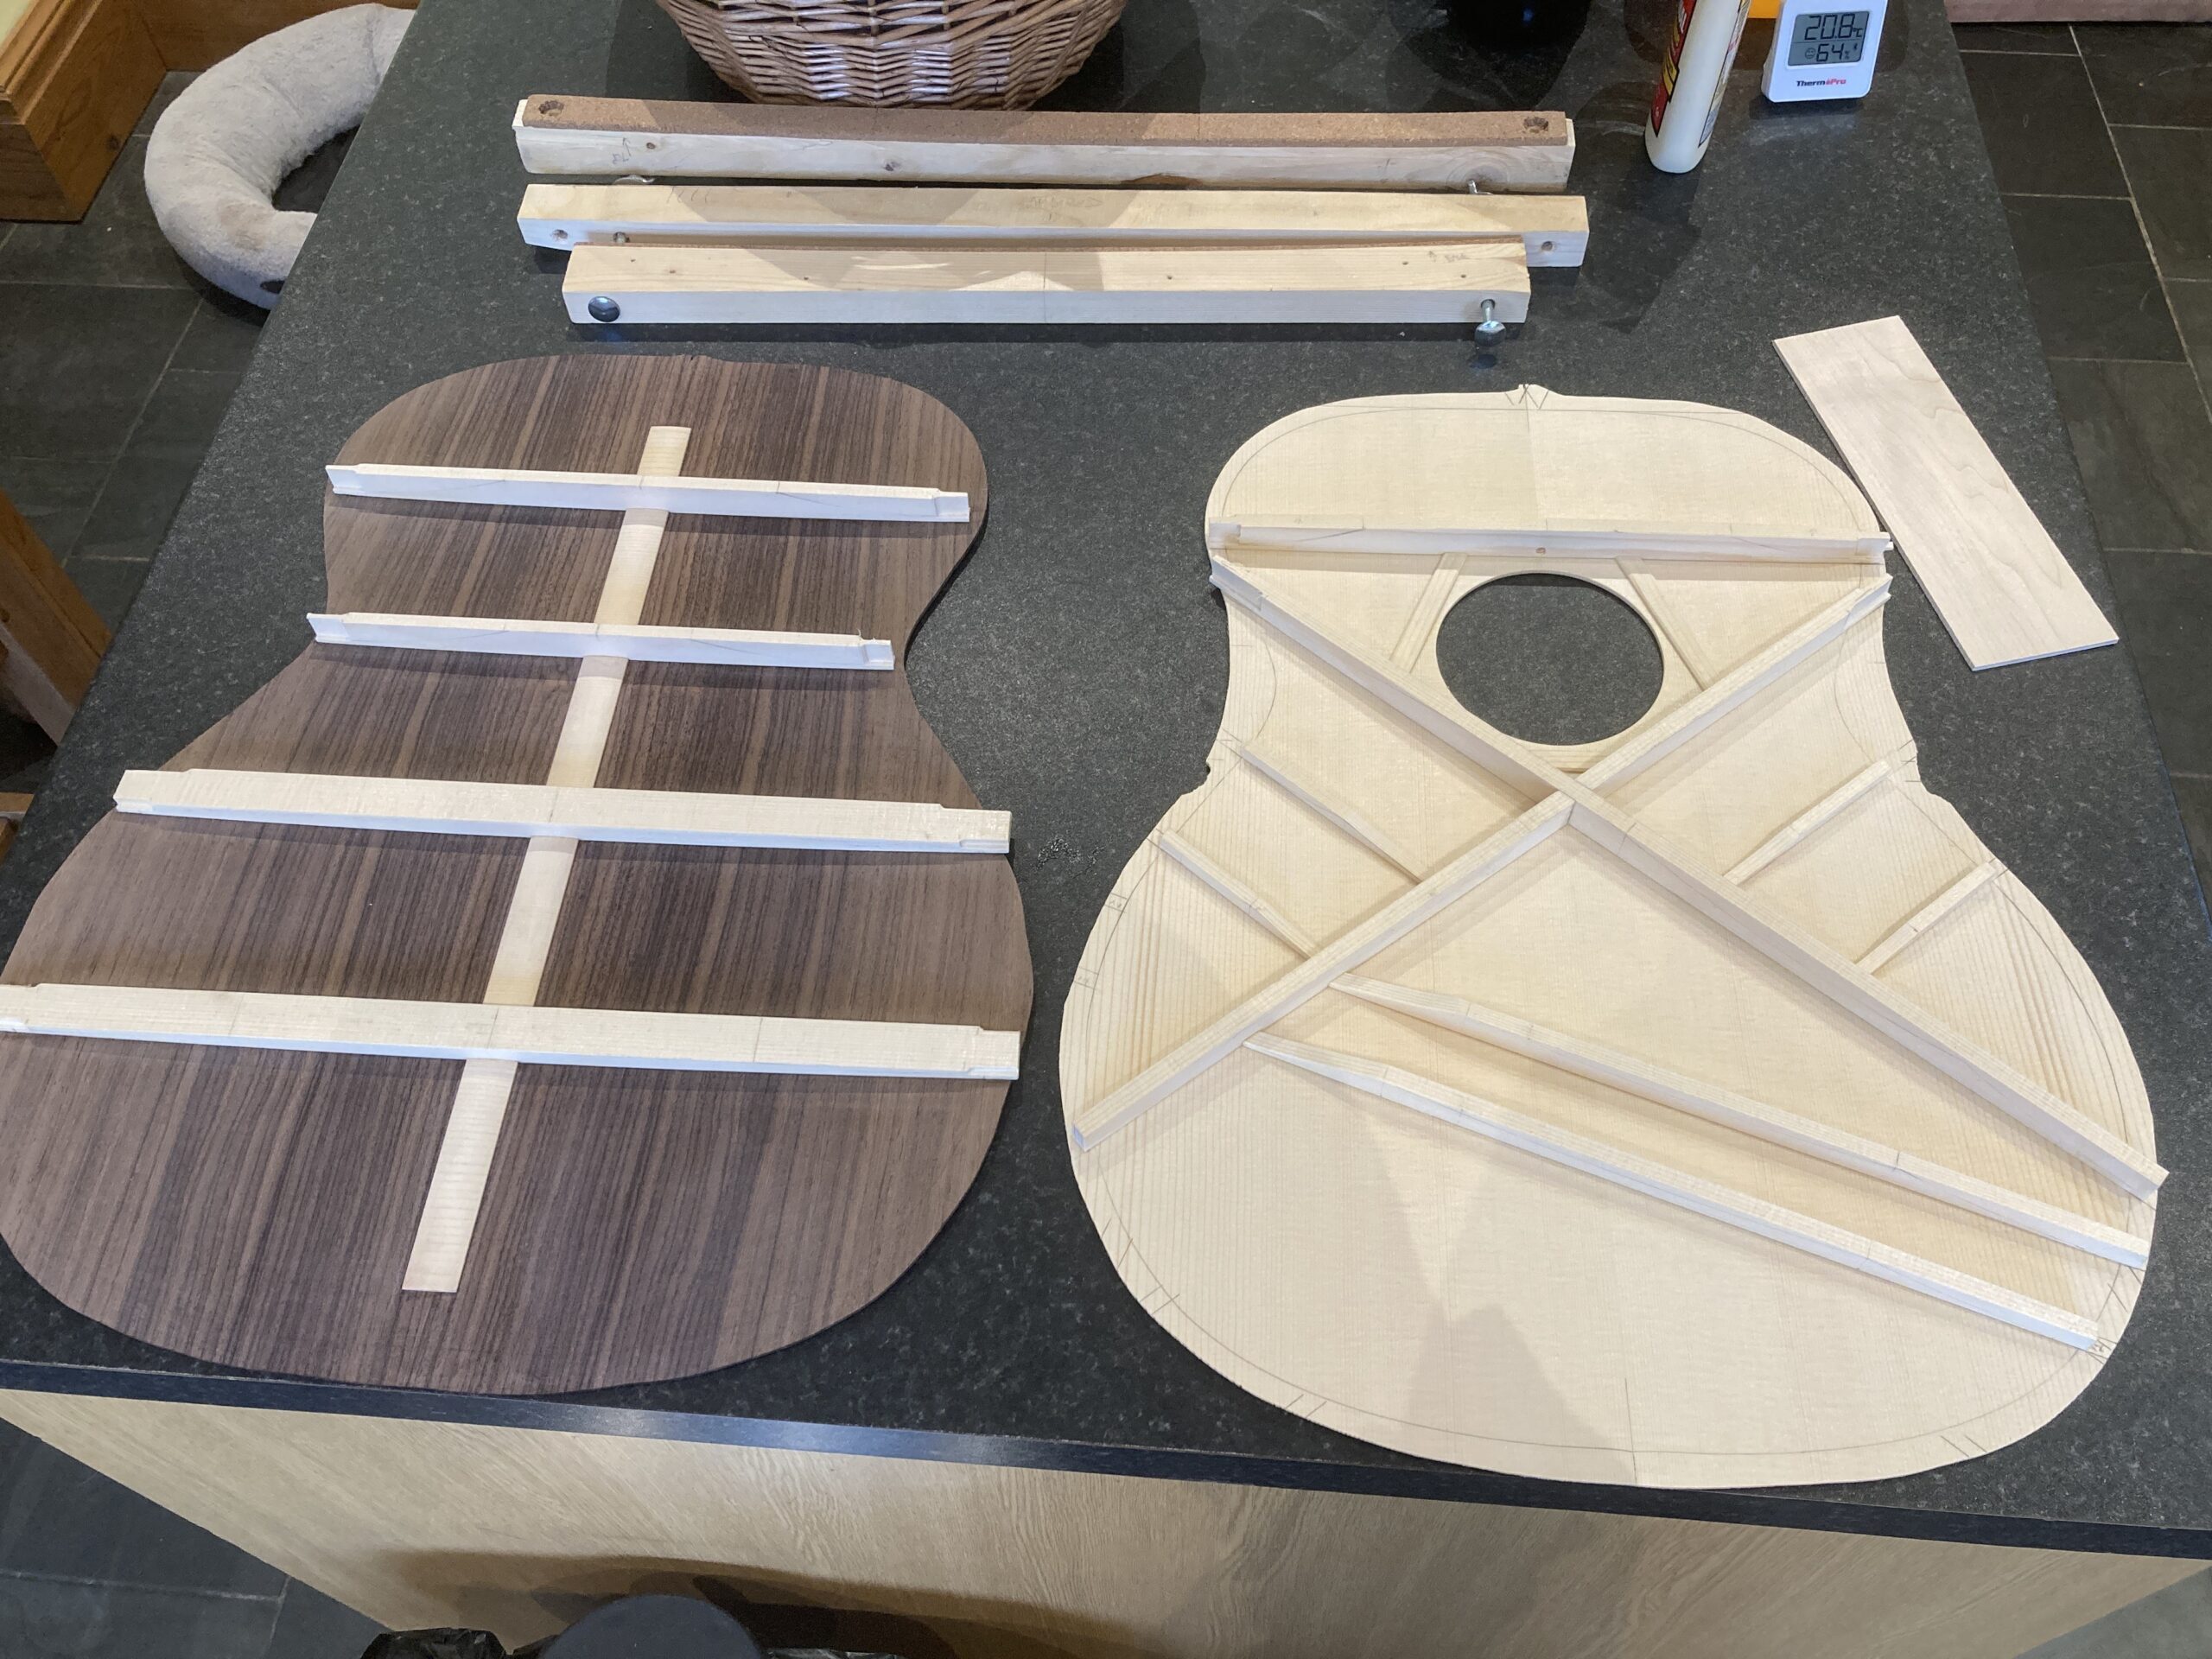
The back braces were glued in one at a time, in the same way as the front (with a different radiussed caul). The marriage strip was cut away where the braces fitted.
So then I had this:
Bridge plate being glued on
I cut the side profile of the braces to the shapes shown on the drawing – they’re still about 1mm too high – and had a quick go at tapering the finger braces, but held off doing any more, as I realised that I didn’t understand the process and was starting to rush things.