I carried on the ‘bodying up’ phase for a total of about 10 sessions of polishing. I was aiming to do two sessions per day but sometimes I only did one session, and a few times, life got in the way and I didn’t do any.
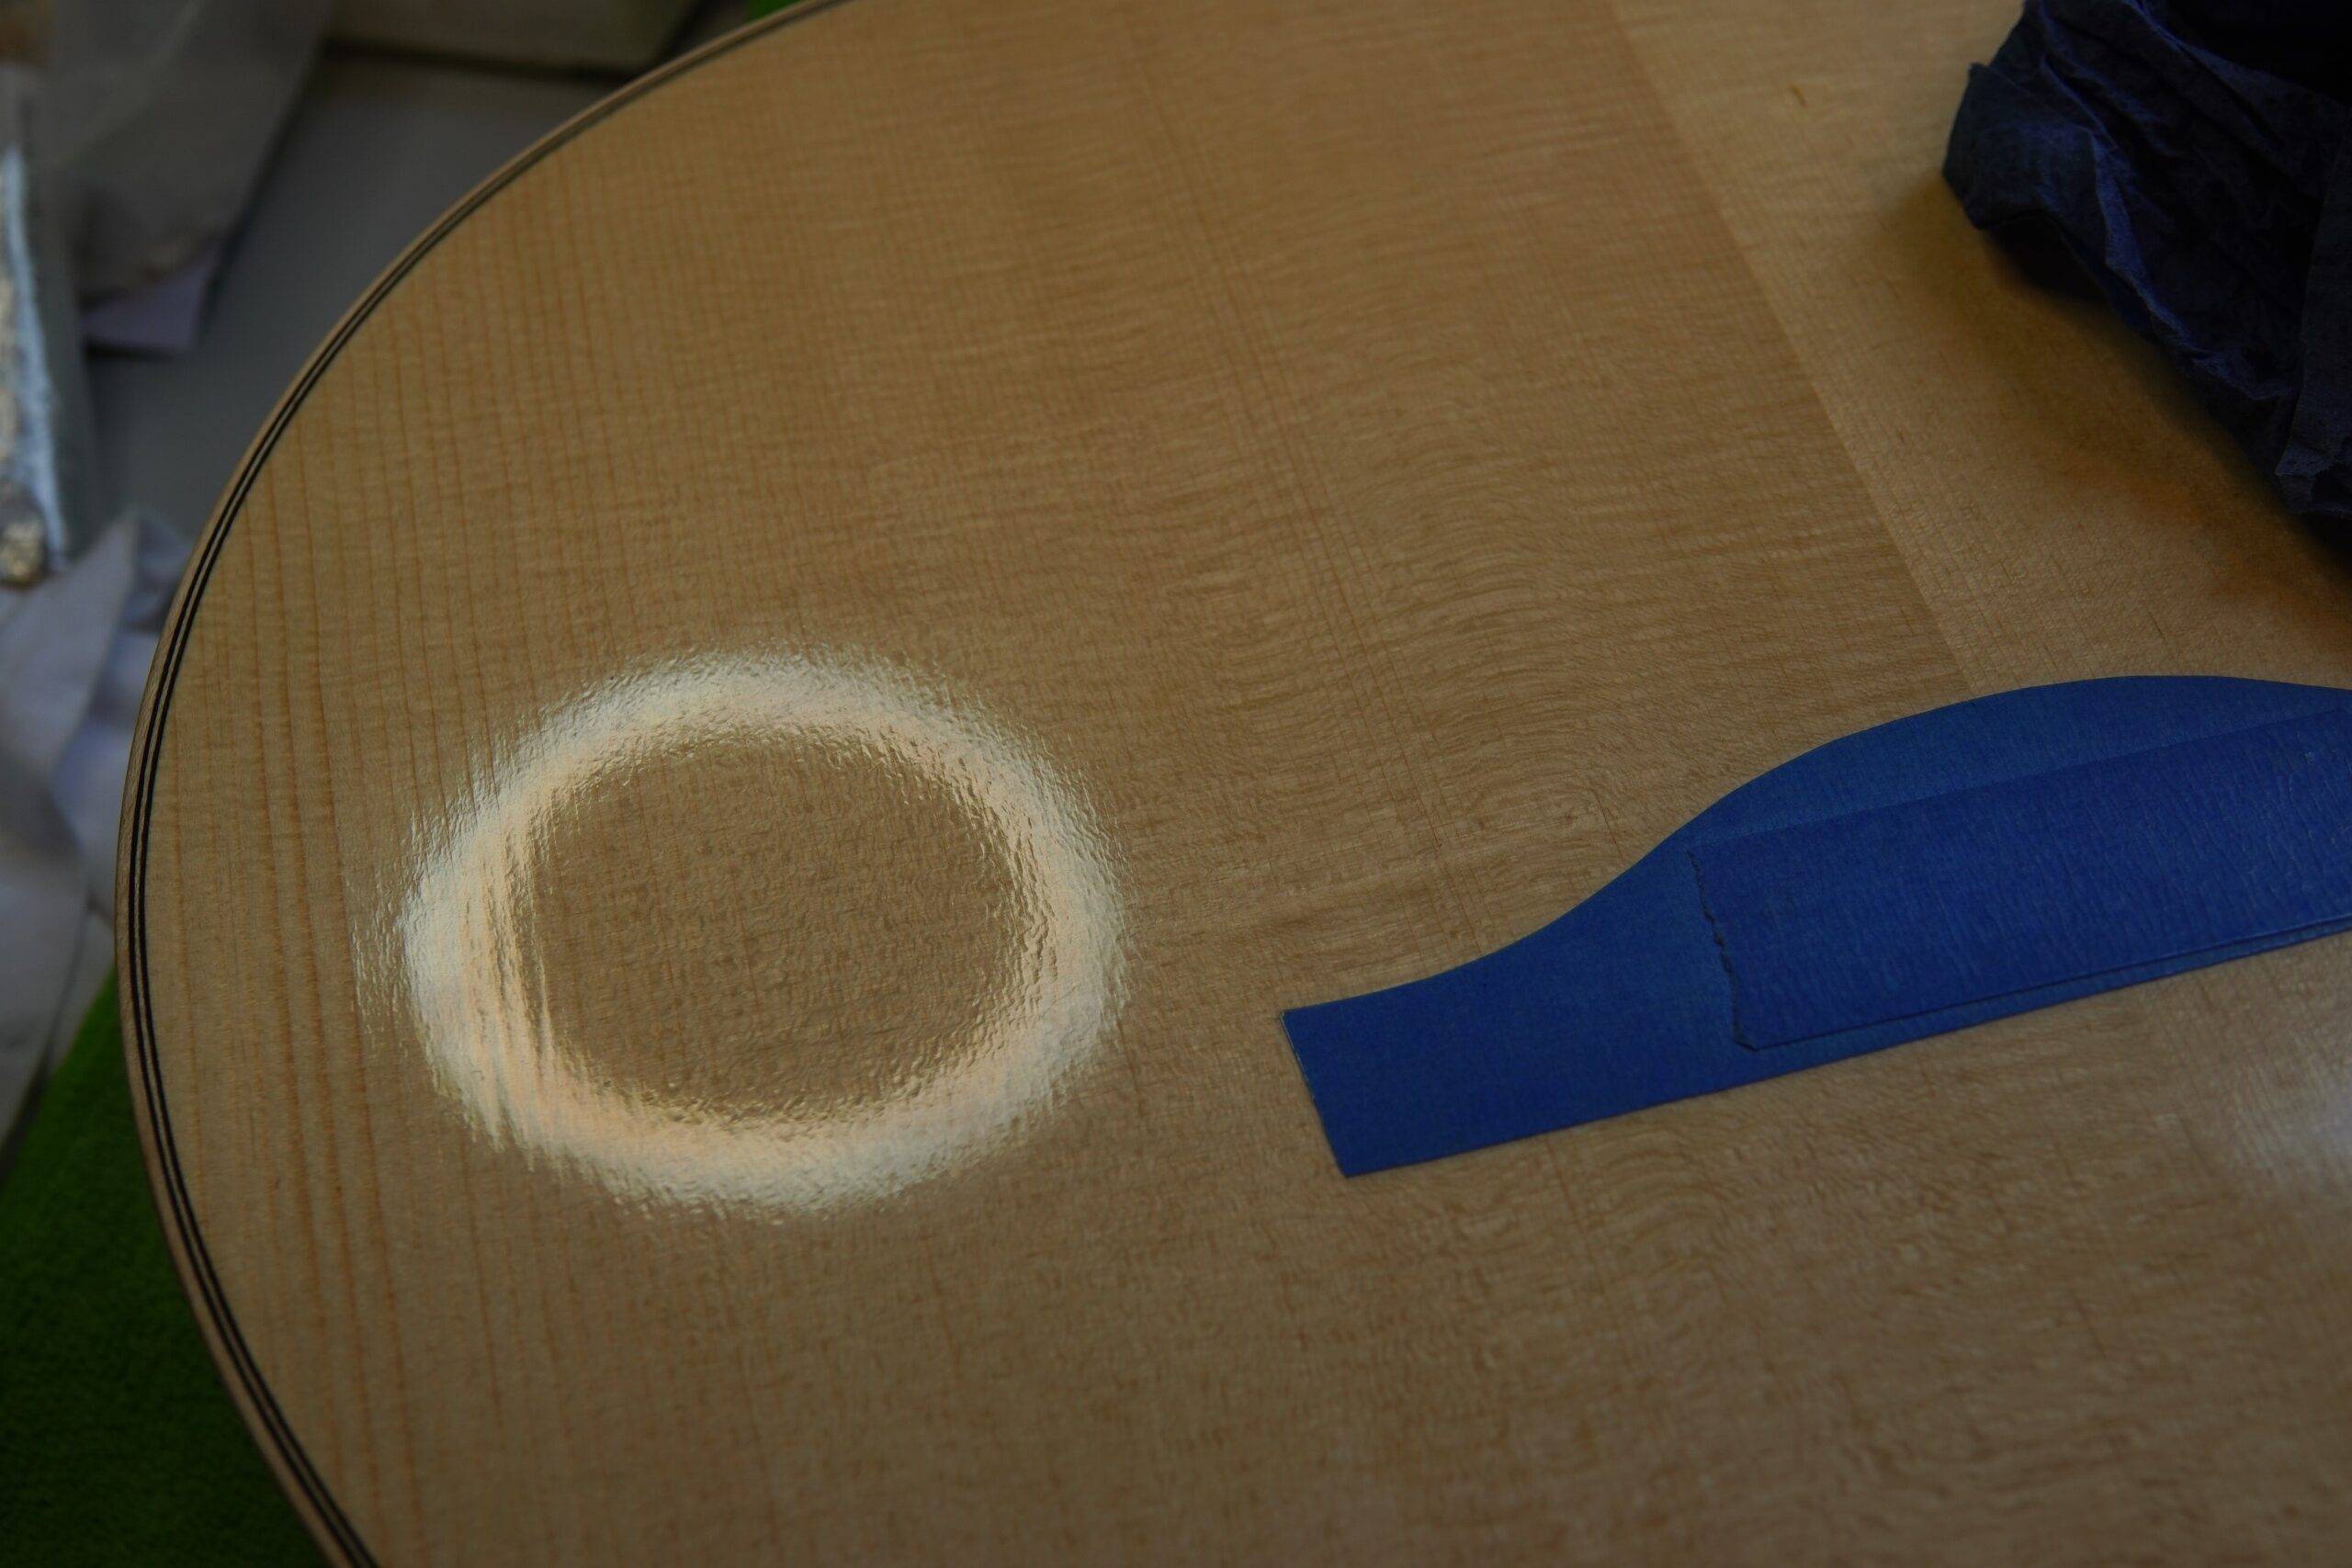
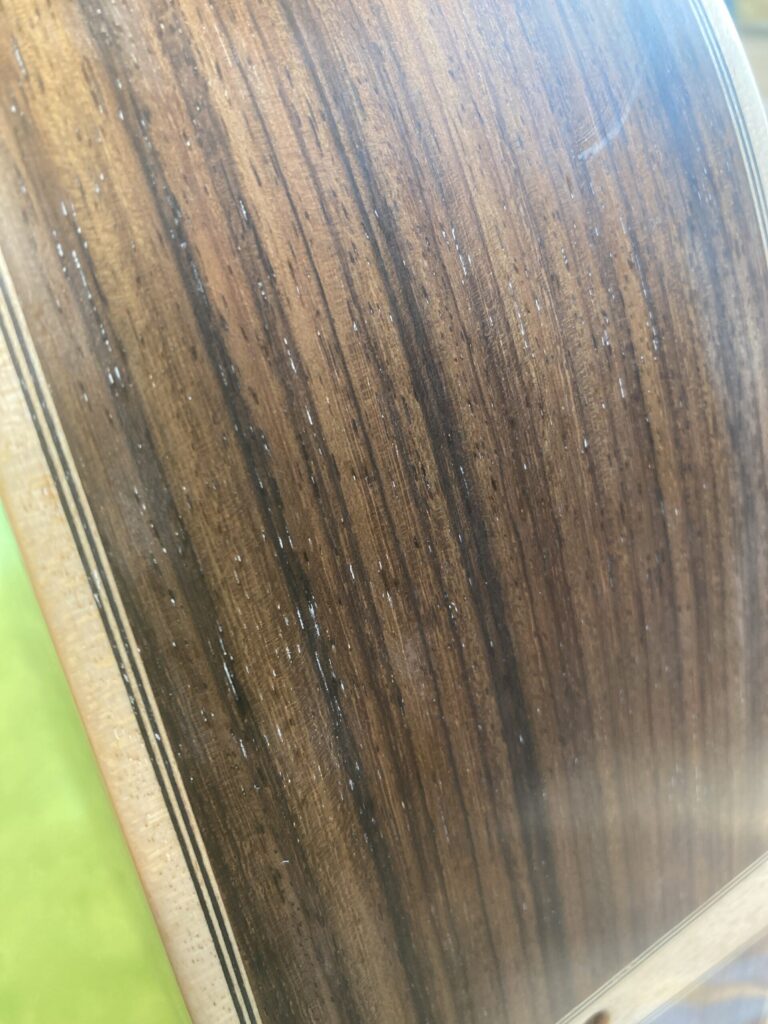
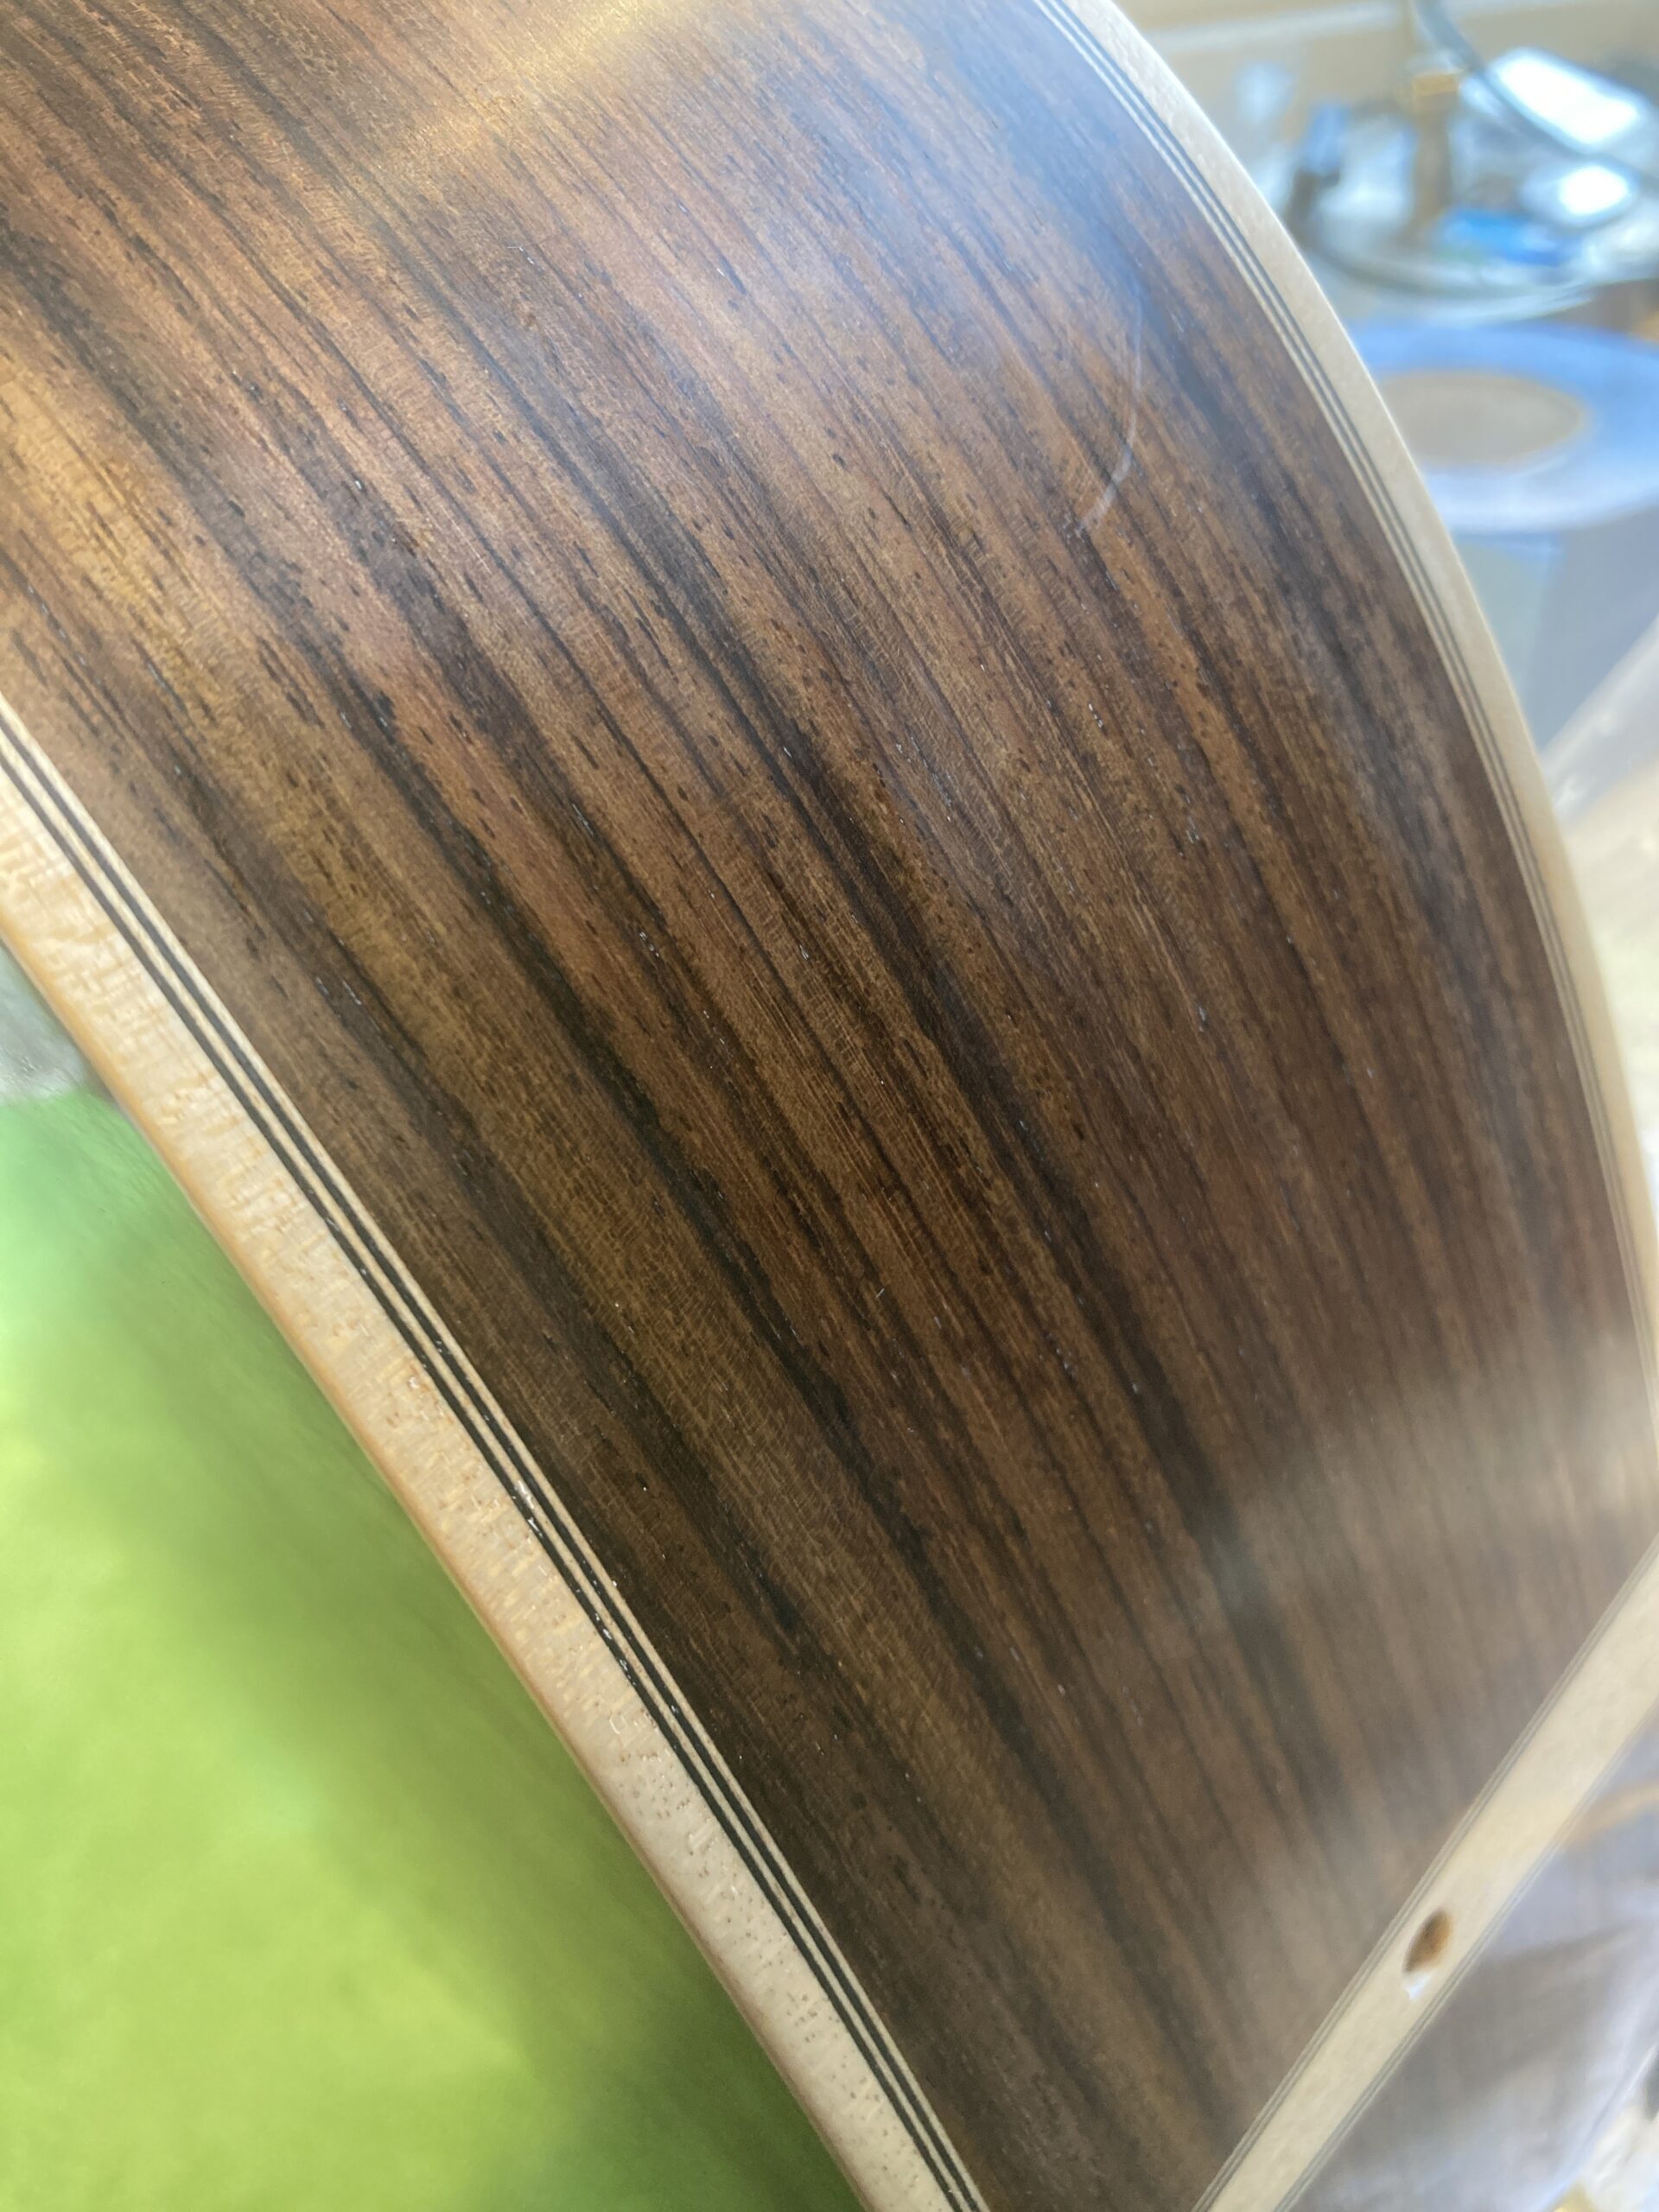
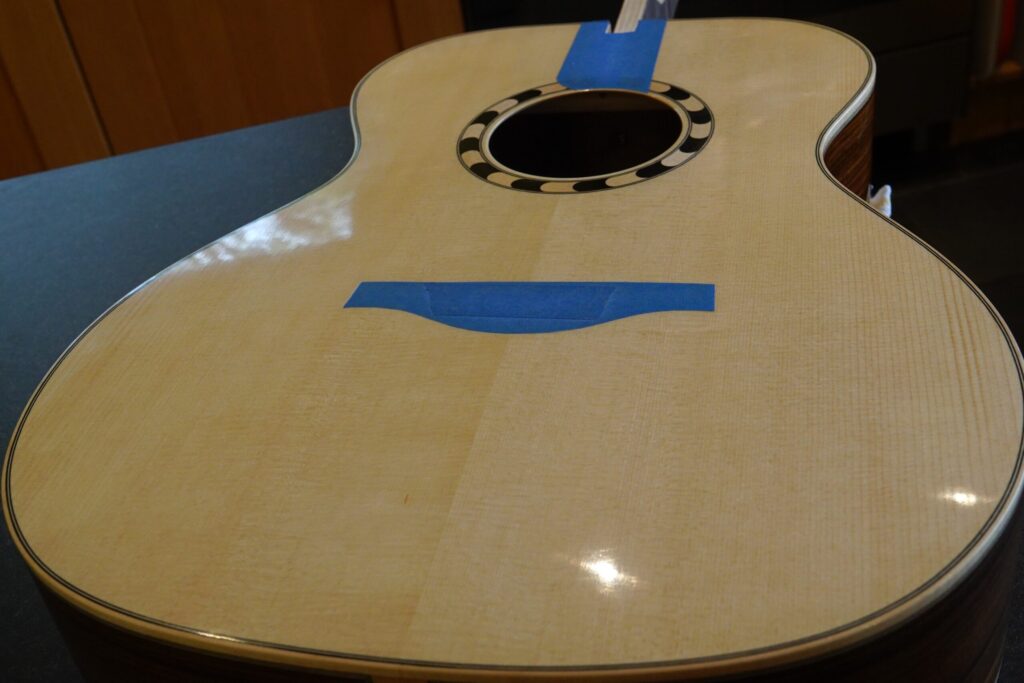
As Pablo Requena says in his video: At this point, the guitar looks really good, until you look at it closely. While very shiny, the surface has a texture to it which you can see when it catches the light. It’s really highlighted here over the complicated grain pattern in the top.
I wet sanded the whole guitar back with 2400 grade micromesh (equivalent to about P1500 grit) using white spirit as a lubricant. Sr. Requena does the sanding dry, but the abrasive kept clogging when I tried – perhaps I needed to let the shellac harden for longer. Using white spirit as a lubricant stopped the clogging but did make it harder to gauge progress until the surface dried.
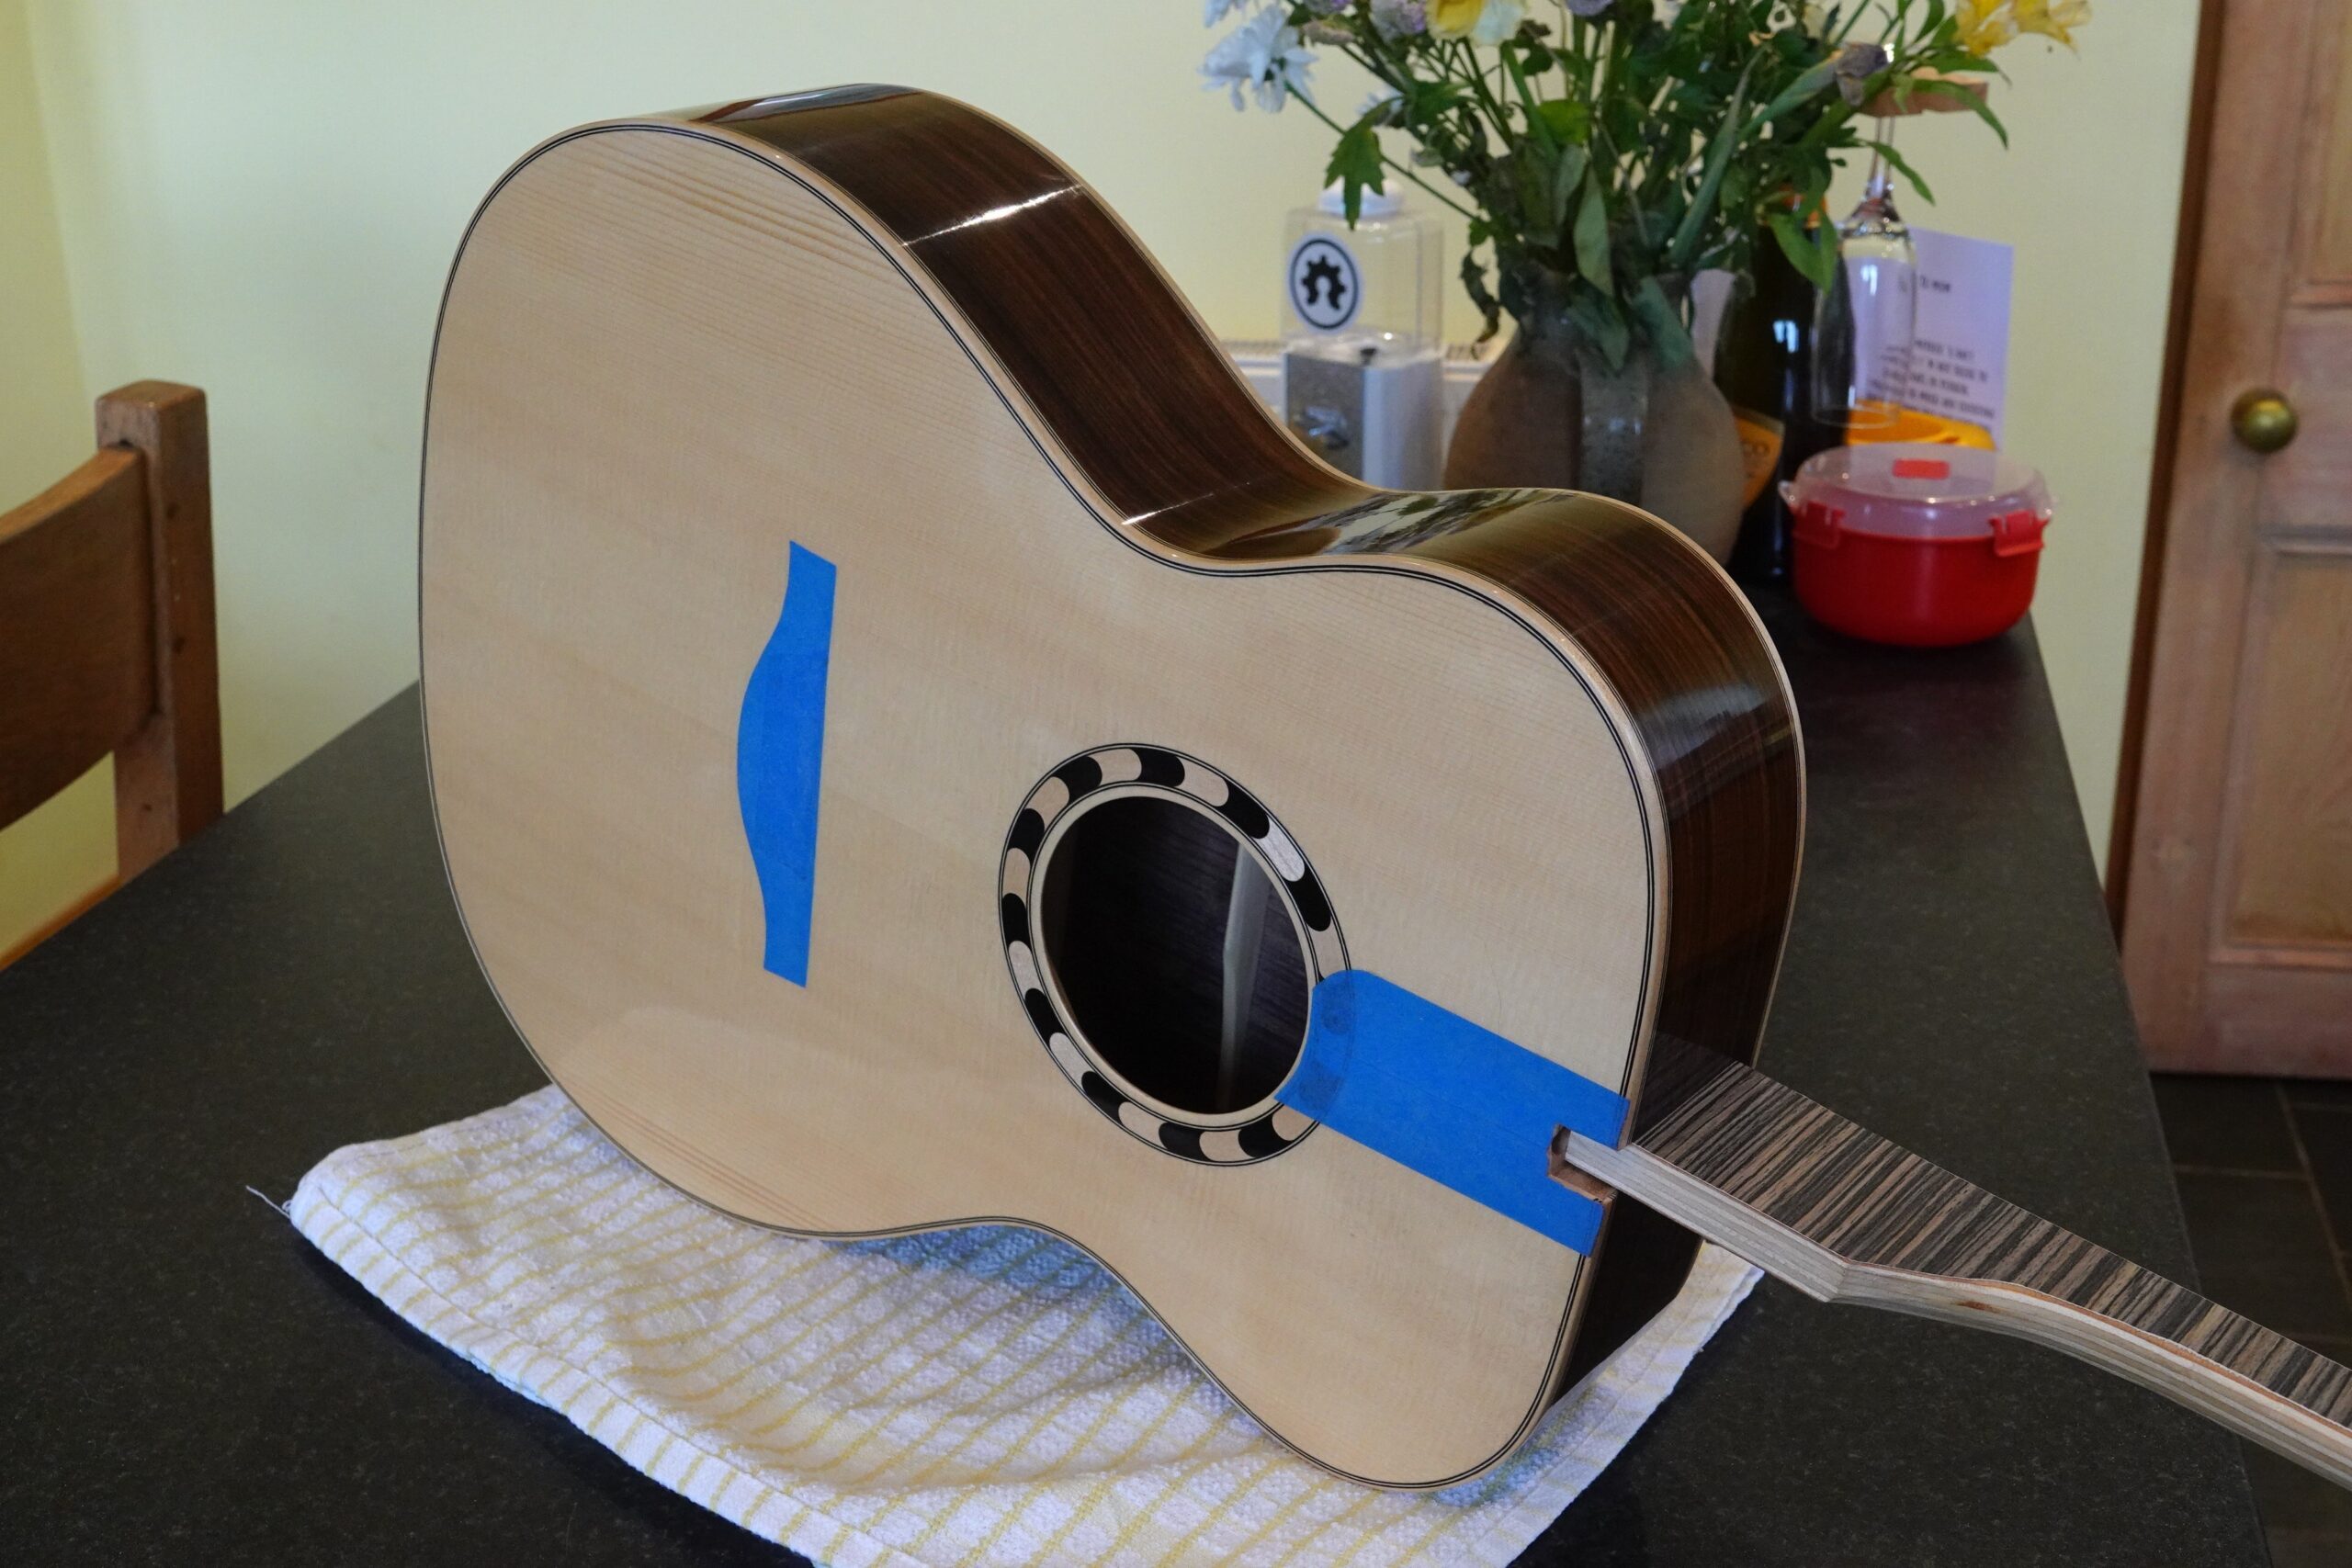
Before flatting:
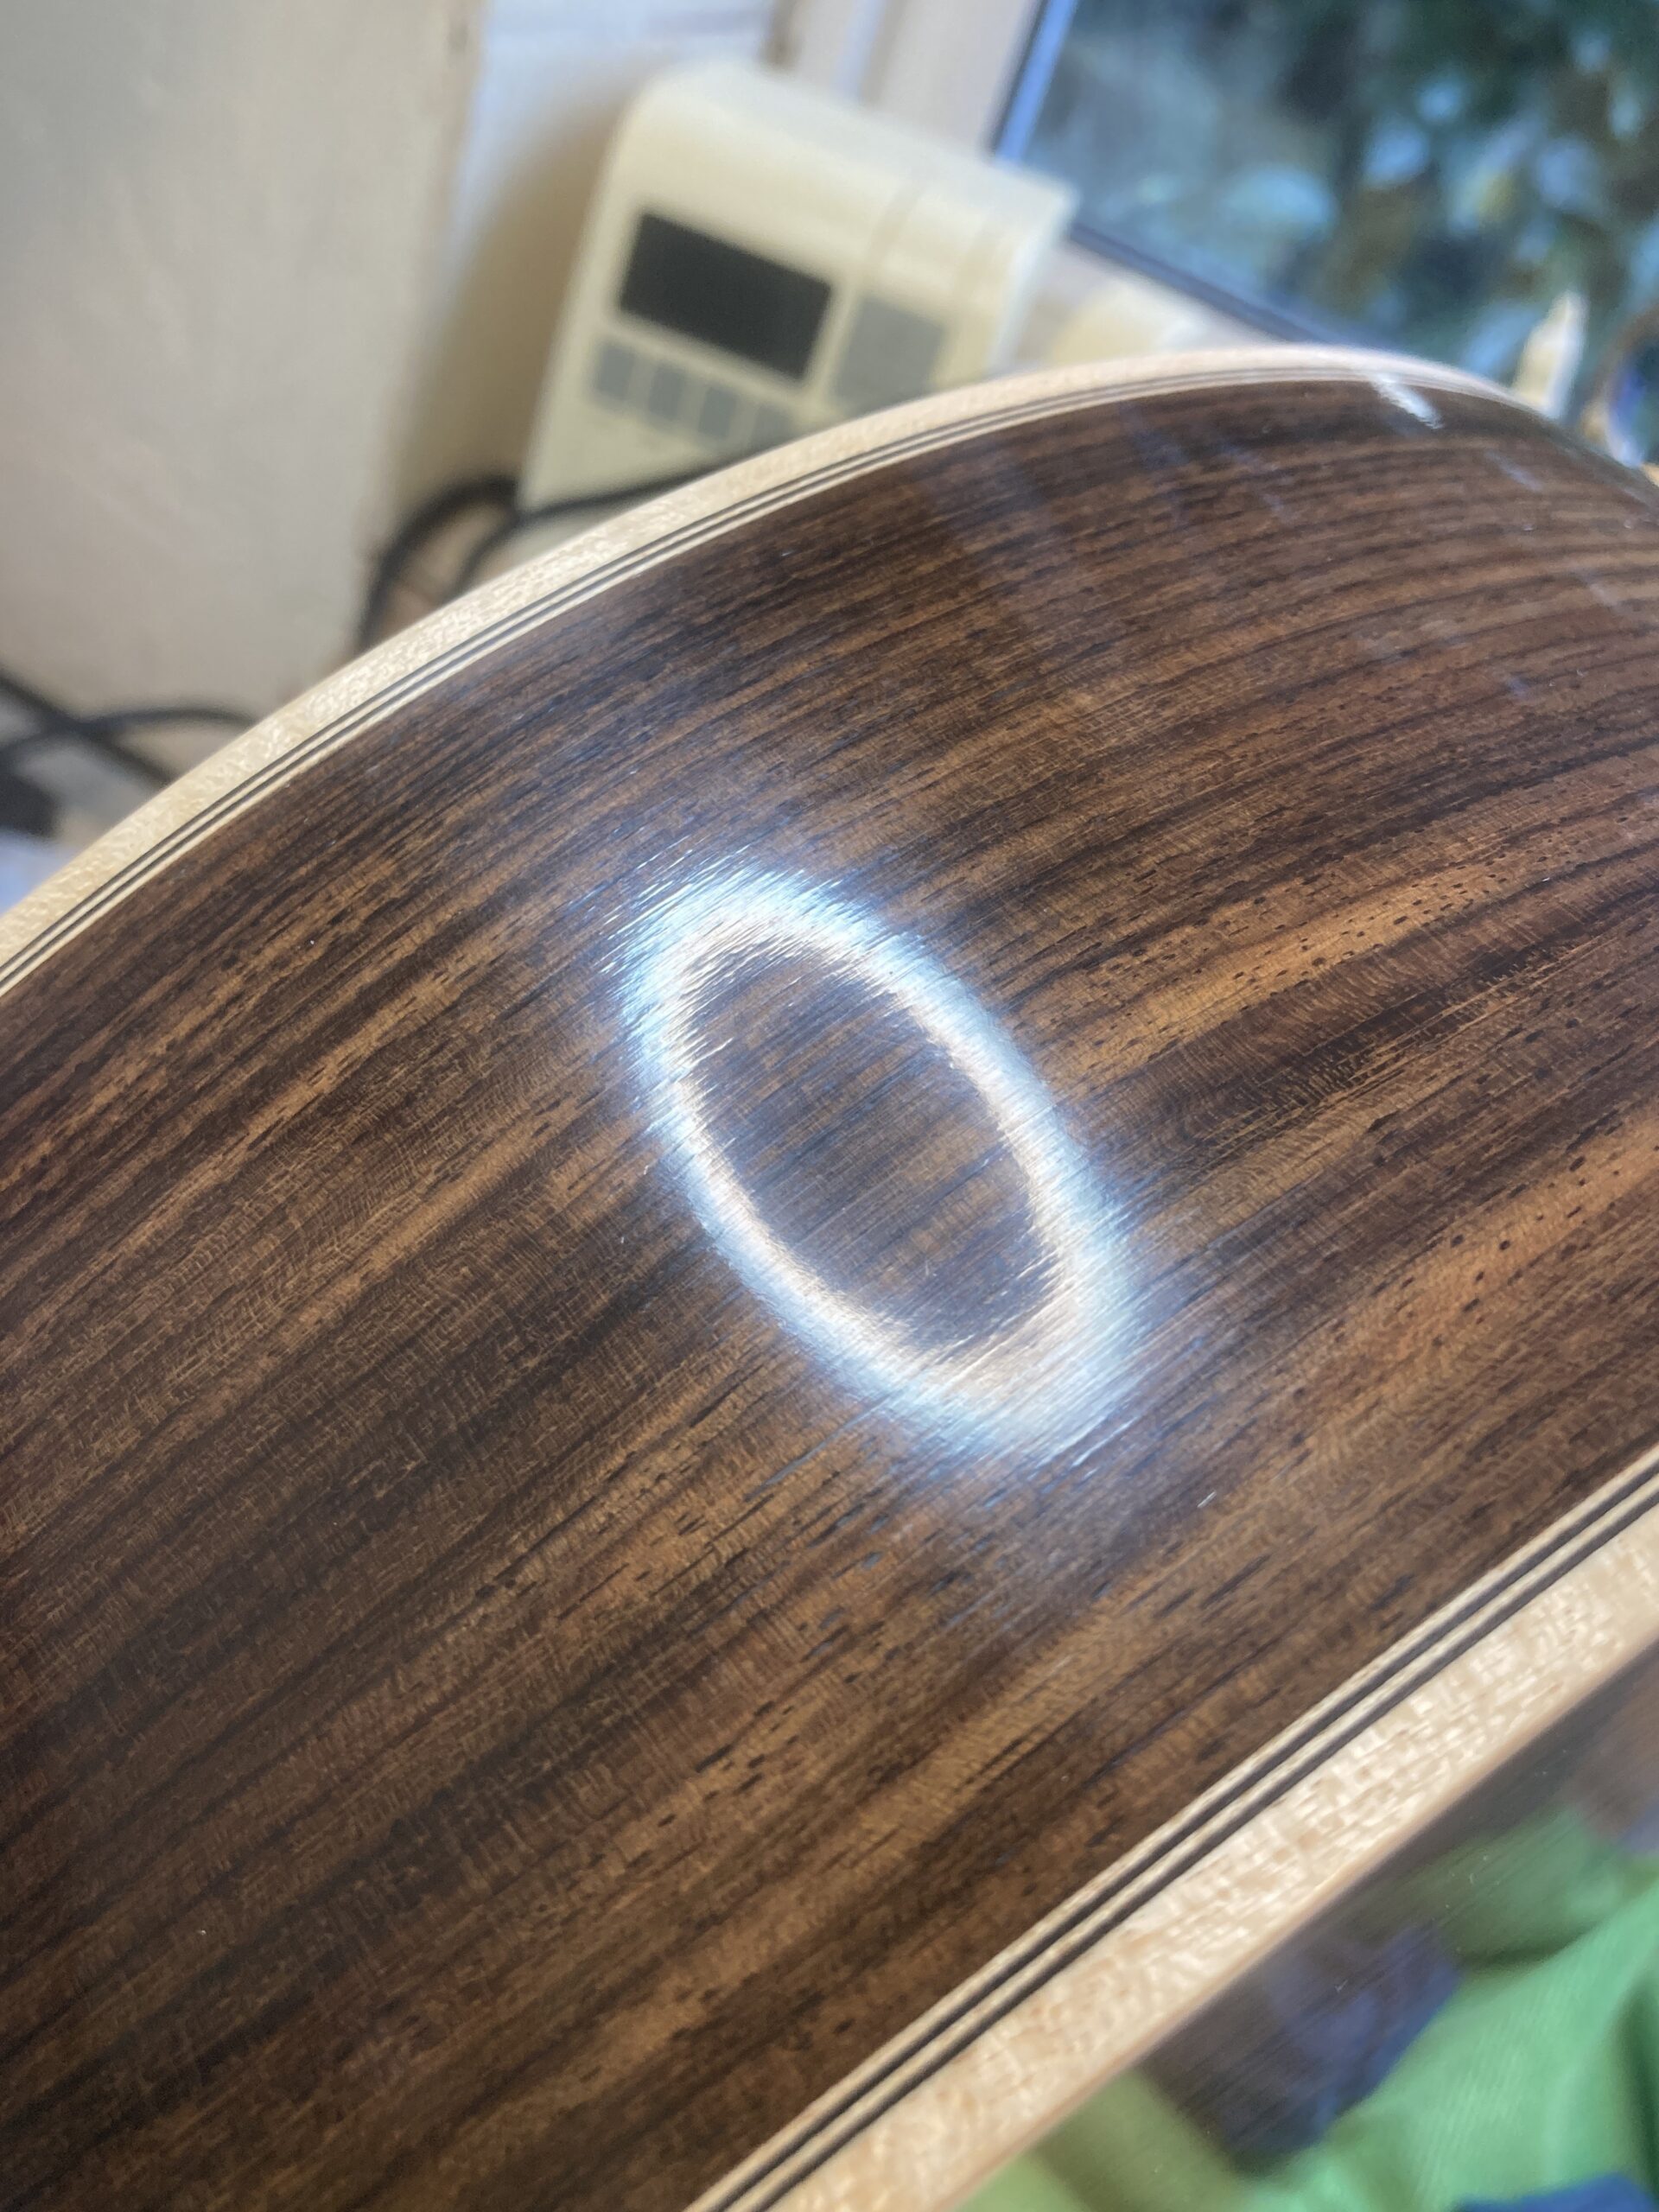
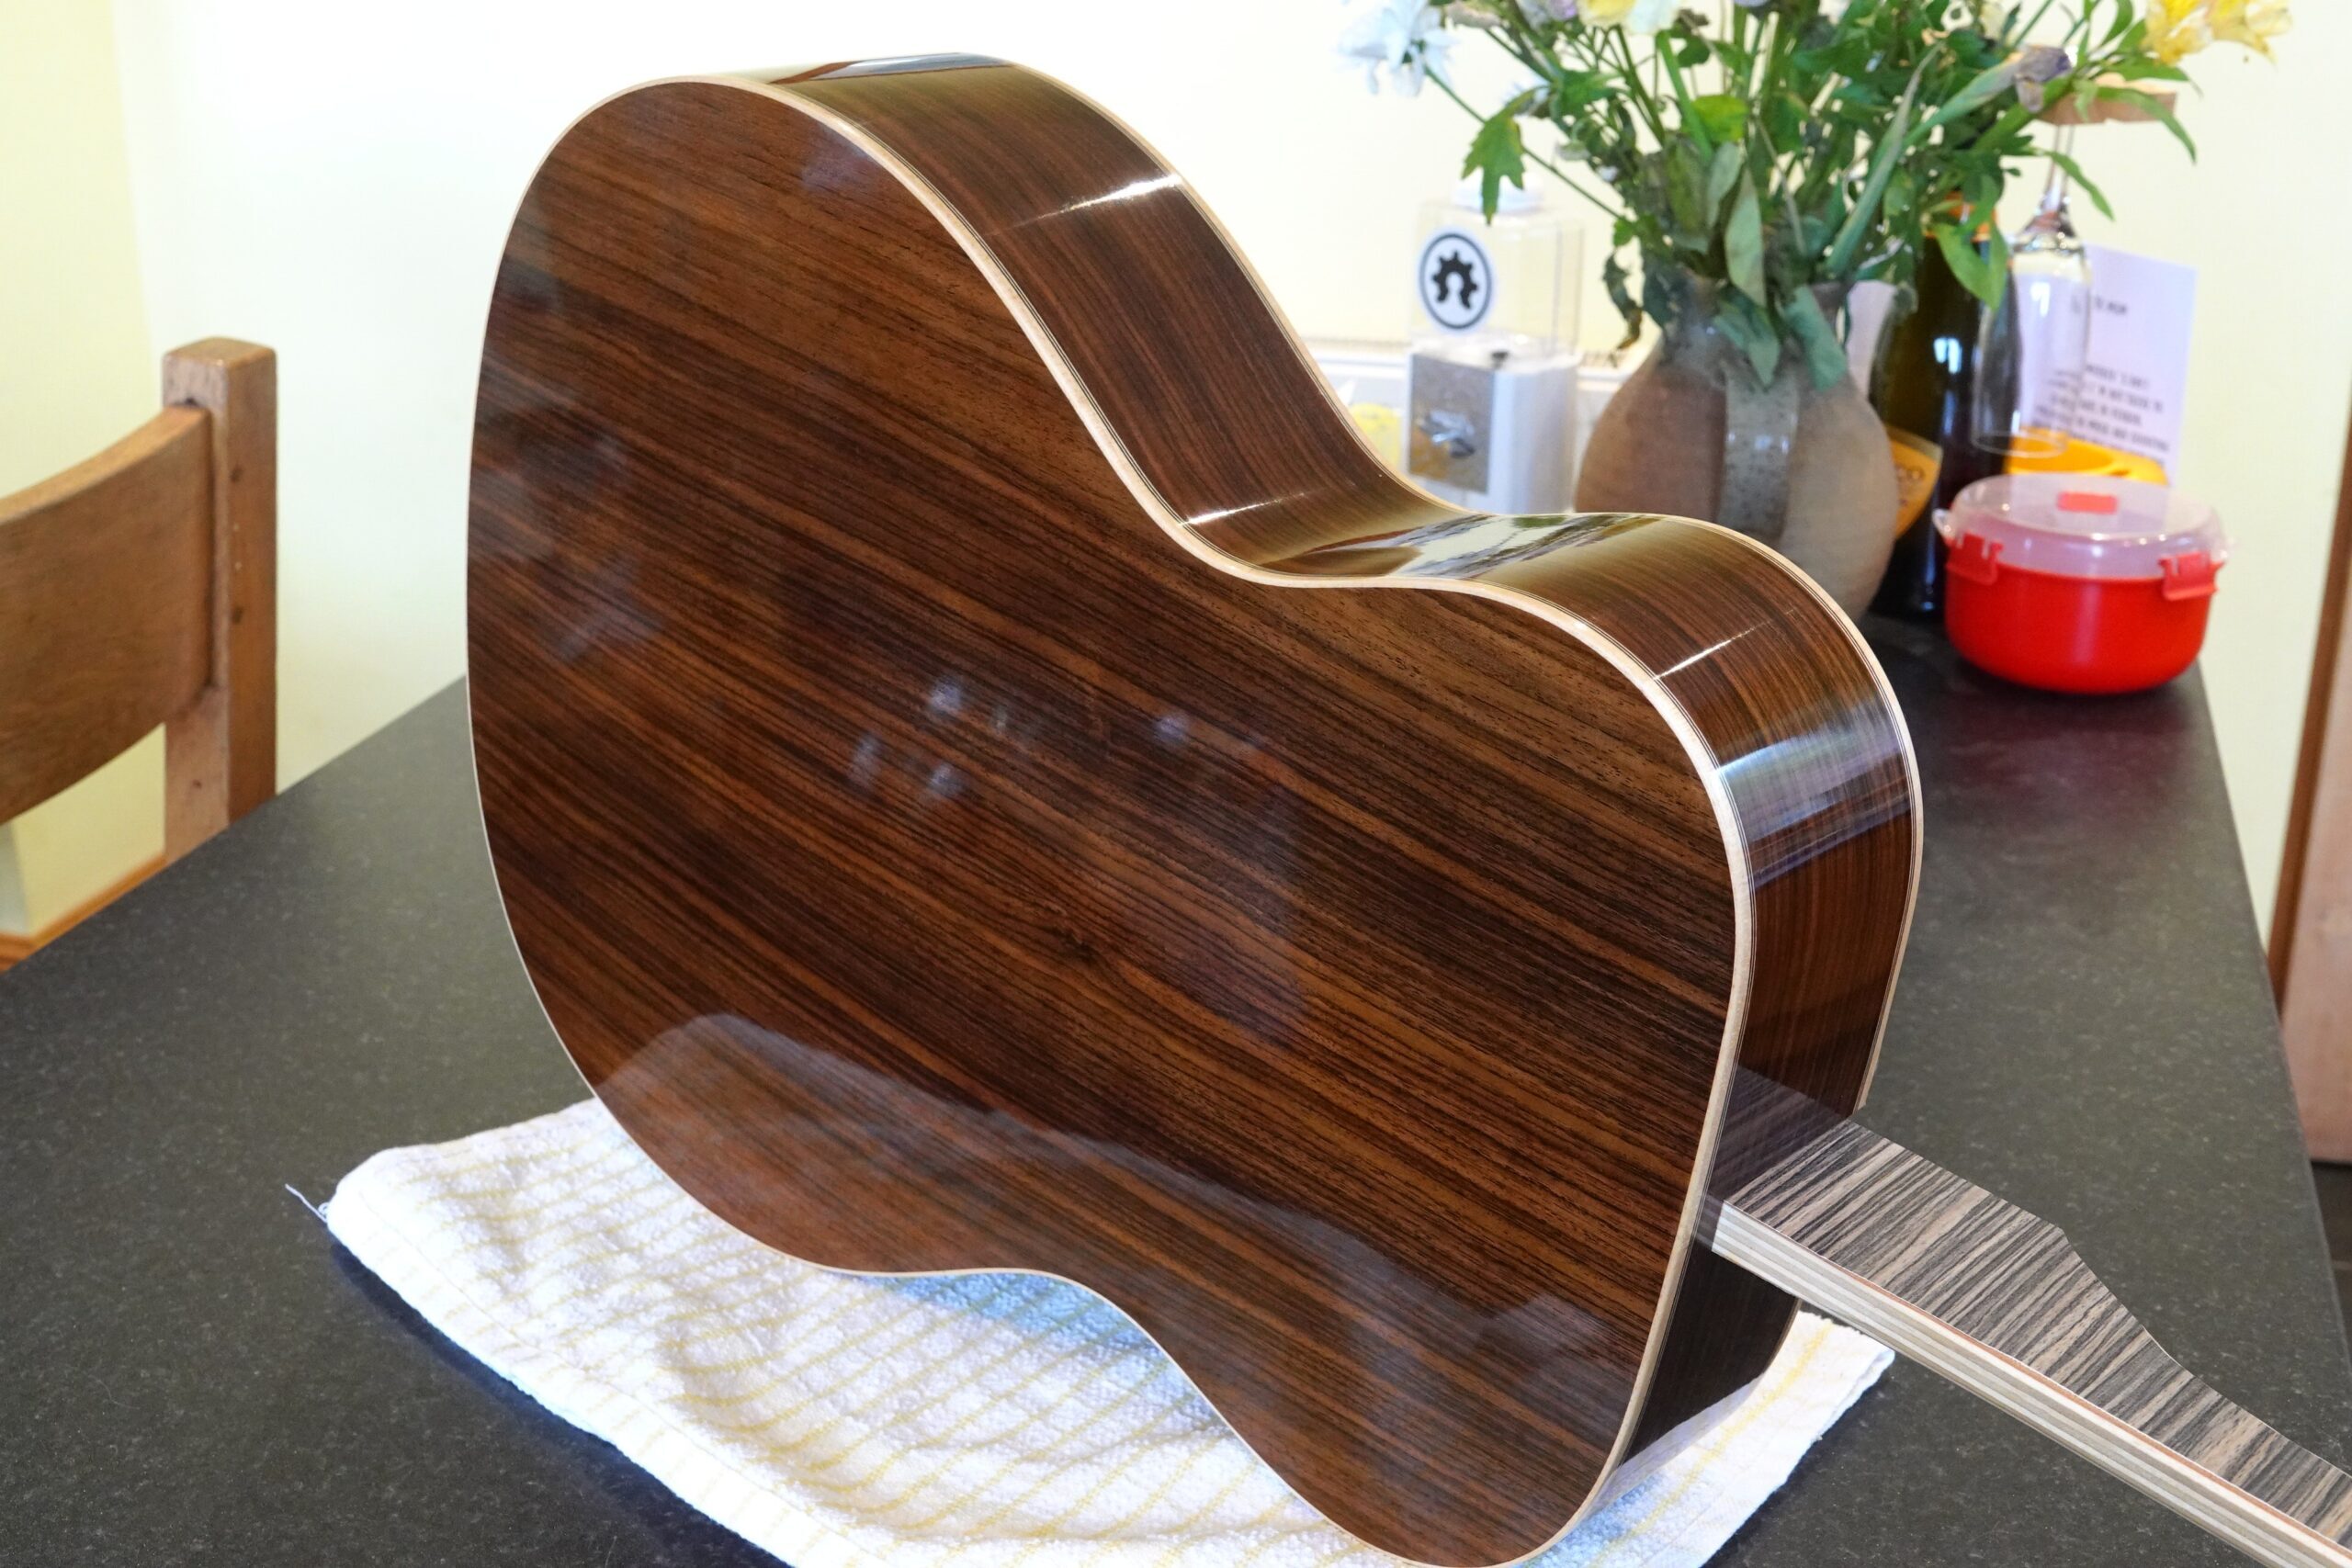
After:
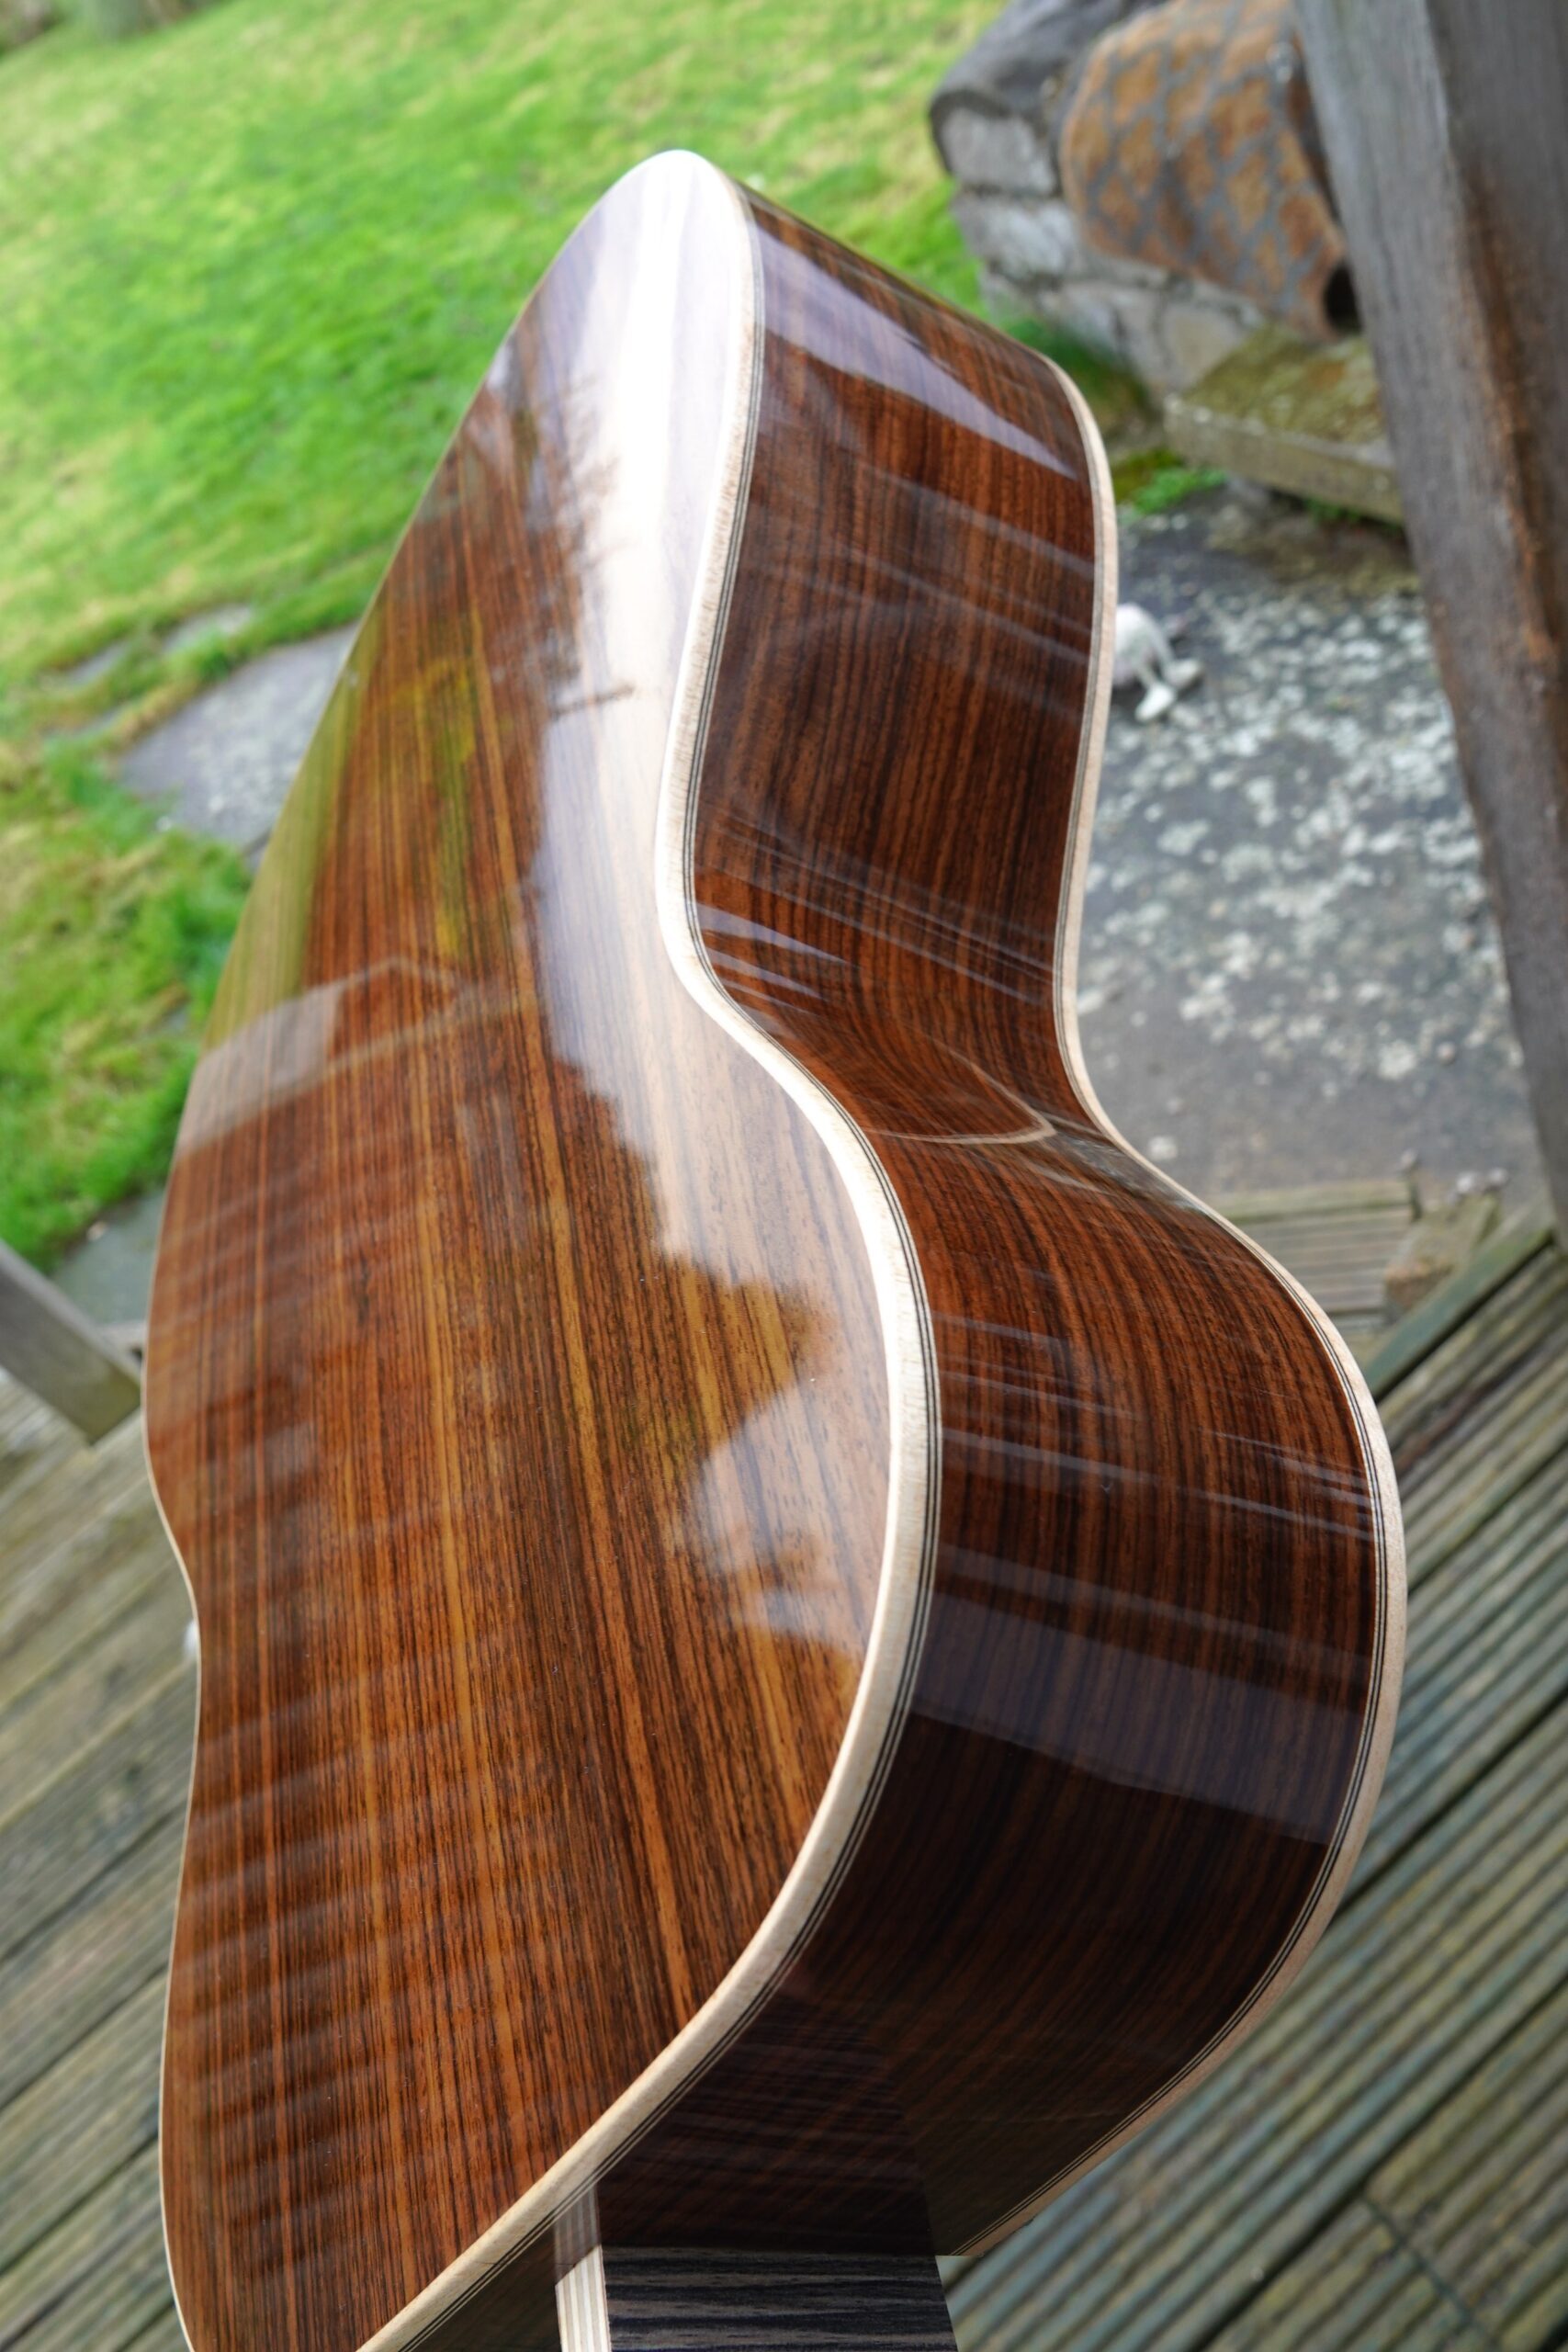
My approach to cleaning after grain filling came back to bite me a little here: There were places where wiping back after grain filling had left depressions in the surface that were too deep to sand out. The process of flatting the surface off left a white residue in these places. This was mostly just the odd spot, but one edge of the lower bout was quite bad:
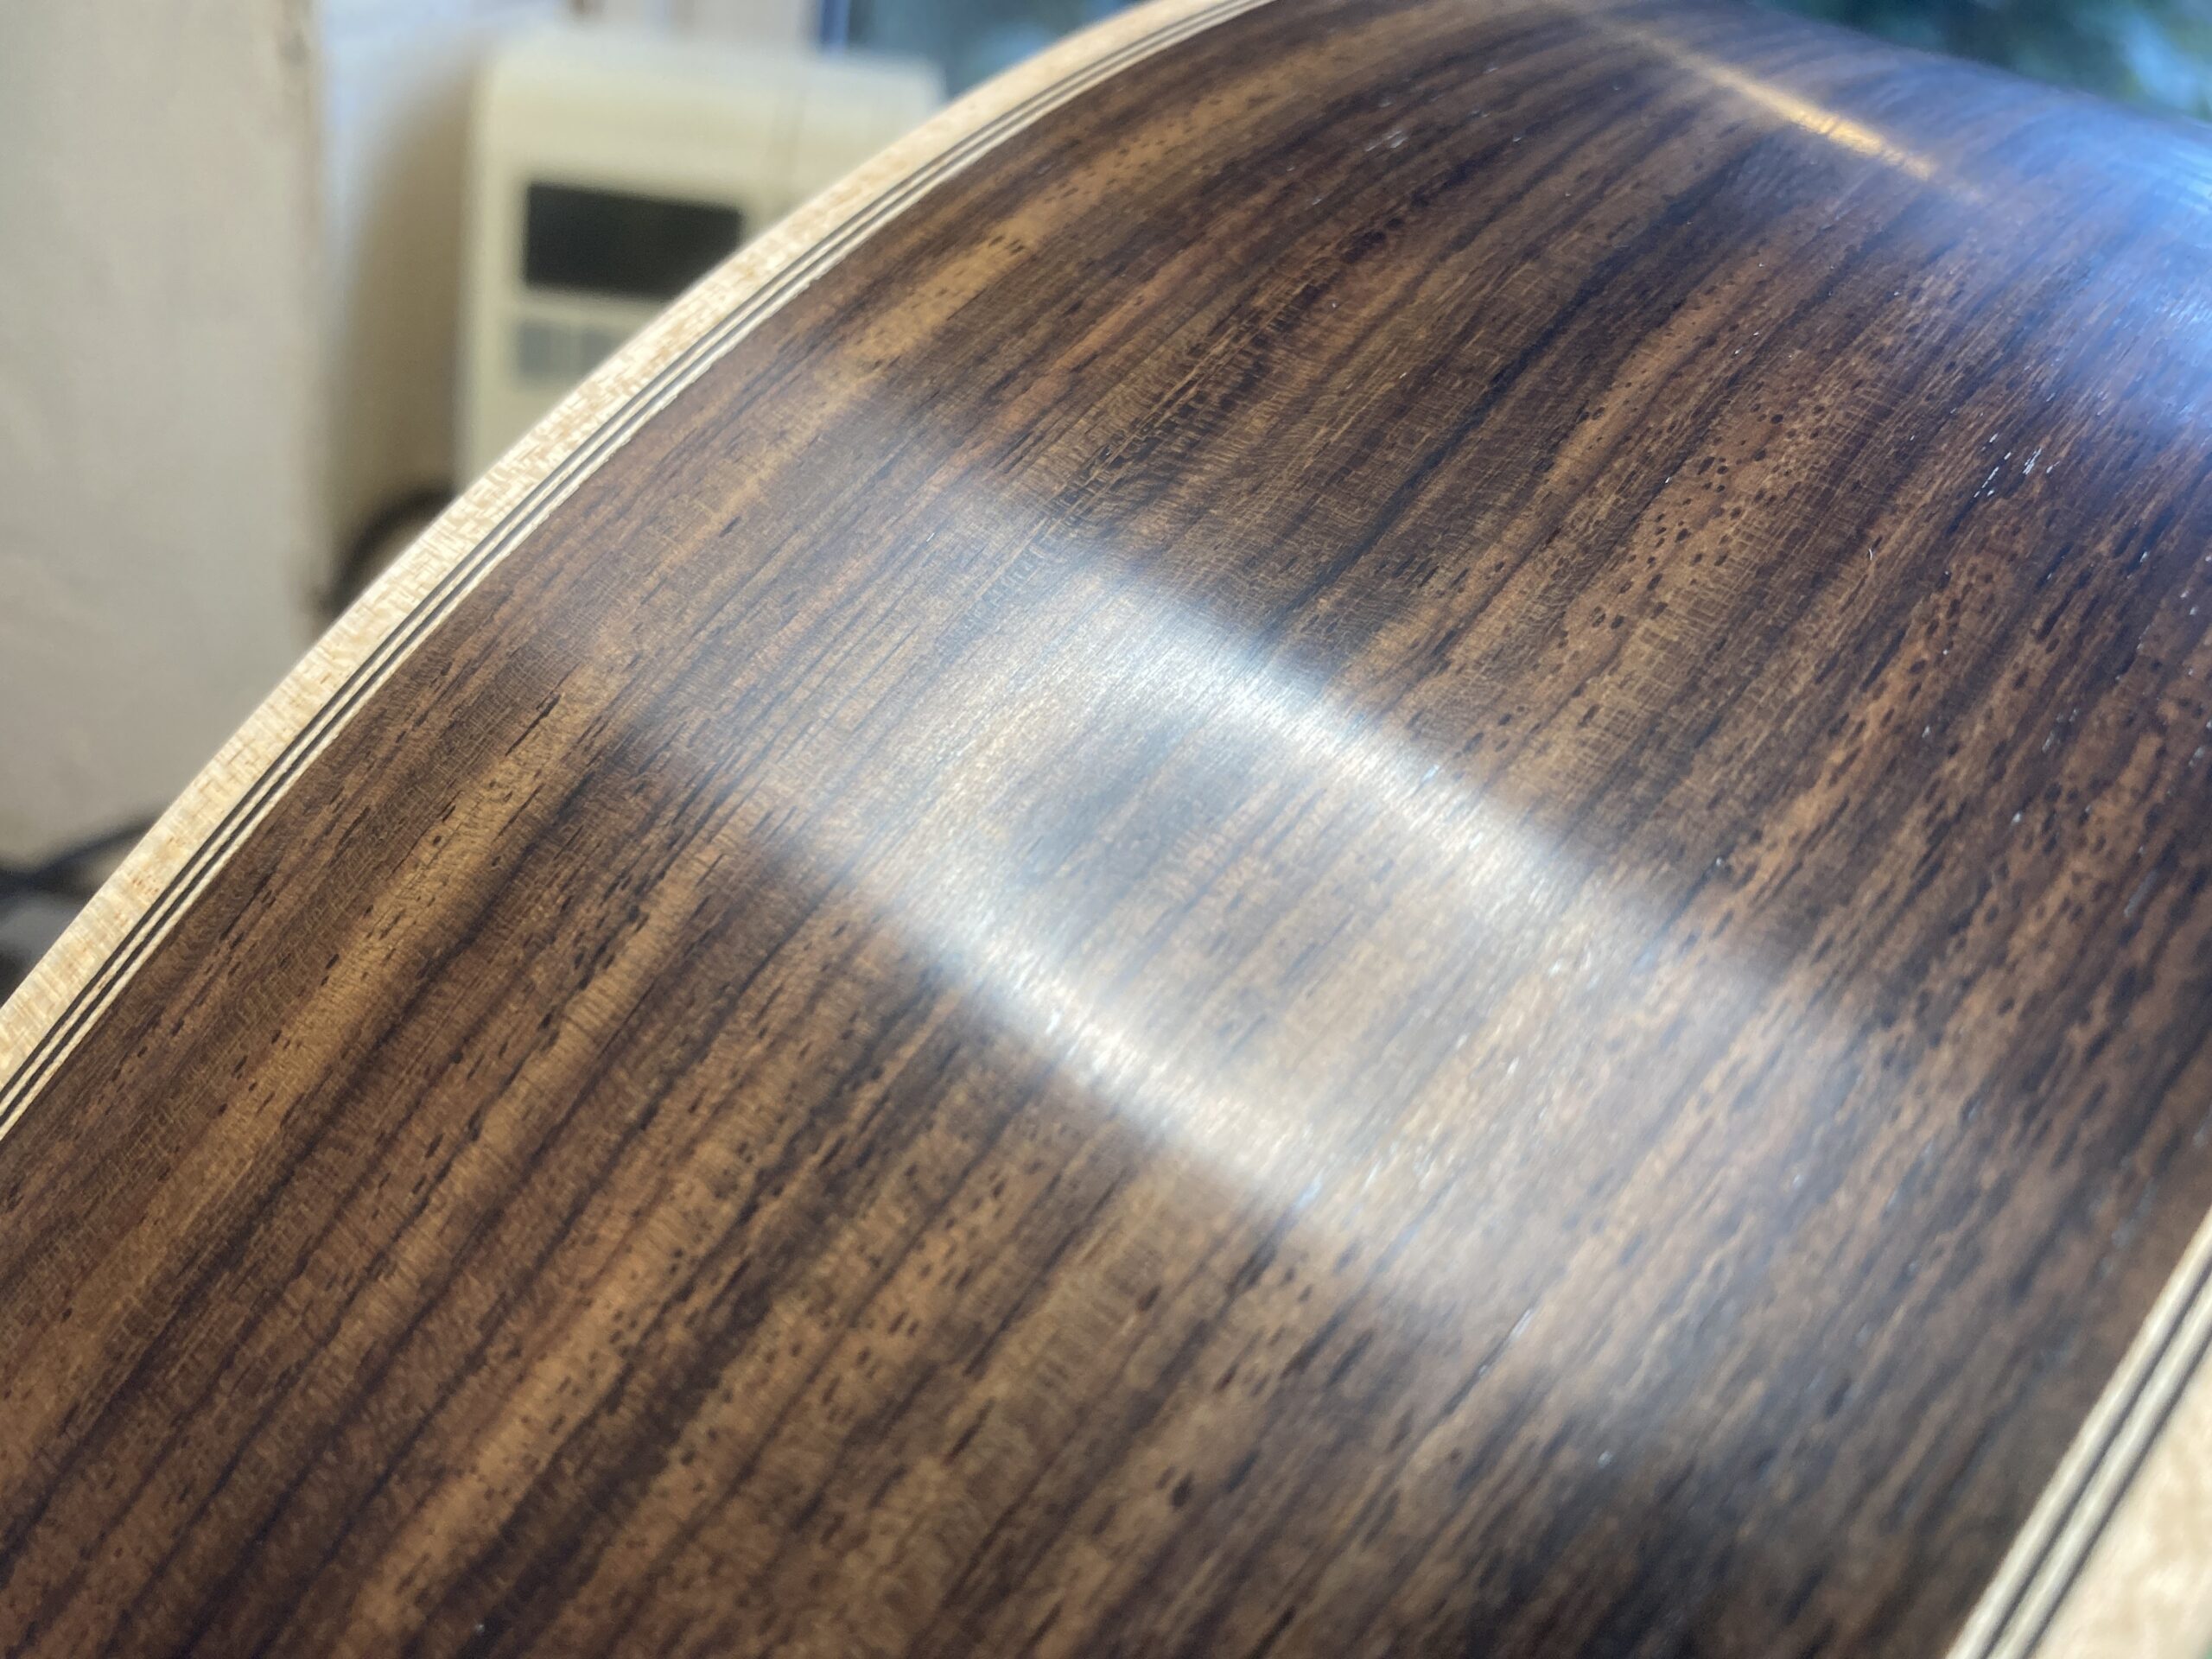
I suppose I could have gone back to pumice powder and filled these in, but didn’t really feel inclined. Luckily Sr. Requena addresses this issue too: A little bit of alcohol on a finger tip rubbed over each spot is enough to re-melt the shellac dust and get rid of the white colour.
This is the same area after that treatment. I’ll take that!
Then it was back to adding shellac again. After another 5 or so bodying sessions, I’m starting to think that I’m approaching the finish line.
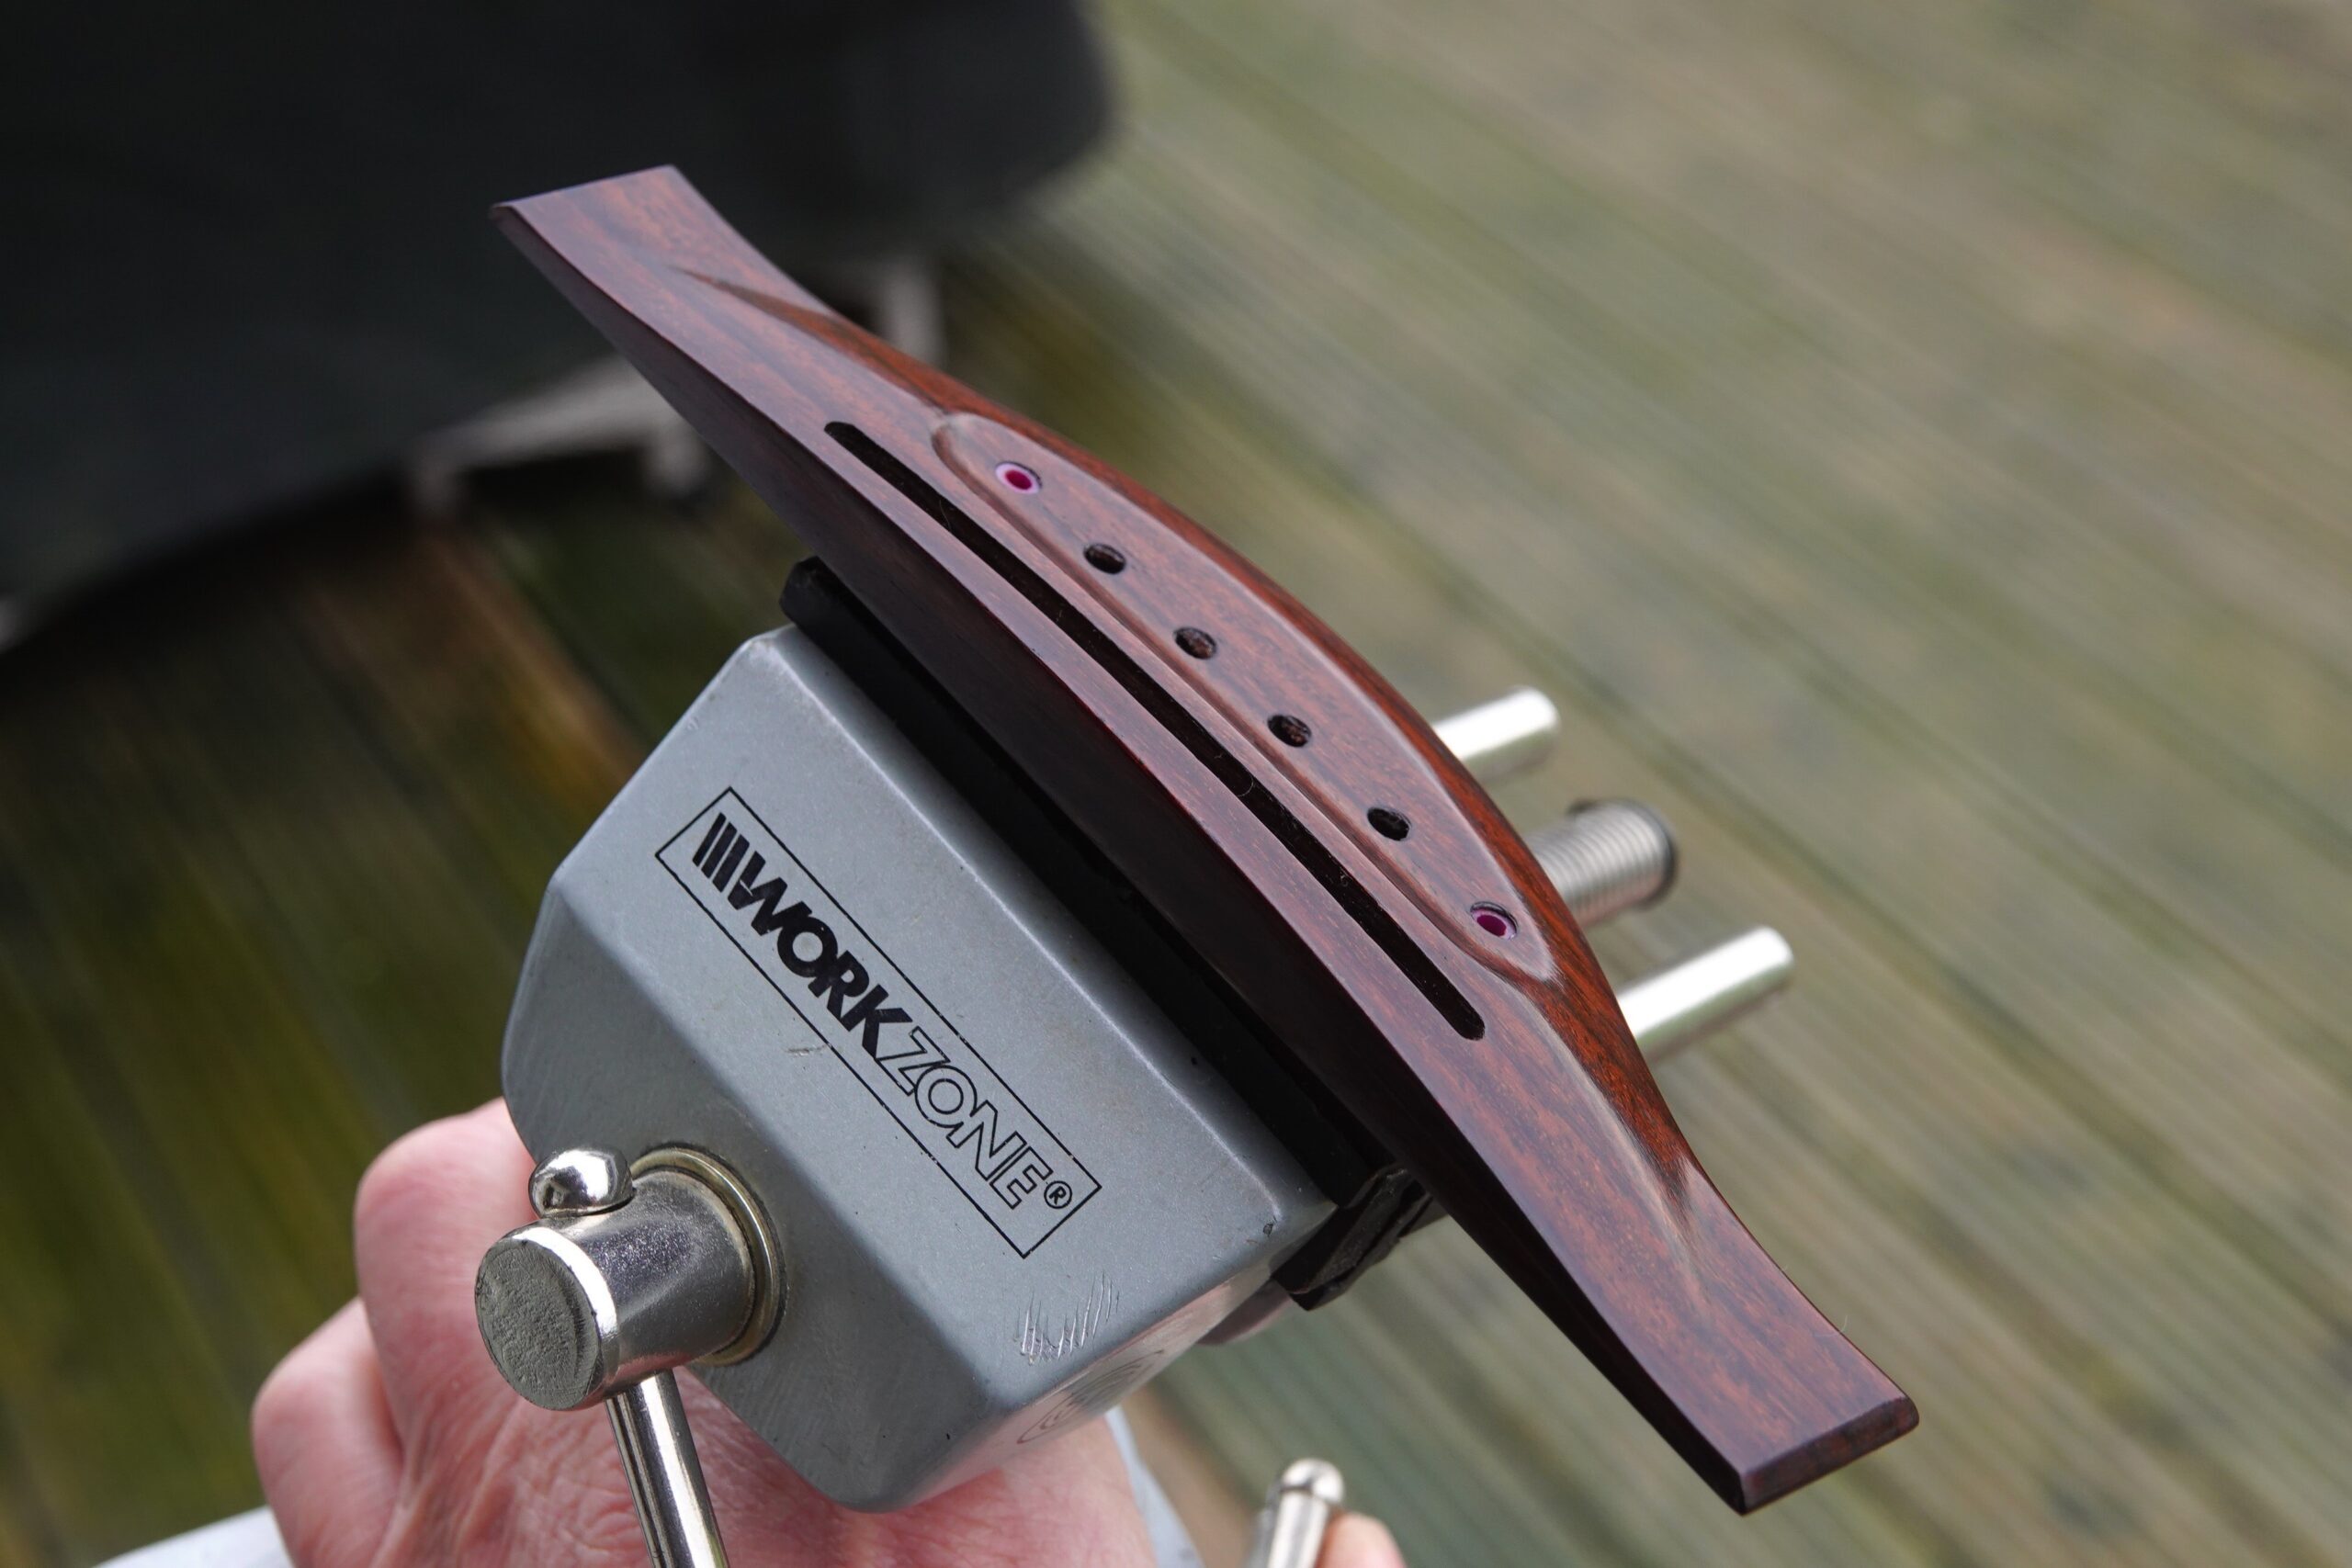
While this has been going on, the bridge has been getting the same treatment.