
I’d cut the sides to the template in the plan, but had added a little material ‘just in case’, so now needed to trim them to their finished height.
Marking the Top
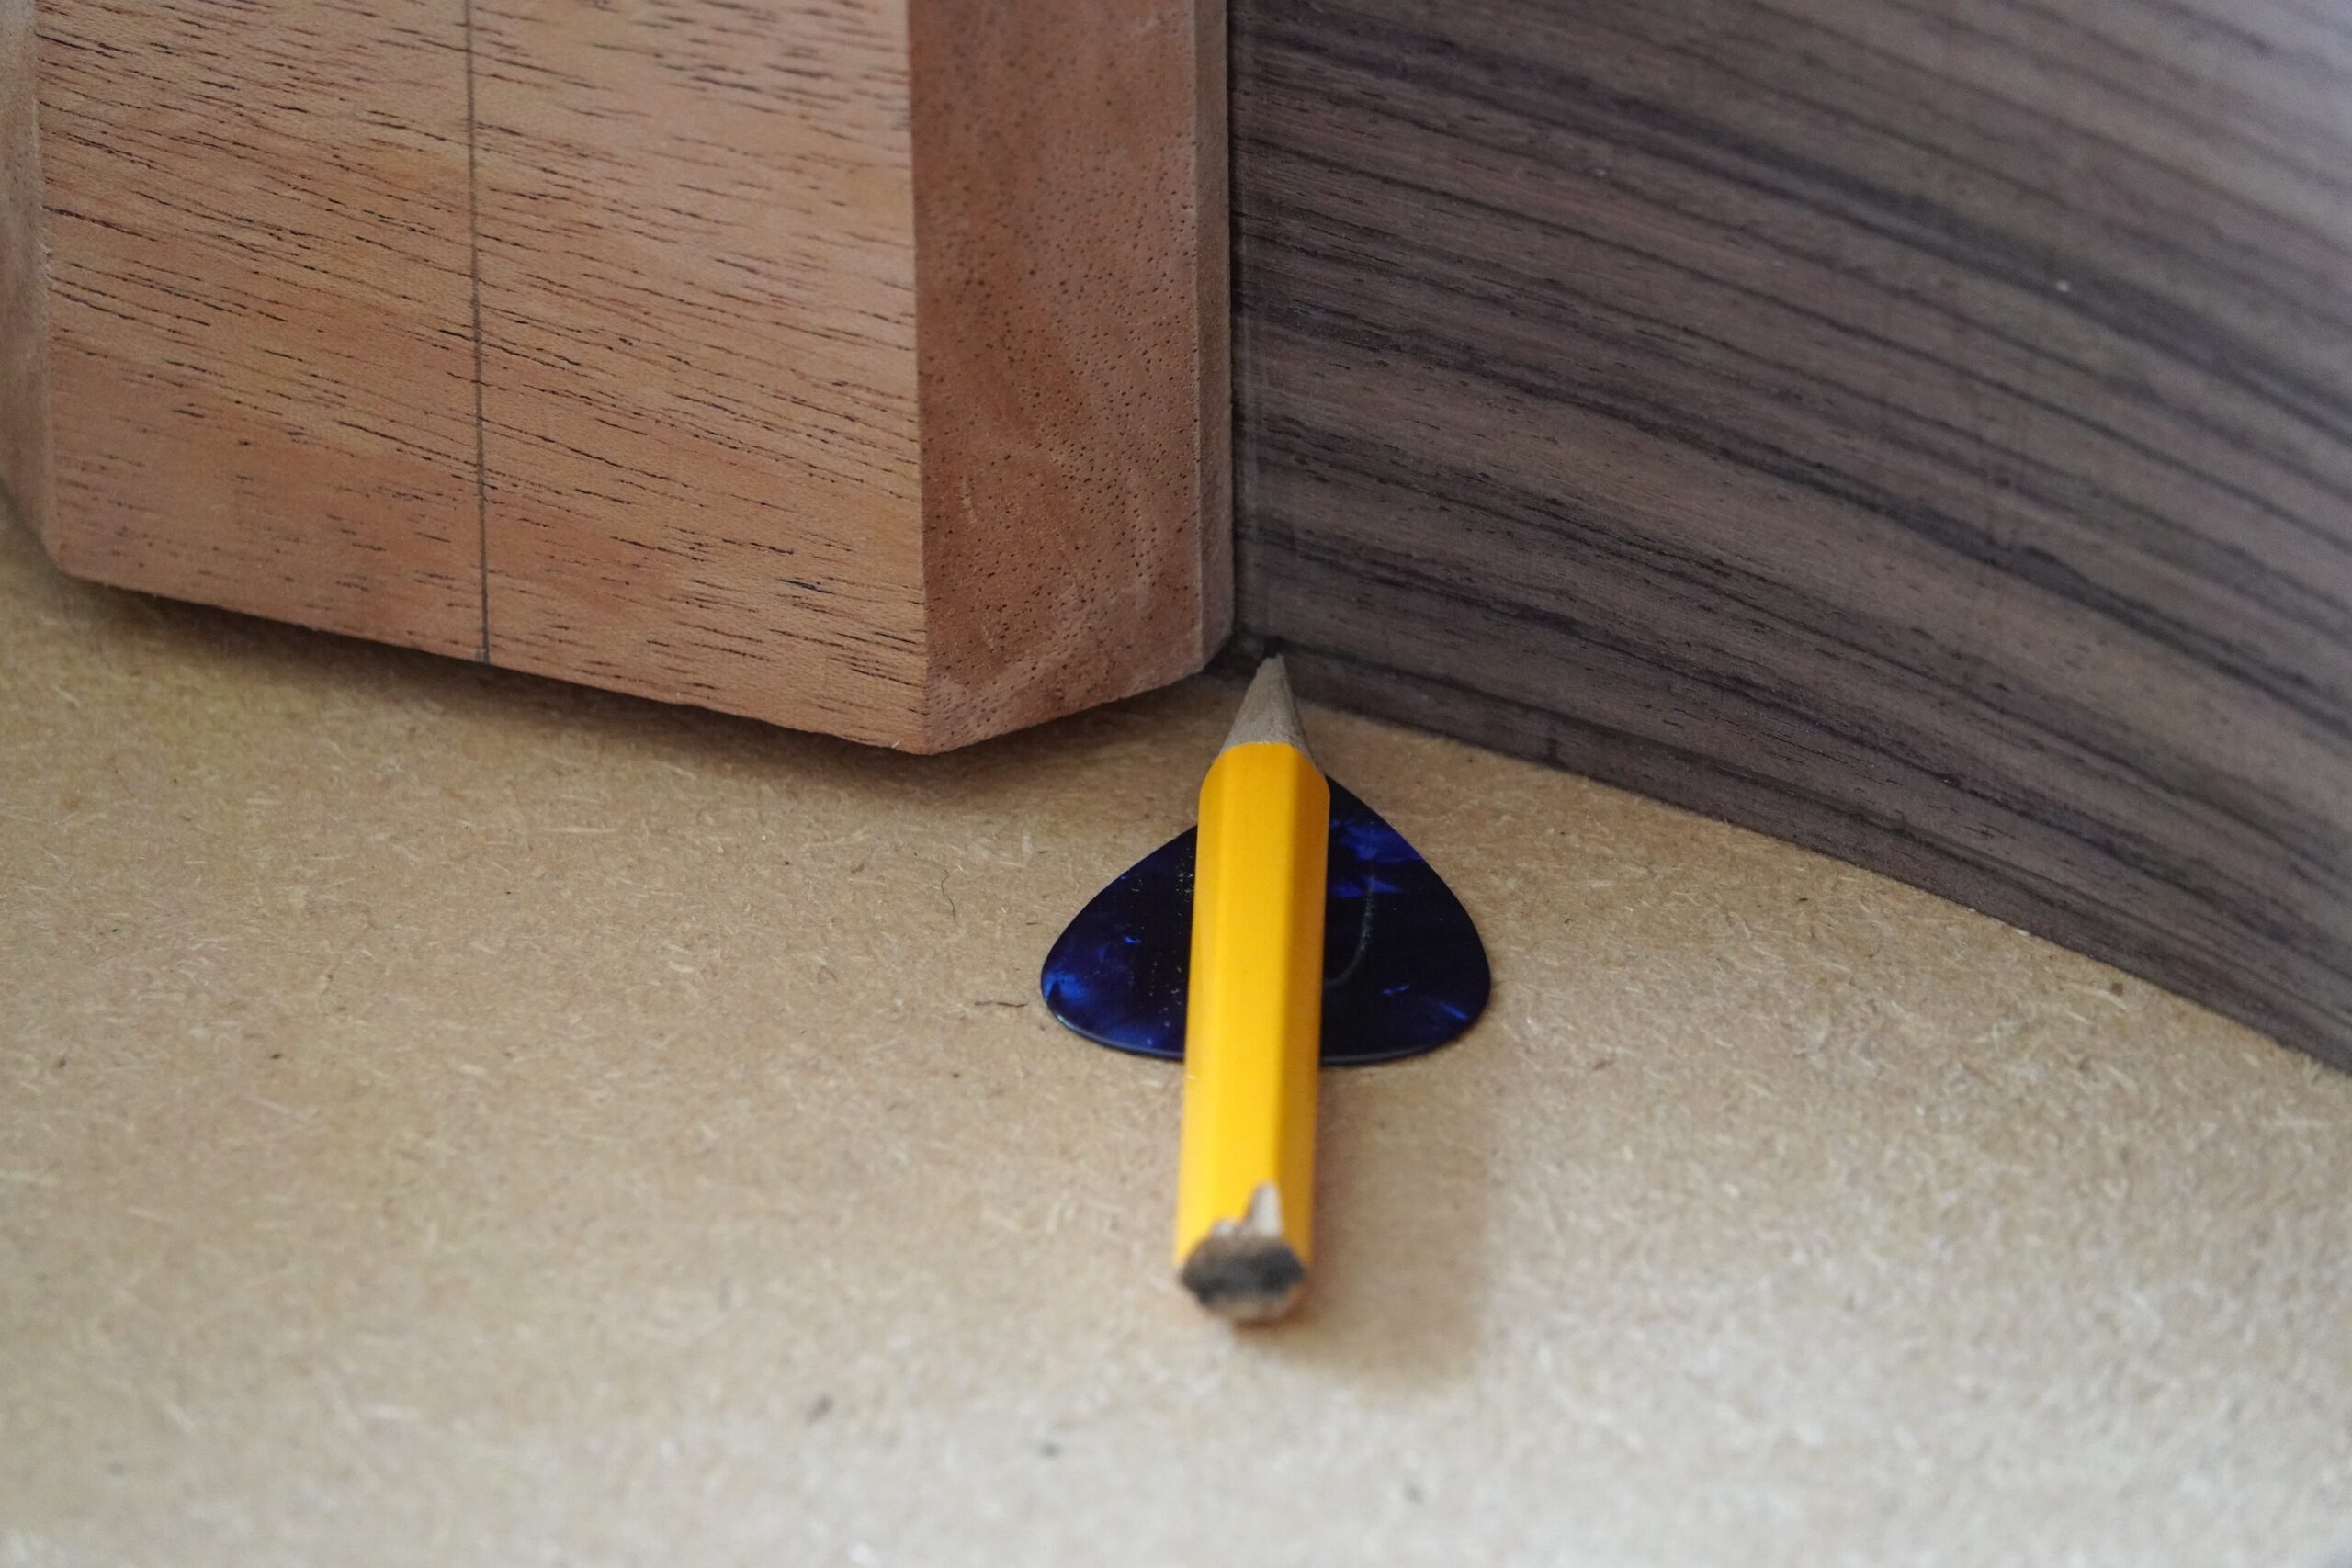
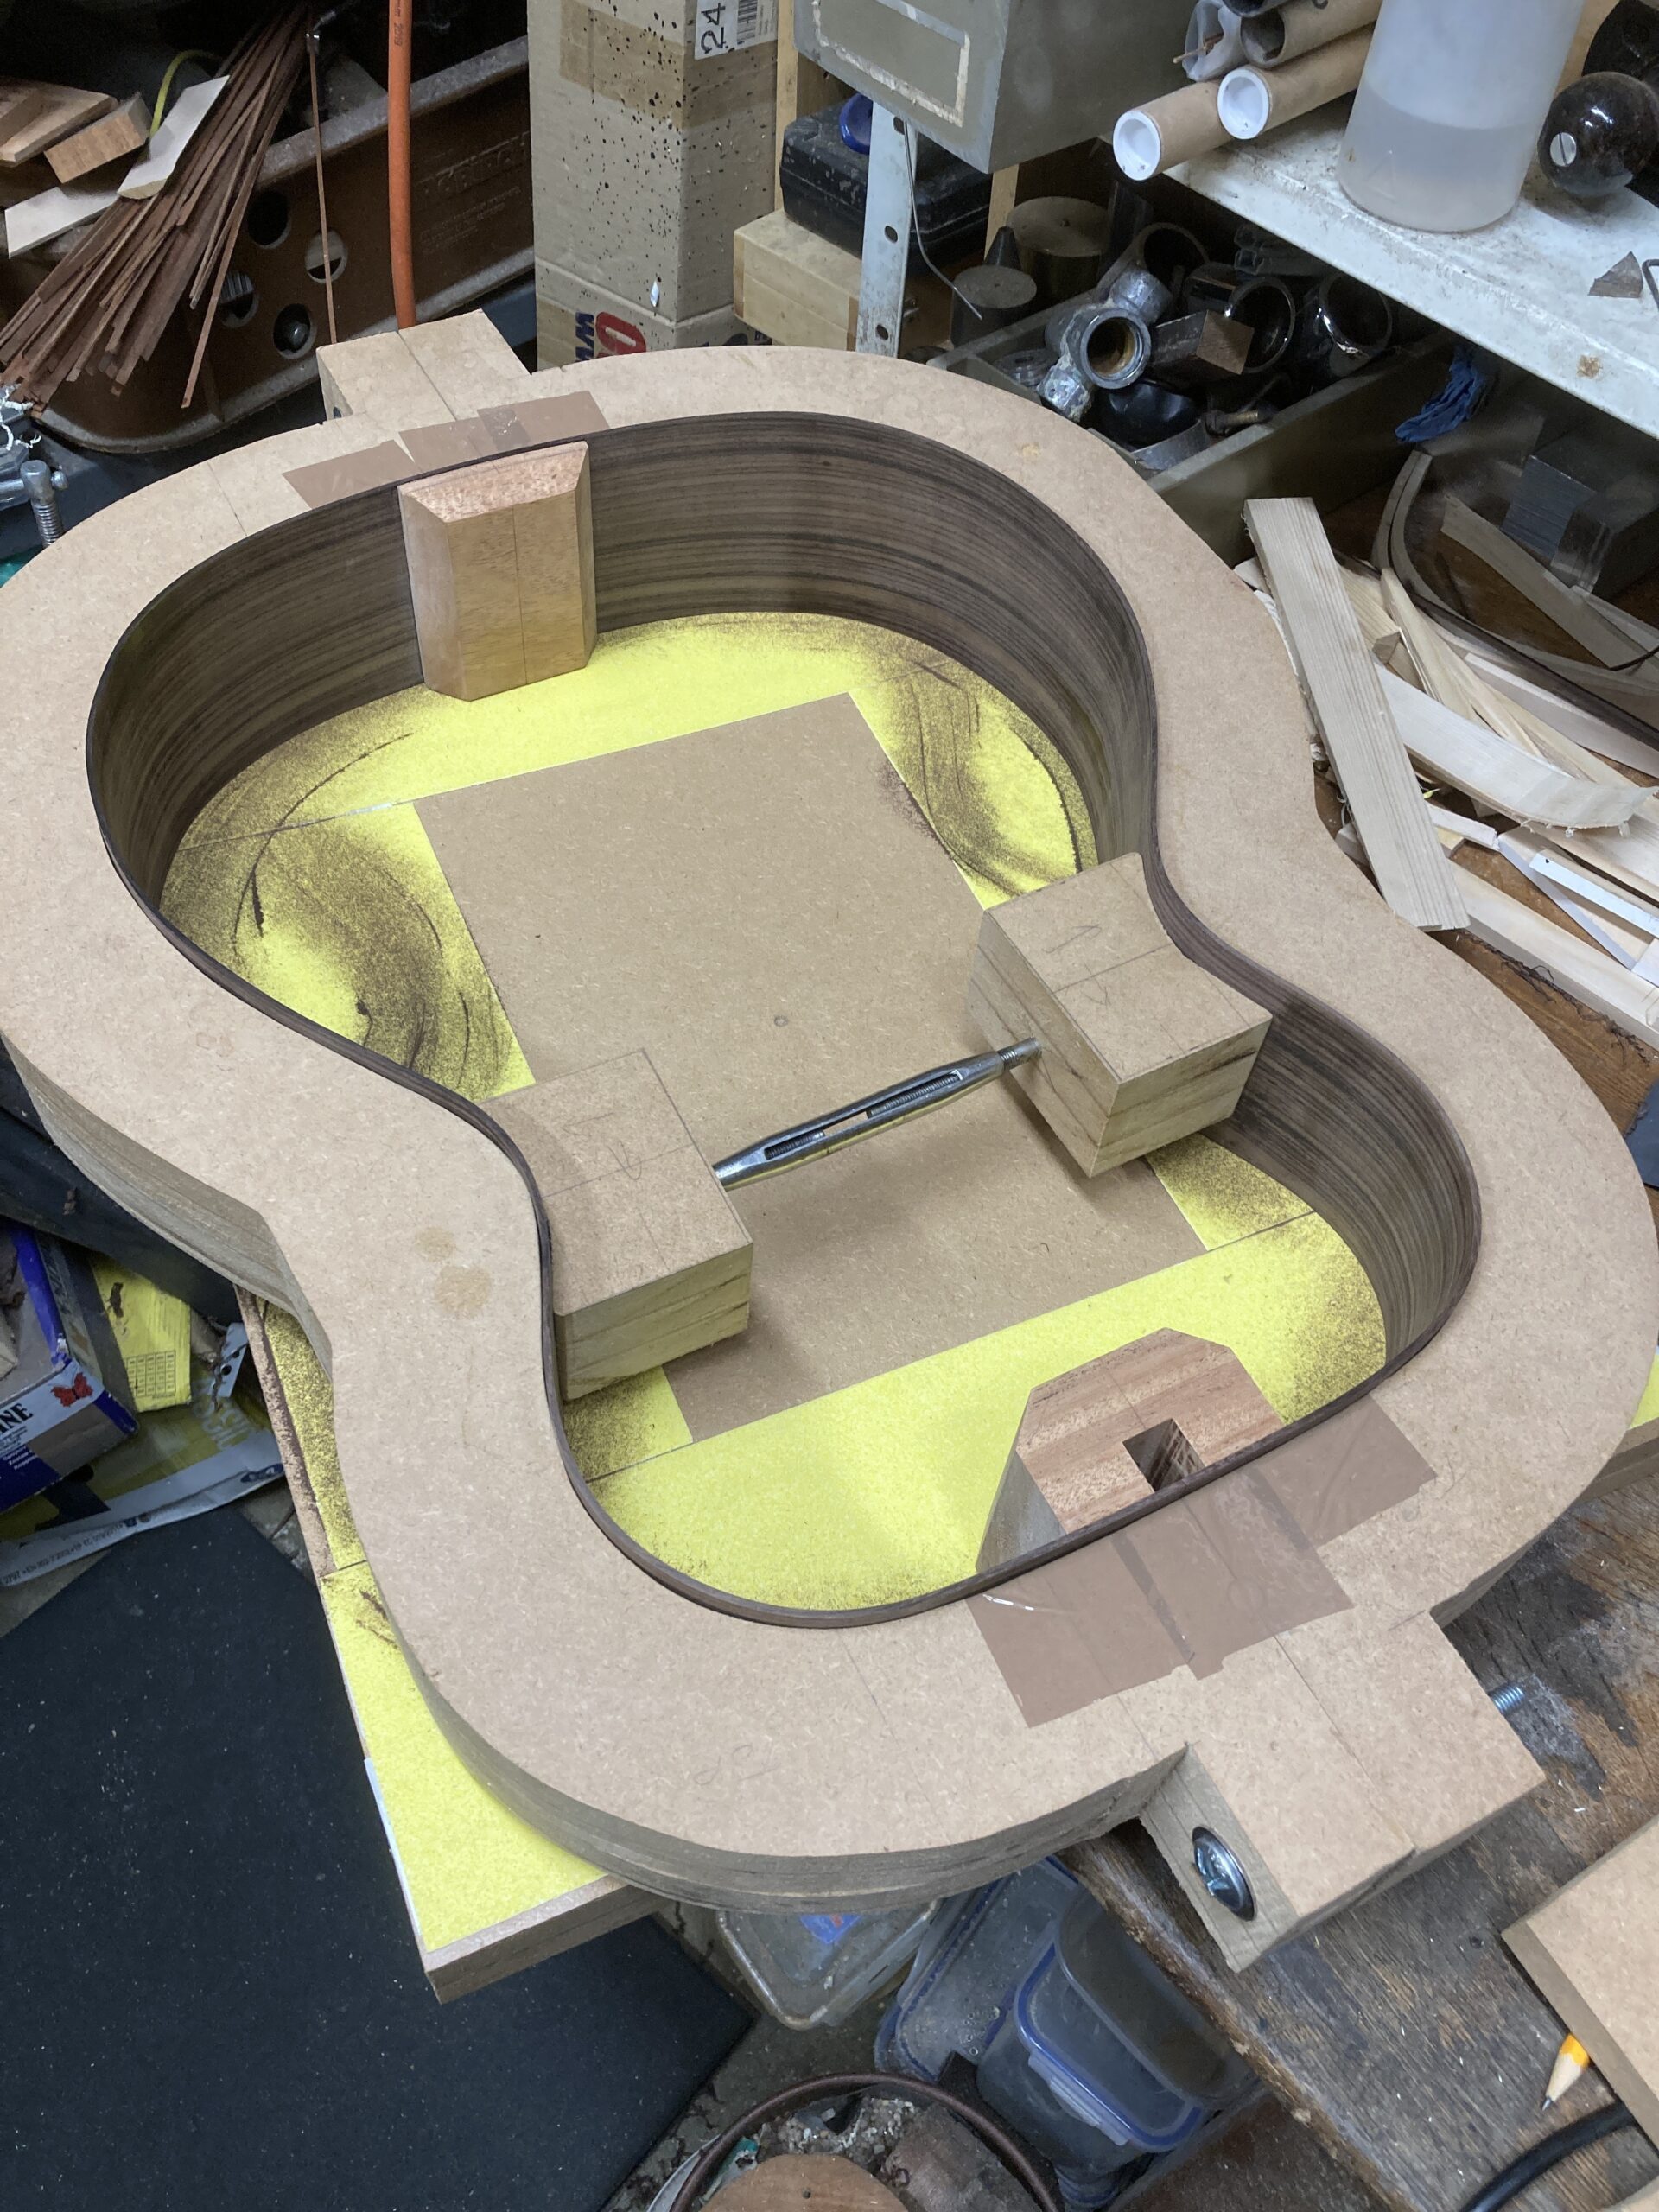
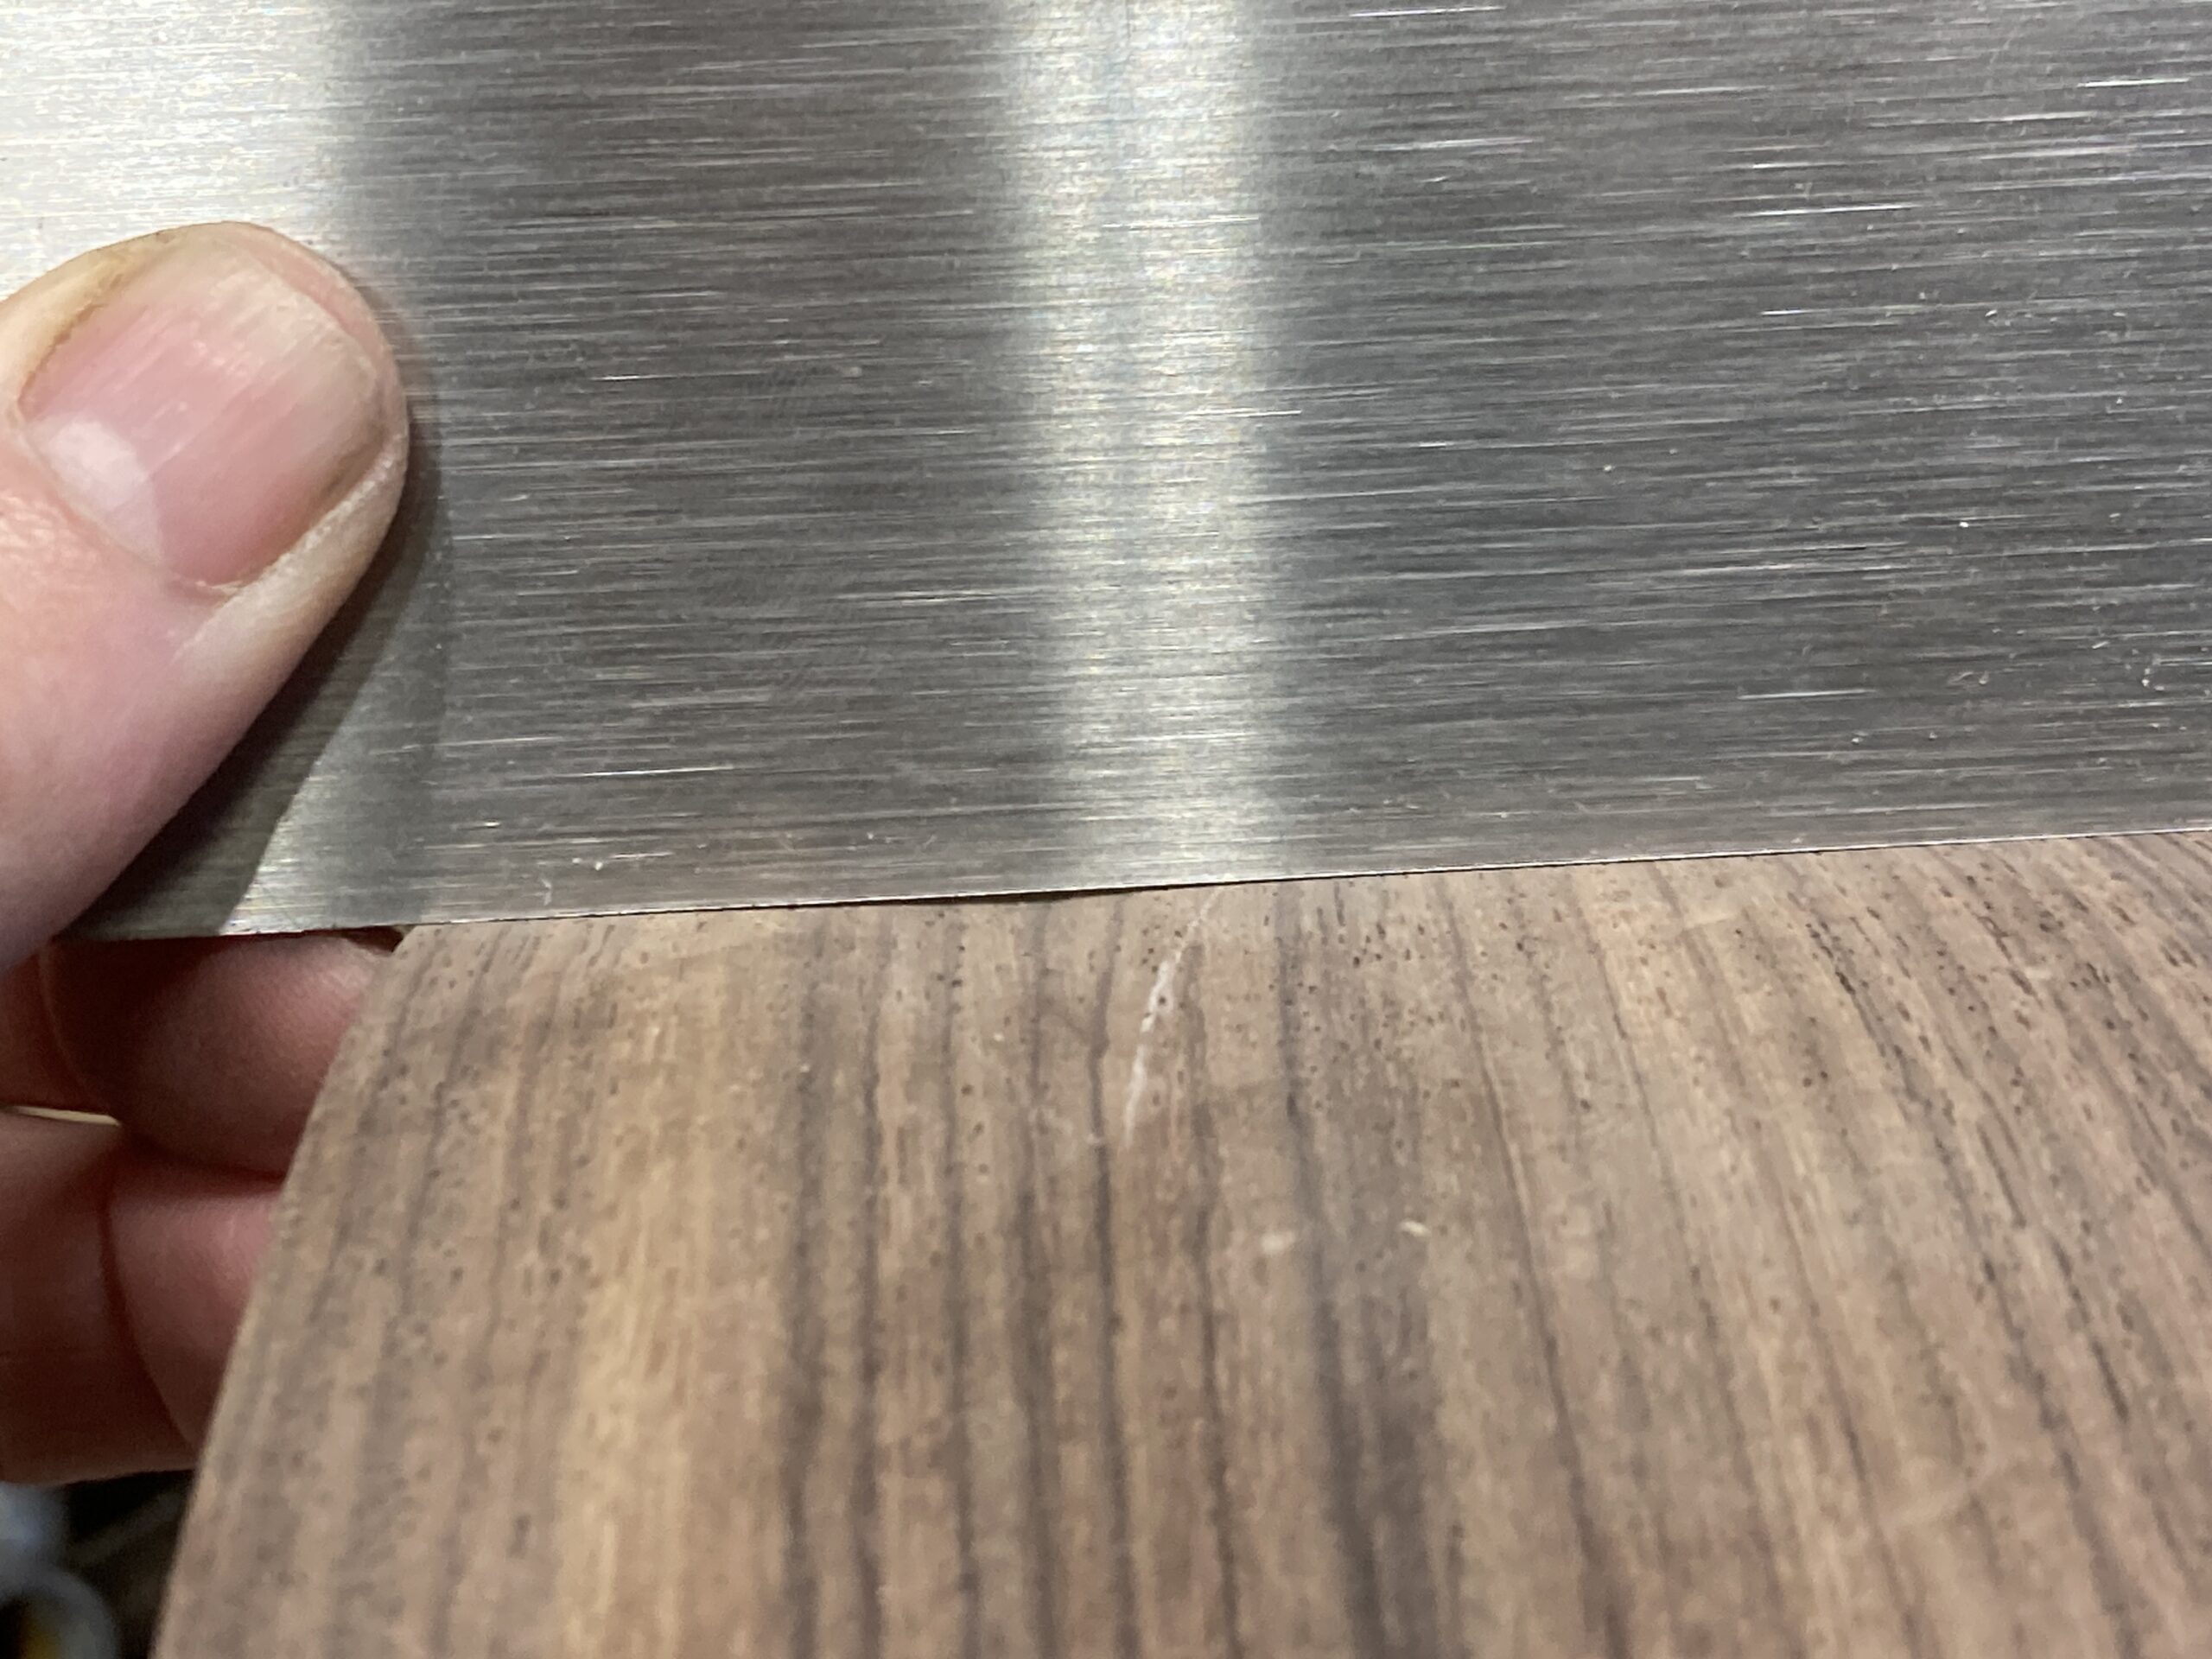
Marking the finished height at the top of the sides was straightforward because the edge of the top is flat, so by laying the sides on a flat surface I could mark all around level with the head and end blocks
Turned out I would need to remove pretty much all of the extra 3mm I had allowed.
Marking the finished height of the back was a bit more of a puzzle as it follows the contours of the 15′ radius. The obvious way would be to use a radius dish as a reference, but I had been avoiding making a radius dish (just more clutter to have around).
I’d read up in the Cumpiano / Natelson book about using a sanding board to shape a radius on the back, and was intending to go that route. However, faced with the reality of needing to remove ~ 3mm like this (and the need to make a large, flat sanding board), I caved in and decided to make a radius dish…
Making a Radius Dish
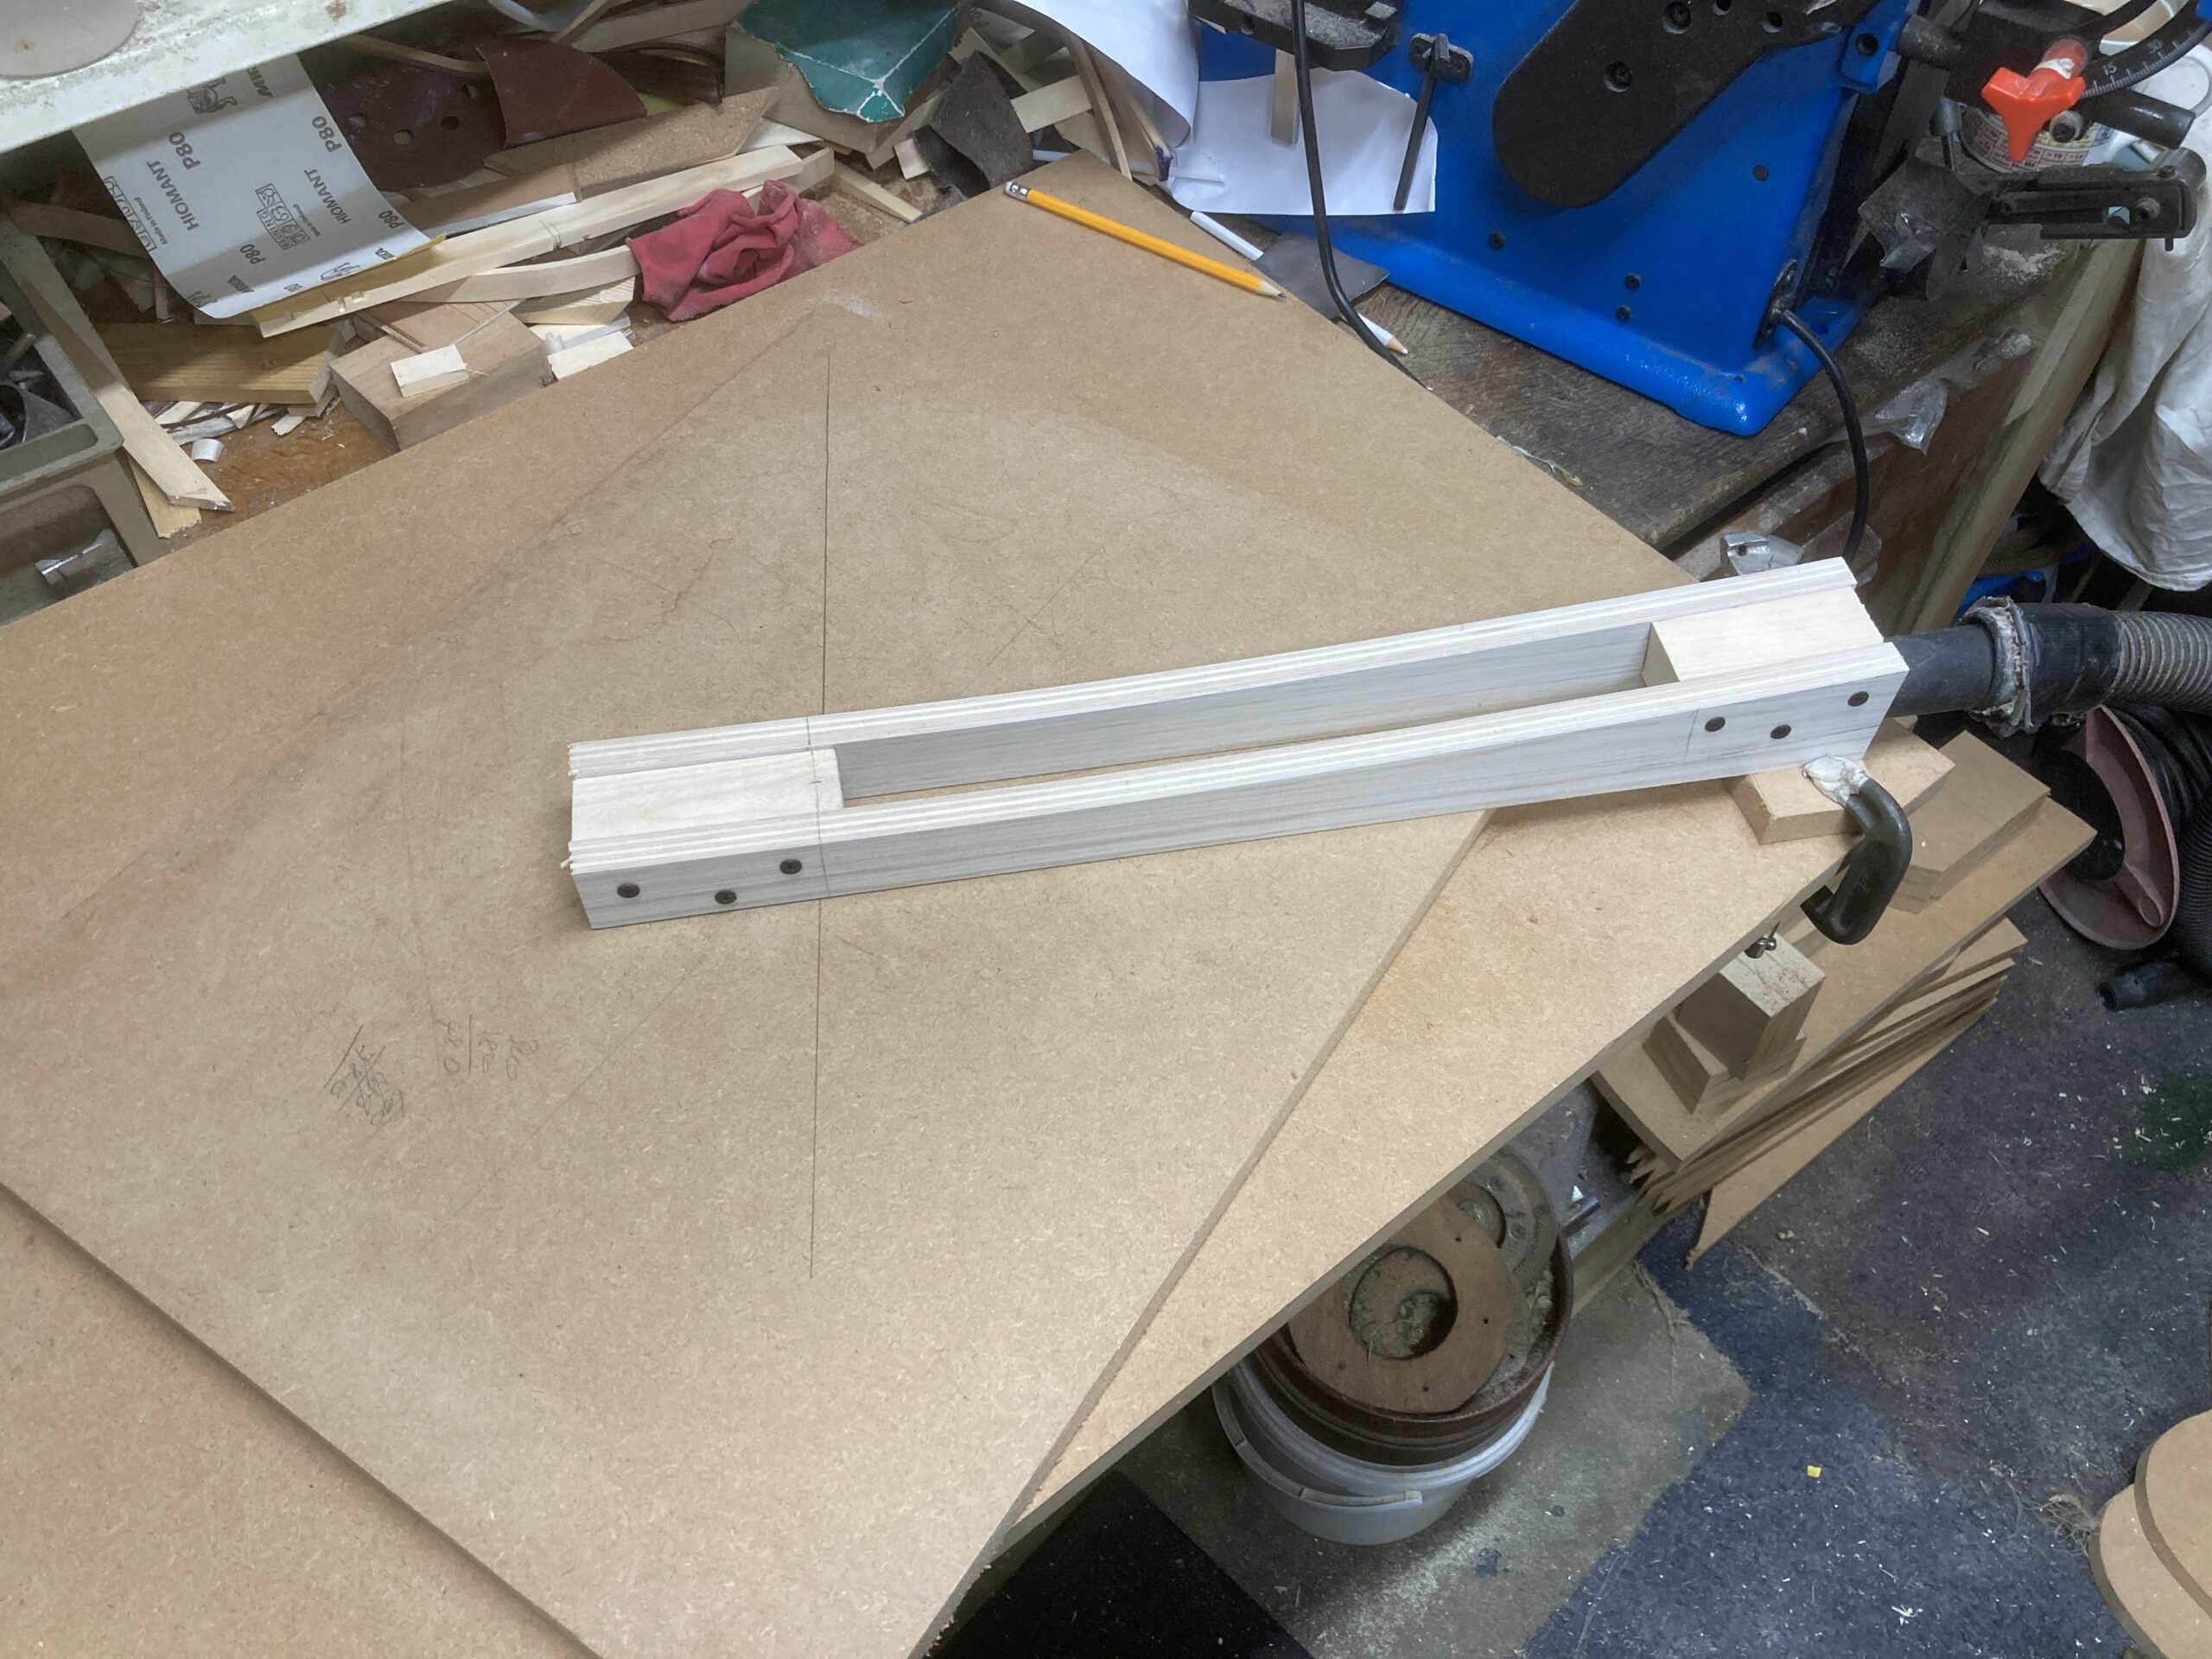
I made a jig to carve out a minimal sized, rectangular radius dish (the bit with the pencil marks will get carved out with a router):
After cutting the dish into a piece of 18mm MDF (and generating a humungus quantity of MDF dust, despite my vacuum attachment), the board became very flexible and the edges bowed up, so I had to glue it down to another piece of MDF to stabilise it. The whole thing only took a couple of hours, including making the jig.
Marking the Back
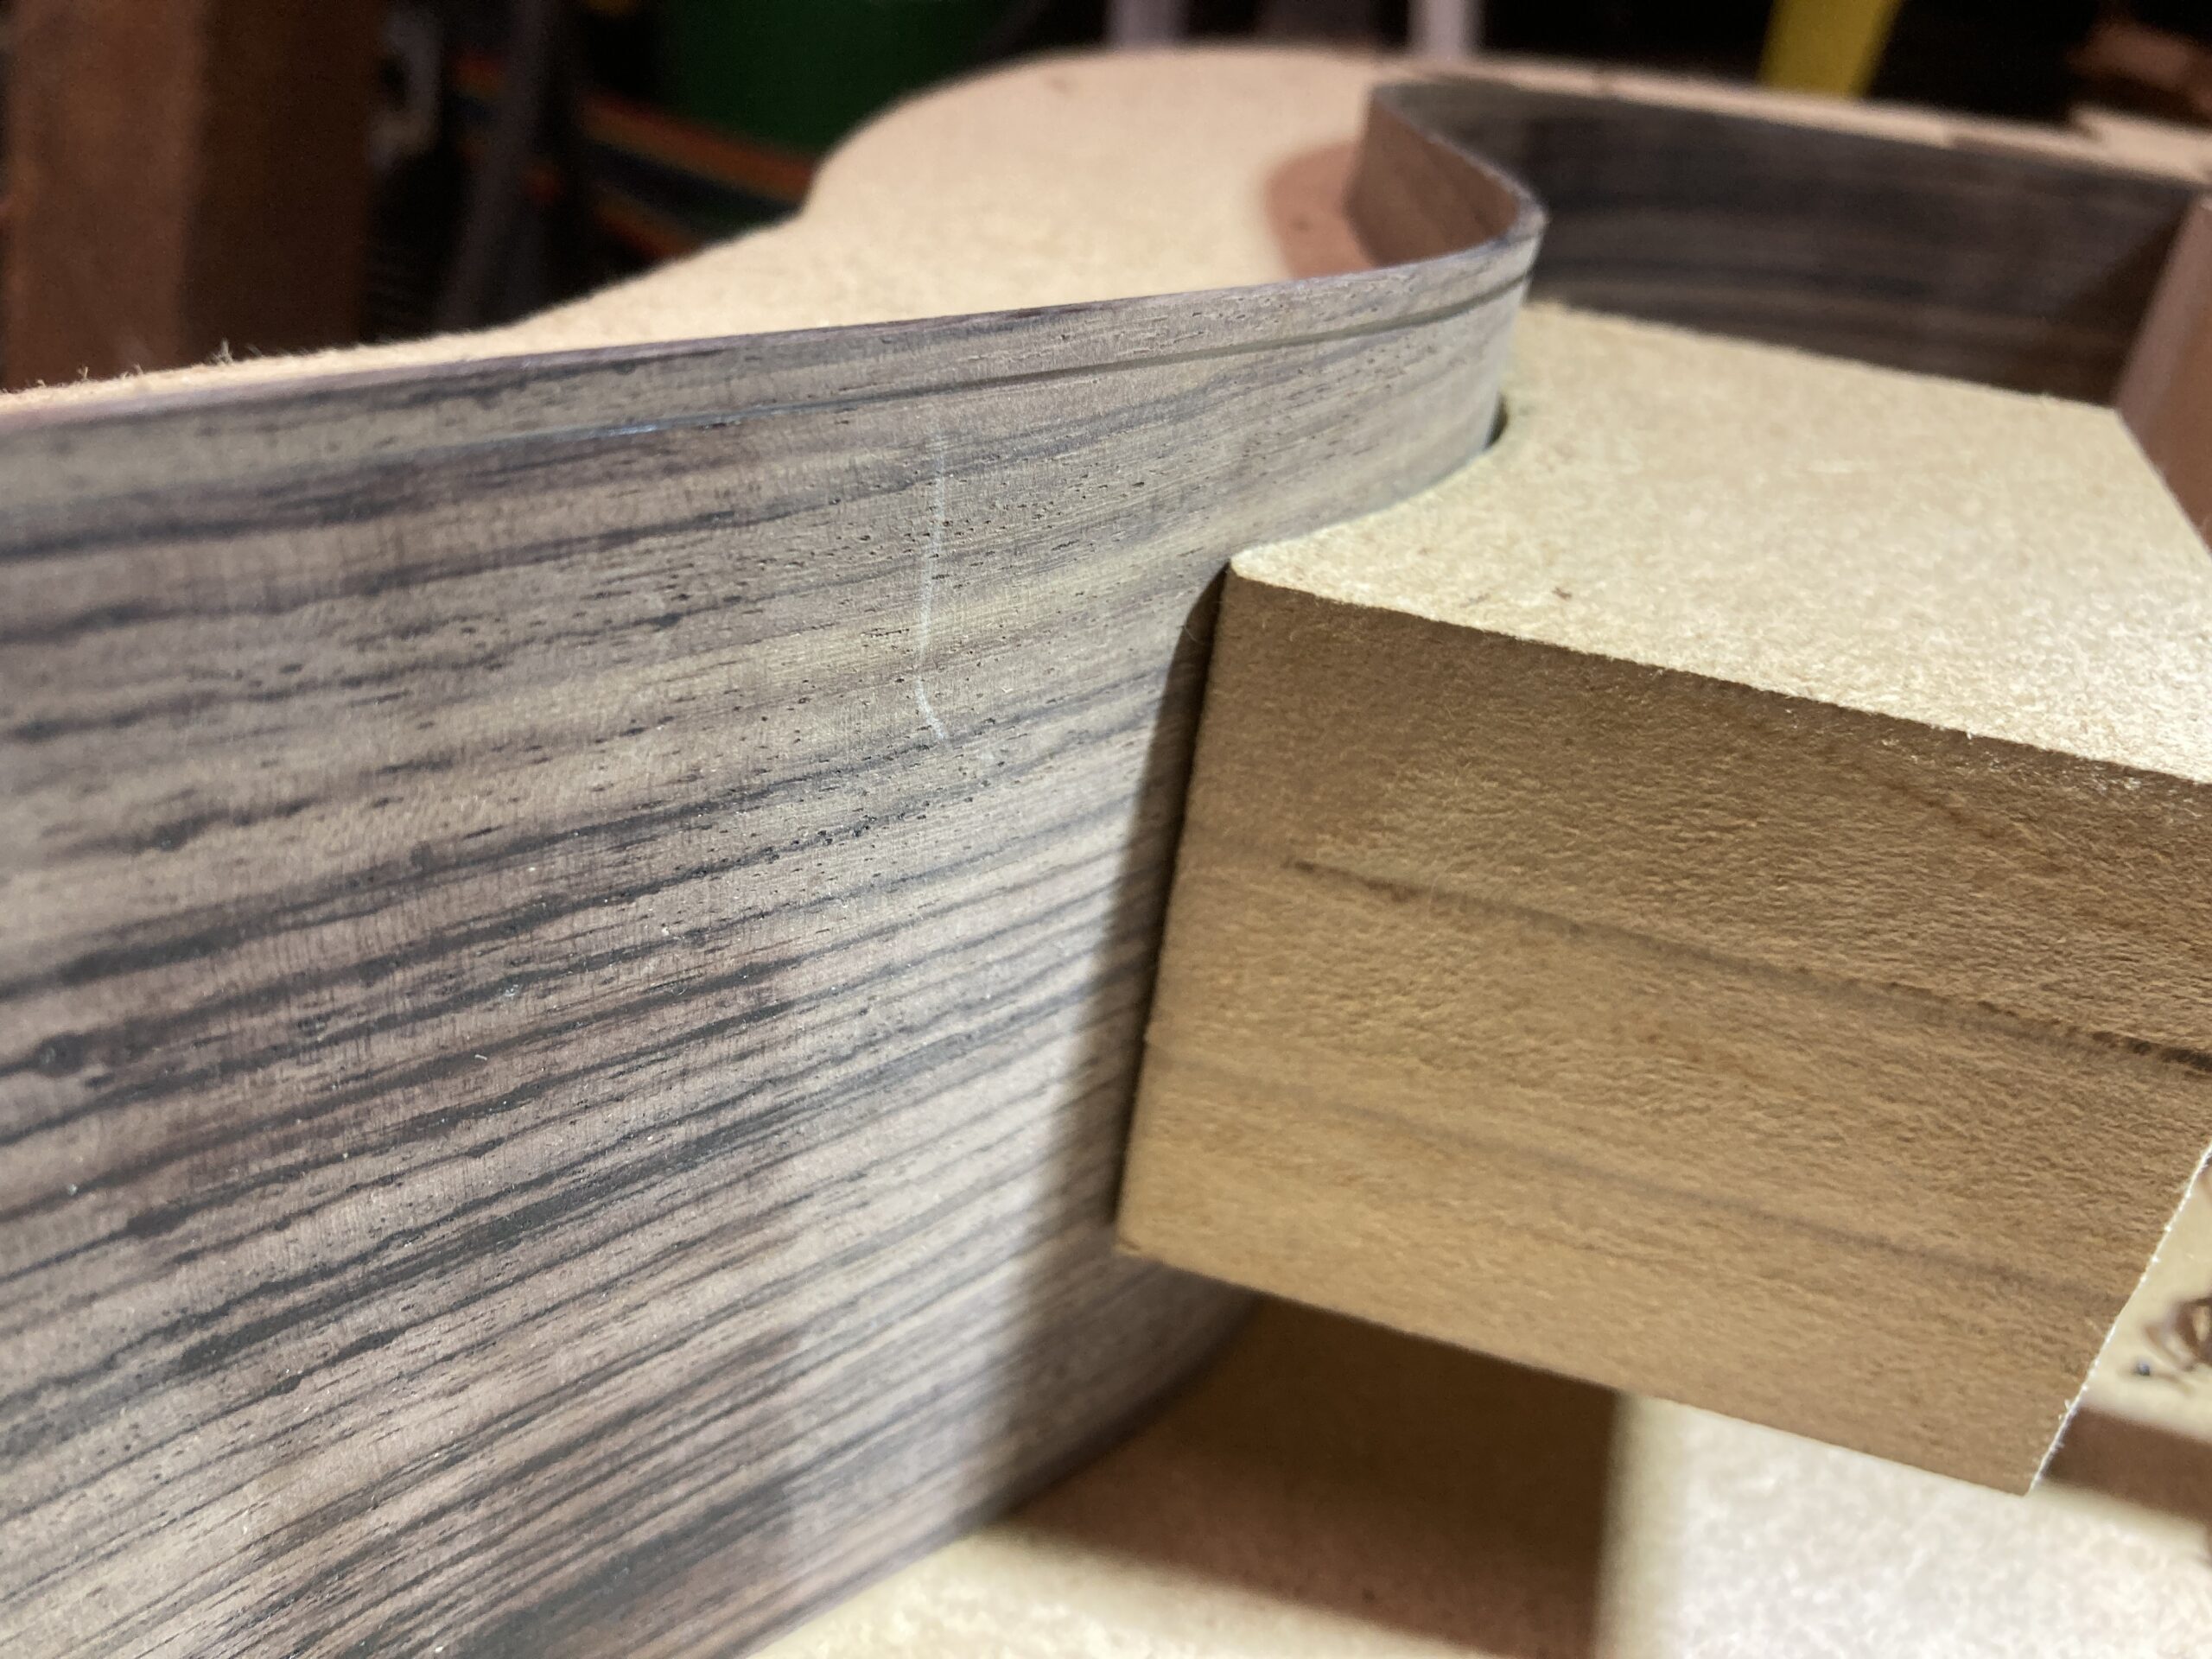
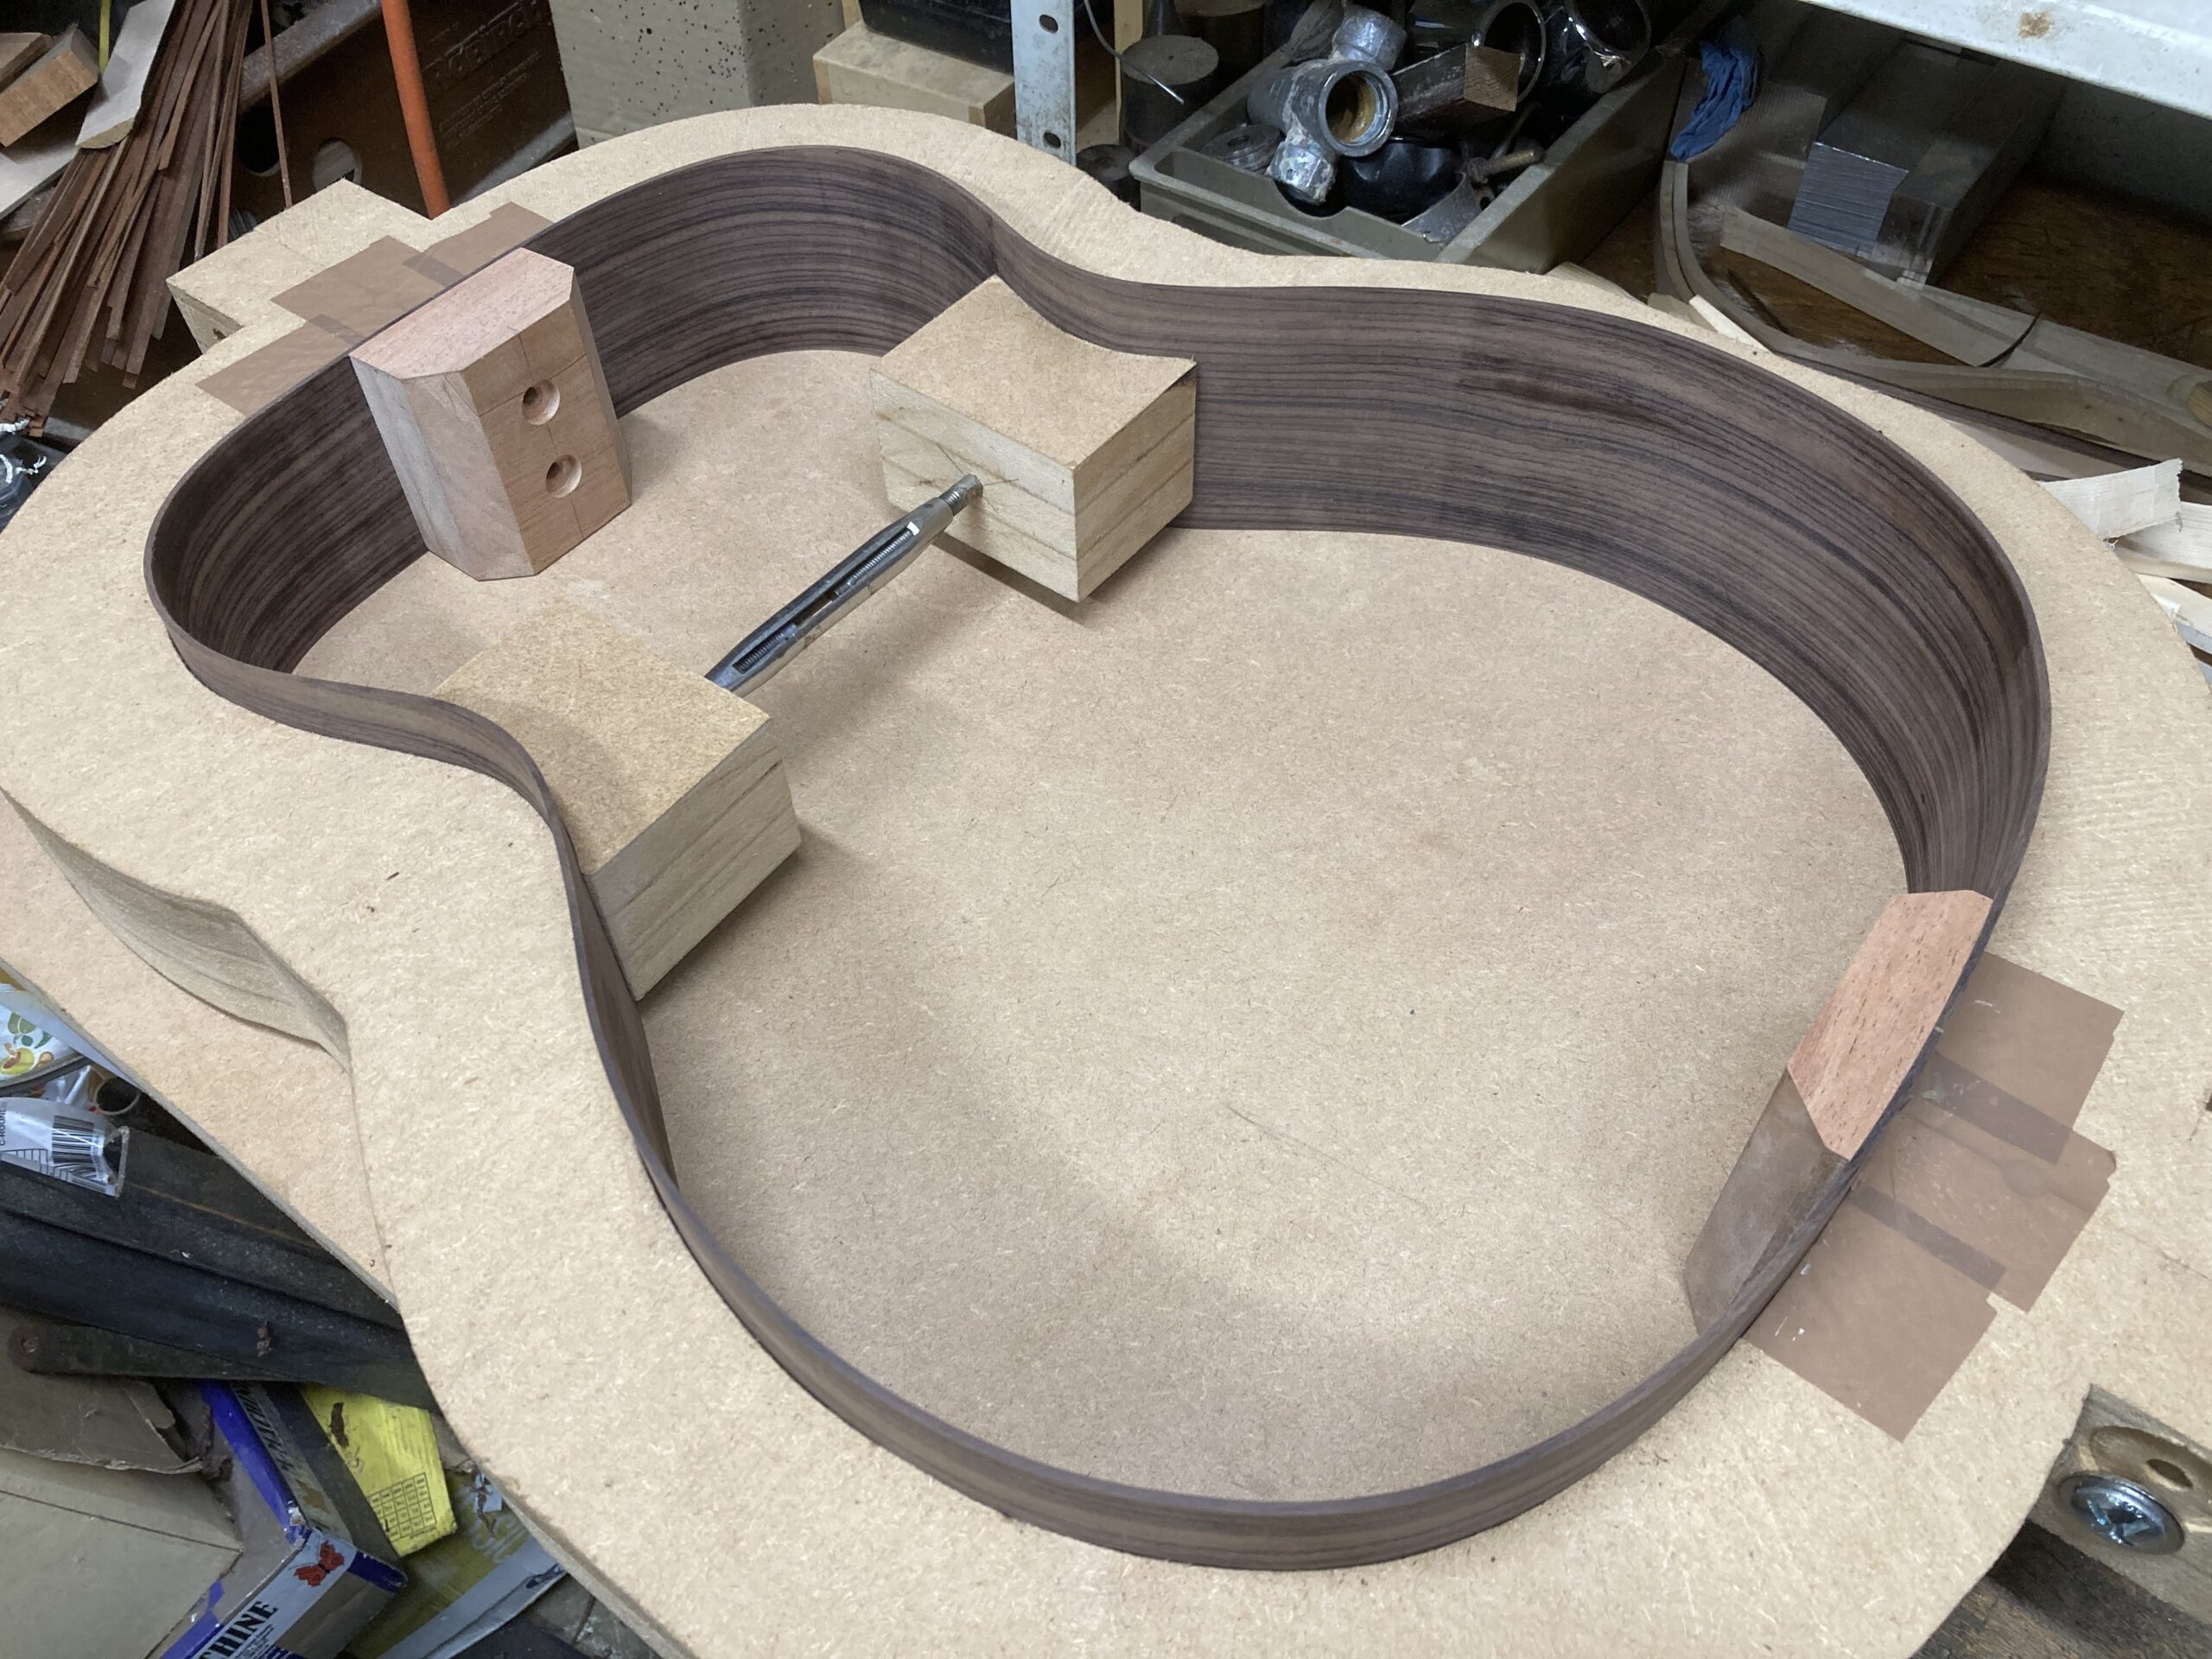
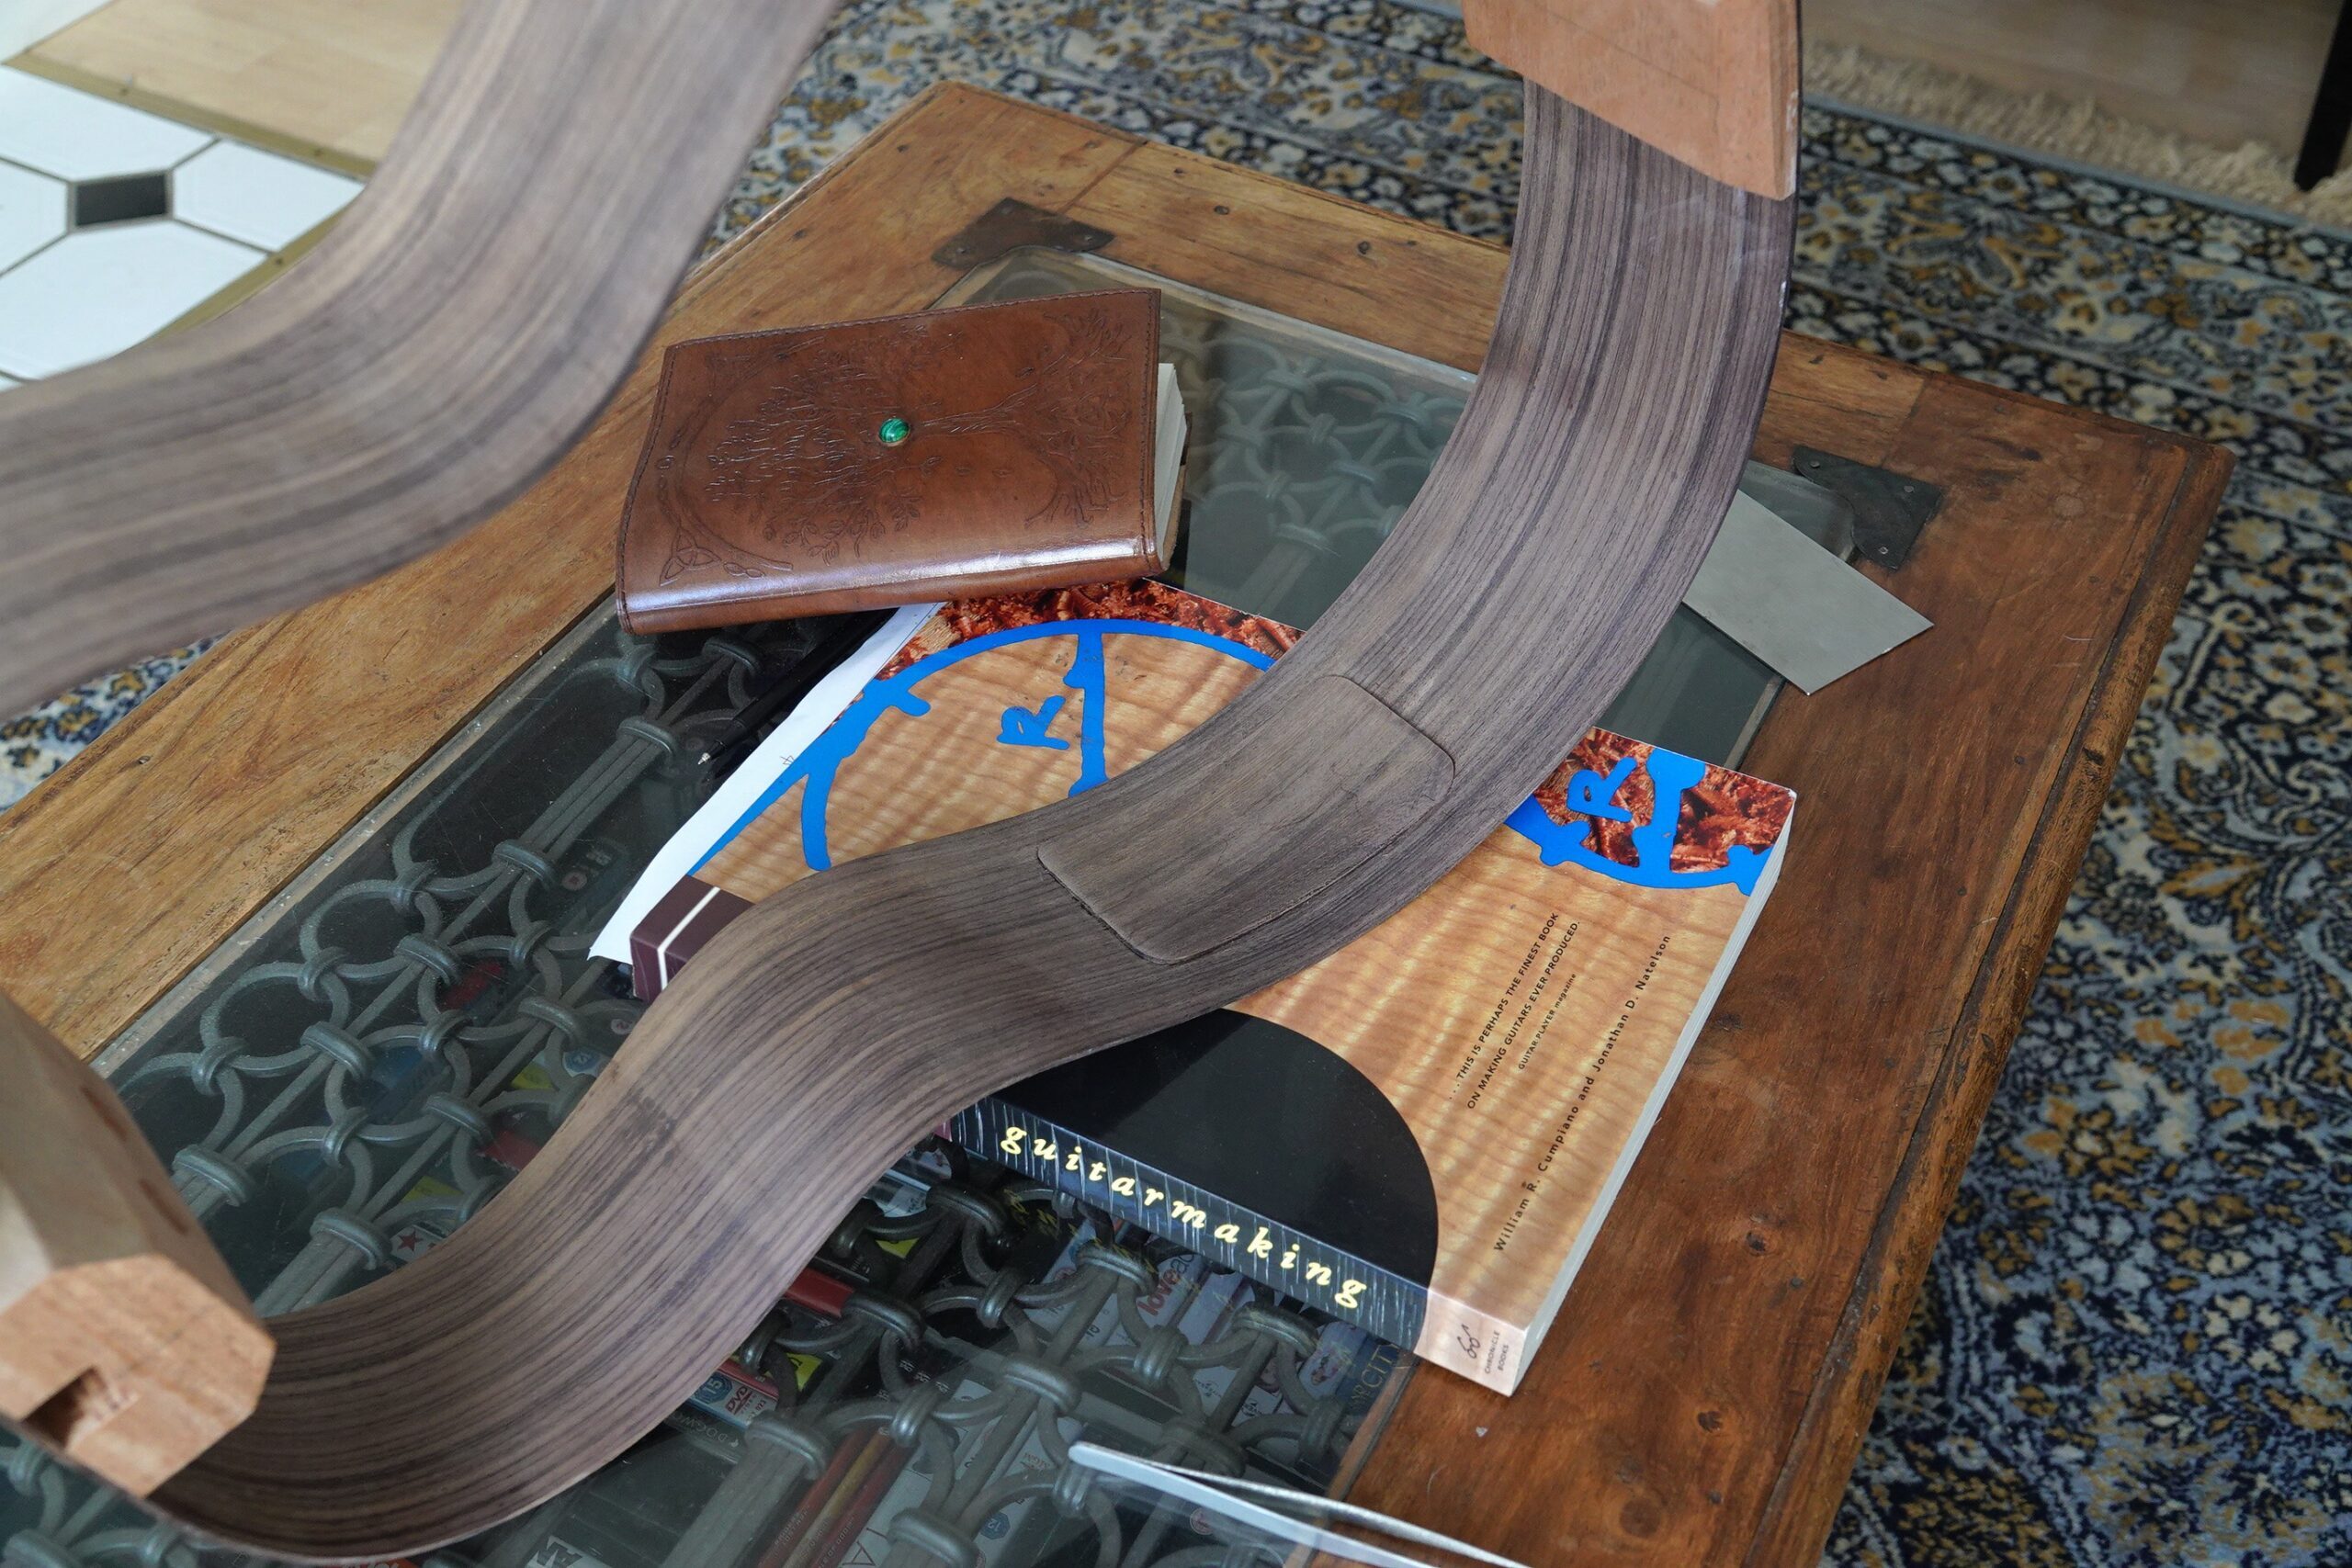
This is the sides sitting with their back edges on on the radius dish before any adjustment – they’re actually a reasonable fit. If I’d only added (say) 1mm to the sides, I’m sure they’d sand down to a fair curve quite easily.

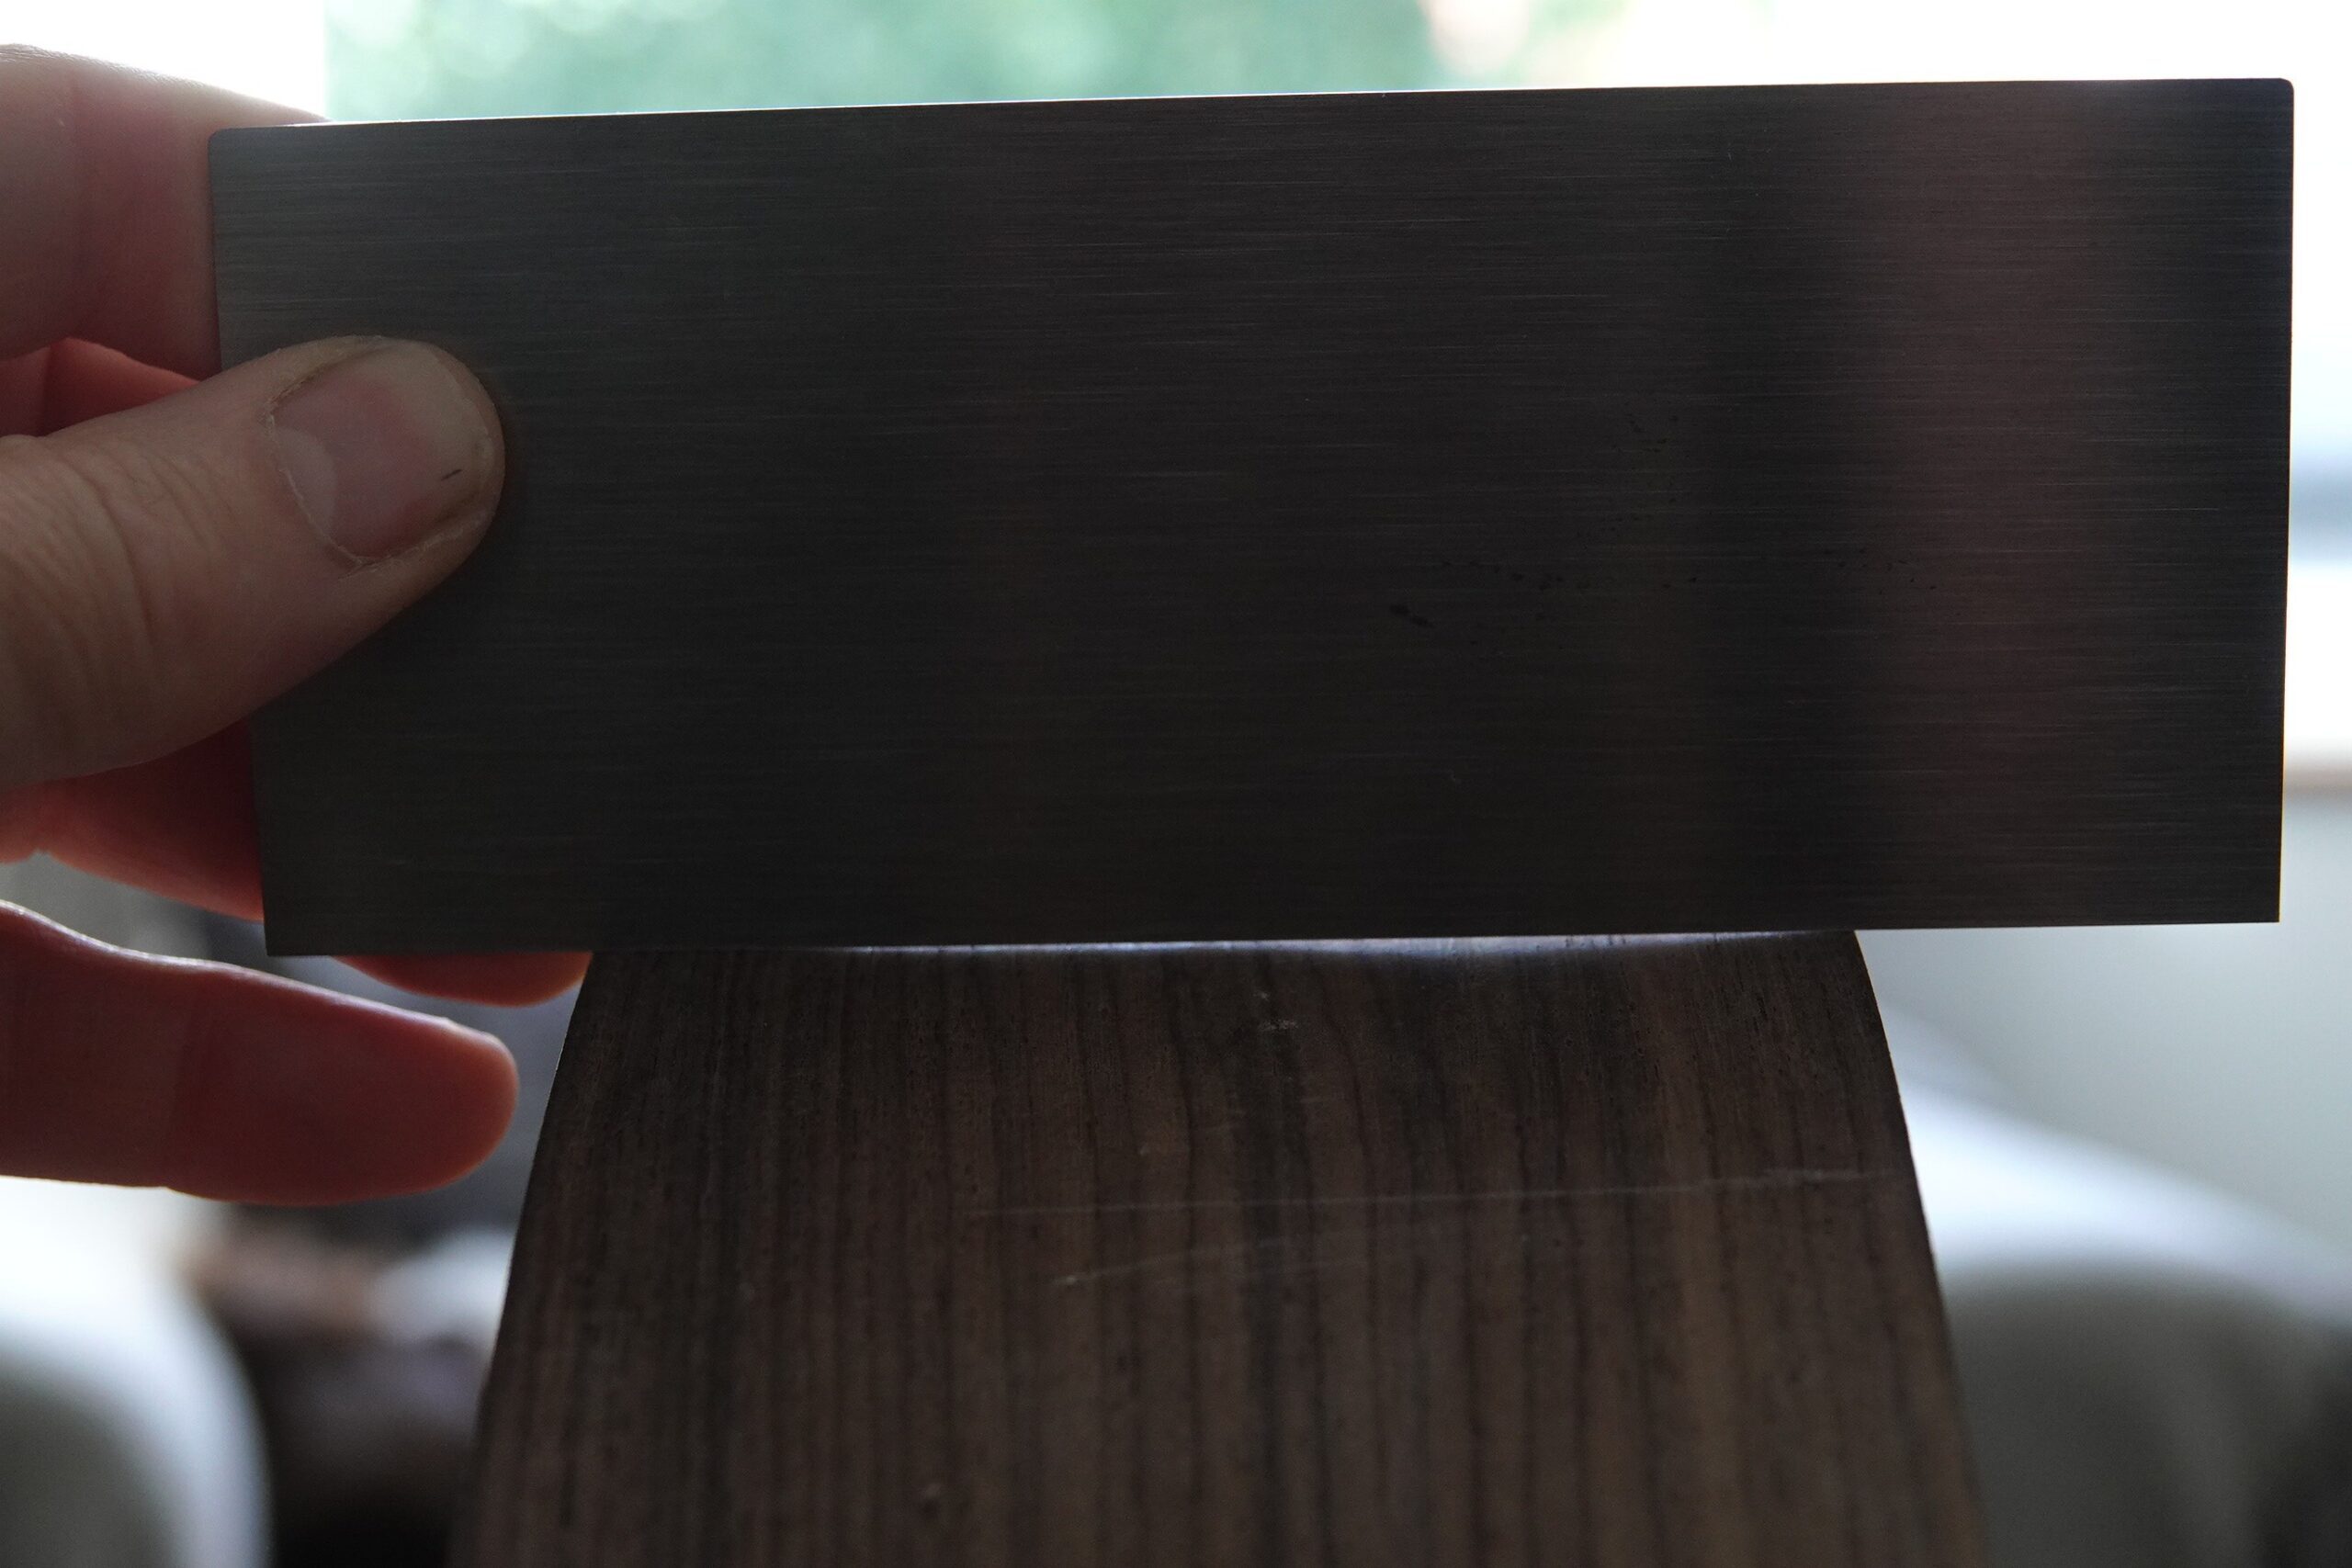
As above, the radius dish provided a reference for marking the finished height of the sides at the back of the guitar. Again, this was pretty much all of the 3mm I had added on:
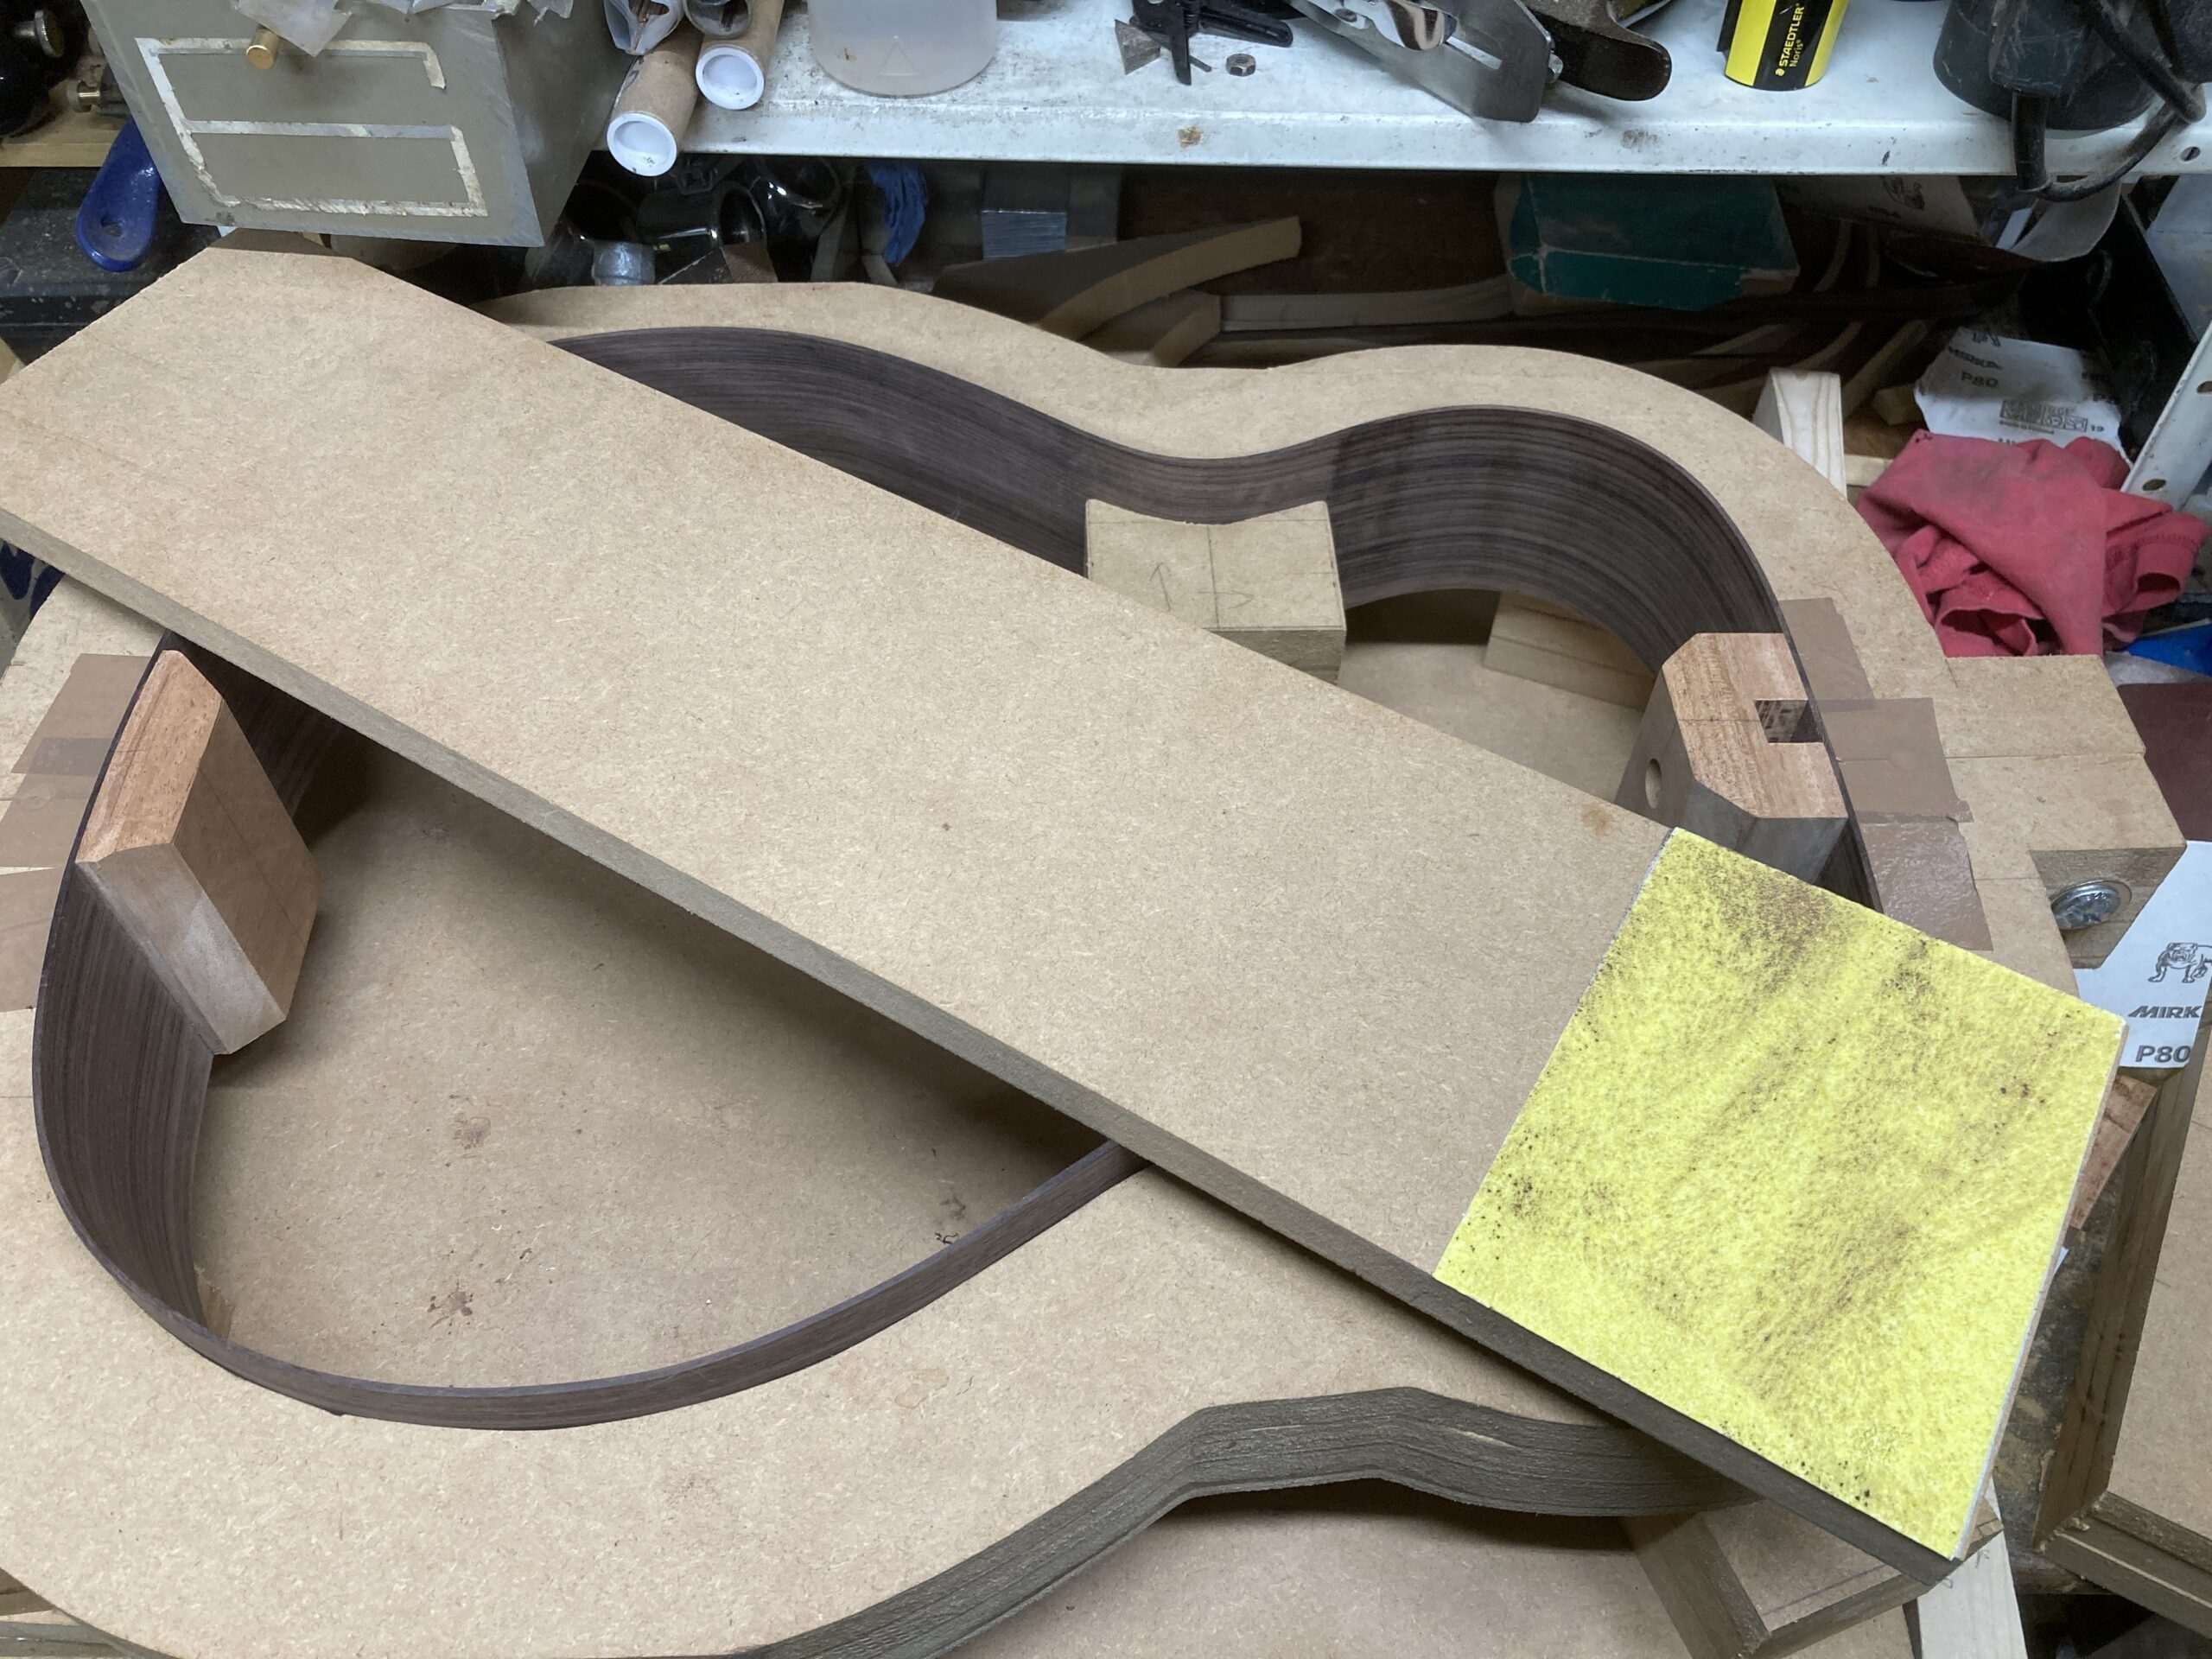
Both edges of the sides were planed back to the marked lines (quite enjoyable work).
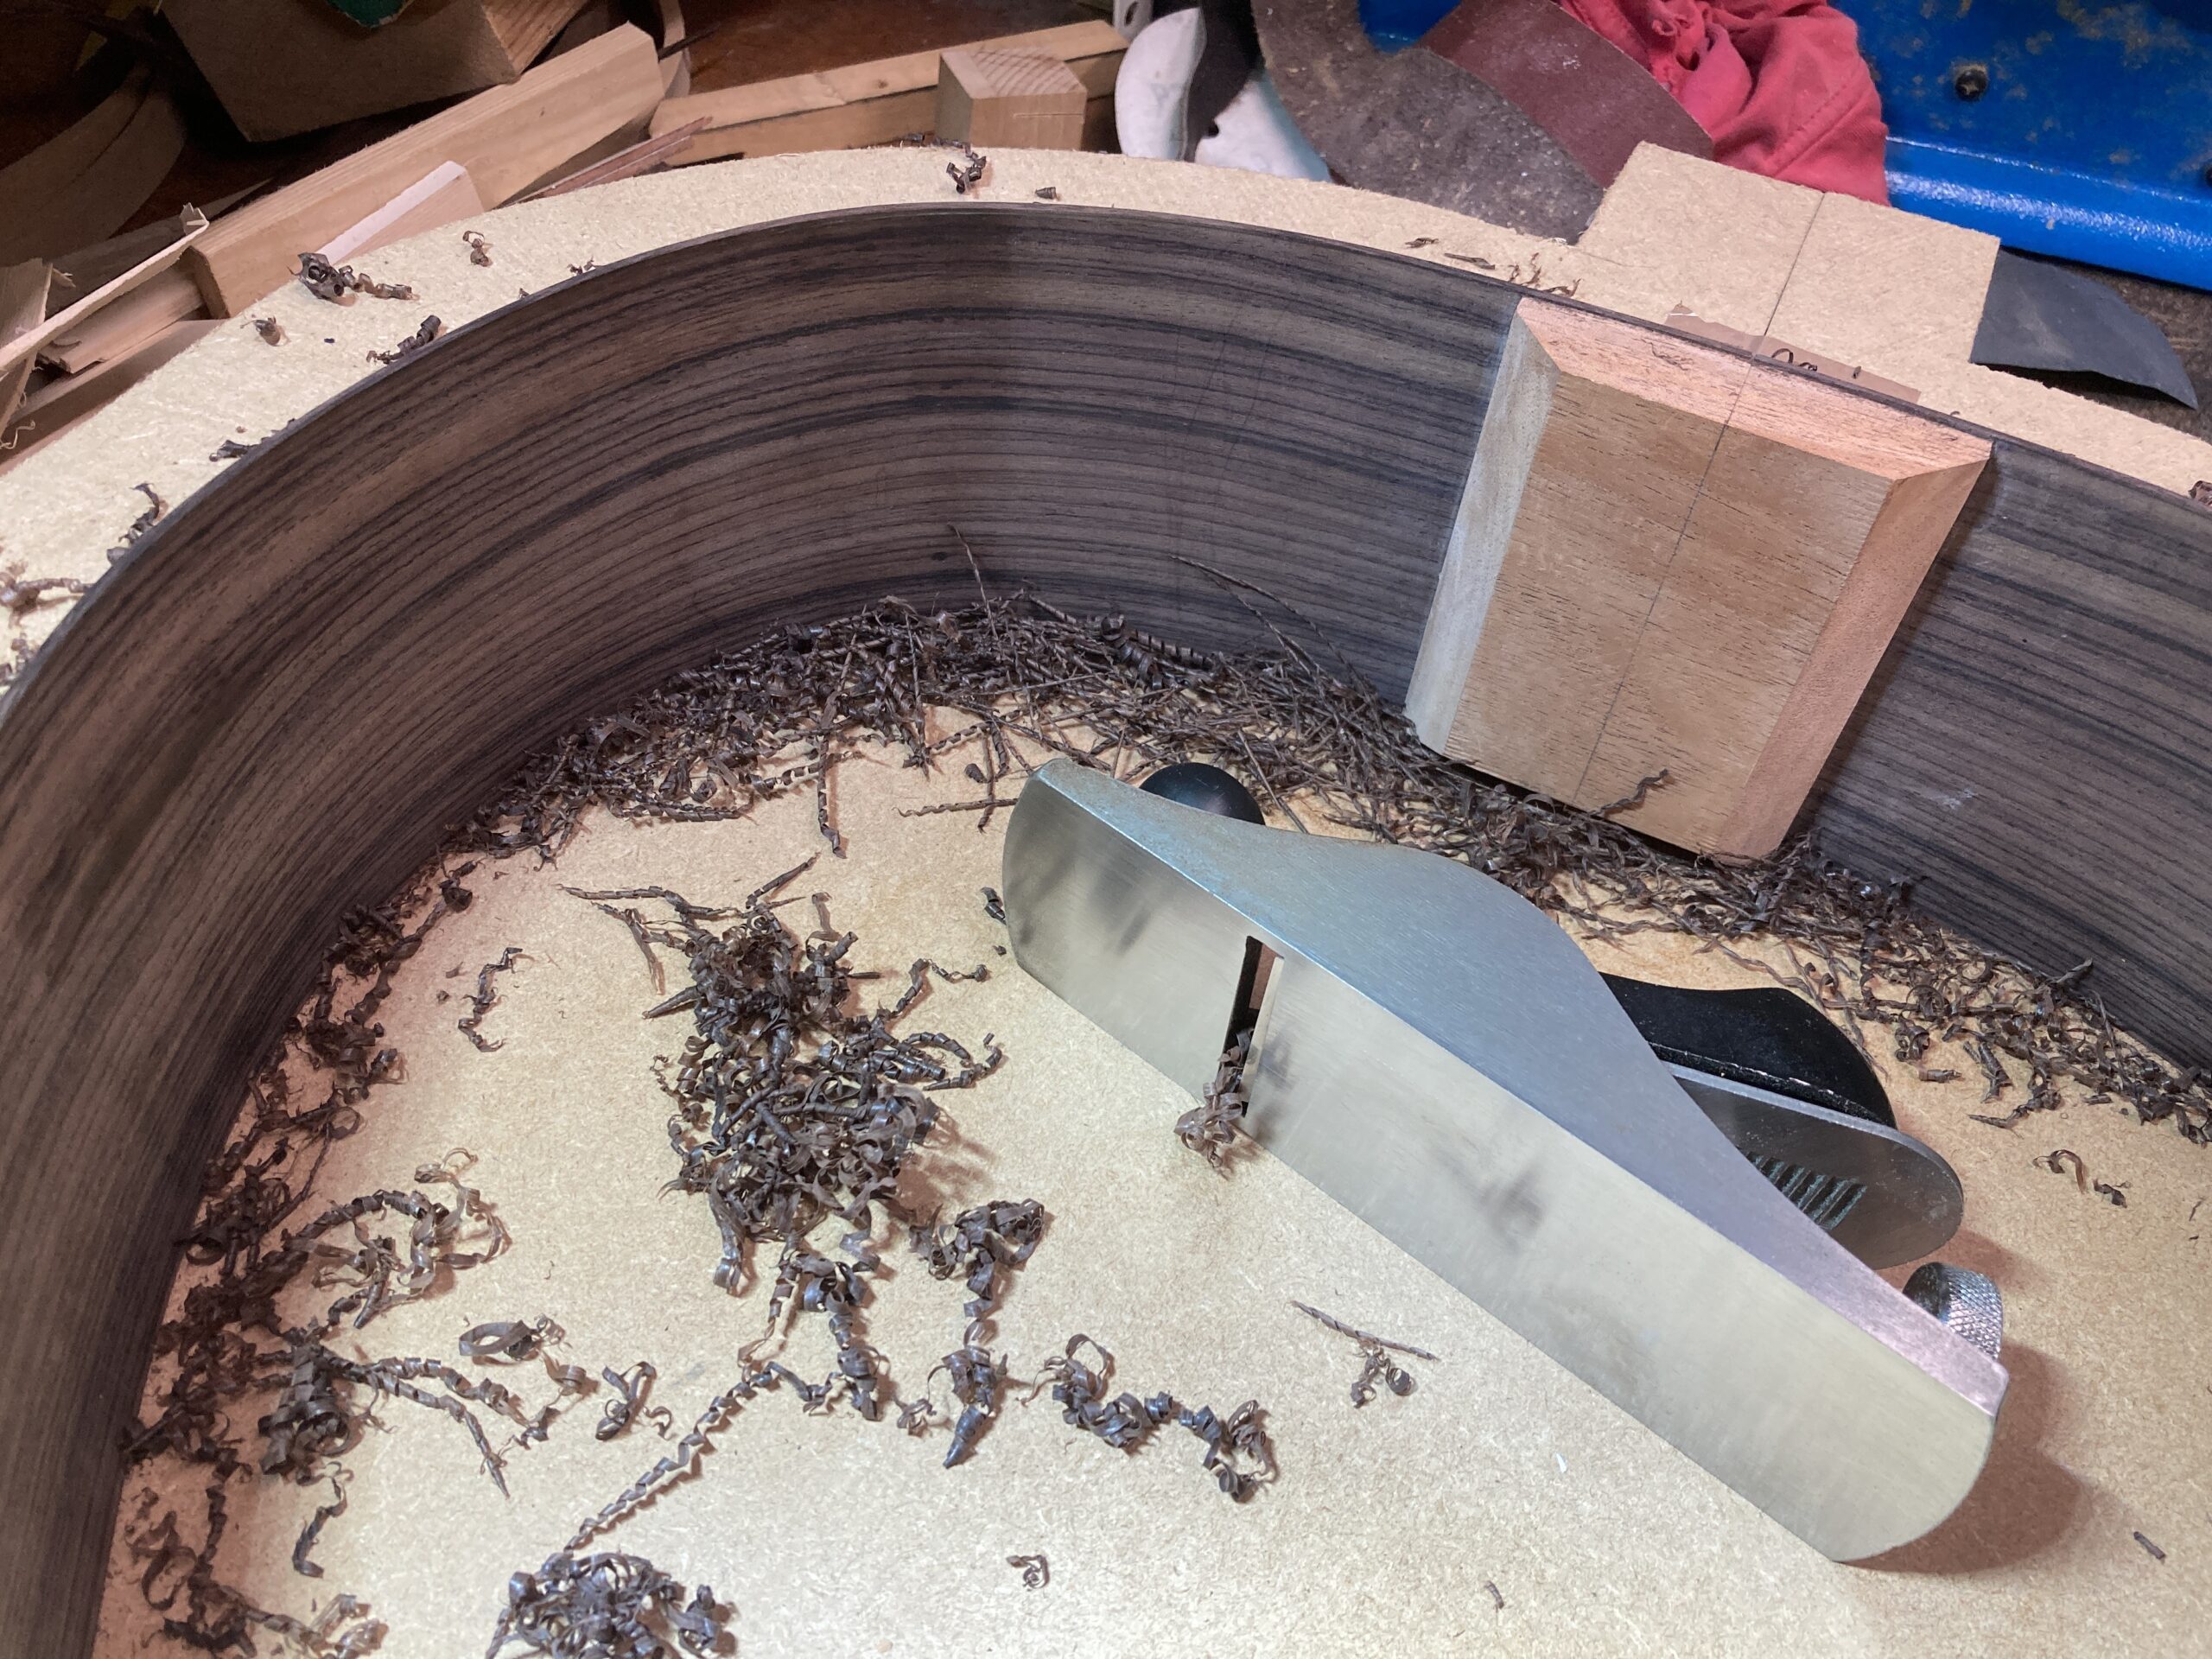
And then the back was worked against some sandpaper stuck to the radius dish for a few minutes to level out the cuts.
For the front, it was necessary to use a small sanding board as the inner parts of the head and end blocks stand proud of the sides and you need to work around them:
It was about now that I noticed there was a crease / divot in one of the sides around a patch of funky grain.
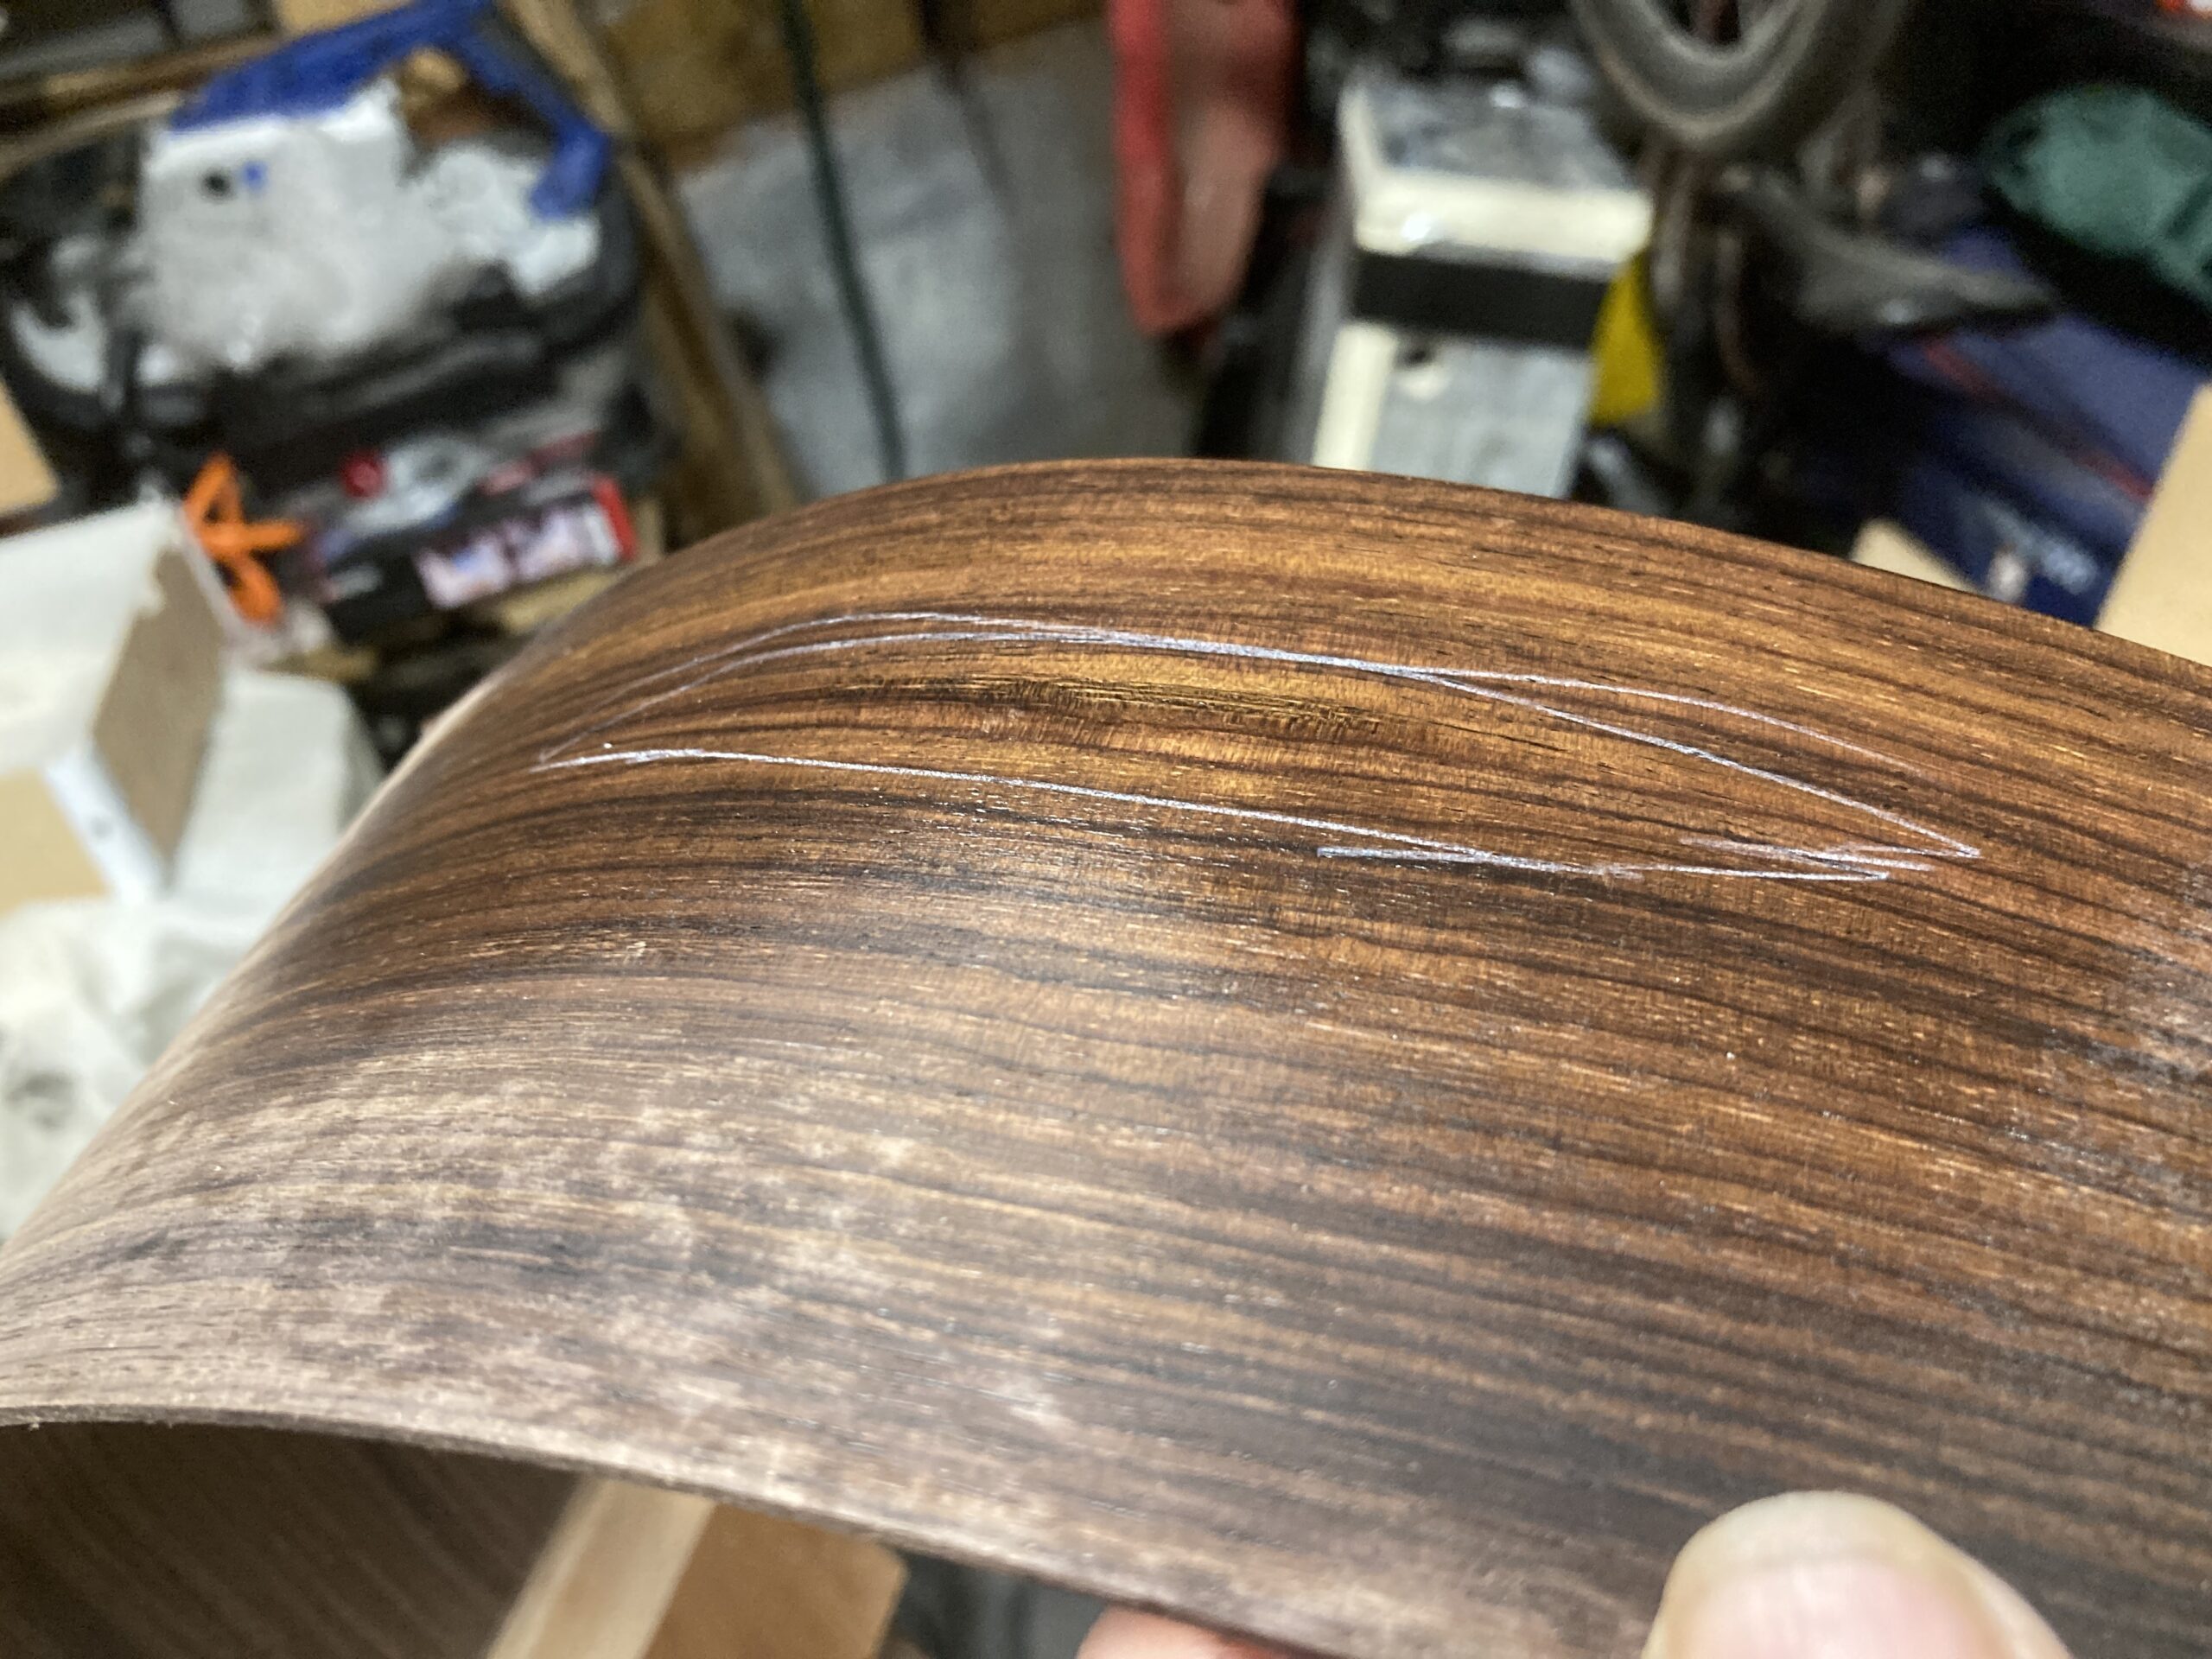
Try as I might, I couldn’t get rid of this by re-heating on the bending pipe, soaking and clamping, etc. I could get it flat, but it just wouldn’t hold its shape (even if clamped for several days).
I was concerned that this might be a weak spot and split, so (rightly or wrongly) ended up fitting a doubler to the side in this area to try and support it, and reduce the amount of distortion (maybe to within ‘sandable’ depth).
It did help a bit:
I figure that since people are happy to mount preamps, etc. into the sides of guitars, it can’t do much harm.