
I wanted to fit some sort of rosette before planing the top down to thickness. I had some ebony and maple offcuts from previous projects so thought I’d try and make a simple inlay design using my small CNC machine.
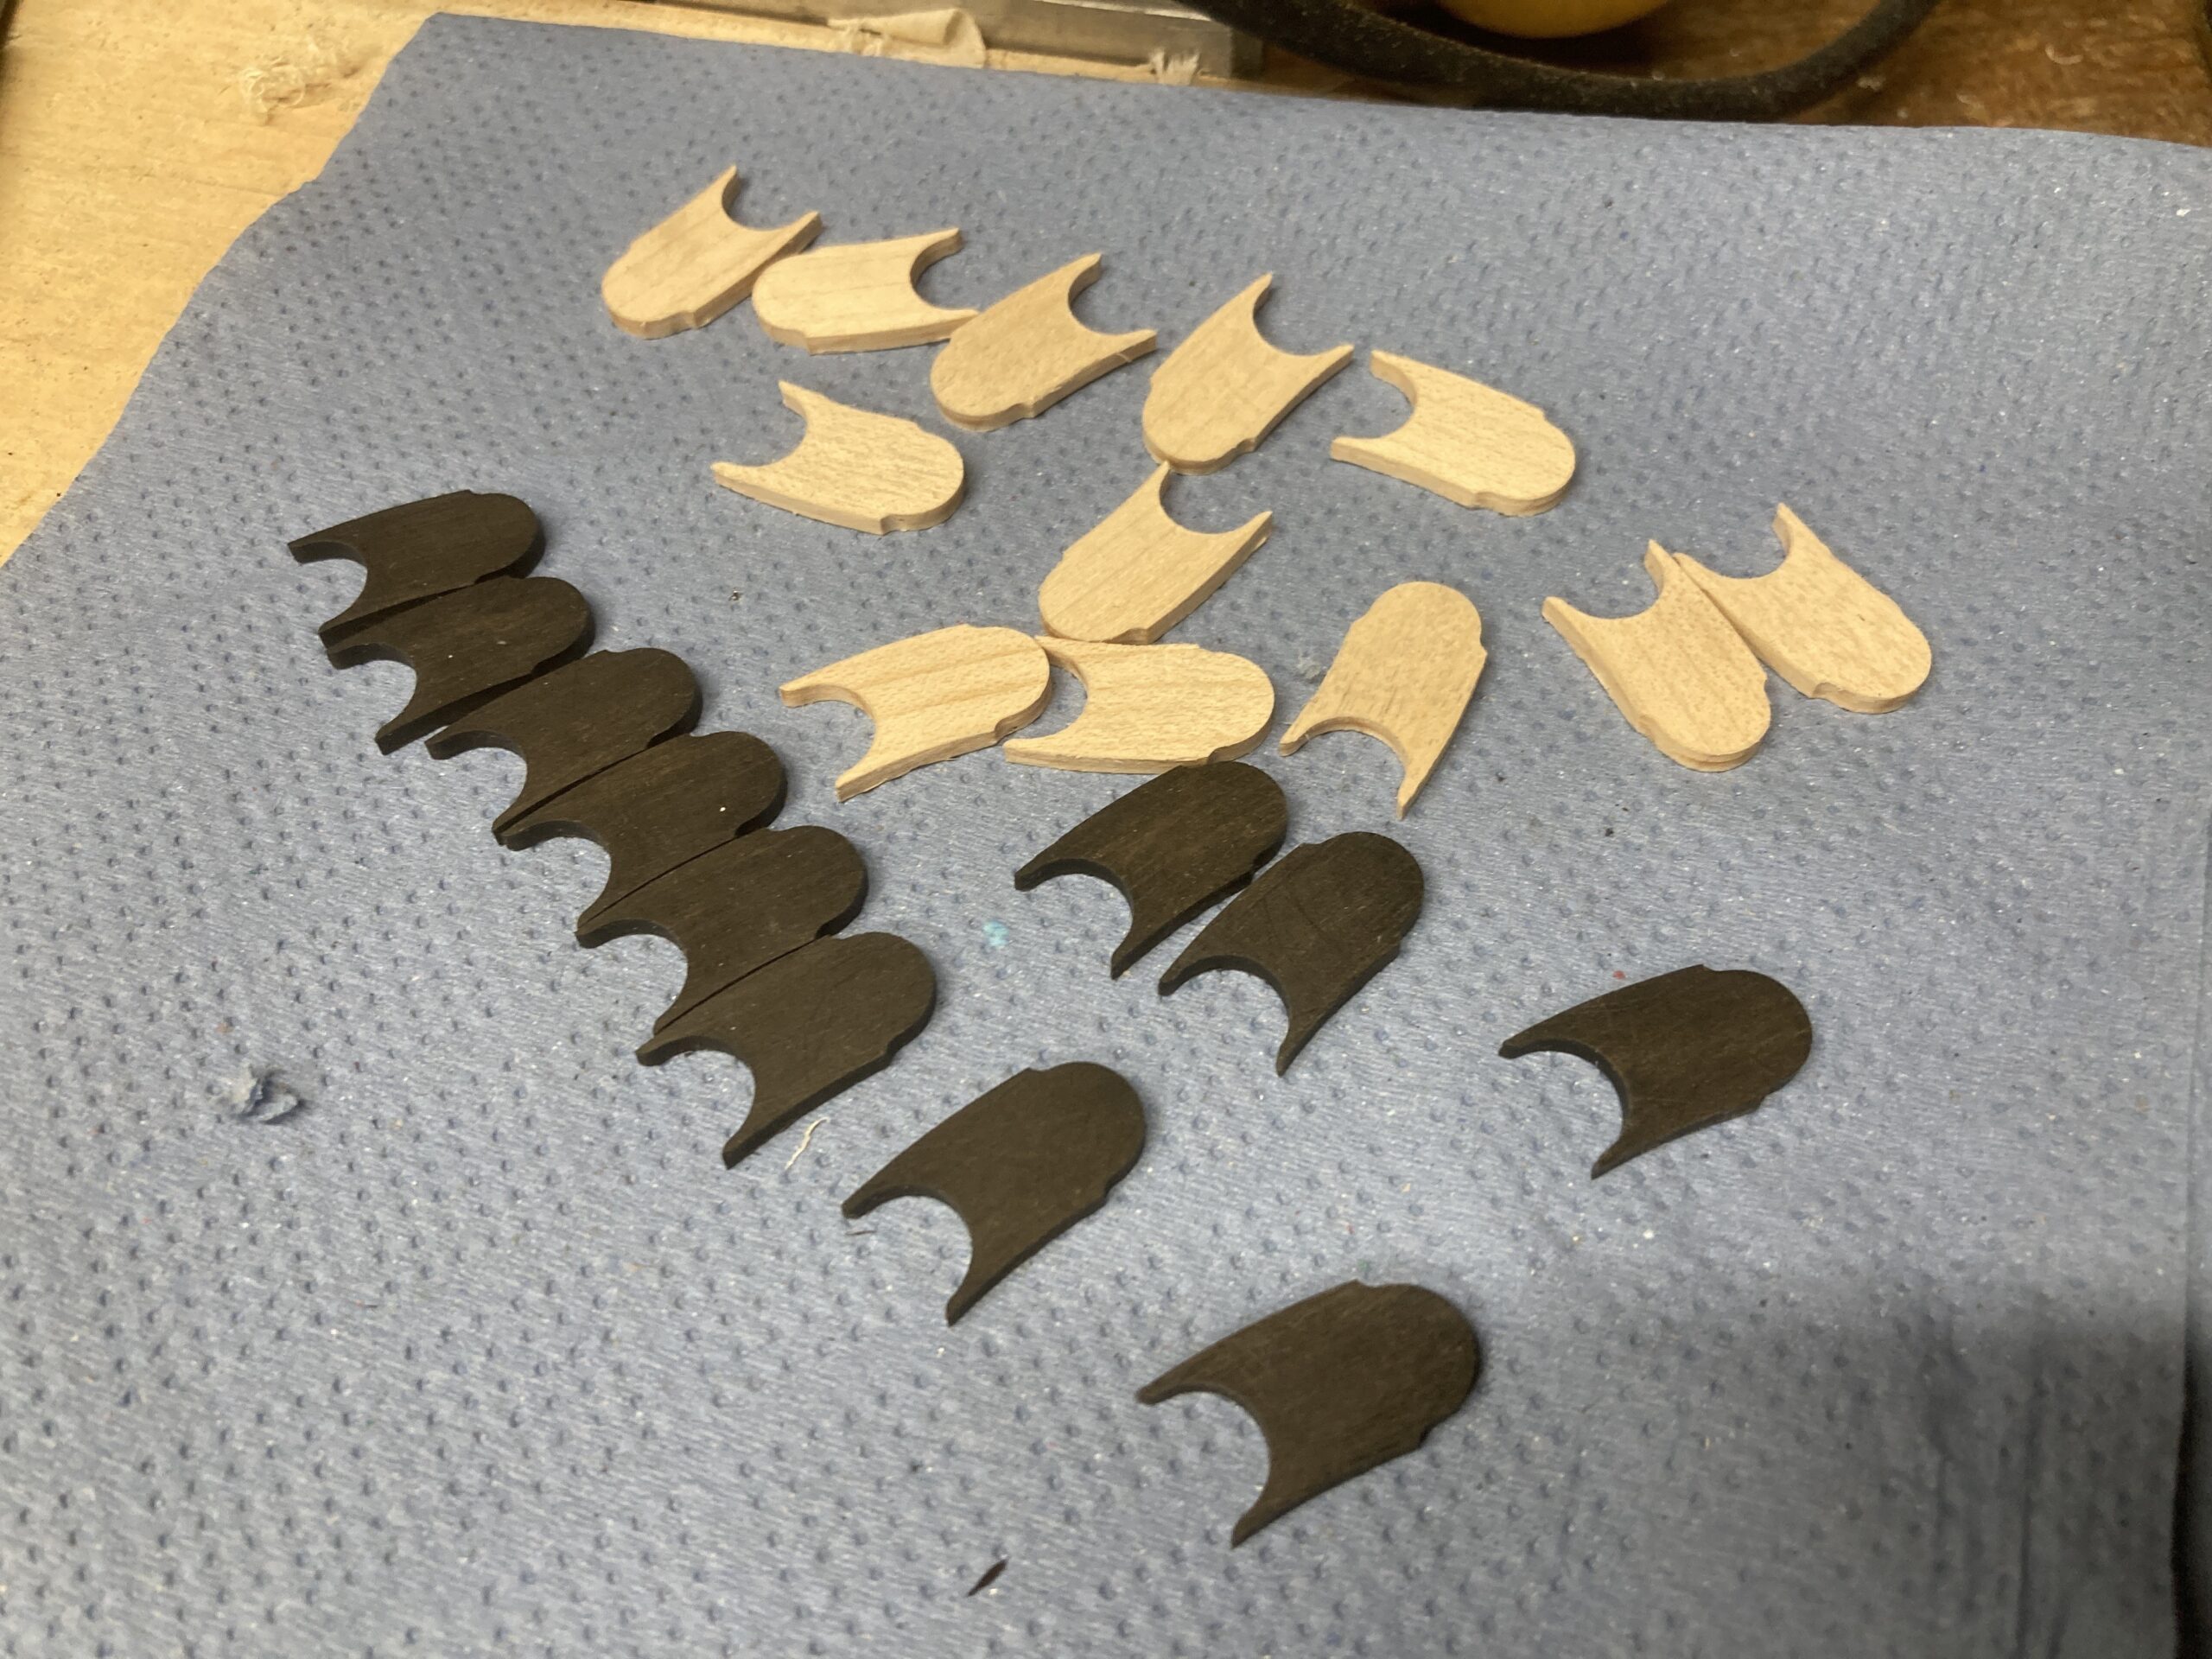
I cut out a load of identical segments that were a bit wider than the finished design
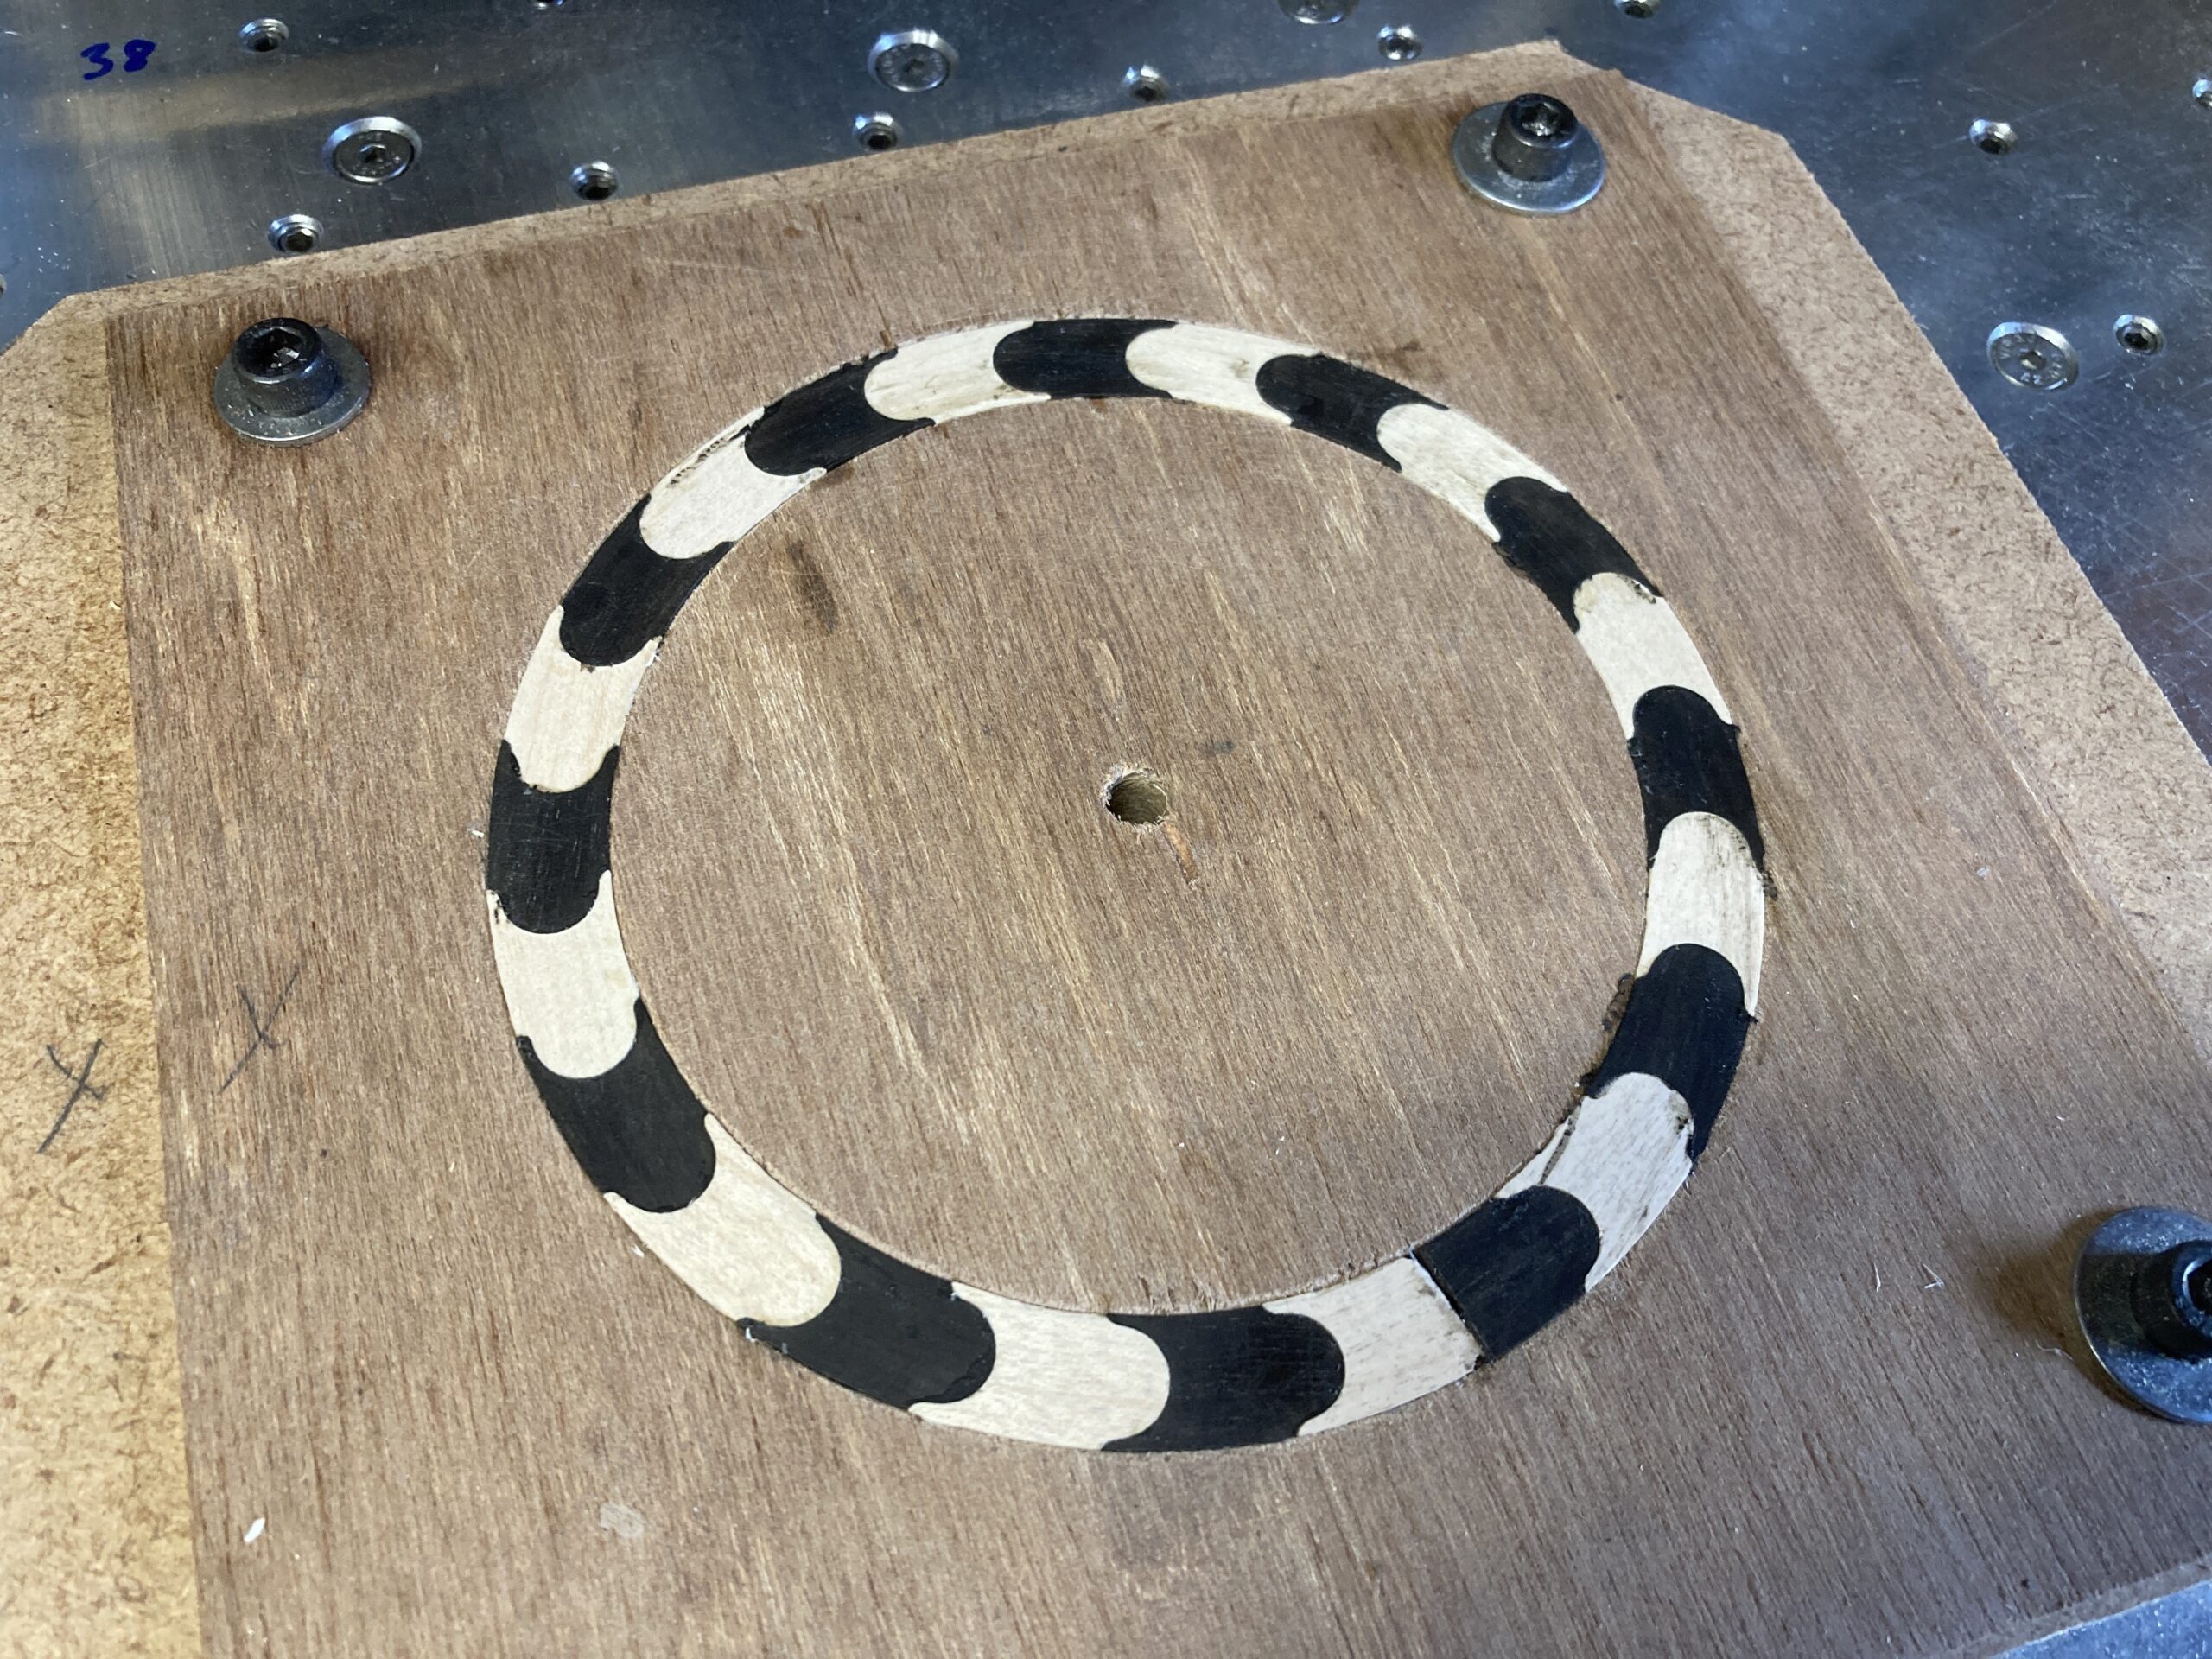
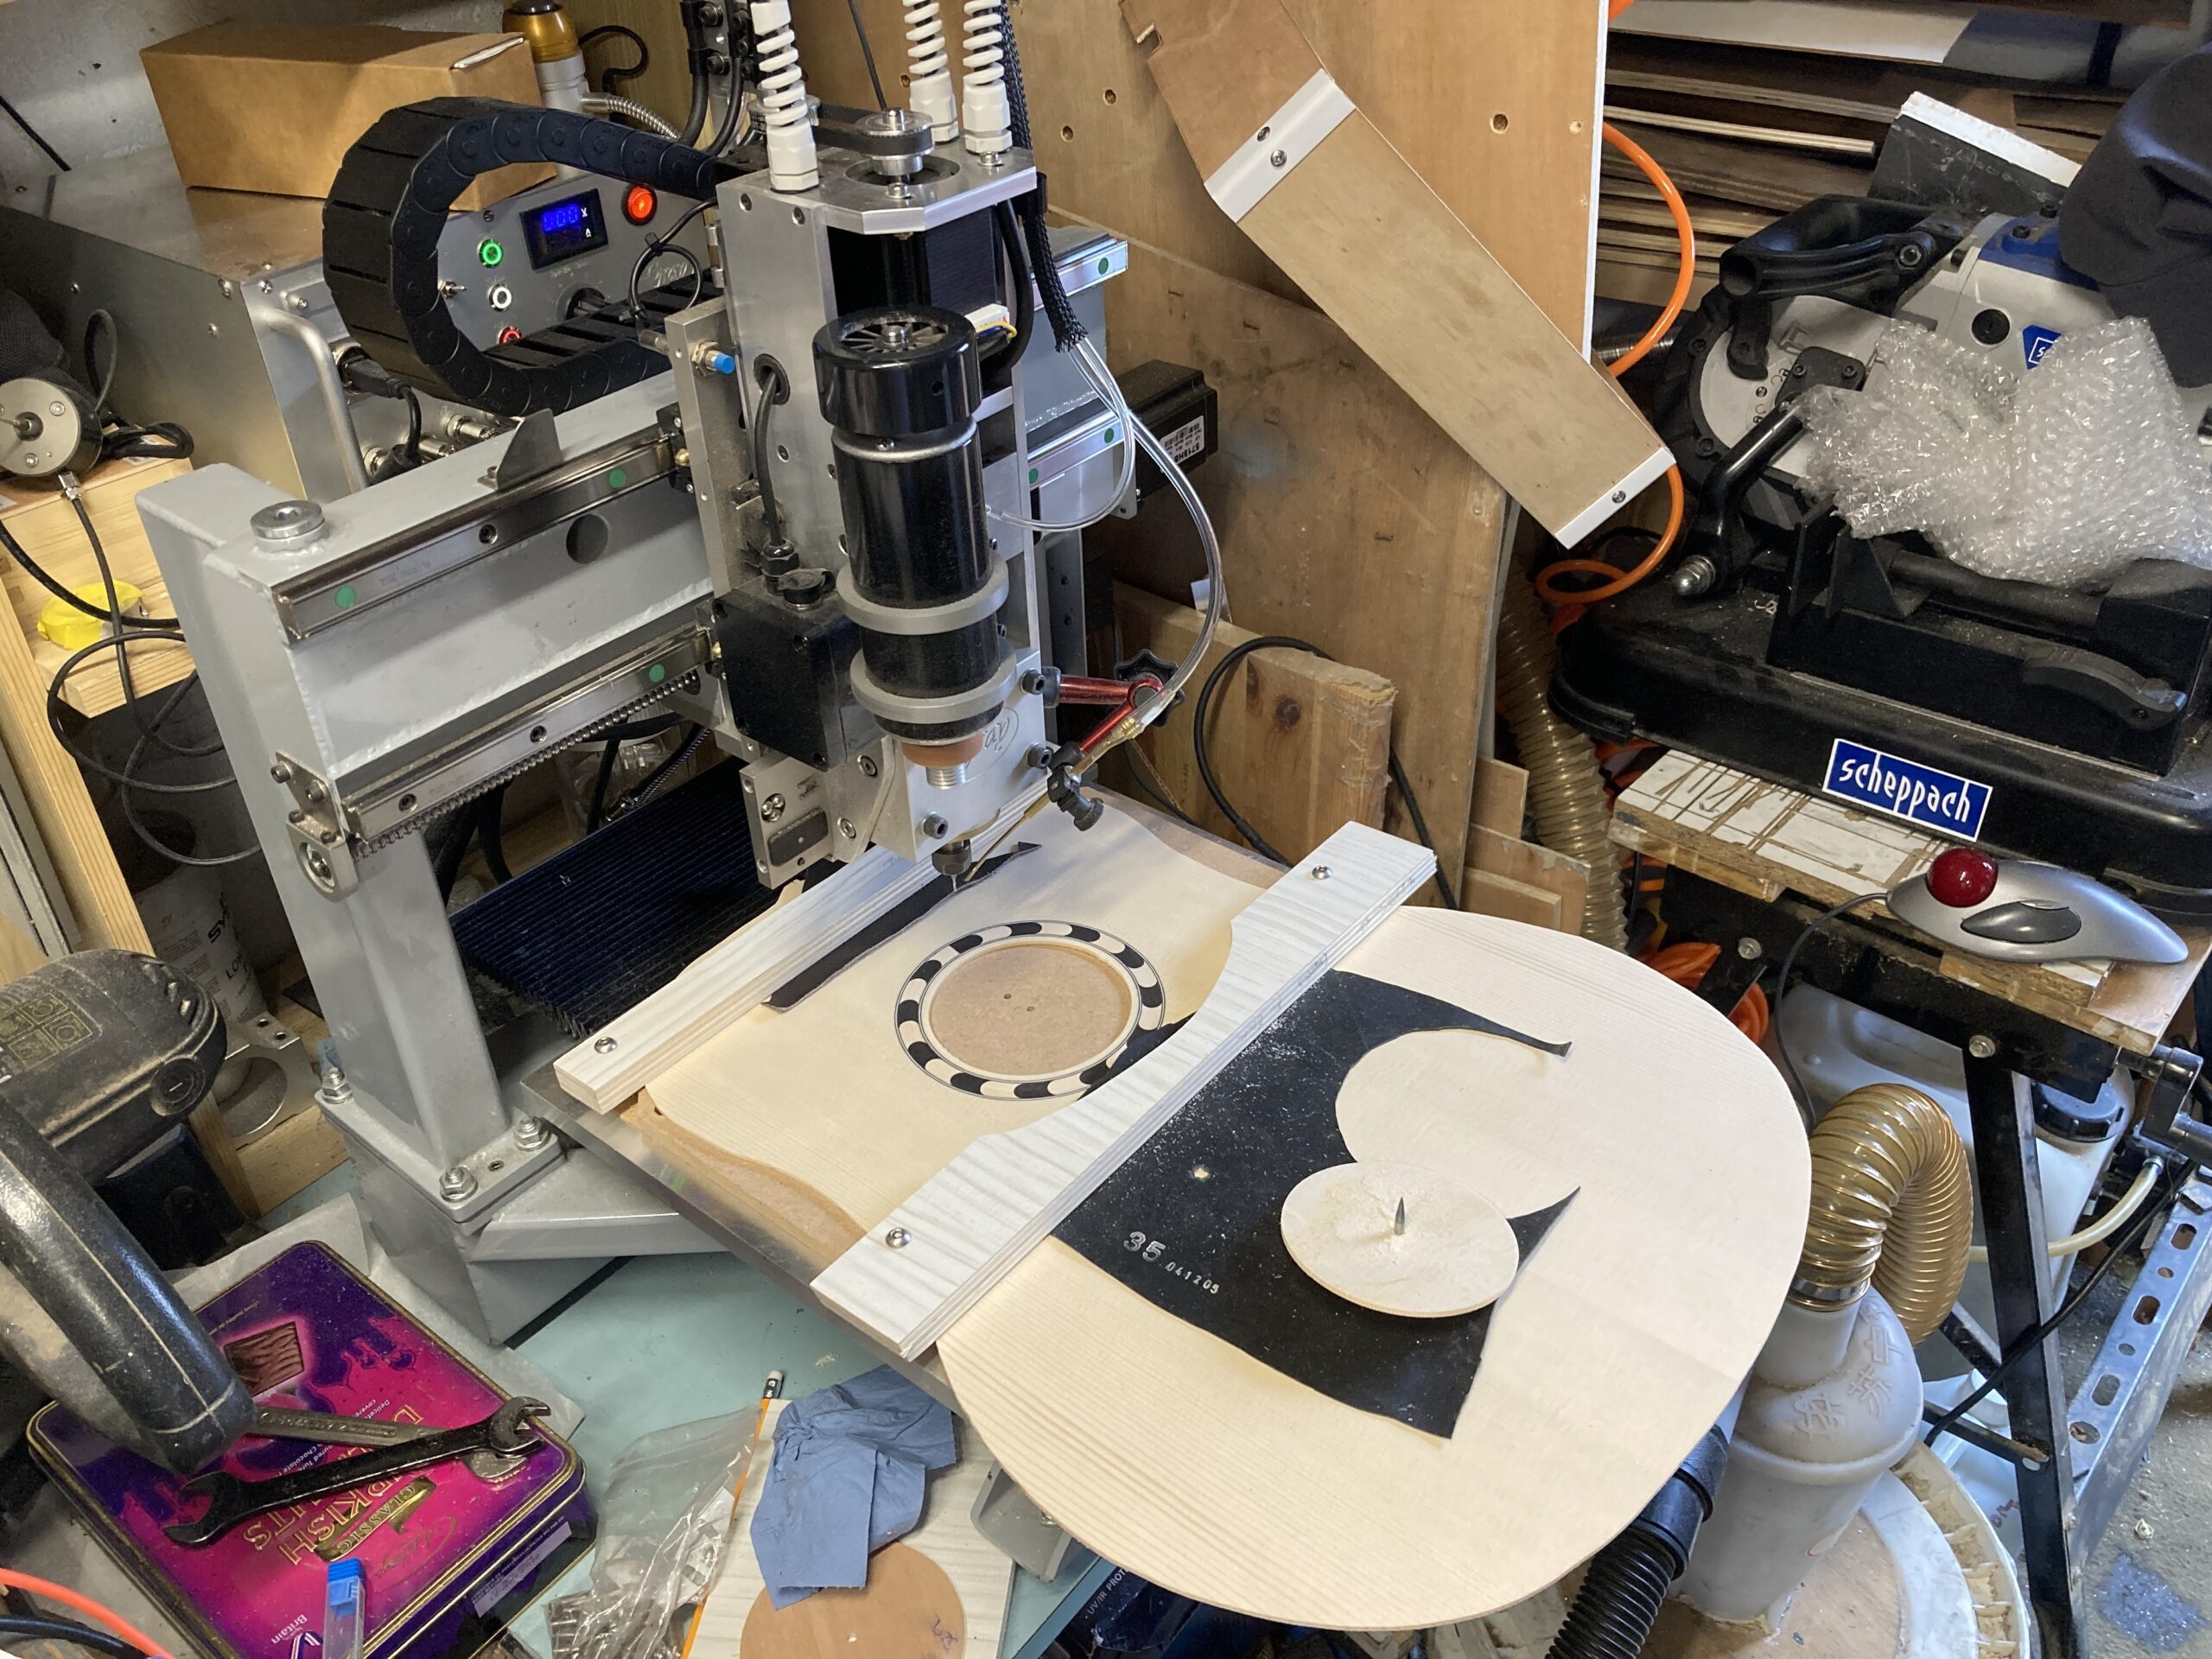
Then cut a groove in a scrap piece of plywood and glued the segments into it. The stack-up of tolerances meant that I had to trim one piece to get them to fit (bottom right in the photo)
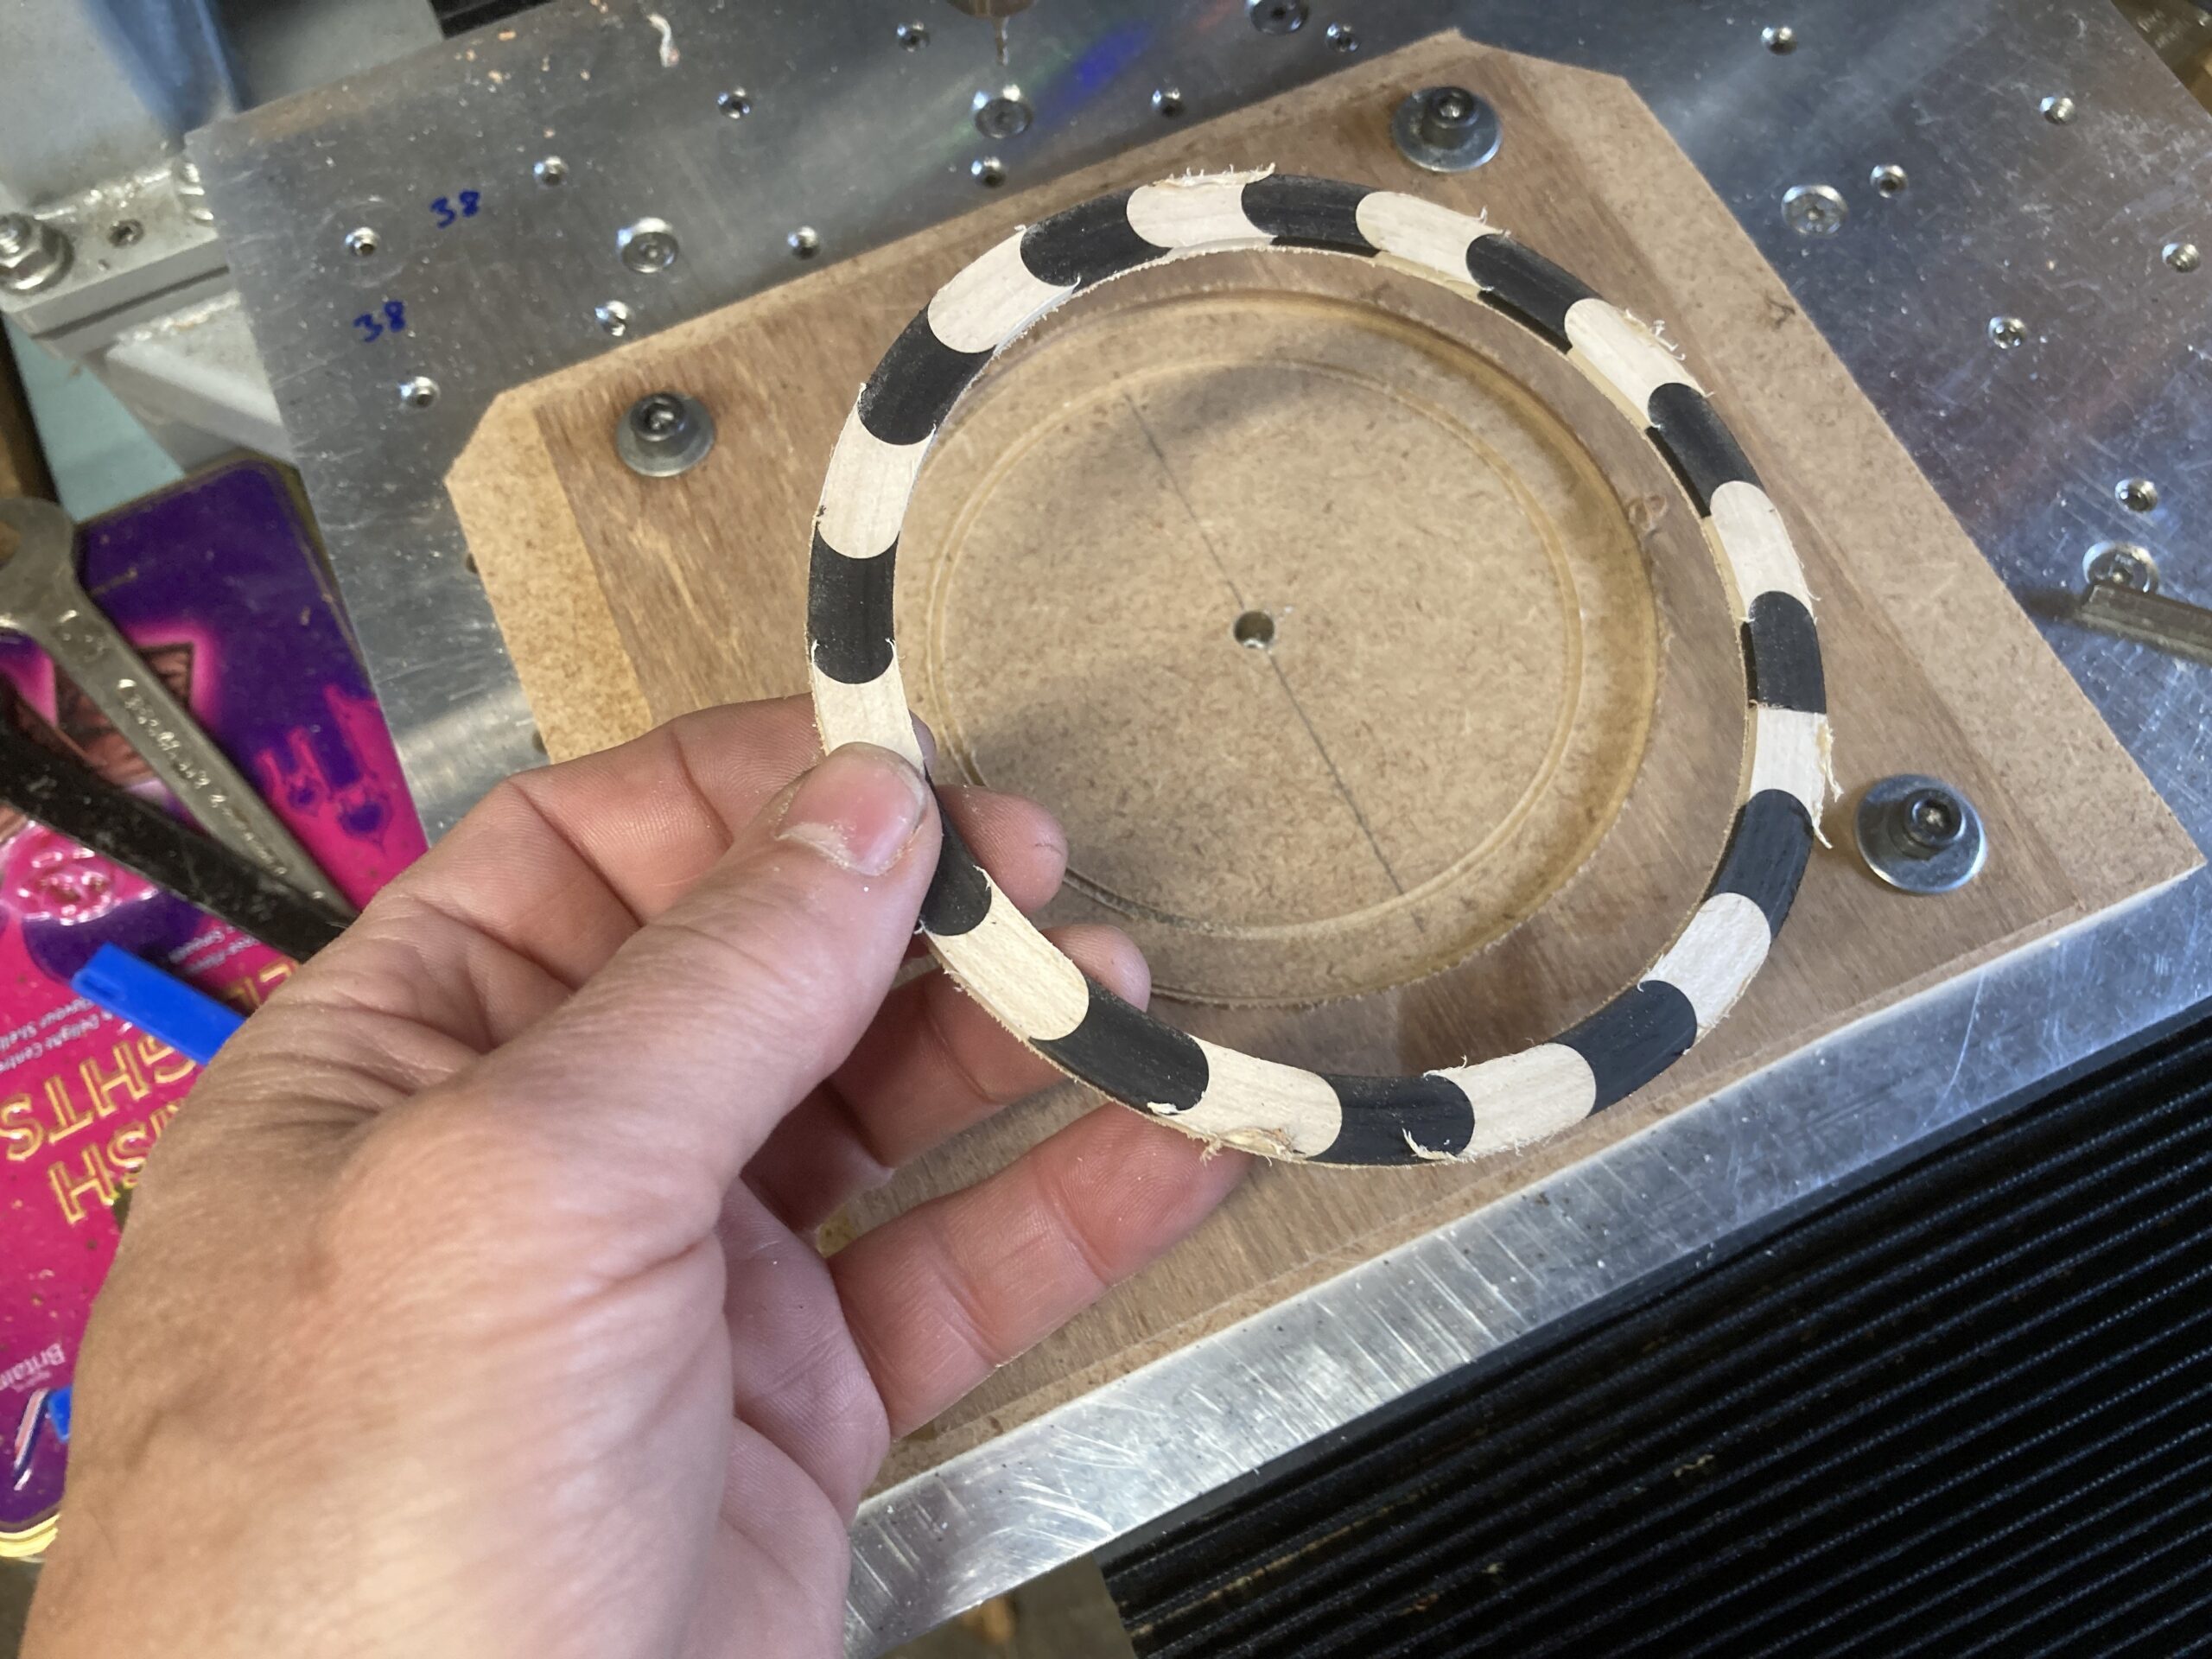
I used the CNC again to level them off and then to cut around either side to release the ring with a bit of plywood stuck to the other side. This is the back of the design, so the pattern will go clockwise when it is inlaid into the top.
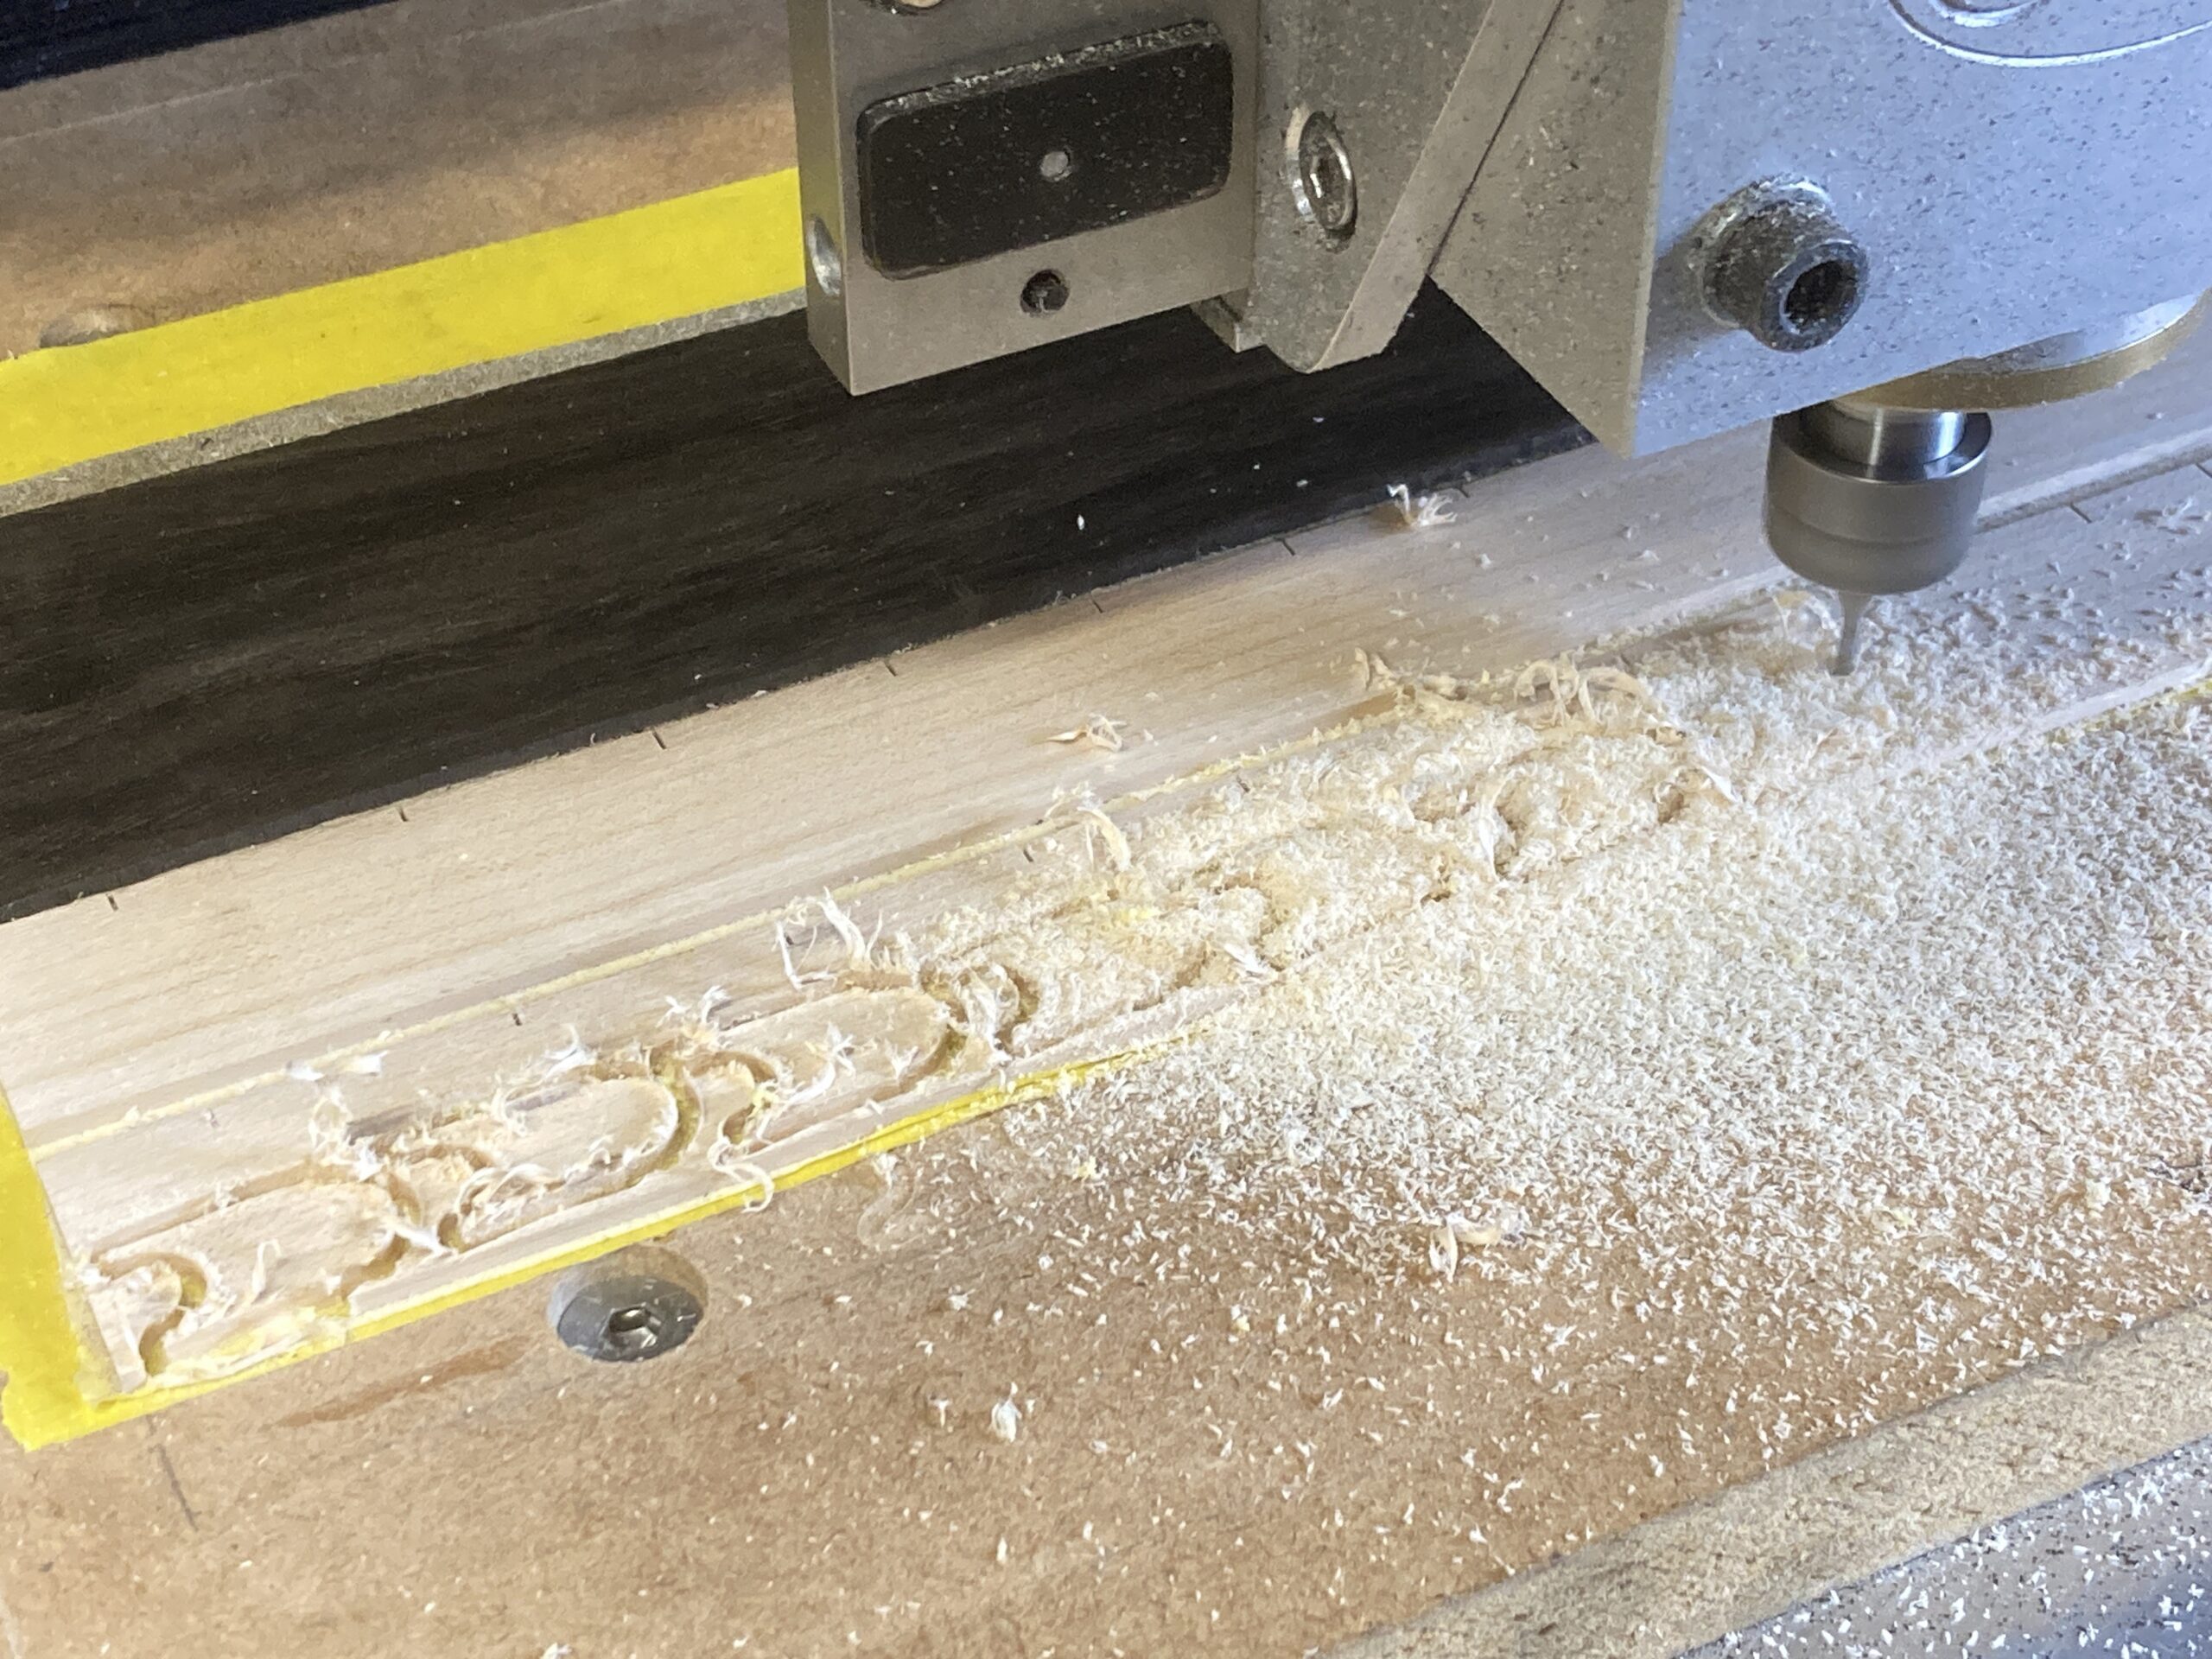
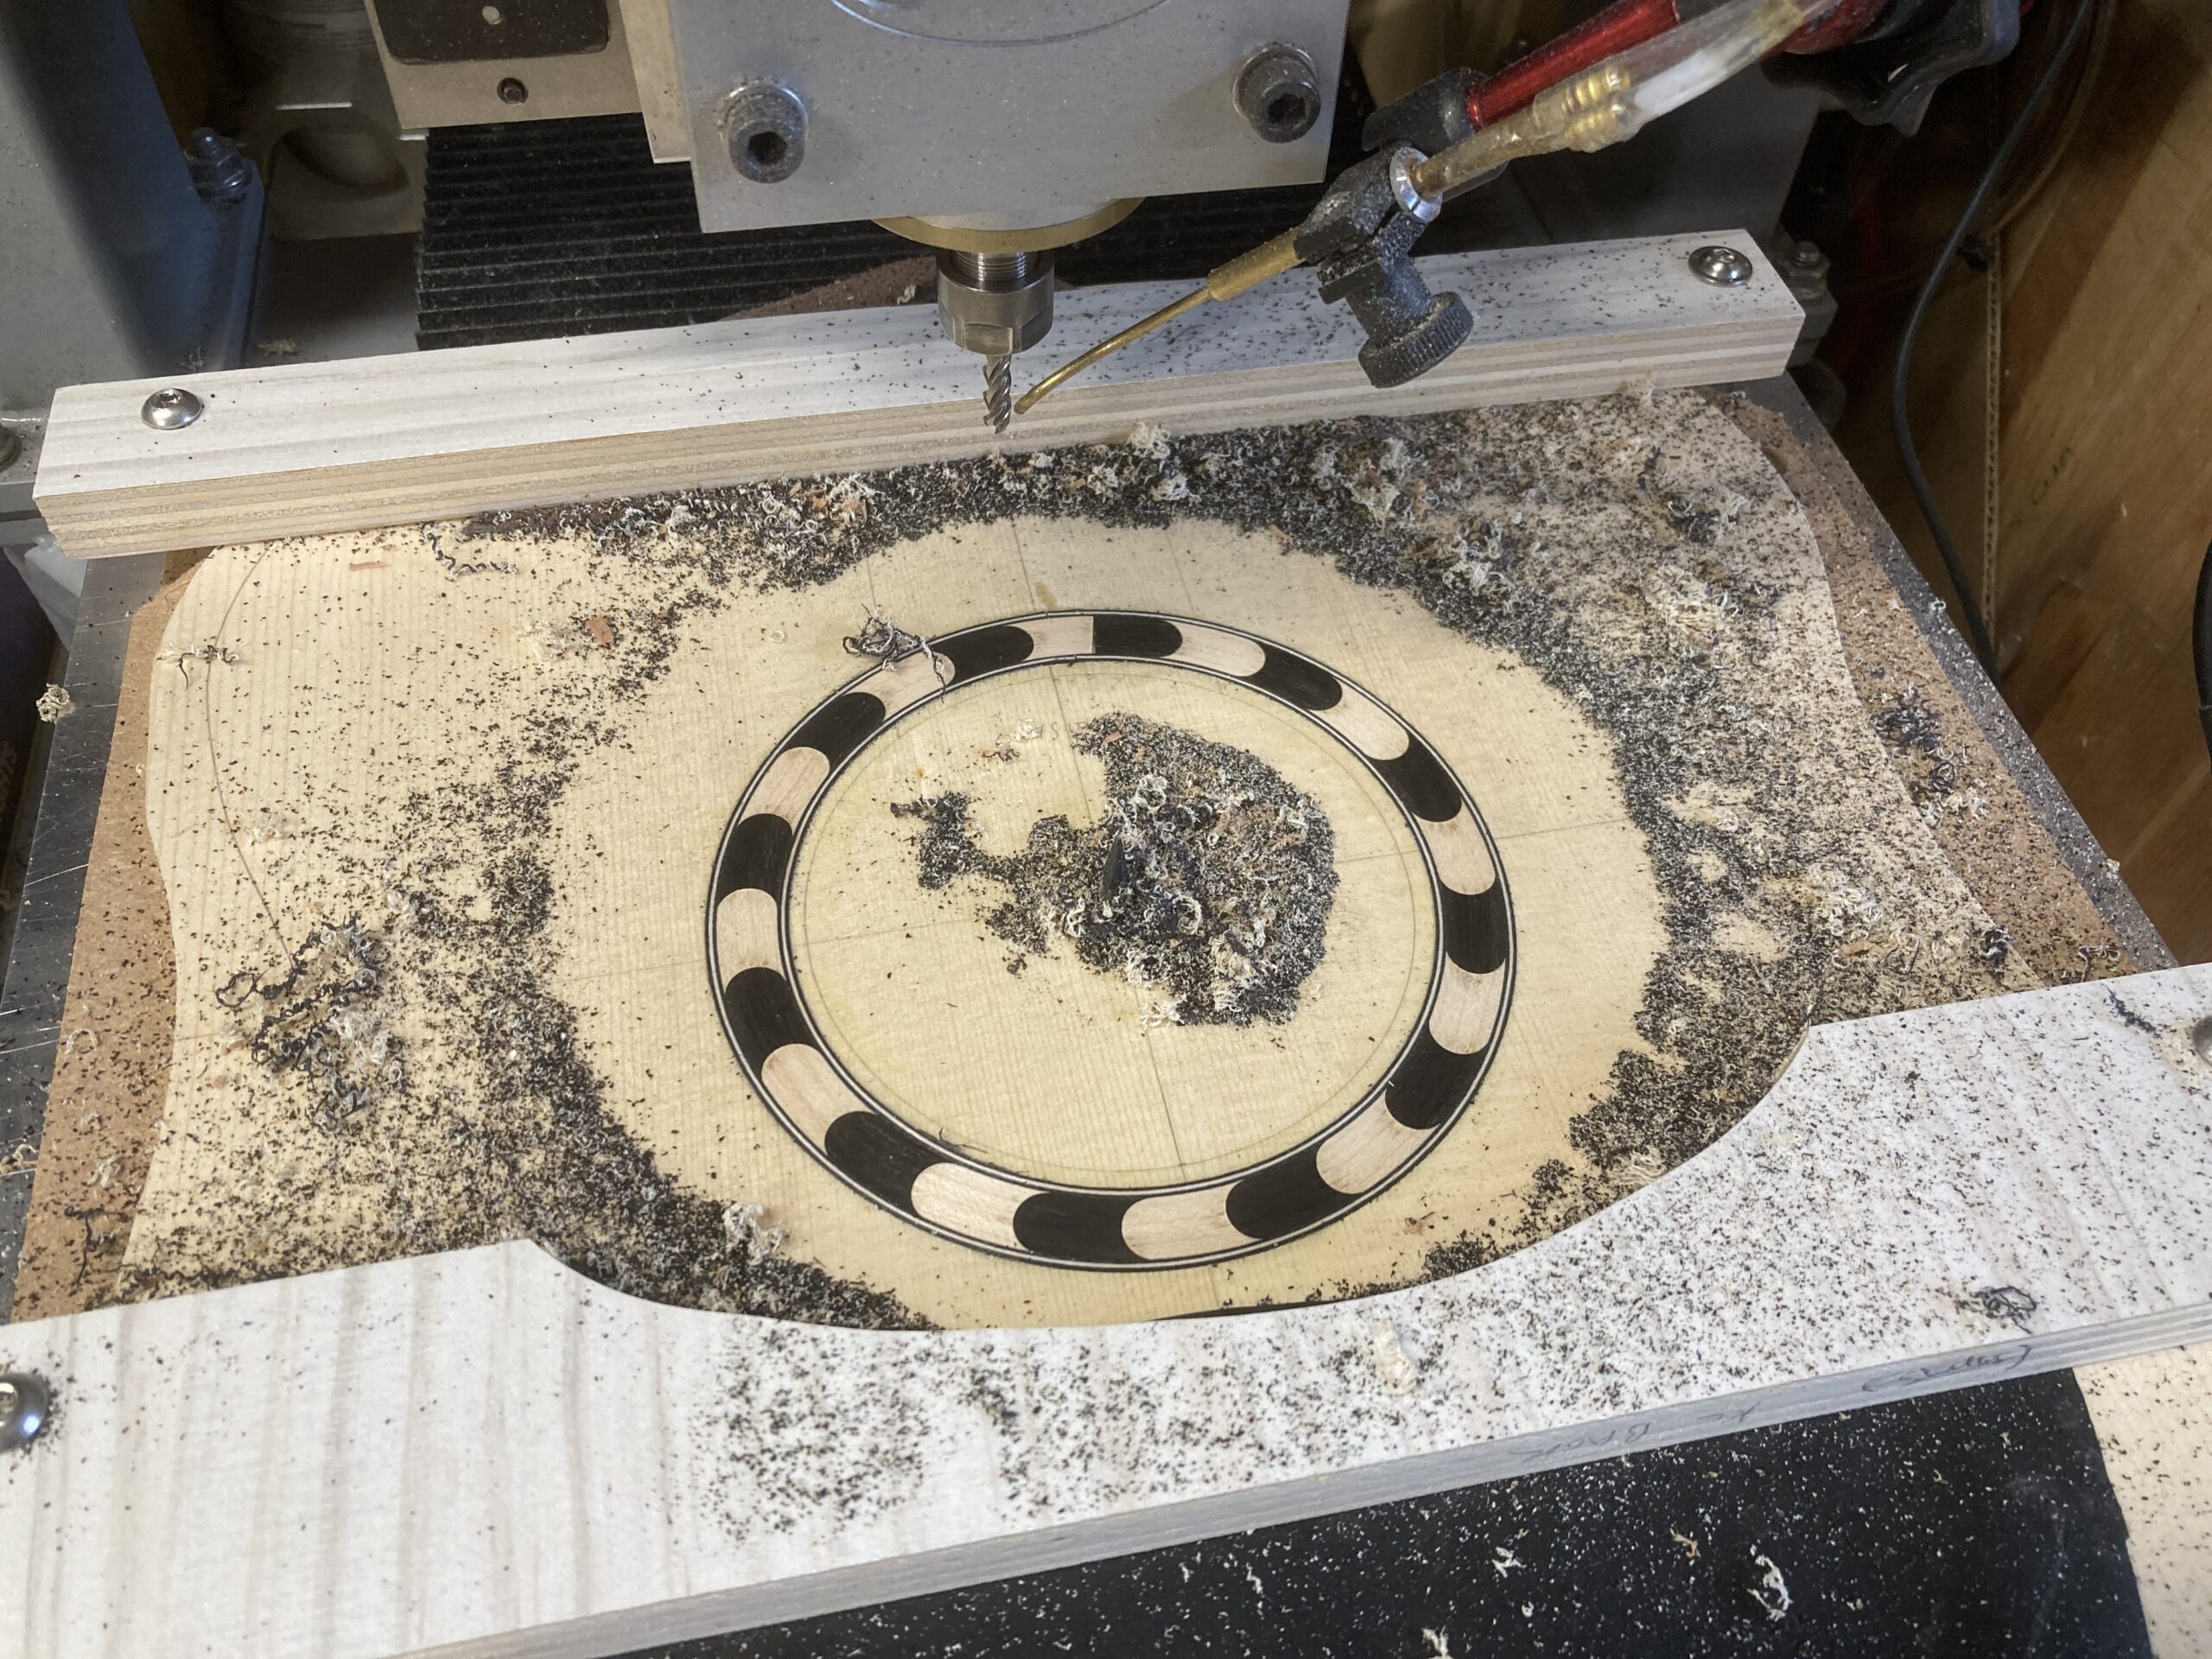
I used my CNC router again to cut a recess for the rosette into the top (not without a lot of trepidation, mind!).
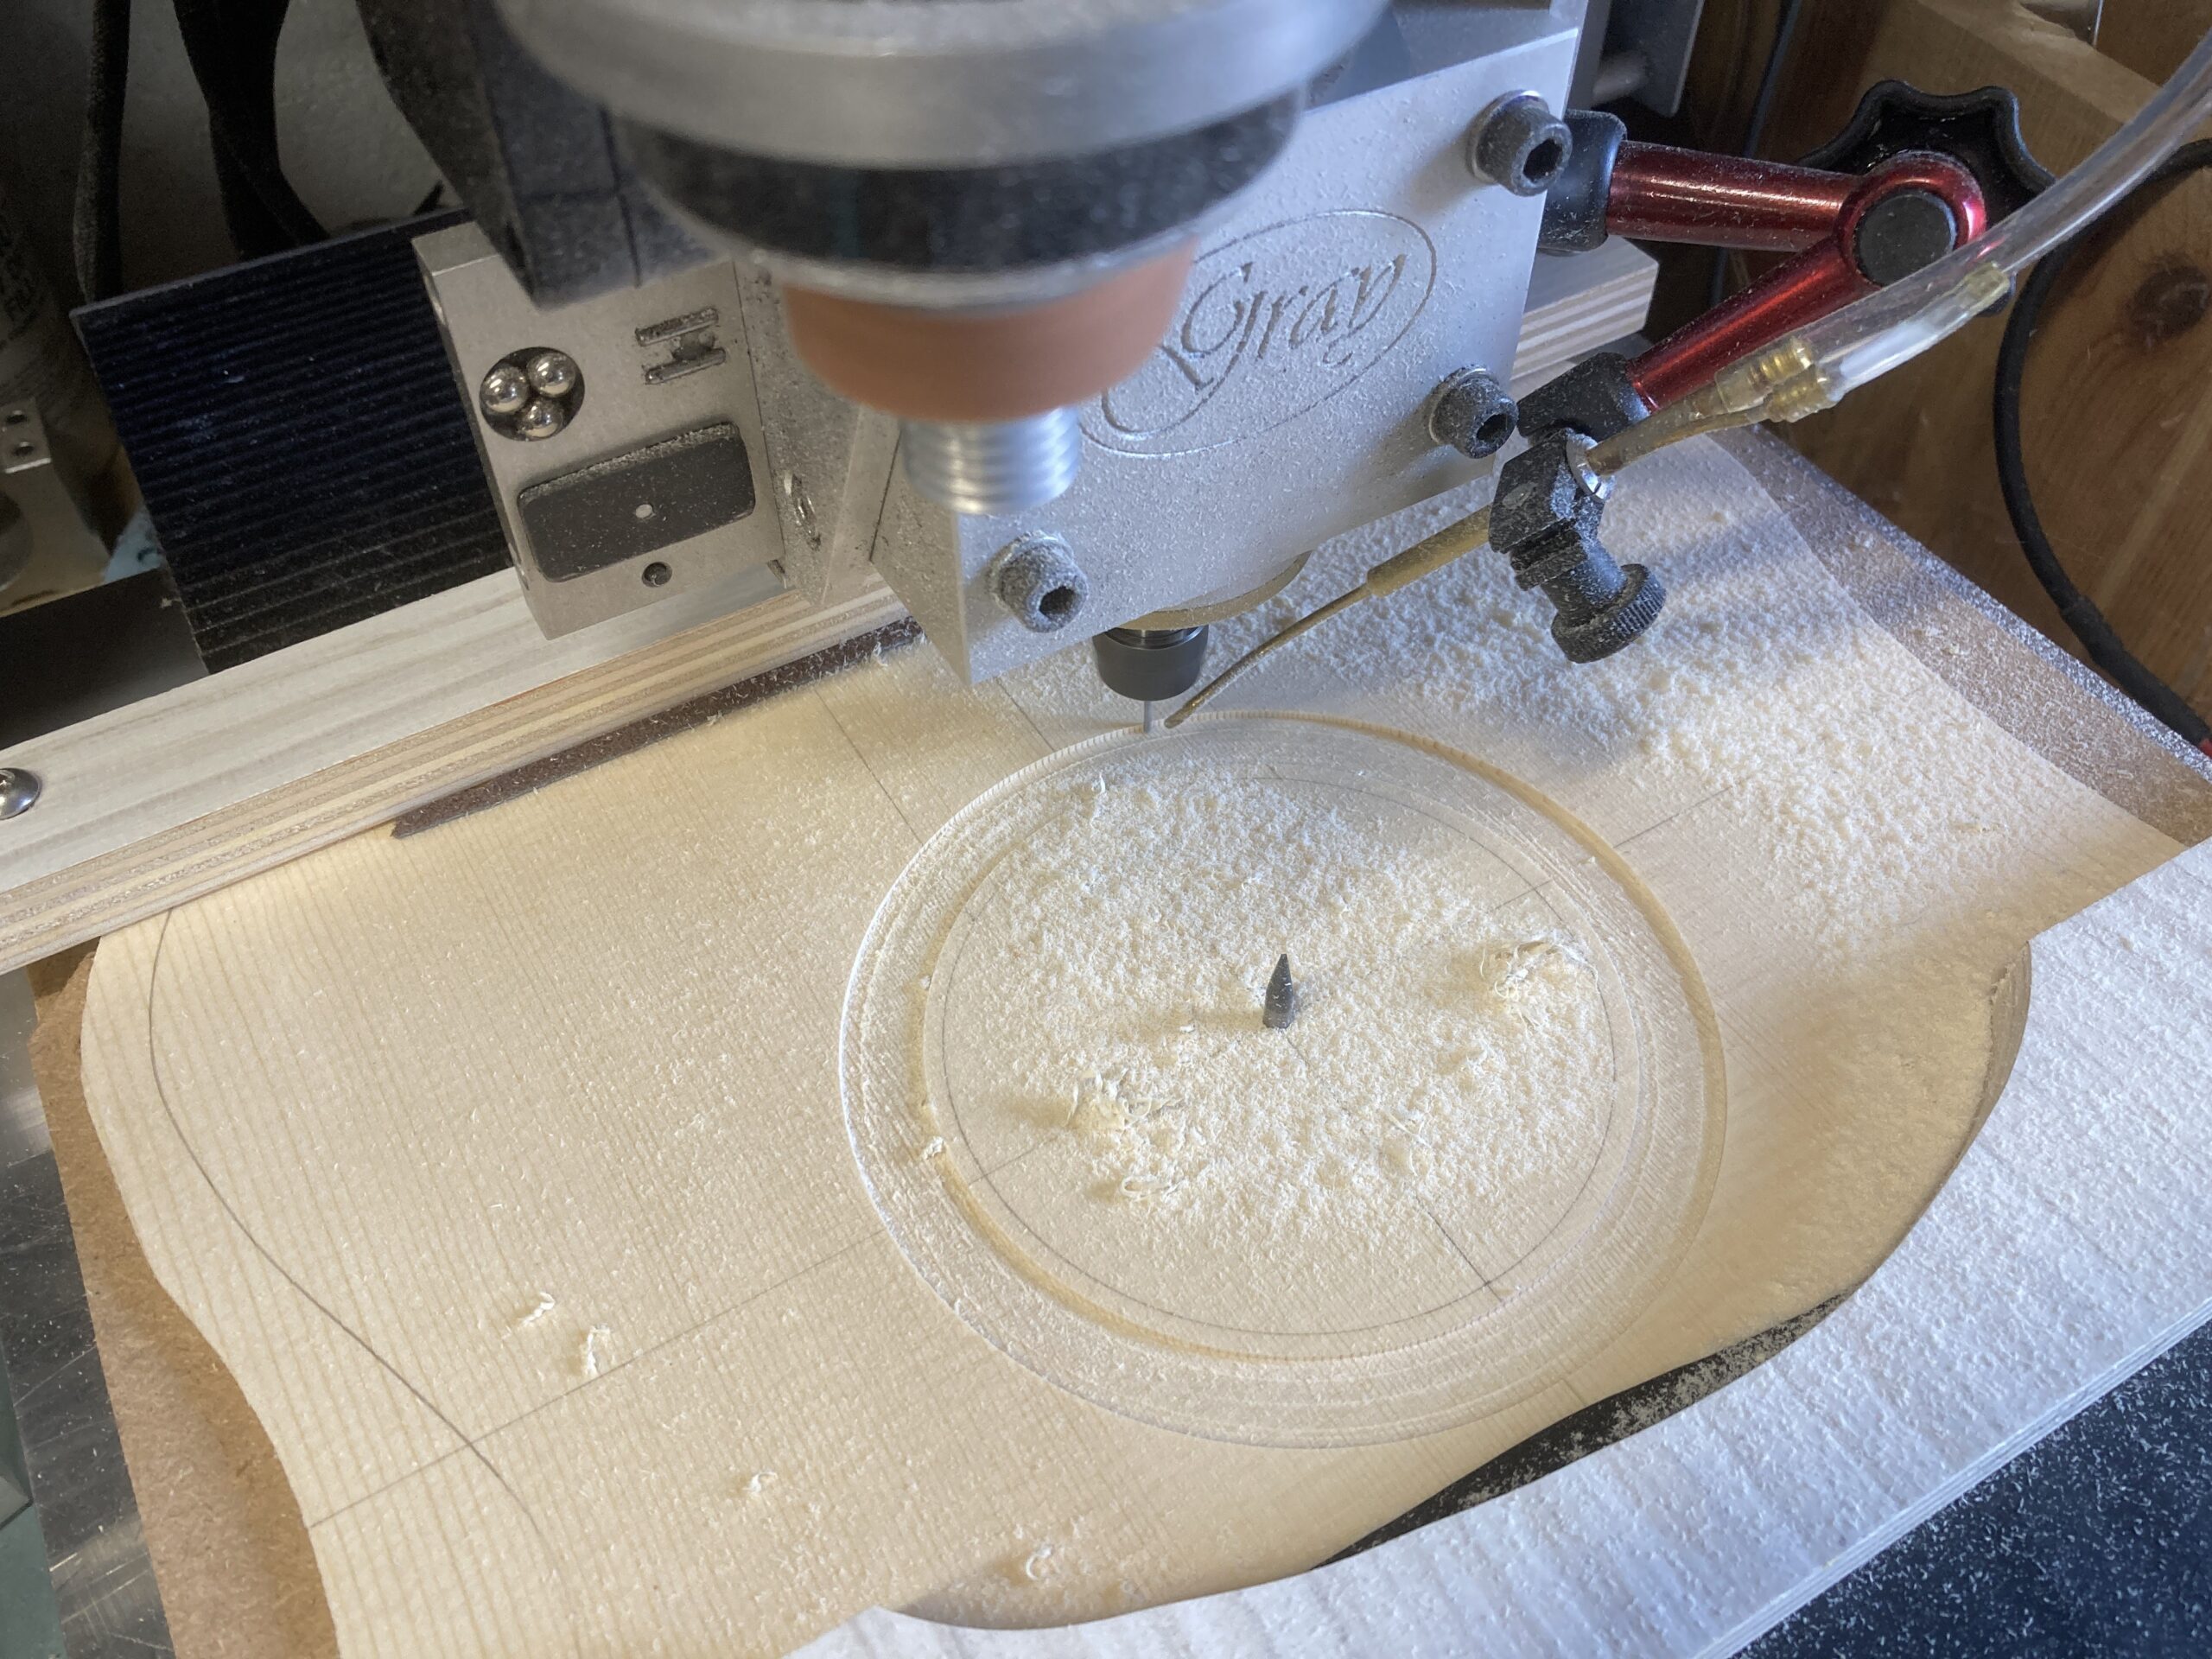
I hogged the bulk out with a conventional spiral flute bit, then used a down-cutting bit to gradually machine away the OD and ID.
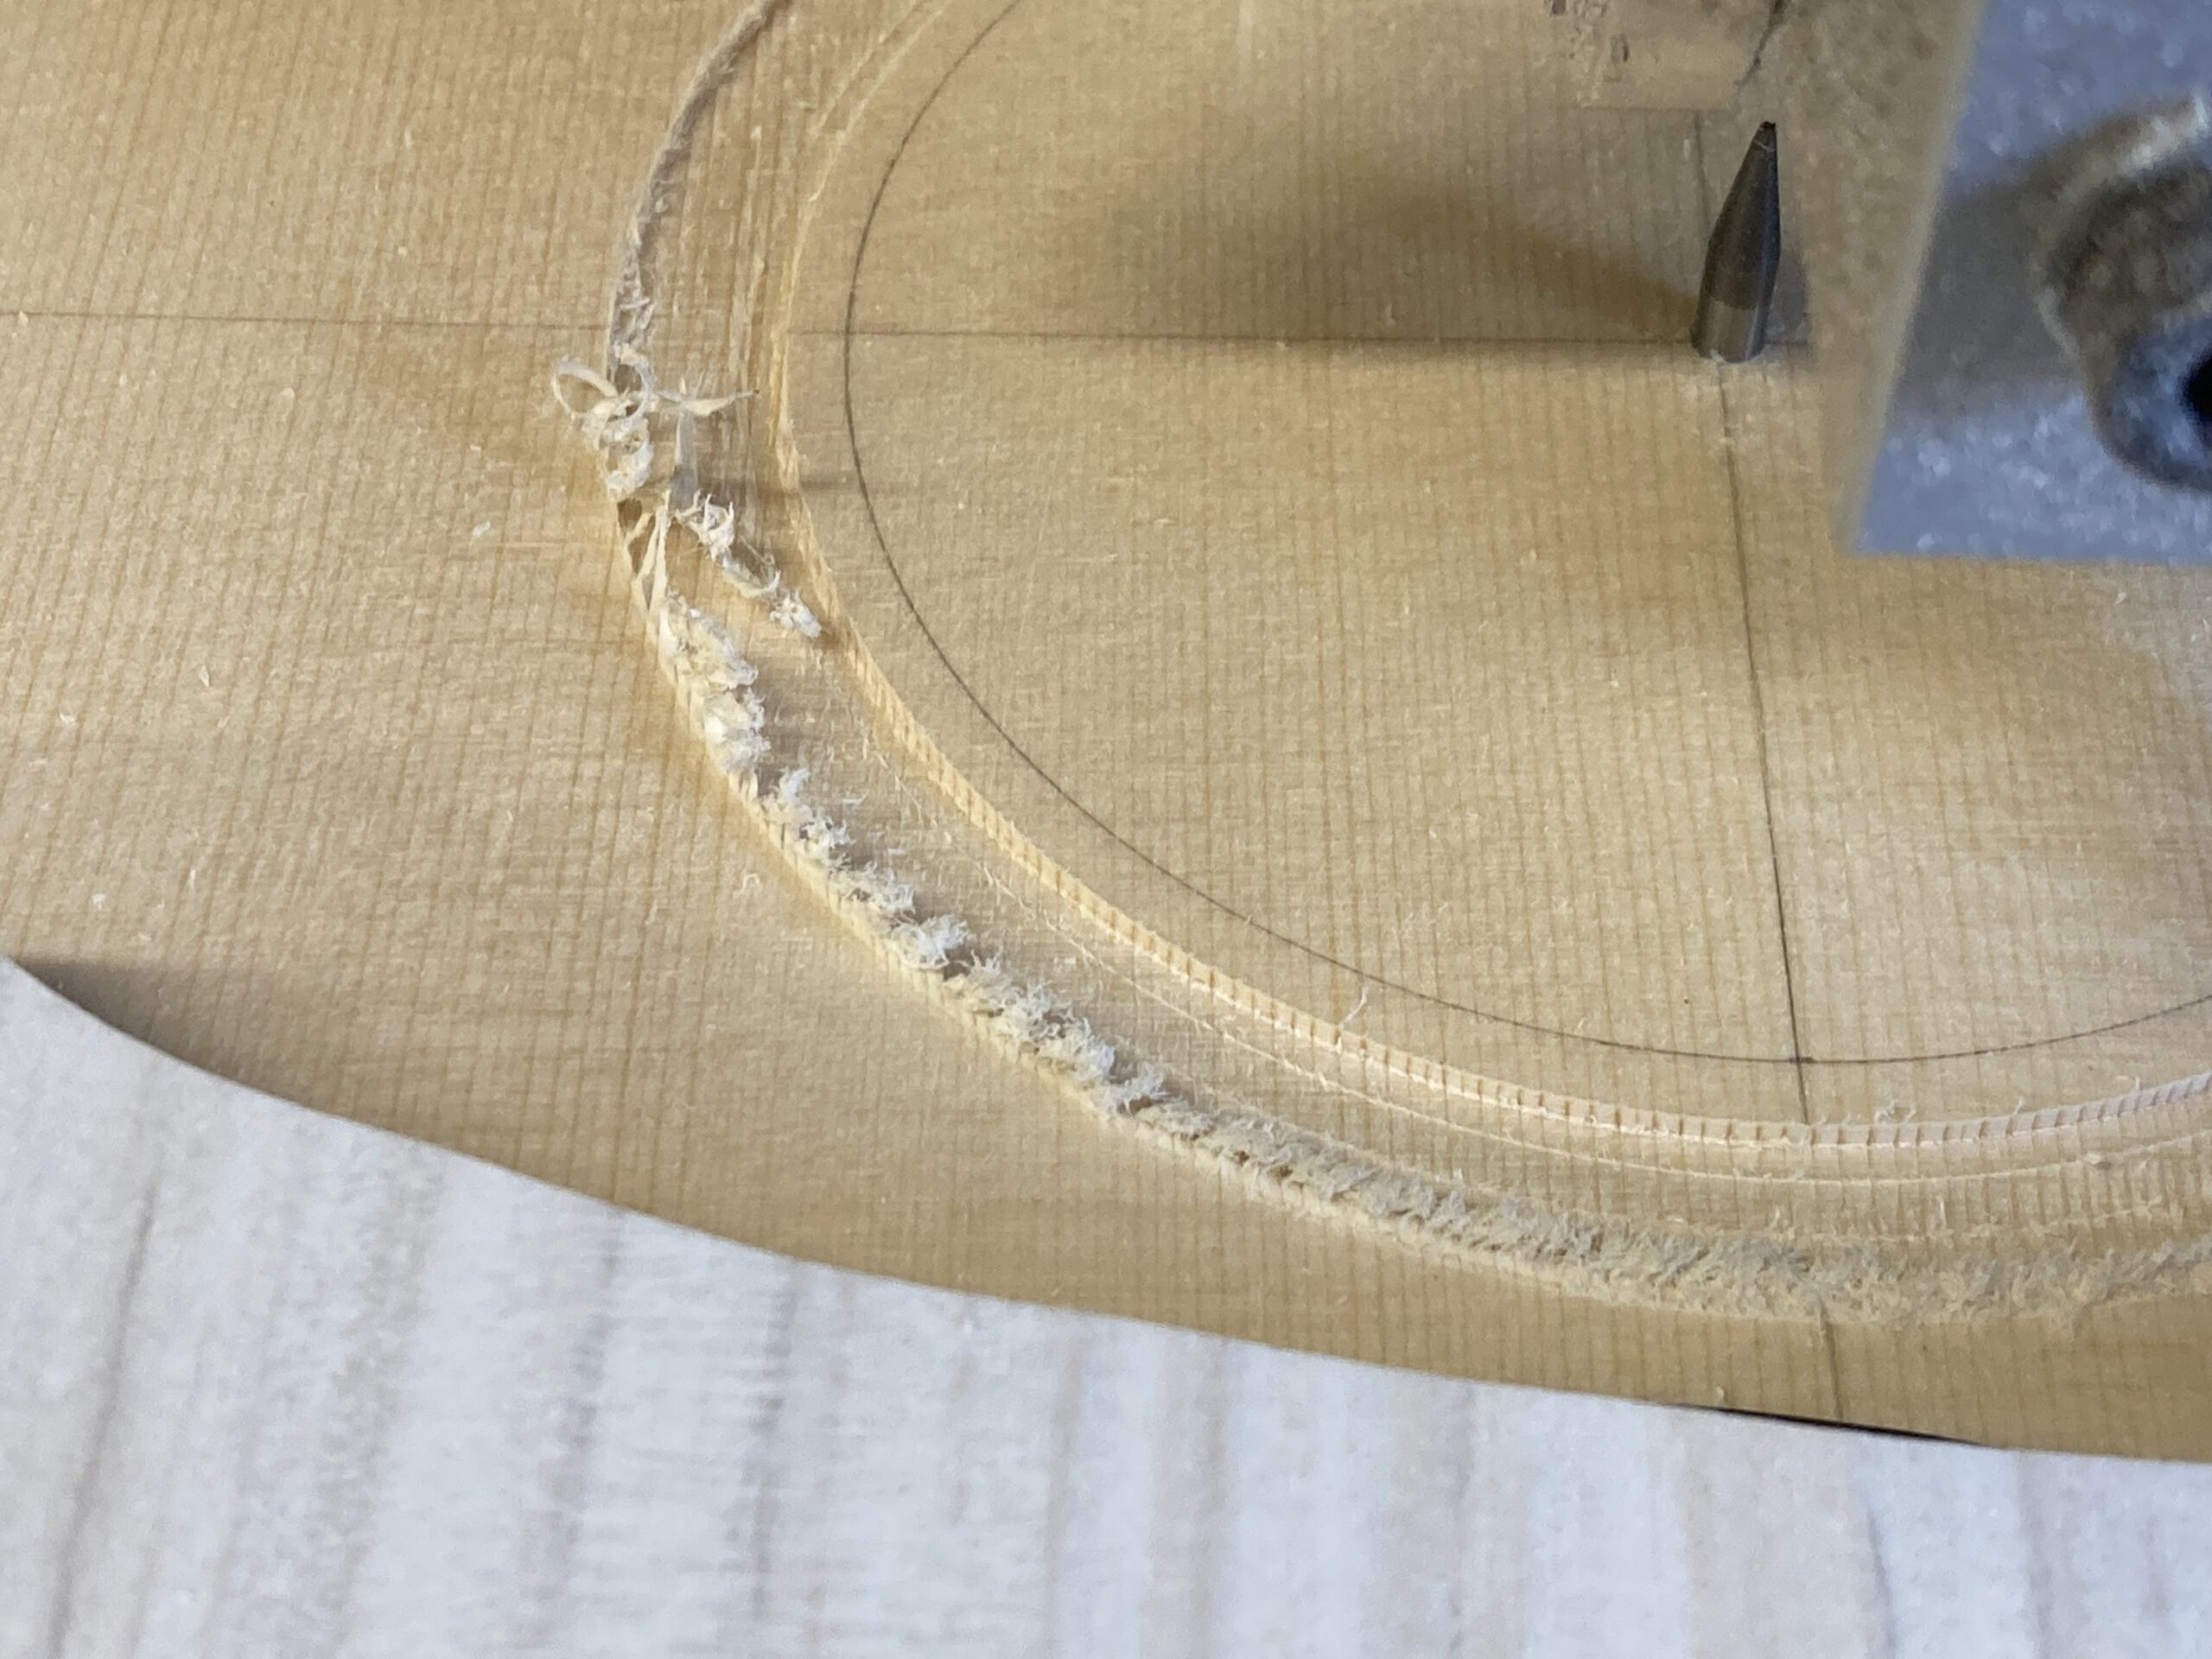
This photo shows the difference in the finish and amount of fuzz on the spruce (ID has been trimmed using the down-cutting bit, OD is still as cut with the conventional bit):
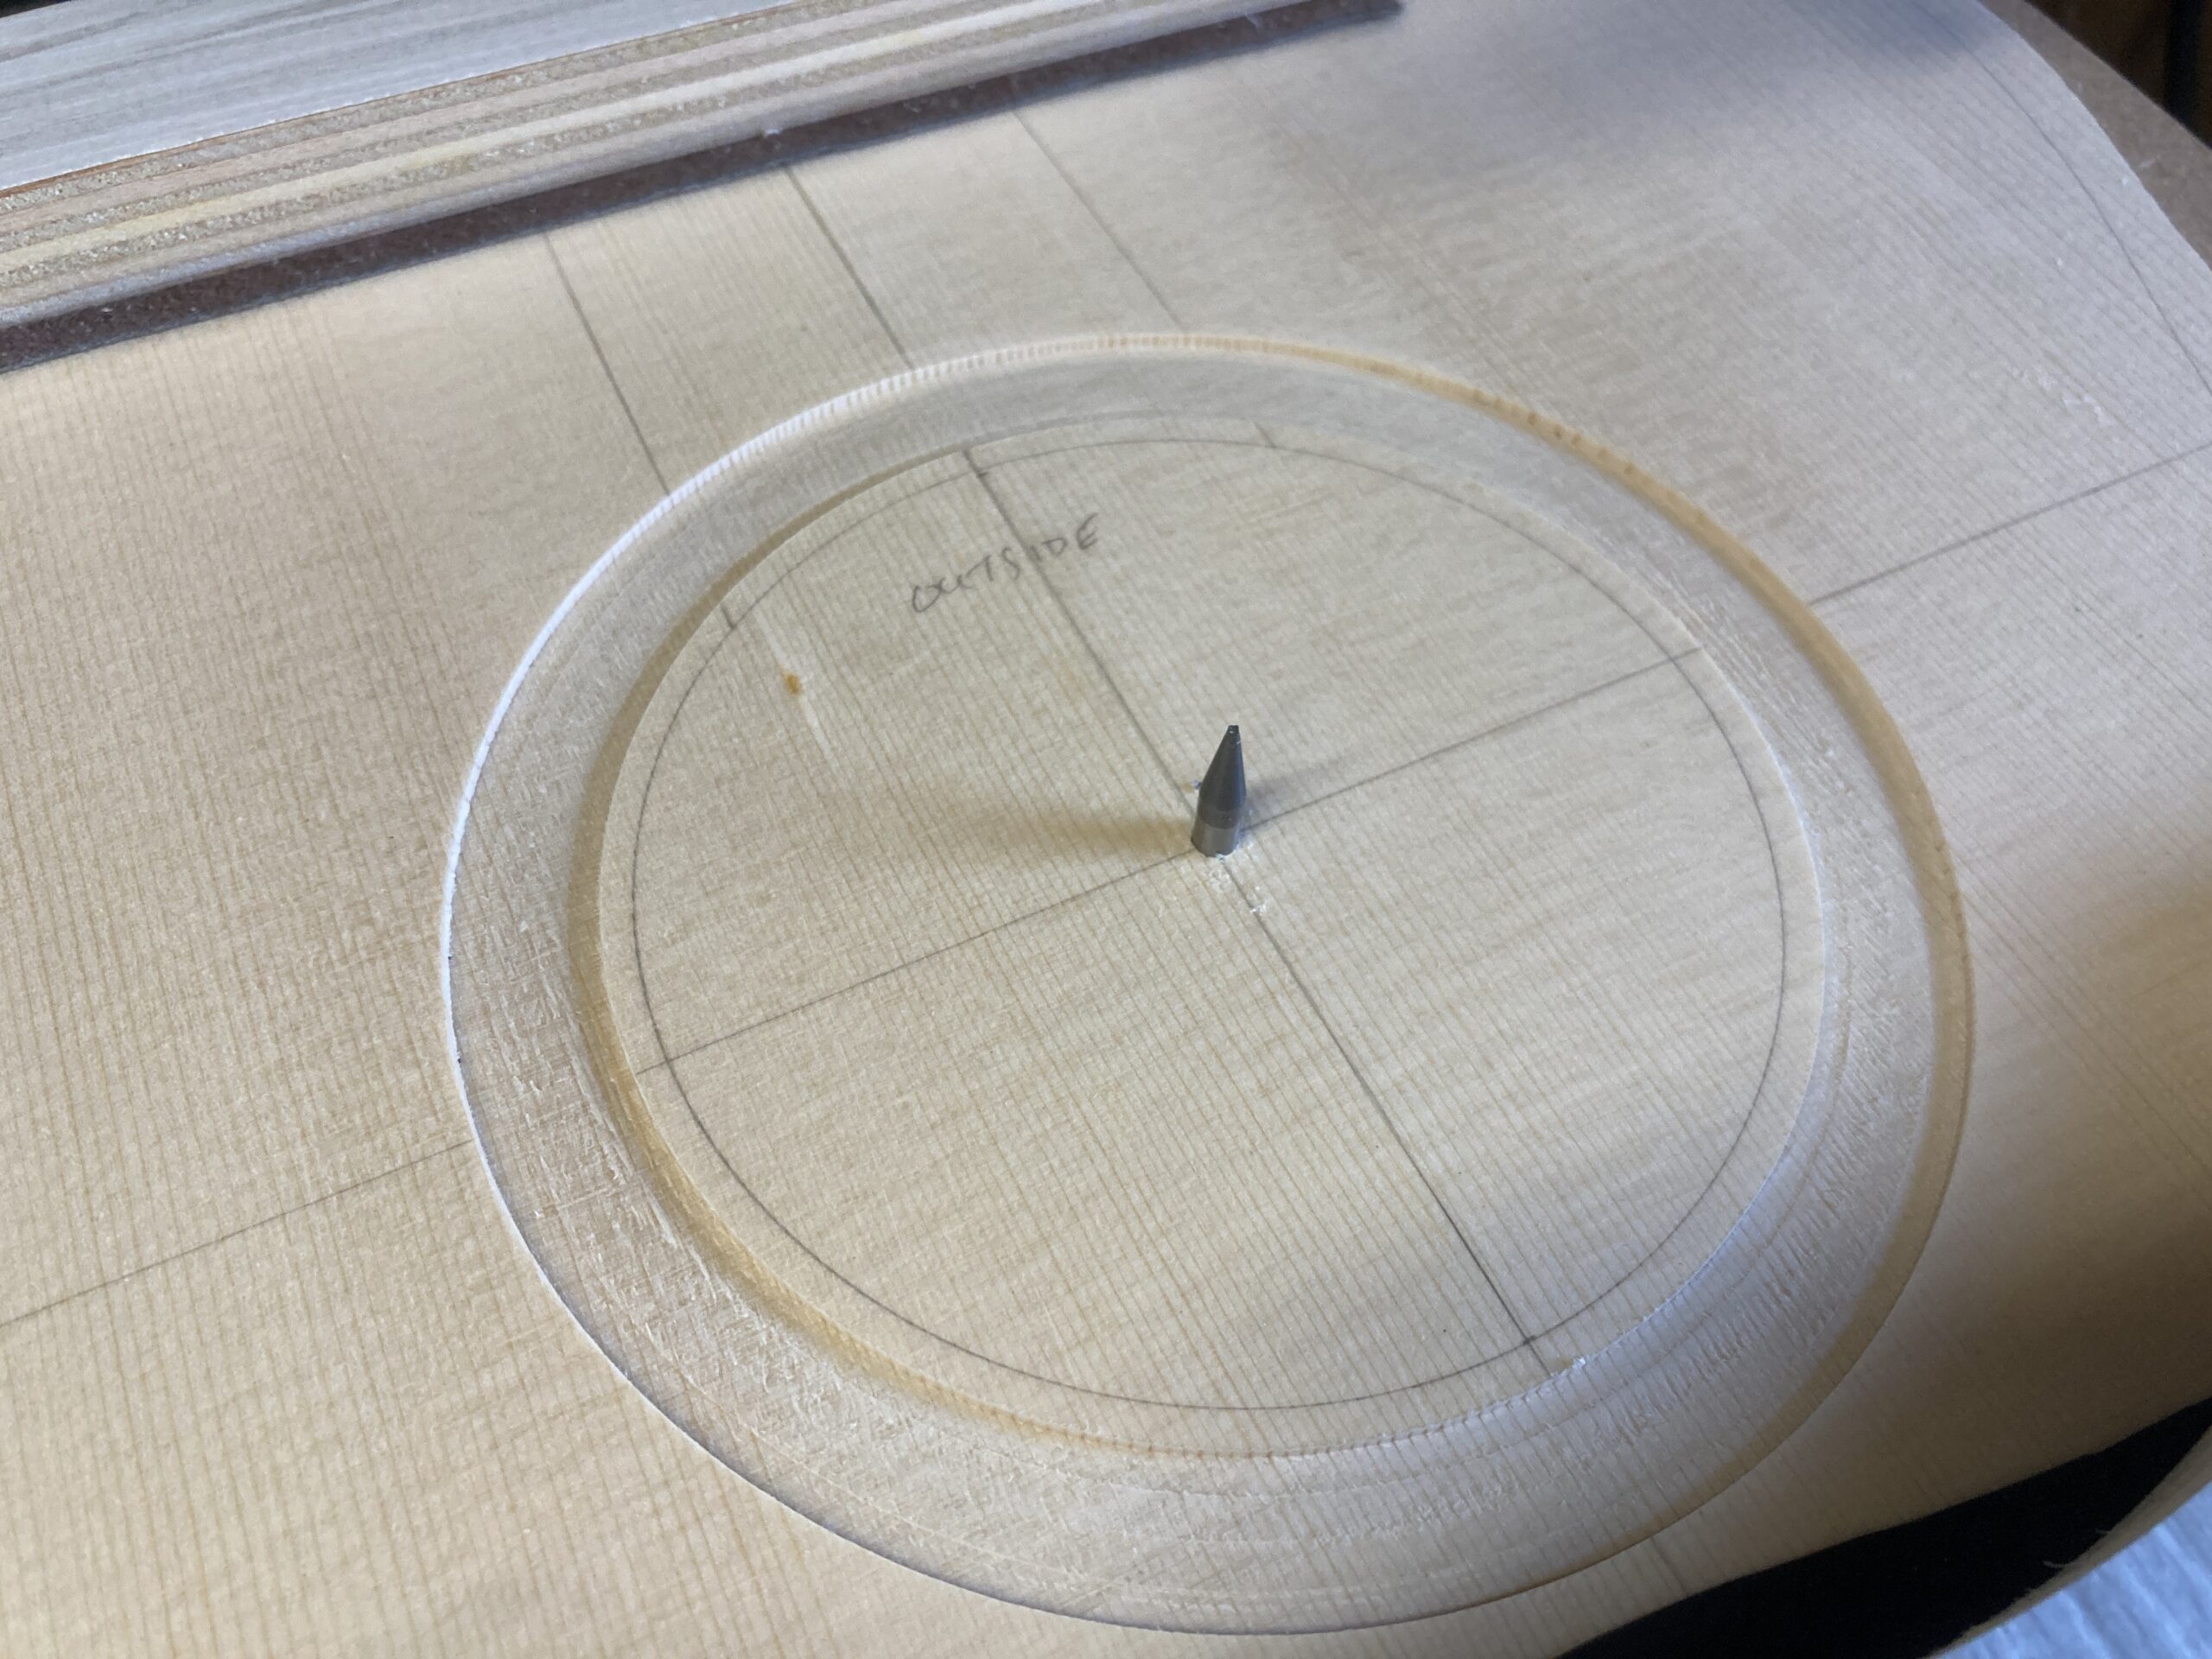
I kept going until the recess was wide enough to fit the rosette and a couple of pieces of BWB purflling in.
Having seen people struggle to get all the pieces in due to the wood swelling during glue-up, I went an extra 0.1mm – in hindsight, I don’t think it was necessary.
I glued everything in and clamped it up while still on the machine.
After the glue had set for a few hours, I used the CNC to machine off the top of the rosette to within about 0.2mm of the surface.
Next day I scraped it level by hand
With that done, I could thickness the top – the plates had been sanded with something of a wedge, and it took a while to get them to an even thickness.
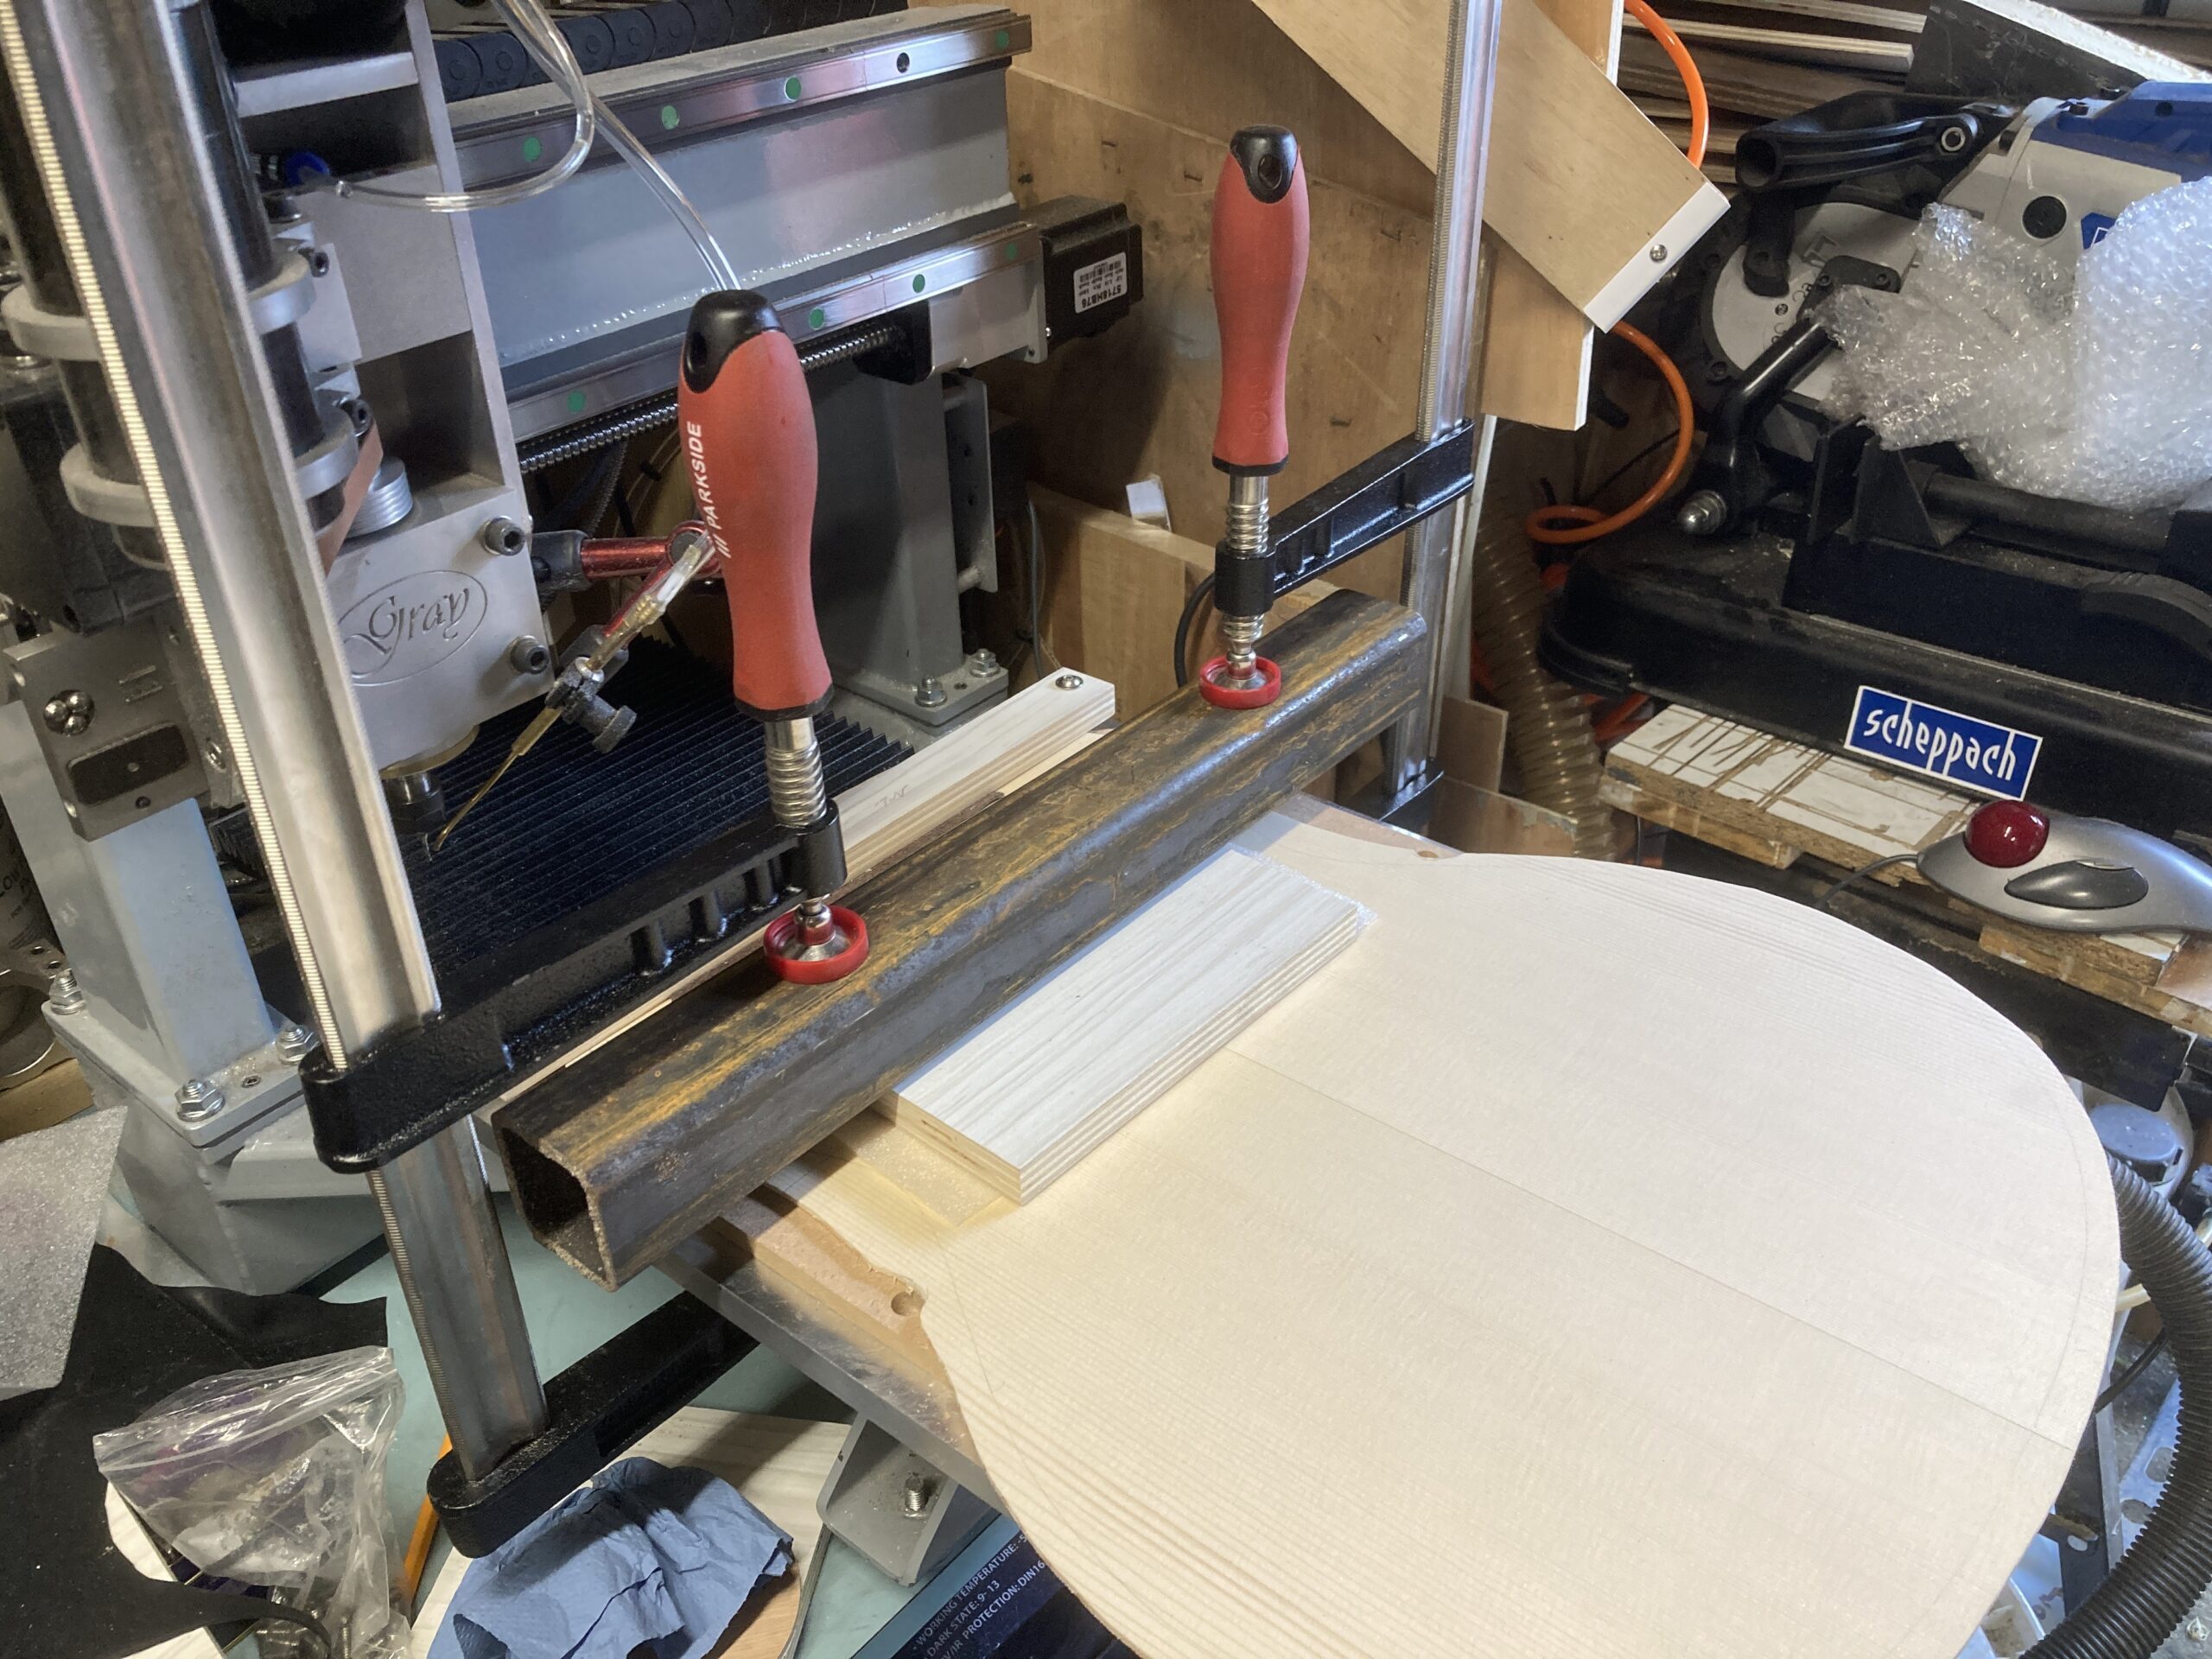
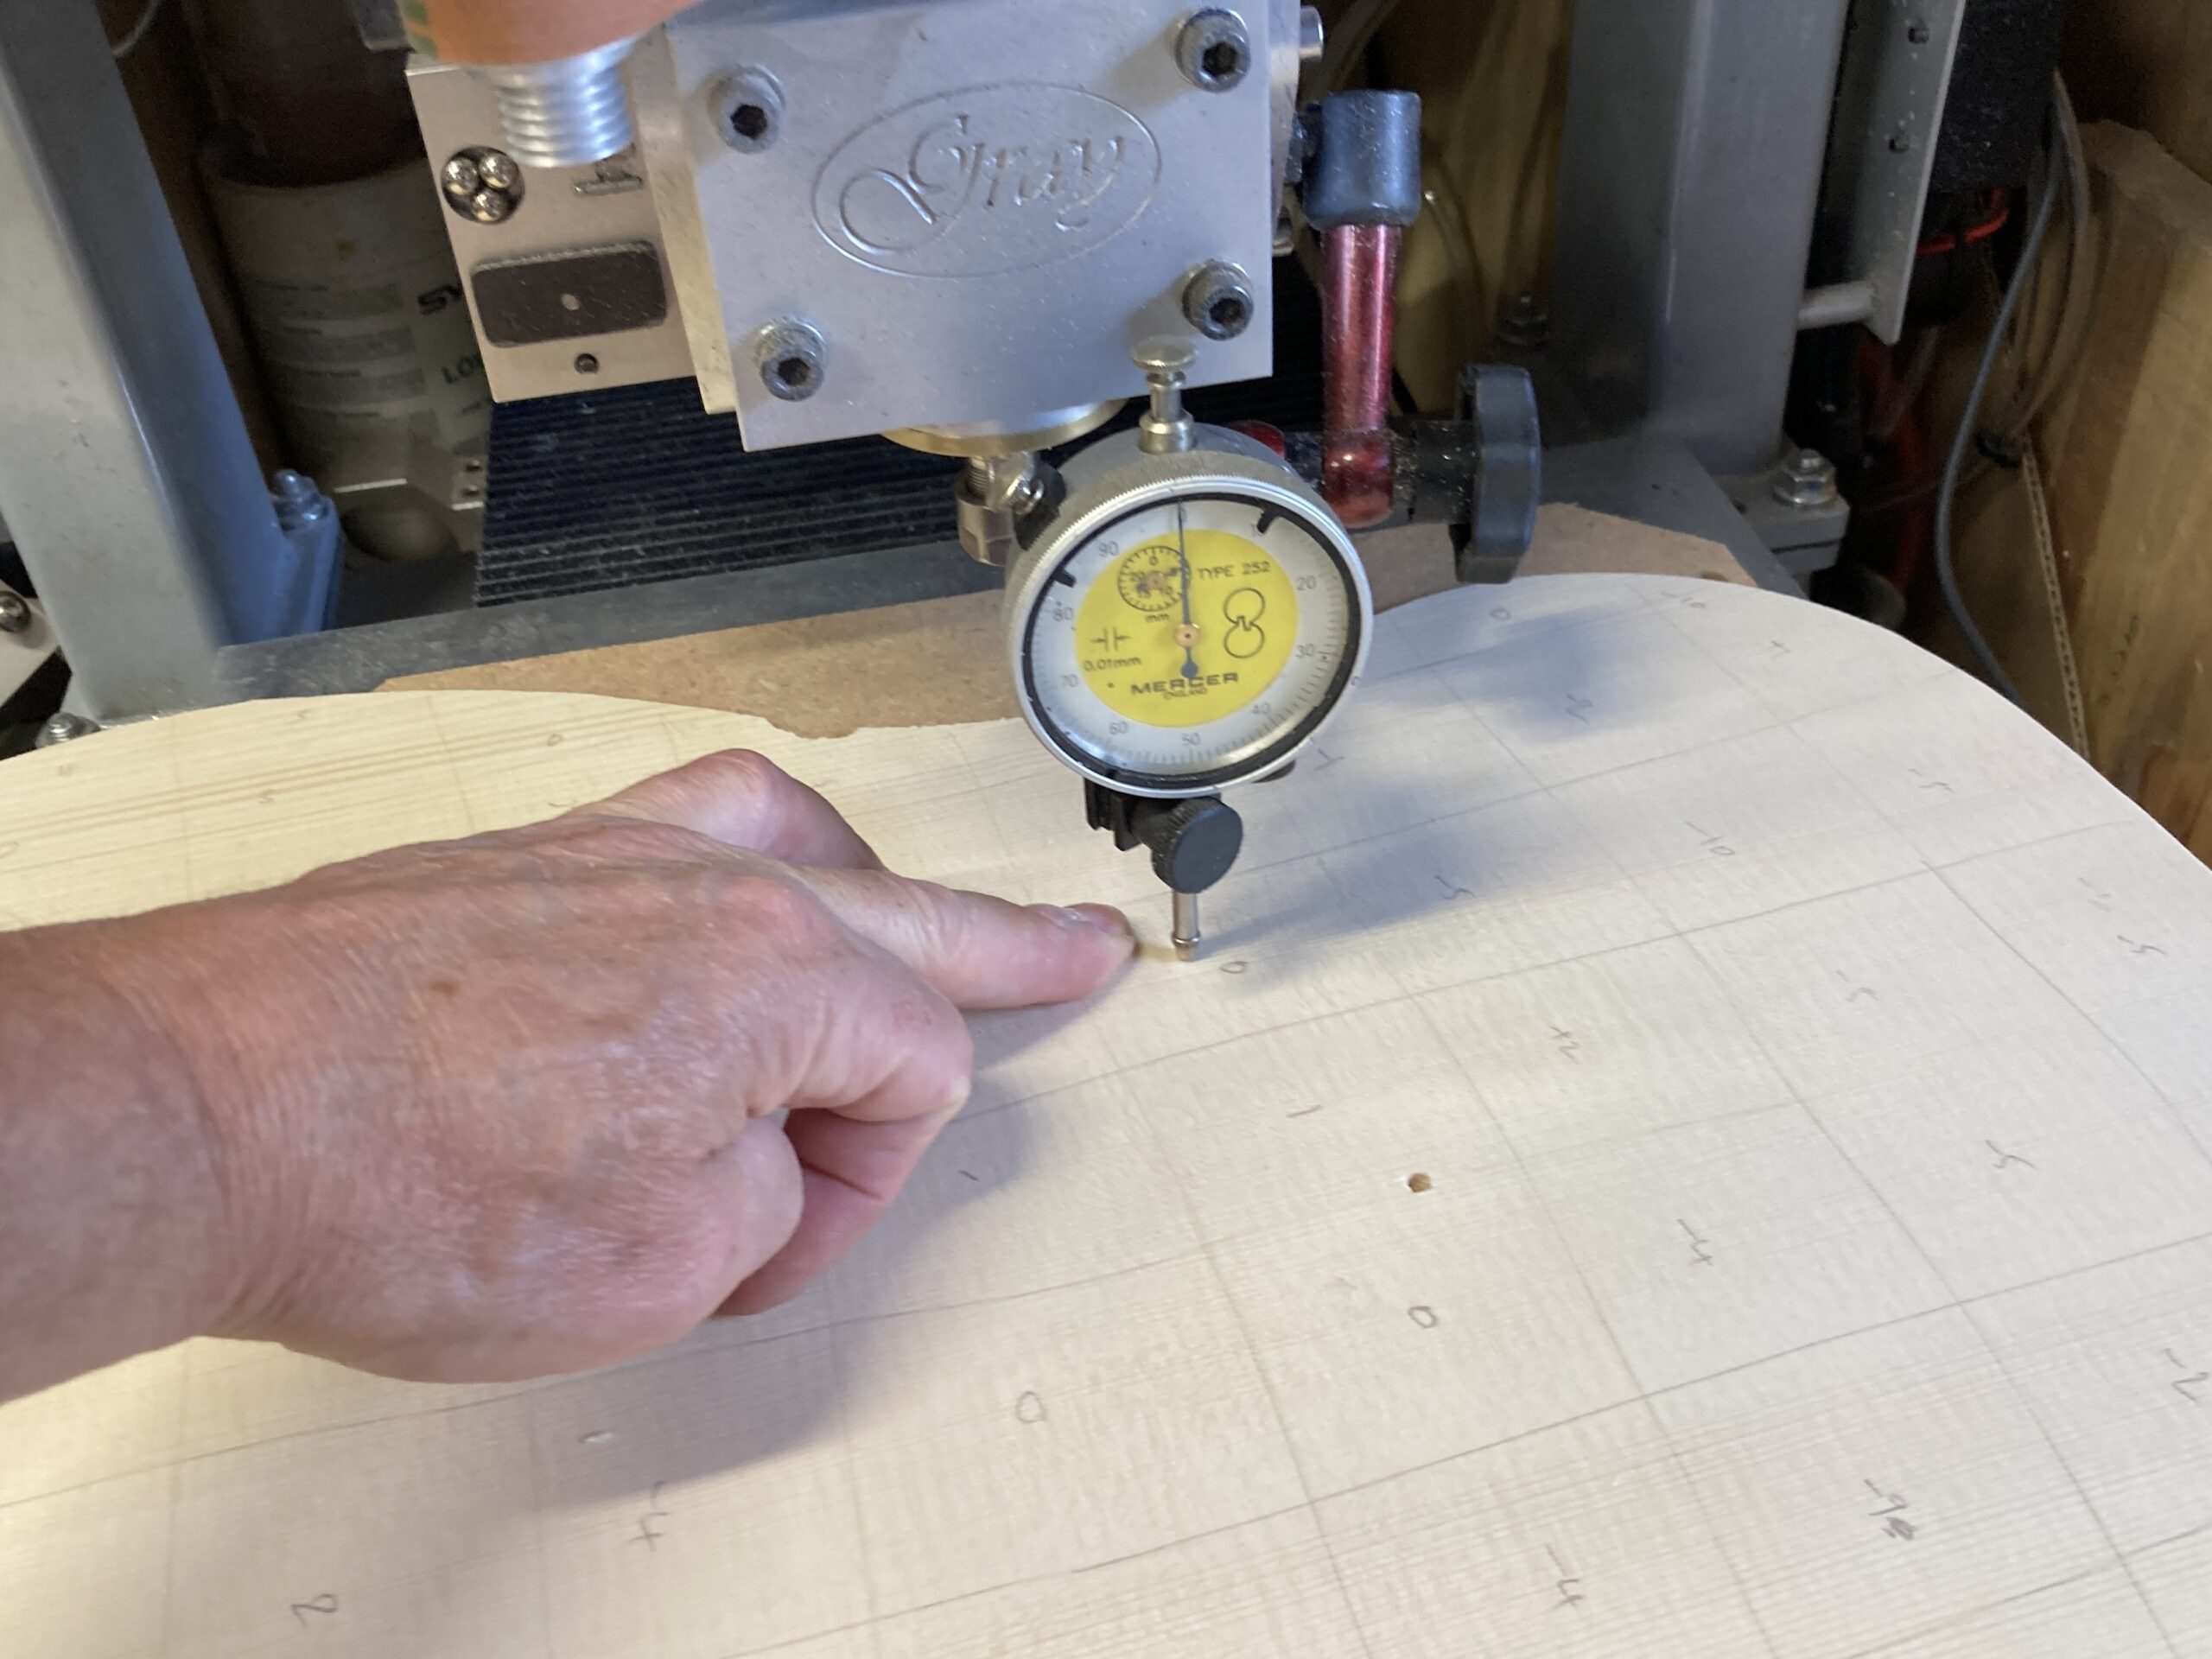
This is the setup that I had been using to measure thickness – the CNC is just a convenient mounting frame; it isn’t doing anything here.
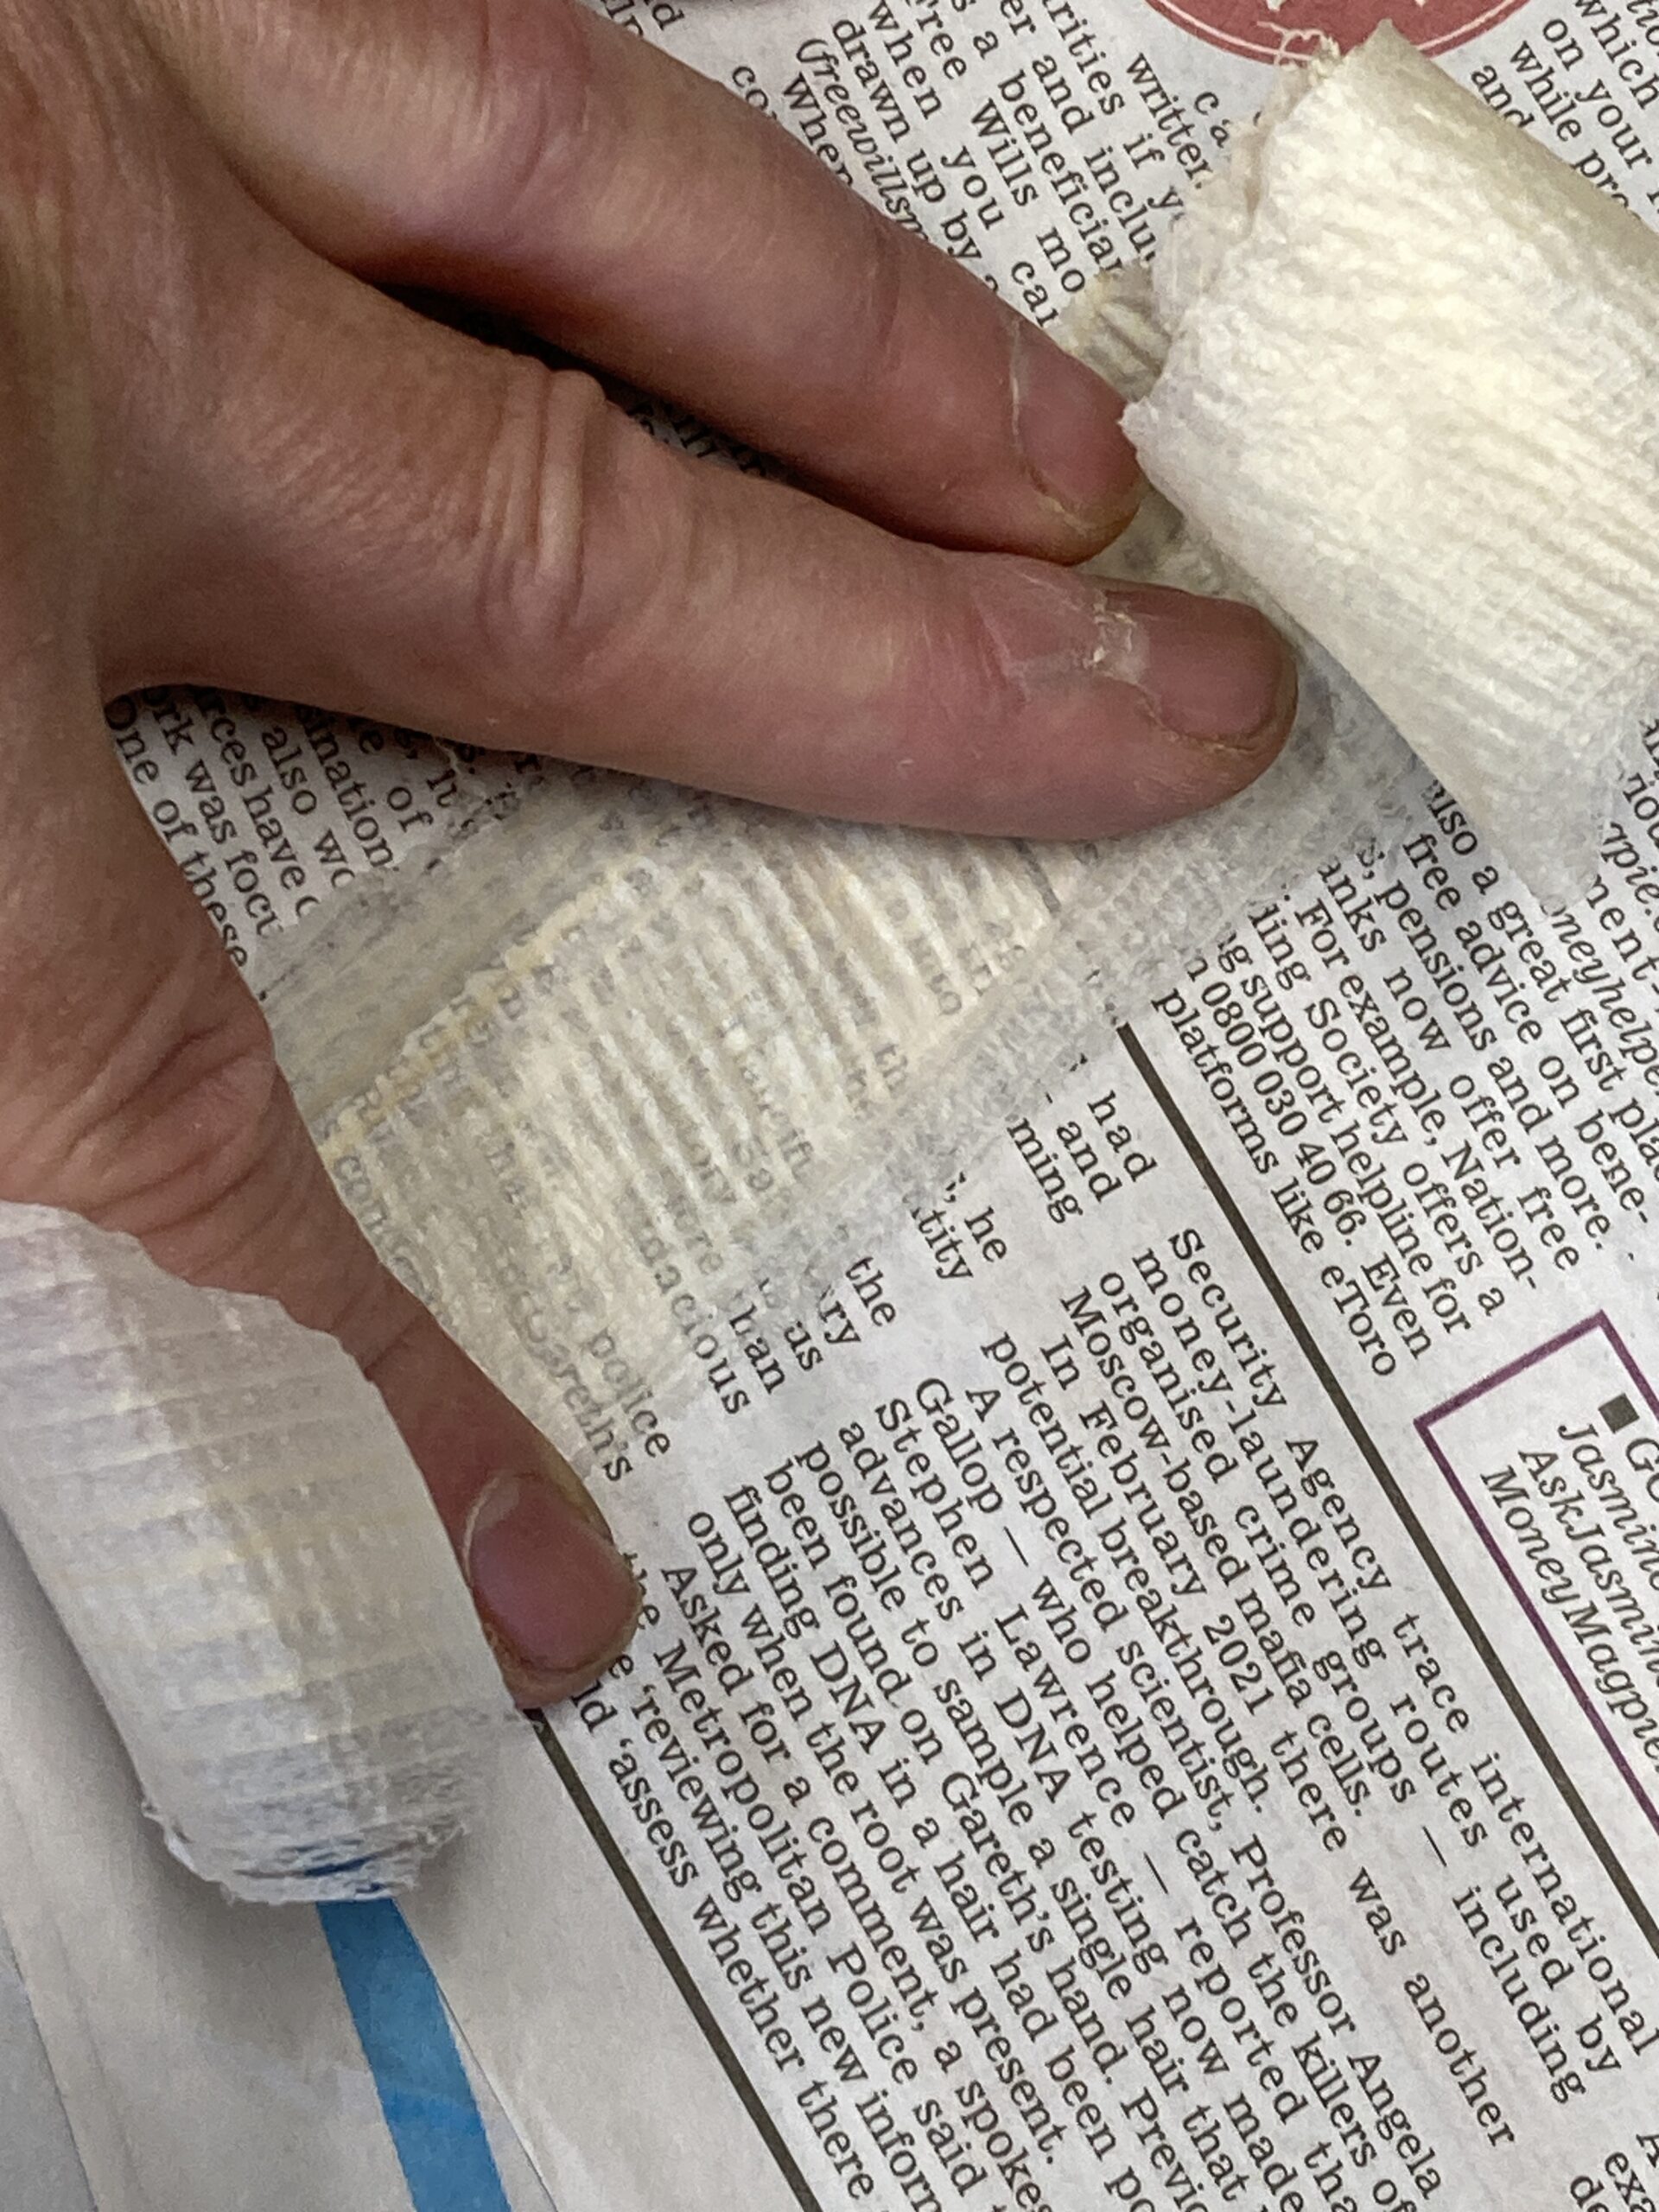
The shavings that came off the top were beautiful – thin enough to read through!

Not really knowing what I’m doing, I was aiming for the 2.8mm on the plan, but there was still some unevenness when I got there. Working this out, and a bit of sanding took the general thickness down to about 2.7mm (0.106″).
At 2.8mm, the top still had a noticeable tone when held at the nodal point and tapped, but this had pretty much gone at 2.7mm. I have heard someone use the word ‘flooffy’ in the connection with top thicknessing – I would say that this is the perfect description of what happened to my top. It still very much has the ‘sheet metal’ sound when you hold it by the edges of the lower bout and shake it.
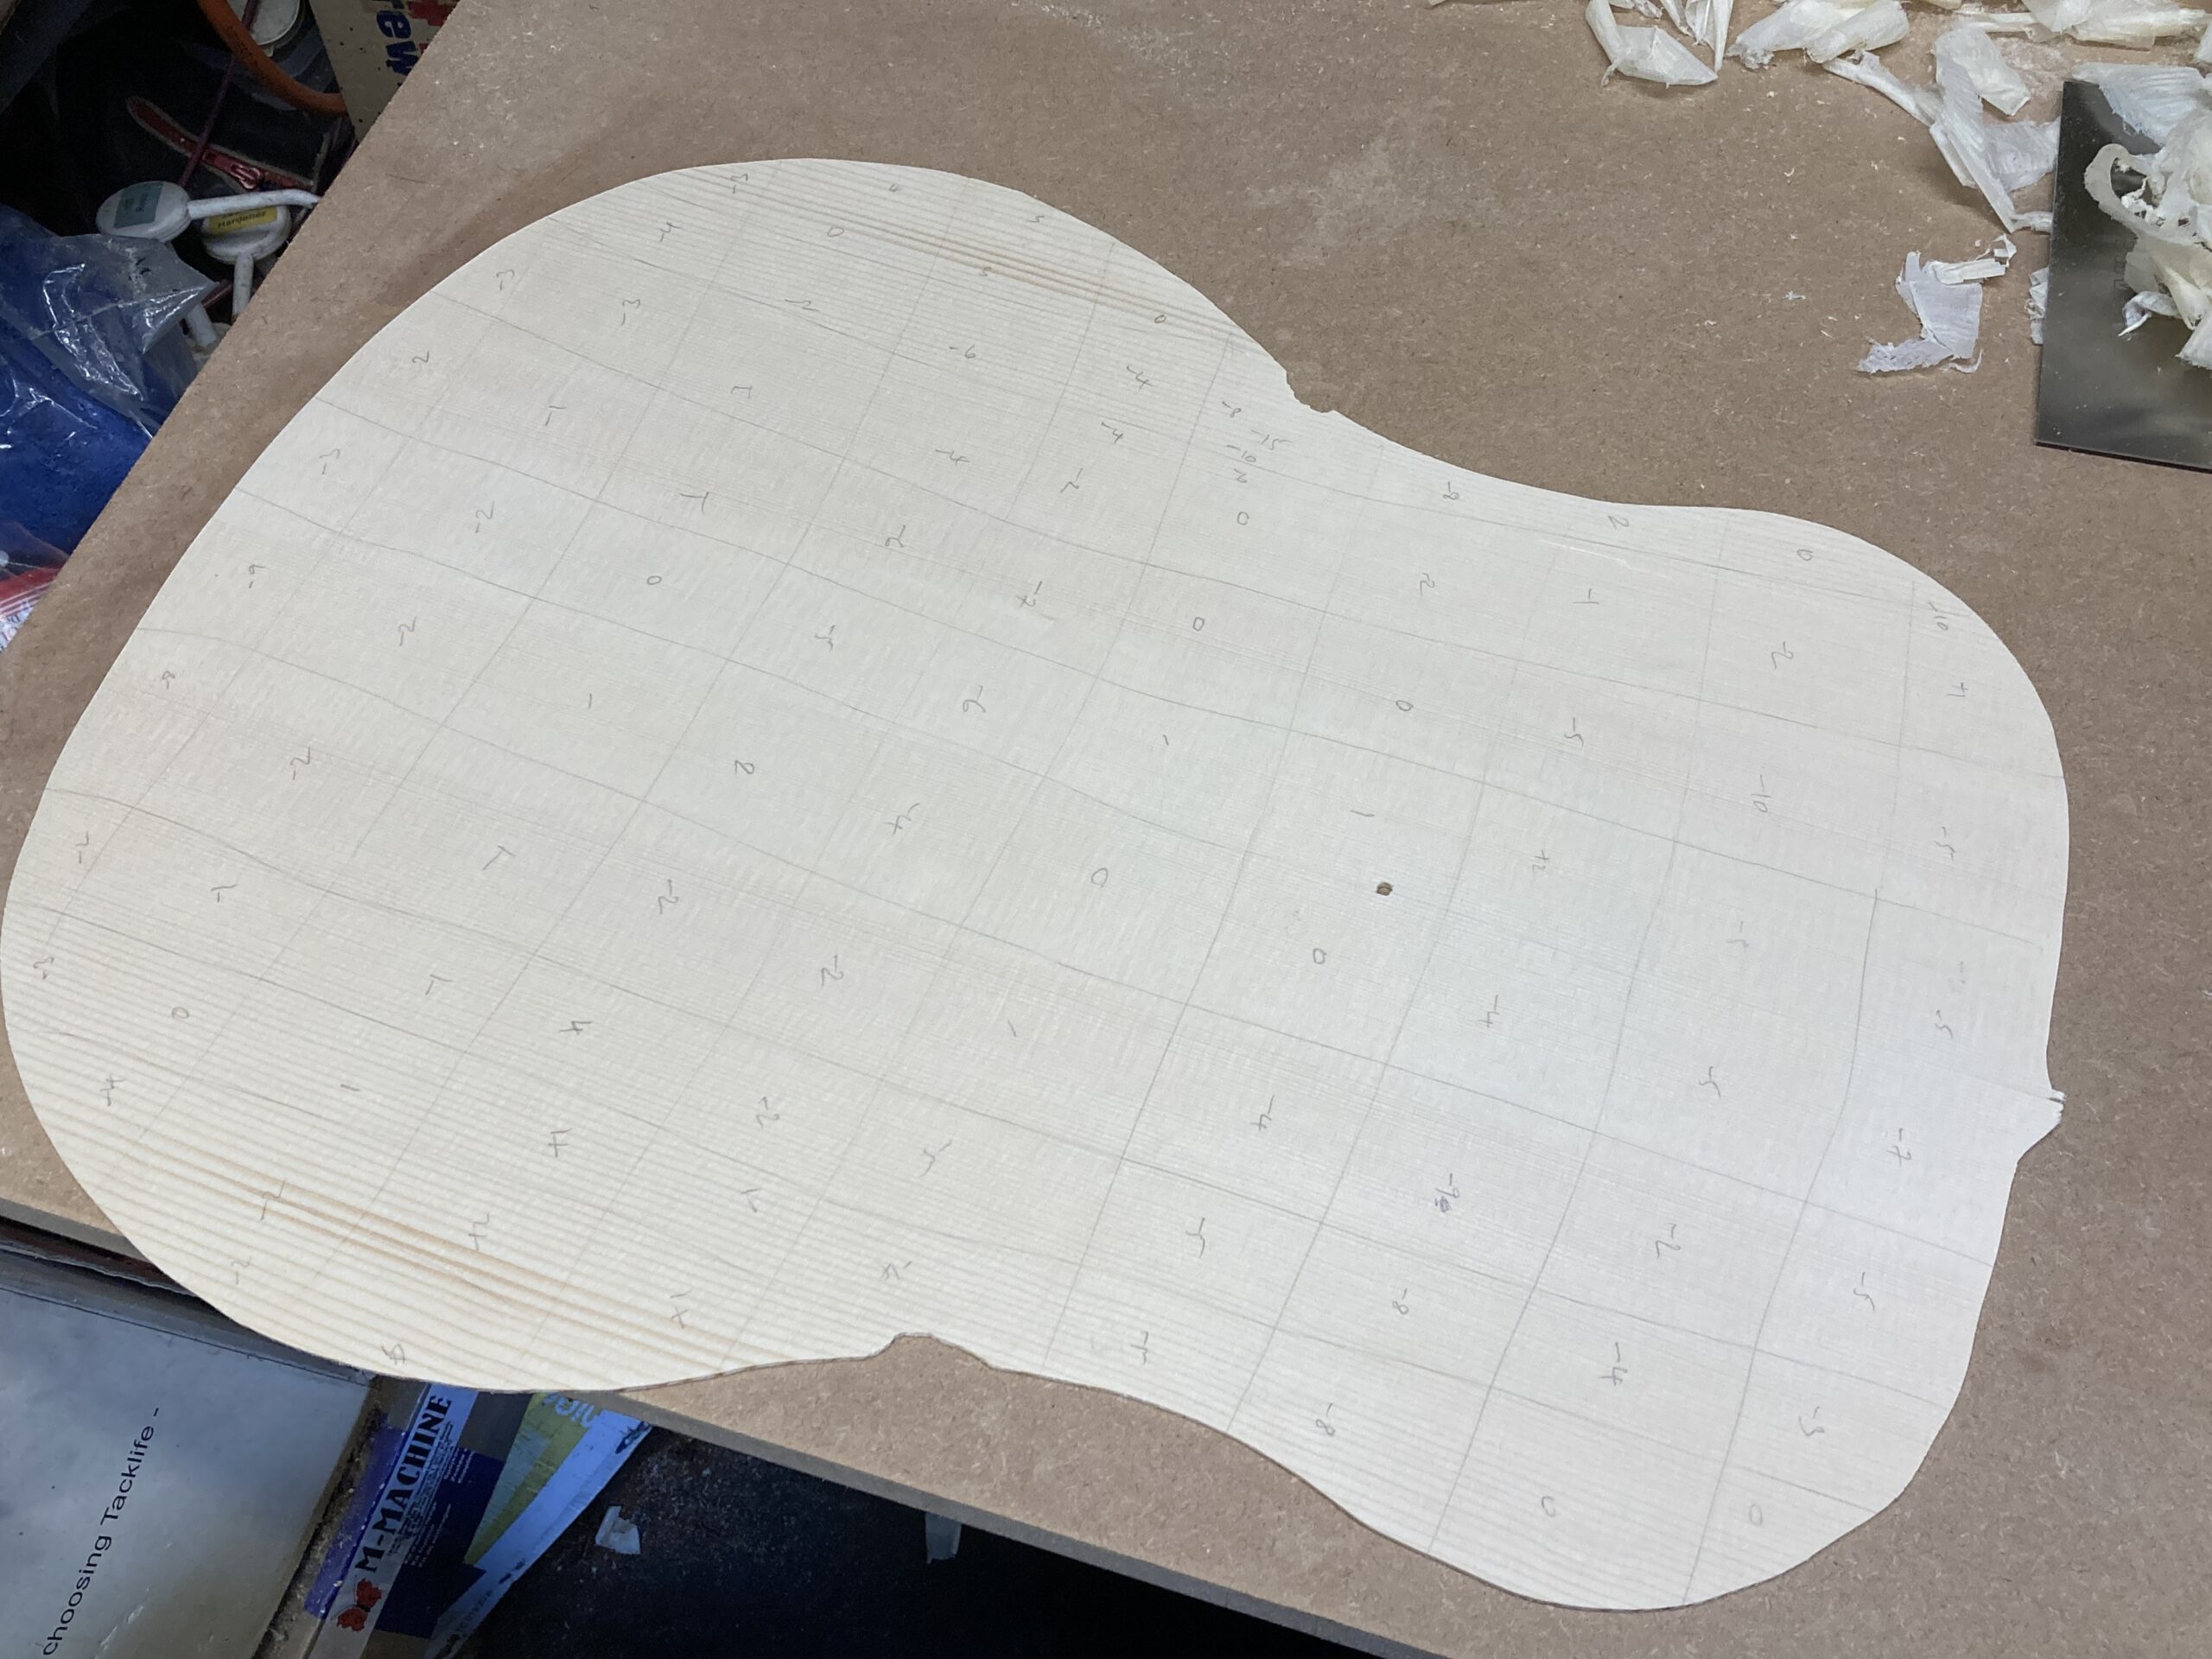
This is how the thickness ended up (the pencil numbers are the thickness deviation from 2.7mm in 0.01mm units) – there are a couple of very thin areas in the upper bout (roughly 2.6mm / 0.102″) but I think this is near to areas that are braced, so I’m not unduly worried about that – the lower bout thickness seems to have come out quite uniform.
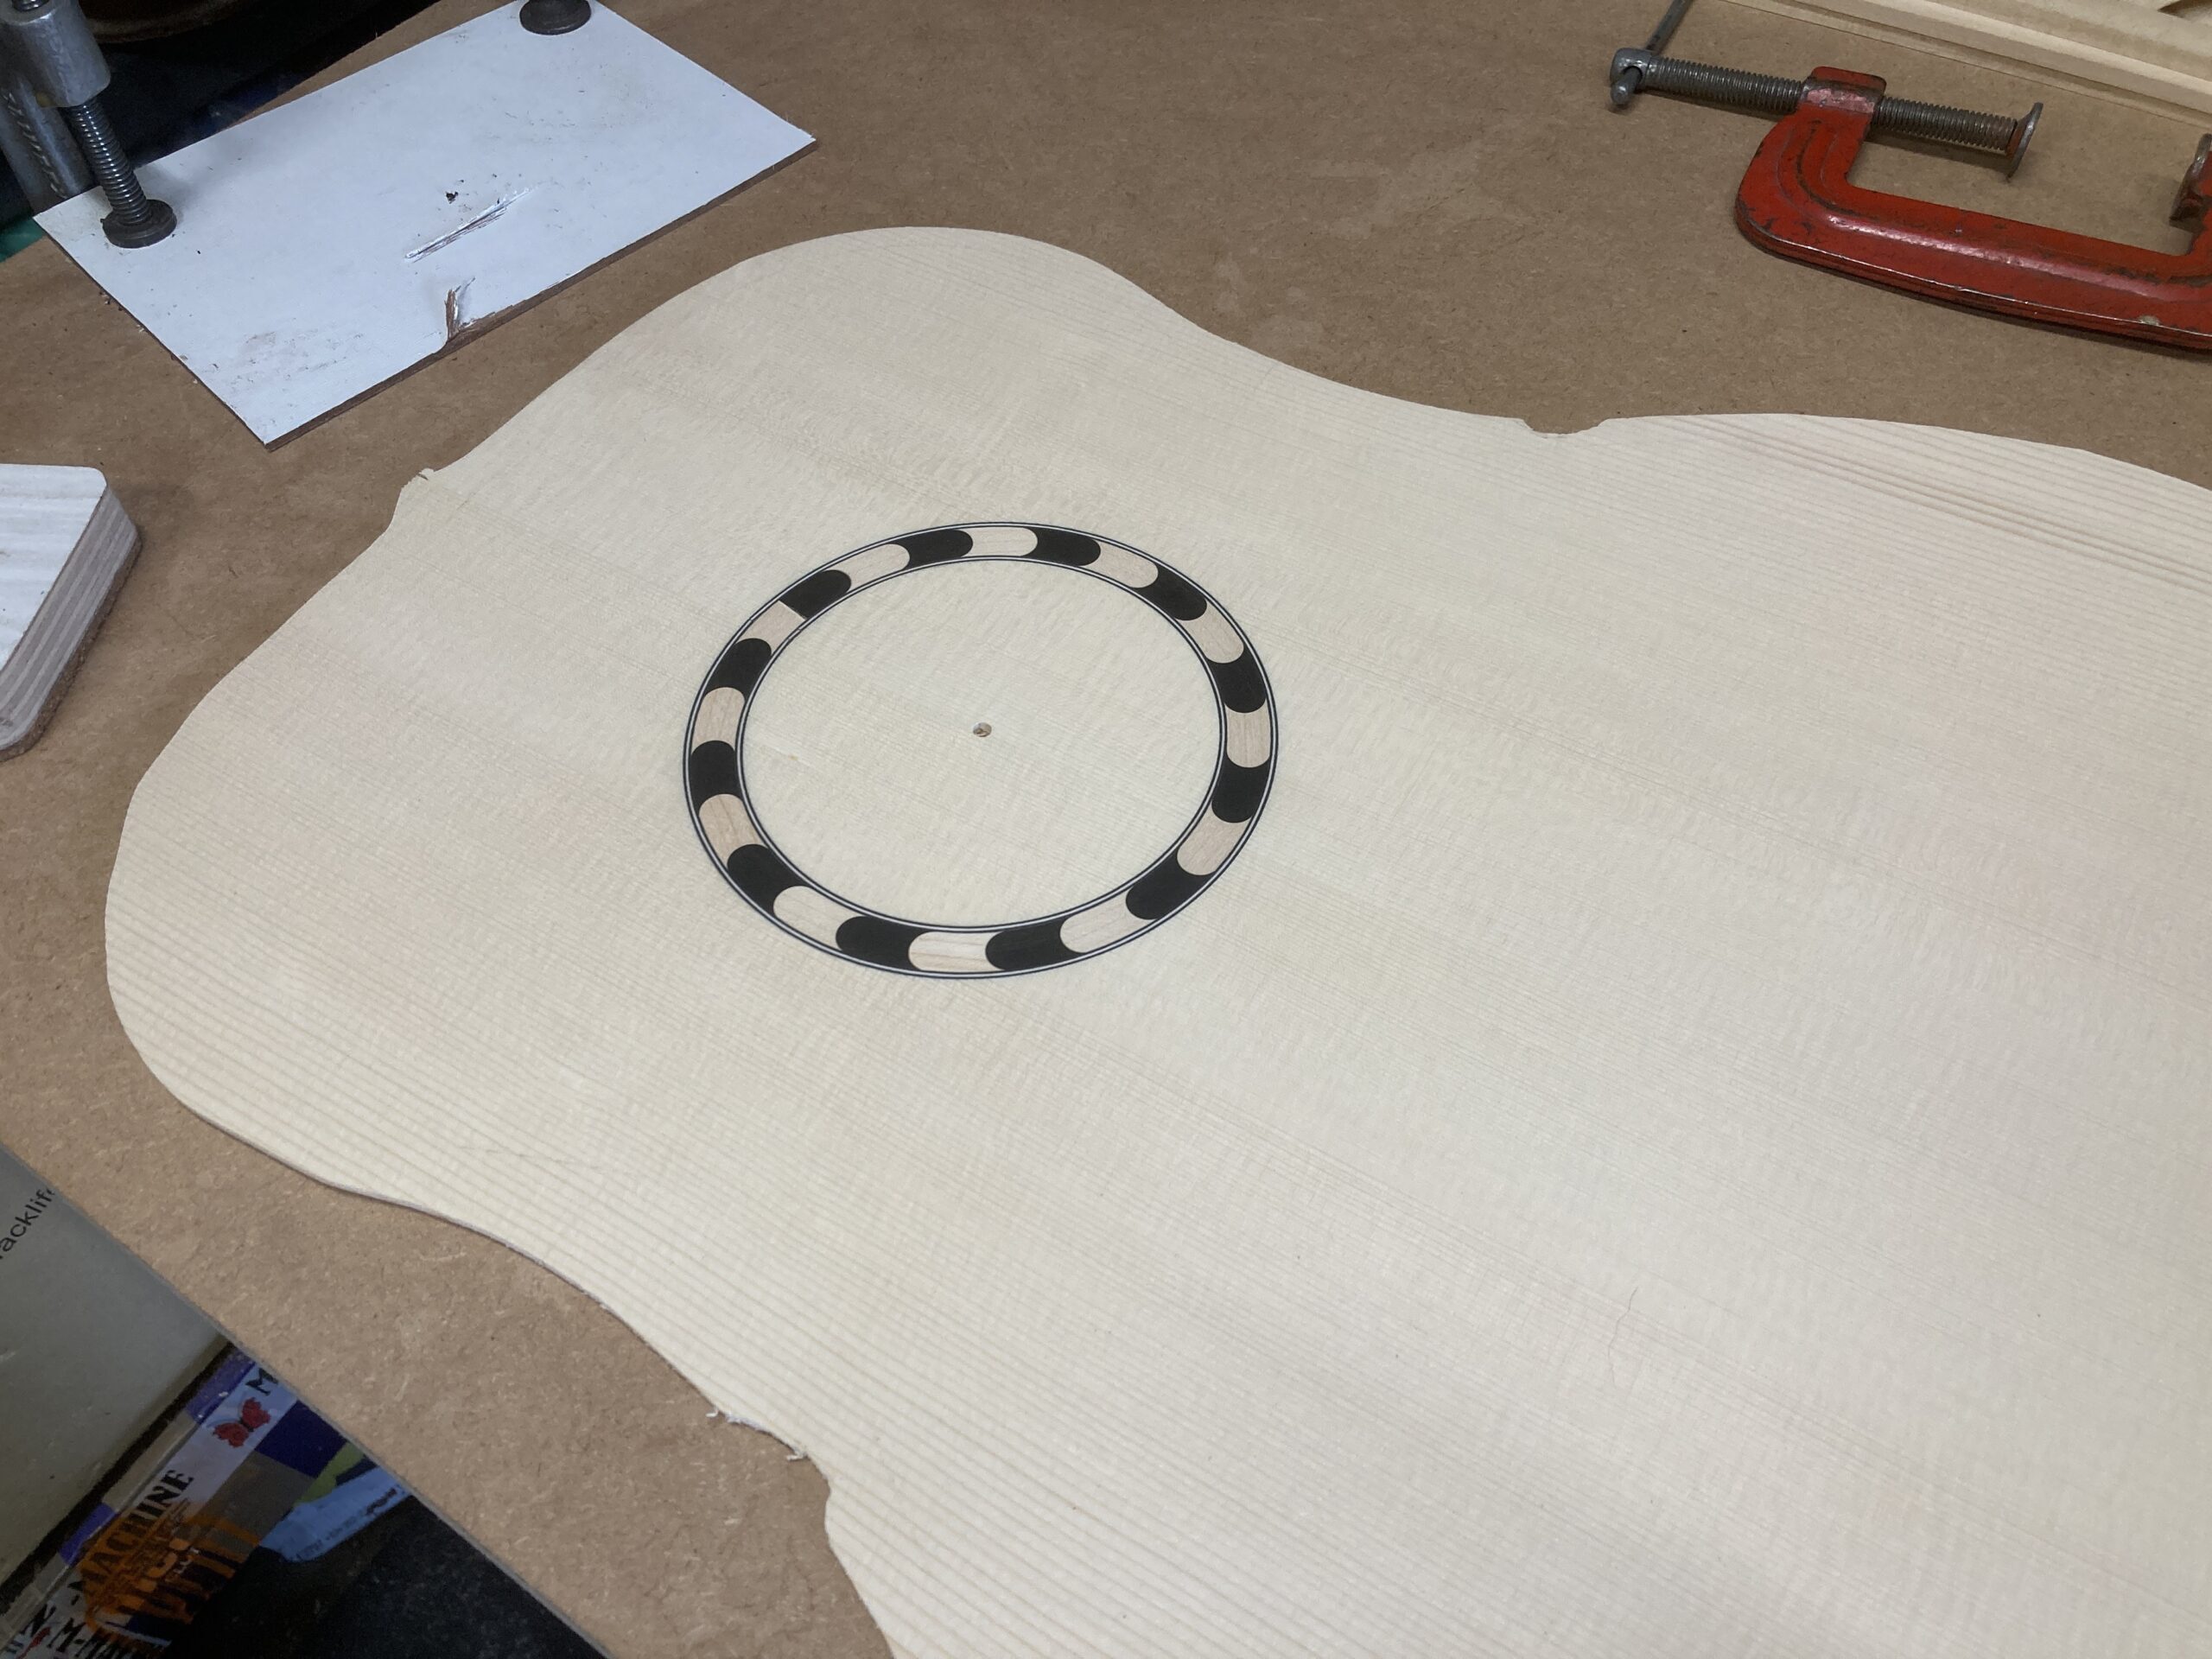
I sanded it to 240 grit (front and back) and put it back on the CNC to cut out the sound hole.
It seems to have come out OK cosmetically.
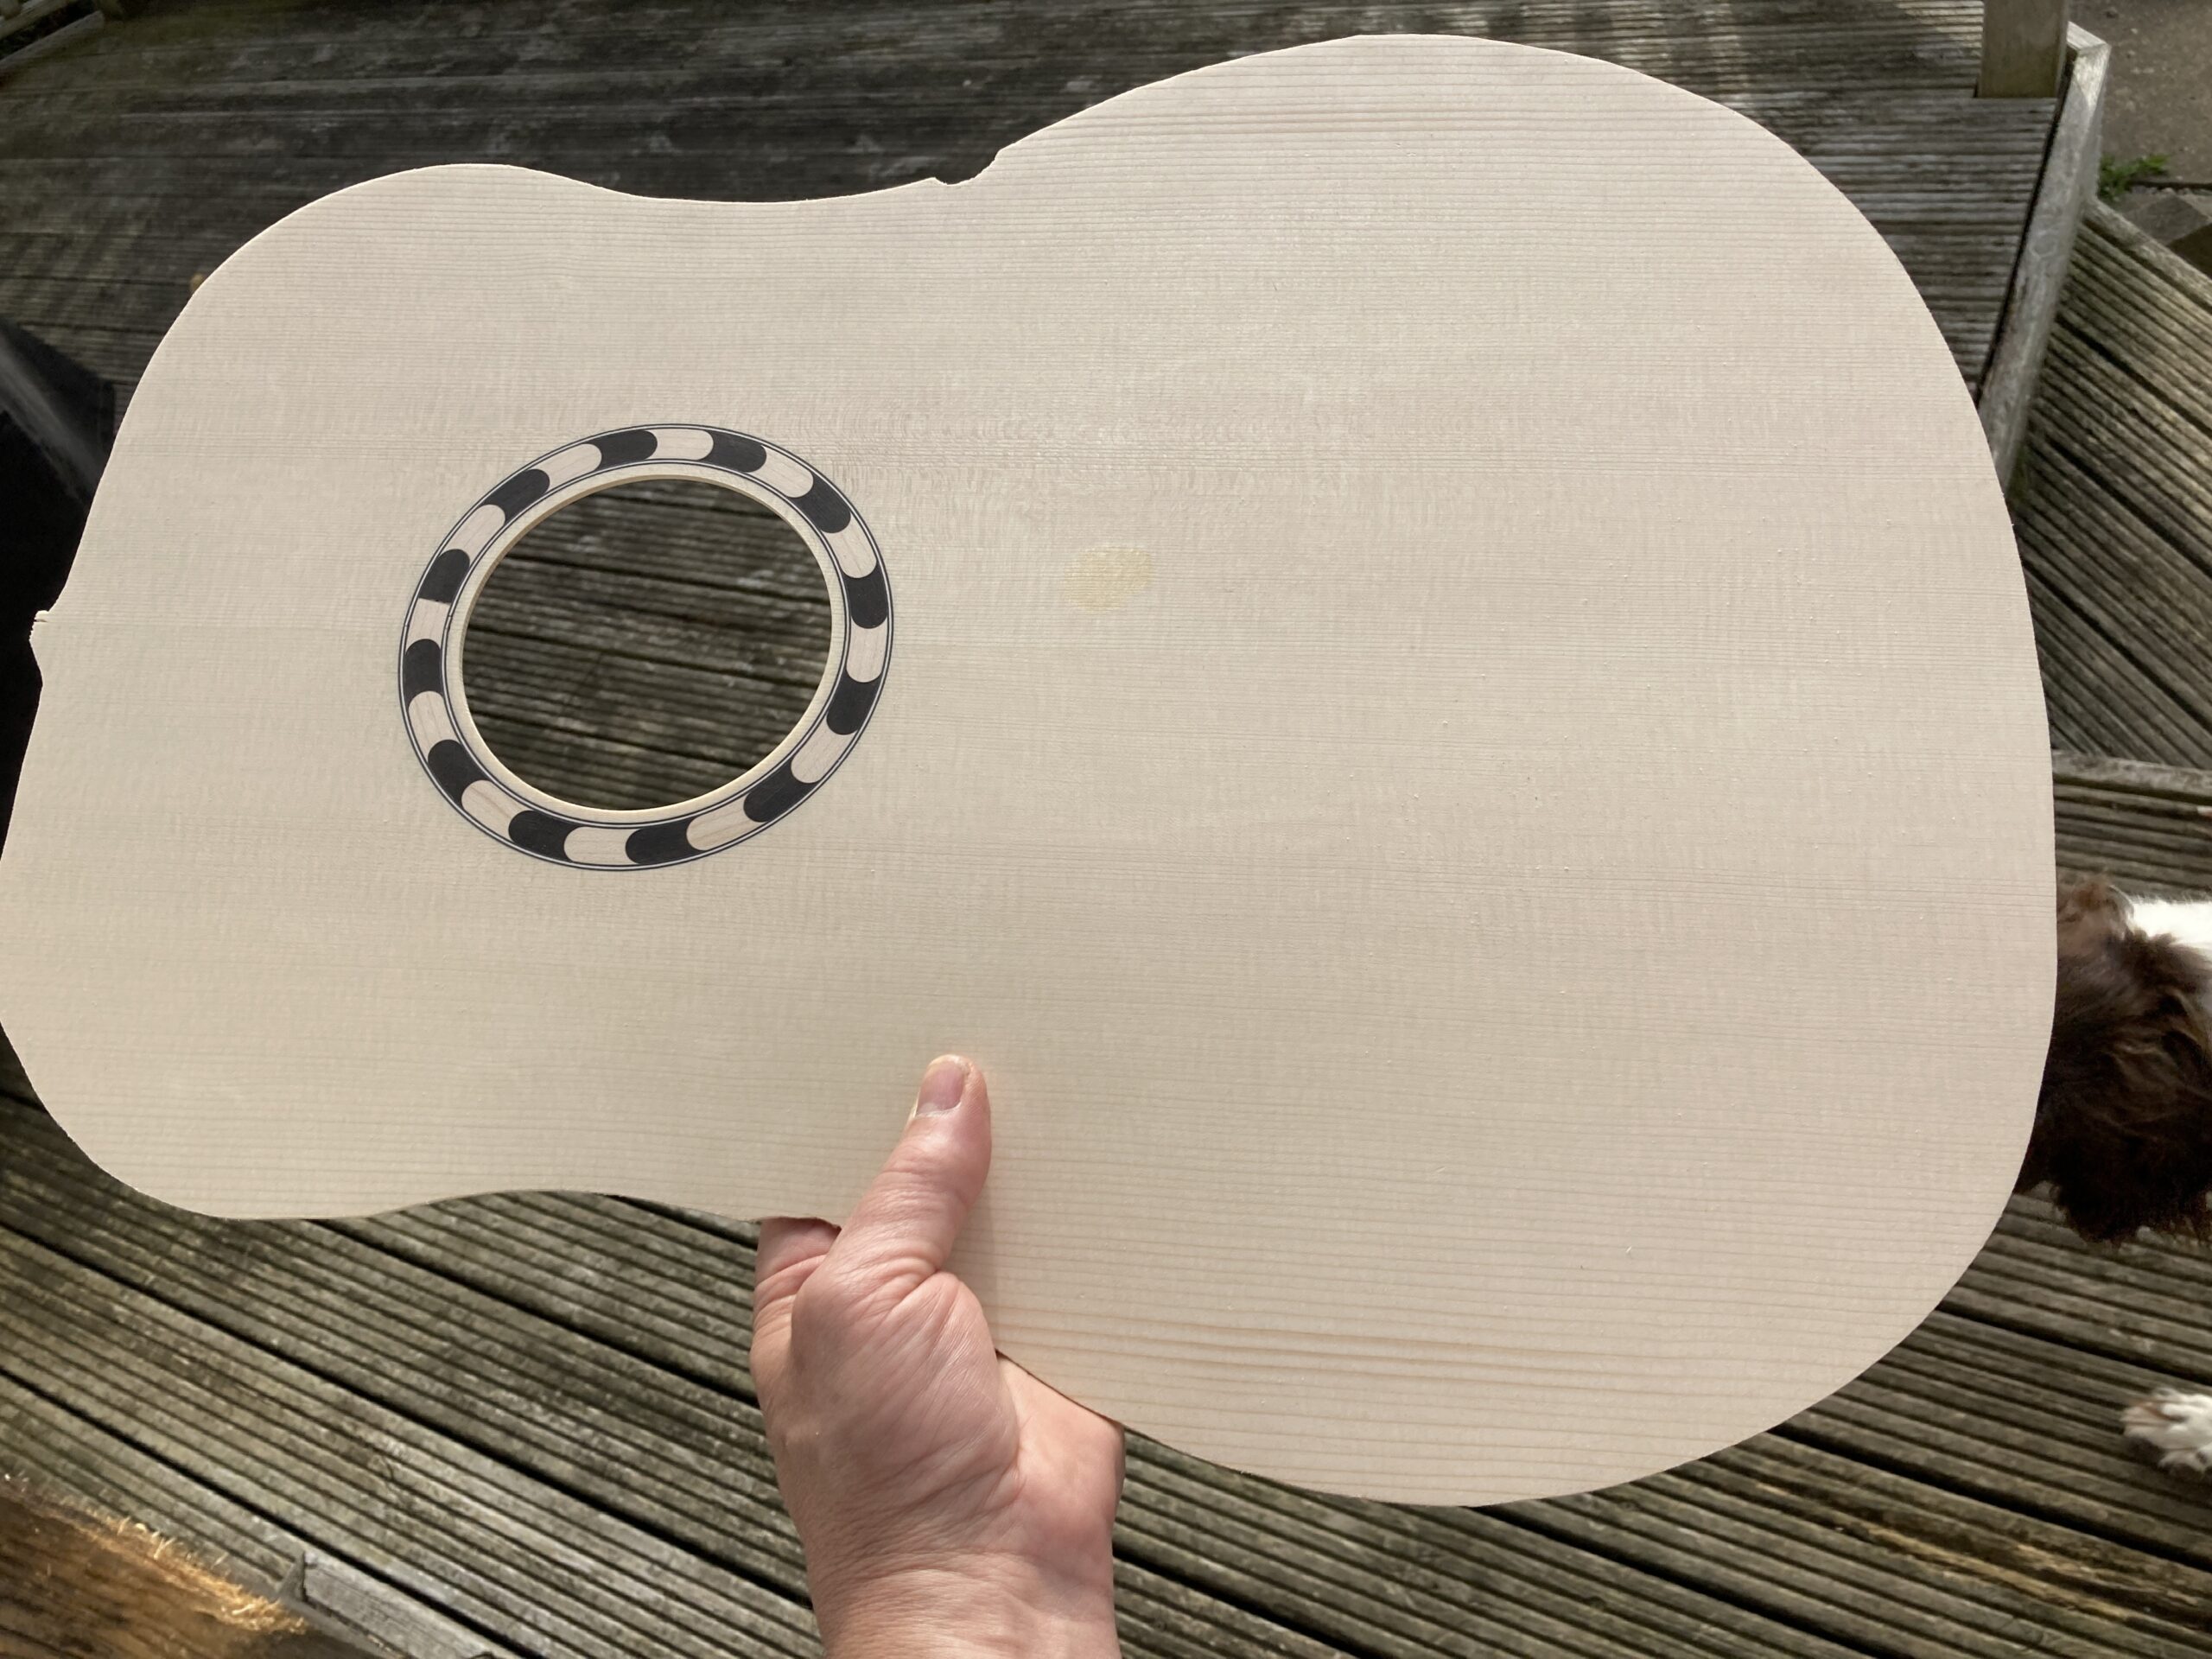
I quite like the rosette, even though it is very plain
