Inlay
I tried to plane the headplate blank down to thickness by hand, but had to admit defeat – it was like sawing the legs off the proverbial table – I was just chasing taper around the piece, and rapidly approaching the 2.5mm finished thickness.
So I swallowed my pride and thicknessed it on my CNC router:

Inlay
I wanted to add a pearl inlay to the headstock – I was originally thinking some sort of block pattern, but then I started wondering if it was possible to cut mother of pearl with the CNC…
It turns out you can, even with a tiny, tiny 0.6mm diameter bit.
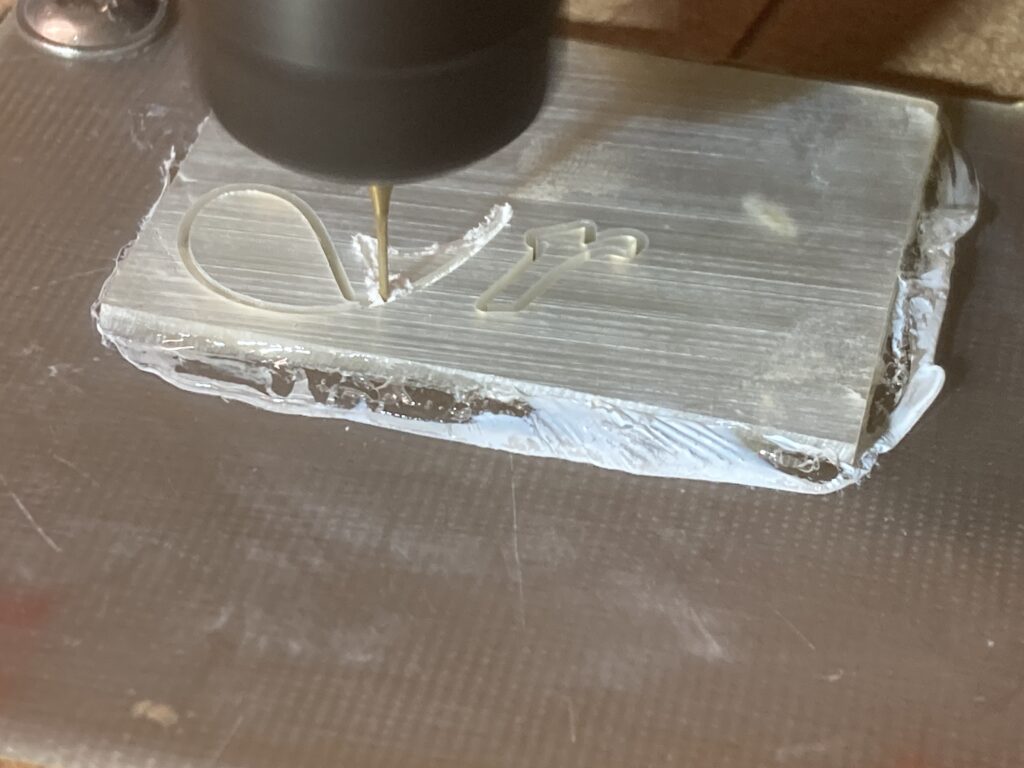
This was only going to be a ‘look-see’ exercise, and I didn’t really expect it to work – I had never tried to cut shell before, let alone with a 0.6mm bit, and I was pleasantly surprised that I cut out the whole inlay and about four practice attempts at the recesses for it (in rosewood scraps) without breaking the bit – and these were just “cheap” ones from Amazon.
This video by Brian Right was extremely helpful. I used a spindle speed of 12000 RPM (the maximum for my spindle), a feed rate of 100mm/minute and a step-down of 0.2mm.
The design actually came out far better than I was expecting, so I decided to go with it and cut the recess for real in the headplate
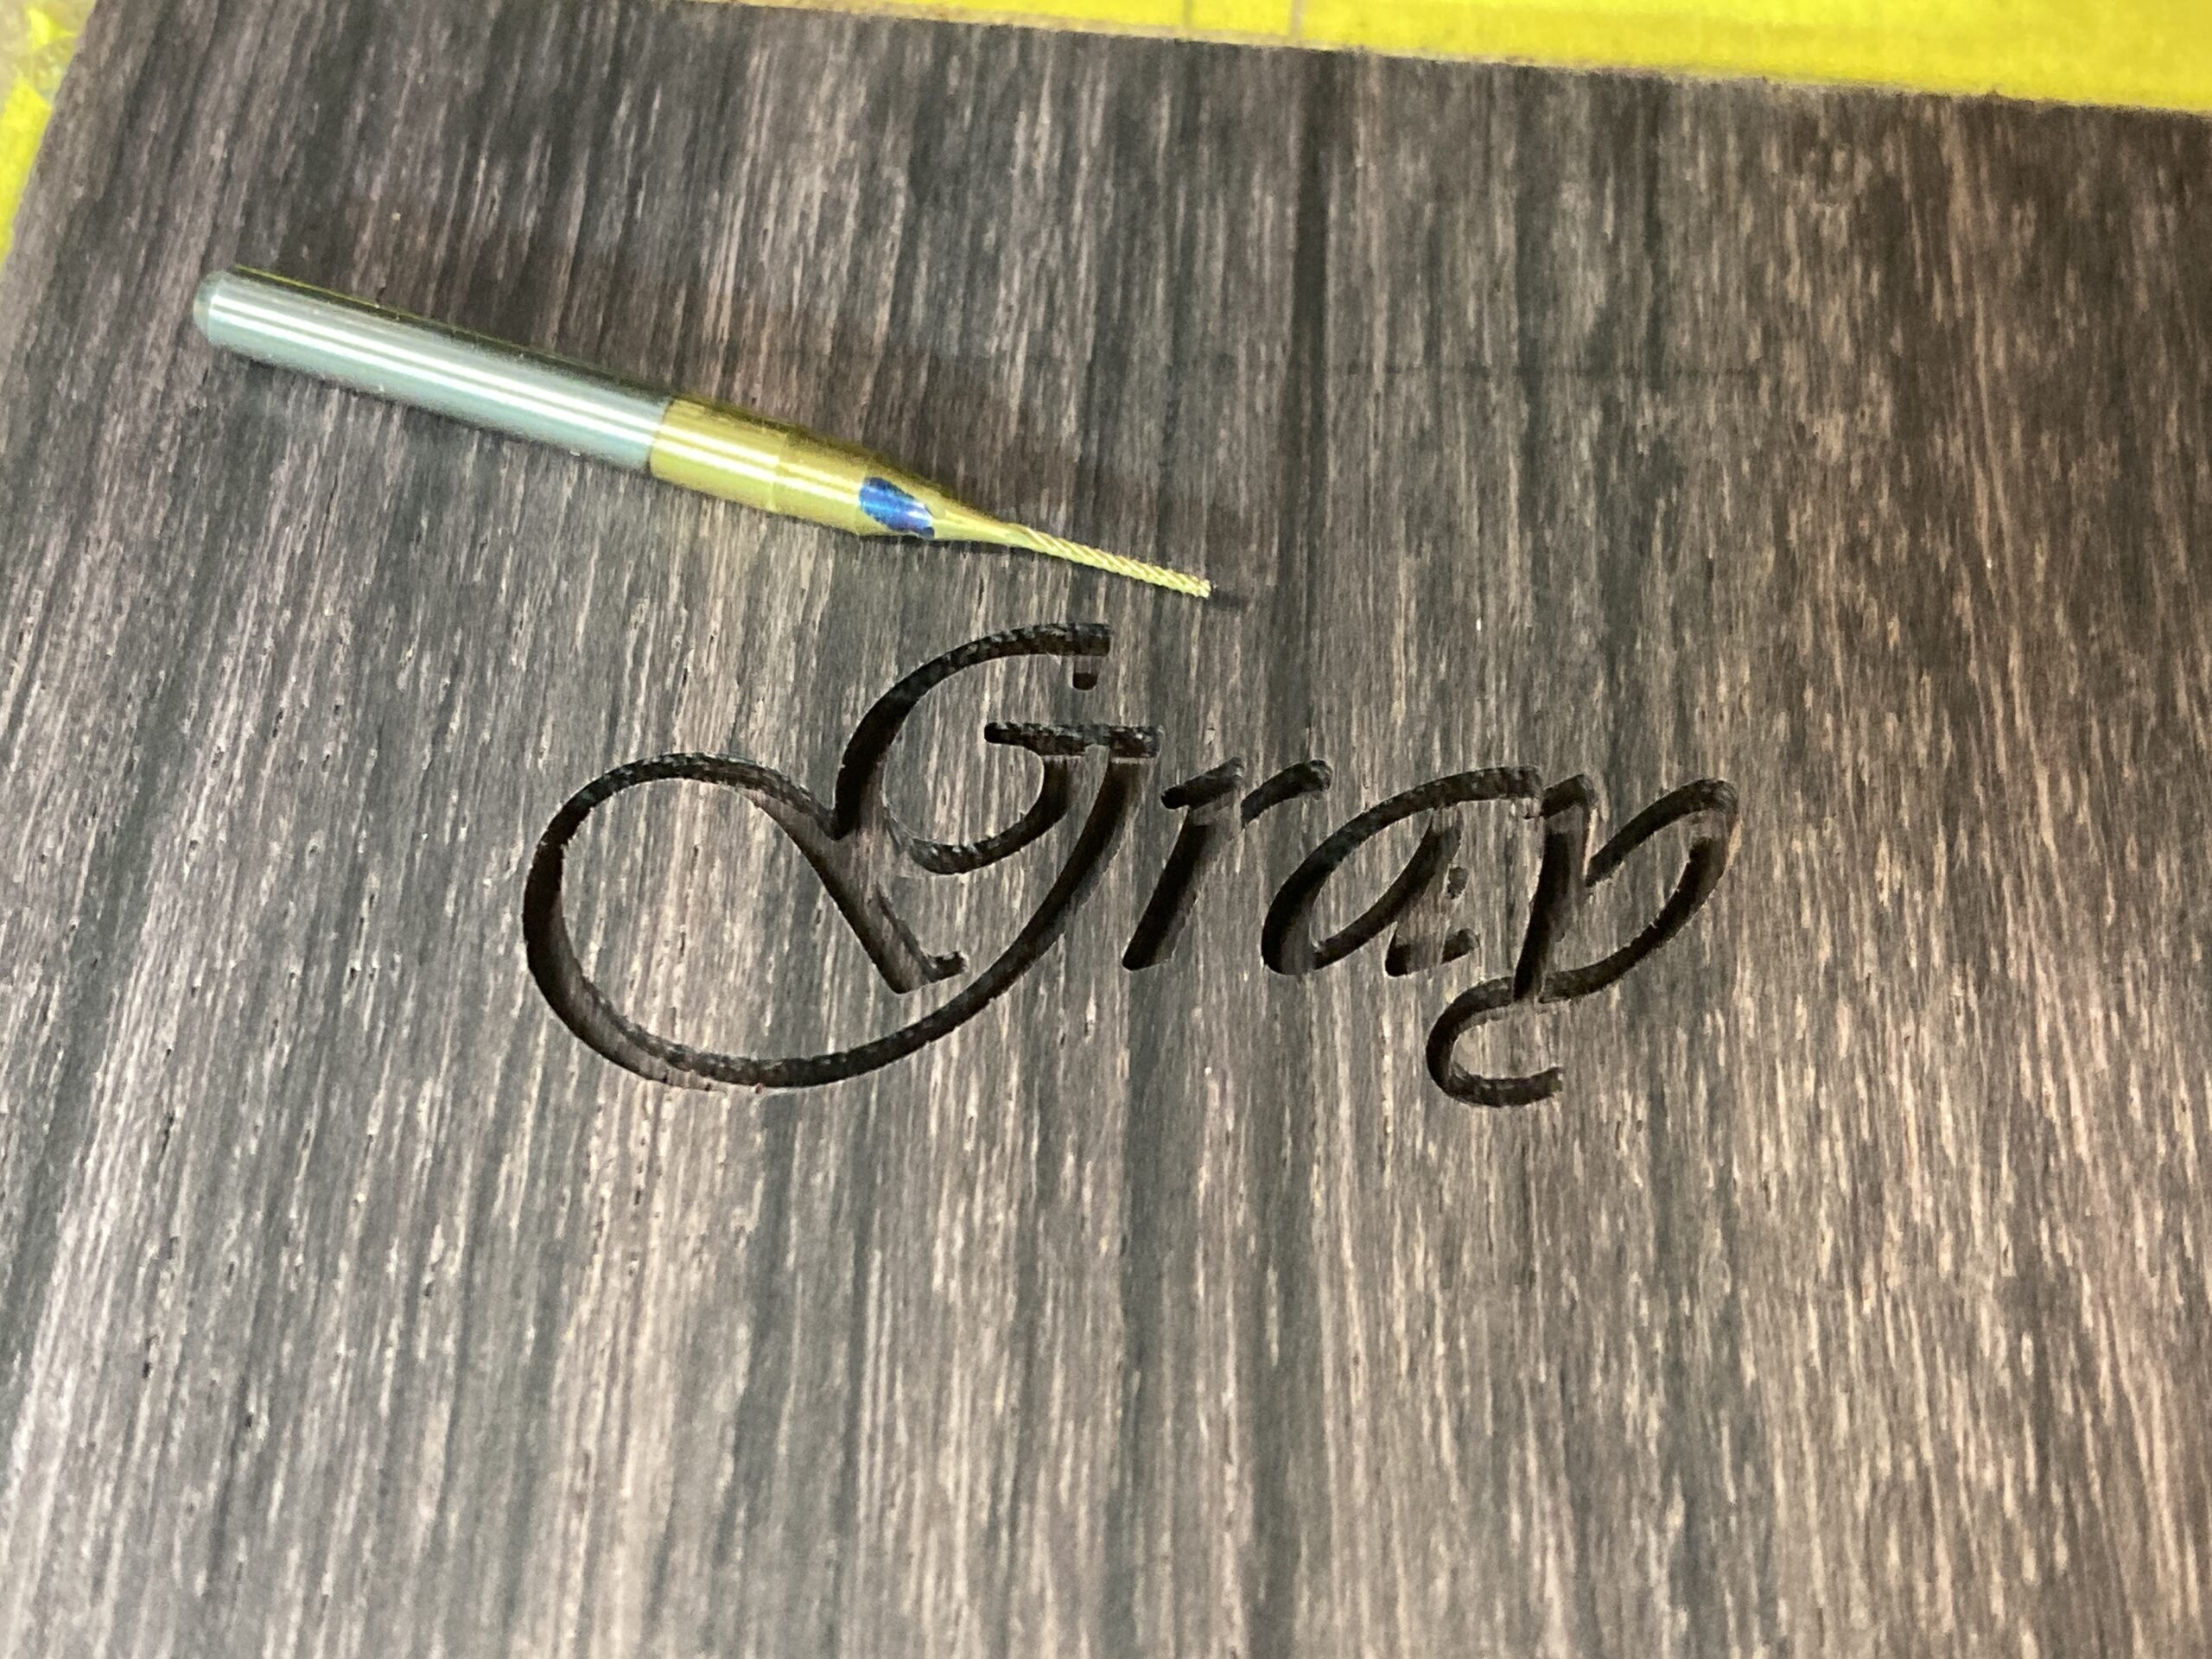
The beauty of having it on the CNC is that I could re-cut the recess, gradually increasing the size until the inlay slipped in.
I’d made the recess the same shape as the inlay, just a shade bigger. I have since learned some things about how to modify the shape of the recess (around corners, especially) that makes the pearl easier to fit. (I do regard this whole part as cheating and feel I should apologise to craftsmen everywhere.)
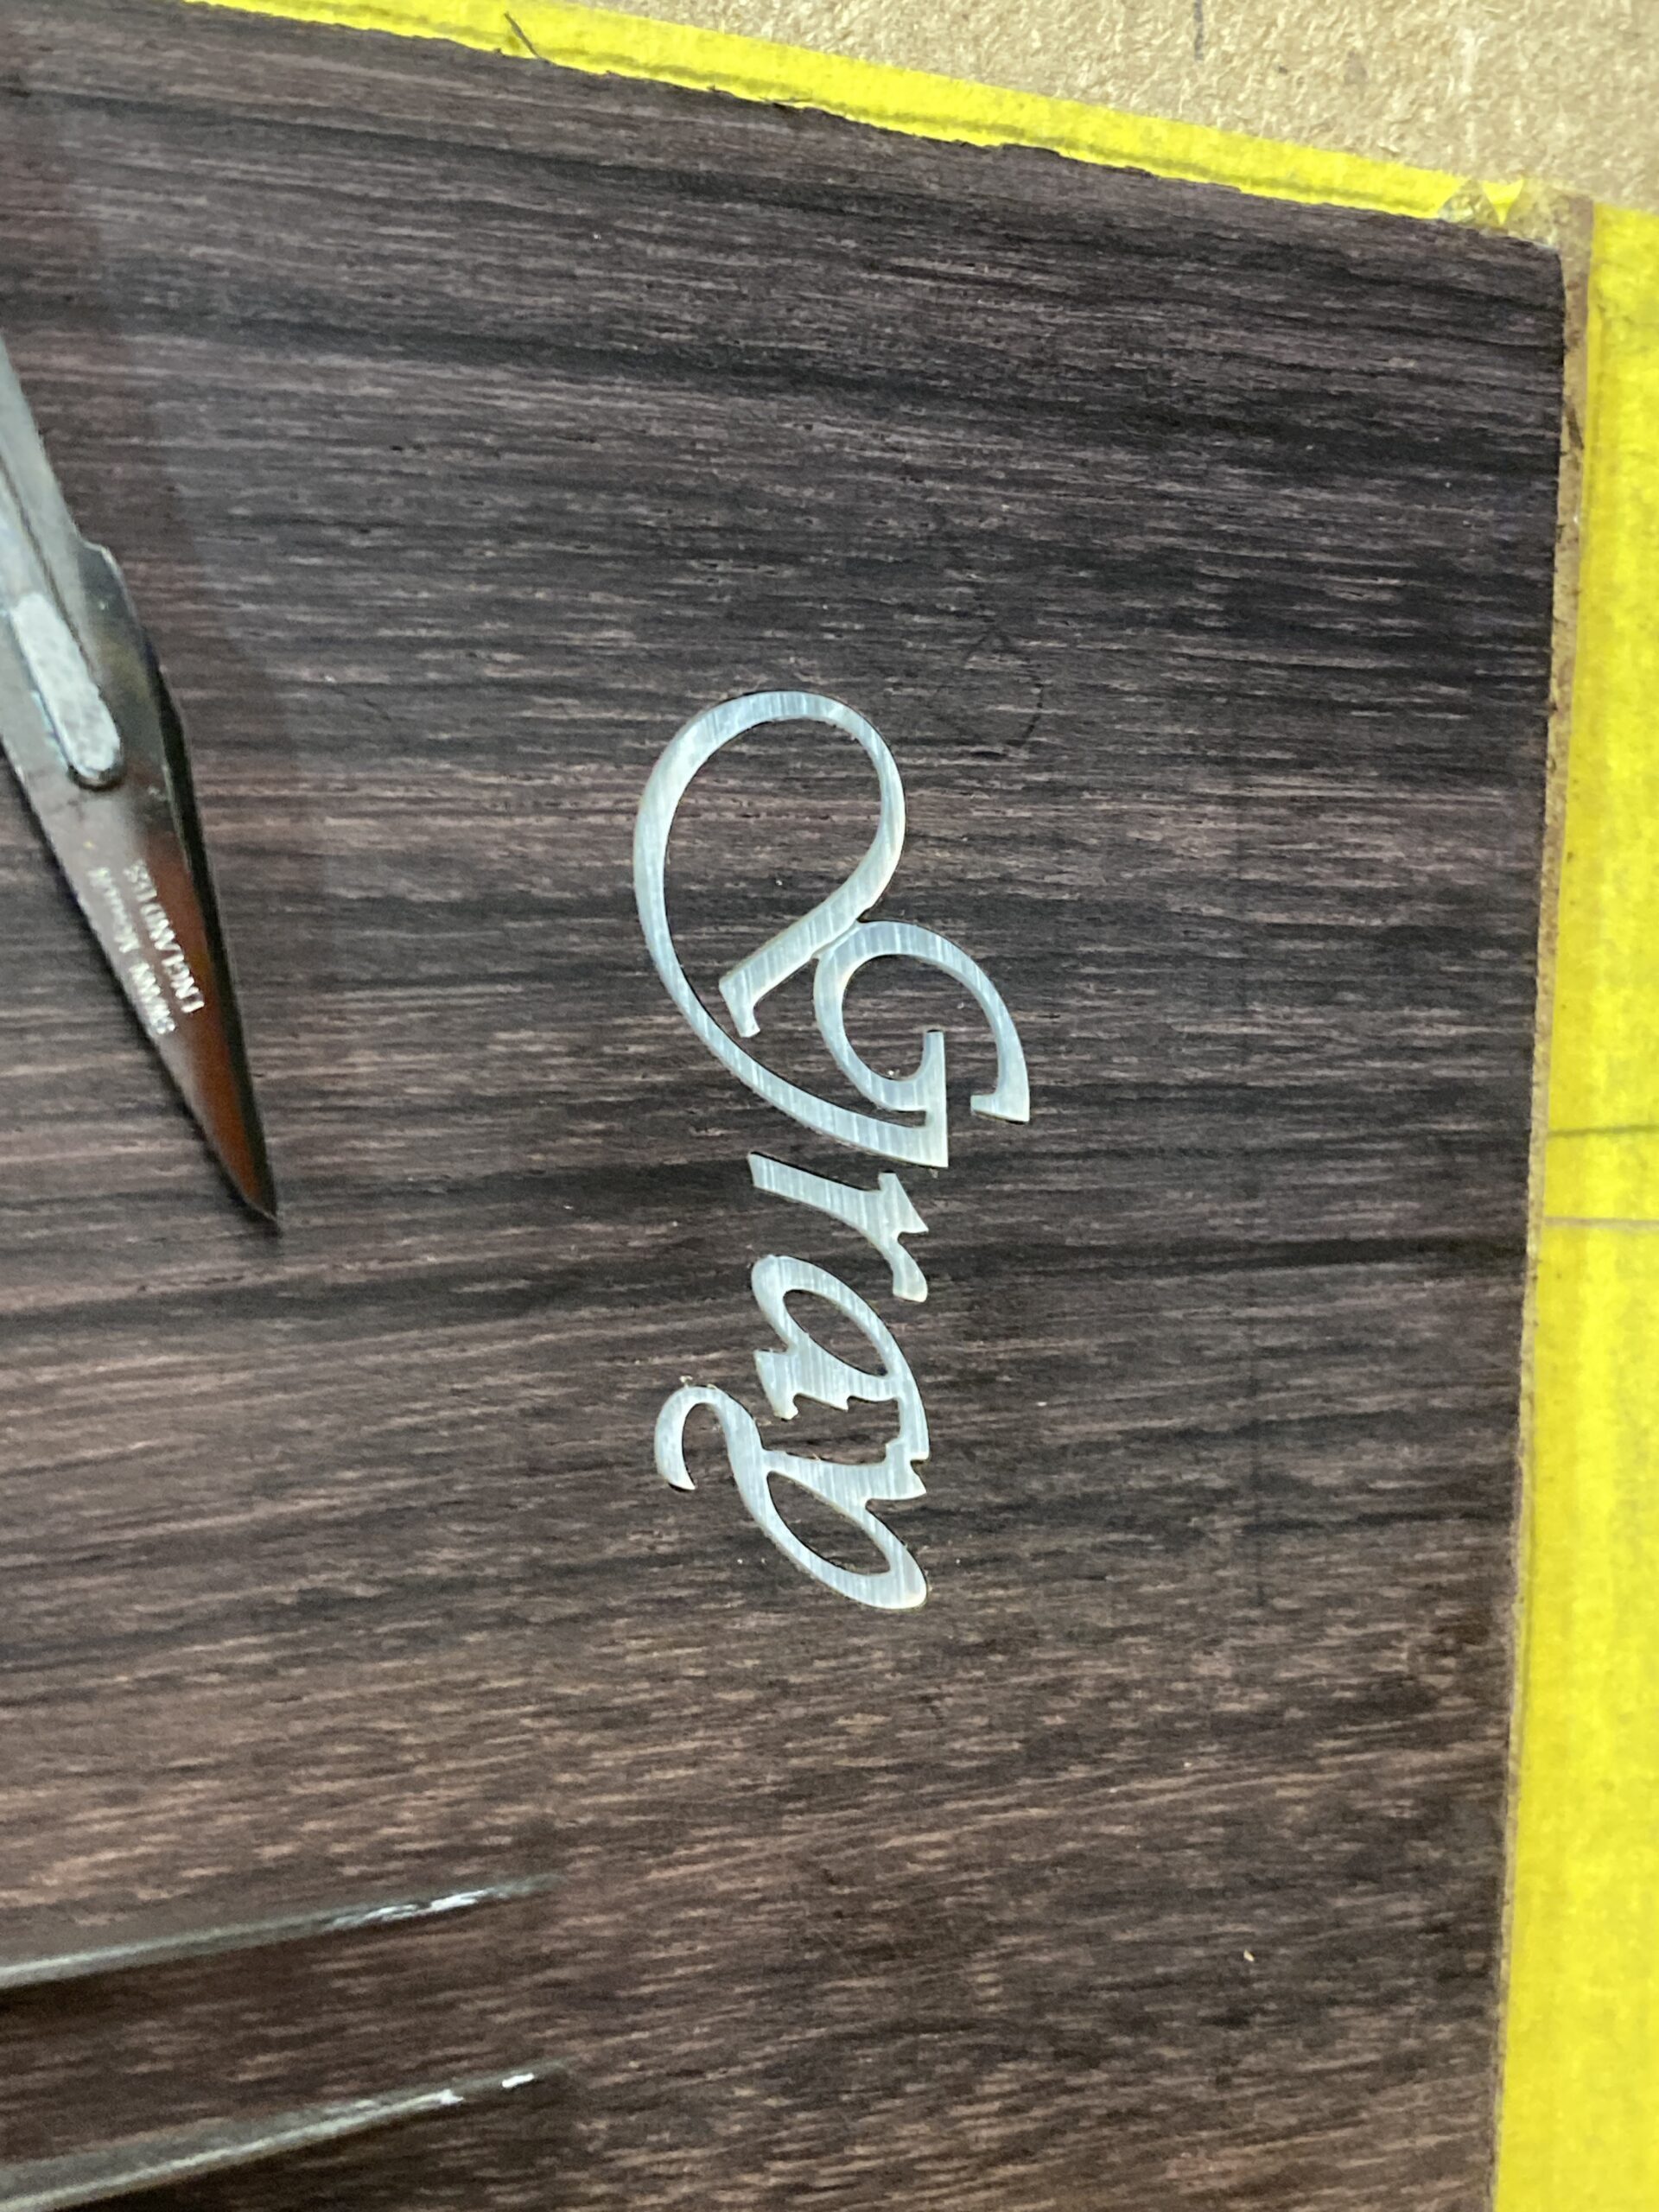
Anyway, I glued in the inlay (using superglue) and sanded it back, then tried to glue the headplate to the neck, and messed up:
I wasn’t really thinking, and used a soft, cork covered caul to clamp the thin headplate. The (oversized) headplate bent around the the edges of the headstock, under pressure from the (also oversized) soft caul. This caused the headplate to lift slightly near the edge of the headstock:
I managed to rescue it by going over it with a household iron until the glue softened (titebond) and re-clamping it. When I trimmed the headstock, the offcuts still seemed to be stuck, so I got away with it.
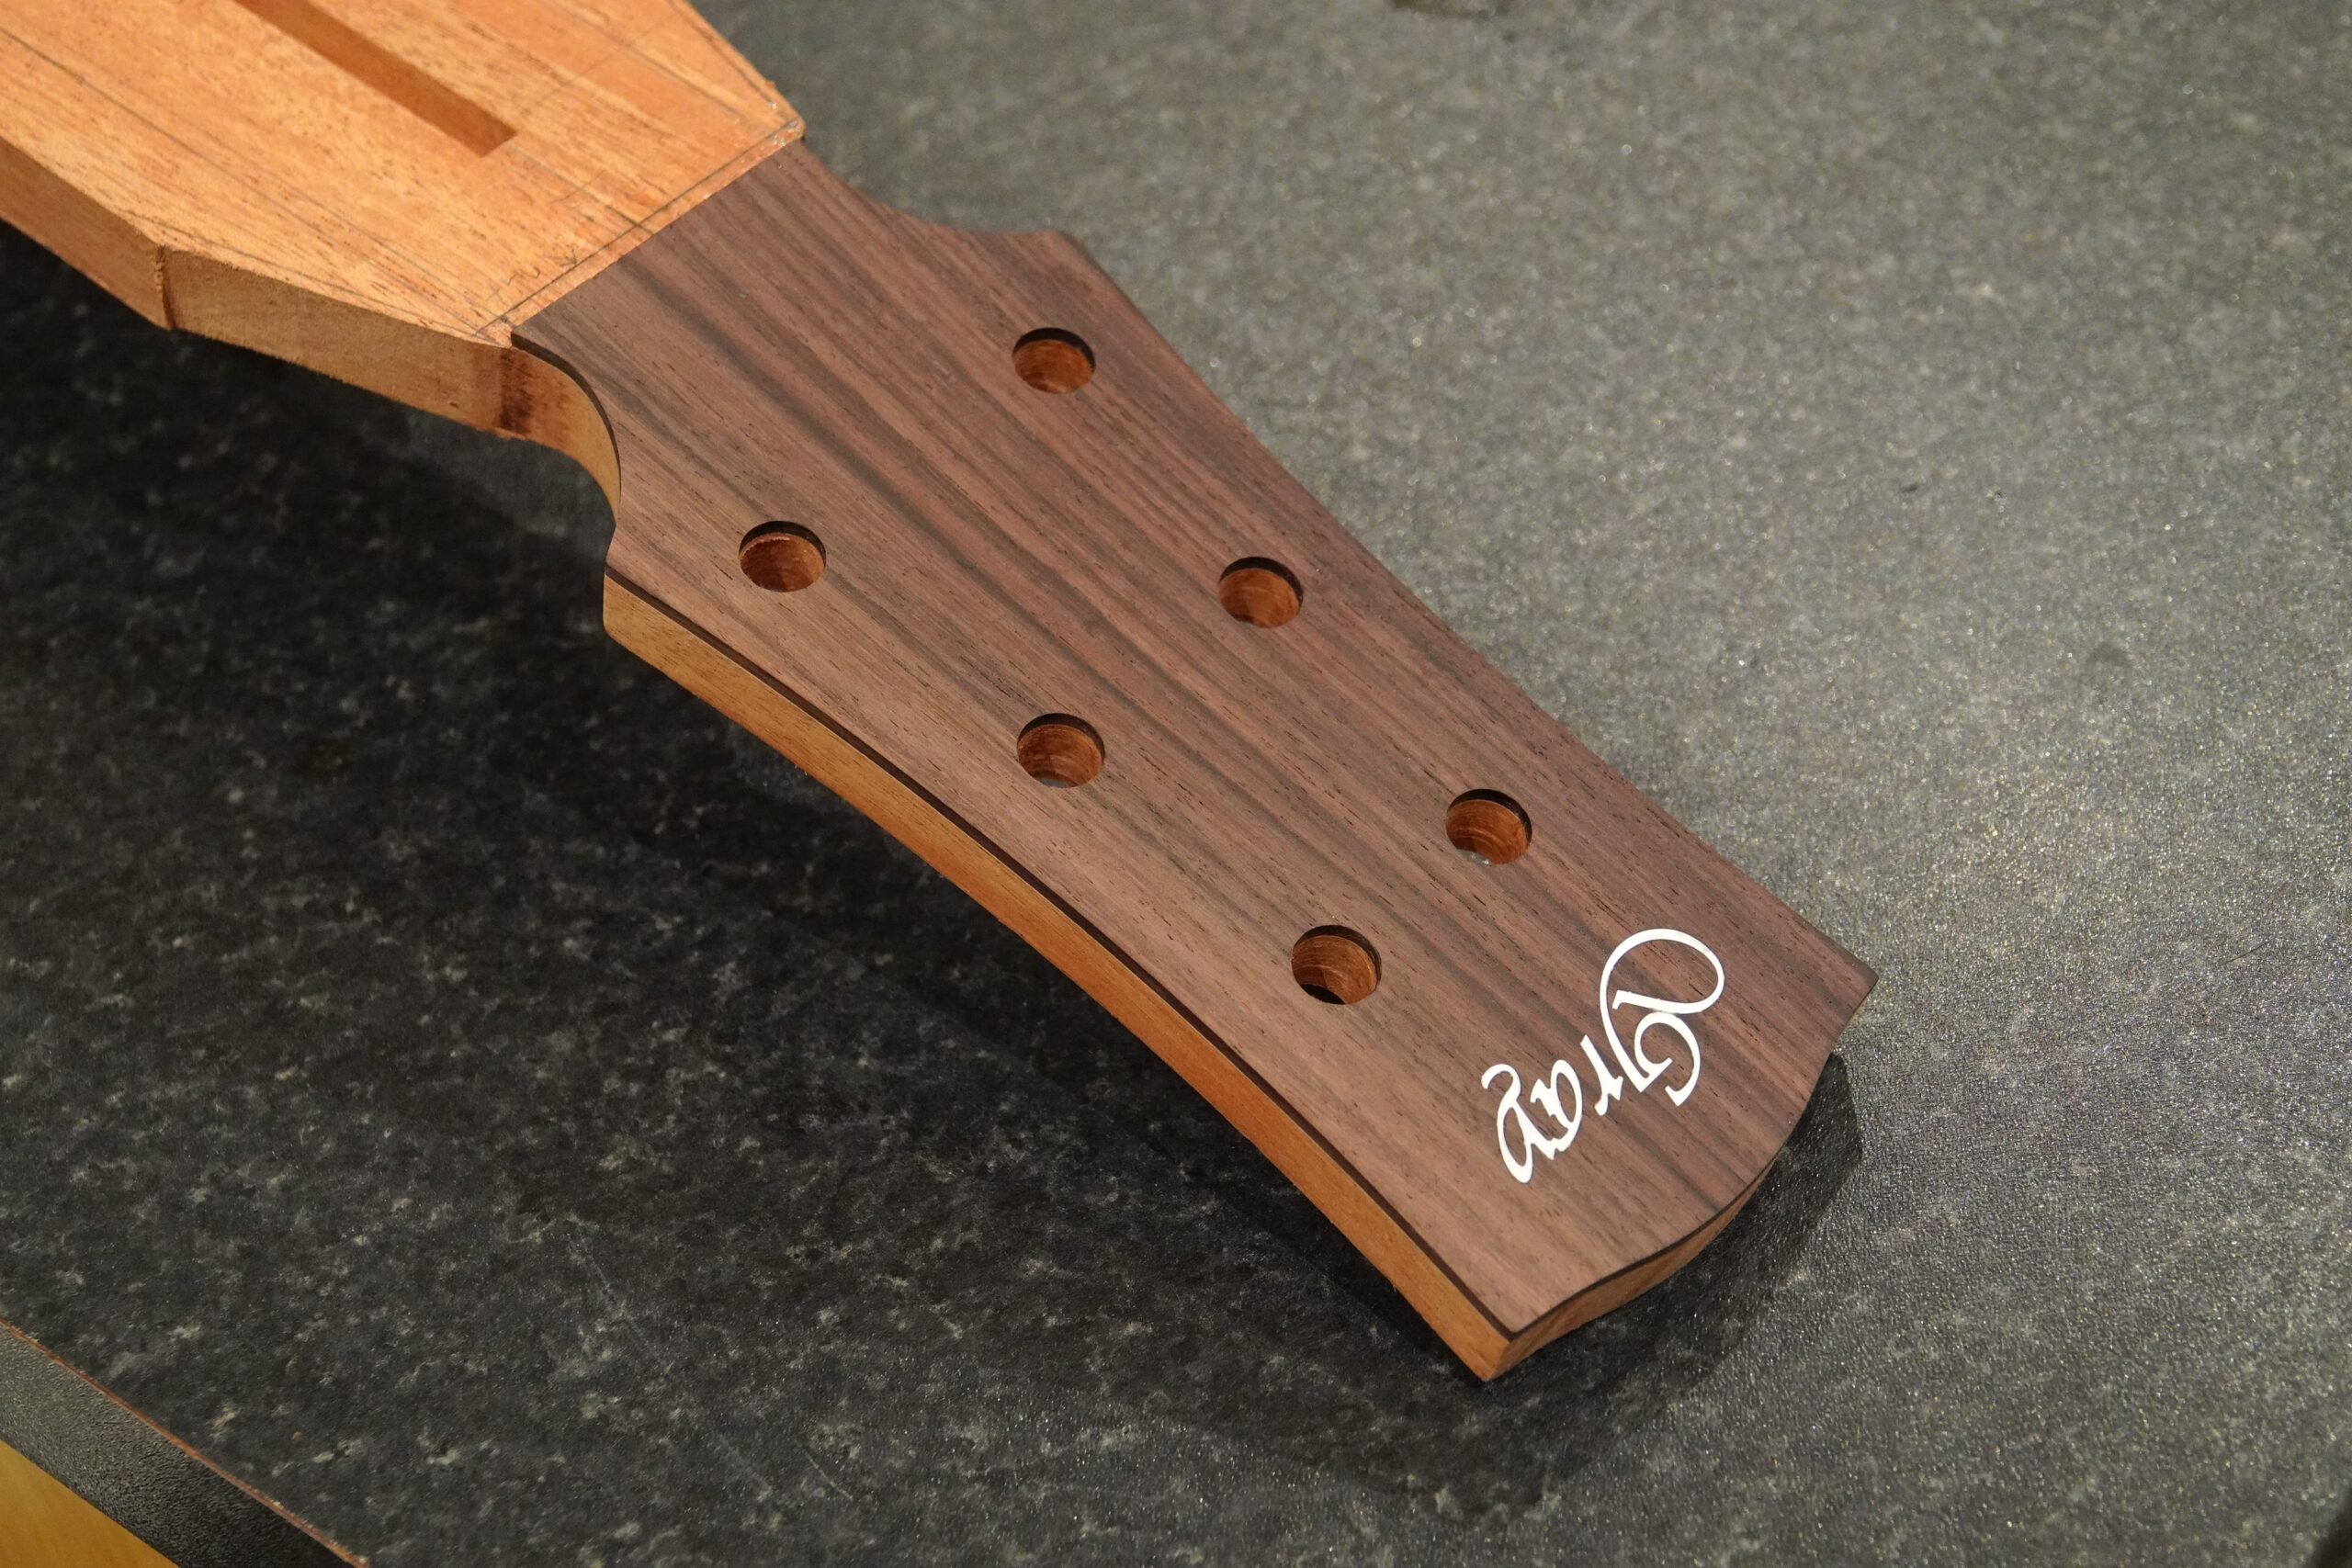
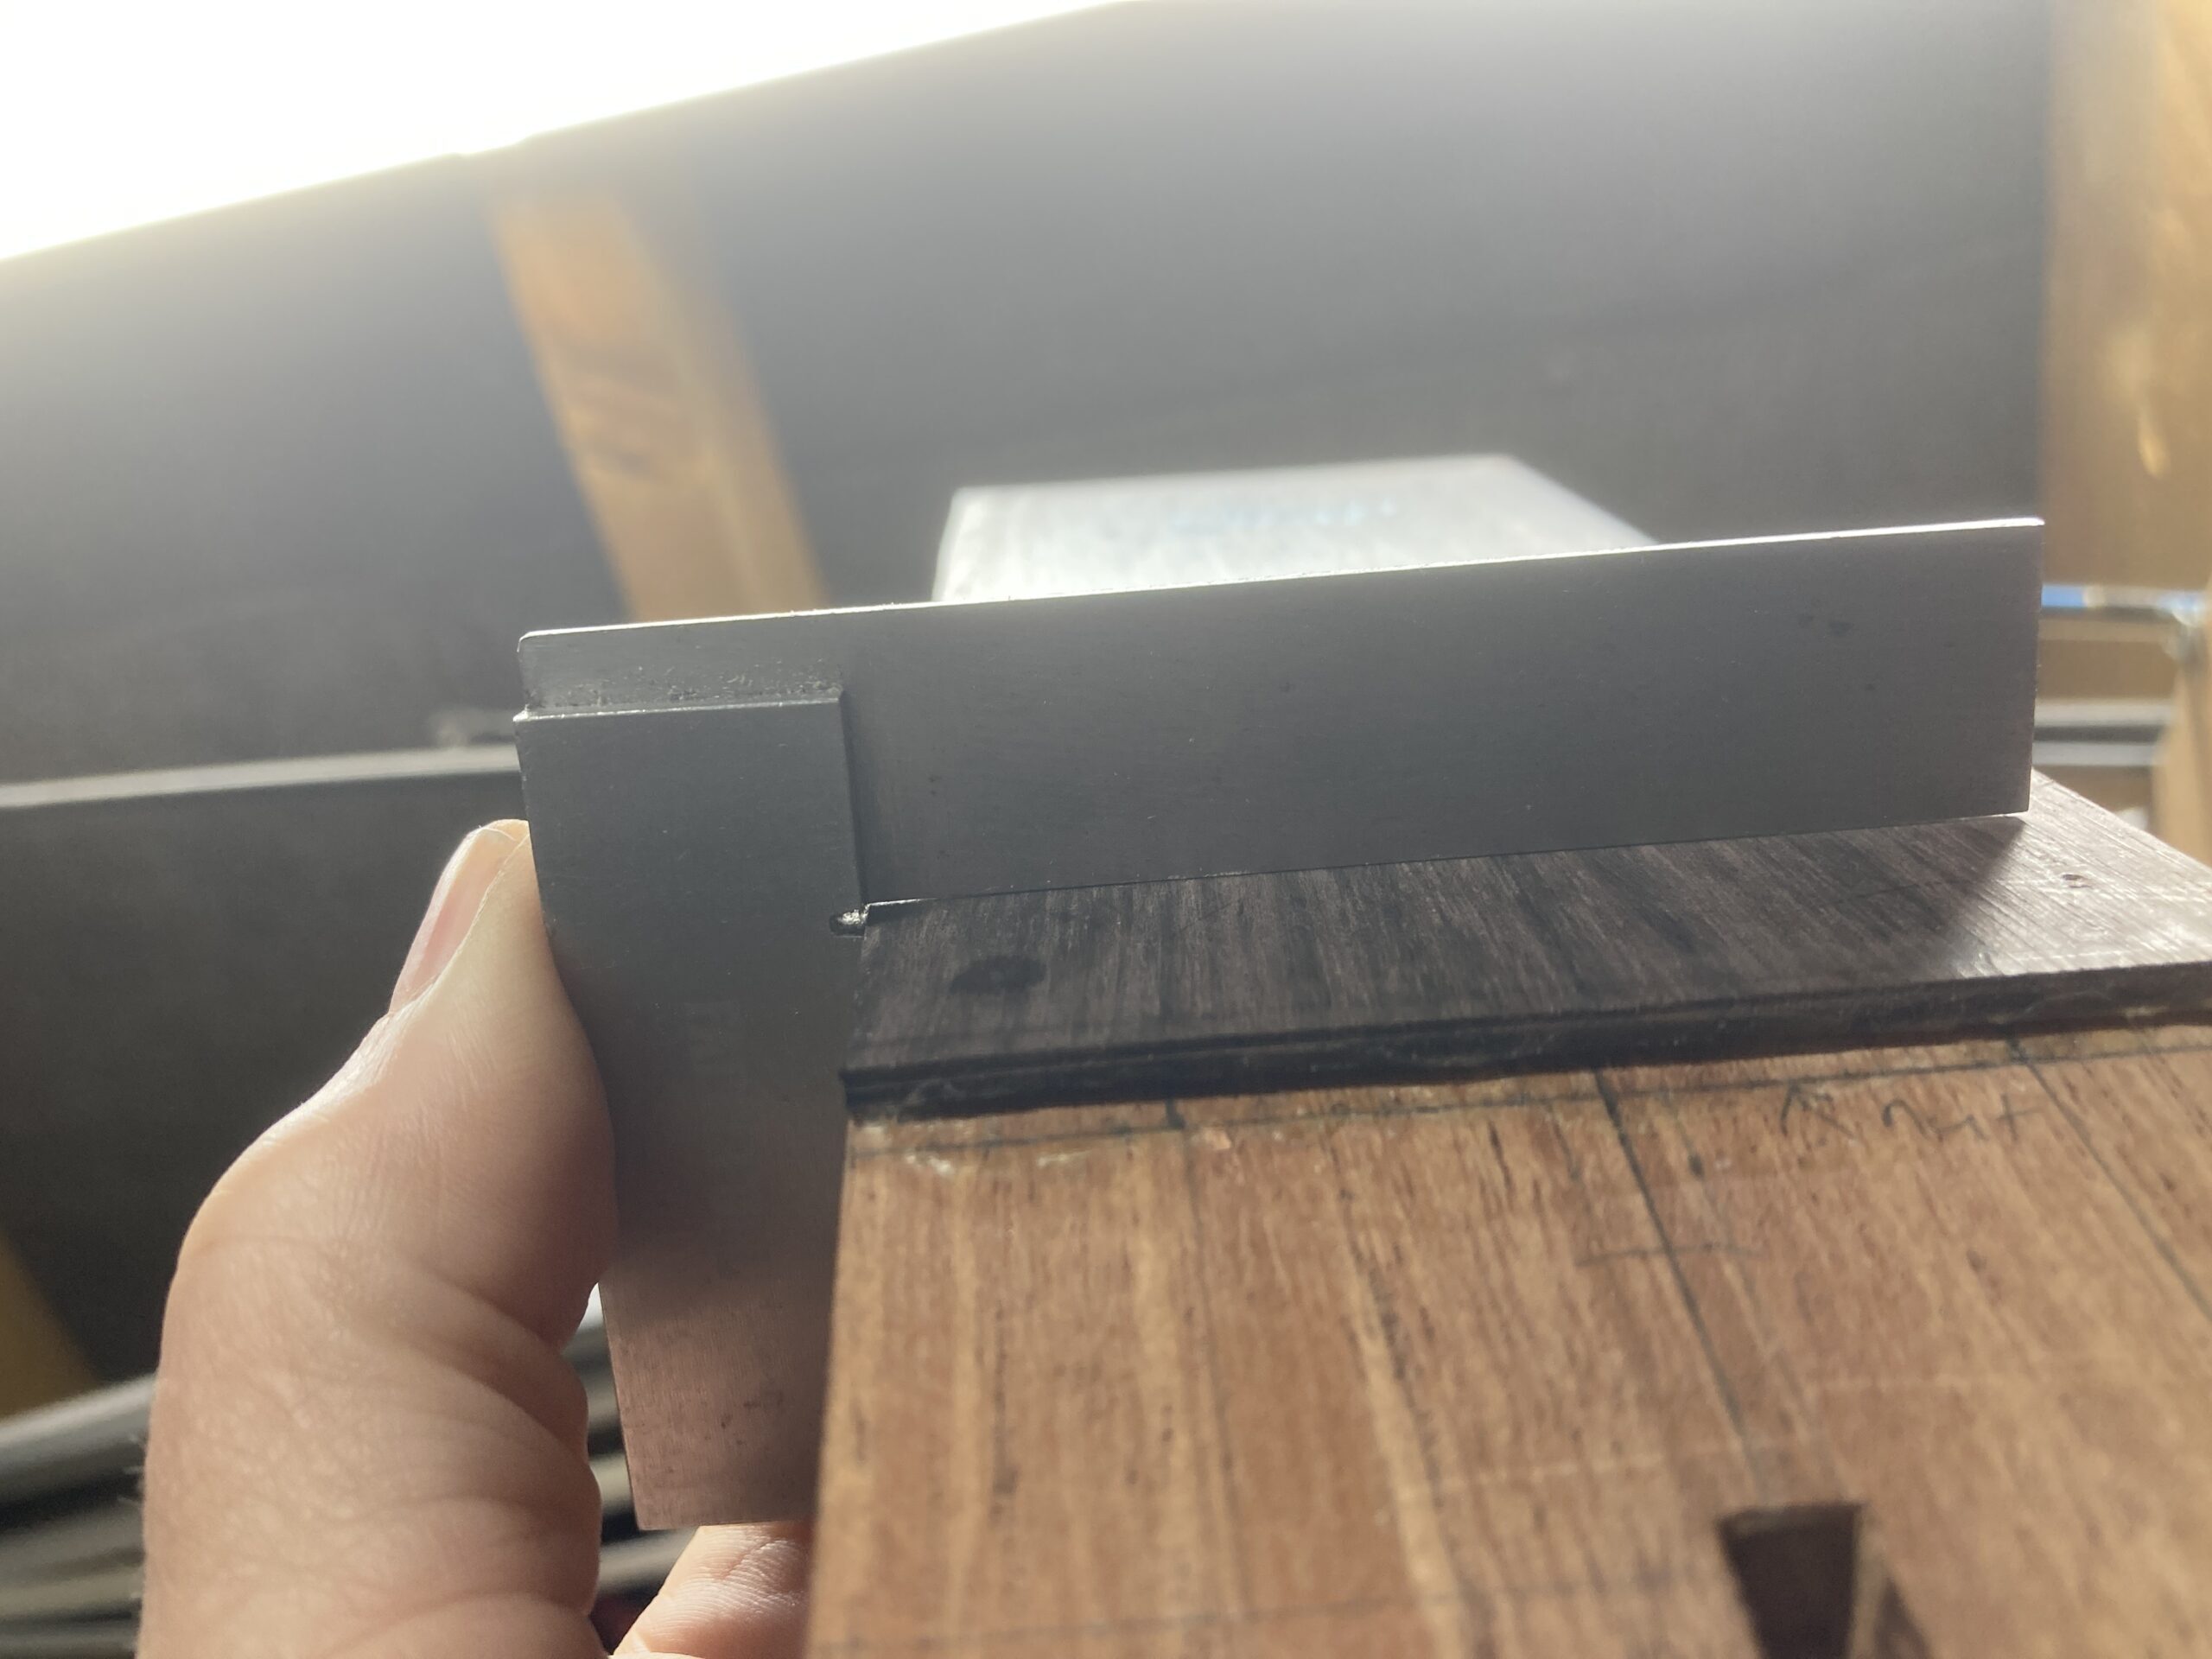
The headplate was trimmed off, square to the neck to form the nut location:

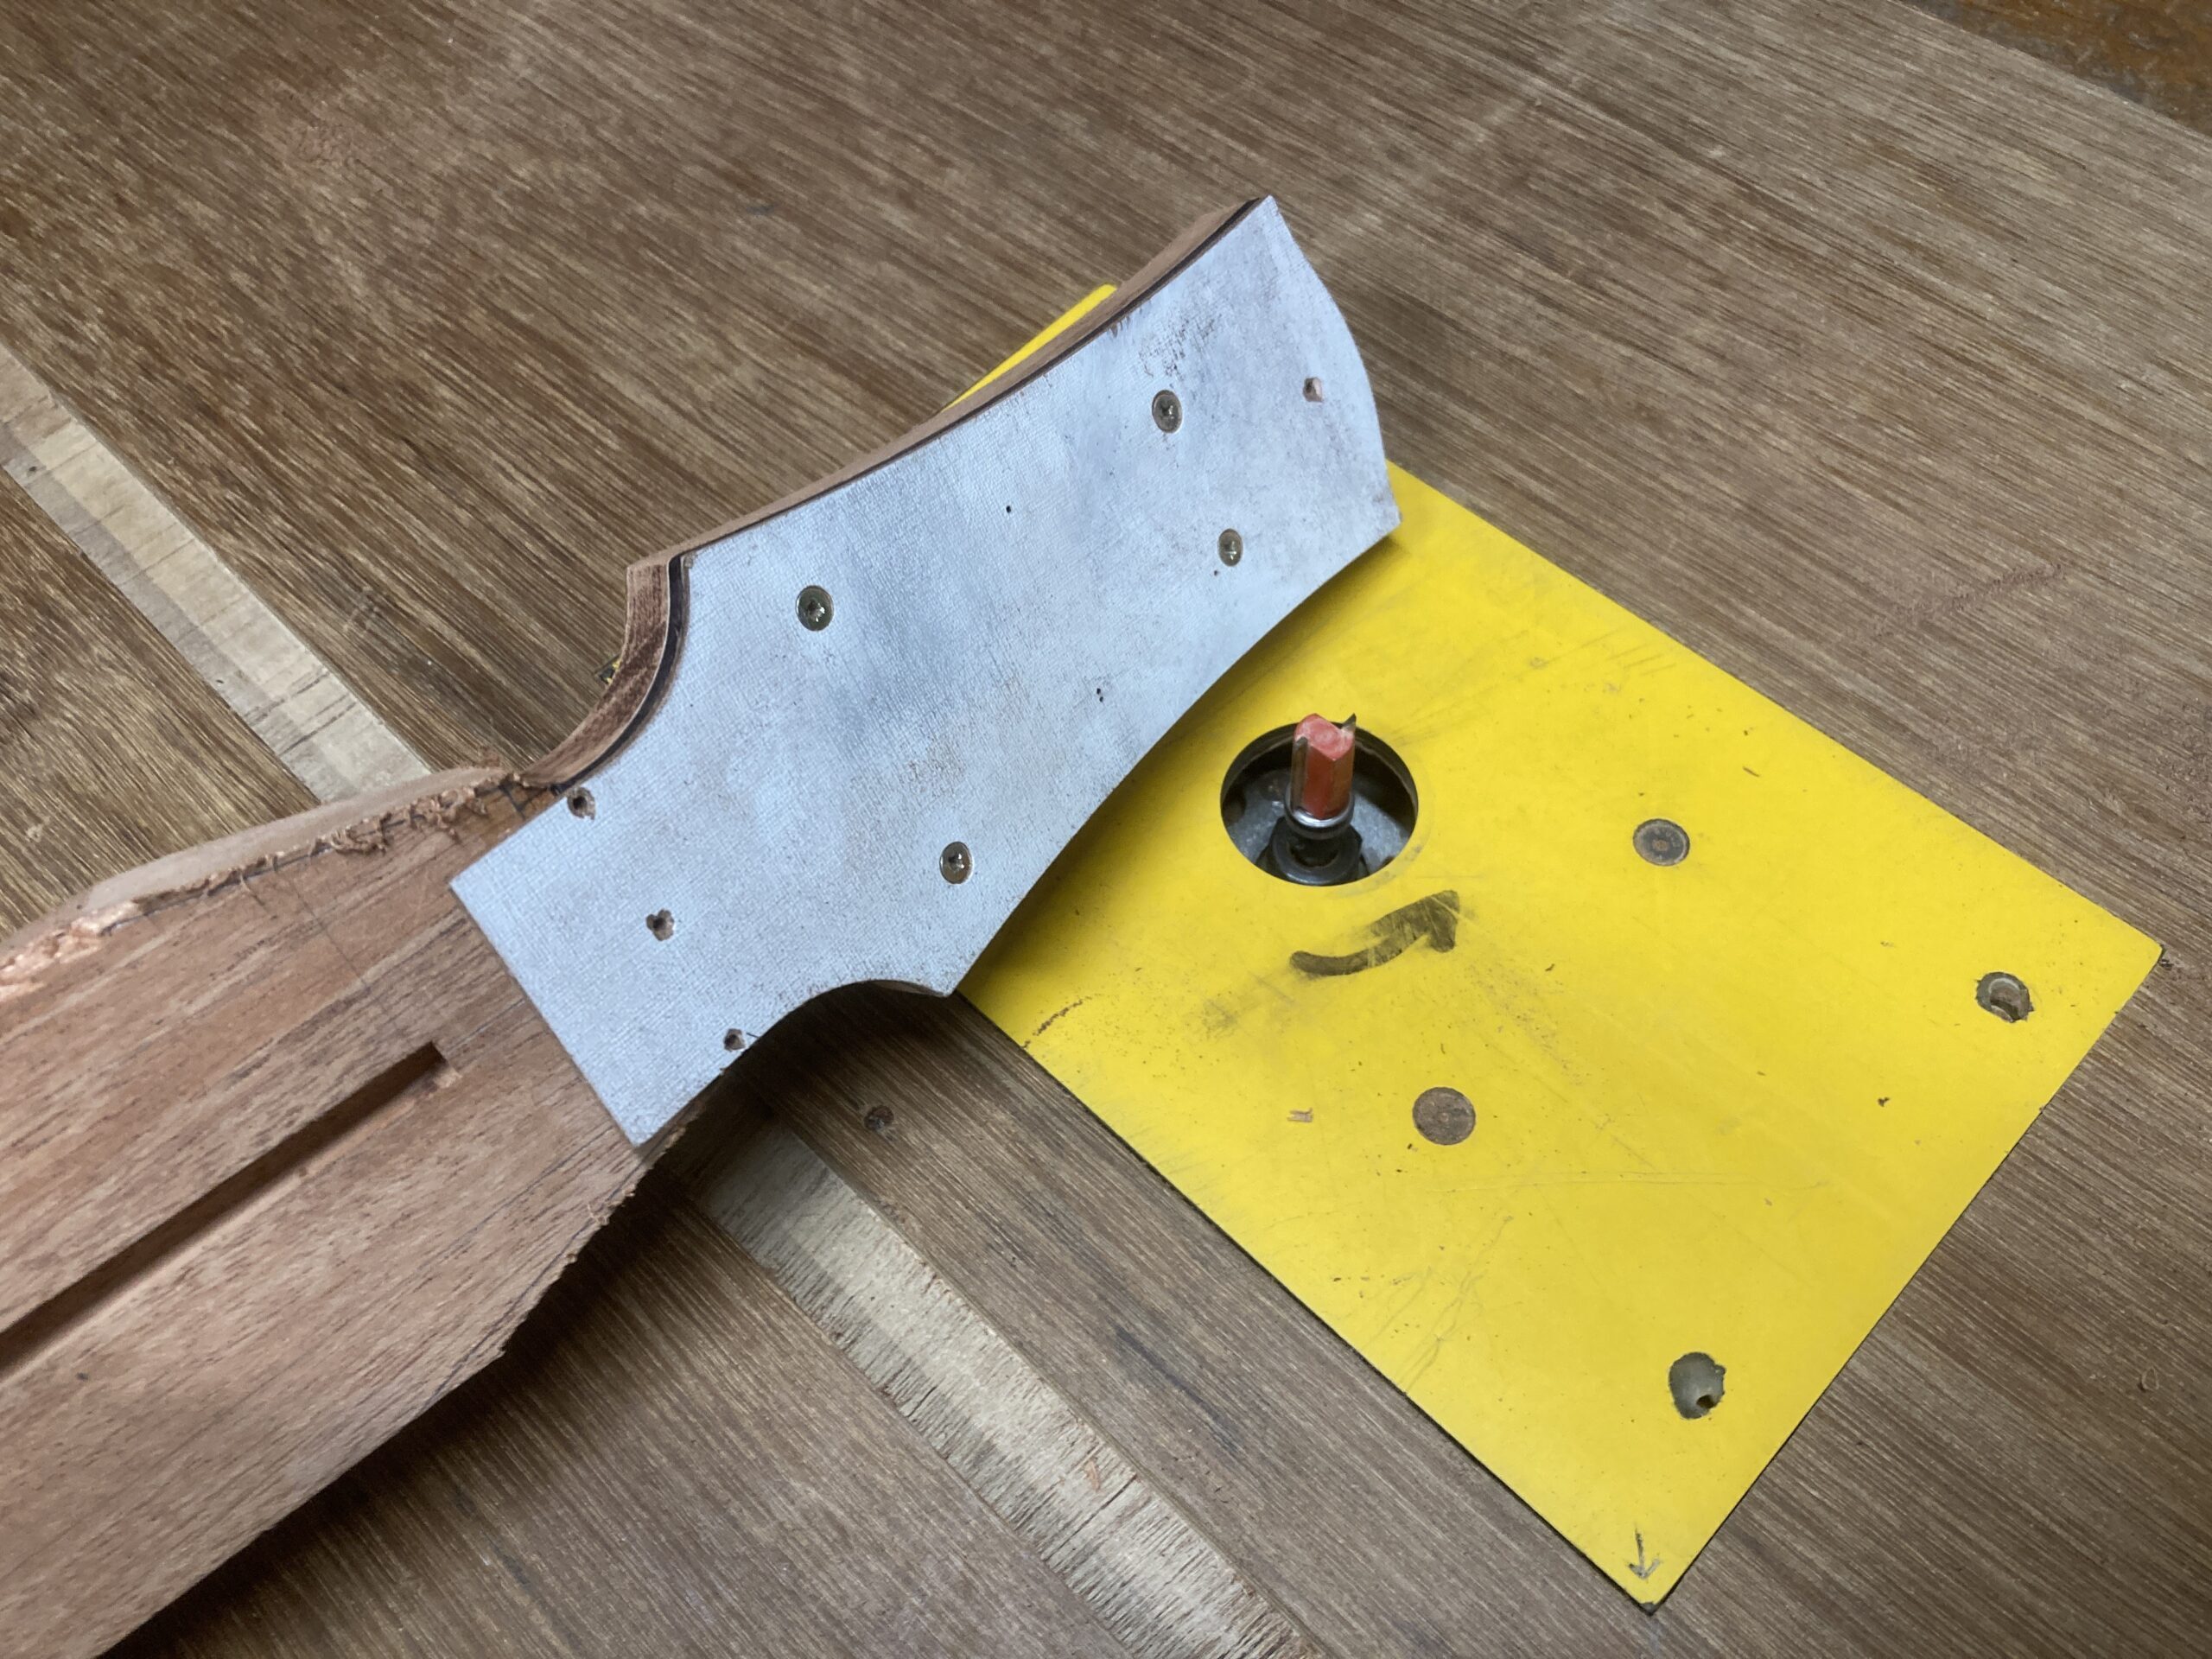
Then the final shape was cut using the template and a bearing guided bit in the router:
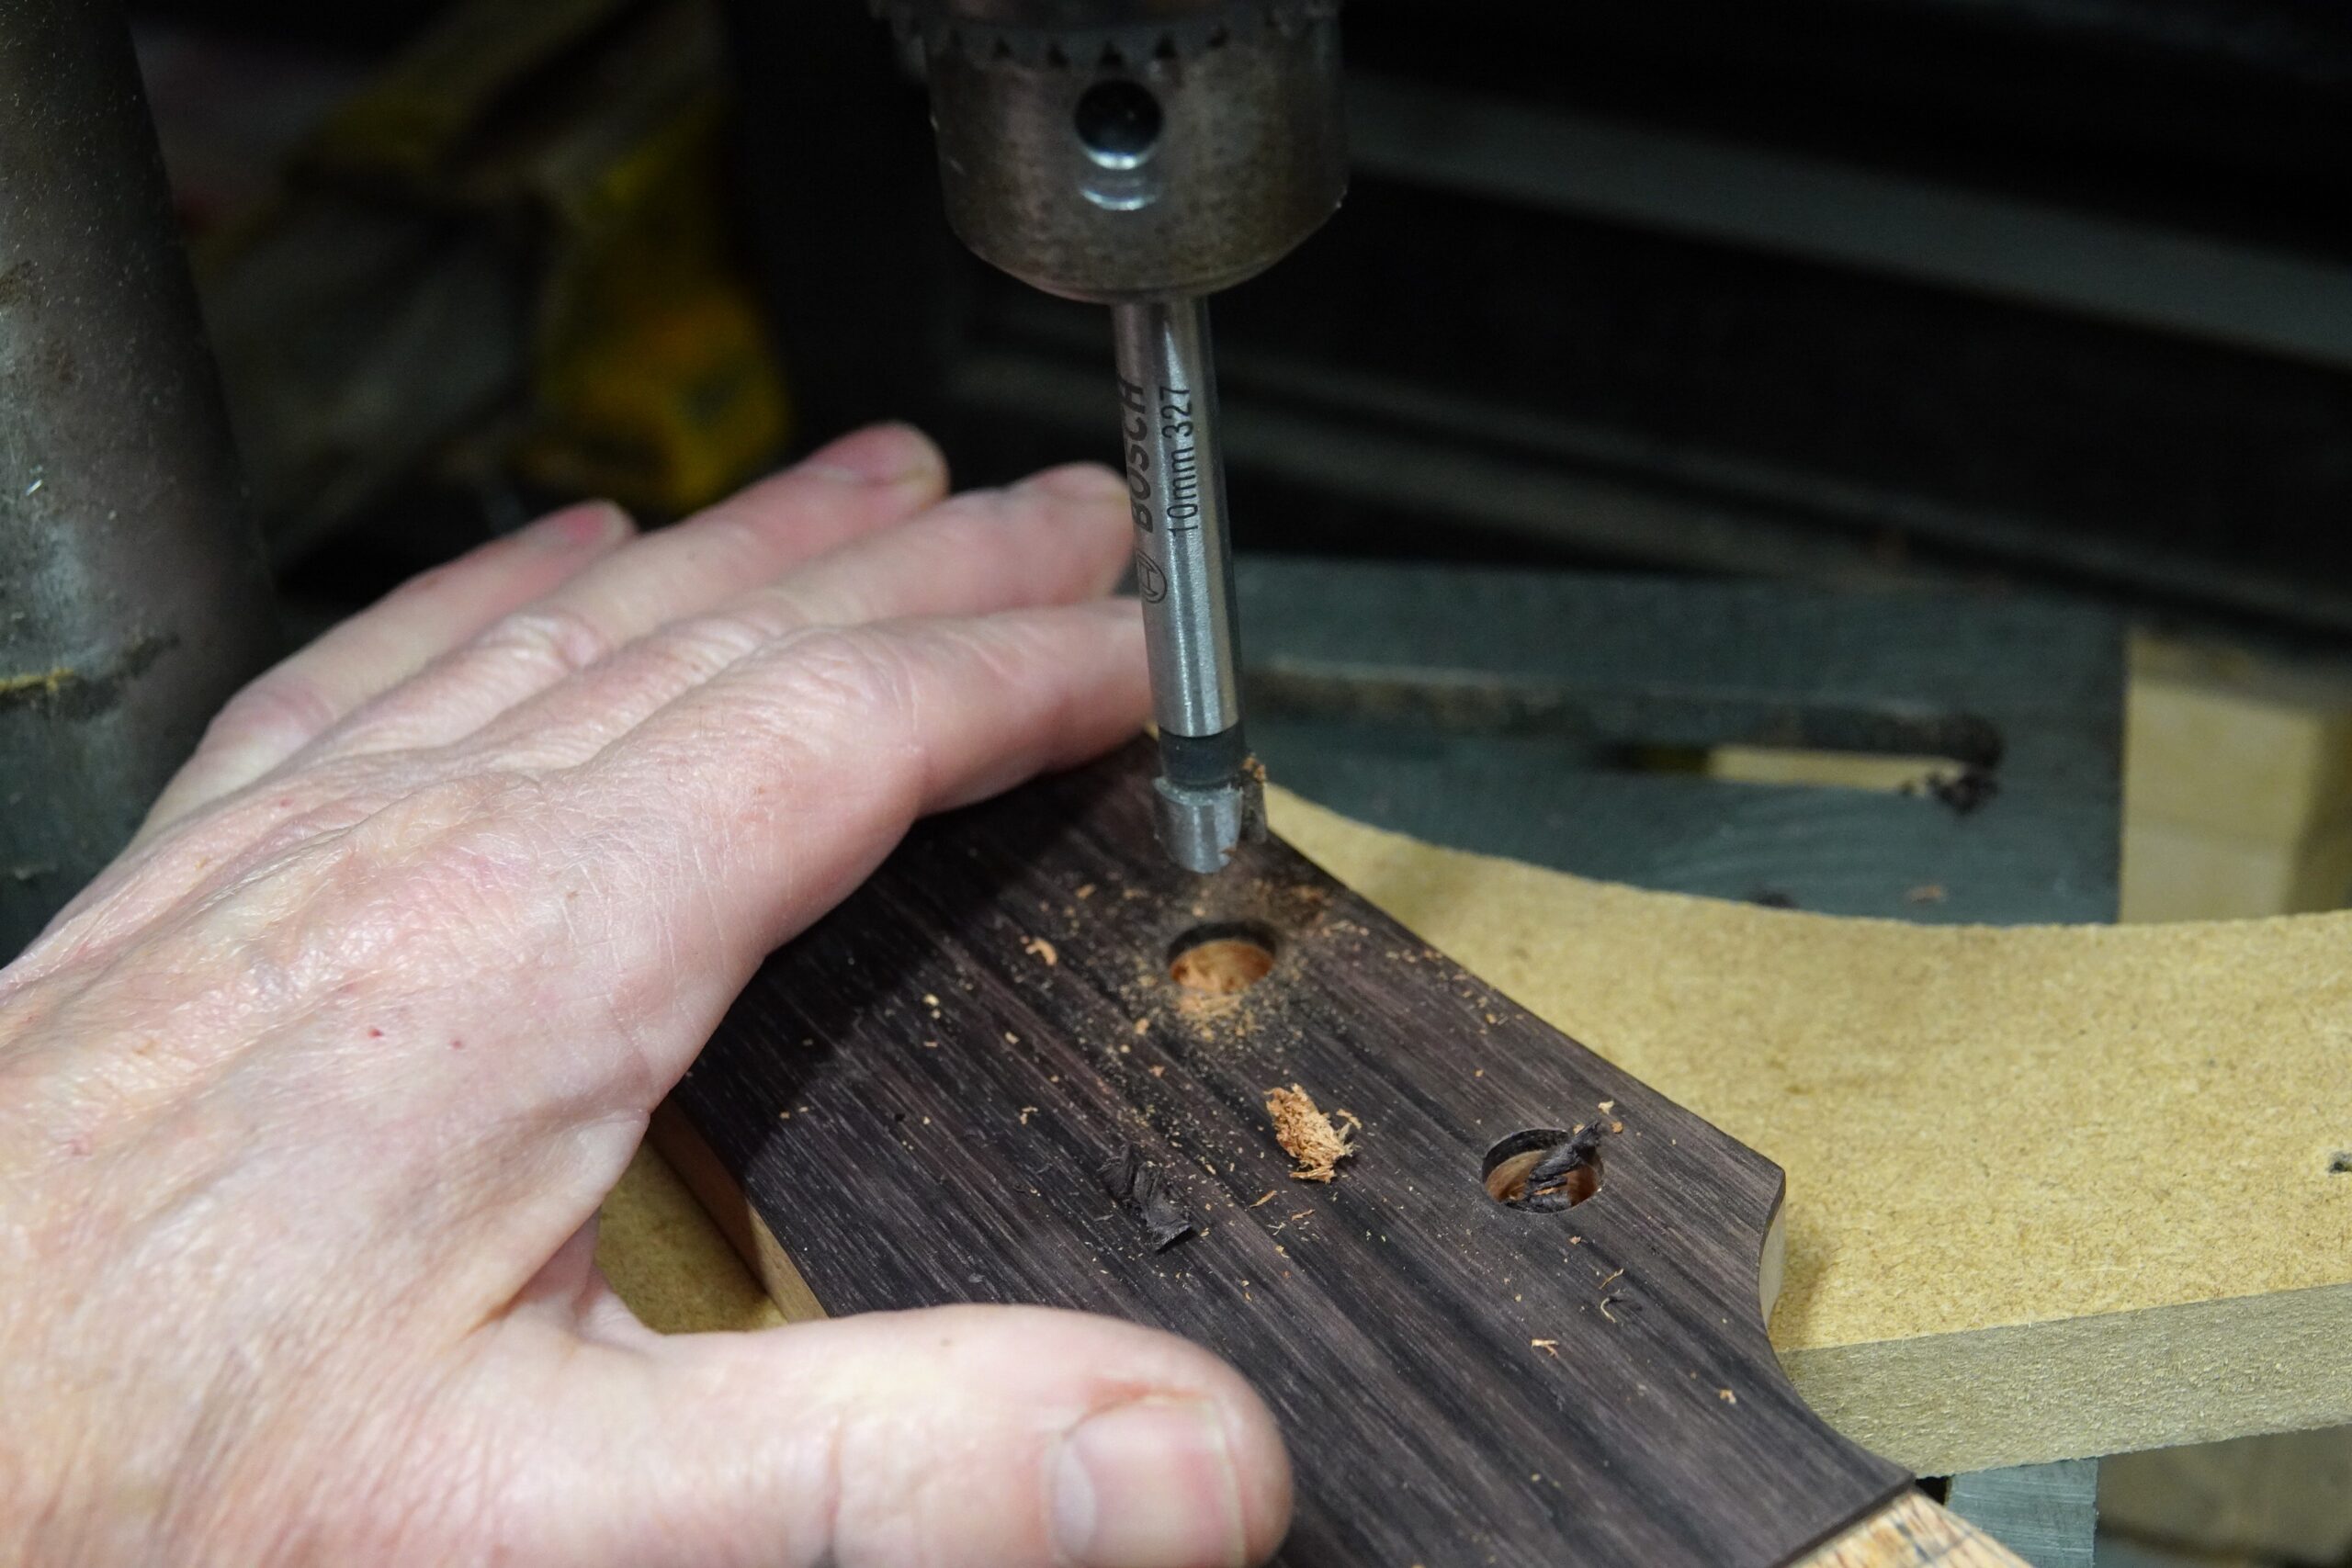
Lastly, the holes for the tuning machines were drilled.
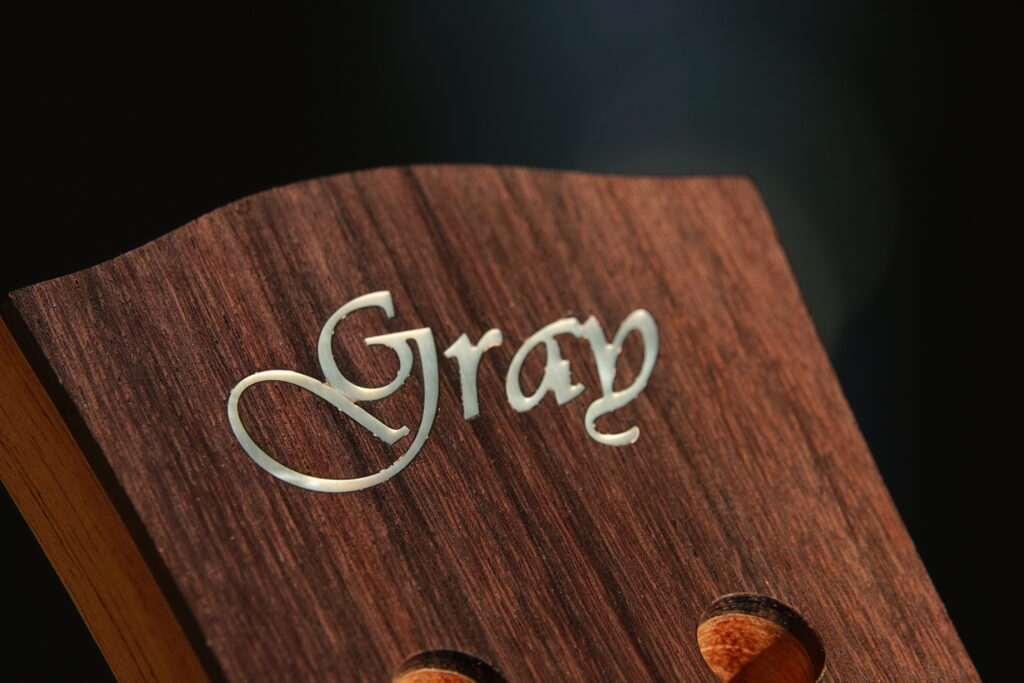
It still needs a little bit of filling around the inlay (there are a few pits in the glue), but I’m pleased with how it came out.
My original intention was to chamfer the edges of the headplate, but I eventually decided not to.