
Sanding the sides
I used a variety of blocks and cylindrical objects as blocks to try and sand the sides flat
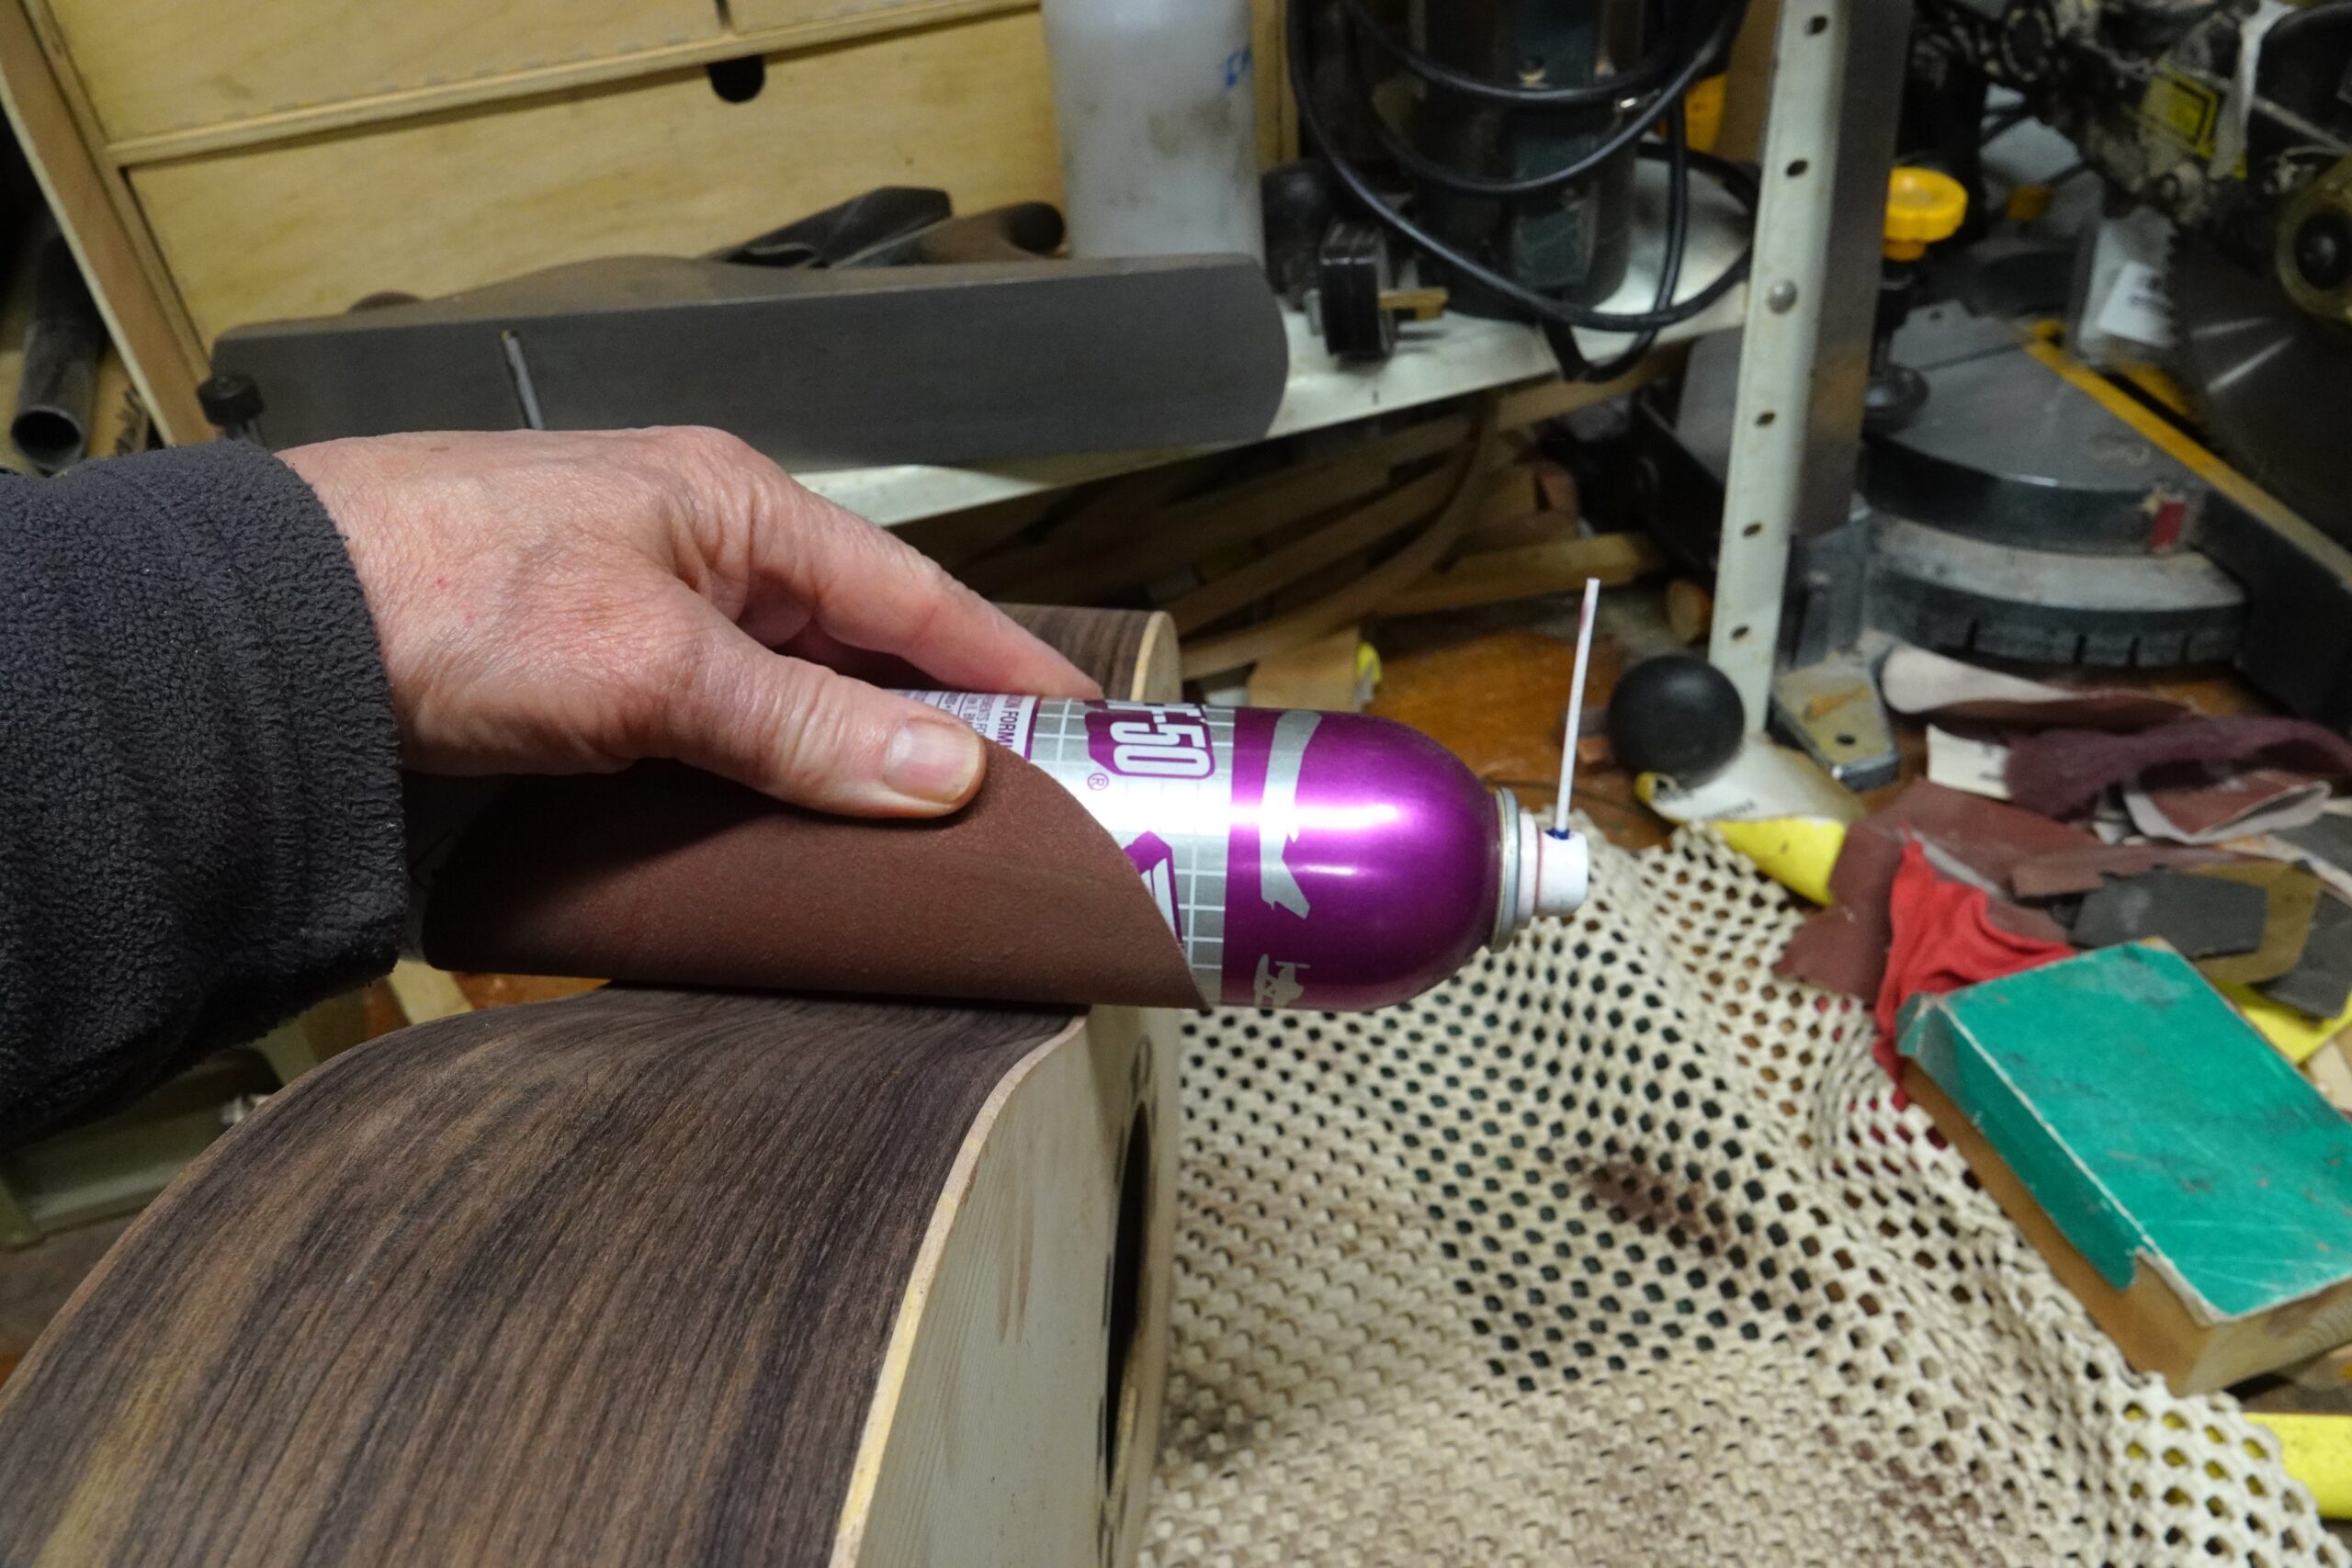
There were a few hollows and ripples, but these sanded out surprisingly quickly:
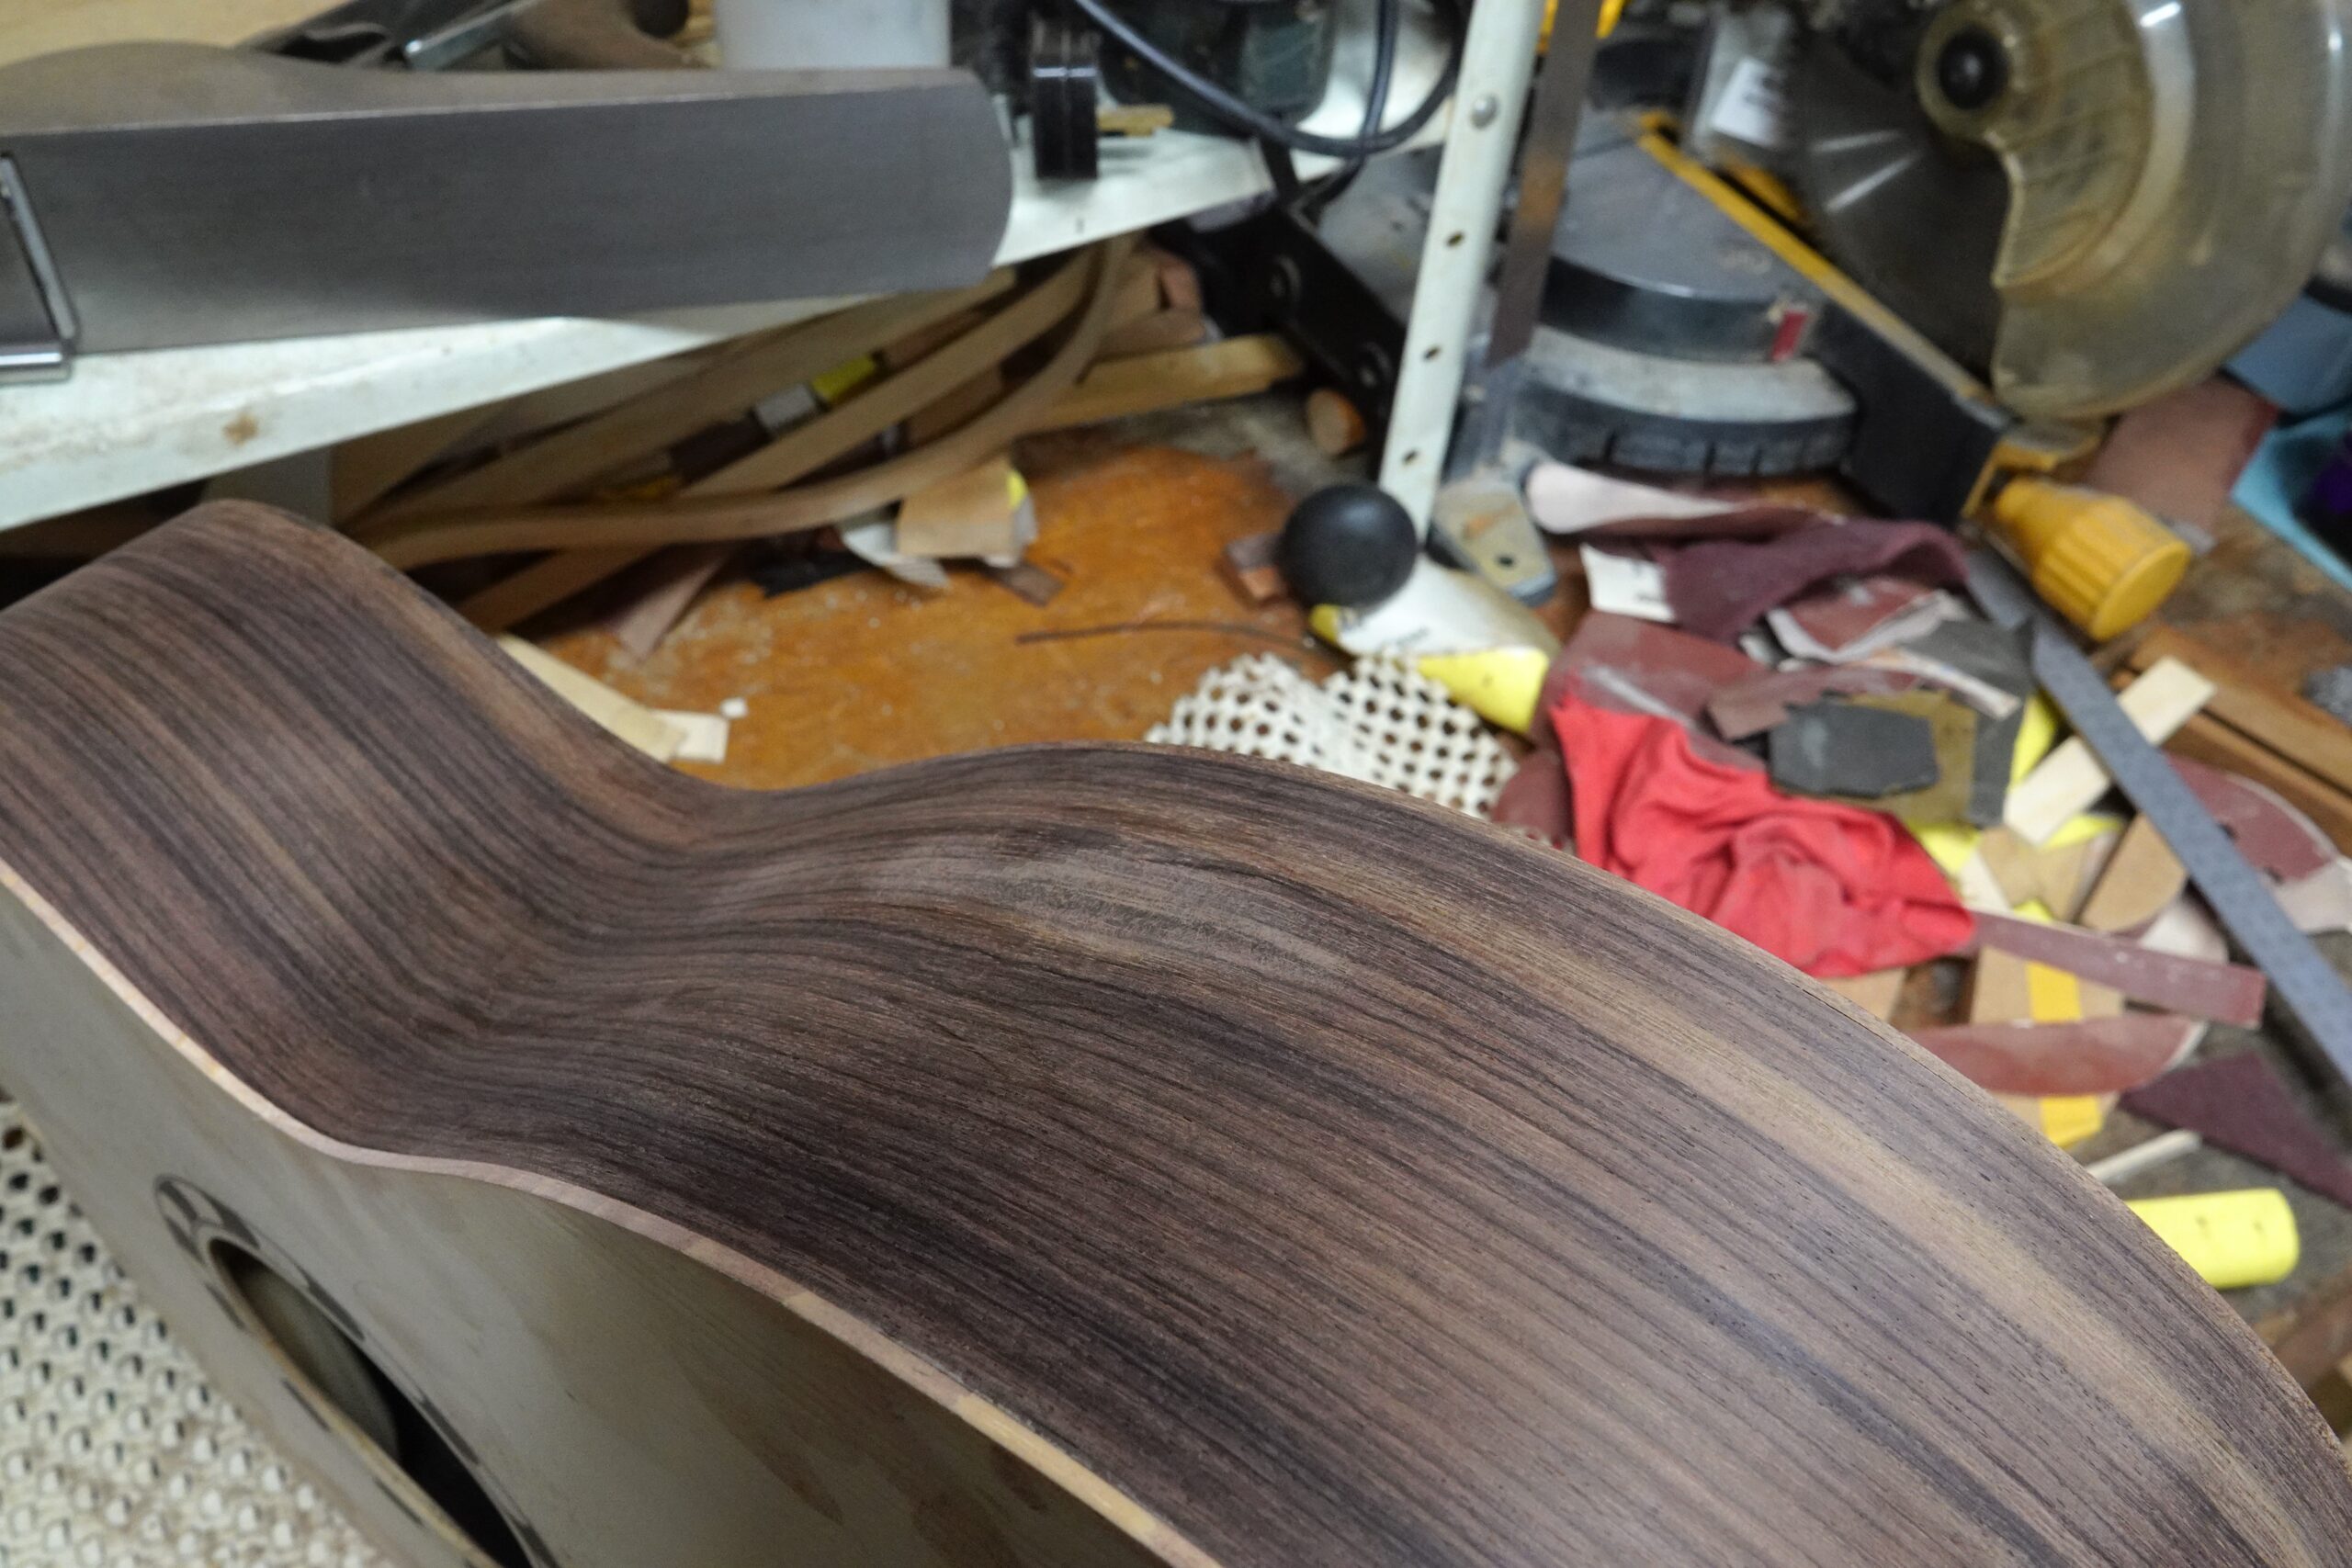
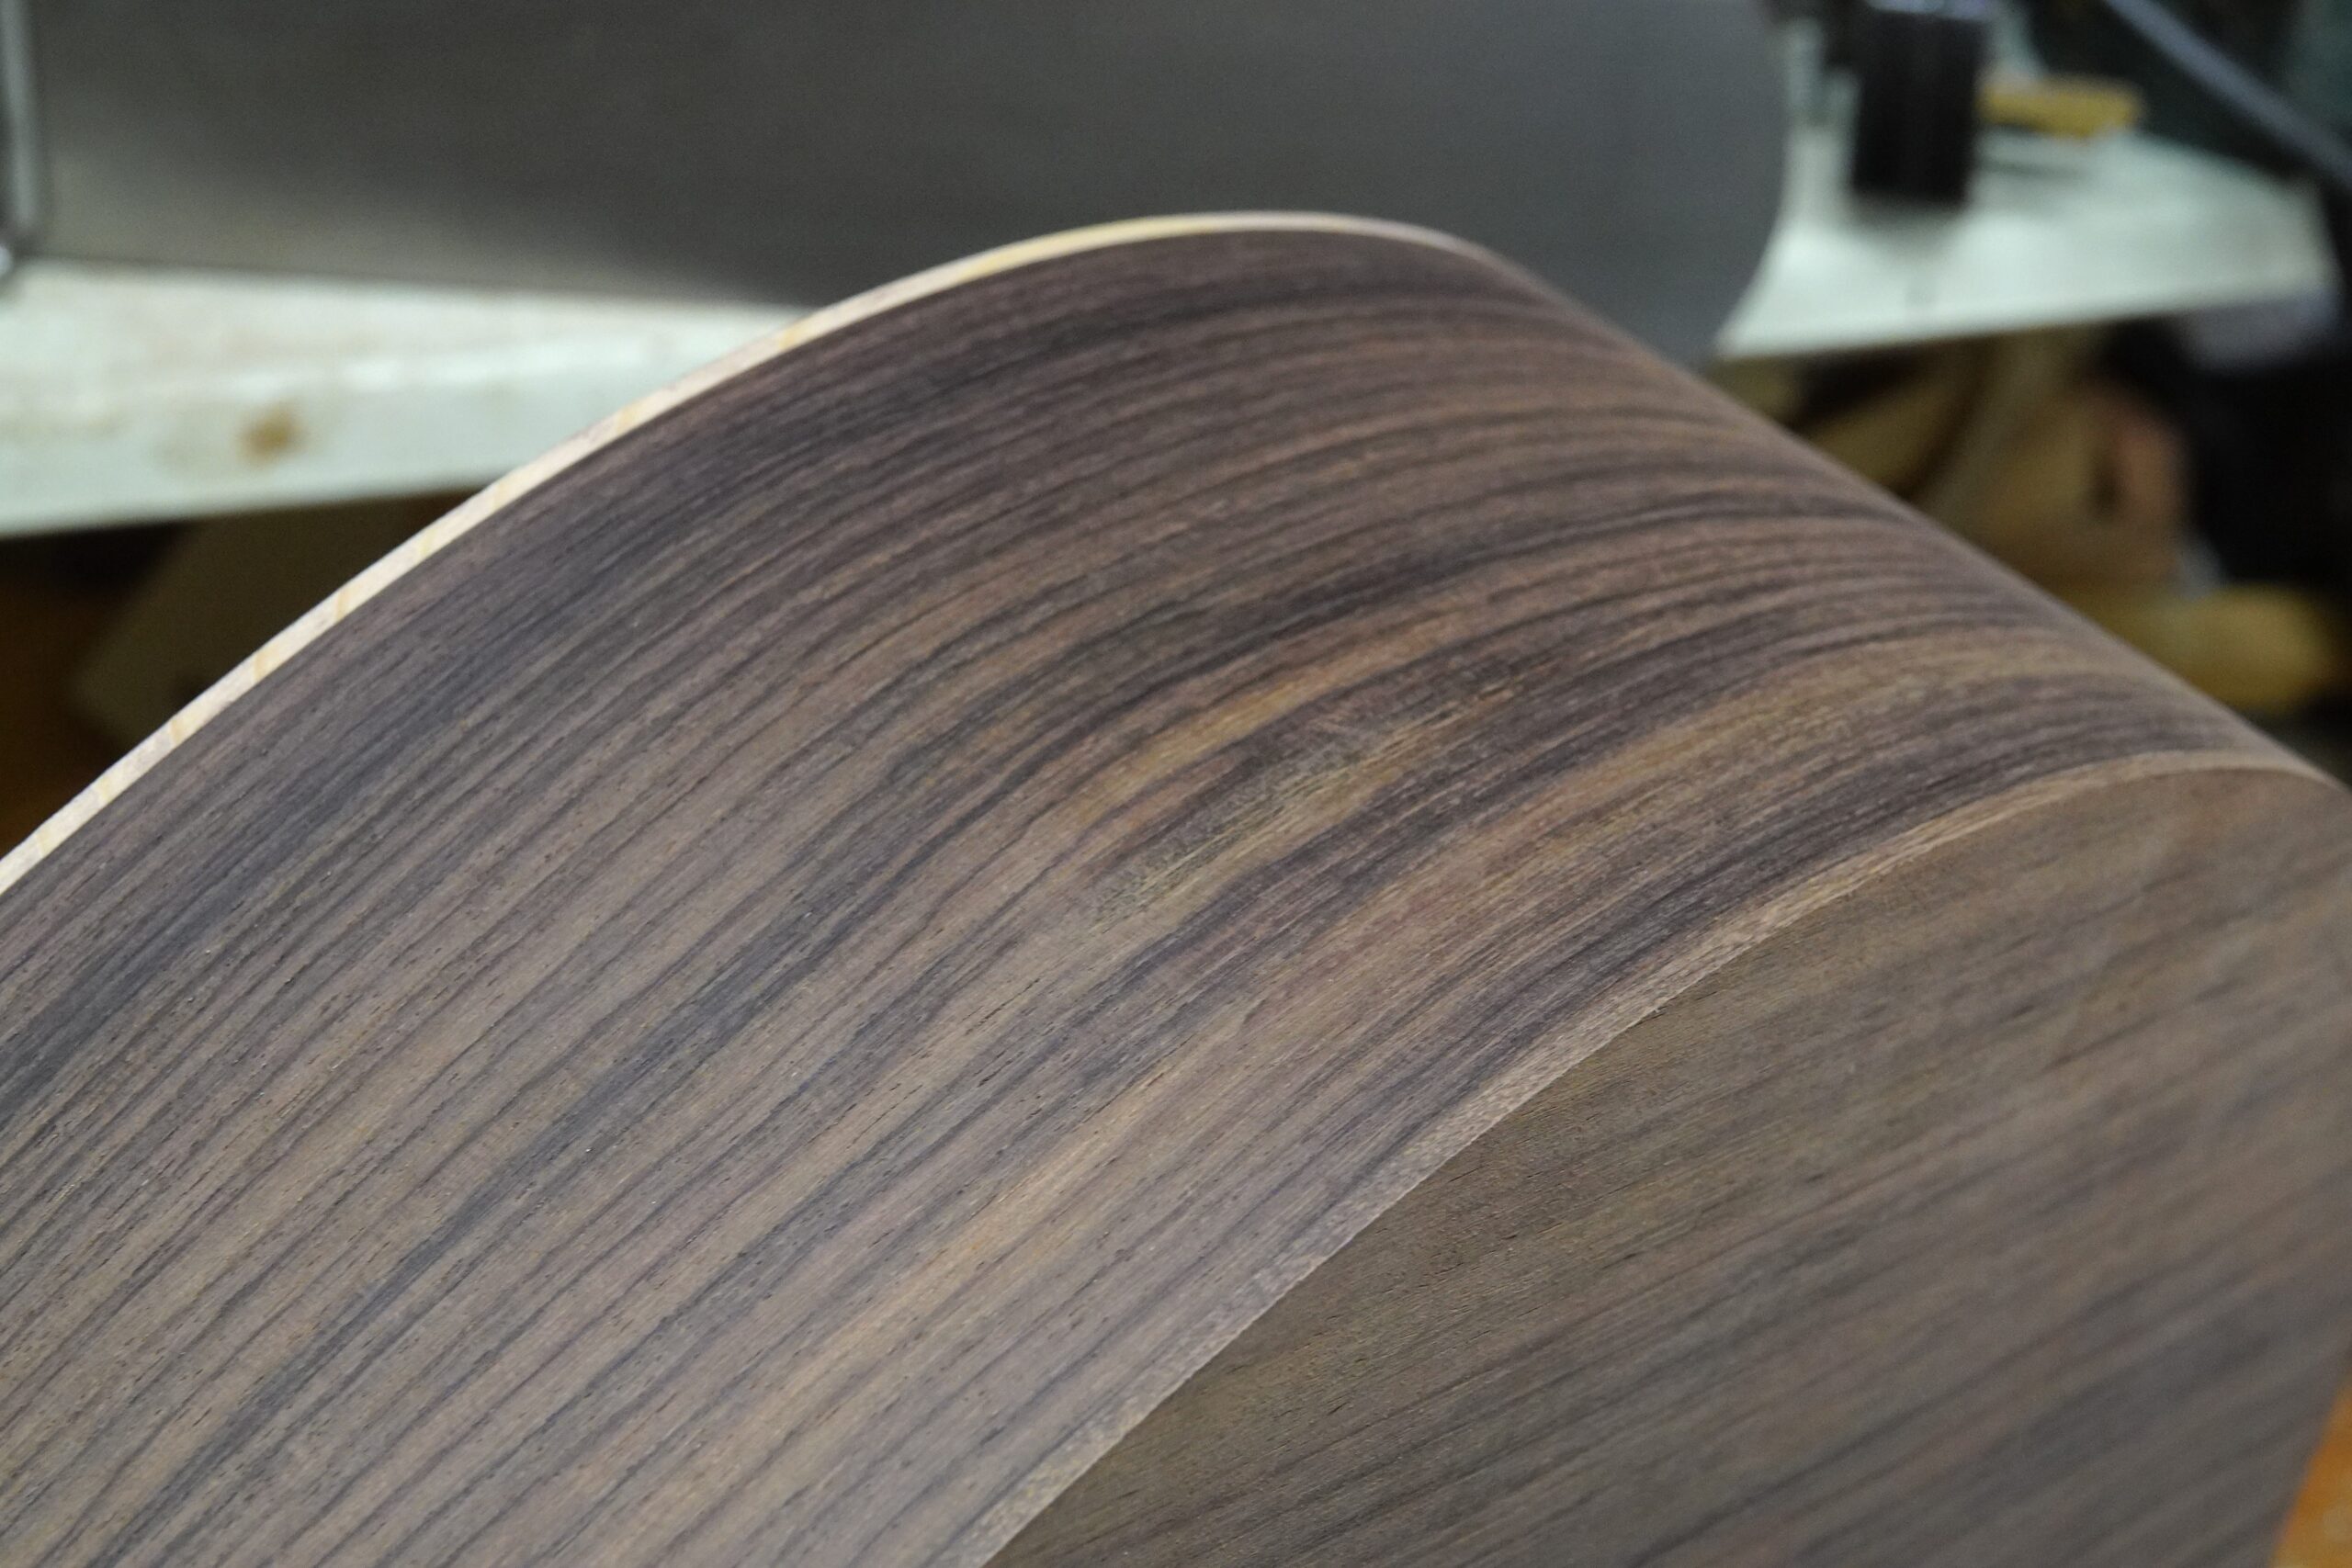
The patch of funky grain sanded flat but the surface was very open and ‘fibrous’. I filled this patch with superglue, and it actually came up OK.
The bindings I’m using have purfling strips attached and I had bent them roughly to shape on the hot tube previously (I did them in pairs to try and make sure that I ended up with enough left / right hand pieces).

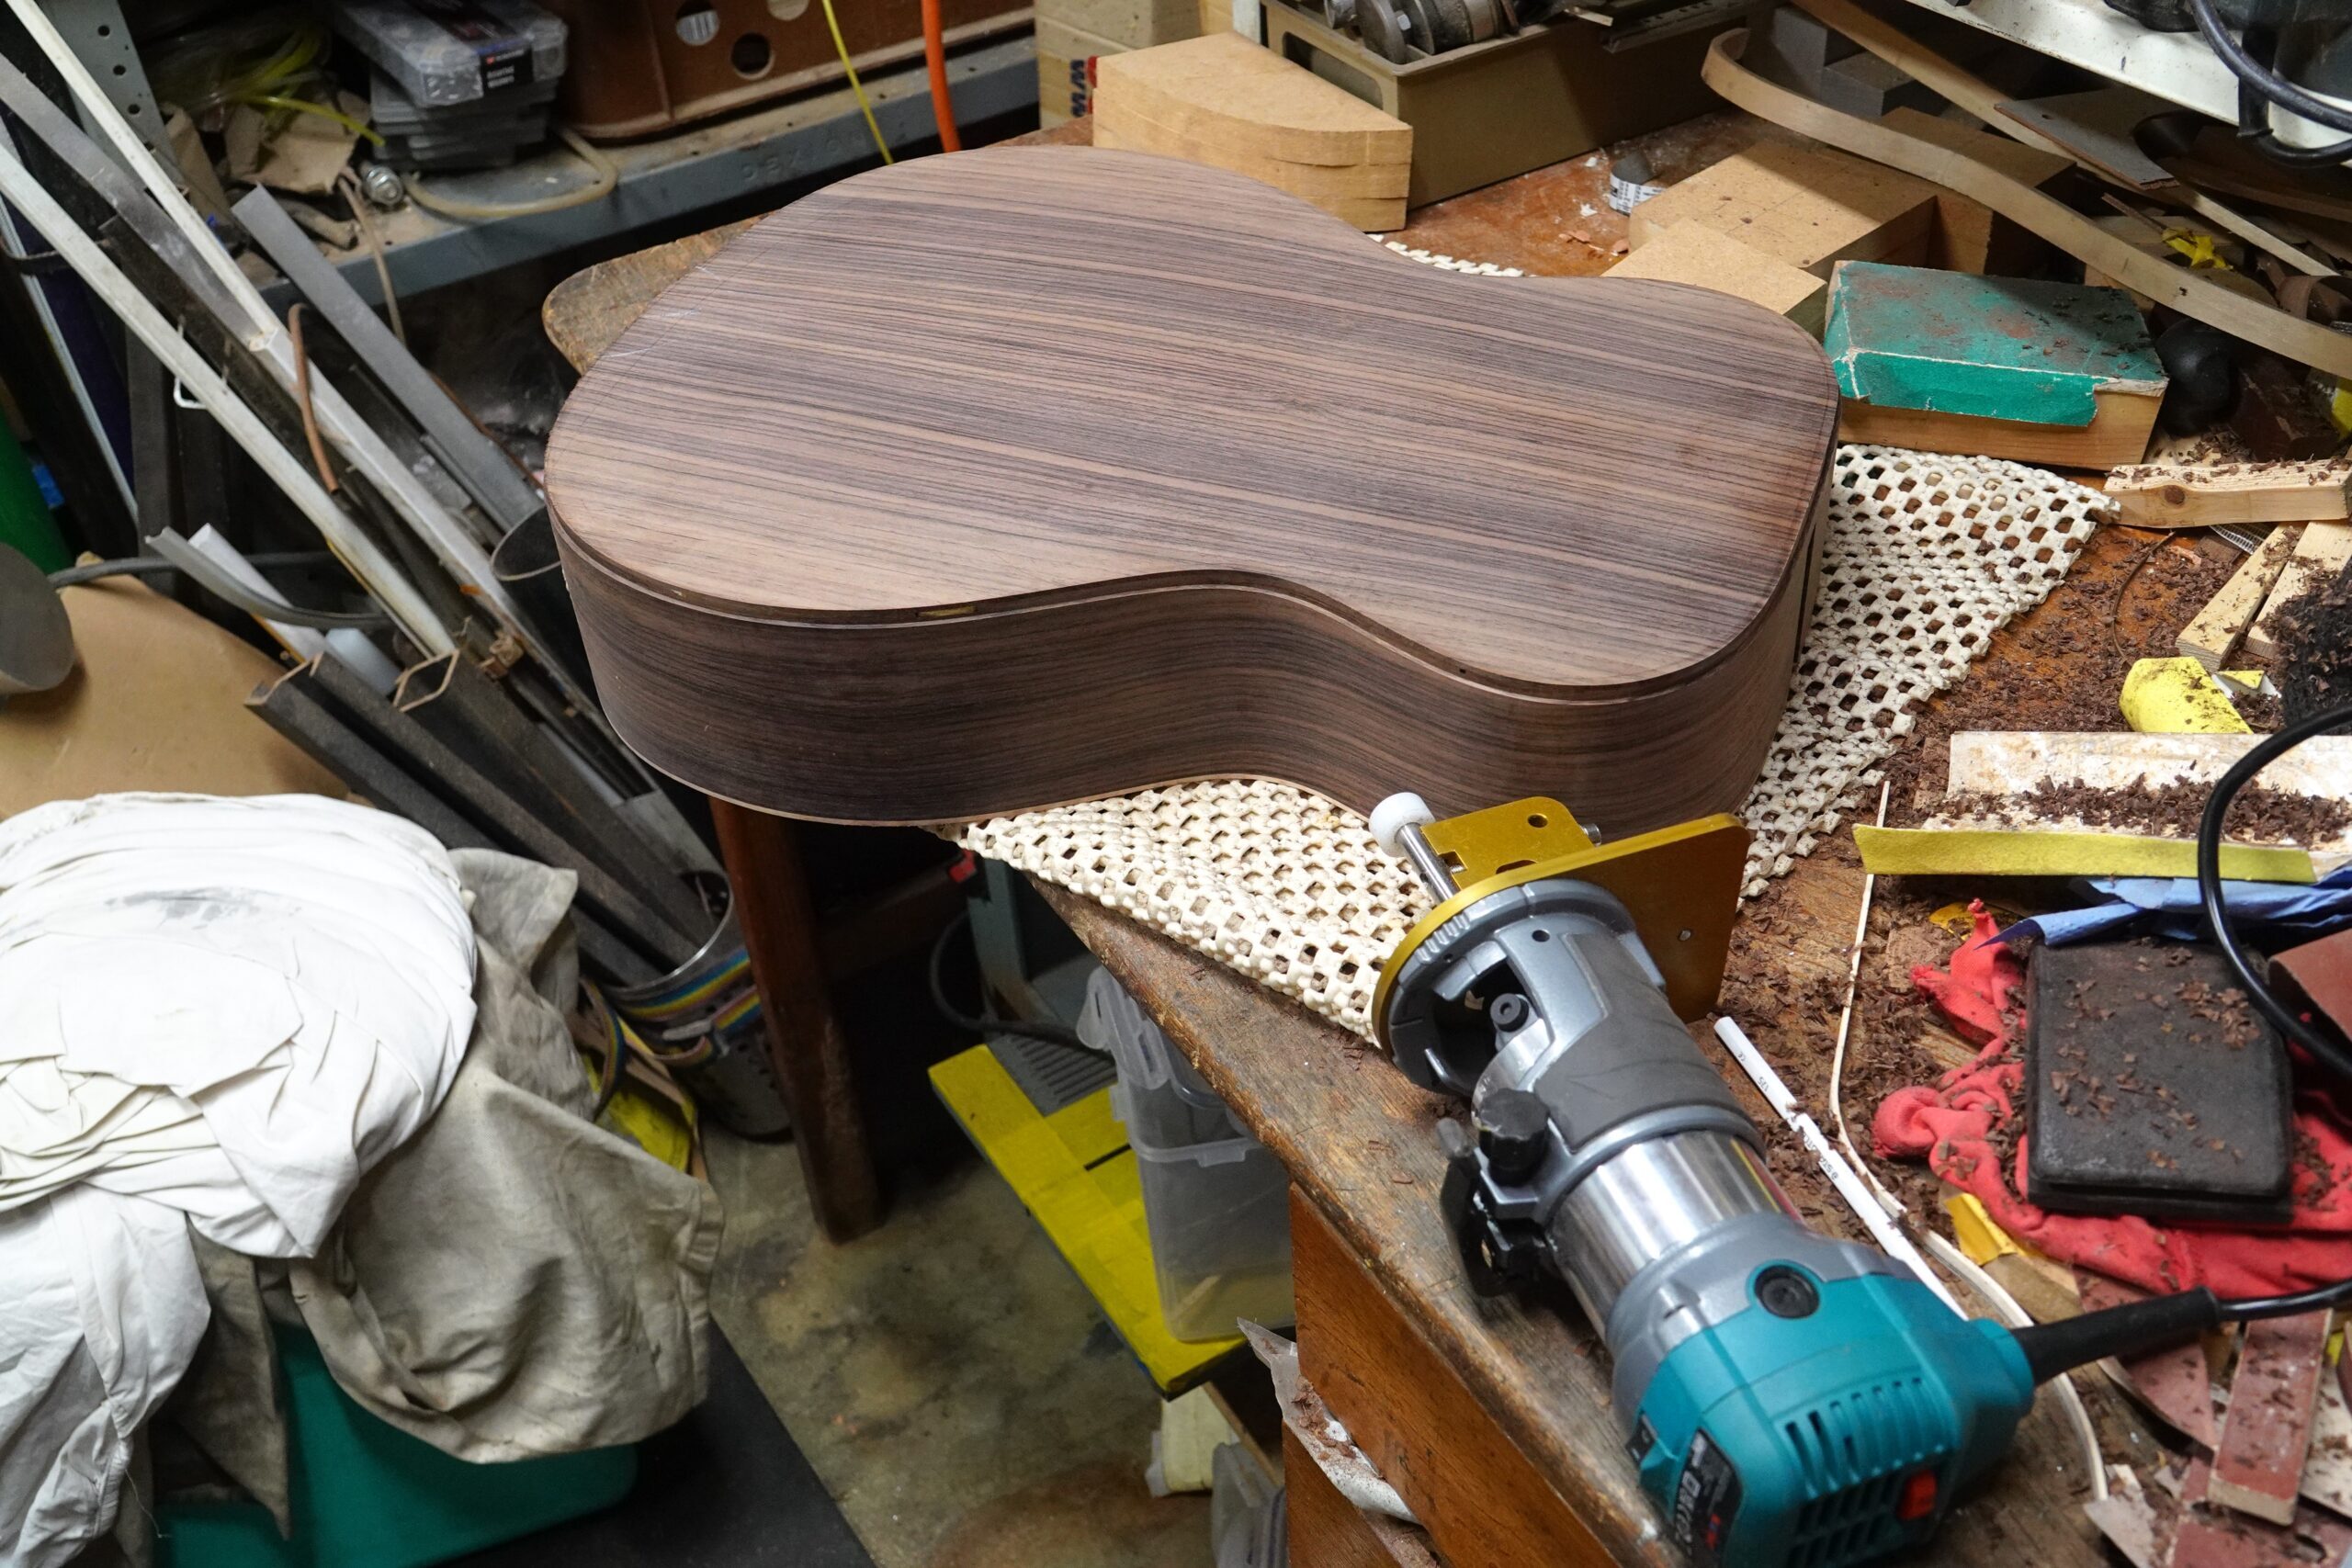
Cutting the binding channels
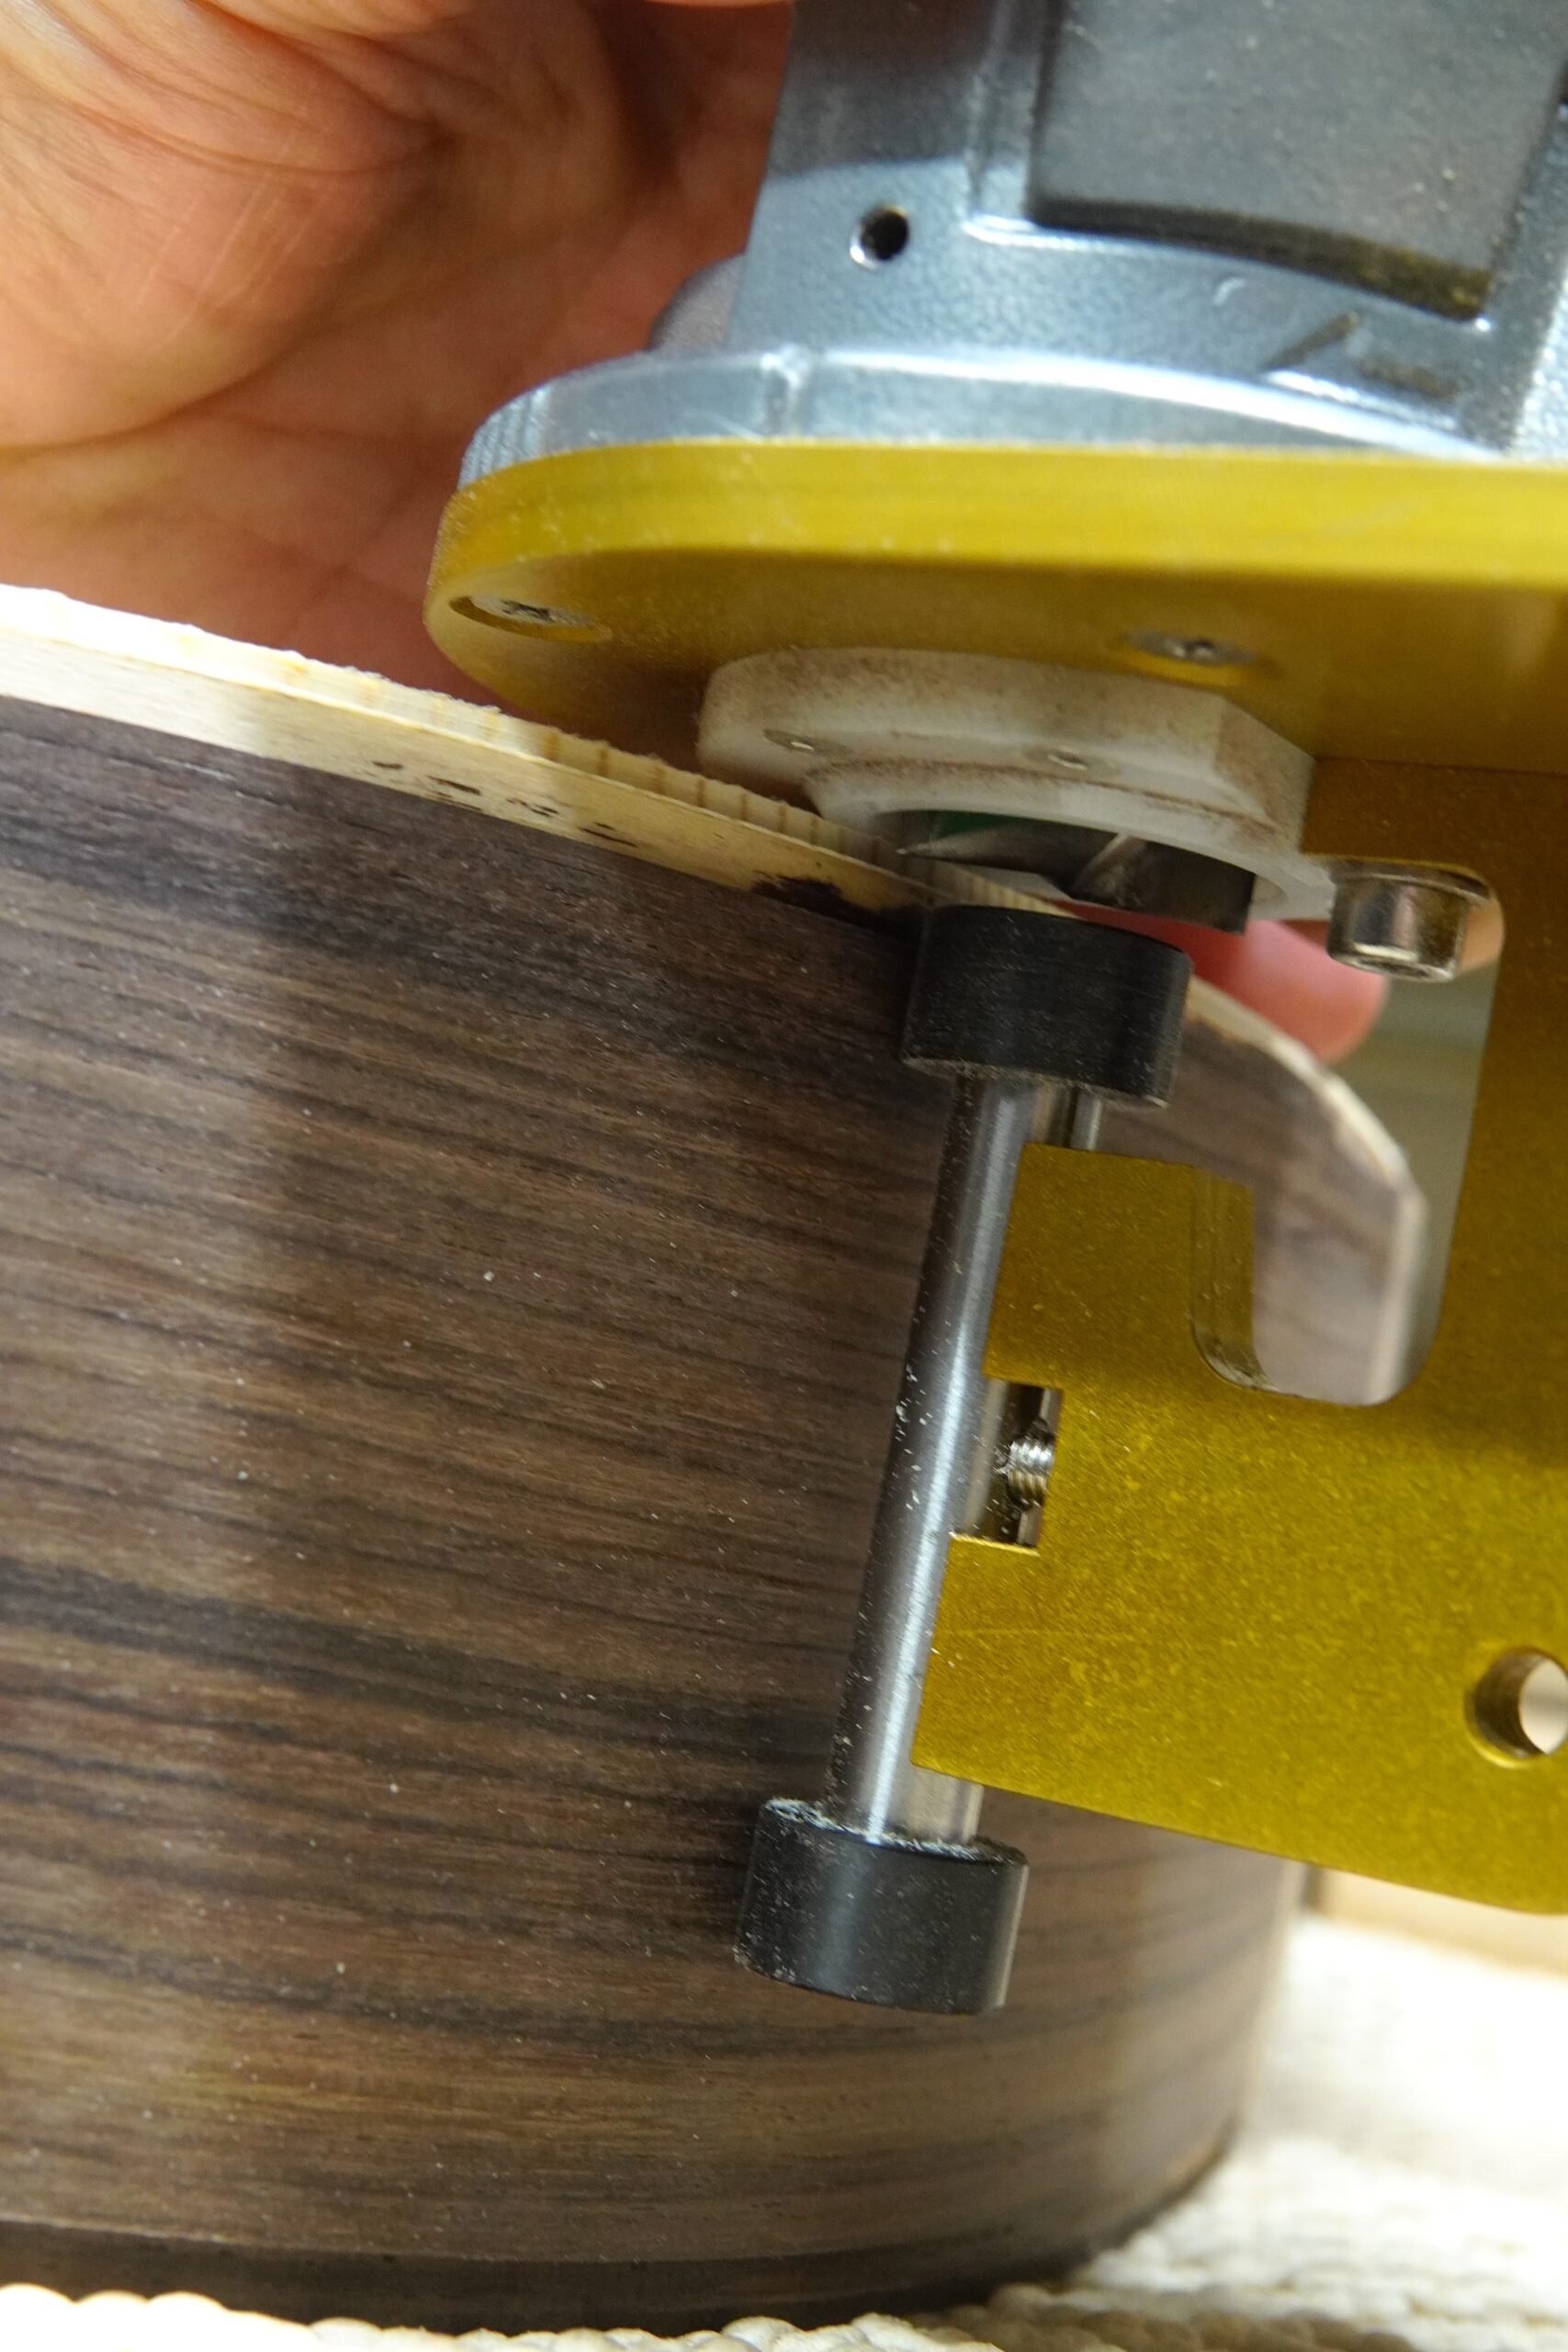
I had treated myself to a brand new 25mm router bit to go with my home made binding cutting jig and spent a little time routing channels into some scrap pine to tweak the settings. With great trepidation, and a very dry mouth, I attacked my guitar with it…
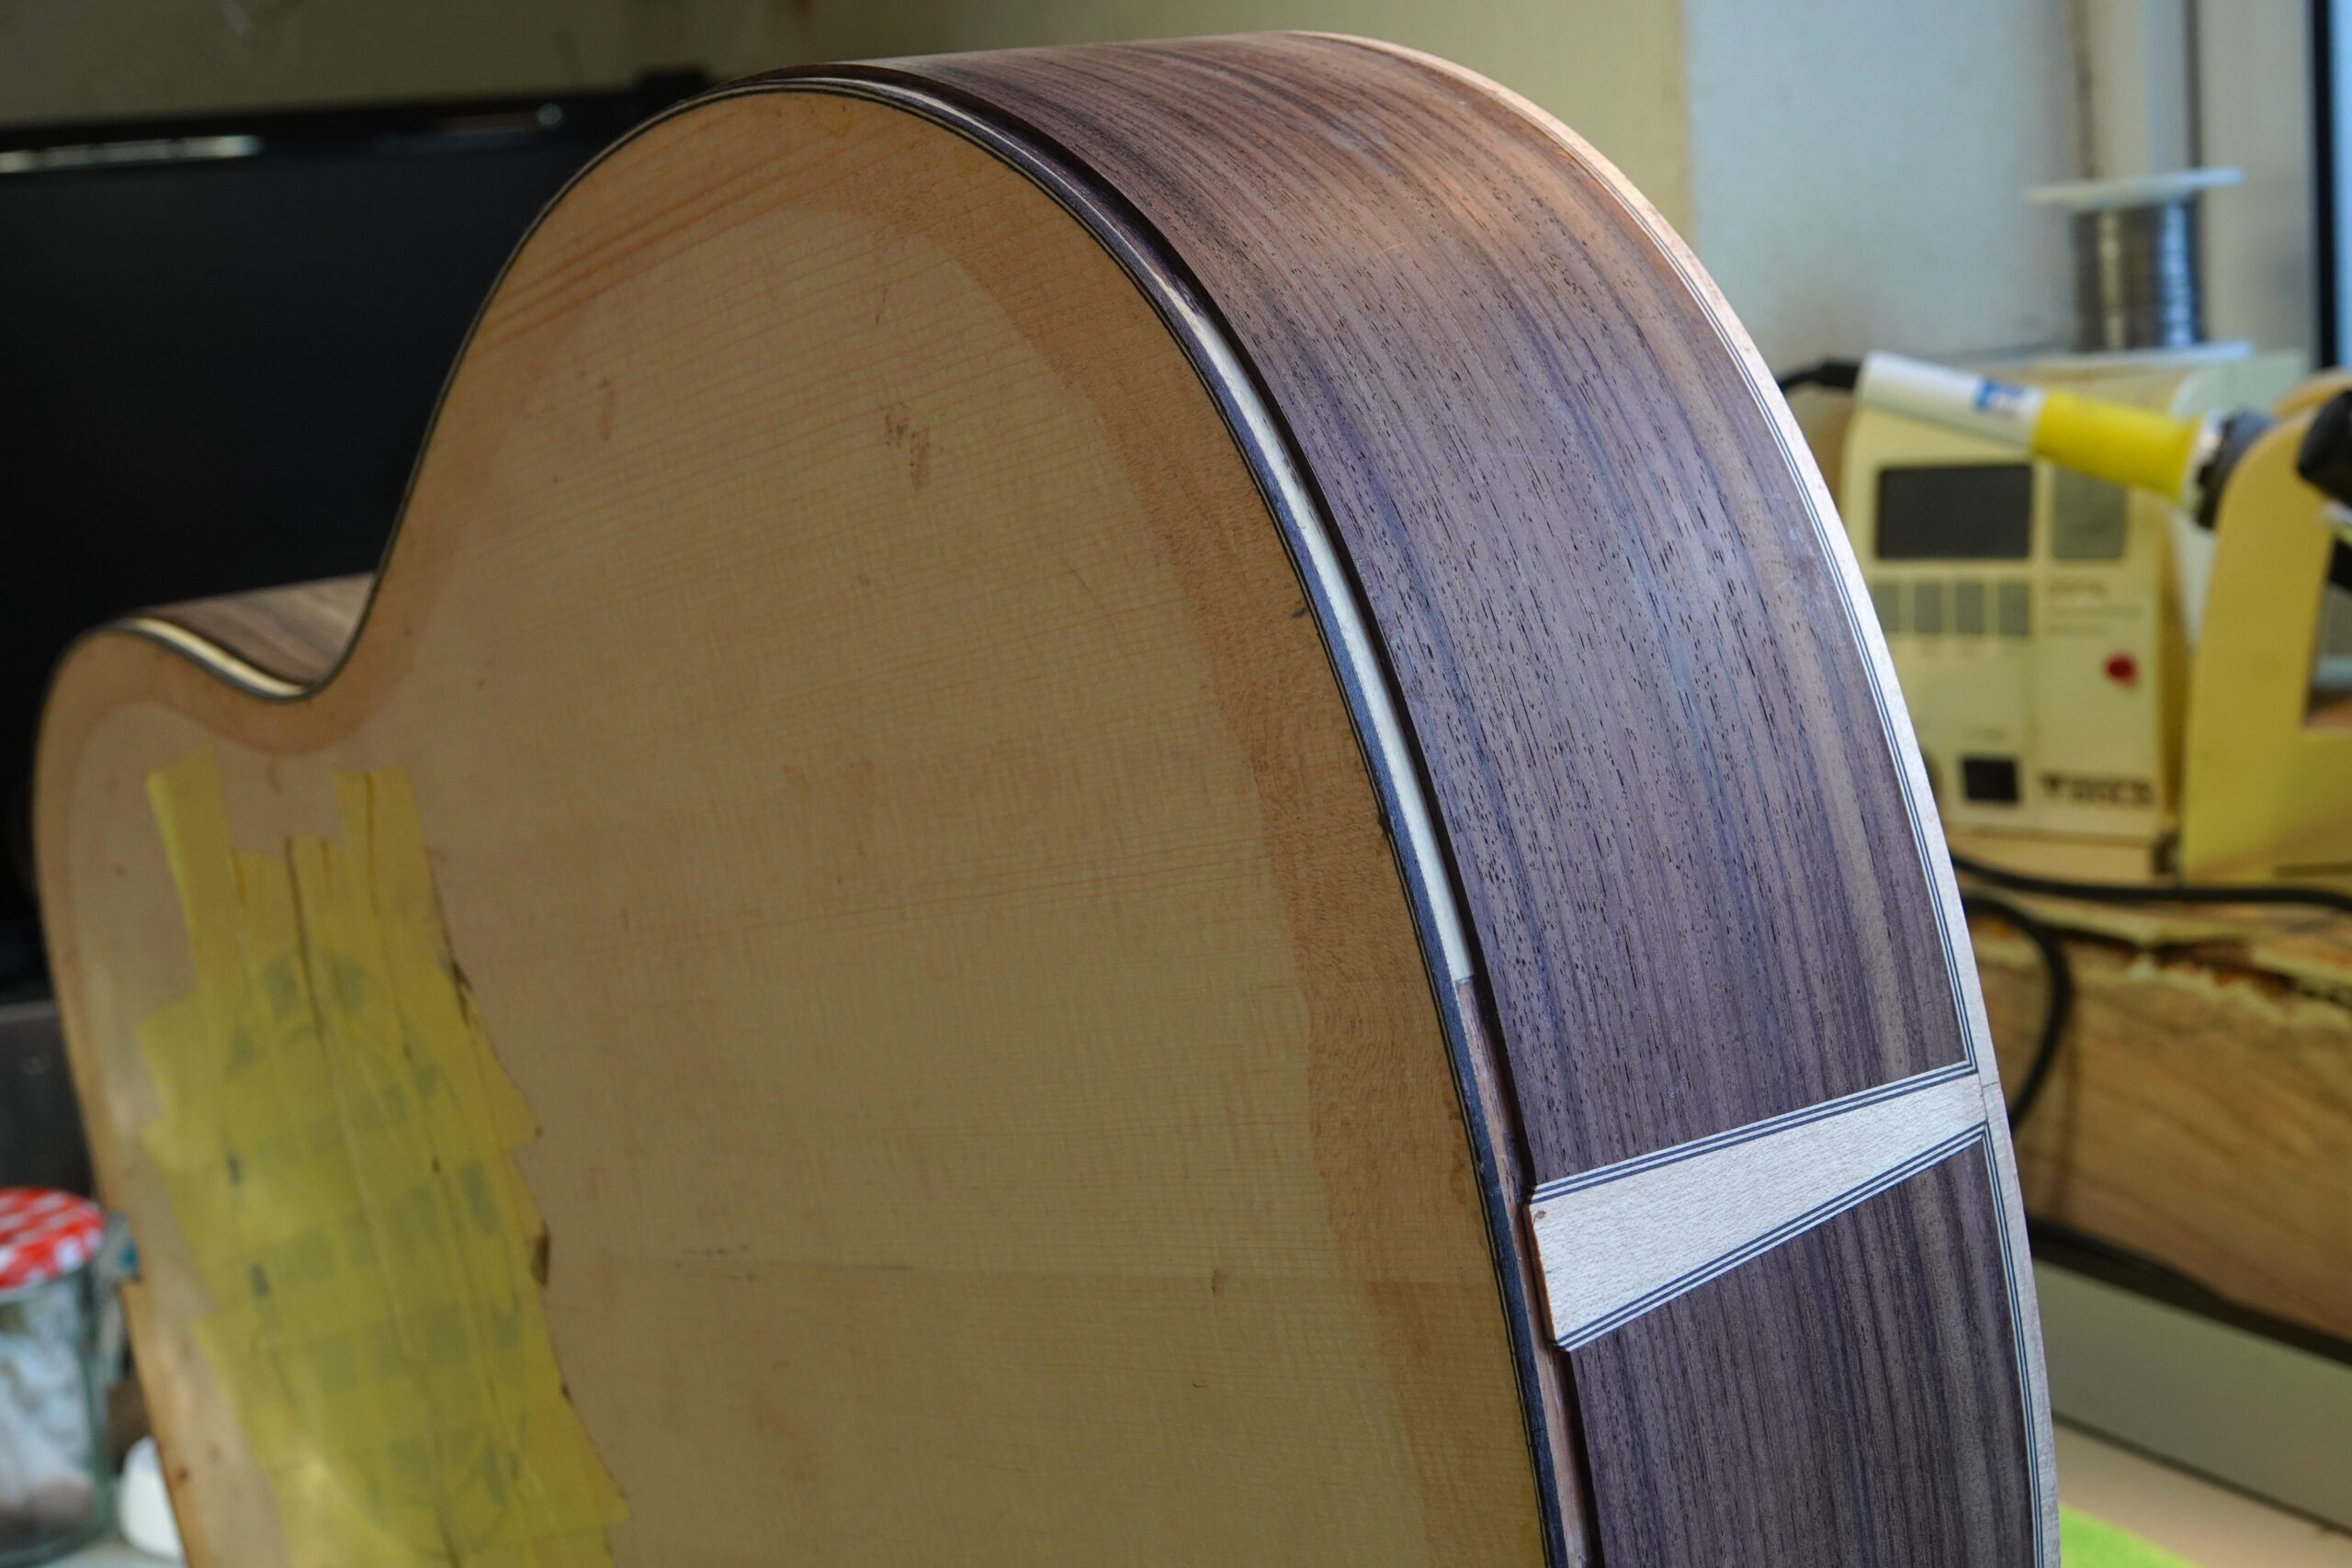
I cut the binding channel on the back first, and it seemed to go well. The jig worked an absolute treat, and the sharp, new router bit cut cleanly.
Jeez! that was nerve-wracking! I aimed for the bindings to be flush with the side of the body and a little bit proud of the back / top, and they seemed to come out spot-on:

While I was on a roll, I cut the binding channels in the top, too (they are the same). On both cuts, I stopped short of the end graft on the first cut, and then adjusted the cutter depth and came back with a shallower pass over the end graft in case I could make mitered purfling strips work.
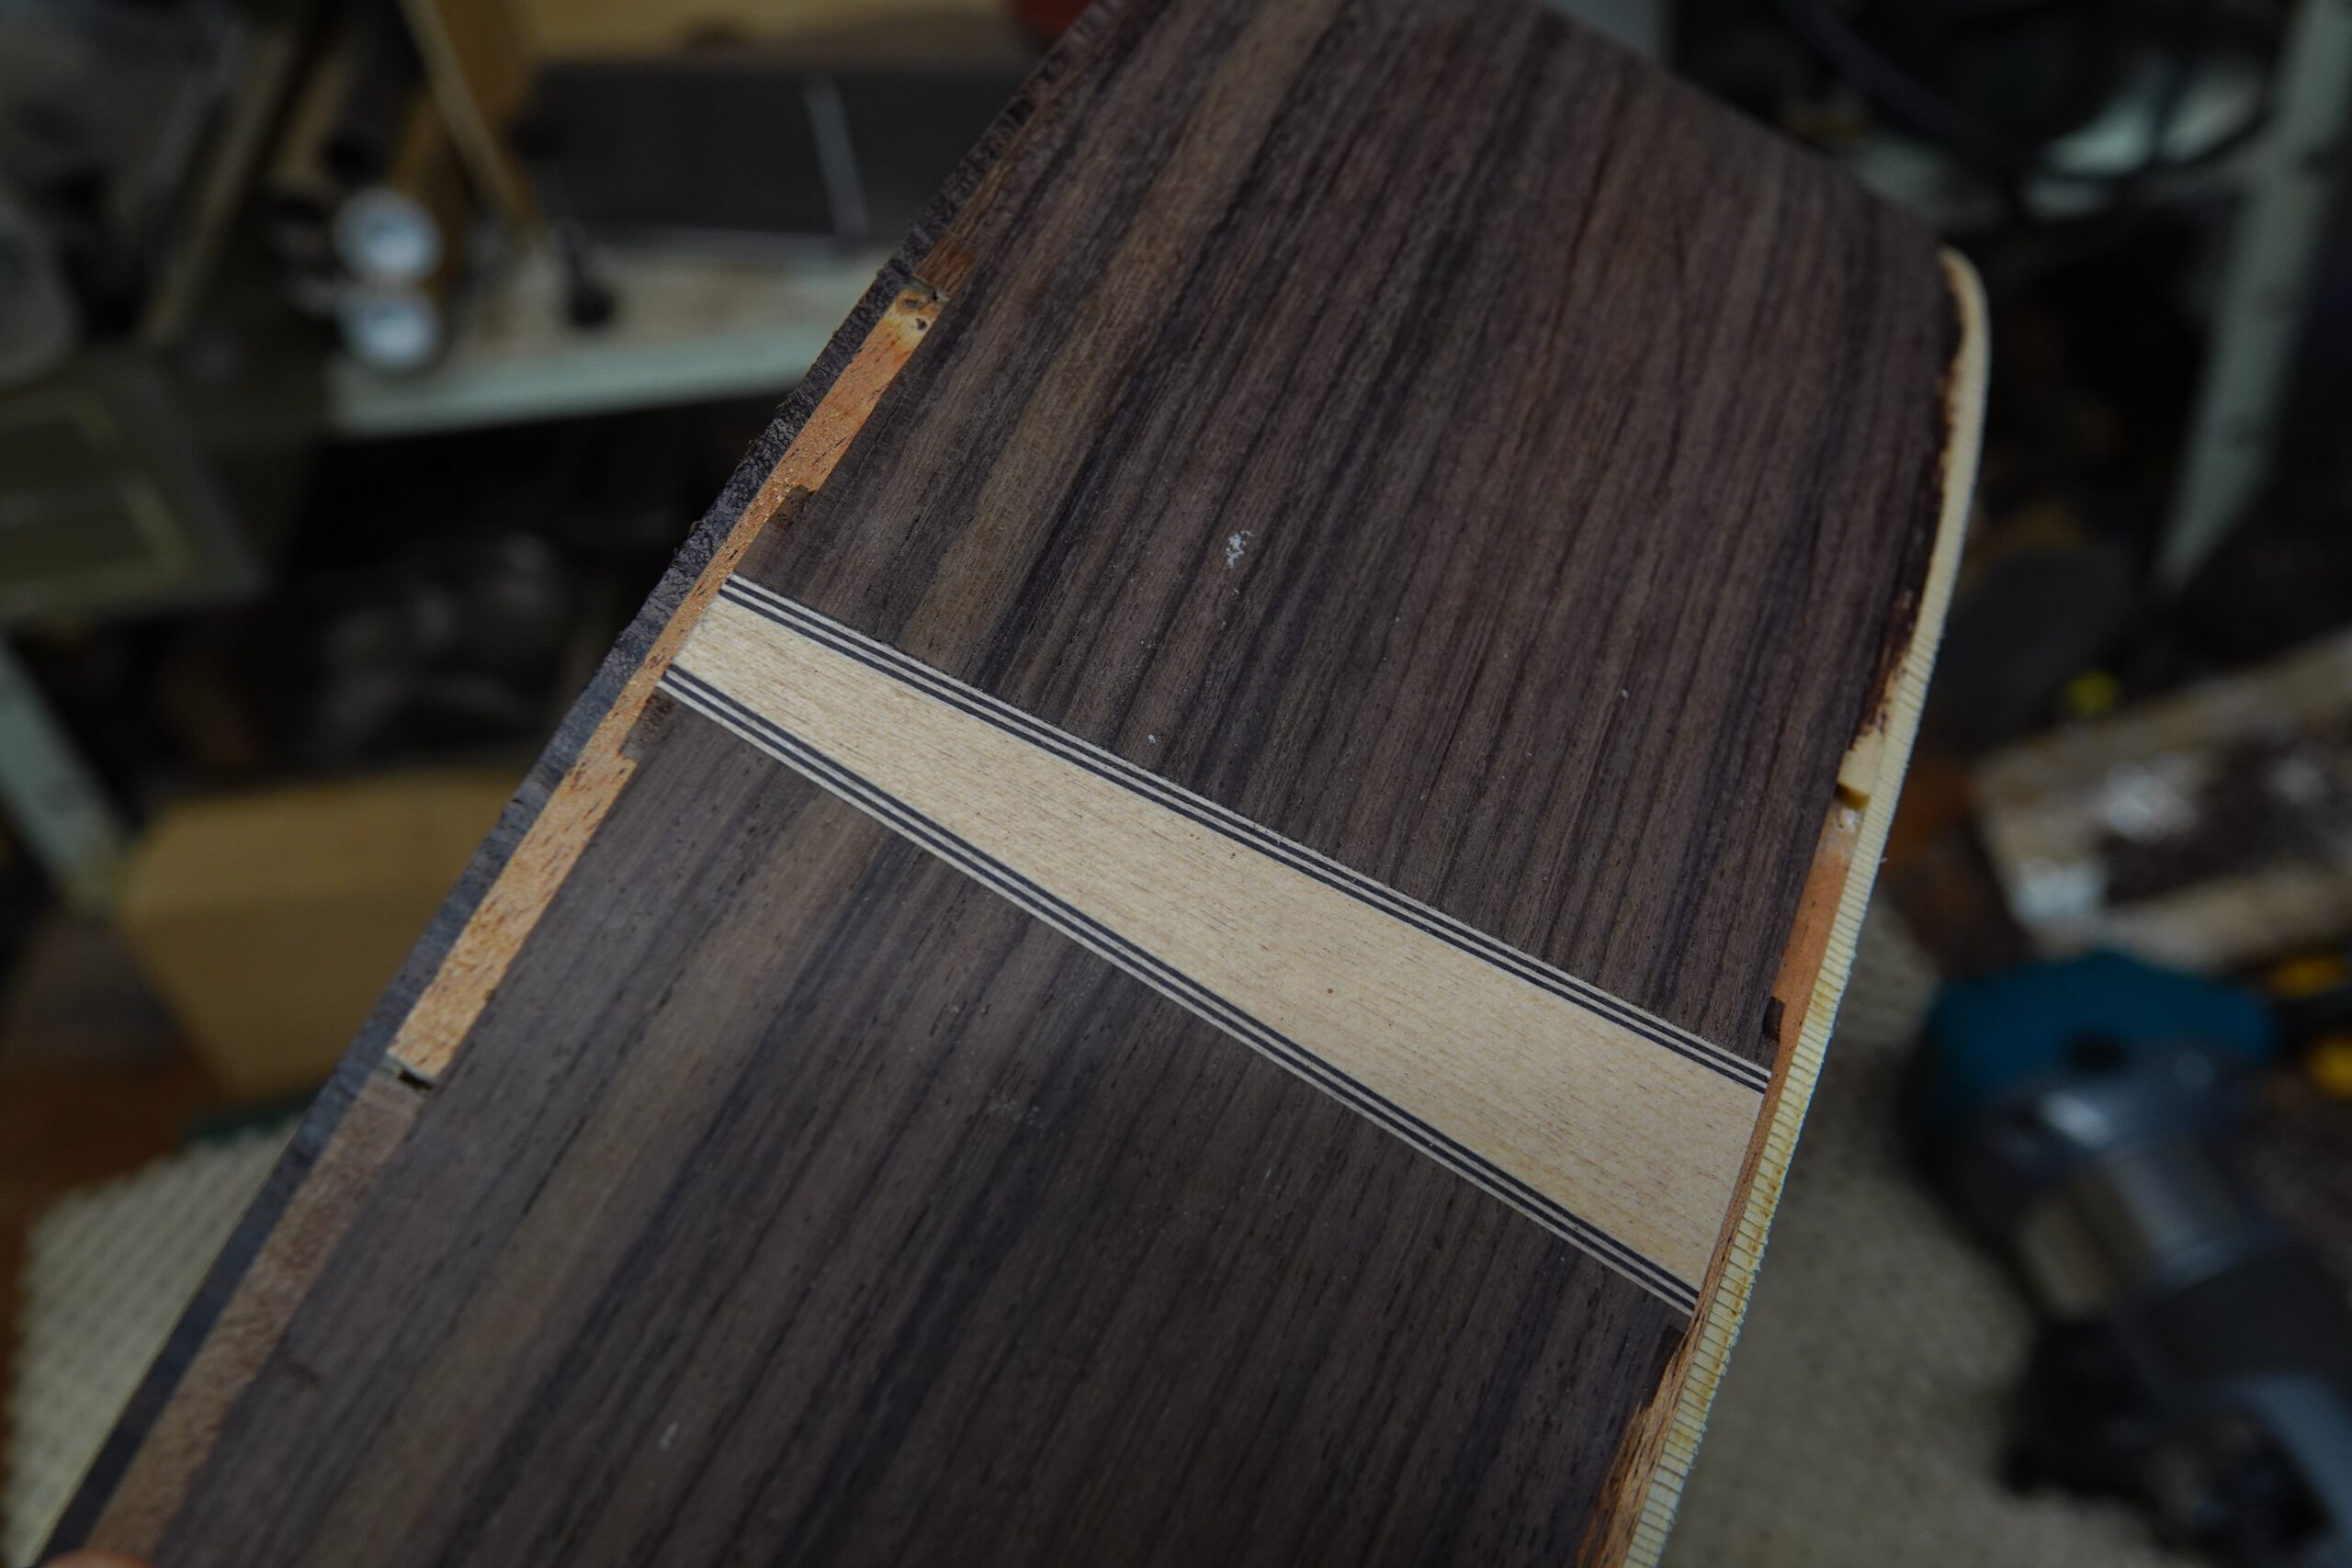
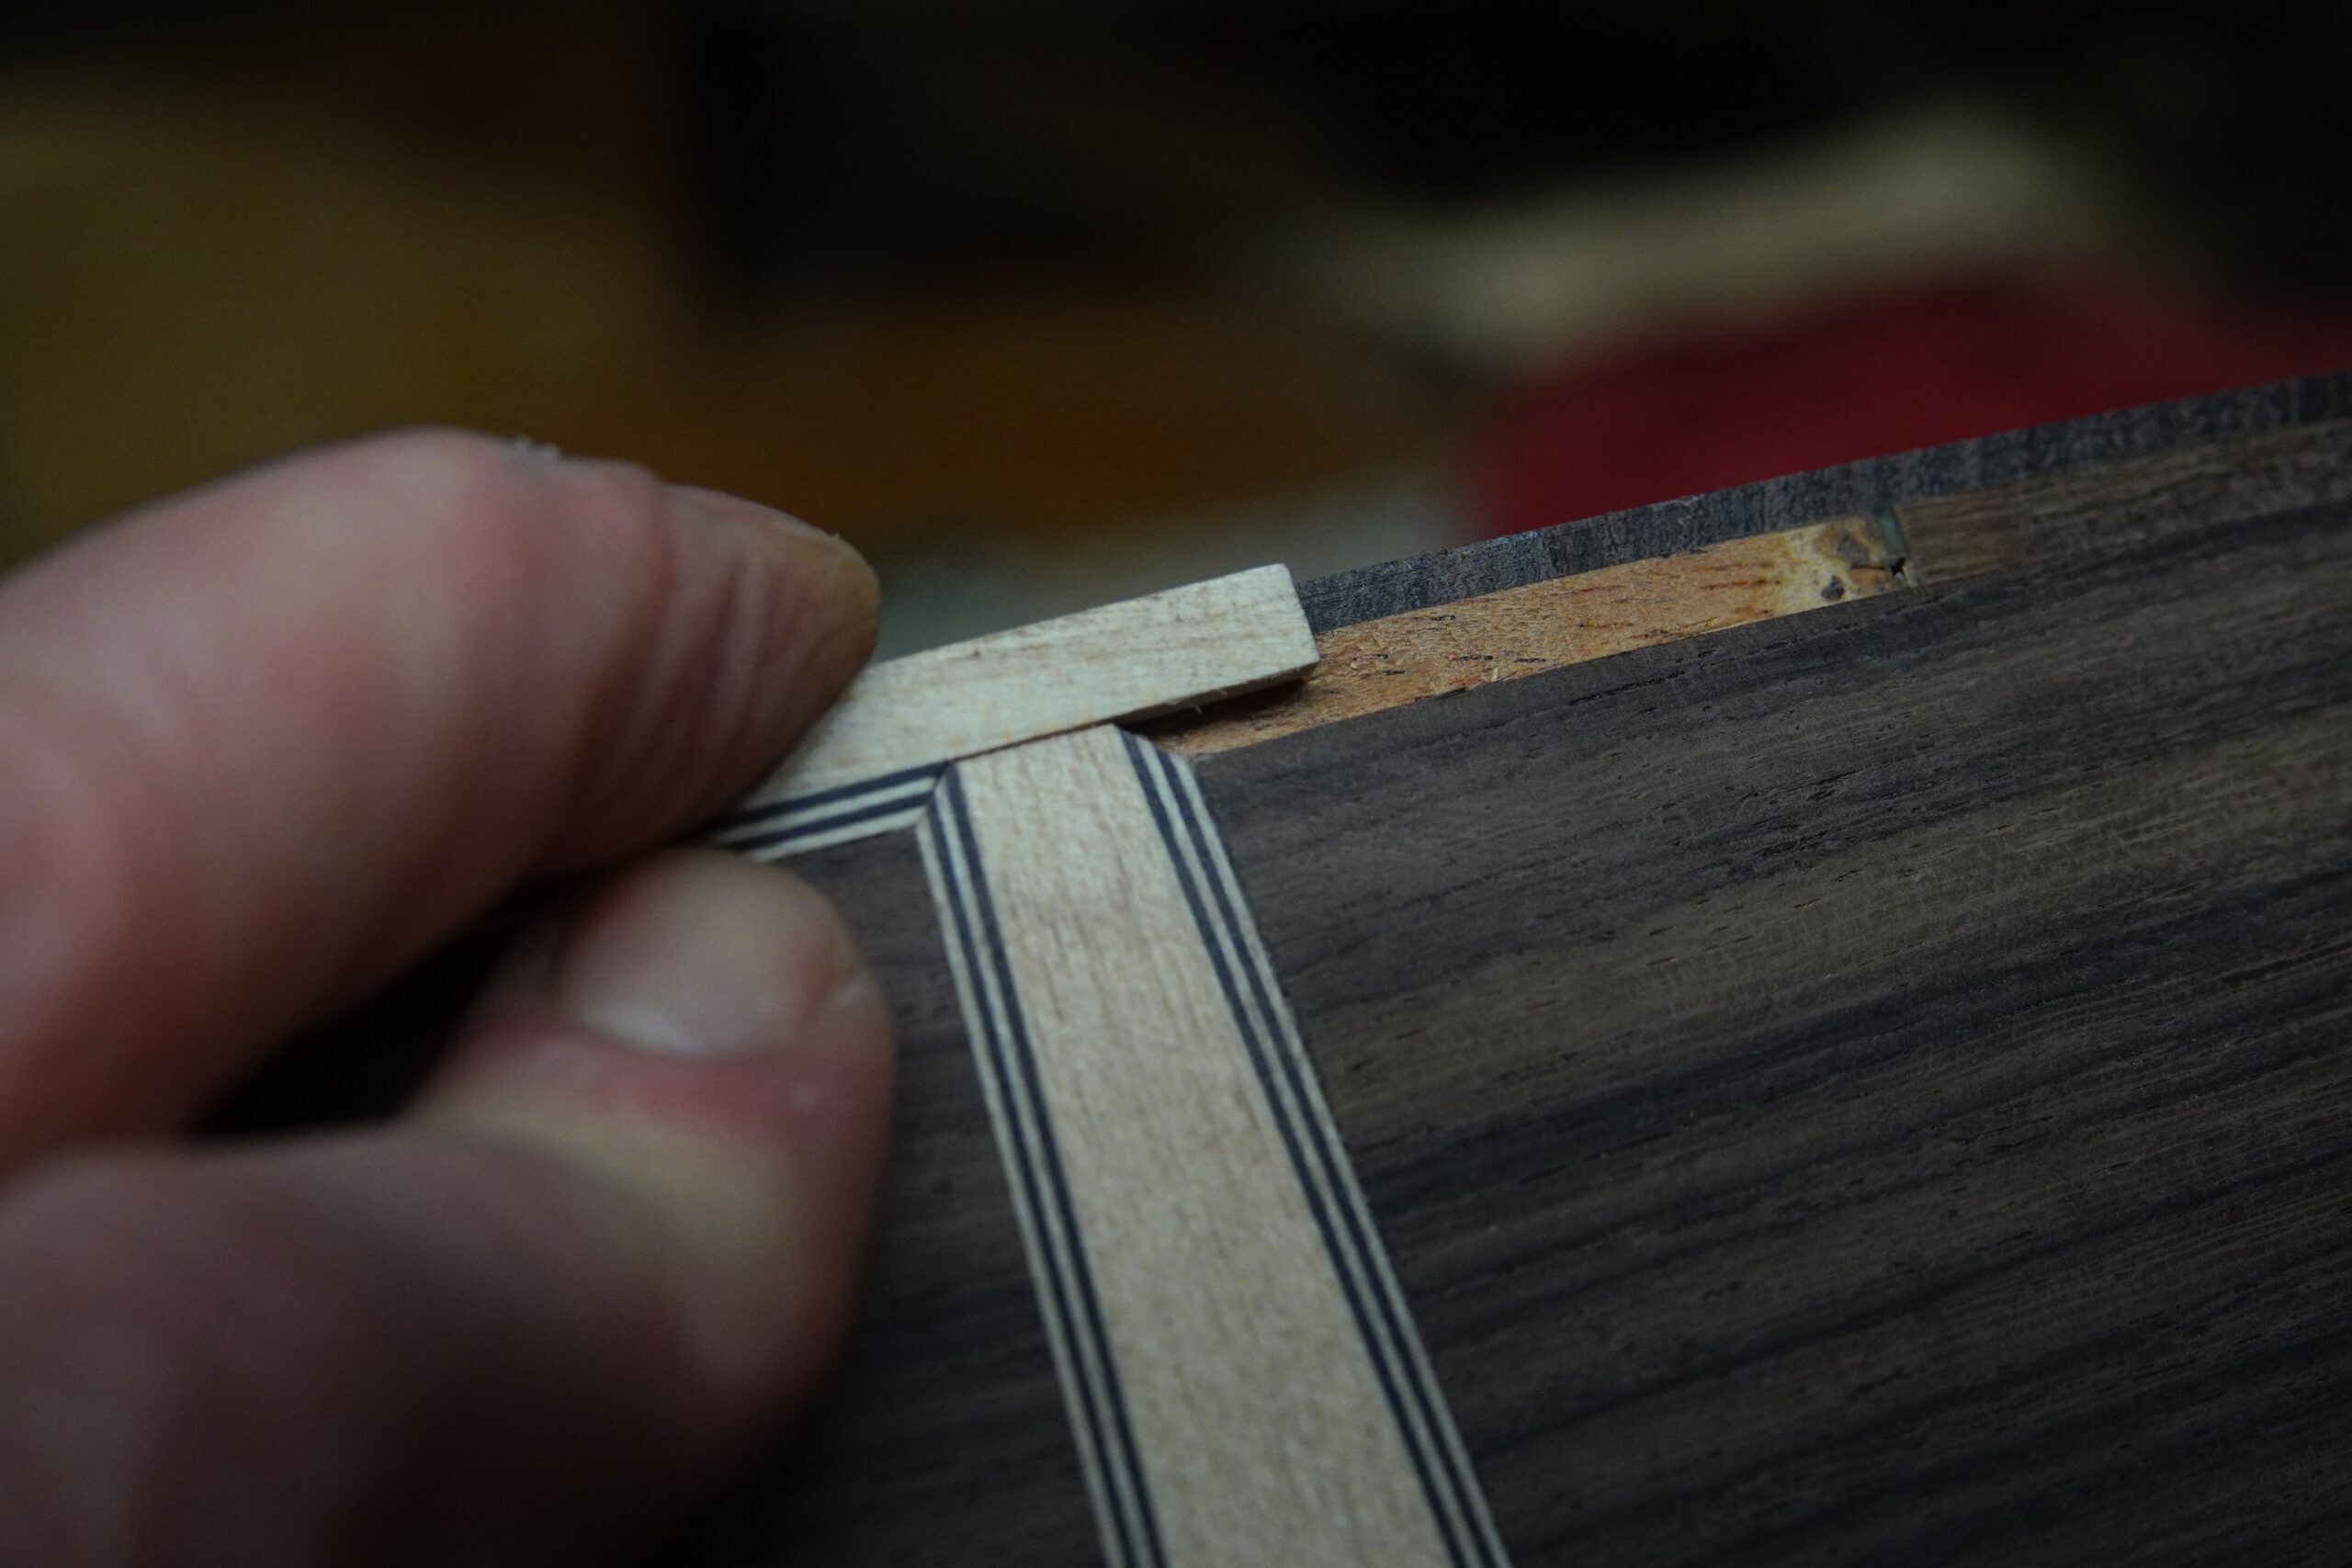
I cleaned the channels up with a chisel to leave just the purfling on the end graft…
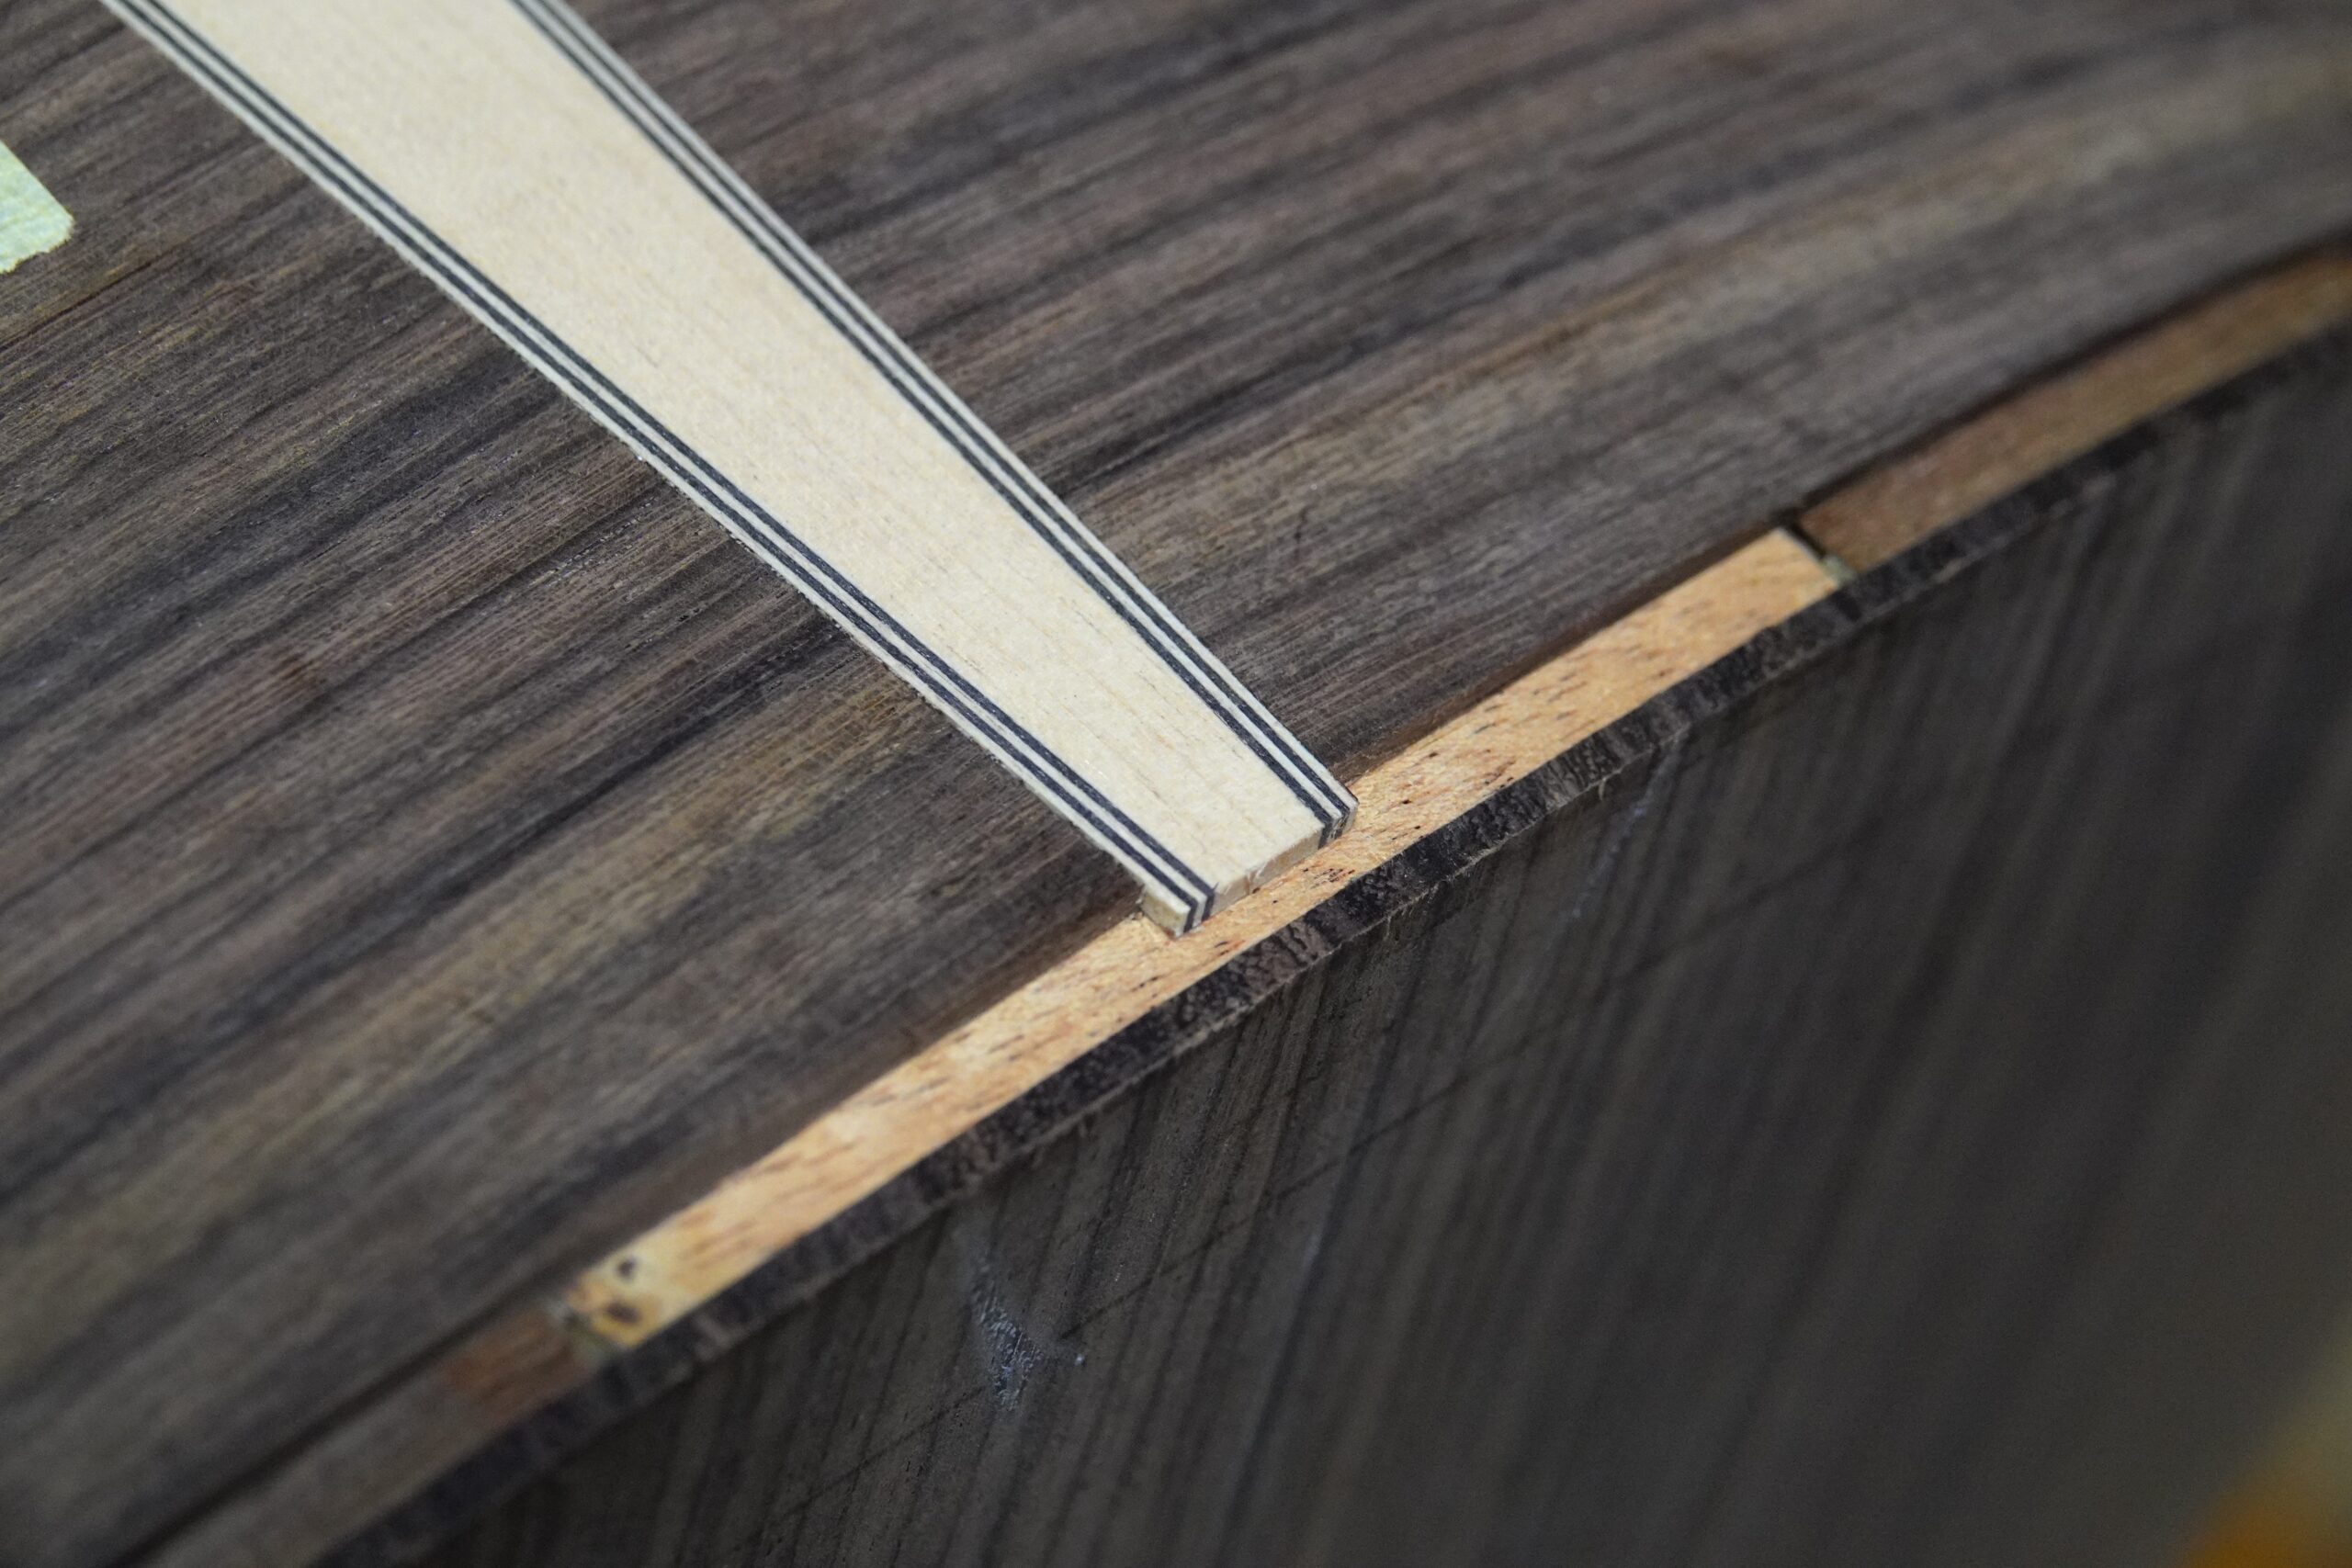
I pared some of the purfling off the lining strip, and after quite a bit of puzzling I managed to get something that fitted reasonably well. The trick of looking at the reflection in the back of the chisel and lining it up with the direction of the next strip works surprisingly well.
I used a different spacer on my jig to cut the purfling channels on the top. Before cutting them, I wiped some shellac around the edge of the top to try and discourage tear-out. Again, the cutting jig worked very well, but I sort of messed up by cutting almost the full depth of the top. I read in the Cumpiano / Natelson book straight afterwards that it should be a maximum of 1/16″ ~1.5mm deep into the top (don’t know how I missed that before). I had cut deep enough to sink most of the purfling strip which ended up being just over 2mm deep. The top still has an overlap onto the linings and seems securely stuck, so it is what it is.
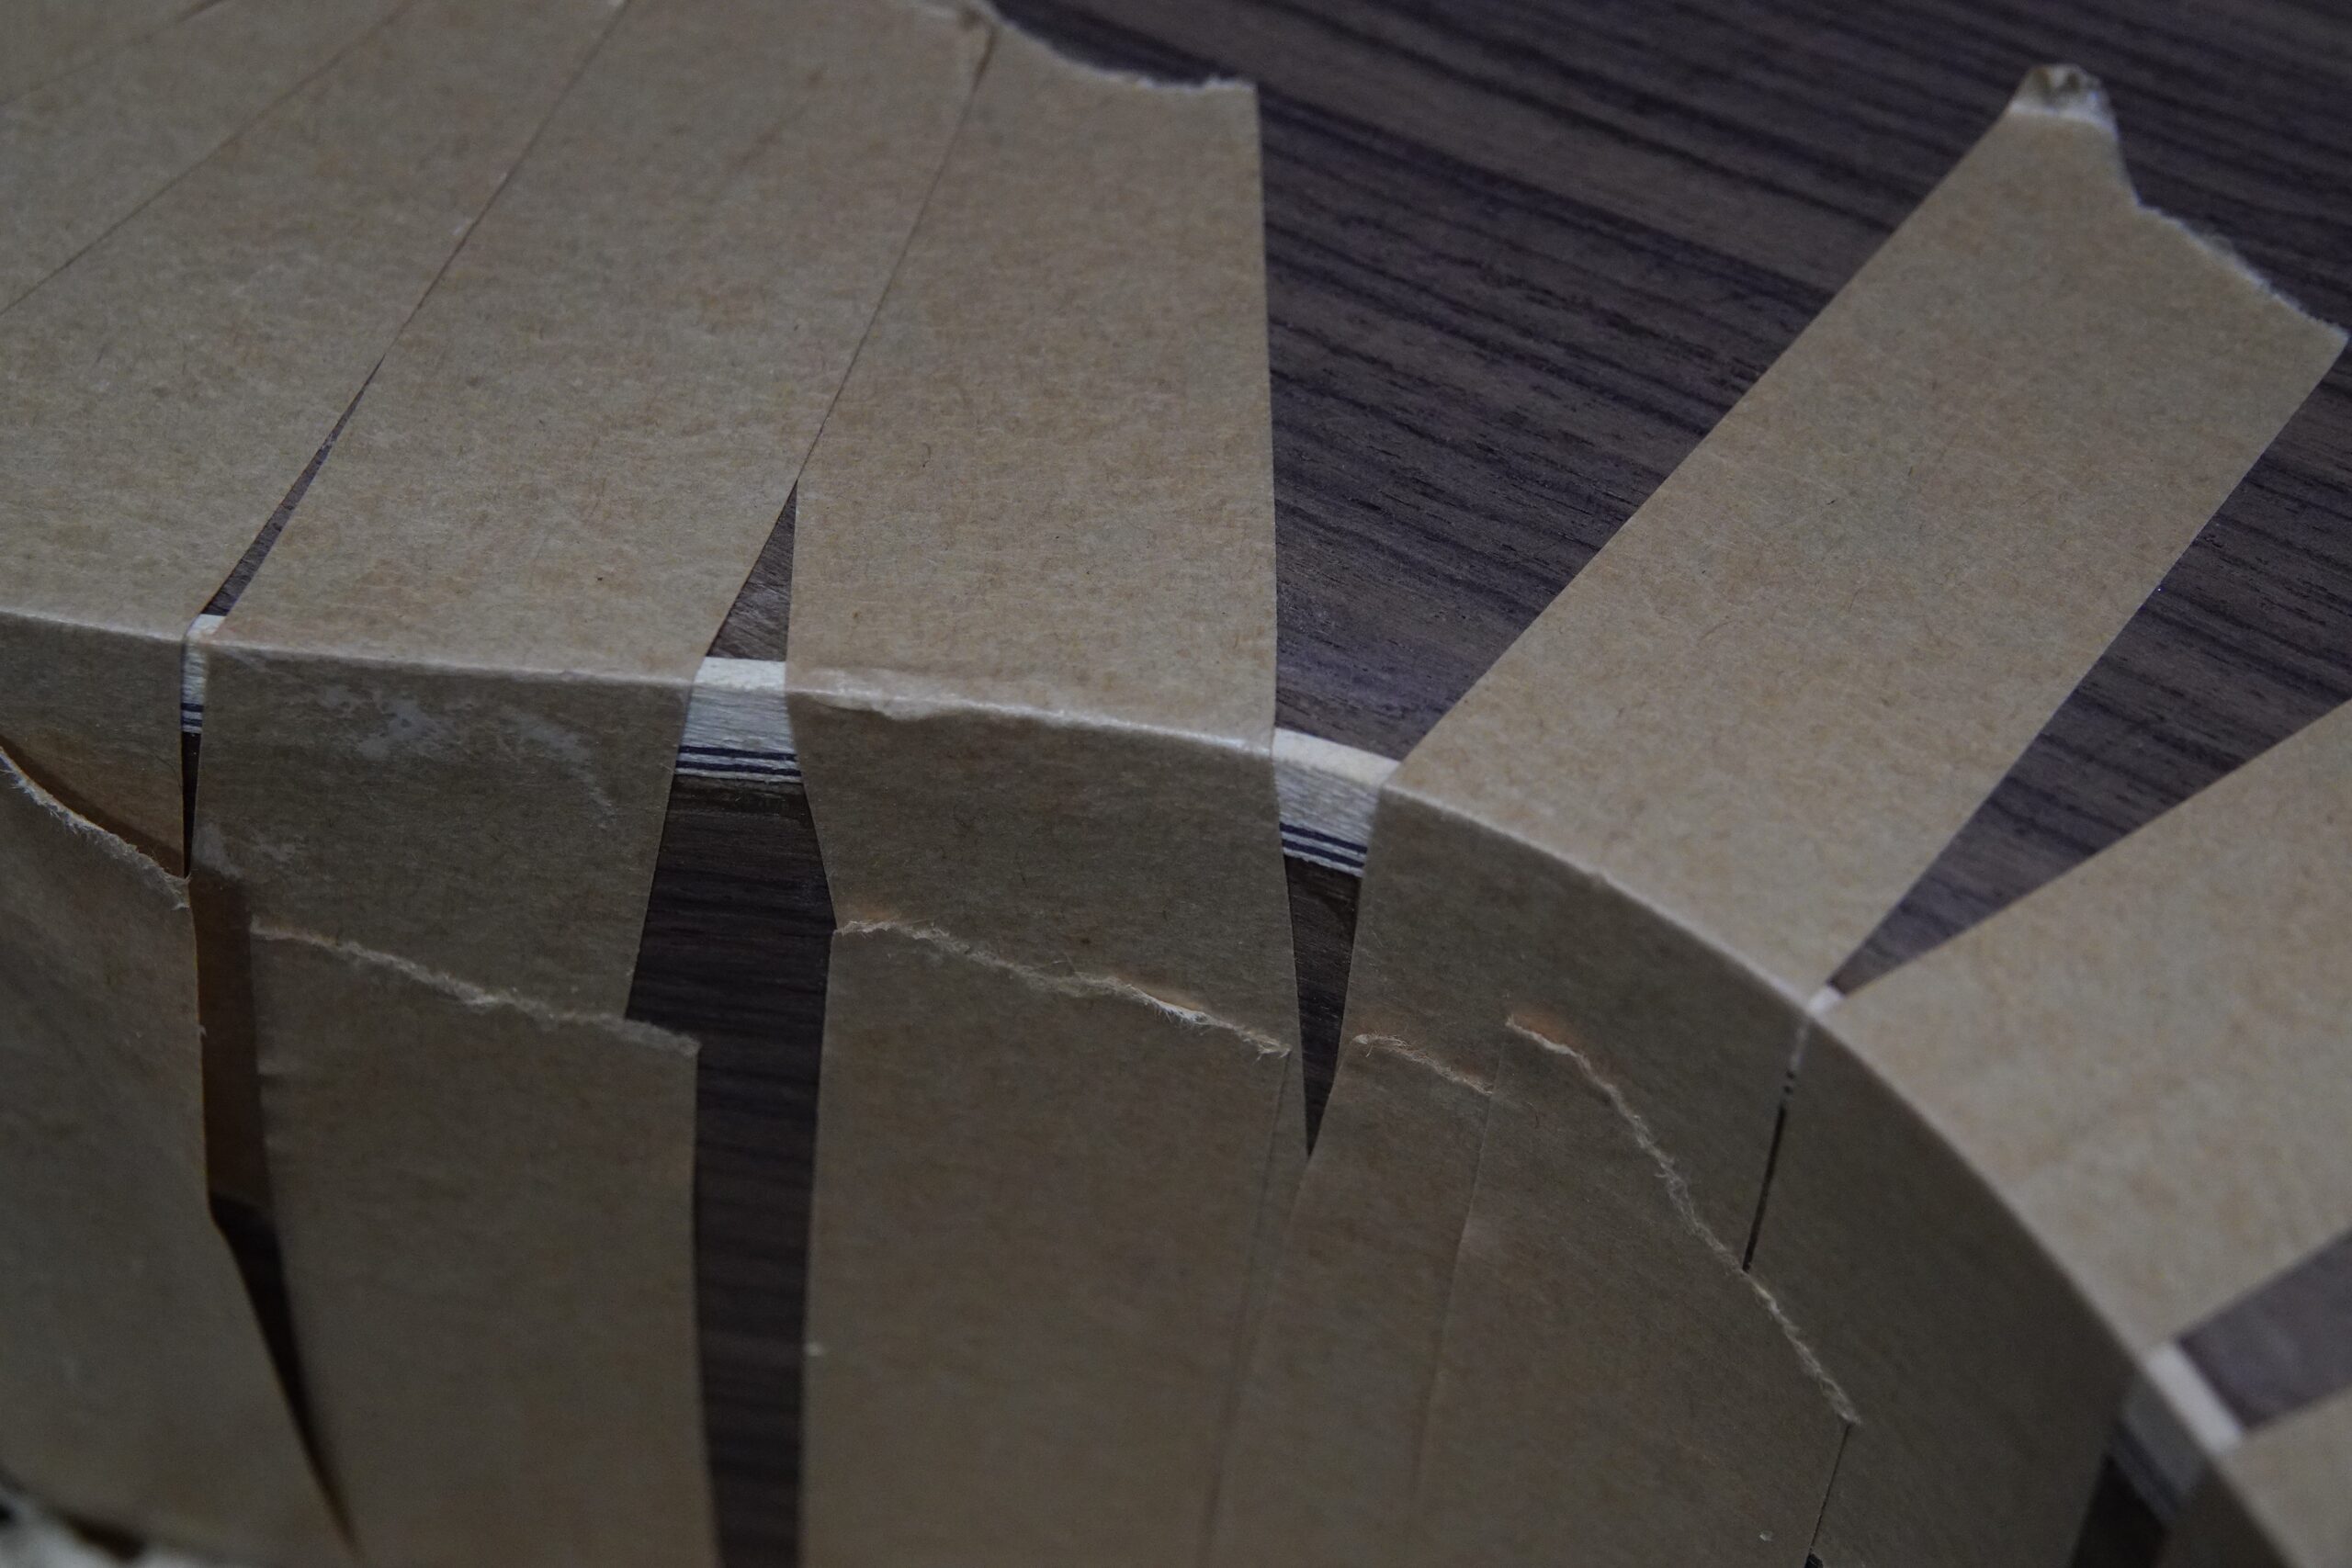
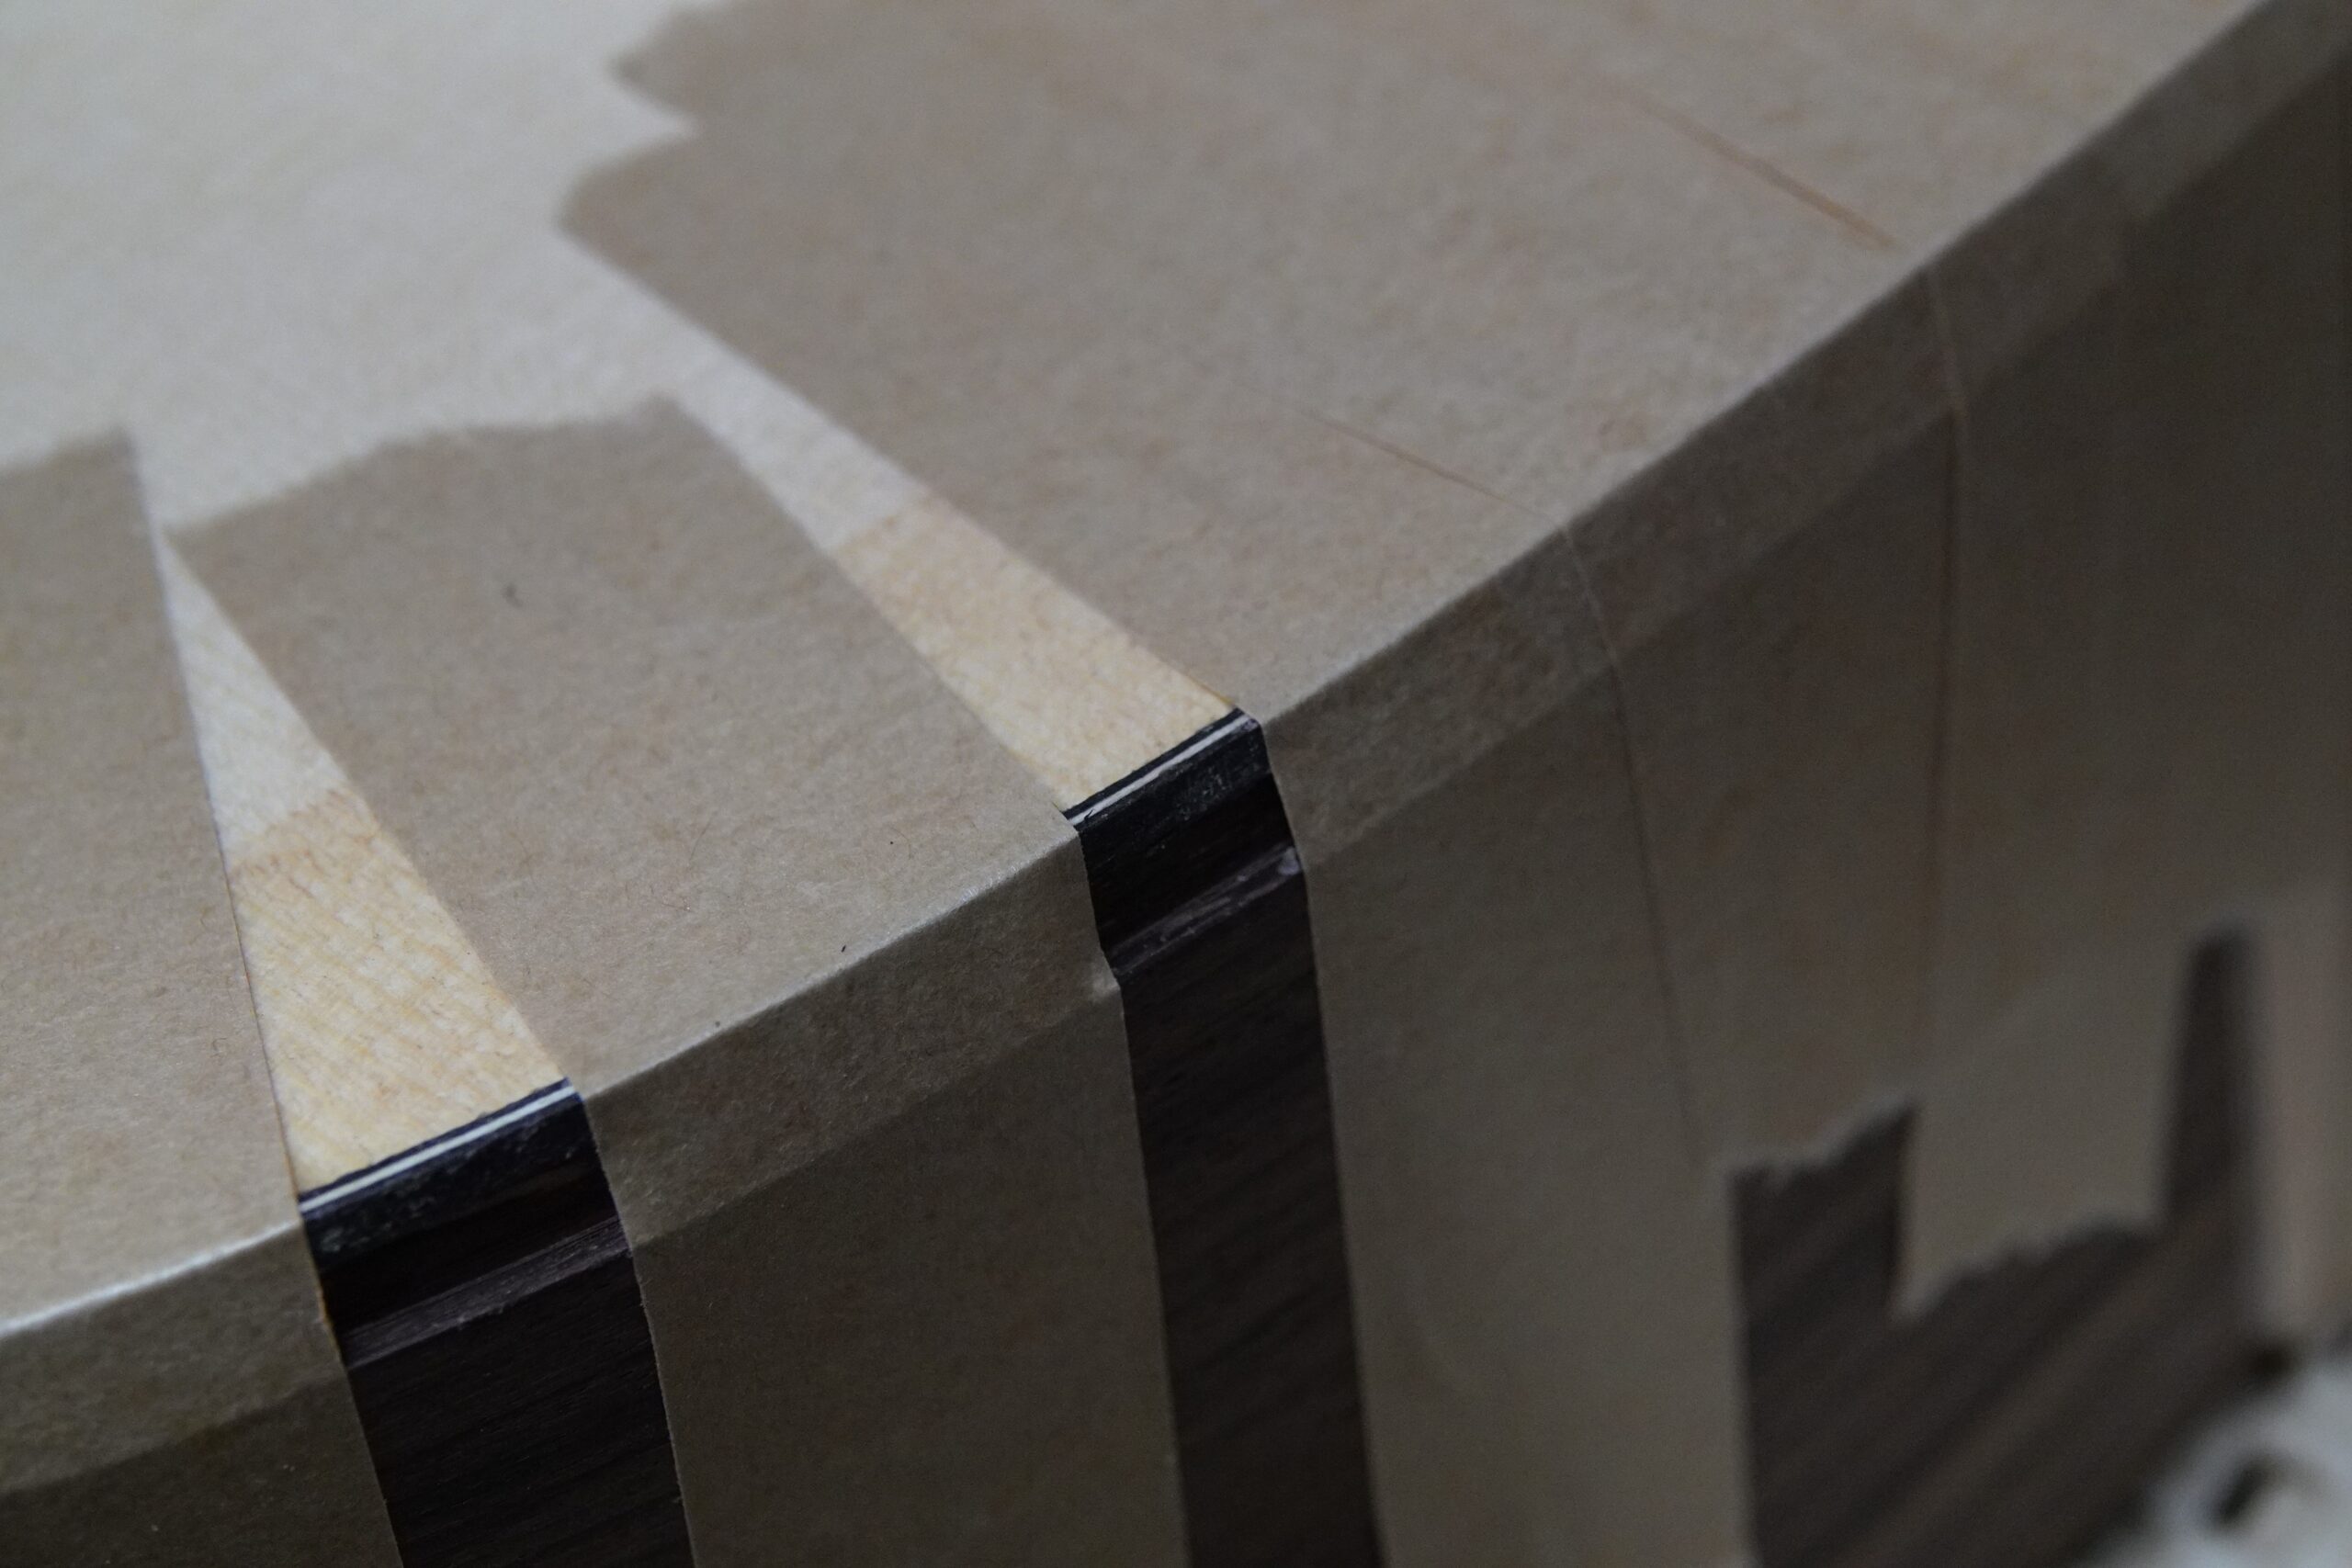
Gluing the bindings
The back bindings were glued on using Titebond and held in place with brown paper tape while it set (the bindings were lightly sanded before gluing). The tape I used is ‘Sekisui 504NS Smooth Framing Tape 25mm x 50m‘. I bought it from Amazon, but as far as I can tell, it’s what is sold by some places as binding tape. The tape is quite tacky, but easily peels off. It has a small amount of stretch in it that helps put tension onto the glue joint. I was prepared to bind the joint with rubber strip to get a tight fit, but the tape worked really well and I didn’t feel the need for anything additional – I’d recommend it.

On the top, I was intending to glue the bindings and purfling on at the same time, but after gluing the back bindings, I decided that there was enough going on without adding the purfling, so I glued and taped the top purfling into place first:
When the glue had dried (Titebond again), I cleaned up and sanded the binding channel before gluing the top bindings into place:
OMG What have I done??
