Finish choice
I’ve used Tru-Oil previously on my Firebird and my Telecaster neck. I liked it for necks, but didn’t want to use it for the acoustic body. Having never used shellac for anything other than sealing knots before, I decided that I wanted to try and French Polish the body.
There are many, many articles and videos about the process that I read and watched diligently, but the two most useful resources that I found were an article by Bob and Orville Milburn and a video series on Youtube by Pablo Requena.
These were broadly in agreement with each other (which is something of a miracle as there are many, many different approaches!).
Grain Filling
I was intending to use epoxy for grain filling the rosewood, but after trying out both the epoxy and the shellac / pumice method on some offcuts, I decided that the epoxy process was a bit too committing, and sanding back the epoxy was too much like hard work as I found it clogs the paper badly.
So… Three coat of thinned shellac wiped onto the body to seal it, using a new, clean cloth for each of the bindings (to prevent staining them with colour from the rosewood).

After a few more coats on the bindings (for extra stain protection) I set to work with a cotton pad, alcohol and a small amount of pumice powder, working it into the surface to generate a wood dust slurry that filled in the pores. (I was following the process in the Milburn article).
It’s a gradual process that you can take your time over and stop at any time (unlike the race against time to spread epoxy).
After the first session:

I quickly learned that there is only so much that can be done in one session – there comes a point where the only thing you’re doing is moving the slurry around without any actually staying in the pores. Far better to stop, let everything settle for a few hours, and then come back for another 10 minutes.
When you think you’re done, and you spot an open pore, it’s easy to come back and spend a few minutes working that area to fill it in. Altogether a more relaxed process than epoxy.
This is what it looked like once the grain was filled:


The residue on the surface needs to be removed (and the bindings cleaned) before finishing. It could be sanded, but after trying that in a few areas, I changed to just wiping it off with alcohol.

As long as you don’t try and do too much at once, or get the surface too wet, it works nicely. It probably leaves more of a texture on the surface than sanding would, but I’m OK with that – it’s not a dining table.
French Polishing
Once the grain was filled, I started the slow process of French Polishing.
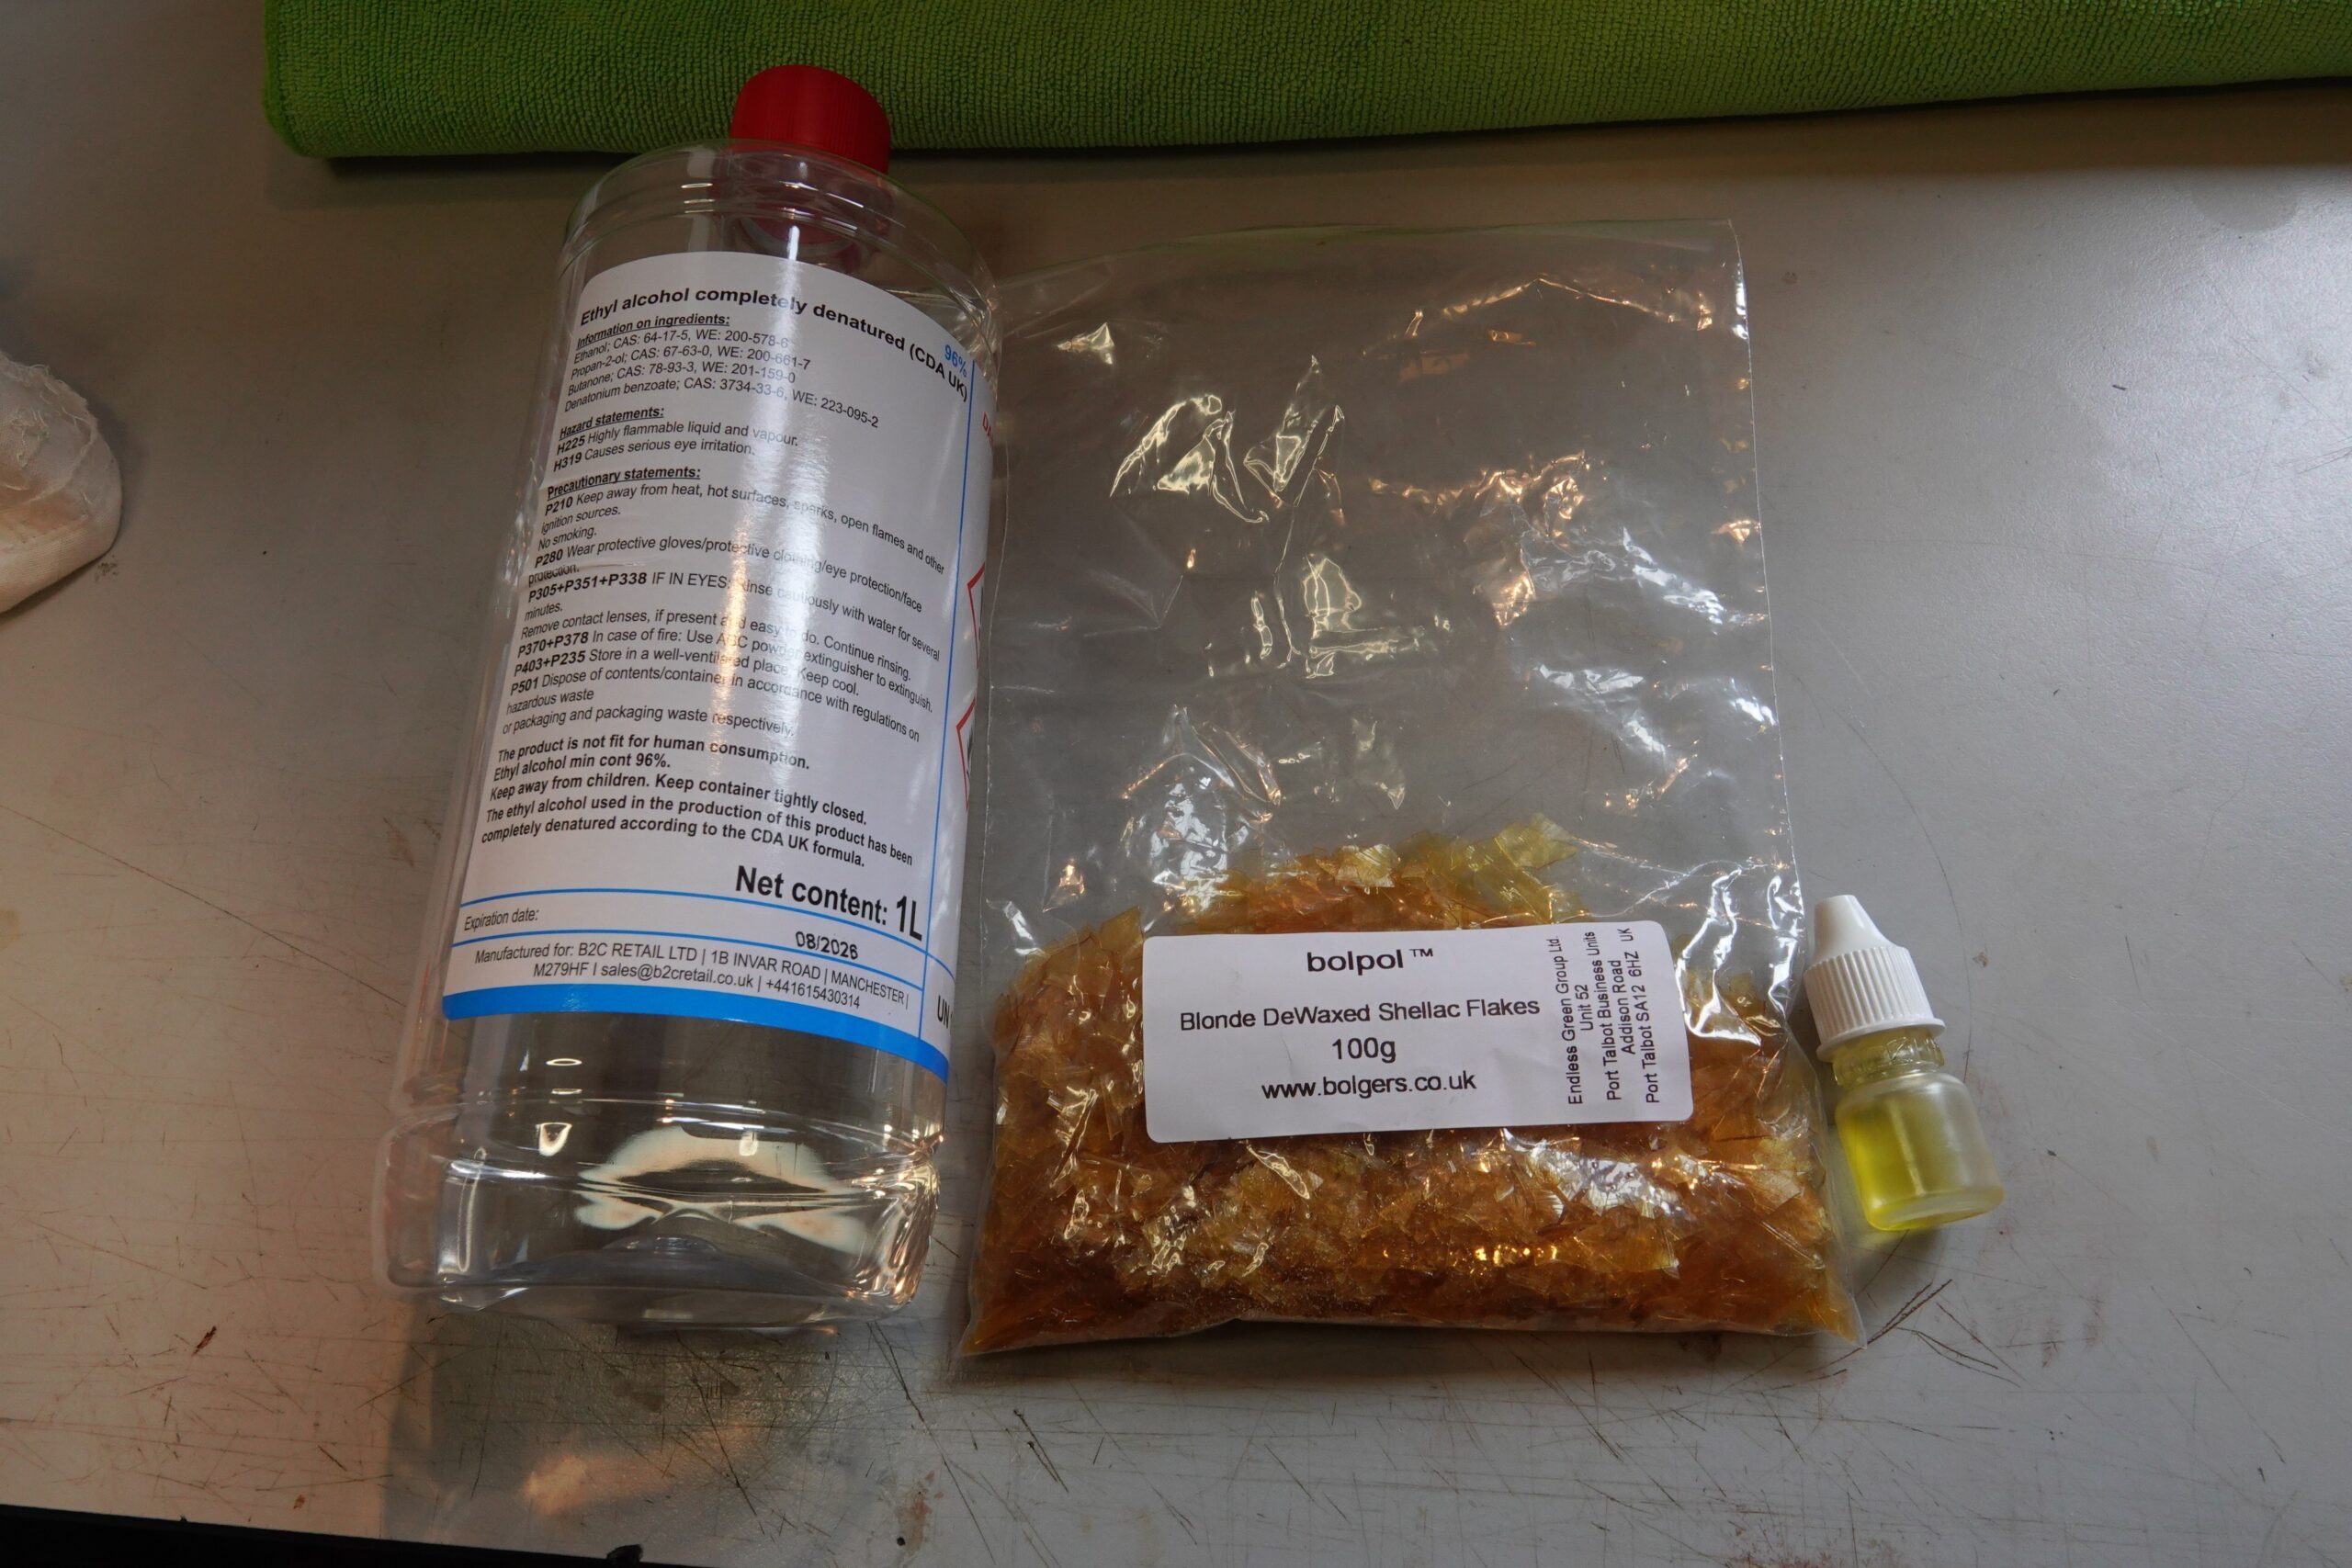
This is what I used:

Denatured alcohol (meths) without dye; Blonde shellac flakes and a little olive oil that is used to stop the polishing rubber sticking.
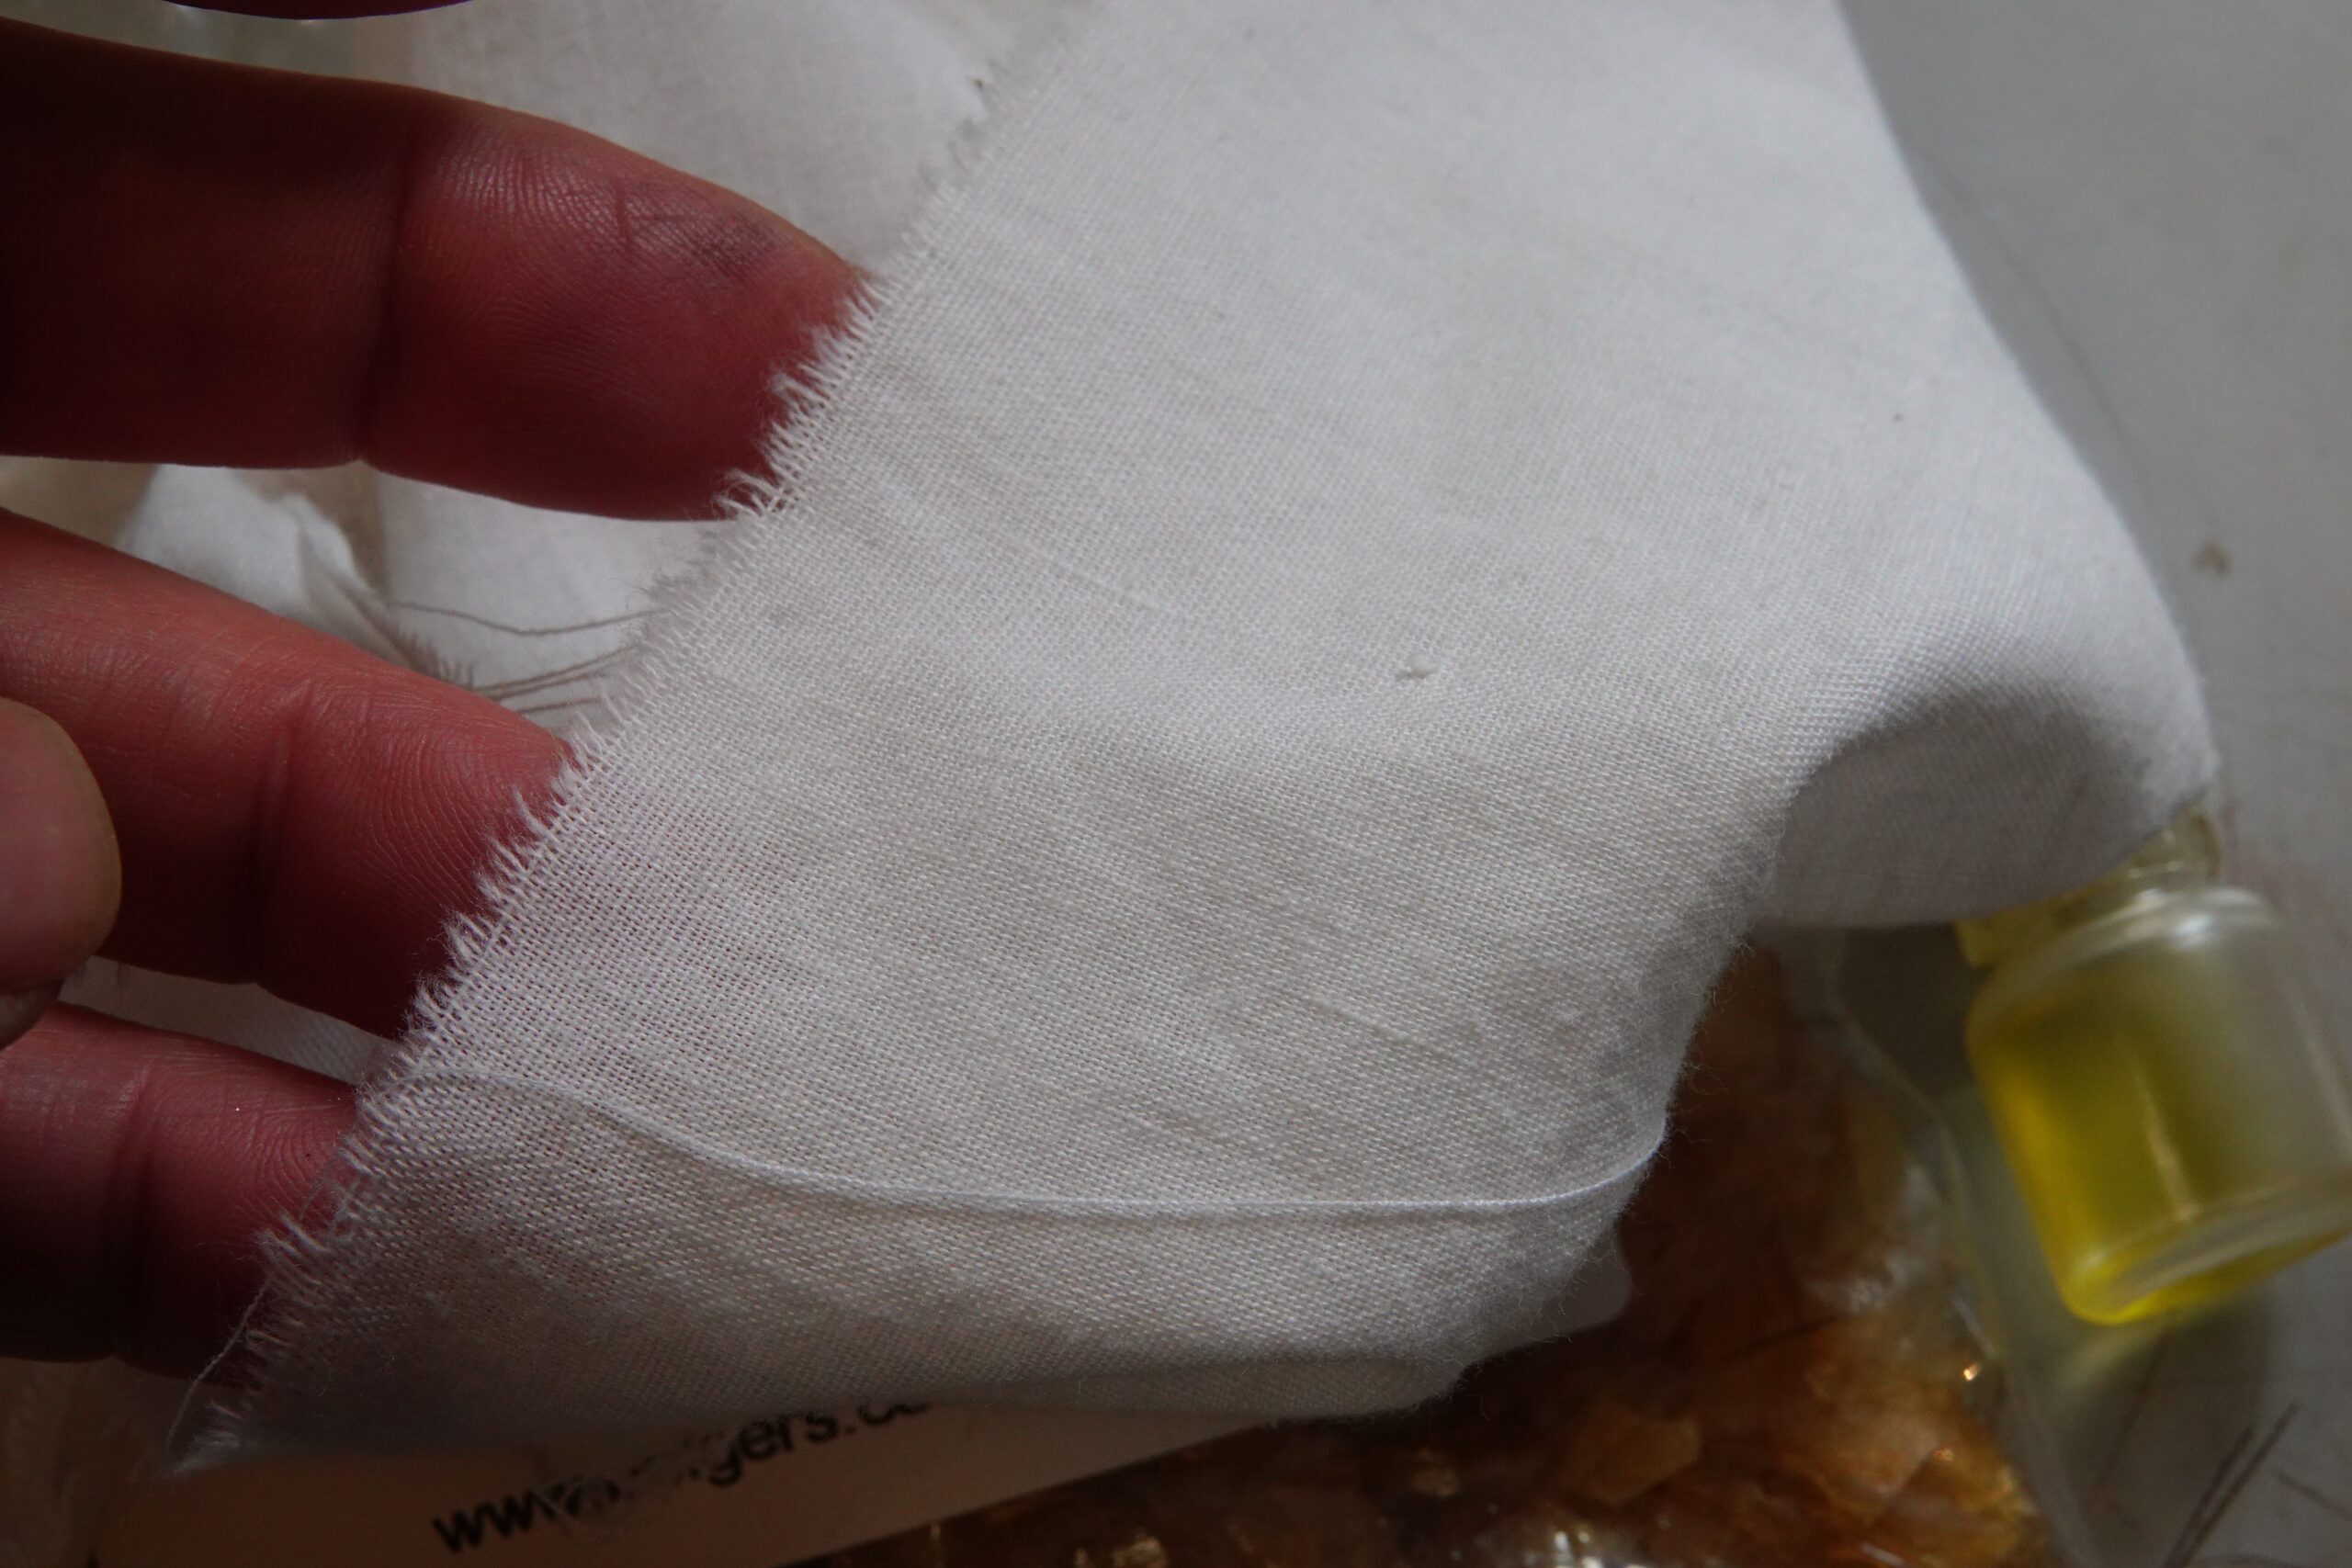
The polishing ‘rubber’ is cotton wool wrapped in a threadbare cotton sheet. (I found that the worn cotton sheet was noticeable nicer to use than the washed out T-shirt material that I also tried.)

The first few sessions are without oil, then I started using just a drop of olive oil each time I charged the pad. The shine on the guitar builds quickly, and then all the surface flaws really start to show!
I sanded the top back several times in different places to steam out small dings and scratches that had gone un-noticed on the unfinished wood. The beauty of Shellac is that you can work on these areas until they catch up with the rest of the surface and it blends in seamlessly. I also completely sanded the back as it became apparent that there was a line of grain filling residue that hadn’t been completely cleaned off.
This is about half way through the ‘bodying’ phase of polishing and the wood already looks superb – I don’t know what it is about shellac, but it really seems to make the wood glow.

