Bridge(s) of sighs
In order to finally set the neck angle, I needed a bridge, but the road was not smooth…
Mark I
I designed this bridge to be aesthetically pleasing to me – I quite like having the bridge pins in an arc.
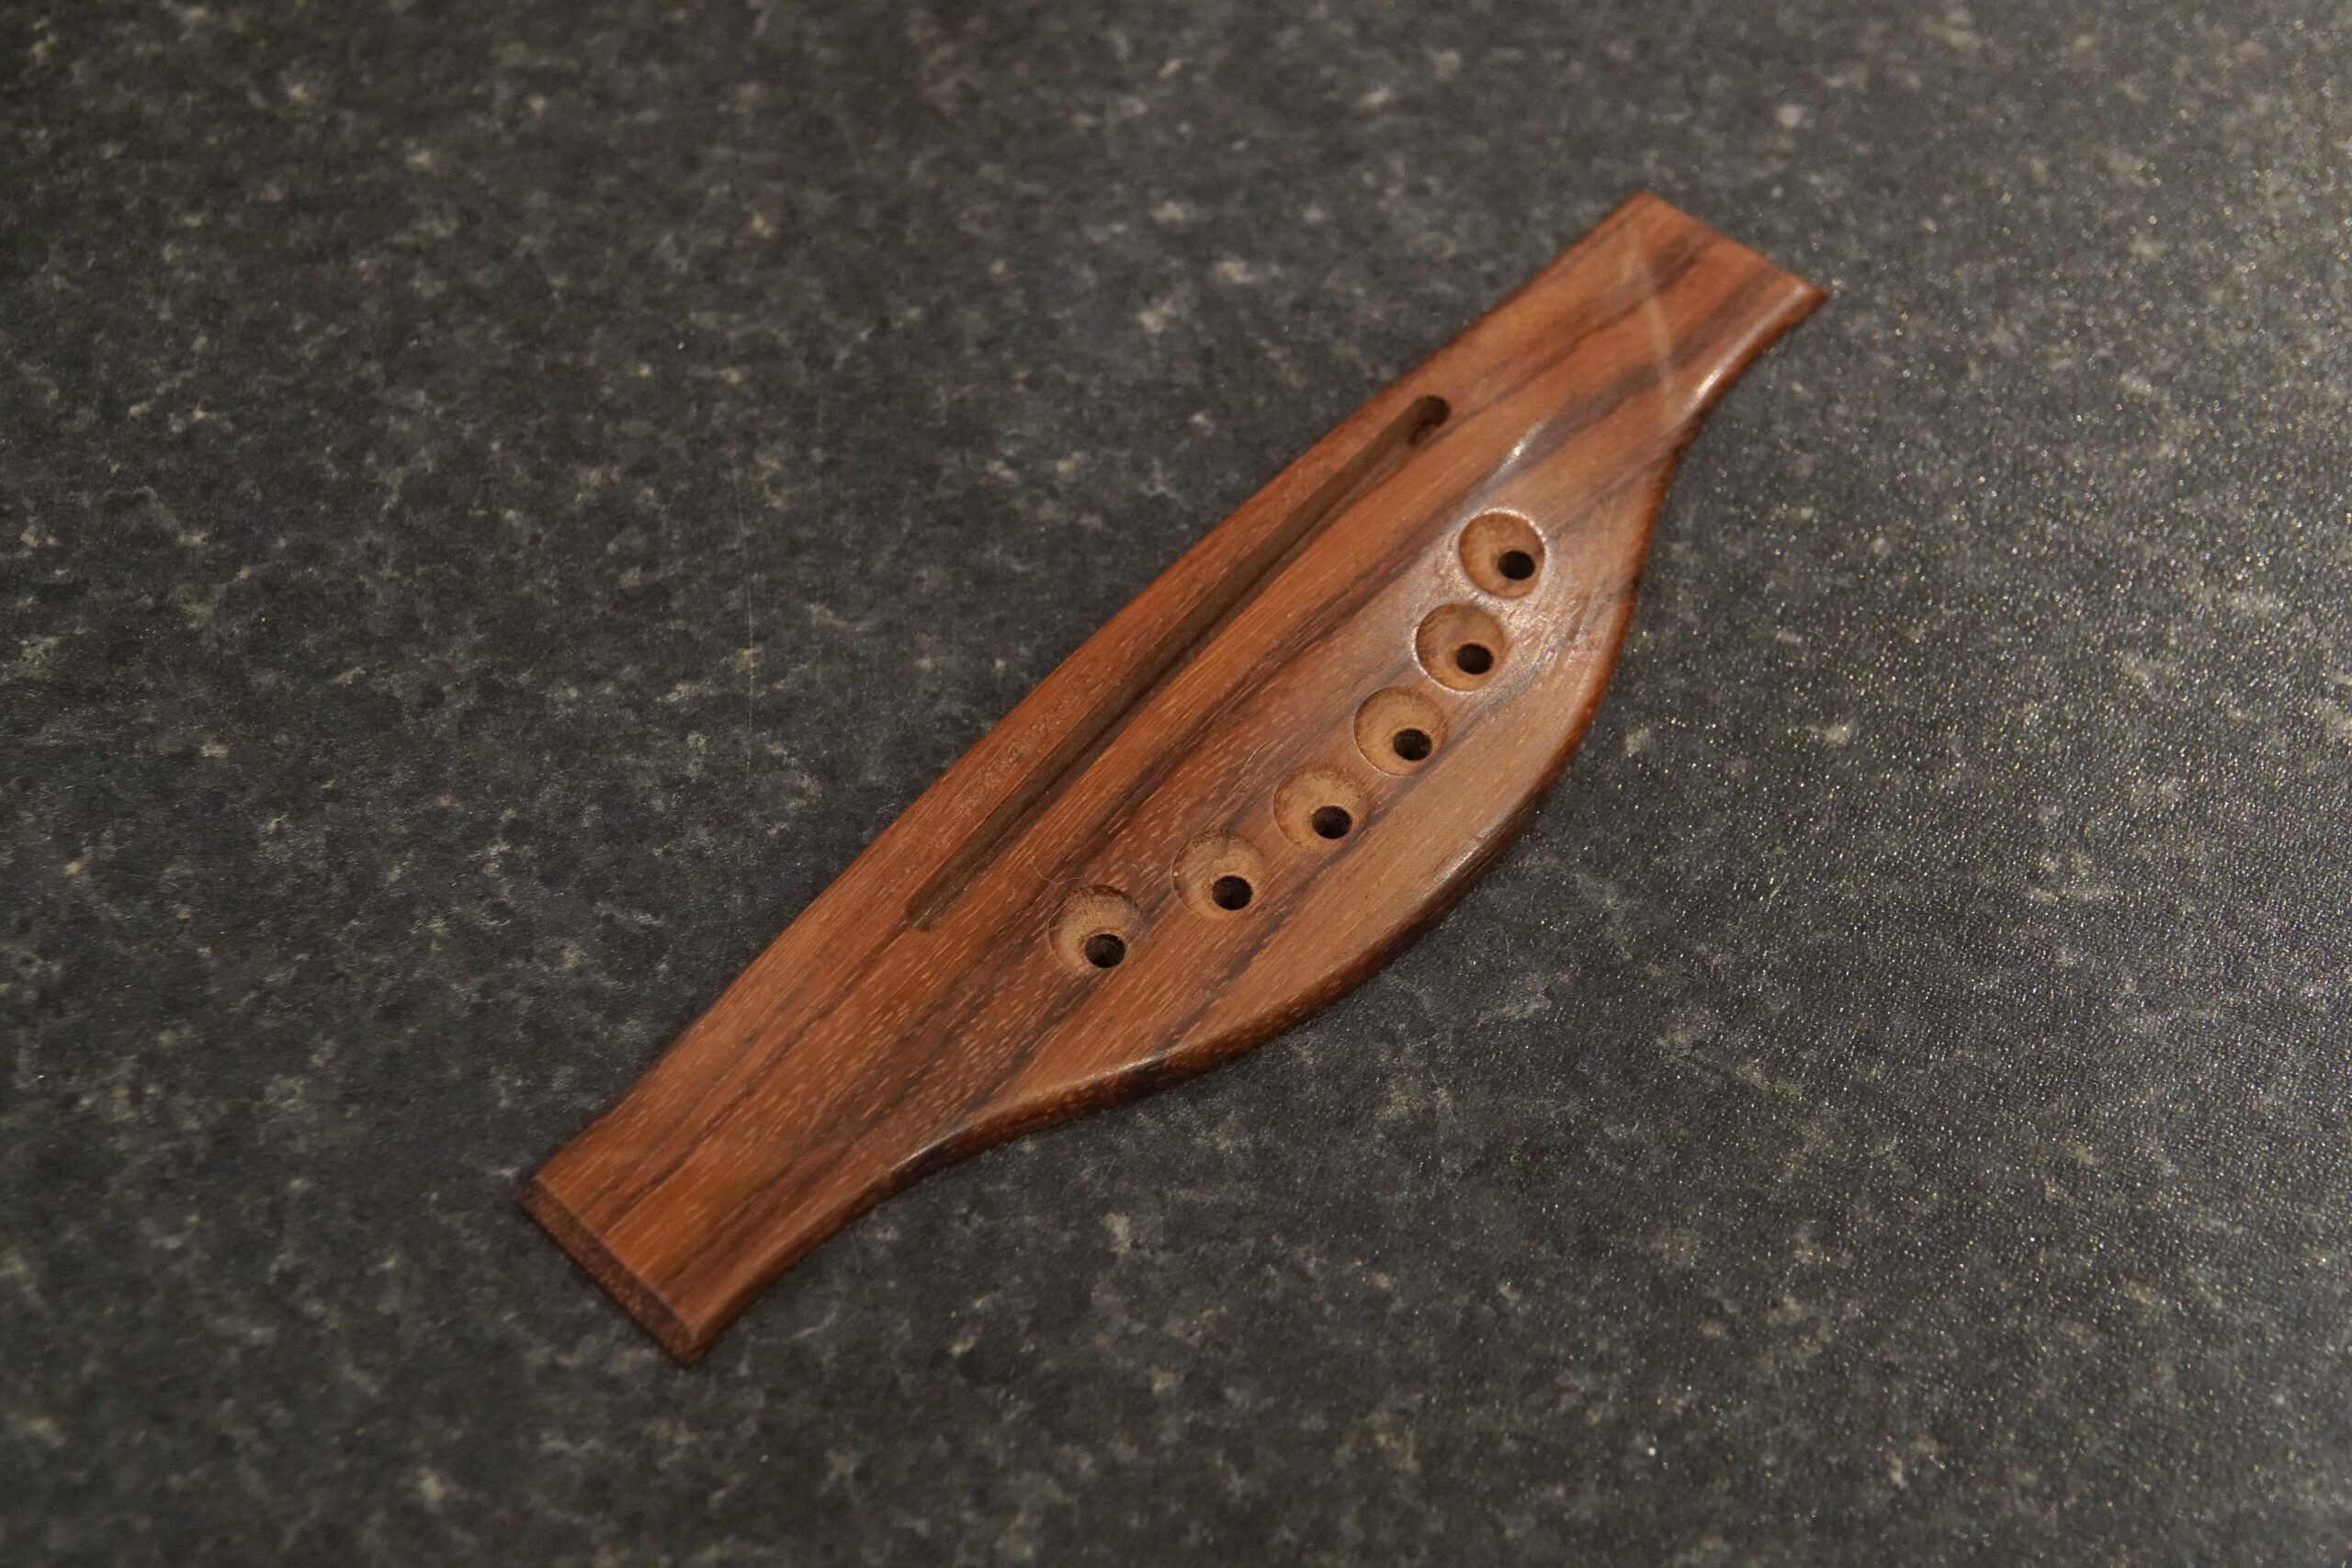
While I had considered the break angle over the saddle when designing it, it struck me a week later that the strings would need to pass straight through the wood in front of the recessed pins. (D’oh!)
Mark II
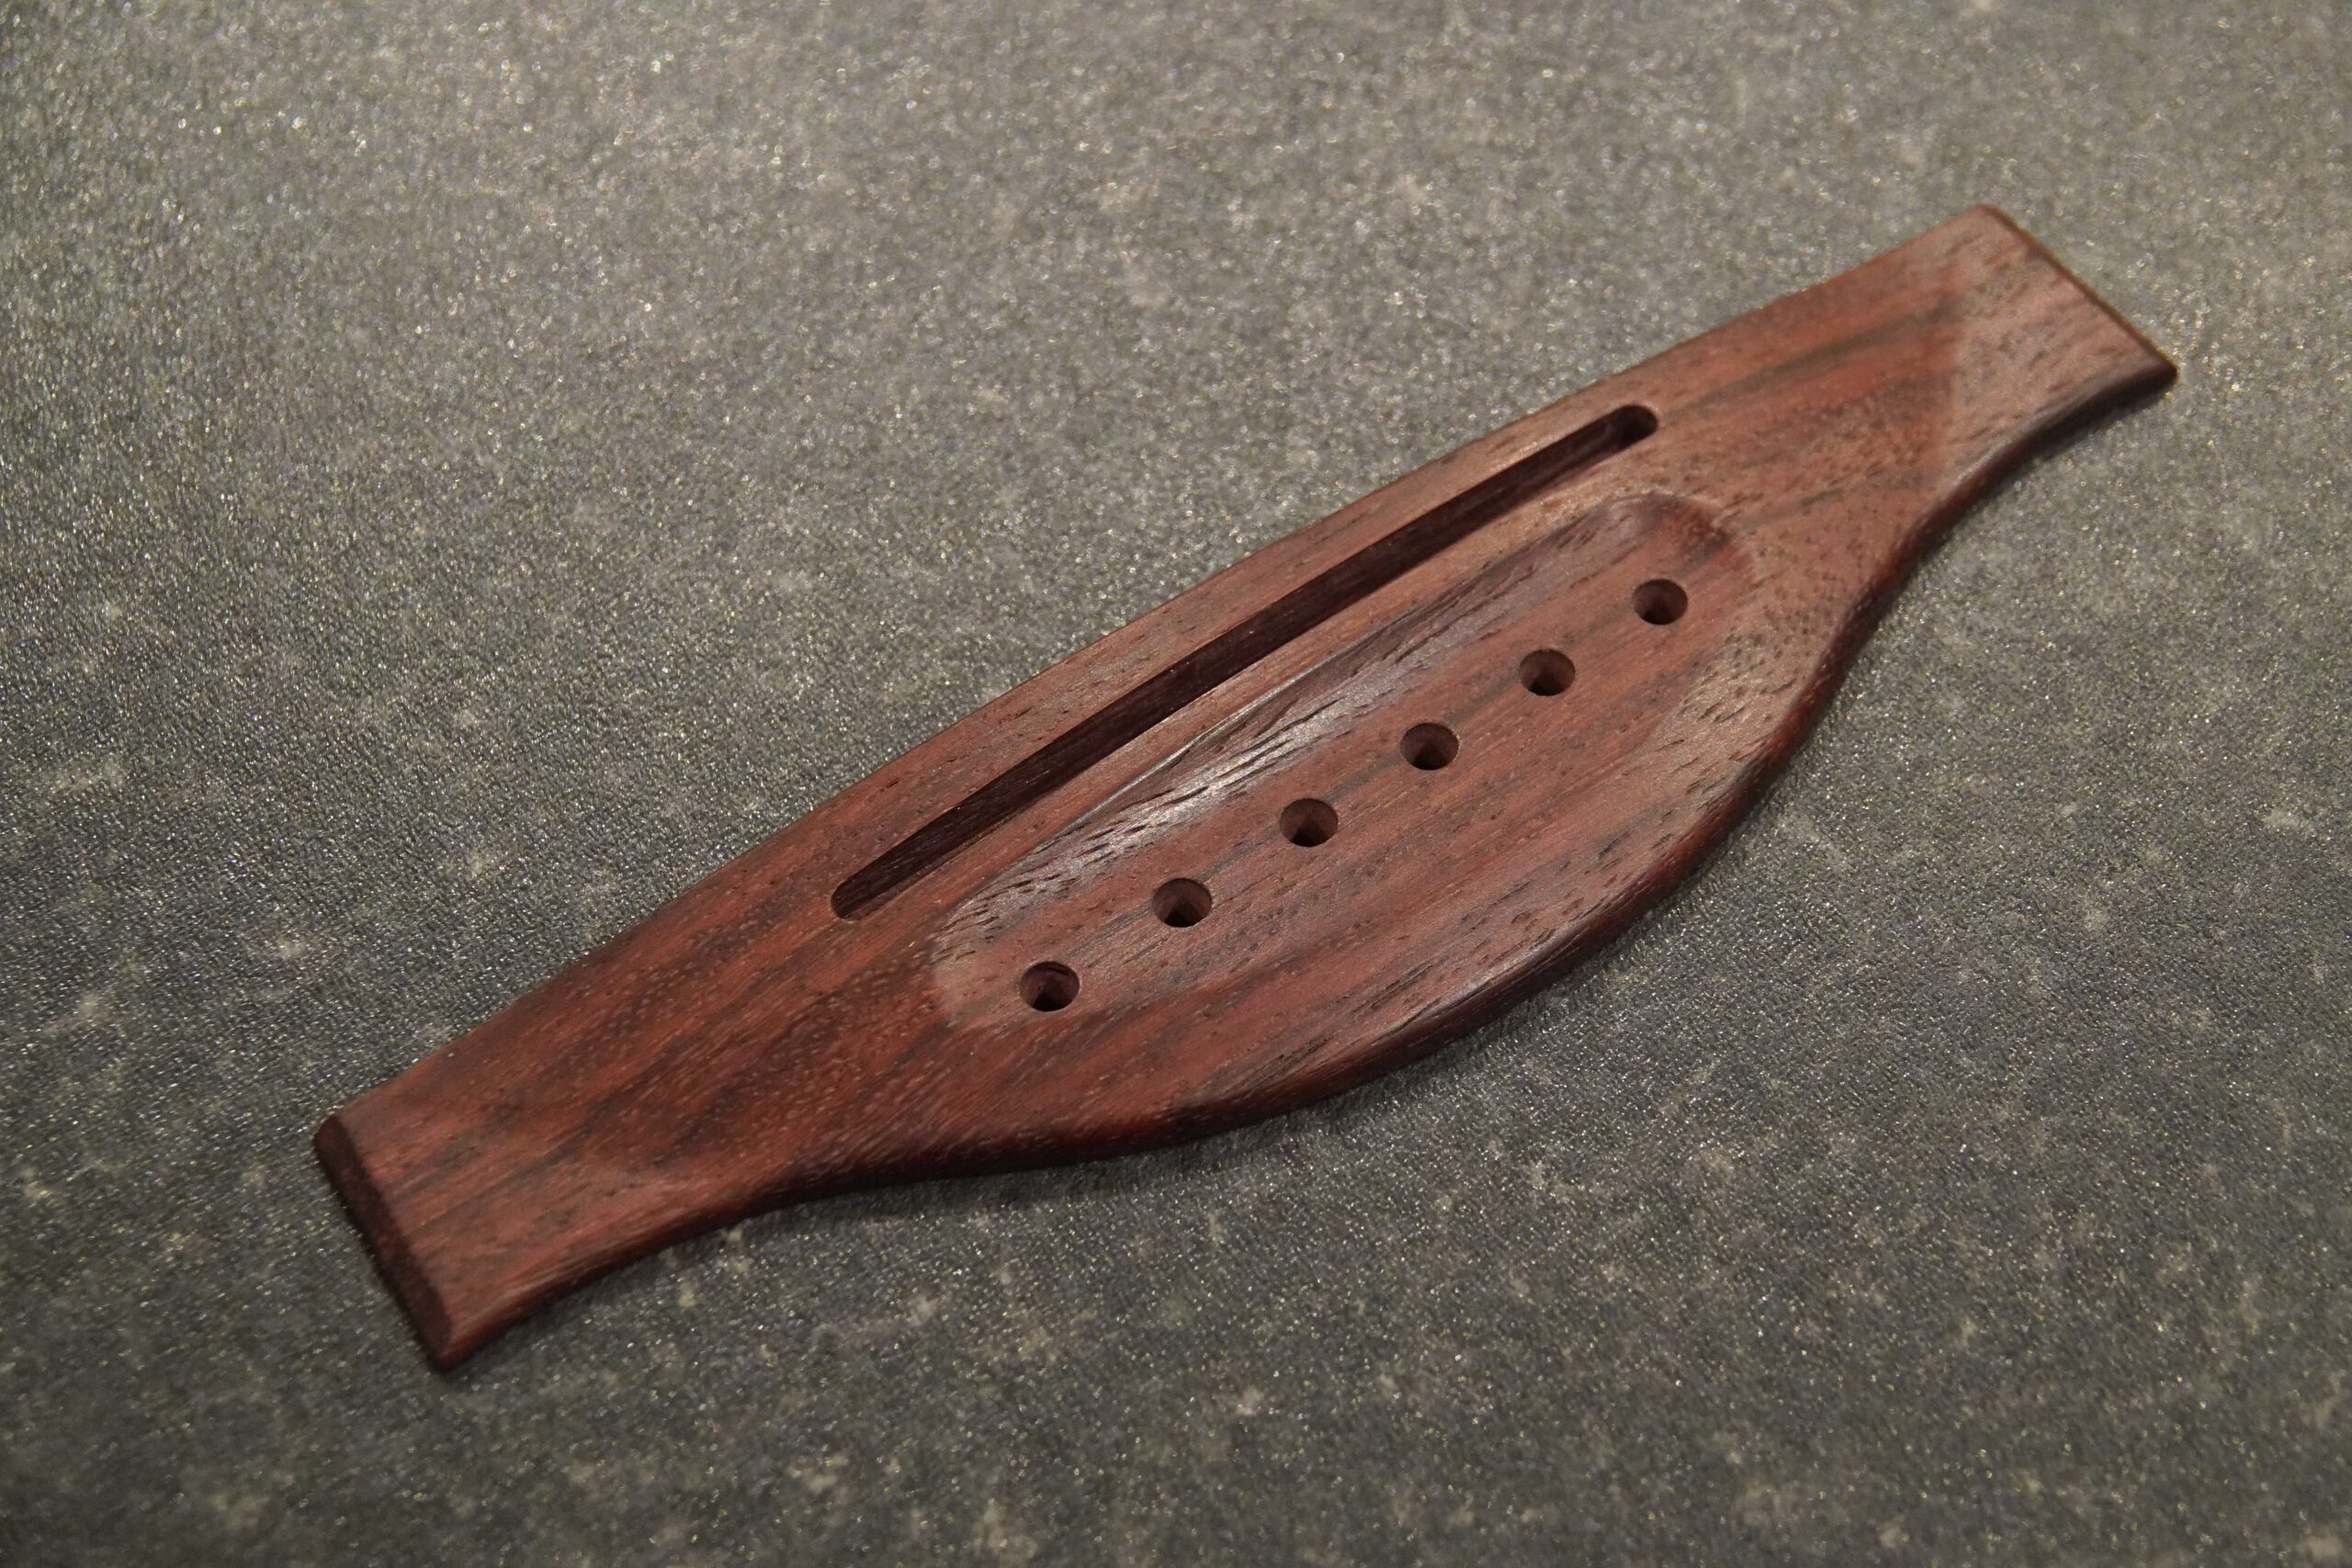
Enter the MKII which was a re-work of the original with recess in front of the pins.

When the time came to accurately position the bridge I it dawned on me to check where the peg holes would fall on the reinforced bridge plate under the top…
The original Grellier plan does show the bridge pins in a slight arc, but even these come quite close to the edge of the bridge plate. The arc on my bridge was more pronounced, and I also managed to lose about 2mm from the neck length when adjusting the neck heel (so the bridge has to move down the body the same amount to preserve the scale length). I’d ended up with the middle four pins well clear of the bridge plate (d’oh!).
Mark III
Thus the MKIII. This has the holes in a straight line, quite close to the saddle so that the holes all fall inside the edge of the bridge plate.
Making the bridge
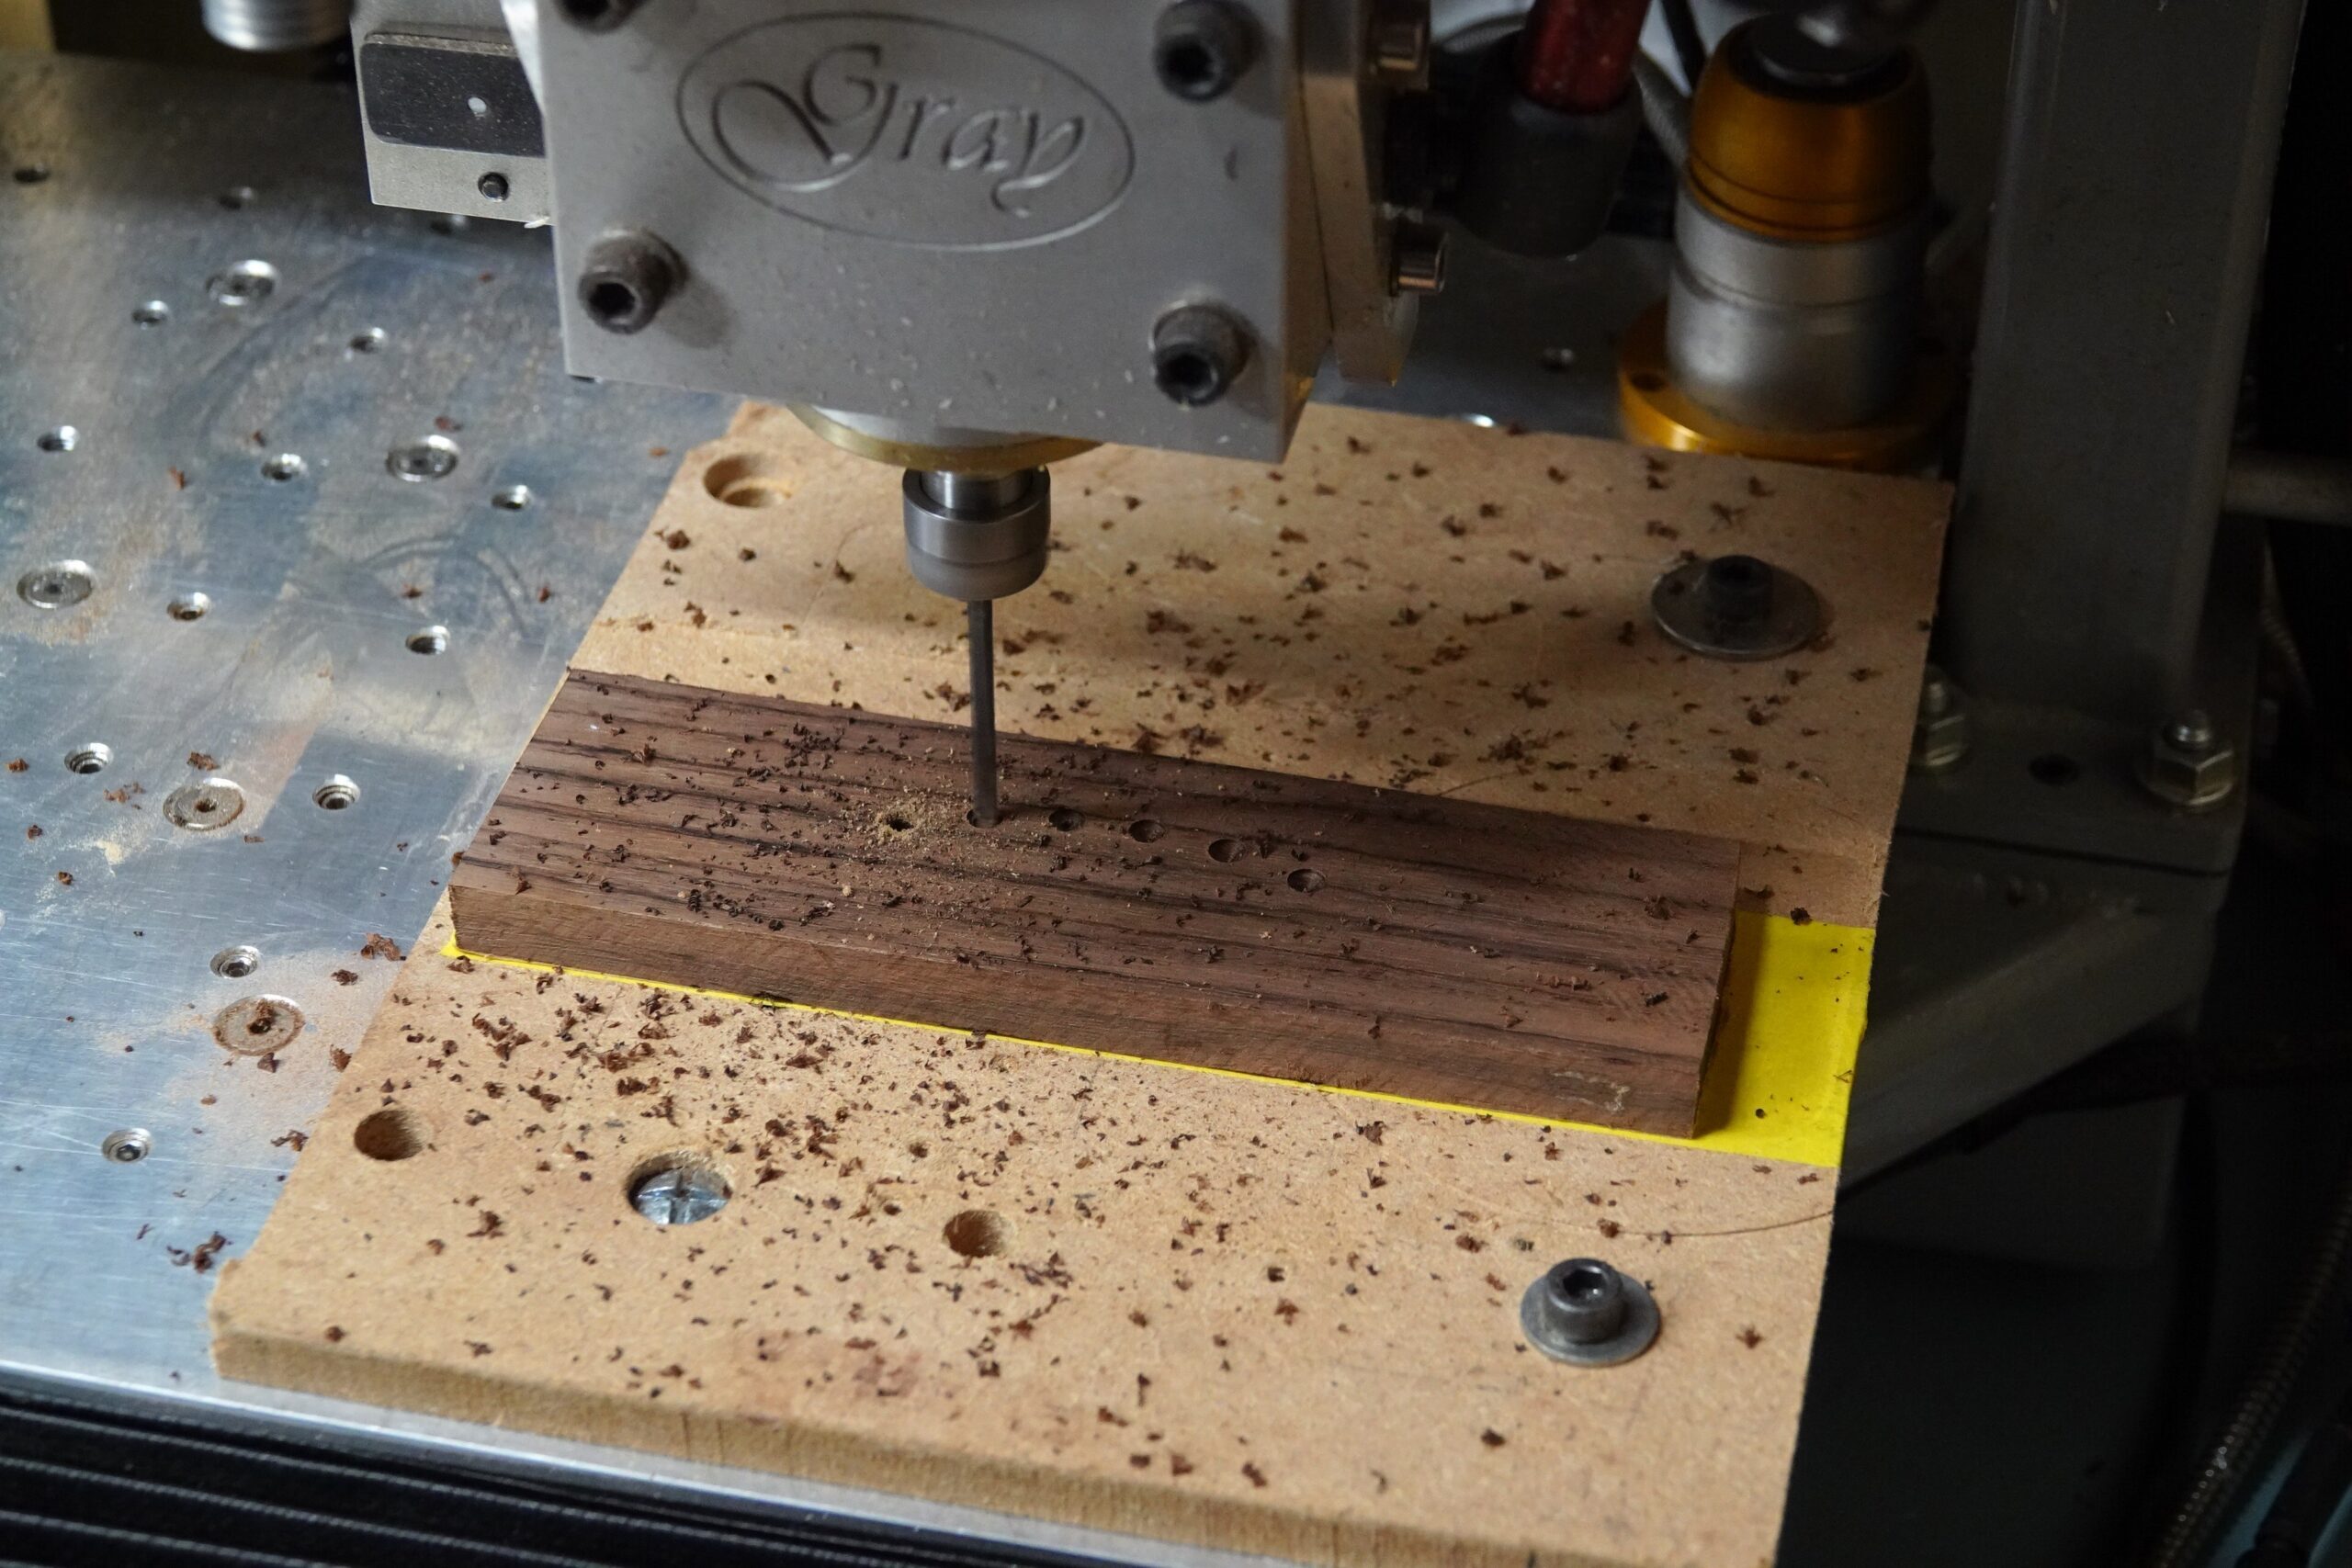
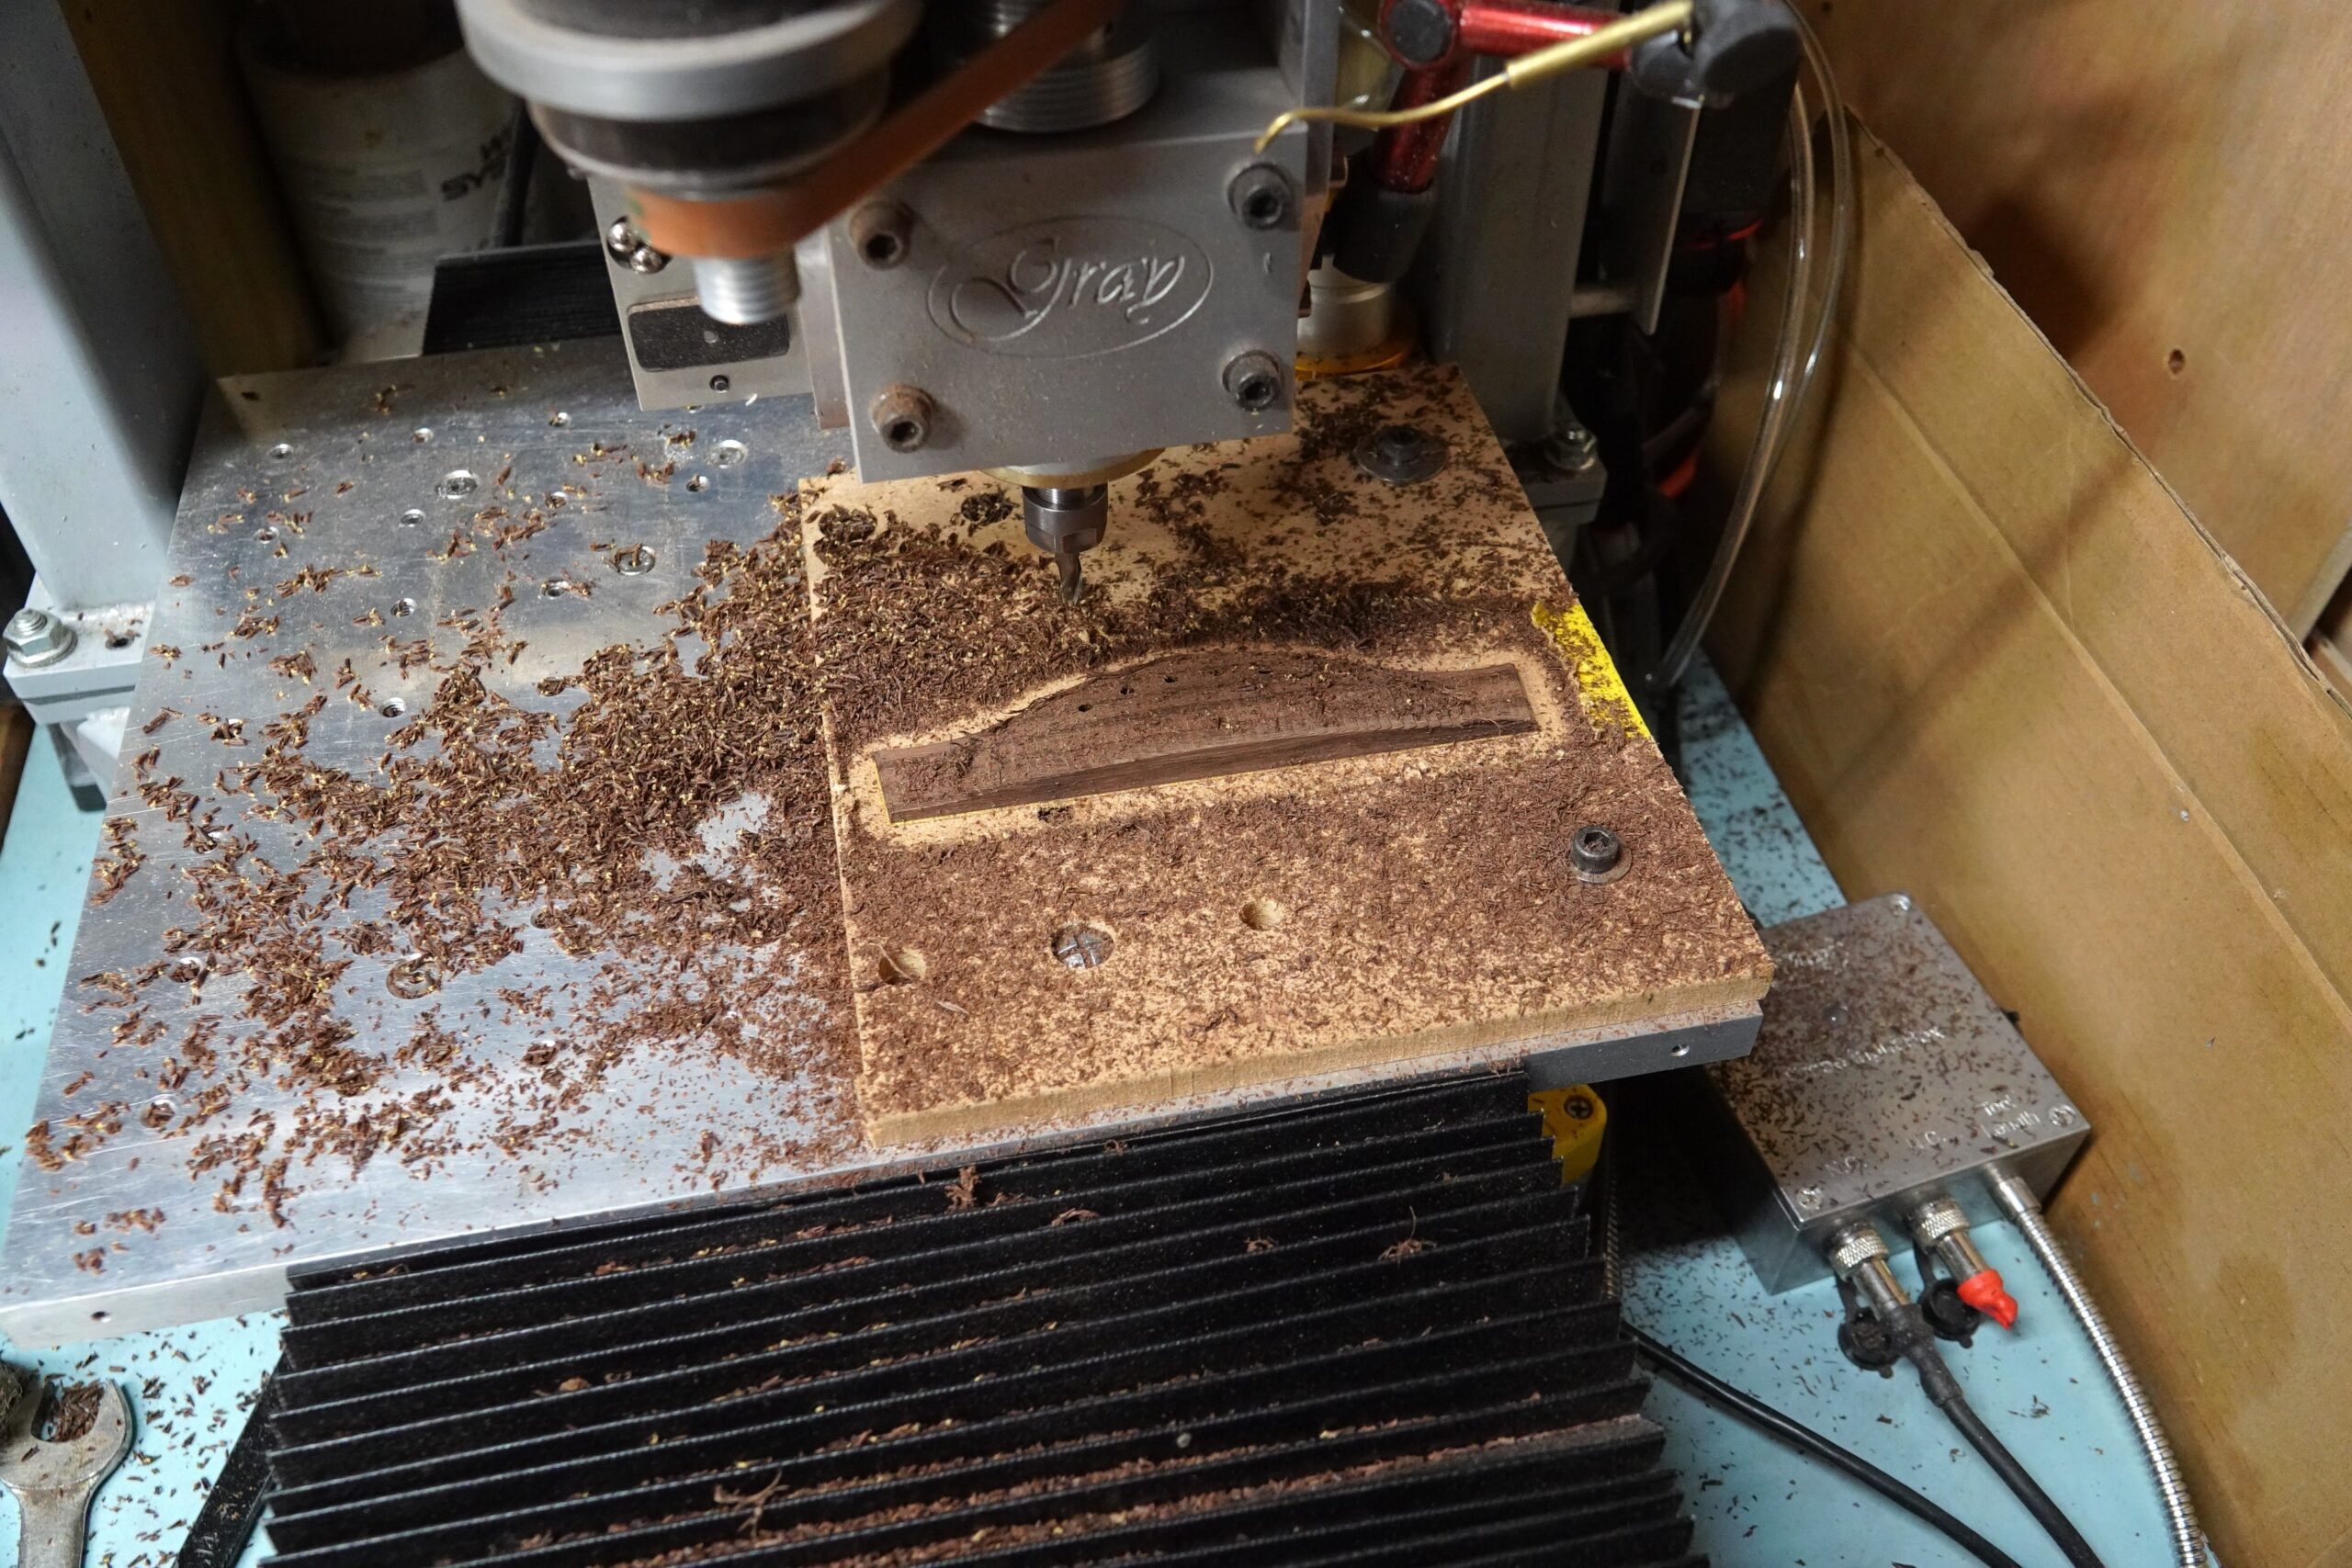
I cheated again and used my small CNC router to carve the bridges out of rosewood blanks:

Setting the neck angle
Once I had the bridge, I could use it to set the neck angle which (surprisingly to me) was still too high at the bridge. After chasing my tail somewhat, I realised that taking the guitar from storage at ~50% humidity to the utility room at ~65% humidity or the shed at even higher humidity was causing the top to rise and fall a surprising amount.
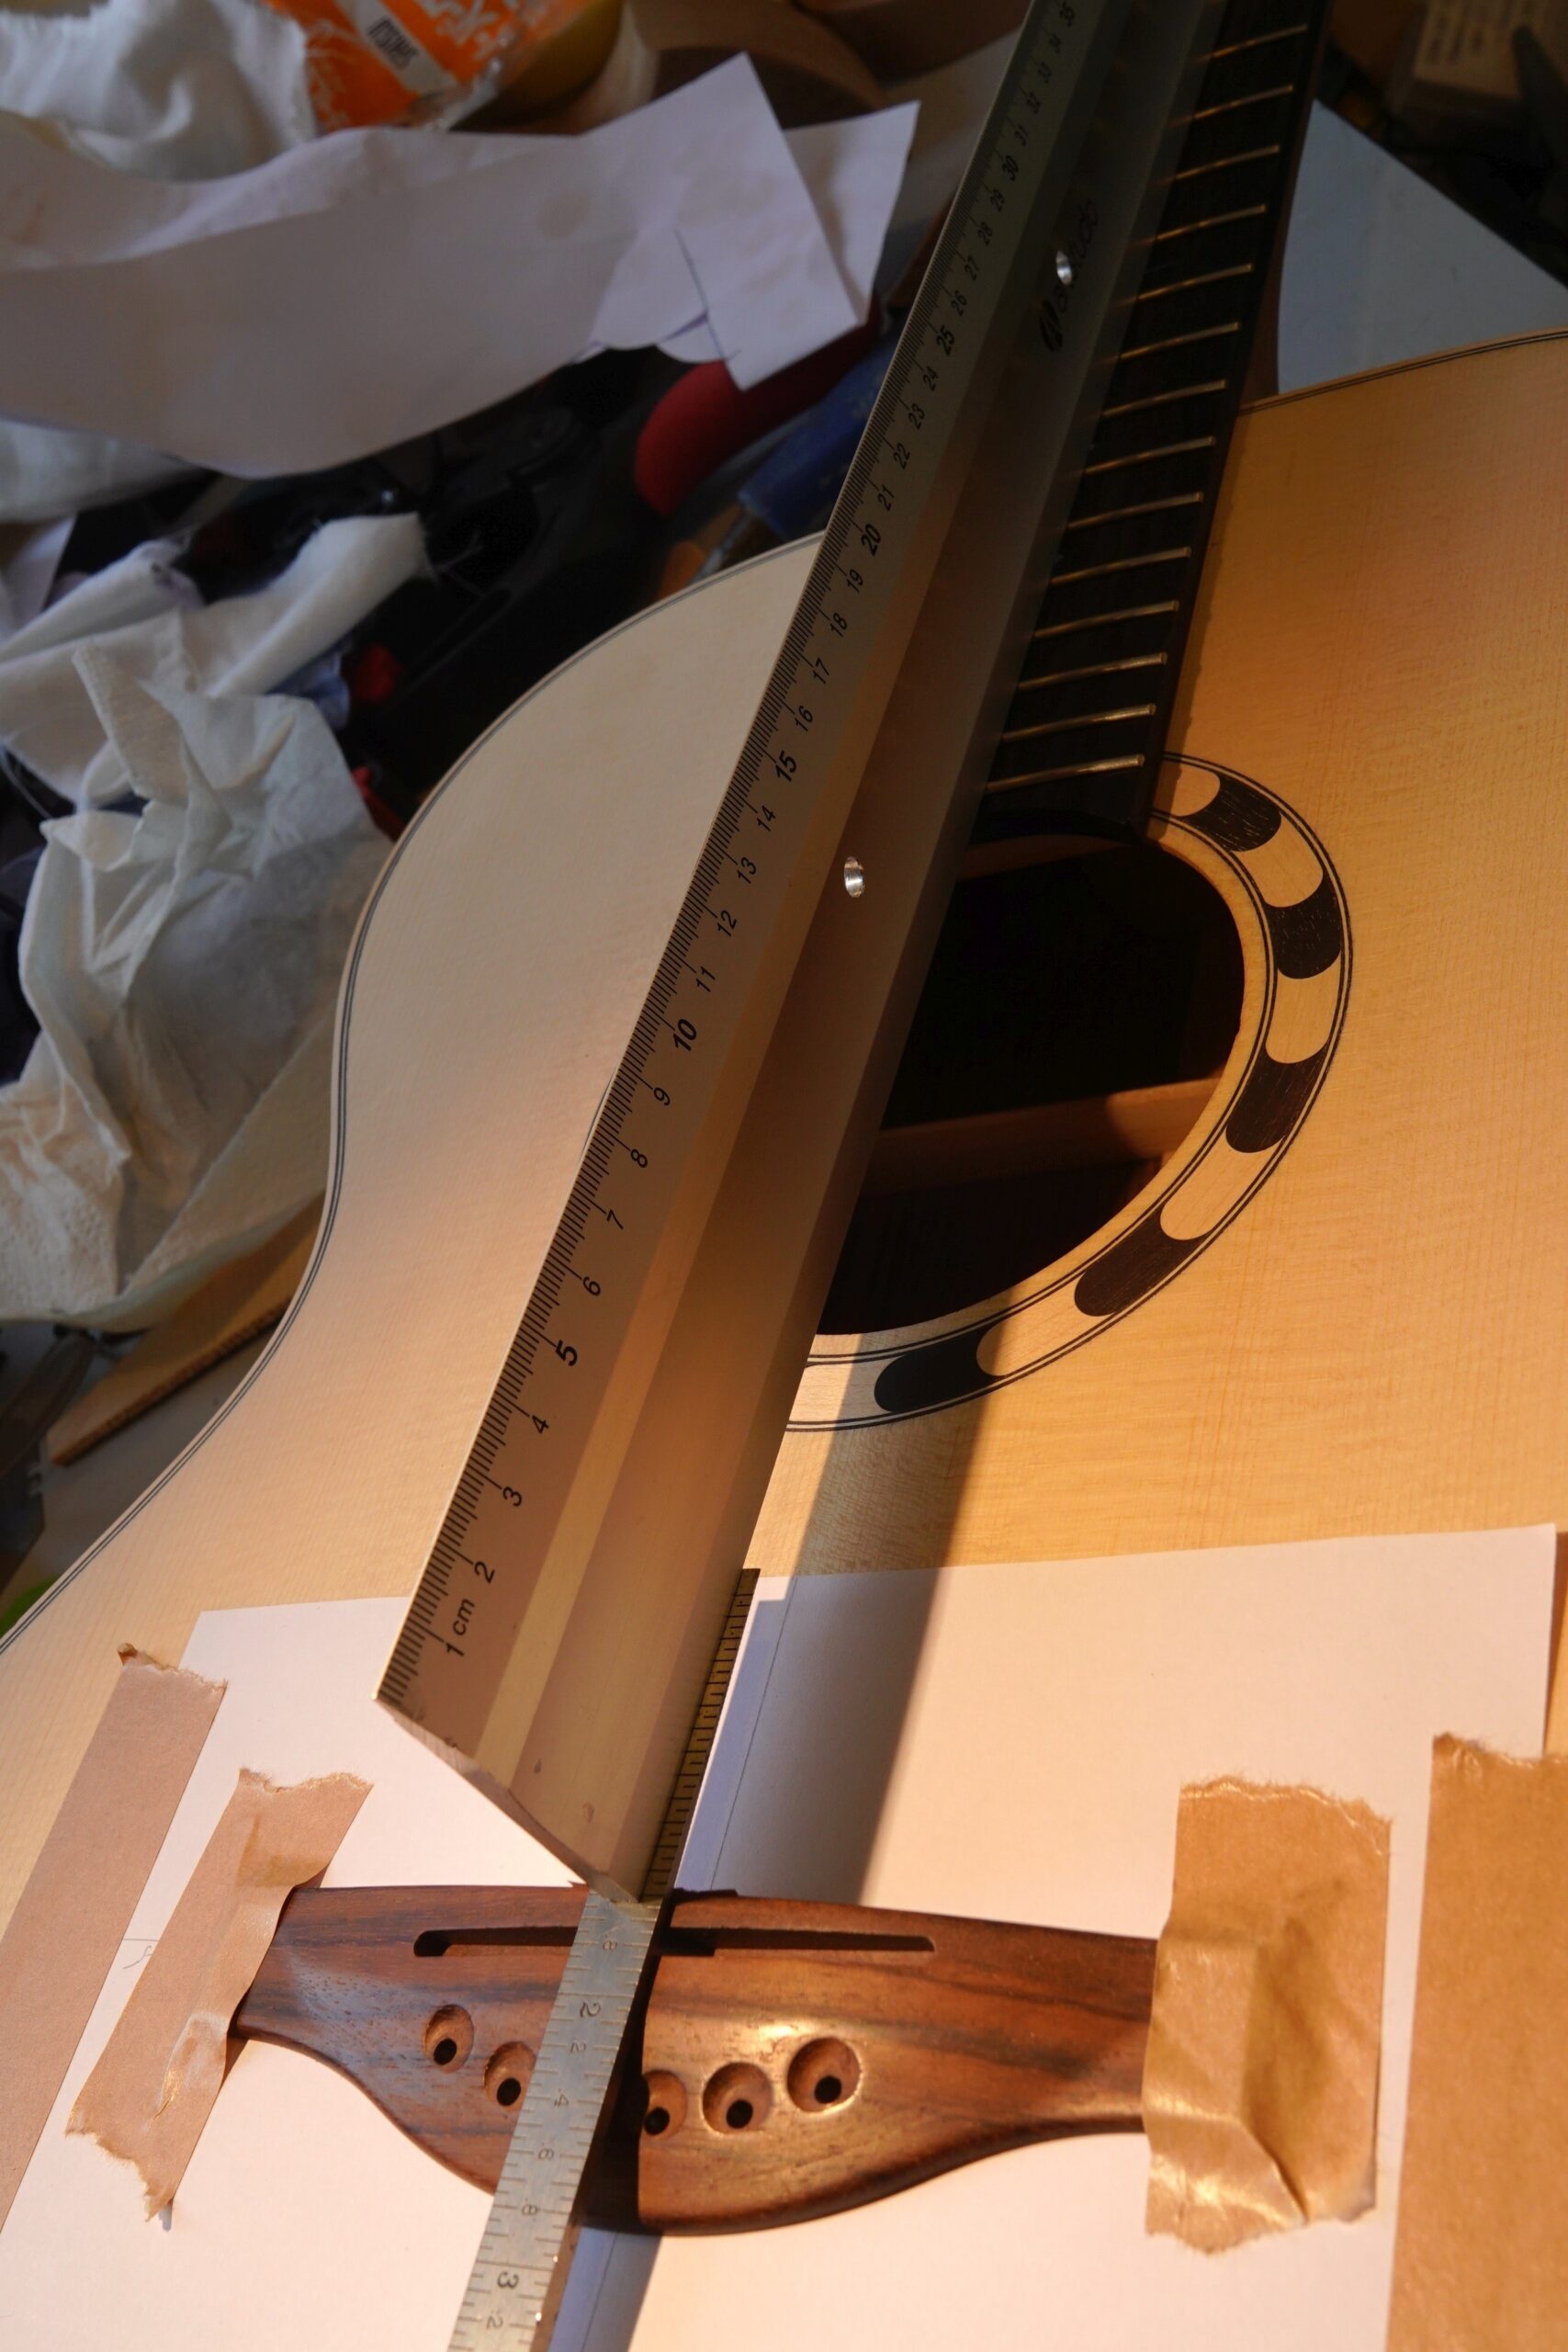
I eventually ended up with a gap of ~1.2mm between the bridge and a straightedge over the frets (it’s 1.6mm in the photo above) with the guitar in 50% humidity – the book says 0.4 – 1.6mm (1/64″ to 1/16″), and I thought I was done.
The finished neck joint
I did get a fit I was pleased with on the neck/heel :

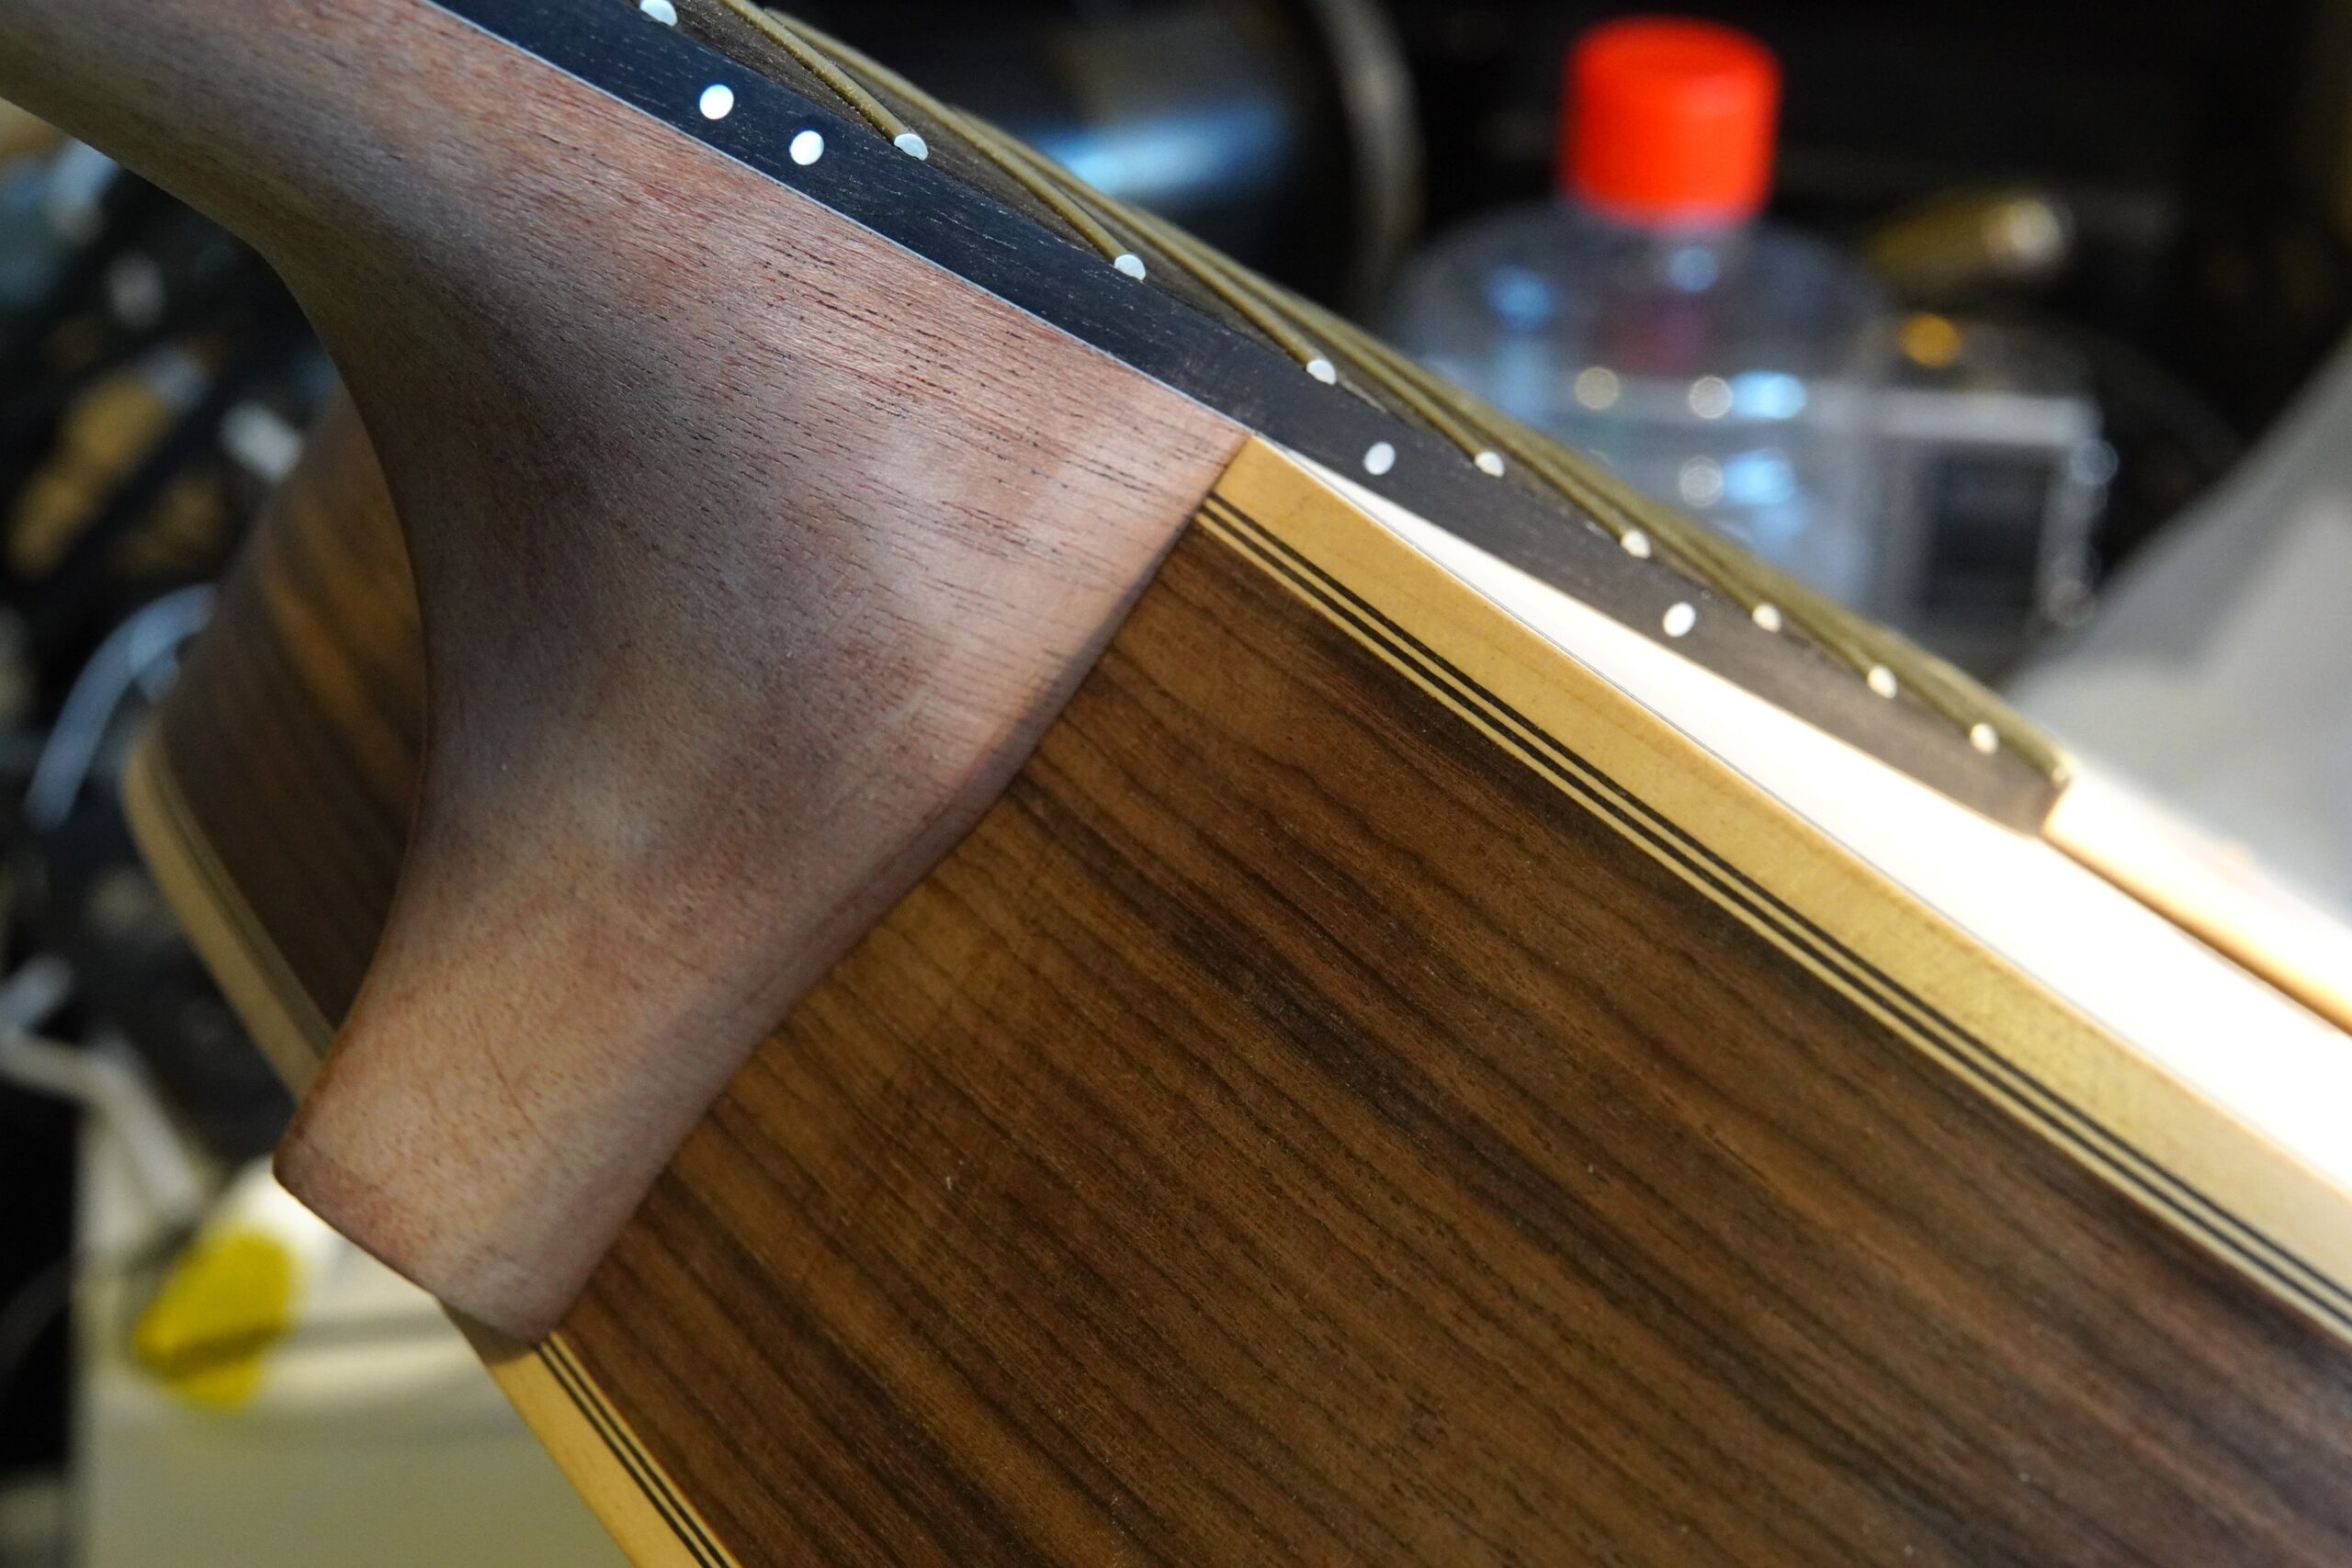
There’s a very slight gap under the last ~three frets which I’m just going to clamp down when I glue it on – those frets are for ceremonial use only for me.
I had one other minor disaster:
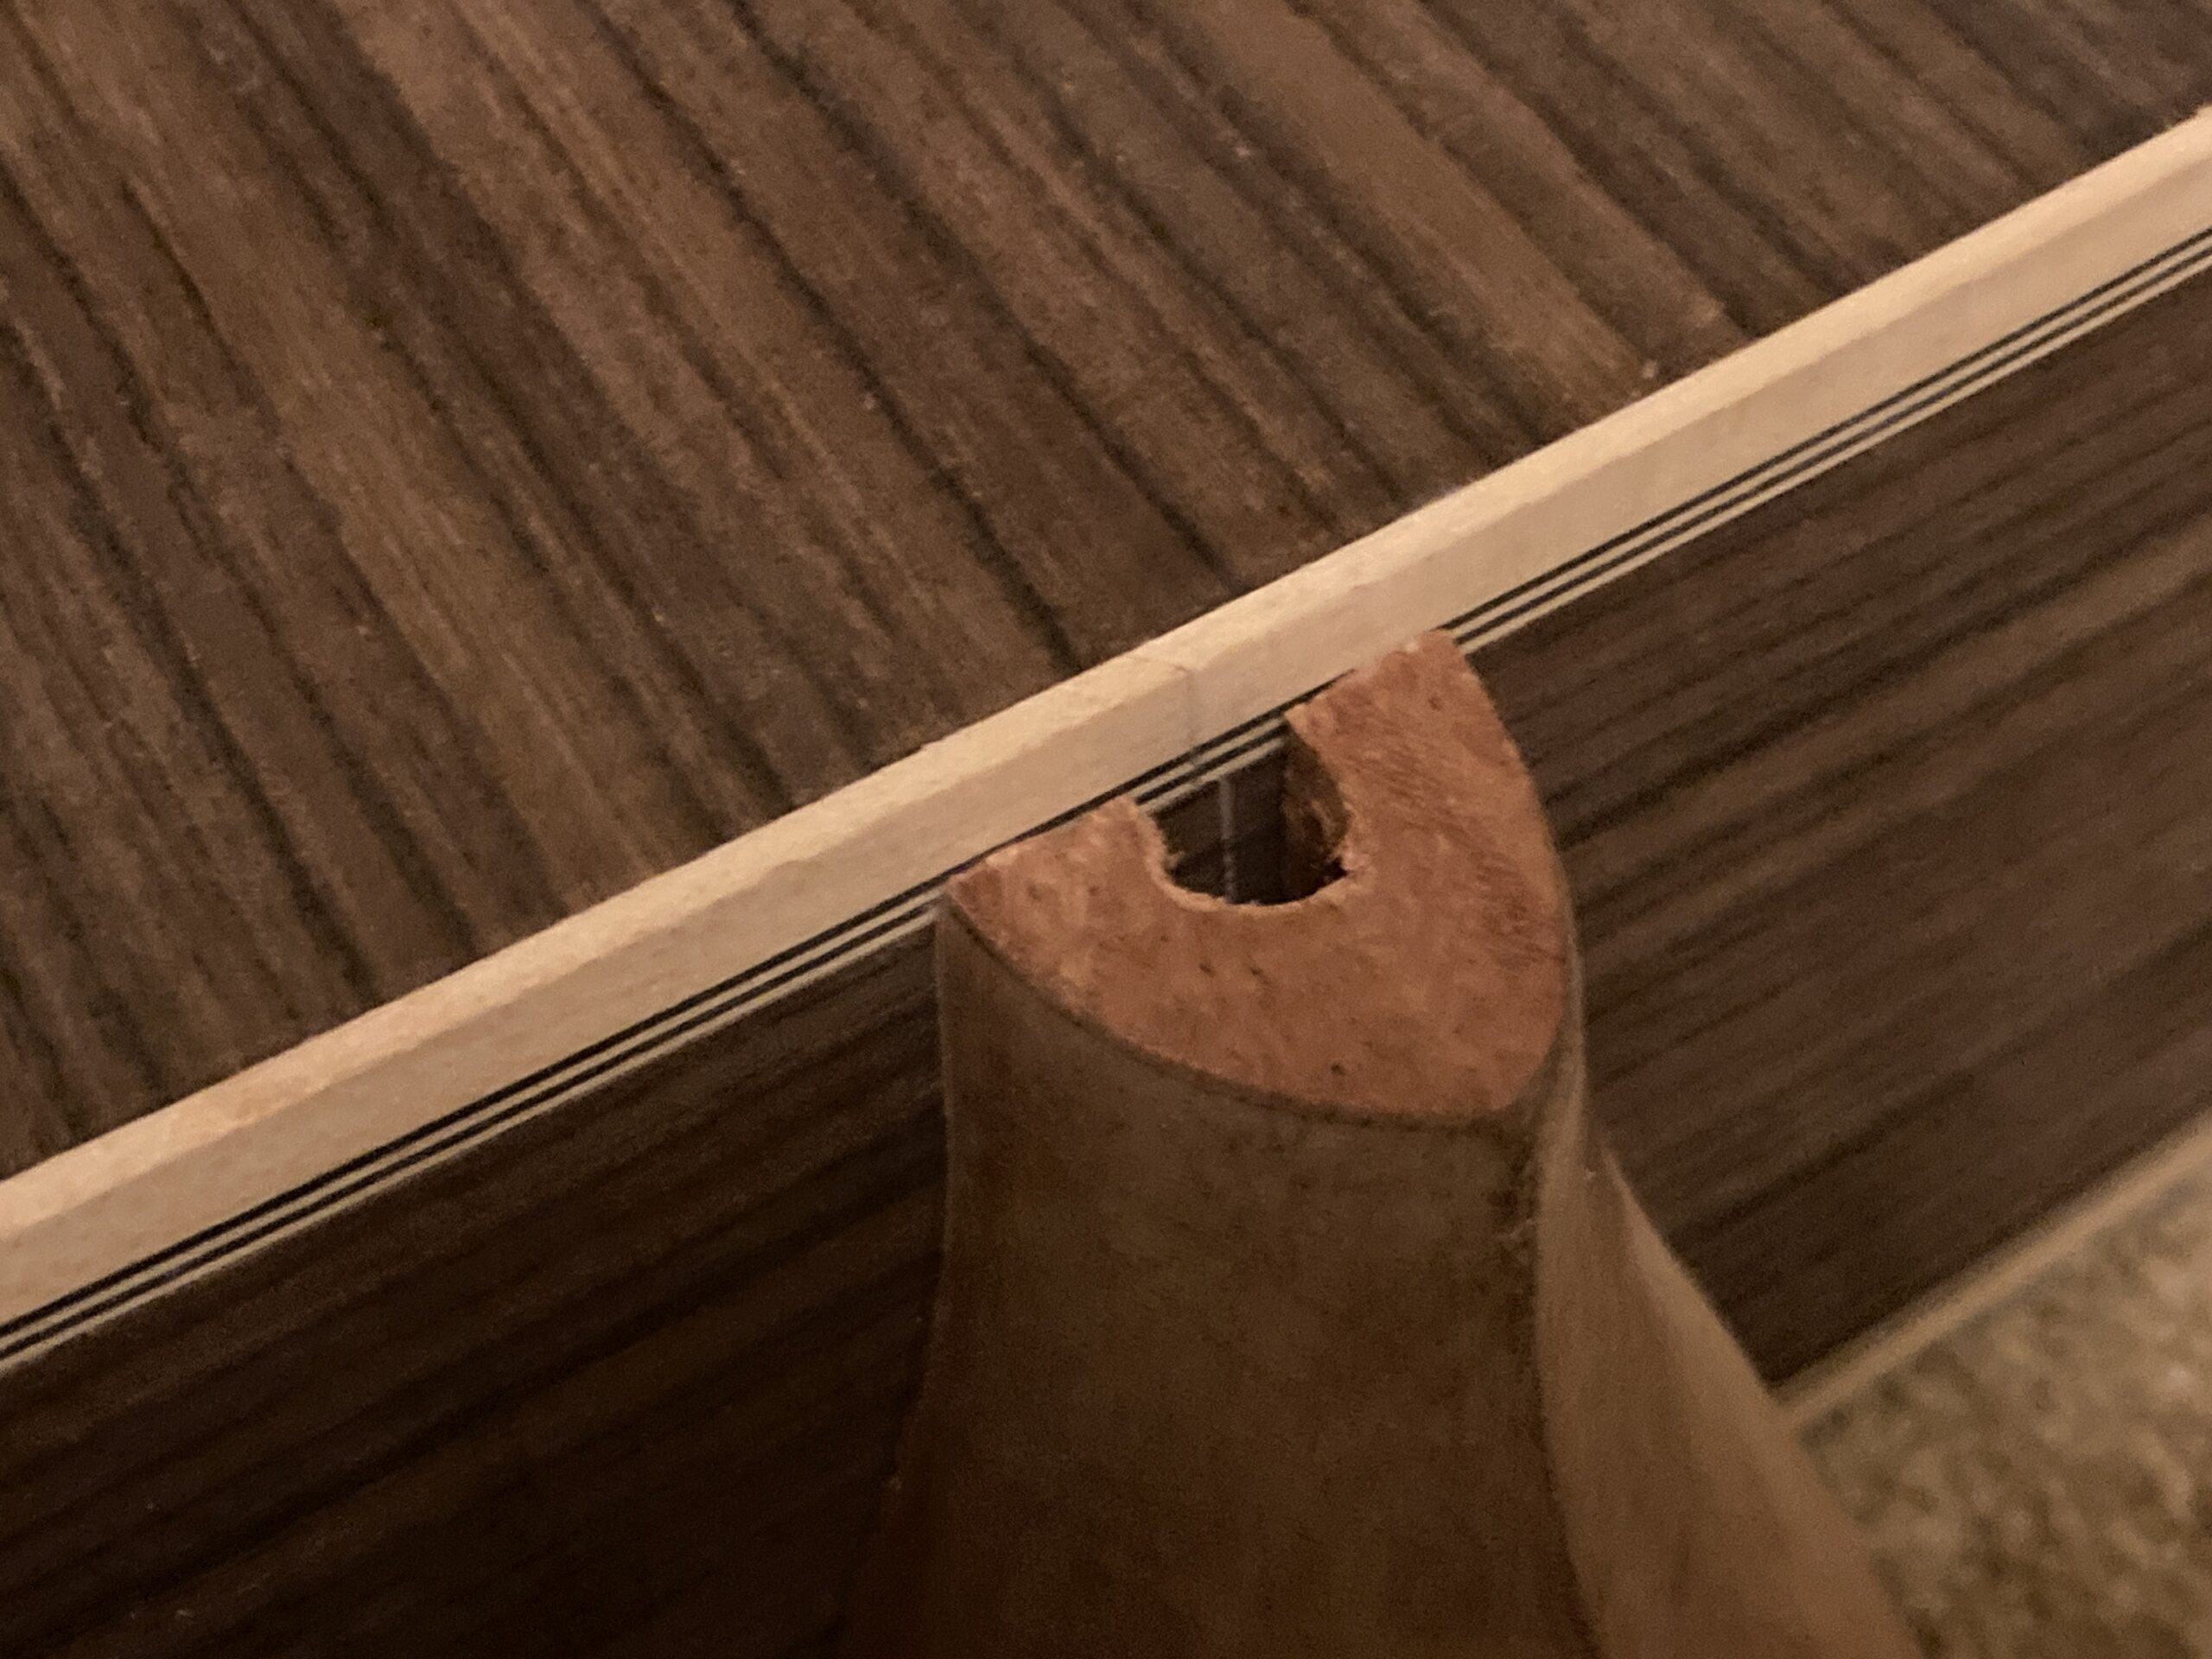
When I was checking the neck angle, the straight-edge picked up that there were a couple of high frets. I put the neck on to bench and tapped them down, no problem. Or so I thought until I tried to refit the neck – the metal insert that the neck bolts thread into had moved out of position when I was tapping the frets down. I had to drill a hole in the bottom of the heel to get it back into position. Luckily this will be hidden by the heel cap (which I still have to make).
![]()
