Machining the board
I had a piece of ebony for the fingerboard and was going to rip a couple of slices off it to create an “invisible” binding to hide the fret ends. However, following the experience with the headstock inlay, I started wondering if I could also cut blind fret slots with CNC. It turns out that quite a few people do just that.
A few experiments gave me enough confidence to go the whole hog and try and machine the entire fretboard on the CNC – radius, fret slots, inlay pockets and outline.

I don’t feel too bad about using the CNC for this as I’ve previously cut fret slots by hand (on my Tele & uke) and sanded a radius into an ebony fretboard (on my Firebird – not an experience I’m keen on repeating as it took a loooong time) – so I feel I’ve served my time there.
With the neck temporarily attached, I could confirm the finished length of the fingerboard to match up with the sound hole and create a CAD model for the fingerboard and do the CAM to create the necessary machining operations.
I opted for a slight compound radius with 12″ at the nut and 15.25″ at the end of the fingerboard.
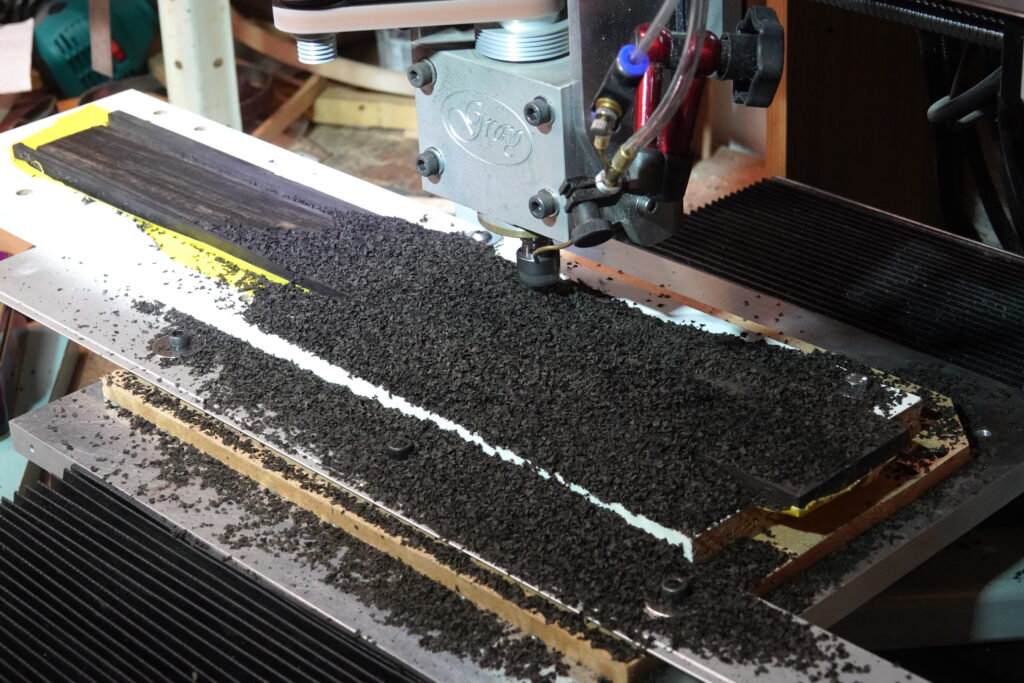
My CNC isn’t big enough to do the whole fretboard in one setup, so I mounted the blank on a backing board that could be indexed to machine the whole thing in two setups without losing position. A test run on plywood came out great, so there was nothing for it but to try the ebony.
Roughing out the radius:

Finishing the radius:

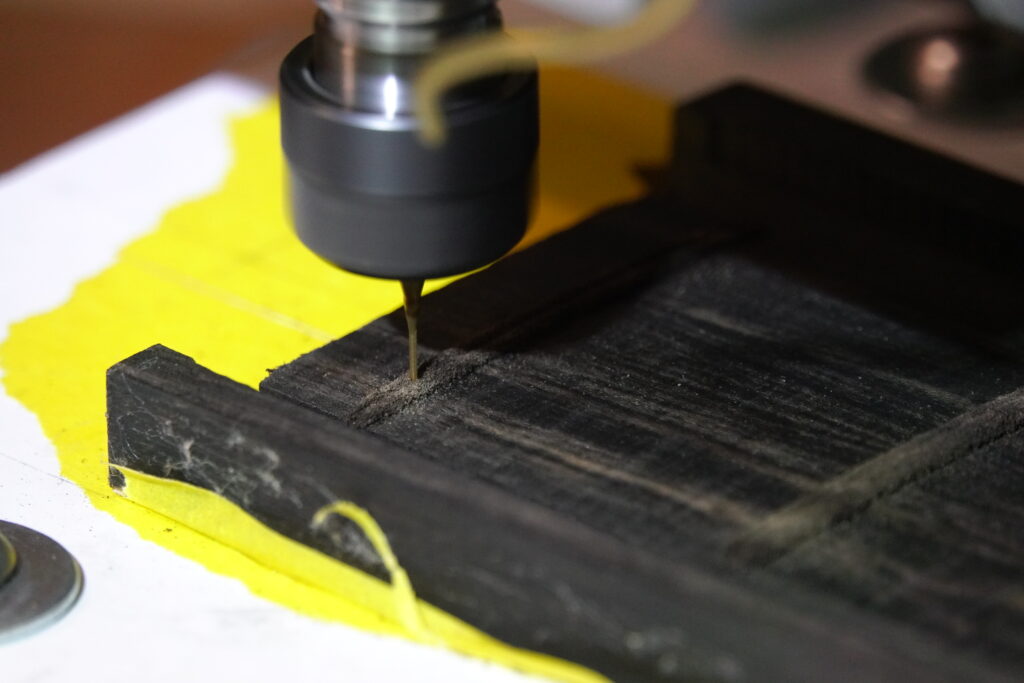
Machining the fret slots (using the 0.6mm diameter bit again):

All machining done:

Fretboard inlays
I’d bought some ‘diamond and square’ mother of pearl fret markers to use, but now thought that I could add a more original 12th fret inlay. I had learned from my experience with the headstock inlay that the shape of the inlay pockets needed to be tweaked to make sure that the tool got to every corner of the pocket, even if it meant over-cutting slightly.
You might be able to see that the corners of the pockets for the ‘squares’ have got a little bite out of them to ensure the pocket is big enough without enlarging it all around:

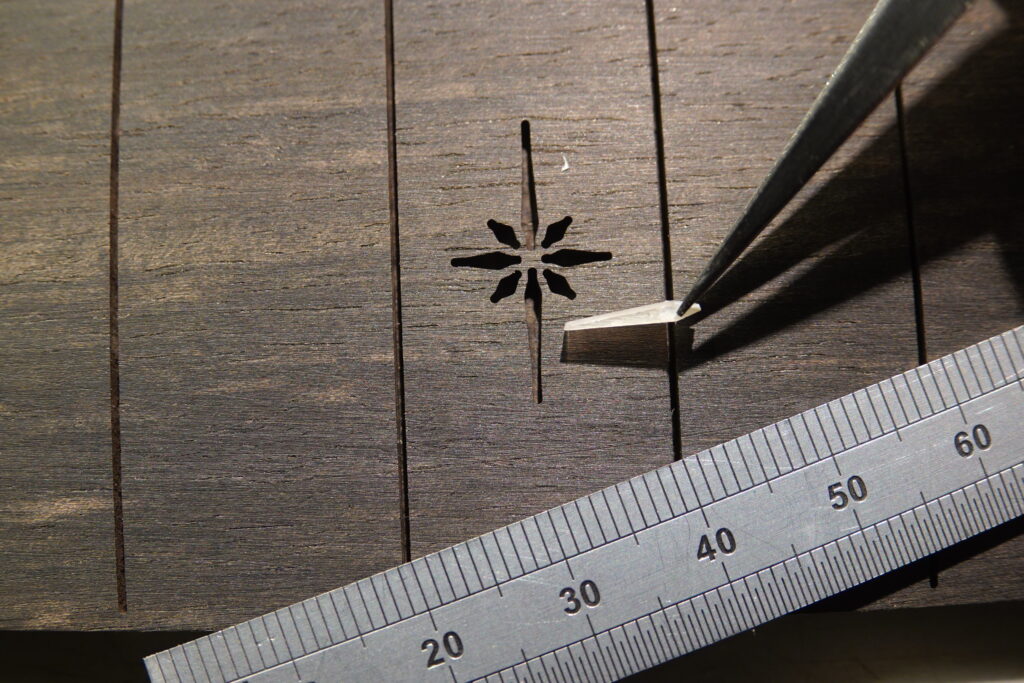
The 12th fret inlay was a bit of an experiment. I machined the shell pieces first and was amazed that the thin parts could be cut without breaking:


Just dry fitted:

I glued the inlays in with CA glue and some ebony dust. After a bit of sanding, it came out better than I could ever have hoped:


I couldn’t resist mocking things up:

If I can manage to finish it without messing up, I think it will look sweet.
